

The idea of your car looking showroom new without breaking the bank might seem like a distant dream, especially when specialty auto cleaning products come with hefty price tags. But what if we told you that the secret to a sparkling ride, both inside and out, is likely already lurking in your pantry or bathroom cabinet? Forget shelling out wads of cash on expensive, single-use products; it’s time to unlock the hidden cleaning potential of everyday household items. This isn’t just about saving money; it’s about empowering you with practical, actionable “Lifehacker” knowledge to tackle common car grime and odors with confidence.
We’re diving deep into a treasure trove of simple, do-it-yourself solutions that leverage ingredients you already own. From stubborn stains to foggy headlights, these resourceful approaches will not only make your car look brand new but also give you the satisfaction of a job well done, all without a trip to the auto store. Get ready to transform your vehicle with these ingenious hacks and see how everyday items can deliver extraordinary results!
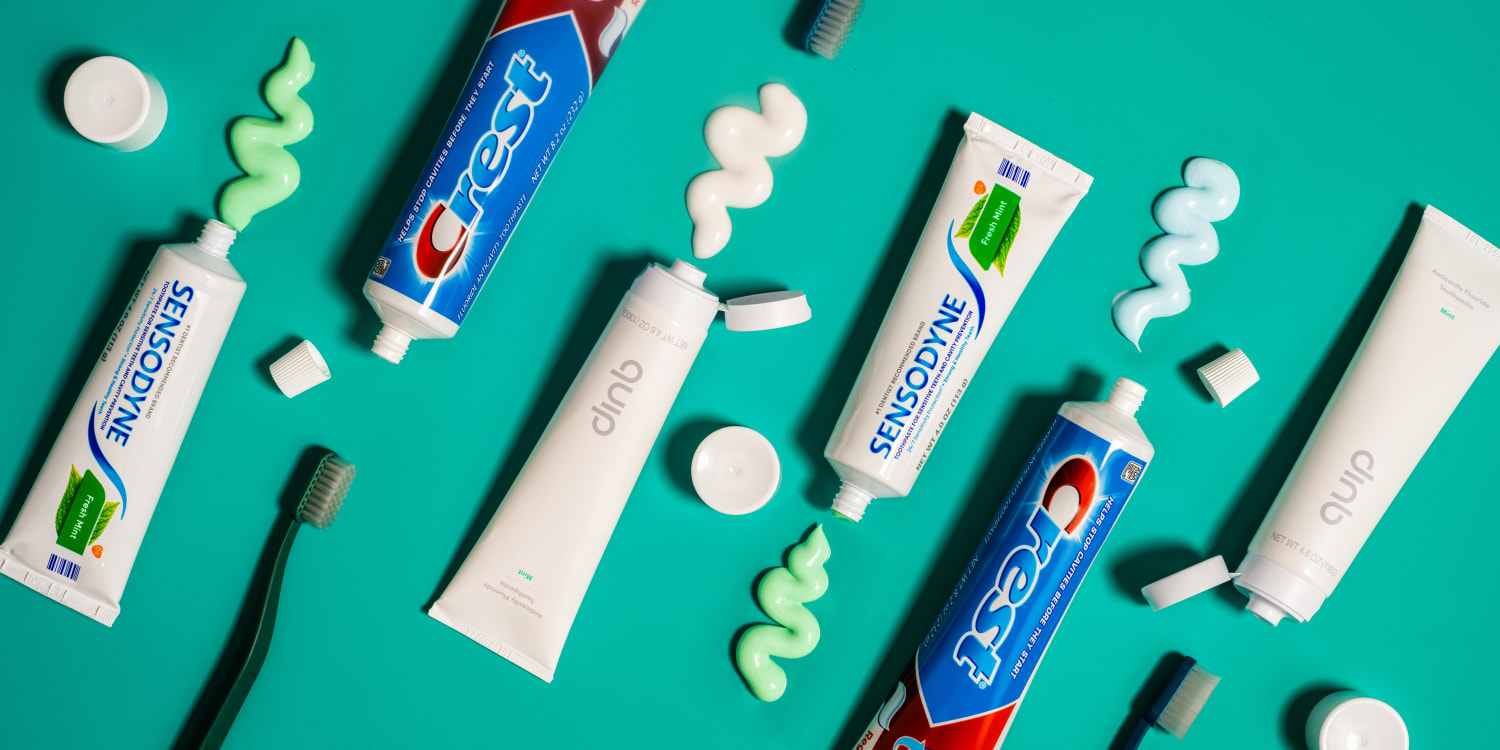
1. **Toothpaste: Your Car’s Unexpected Cleaning Ally**Who knew your morning routine essential could double as a powerful automotive restorer? Toothpaste, particularly whitening or tartar control formulations, contains mild abrasives that work wonders on oxidized surfaces. This makes it an ideal, budget-friendly solution for bringing clarity back to dull, smudgy, or grimy headlights, improving both appearance and visibility.
To tackle faded headlights, start by rinsing them to remove any loose dirt or debris. Apply any cheap toothpaste directly onto the lenses. Using a damp microfiber towel, rub the toothpaste in a circular motion, or use a toothbrush for increased restoring power. Rinse thoroughly to remove all residue and follow up with a layer of wax, sealant, or coating to help prevent future UV damage. Remember, heavily pitted headlights might require professional sanding.
Beyond headlights, toothpaste can also battle minor paint scratches, provided you choose a light- to medium-abrasive variety. This hack is specifically for surface-level imperfections, not deep gouges. Dab a small amount onto a clean microfiber towel and gently wipe the scratched area in a circular motion with minimal pressure. The abrasives smooth the clear coat, diminishing light scratches. Wipe clean with a damp cloth, dry, and always follow with wax, sealant, or coating for protection. Always test on an inconspicuous area first.
Your car’s leather or vinyl seats can also benefit from toothpaste’s gentle abrasive action on localized stains. Always test on a small, hidden area first to ensure no dye is affected by the cleaning agent. Apply a thin layer of non-gel white toothpaste directly onto the stain. Grab a new toothbrush and gently scrub for about a minute. Wipe away the toothpaste with a damp microfiber rag or paper towel. Repeat as necessary until the stain fades, revealing a cleaner seat surface. If toothpaste fails, rubbing alcohol can be a backup, but dab lightly and test it first.

2. **Rubbing Alcohol: The Multi-Purpose Problem Solver**Dirty windshield wipers are more than just an annoyance; they compromise visibility. Rubbing alcohol provides a quick, efficient solution, restoring optimal performance. Dampen a rag with rubbing alcohol, ensuring it’s wet but not dripping. Take a wiper blade in hand and firmly pull the rag along the rubber edge to remove dirt and grime. This cleans the blade and helps remove the stiffened outer layer of rubber, ensuring a clear view. For sparkling, streak-free windows, dilute 91% isopropyl alcohol with water at a 4-to-1 ratio (or 3-to-1 for 70%). Spray this mixture onto your car’s windows and wipe with a clean microfiber cloth.
Sticker residue, old badge adhesive, or stubborn tree sap are incredibly frustrating to remove. Isopropyl alcohol, especially 91% concentration, excels as a solvent. Apply it to a microfiber towel and wipe leftover adhesive from paint or glass; it quickly breaks down the residue. For tree sap, wet a microfiber towel with alcohol and place it over the sap for 1-2 minutes to loosen it. Gently wipe away; this might take a few attempts for older, solidified sap. Denatured alcohol also dissipates tar and sap effectively. Don’t have rubbing alcohol? Peanut butter is a surprising alternative for tree sap, as its oils can help loosen the sticky residue.
The utility of isopropyl alcohol extends further into ink removal from various surfaces. When cleaning ink from delicate headliners, apply sparingly to avoid oversaturation and adhesive compromise, which can cause fabric to sag. After cleaning ink from leather seats, apply a leather protectant to shield against future mishaps. While full-strength isopropyl alcohol isn’t recommended for car paint, a diluted solution (around 20% with distilled water) is used by detailers to remove compounding and polishing oils during paint correction, ensuring a clean surface. For adhesive removal on paint, use it sparingly.
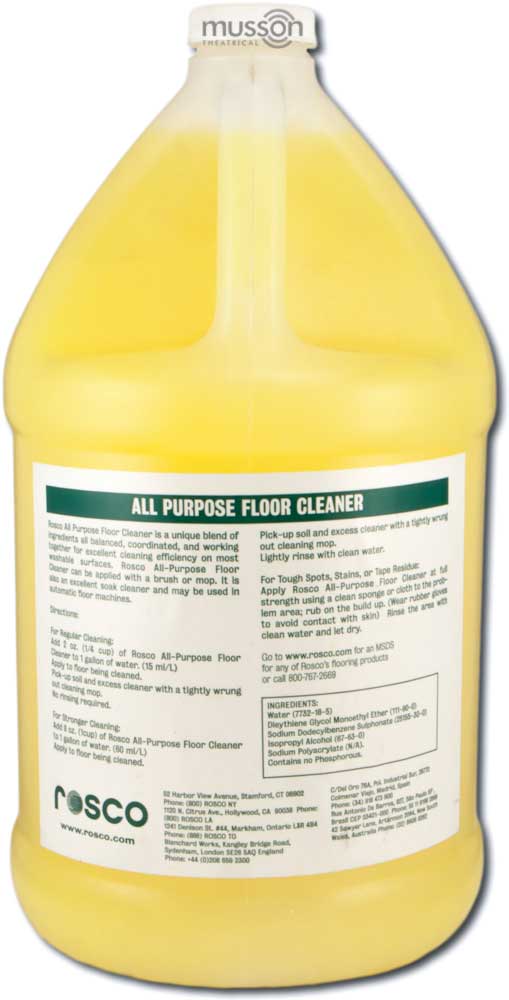
3. **Baking Soda: The Odor and Stain Eliminator**Baking soda, a true household staple, isn’t just for baking; it’s a formidable force against exterior car grime, especially winter salt. Its mild abrasive and alkaline properties make it a powerful cutting agent. Add 1 cup (240 mL) of baking soda to 1 gallon (3.8 L) of soapy hot water to make a robust cleaning solution. Scrub with a sponge or microfiber rag after rinsing loose dirt to prevent scratching. For rust on hubcaps, mix 3 parts baking soda with 1 part warm water to form a thick paste. Apply, let sit for a few minutes, then wipe away with a rag.
Inside the car, baking soda removes various fabric and carpet stains. Combine it with vinegar for amplified cleaning power. First, presoak the stain by filling a spray bottle with vinegar and applying it generously. Then, sprinkle baking soda over the presoaked area, and follow up with another spray of vinegar. Agitate with a nylon brush; the effervescent reaction lifts and dissolves grime. It’s important to use this solution immediately due to its volatility. For simpler stains, a paste of baking soda and water can be applied, allowed to dry, then brushed away.
Perhaps one of baking soda’s most celebrated attributes is its unparalleled ability to neutralize and absorb odors. Sprinkle it directly onto your car’s carpets or cloth upholstery. Allow it to sit for at least 15 minutes, as its cleaning power increases the longer it’s left on the surface. Vacuum up the baking soda to reveal a significantly fresher-smelling interior. For continuous air purification, place about 2 teaspoons (9.9 mL) in a cup holder or ashtray. For discretion, fill a small jar two-thirds full with baking soda, poke holes in the lid, and add essential oils for a pleasant scent.
4. **Dish Soap: Tough on Grime, Gentle on Wallets**When your car is truly filthy, caked with road grime, or needs a complete strip-down before reapplying wax, liquid dish soap is an incredibly effective, environmentally friendly degreaser. It’s so potent that it’s even used to clean animals affected by oil spills, showcasing its ability to safely cut through grease and stubborn contaminants. This makes it an excellent choice for a robust DIY car wash, especially when you need to remove old protection layers. Mix an ounce of dish soap per gallon of water for a powerful solution. Note that dish soap will likely strip off any previously applied wax or sealant, so always plan to reapply protection afterward. Avoid confusing liquid dish soap with dishwasher detergent, as their compositions differ and can damage your car’s finish.
Driving, especially during warmer months, inevitably leads to an accumulation of splattered insects on your car’s front end, windshield, and mirrors. These bug remains can be tough to remove and, if left for too long, can even etch into your paint. Fortunately, dish soap’s degreasing power makes it an excellent weapon against bug buildup. For a moderate accumulation of bugs, mixing an ounce of dish soap per gallon of water will provide sufficient strength. If the bugs have been baking in the hot sun, consider increasing the quantity of dish soap to 1.5 to 2 ounces per gallon for extra cleaning power. Soak cheesecloth in your dish soap mixture and place it over the affected areas. After a few minutes, gently wipe away the bug remains, preserving your paint.
It’s almost inevitable that food or drink will spill inside your car, leaving unsightly stains on upholstery or carpet. Given that dish soap is specifically designed to remove food and grease from dishes, it’s equally effective at tackling these common interior car stains. Create a gentle yet potent stain remover by adding 1.5 teaspoons (0.25 ounce) of dish soap per quart of water. Pour the mixture into a spray bottle for easy application. Spray the solution directly onto the stain and agitate it with a nylon bristle brush, working it into the fabric to lift the grime. Blot with a clean microfiber towel to absorb loosened residue and moisture. For tough stains, consider a DIY hot-water extractor hack if available.
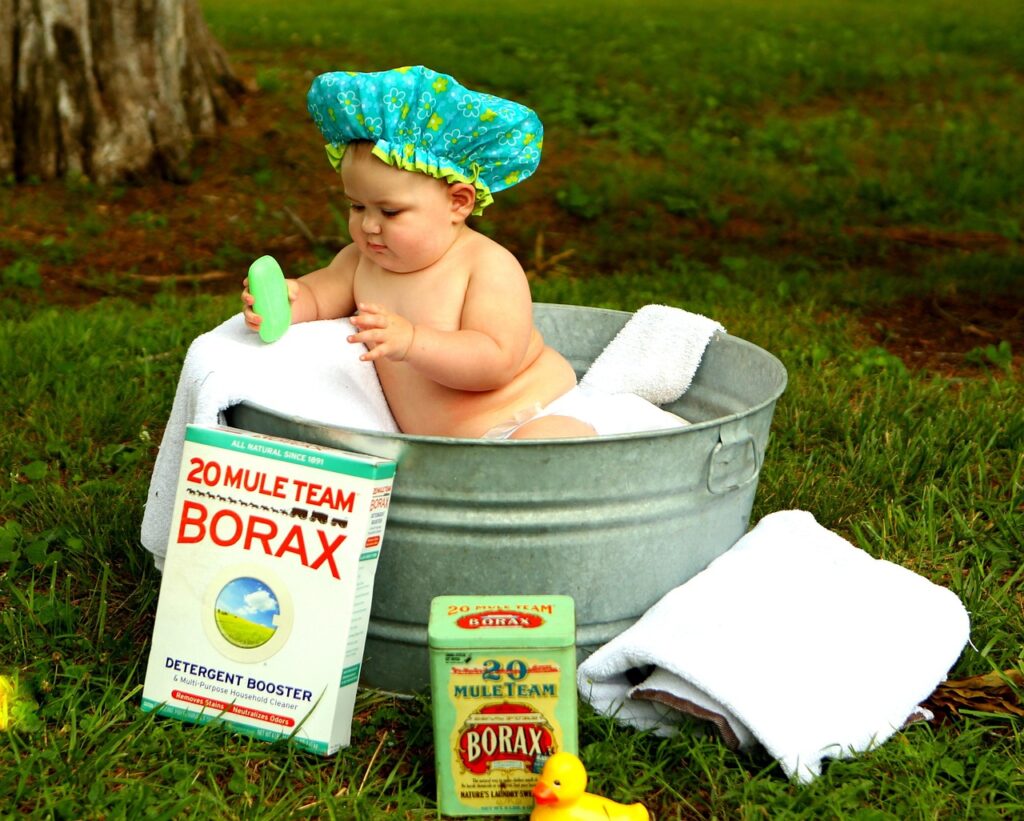
5. **Baby Soap: The Gentle Car Wash Specialist**Unlike standard dish soap, baby soap—or even pet shampoo—offers a much milder cleaning solution that won’t strip away the protective layers of wax or sealant on your car’s paint. This makes it an ideal choice for regular washes on a well-maintained vehicle where the goal is to clean without compromising your existing paint protection. It’s the gentle giant of car cleaning, ensuring your efforts to protect your car’s finish aren’t undone by the cleaning process itself.
The gentle ingredients in baby shampoo are specifically designed to be mild, making them perfect for your car’s delicate paint. Undiluted cleaners, or those that are too harsh, can easily damage your car’s paint job, but baby shampoo avoids this risk. Its good lubricity ensures a smooth glide as you wash, further protecting your paint from micro-scratches. This gentle formulation is key to maintaining both cleanliness and the integrity of your car’s exterior finishes, especially for luxury or older vehicles with more delicate surfaces.
When you’ve invested time and effort into applying waxes or sealants to your car, the last thing you want is a cleaning product that undoes all that hard work. Baby soap serves as an excellent maintenance wash solution, allowing you to clean away everyday dirt and grime without compromising the hydrophobic properties and shine provided by your paint protection. To use baby soap for your car wash, simply mix about 2 teaspoons (9.9 mL) of baby shampoo into a 2-gallon (7.6 L) bucket of water. Scrub with a soft microfiber cloth, being careful not to scratch the paint. Ensure your bucket has a dirt trap to prevent dirt from clinging onto the rag and ending up back on the car.
6. **White Vinegar: Your All-Around Car Detailer**White vinegar is a cleaning powerhouse, a truly versatile product that can tackle an astonishing array of car cleaning tasks, both inside and out. Its acidic nature makes it highly effective at breaking down mineral deposits, dissolving grime, and neutralizing odors. Whether used alone or in combination with other household staples, vinegar consistently delivers impressive results, making it an indispensable item for any DIY car cleaner. It’s an eco-friendly and cost-effective solution for many common automotive cleaning challenges. Vacuum carpets and upholstery thoroughly before any vinegar treatment for best results. Remember to use vinegar and baking soda immediately when combined due to their volatility.
Upholstery stains and unsightly salt deposits on your car’s carpet are common nuisances, but white vinegar offers a potent and natural solution. Its ability to penetrate and dissolve these stubborn marks makes it an excellent choice for restoring your interior fabrics. For carpet and fabric upholstery stains, mix white vinegar with hot water at a 1-to-5 ratio in a spray bottle. Apply until the fabric is damp, allowing it to soak into the stain. Scrub with a nylon bristle brush to help lift and remove the stain. For salt stains, the same 1-to-5 vinegar-to-hot-water ratio works wonders; spray, dwell for minutes, then agitate. Add essential oil or lemon juice to mask the smell. Blot with a towel or use a DIY hot-water extractor afterward.
White vinegar performs brilliantly on your car’s exterior, especially when battling unsightly water spots and achieving streak-free windows. Hard water spots, caused by mineral deposits, can be stubborn, but vinegar’s acidity cuts right through them. To remove hard water spots from car paint, dilute white vinegar with distilled or reverse osmosis water at a 2-to-1 ratio. Fill a bucket with this solution and wash affected areas with a microfiber towel. For regular window cleaning, a 2-to-1 ratio of white vinegar to distilled or reverse osmosis water in a spray bottle creates an eco-friendly and cost-effective cleaner. Spray onto windows and wipe with a clean microfiber cloth. For leather, combine equal parts vinegar and linseed oil in a spray bottle, spray surfaces, then wipe dry for cleaning, conditioning, and shine.
7. **Hydrogen Peroxide: The Germ and Stain Buster**Car air quality can suffer from lingering odors, germs, and mold, especially if moisture has been an issue within the ventilation system. While many commercial products promise to refresh your car’s air, hydrogen peroxide offers a gentler, yet highly effective, DIY solution for improving the cabin environment. It acts as a disinfectant, targeting the root causes of unpleasant smells rather than just masking them, promoting a genuinely clean-smelling car. Combine 1 cup (236.6 mL) of water with 1 tablespoon (14.8 mL) of hydrogen peroxide in a spray bottle and shake thoroughly. This mixture is a gentler cleaning agent than many harsher chemicals, meaning it’s less likely to irritate your lungs or eyes.
Once prepared, spray this solution into your car’s fresh-air intake. After spraying, turn your car’s fans on full-blast. The air circulation will distribute the hydrogen peroxide mixture throughout your car’s ventilation system, effectively killing germs and mold that might be harbored within. This leads to a noticeably fresher and healthier interior atmosphere, making every drive more pleasant and truly improving overall air quality safely. Its mild bleaching and antiseptic properties mean it can safely sanitize surfaces without the harshness of chlorine bleach.
Grass stains are notorious for being tough to remove from fabric, often leaving behind a green discoloration that seems impossible to lift from upholstery or floor mats. Hydrogen peroxide, specifically a 3% solution, provides an excellent and readily available solution to blast these stubborn stains away with precision. Dab the solution directly onto the affected area. Allow it to soak for a few seconds; its oxidizing properties work efficiently to break down the chlorophyll. This makes the stain less visible and significantly easier to remove without aggressive scrubbing. Gently soak up the peroxide with a dry paper towel, blotting to lift the stain away. If hydrogen peroxide isn’t available, an alternative pre-treatment is equal parts white vinegar, rubbing alcohol, and warm water, which can be rubbed directly on the stain before washing.
Welcome back to our journey of transforming your car with the everyday essentials you already have at home! We’ve uncovered the incredible potential of many common items, but the resourceful solutions don’t stop there. This section dives into even more specialized hacks, tackling those trickier challenges and ensuring your car’s interior feels truly refreshed and looks pristine, all thanks to clever applications of household staples.
From stubborn grease marks to those frustrating scorch spots, and from lingering odors to annoying gum on your upholstery, we’ve got practical, actionable tips. Get ready to discover how cornstarch, raw onion juice, dryer sheets, ice cubes, peanut butter, and club soda can become your new best friends in maintaining a vehicle that not only looks clean but also feels invigoratingly fresh. Let’s continue empowering you with the knowledge to make your car shine!
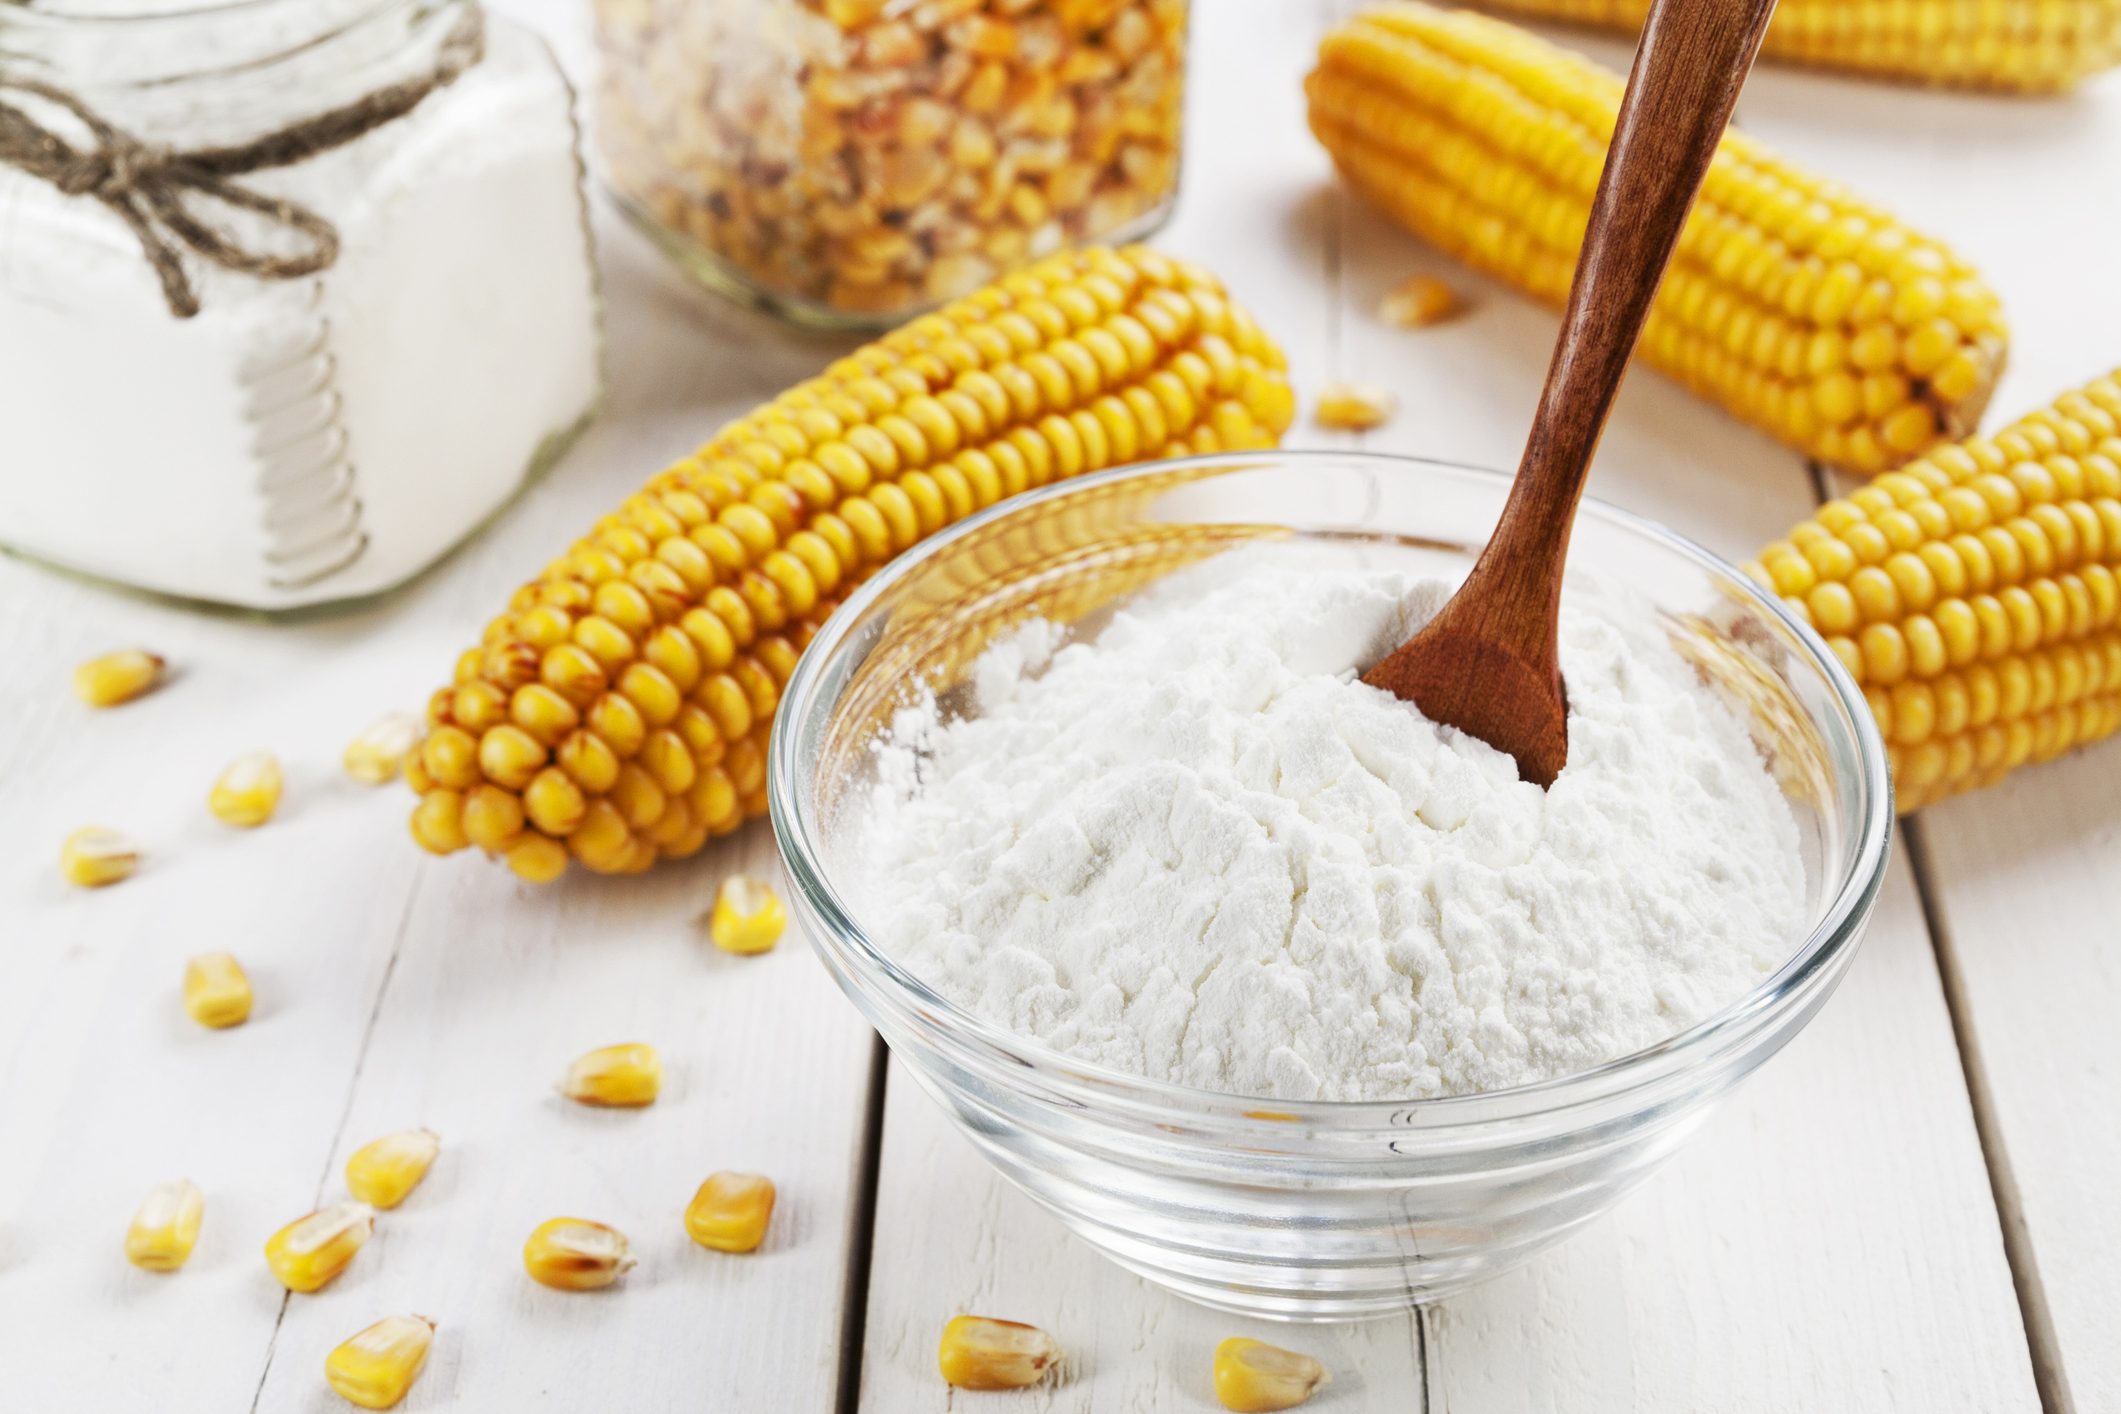
8. **Cornstarch: Your Unexpected Grease Stain Fighter**Grease stains can be among the most challenging adversaries for your car’s interior fabrics, often leaving behind unsightly, dark marks that seem impossible to lift. Fortunately, cornstarch, a staple in many kitchens, emerges as a remarkably effective and natural solution. Its fine, absorbent particles are perfectly designed to wick away oily residues from fabric surfaces, proving that sometimes the simplest tools are the most powerful.
When faced with a fresh or even an older grease stain on your car’s upholstery or carpet, reach for the cornstarch. Simply sprinkle a generous amount directly over the affected area, ensuring the entire stain is well-covered. The beauty of cornstarch lies in its patience; it doesn’t work instantly but rather slowly absorbs the grease, drawing it out of the fabric fibers. Allowing it sufficient time to perform its magic is key.
Set a timer for approximately 30 minutes, giving the cornstarch ample opportunity to absorb the grease. Once the time is up, use a vacuum cleaner to thoroughly remove the cornstarch, which will now be laden with the absorbed grease. Check the condition of the stain; if remnants remain, don’t hesitate to repeat the process. For enhanced effectiveness, some experts even suggest adding a little water to the cornstarch to form a paste, allowing it to dry, and then brushing away the powder and grease.
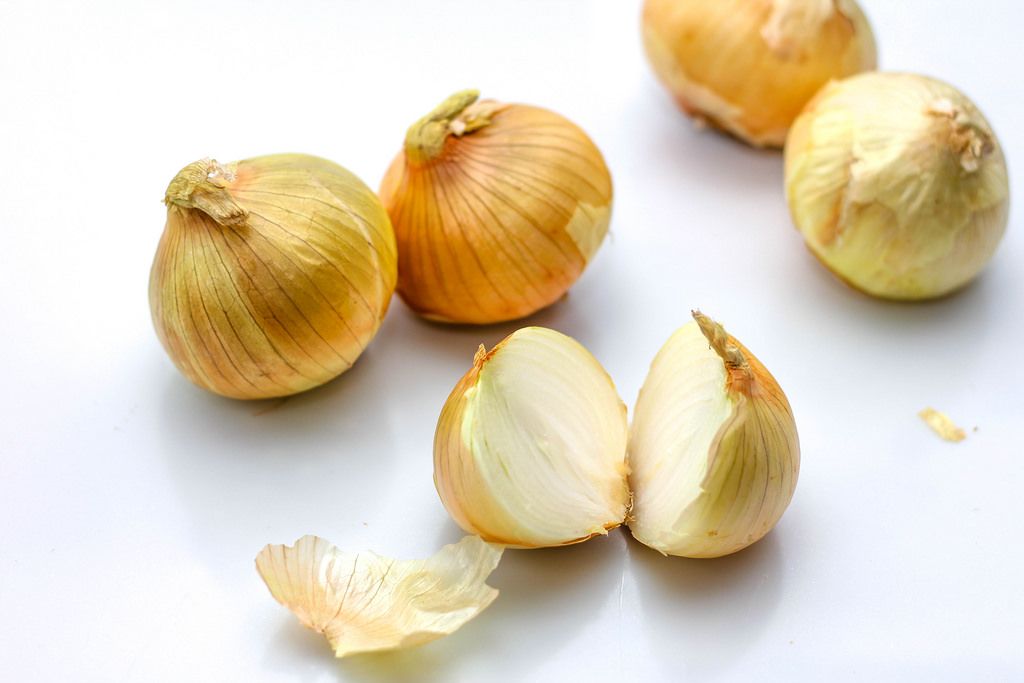
9. **Raw Onion Juice: Softening Scorch Marks**Accidental scorch marks, particularly those caused by cigarettes, can be a disheartening sight on your car’s fabric upholstery or carpet. These blemishes often seem permanent, leaving behind a hard, discolored spot that stands out. However, a surprisingly simple and natural remedy can be found in your pantry: raw onion juice. This unexpected hack can help soften the affected fibers and diminish the appearance of these stubborn marks.
To apply this unique treatment, begin by cutting a fresh raw onion in half. Take one of the cut halves and gently hold it directly onto the scorch mark. The goal is to allow the natural juices from the onion to be absorbed into the fabric fibers that have been damaged. The onion’s properties work to soften the hardened material, making the mark less pronounced and potentially easier to manage.
After ensuring that the fabric has absorbed the onion juice, the next step involves soaking the treated area with a bit of water. This helps to further loosen the softened fibers and pick up any remaining onion residue. Finally, take a clean, dry rag or paper towel and wipe away the water and onion juice. This method, while unconventional, provides a resourceful way to address scorch marks and improve their appearance without harsh chemicals.
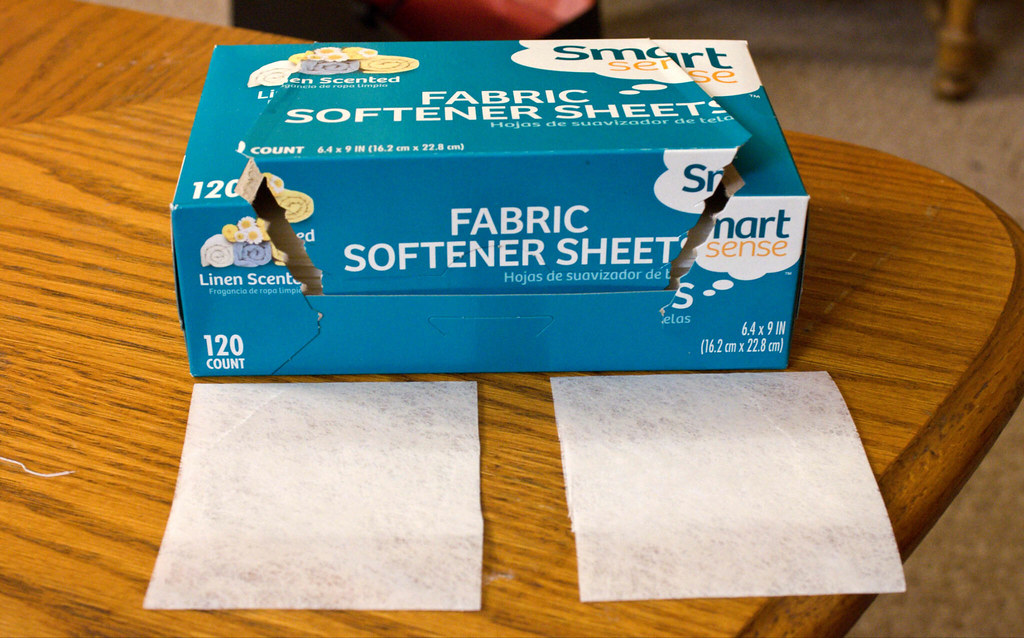
10. **Dryer Sheets: Your Secret Weapon Against Lingering Odors**Our cars are often subjected to a medley of scents, from everyday commutes to sports equipment, food spills, or even pet odors. These persistent smells can gradually accumulate, making your car feel less than fresh, even after a thorough cleaning. While air fresheners offer a temporary fix, dryer sheets provide a simple, long-lasting, and highly effective solution for continuously fighting persistent odors and keeping your cabin smelling pleasant.
Dryer sheets are designed to neutralize and absorb odors from laundry, and their porous material and mild fragrance make them perfect for passive odor control in your vehicle. The trick lies in strategic placement. You can discreetly tuck these little odor-fighters under your car seats, slide them beneath floor mats, or place them in any of the car’s interior pockets or compartments. They work silently, releasing their fresh scent and absorbing unwanted smells over time.
This hack is particularly useful for those who engage in sports or other physical activities that might introduce stronger, more stubborn odors into their car. Stashing a few dryer sheets in the trunk where sports gear is often stored, or even in interior pockets, can significantly help to combat these potent, sports-related odors before they permeate the entire cabin. It’s a simple, set-it-and-forget-it solution for a consistently fresher-smelling car.
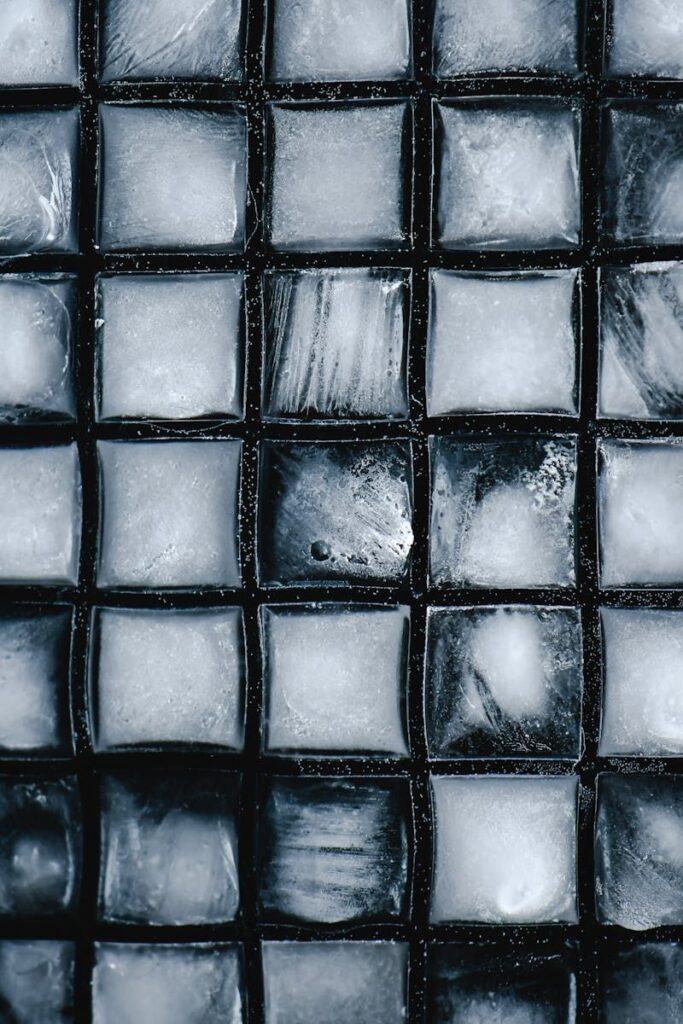
11. **Ice Cubes: The Ultimate Gum Removal Hack**Discovering chewing gum stuck to your car’s upholstery or floor mats can be incredibly frustrating. The sticky, pliable nature of gum makes it resistant to conventional cleaning methods, often resulting in a messy, spread-out residue. Thankfully, one of the simplest and most effective solutions is already chilling in your freezer: ice cubes. The principle is straightforward: extreme cold solidifies the gum, transforming it into a brittle substance that’s much easier to remove.
To prevent any potential moisture issues or water rings on your car’s fabric, place a handful of ice cubes inside a plastic baggie. This creates a barrier while still allowing the cold to reach the gum. Apply the baggie directly onto the gum, pressing it firmly against the sticky mass. Patience is key here; allow the ice to freeze the gum for approximately 20 minutes. You’ll notice the gum hardening and becoming stiff to the touch.
Once the gum is thoroughly frozen and solidified, it becomes brittle and significantly easier to manage. You can then use a credit card or a dull knife to carefully scrape off the gum in larger chunks. If any small, stubborn pieces remain, a toothbrush can be used to gently scrub and loosen them, making them easy to vacuum up afterward. As an alternative to ice cubes, a freezer pack can also be used, offering the same freezing power without the risk of melting water.
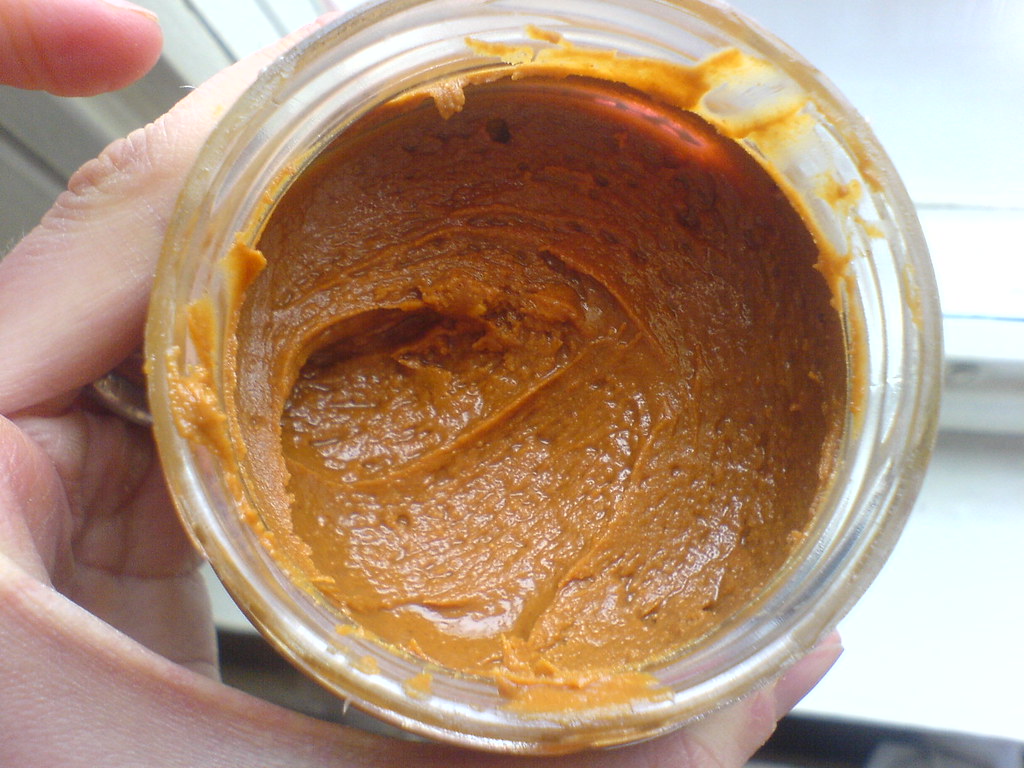
12. **Peanut Butter: The Surprising Sap and Sticker Residue Solution**Tree sap, with its sticky, resinous nature, can be one of the most stubborn contaminants to remove from your car’s exterior, often baking onto the paint in the sun and resisting regular washing. While rubbing alcohol is a common choice, an astonishingly effective, and readily available, alternative can be found in your kitchen cupboard: peanut butter. Its oily consistency is the secret weapon, working to break down the sticky bonds of the sap.
This resourceful hack is particularly useful if you don’t have rubbing alcohol on hand, or if you’re looking for a gentler, more natural approach. To use peanut butter for tree sap removal, simply dab a thin film of it directly onto the affected area of your car’s paint or glass. The oils in the peanut butter penetrate and loosen the sap, allowing it to be lifted more easily from the surface without harsh scrubbing.
Allow the peanut butter to sit on the sap for about a minute. This brief dwell time gives the oils a chance to work their magic. After a minute, gently wipe away the peanut butter and the loosened sap with a clean, soft cloth. You might be surprised by how effectively it cleans the area, showcasing the power of everyday items to solve seemingly tough automotive problems. Remember to wipe the area clean of any oily residue afterwards.
13. **Club Soda: An Unsung Hero for Stubborn Stains**When you encounter those truly stubborn fabric stains in your car, the kind that resist initial cleaning attempts, sometimes you need a multi-pronged attack. While individual household items are powerful, their combined strength can be formidable. Club soda, often overlooked in cleaning arsenals, plays a crucial role when teamed up with other common cleaners, enhancing their stain-lifting capabilities, especially for those tough interior blemishes.
Club soda’s effervescence and mild acidity make it an excellent component in a DIY stain-fighting concoction. To create a potent solution for your car’s toughest fabric stains, mix equal parts dish soap, white vinegar, and club soda in a spray bottle. This combination leverages the degreasing power of dish soap, the dissolving action of vinegar, and the fizzing, lifting properties of club soda to penetrate and break down grime effectively.
Once your powerful stain remover is prepared, spray the solution liberally onto the stubborn fabric stain, ensuring the area is well saturated. Don’t be shy with the application; the more the solution can soak into the stain, the better it can work. Follow this by vigorously scrubbing the stains with a scrub brush. The mechanical action of the brush, combined with the chemical power of the solution, will help to lift and remove even deeply set-in grime from the fabric fibers.
After effectively scrubbing the stain, it’s essential to rinse the mixture out of the fabric thoroughly. Dip a clean rag in warm water and apply it to the affected spot, blotting and wiping to absorb the loosened residue and moisture. Repeating this rinsing and blotting process ensures that all cleaning agents and lifted grime are removed, leaving your fabric clean and fresh, ready to look brand new once more.
There you have it—a comprehensive arsenal of household items ready to tackle nearly any car cleaning challenge you might face. From the most common dirt and grime to the most tenacious stains and odors, these practical hacks empower you to maintain a pristine vehicle without the need for expensive specialty products. The satisfaction of a gleaming car, achieved with your own ingenuity and everyday resources, is truly unparalleled. So, gather your household heroes and get ready to enjoy a car that looks and feels brand new, inside and out, every single day.


