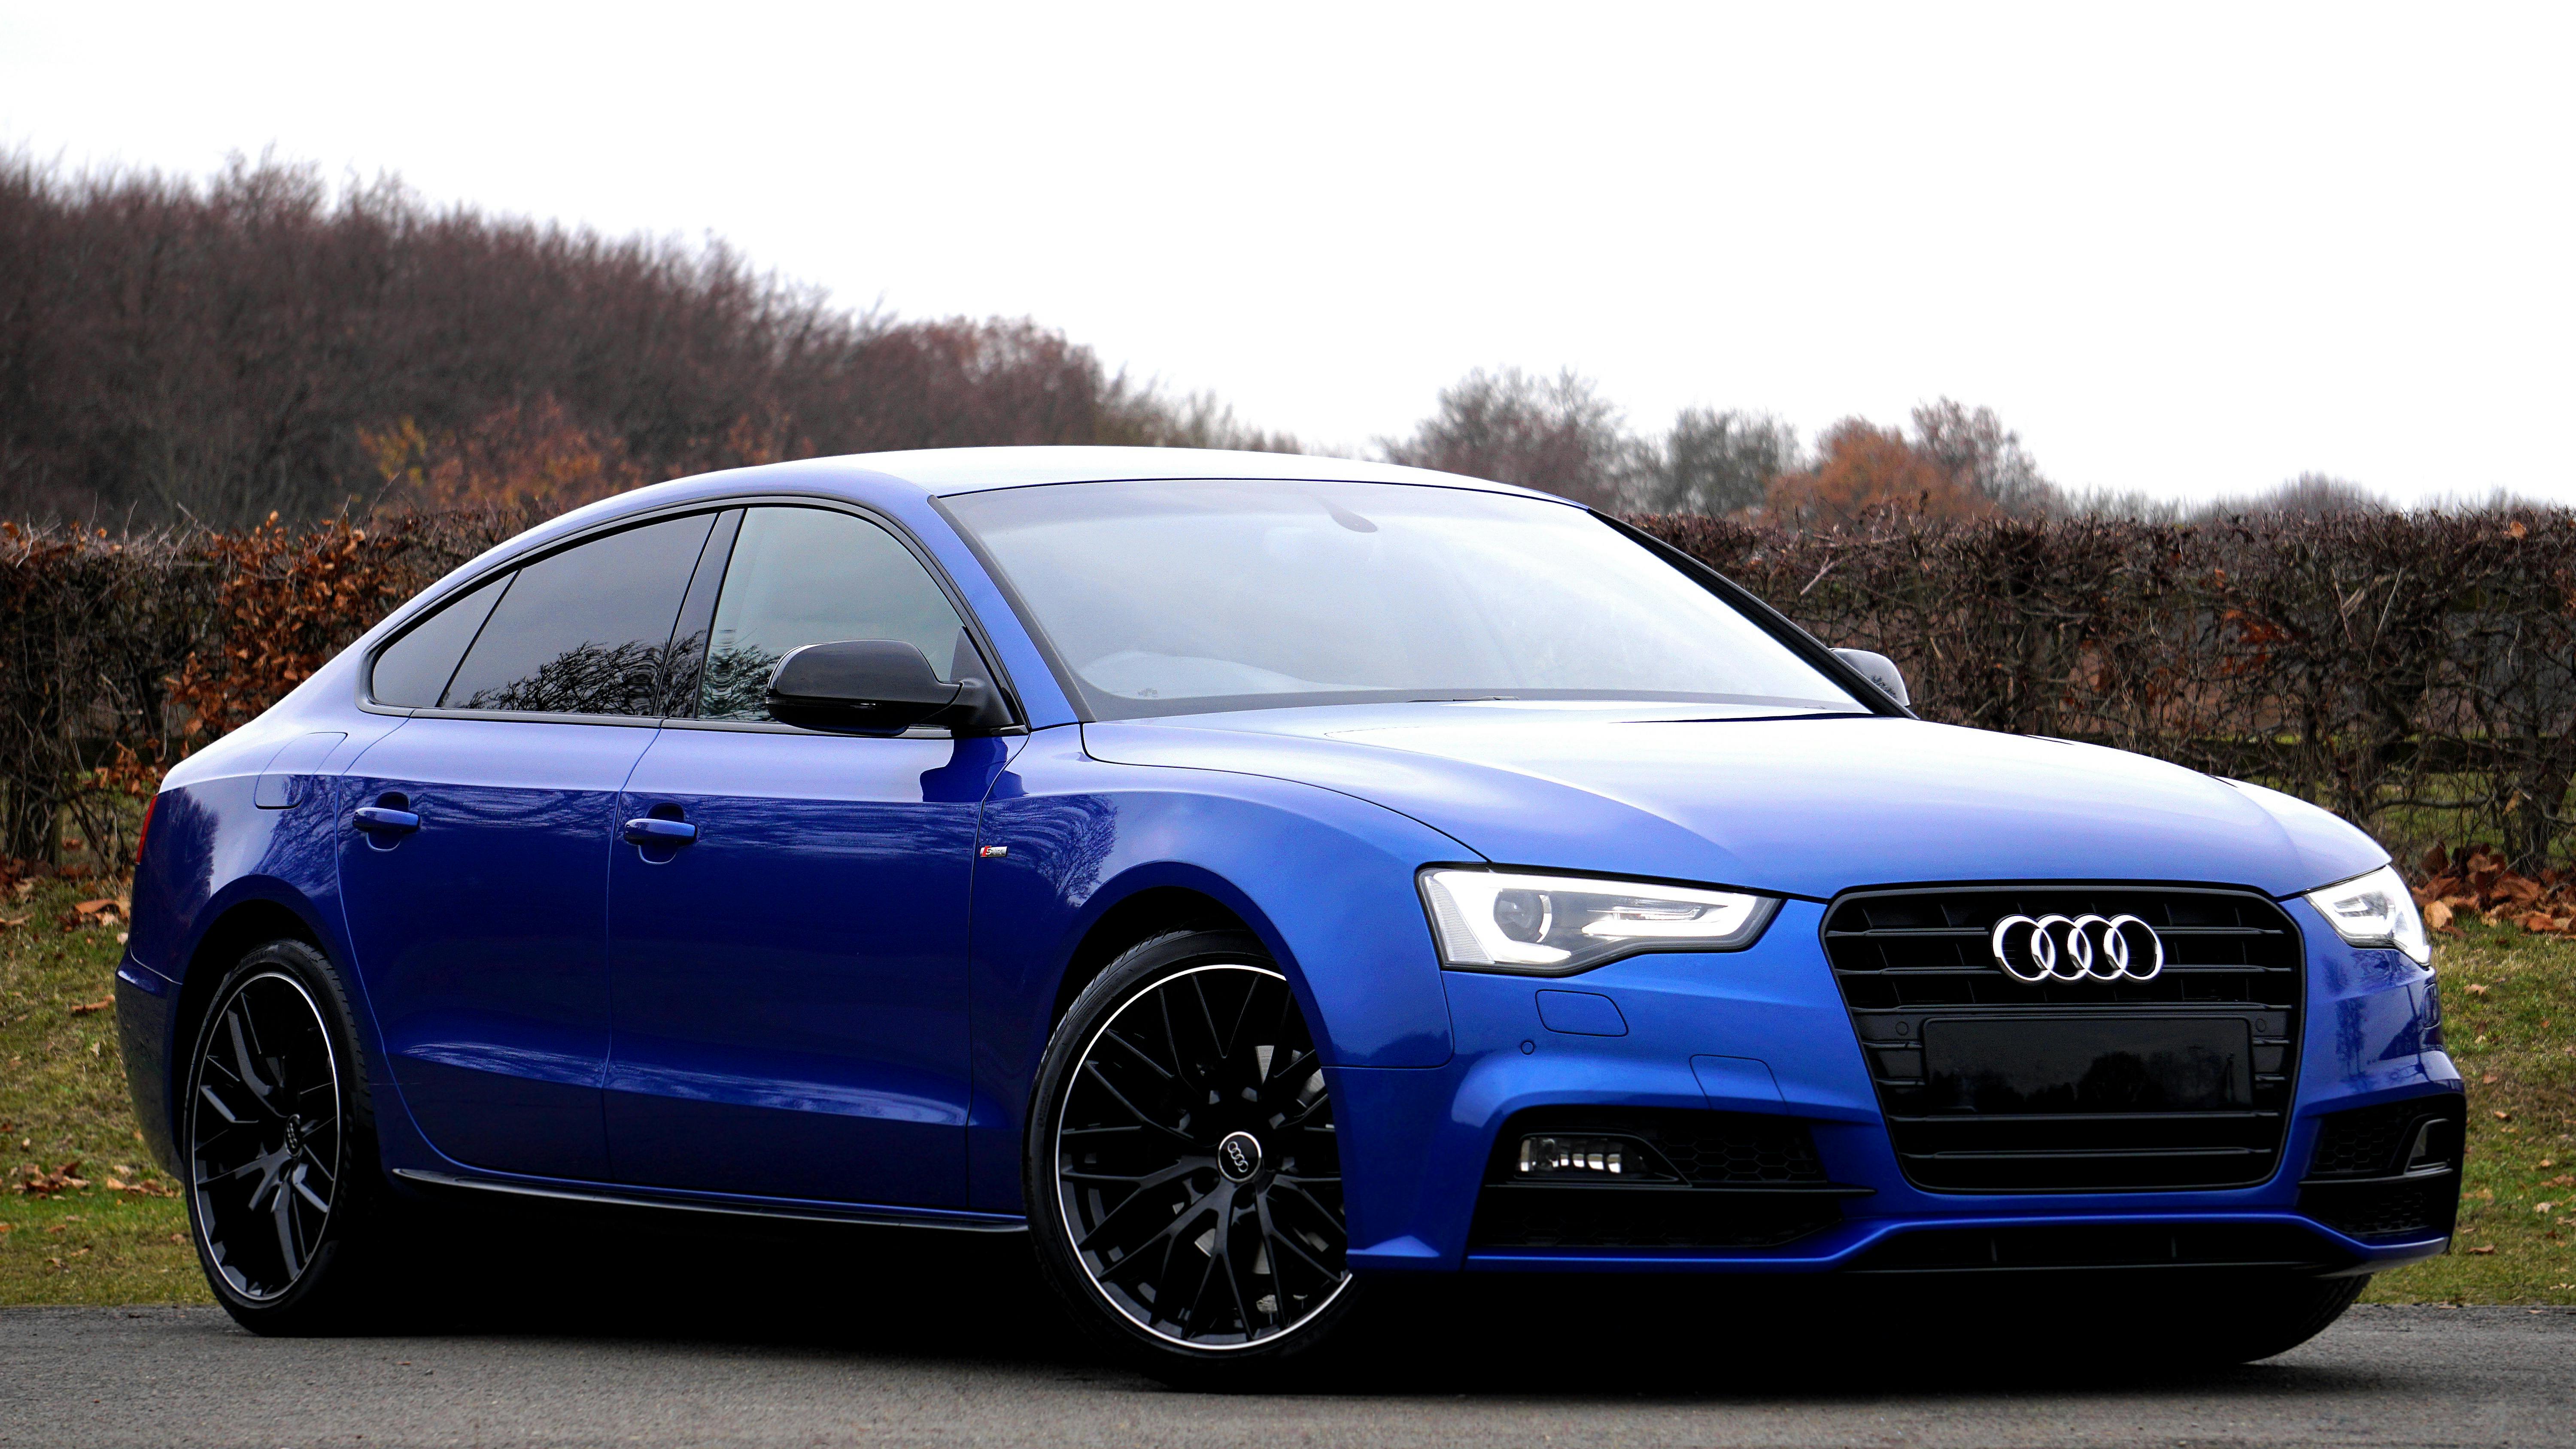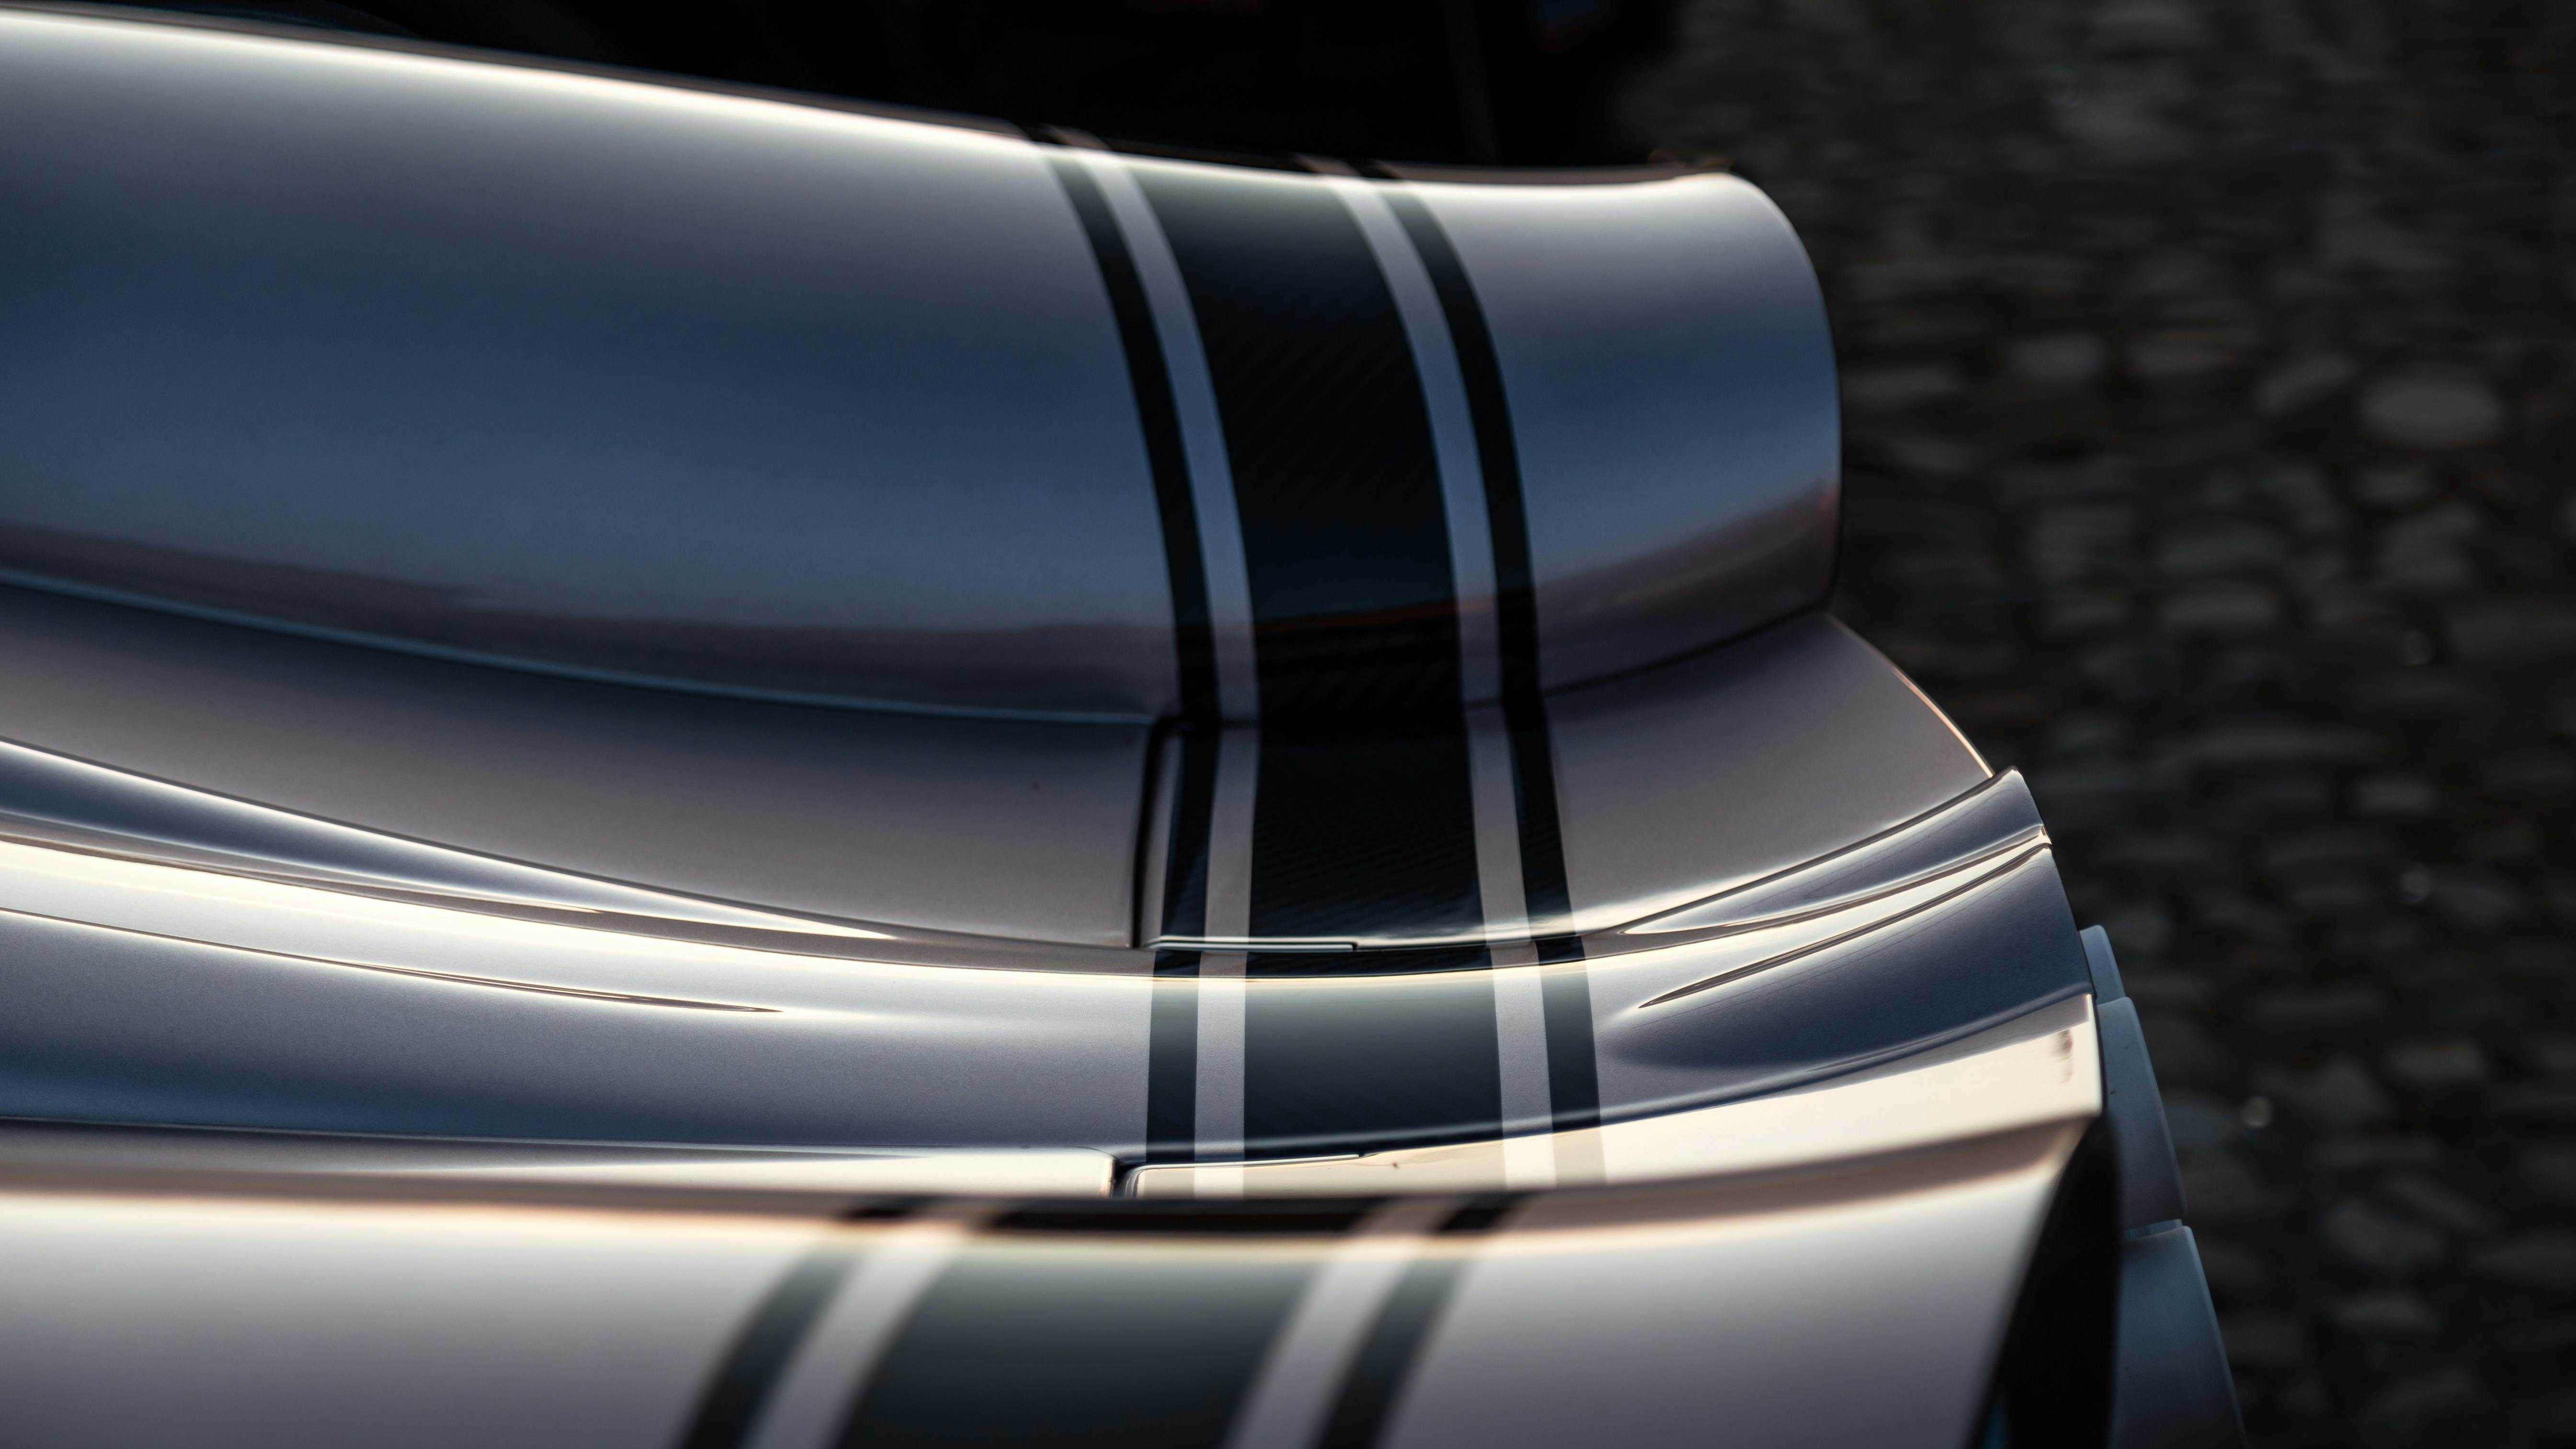
There’s something undeniably magical about cars, isn’t there? From their sleek curves and gleaming paint jobs to the raw power humming under the hood and their sheer utility, it’s no wonder that a passionate community revolves around owning, driving, and, yes, photographing these mechanical marvels. As a professional car photographer, however, I can tell you that capturing that magic through a lens is a bit more nuanced than just pointing and clicking. Automotive photography, while exhilarating, comes with its own unique set of challenges. Cars are reflective, they can be fast-moving, and they often have an uncanny ability to blend into both urban and rural backdrops, making it tough to make them truly pop.
Many aspiring photographers stumble over common pitfalls that can quickly turn a potential masterpiece into a lackluster snapshot. These aren’t just minor blemishes; these mistakes can make a car look less impressive, even actively turning away potential buyers or viewers who might otherwise be captivated by its beauty. But here’s the unexpected twist: you don’t need a magic wand or a million-dollar studio to overcome these hurdles. You just need a little know-how and a willingness to learn some powerful techniques that, honestly, are way better and more transformative than anyone might predict.
In this article, we’re going to dive headfirst into the top 13 car photo mistakes that commonly plague enthusiasts and professionals alike. More importantly, we’re not just highlighting the problems; we’re giving you the surprisingly accessible fixes for each one. Get ready to elevate your car photography skills dramatically, transforming your shots from forgettable to absolutely stunning. So, buckle up, because your journey to capturing top-notch automotive images starts now!
1. **Poor Lighting**
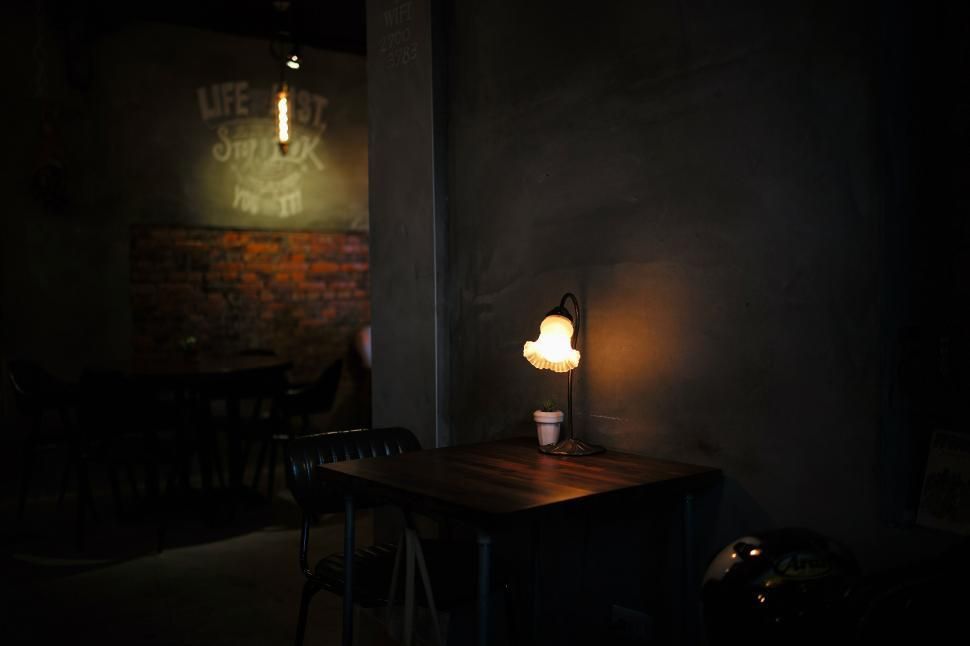
It might sound incredibly basic, but lighting truly is the undisputed king in the realm of photography, and its absence or misuse can instantly flatten even the most dynamic vehicle. Without good lighting, your car won’t just look dull; it’ll appear devoid of detail, its contours lost in an unflattering haze. If the light is too harsh and bright, you might find your prized automobile looks completely washed out or severely overexposed, losing all its vibrant color and intricate design elements. Conversely, if the scene is plunged into darkness, the car can end up looking blurry, murky, and utterly unappealing, its unique characteristics swallowed by shadows.
The amazing news is that this common mistake often has a surprisingly simple and natural fix that costs absolutely nothing: timing. The context highlights the ‘golden hours’ – that enchanting period during the first hour after sunrise and the last hour before sunset. This isn’t just a poetic name; it’s when the sun casts a soft, warm glow that dramatically enhances a car’s appearance. This gentle, diffused light adds a beautiful, natural shine to the car’s surface, perfectly highlighting its lines without introducing any harsh, distracting shadows that can obscure detail. If you find yourself shooting indoors, the principle remains the same: ditch the harsh, direct beams and opt for soft, ambient lighting to achieve that professional, even glow.
The strategic use of proper lighting is a game-changer because it inherently makes the car pop in the photograph. It serves to accentuate the vehicle’s specific shape, its carefully chosen color, and all those distinct features that make it special. Whether you’re wielding a professional camera or just your smartphone, a quick check and adjustment of your lighting settings during these optimal times can quite literally transform your car photos from average to absolutely breathtaking. It’s a small change with a massive impact, turning predictable shots into unexpected visual feasts.
Read more about: Decoding the Drama: The 15 Most Powerful Celebrity Apology Videos (and the Ones That Just Didn’t Land)
2. **Dirty Car**
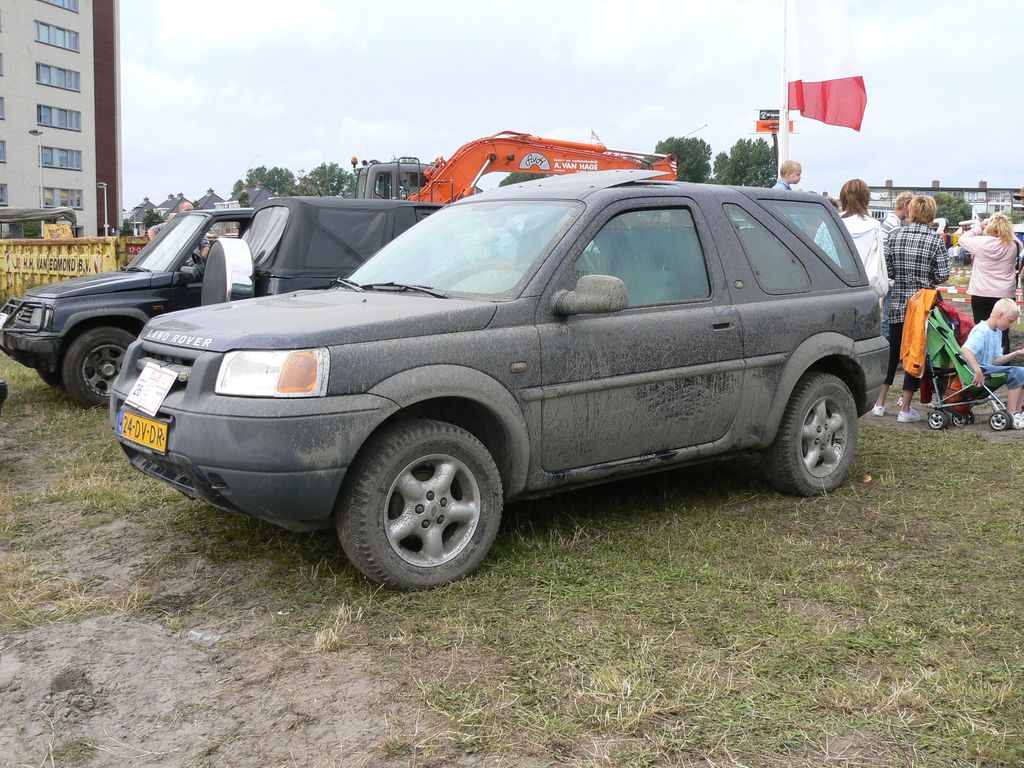
Imagine spending hours finding the perfect location, setting up your camera, and waiting for the golden hour, only for your shot to be ruined by a single, glaring detail: a dirty car. It sounds like a rookie mistake, but it’s astonishing how often a layer of dust, a few smudges, or even lingering water spots can completely sabotage an otherwise brilliant photograph. These imperfections, no matter how tiny they seem to the eye, become glaringly obvious through the lens, especially in close-up shots where every speck is magnified. Whether your aim is to sell the vehicle, showcase it on social media, or simply capture its beauty for posterity, a less-than-pristine car inevitably detracts from the professional aesthetic and overall appeal of your image.
The most straightforward, yet often overlooked, solution to this pervasive problem is to simply clean the car thoroughly before you even think about picking up your camera. And we’re not just talking about a quick wipe-down! To truly achieve that ‘better than predicted’ sparkle, dedicate time to washing the entire vehicle meticulously. This means paying attention to every detail: the wheels, which often gather the most grime, the windows and mirrors for streak-free clarity, and, crucially, the interior if you plan on capturing any shots that peek inside the cabin. Think of it as preparing your star for its photoshoot – it needs to look its absolute best!
After a thorough cleaning, it’s essential to ensure the car’s paintwork is not just dry, but also gleaming. A shiny, spotless finish doesn’t just look good; it actively enhances the car’s appearance in the photo, reflecting light beautifully and emphasizing the depth of its color. A clean car instantly elevates the professionalism of your photo, transforming it from a mere snapshot into a polished, high-quality image. This simple act allows the car’s best features to truly shine, impressing viewers and, for those looking to sell, significantly boosting the vehicle’s perceived value and desirability. It’s a fundamental step that yields disproportionately impressive results.
Read more about: Click, Snap, Career Crash: 12 A-Listers Whose Lives Changed Forever Thanks to One Unforgettable Photo
3. **Cluttered Background**
Have you ever seen a photograph where a magnificent car is perfectly posed, only to find your eyes wandering to a rogue trash can, a distracting pedestrian, or an unsightly building lurking in the background? It’s a frustrating experience for the viewer, and it’s one of the biggest, yet surprisingly common, blunders in car photography. A background that is too busy or messy doesn’t just distract; it actively competes with the car for attention, diluting the impact of your main subject. People milling about, other vehicles, or even an unkempt natural landscape can all pull the viewer’s gaze away from the very thing you want them to admire, making the car appear less appealing and the photo less professional.
The simple yet profoundly effective fix here is to be incredibly deliberate about your choice of location. Seek out a clean, minimalist background that complements the car without overpowering it. This might mean an empty parking lot during off-peak hours, a serene park with a clear horizon, or a scenic area that offers a wide, unobstructed view. The key is to find an environment that acts as a subtle stage for your car, rather than a chaotic backdrop. For indoor shoots, aim for a space with a neutral-colored wall or a simple backdrop that allows the car’s form and color to be the undisputed focal point.
For those moments when an ideal, distraction-free location is simply unavailable – which, let’s face it, happens more often than we’d like – there’s an advanced technique that can save the day: creating a blurred background. This photographic magic, often referred to as ‘bokeh,’ strategically blurs everything behind the car, ensuring that the vehicle remains in razor-sharp focus while the background recedes into a pleasing, soft visual haze. It’s particularly useful in busy urban settings, allowing you to isolate your subject and maintain its prominence. The ultimate goal, always, is to unequivocally establish the car as the undisputed main subject of your photo, with the background serving as a harmonious, non-competitive element. This transformational technique truly elevates your car photography, making images pop in a way you wouldn’t have thought possible in challenging environments.
Read more about: Mastering the Inbox: Your HBR Guide to Writing Executive Emails That Command Instant Attention and Action
4. **Wrong Angle**
It’s a subtle art, finding the perfect perspective, but taking photos from the wrong angle can dramatically alter how a car is perceived, often making it look awkward or disproportionate. Shoot from too high, and that powerful muscle car might suddenly appear small, diminutive, and less imposing, losing all its inherent might. Conversely, a camera positioned too low can exaggerate features, making a sleek sports car seem oddly large or distorted, its elegant lines twisted into something unnatural. The wrong angle can fundamentally mess with the car’s proportions, creating an image that simply doesn’t do the vehicle justice and, frankly, makes it less appealing to anyone viewing the shot.
The surprising secret to avoiding this photographic faux pas lies in adopting a slightly lower vantage point. Instead of shooting straight on or from above, try crouching down and aiming your camera from a low angle. This simple adjustment often works wonders, immediately highlighting the car’s intricate design and conveying a powerful, dynamic presence. A subtle upward tilt can make the car appear more aggressive, more assertive, and undeniably more exciting. Focus on capturing the car from the front or a slight side profile; these angles are fantastic for emphasizing the vehicle’s exquisite lines, graceful curves, and overall sculpted aesthetic. It’s a trick that consistently delivers results that exceed expectations.
While experimentation is always encouraged in photography, a generally flattering angle for most cars hovers around eye level or just slightly lower. This perspective grounds the car, giving it a more realistic, substantial, and incredibly appealing appearance. It’s about finding that sweet spot where the car’s true character shines through without any visual exaggerations or distortions. By paying close attention to your shooting angle, you’re not just taking a picture; you’re crafting an image that truly respects and showcases the car’s natural beauty and engineering prowess, creating a ‘better than predicted’ visual narrative that resonates deeply with car enthusiasts and casual observers alike. It’s an easy fix that makes a profound difference.
Read more about: 15 Essential Car Maintenance Checks to Shield Your Wallet and Drive Safely: A Consumer Reports Guide to Preventing Roadside Breakdowns
5. **Blurry Photos**
Ah, the dreaded blurry photo – a silent assassin of otherwise perfect shots and perhaps one of the most disheartening mistakes in all of photography, especially prevalent when shooting cars with smartphones or cameras struggling with slow shutter speeds. There’s nothing quite like reviewing your images only to find that your subject, the star of your show, is shrouded in an annoying blur, rendering all its intricate details indecipherable. This frustrating issue can occur for a variety of reasons, from simply moving the camera too quickly during the exposure to failing to keep the camera sufficiently steady when the shutter button is pressed. The result? A missed opportunity to capture the car’s gleaming finish and sharp lines.
But here’s the unexpected simplicity of the solution: stabilization is your best friend. The most effective way to combat blur is to ensure your camera is absolutely still during the shot. Investing in a tripod is a game-changer, providing an unshakeable platform for your camera. If a tripod isn’t an option, find any stable surface – a wall, a fence, or even the ground – to rest your camera on. For smartphone users, a neat trick is to utilize the built-in timer; this allows you to press the shutter button and then remove your hand, eliminating any potential shake caused by your finger touching the screen. Modern devices often boast impressive image stabilization, but supplementing it with physical stability is always the superior approach.
Beyond keeping the camera steady, the crucial next step is to make absolutely certain that the car itself is in sharp focus *before* you even think about snapping the picture. Many cameras and smartphones offer intuitive autofocus settings that make this task incredibly easy; for smartphone users, a simple tap on the car on your screen is usually enough to lock in the focus. Remember, a crisp, clear image is paramount. If you’re contending with low light, you might need to increase your shutter speed or even employ a flashlight to help the camera achieve better focus. Sharp, crystal-clear photos are not just aesthetically pleasing; they are fundamental to showcasing the car’s unique features and beauty far more effectively than any blurry, indistinct attempt ever could. This seemingly small adjustment yields ‘better than predicted’ clarity and impact, every single time.
Read more about: 10 Game-Changing Smartphone Features You Never Knew Existed on Today’s Top Devices

6. **Overexposed or Underexposed Shots**
Just as Goldilocks found her porridge, photographers often struggle to find that ‘just right’ balance of light, leading to the all-too-common pitfalls of overexposure or underexposure in car photography. Overexposure is the photographic equivalent of a bleached-out nightmare: too much light floods the sensor, washing out crucial details and making the car appear sickly bright, its vibrant colors muted and its contours flattened. Conversely, underexposure plunges the car into an abyss of darkness; there isn’t enough light, causing details to vanish into murky shadows, leaving the vehicle looking dull, lifeless, and poorly defined. Both scenarios actively sabotage the visual integrity of your automotive subject.
The fix for this particular light-balancing act lies in intelligently adjusting your camera’s exposure settings. The good news is that most contemporary cameras and even many smartphones come equipped with straightforward exposure controls, allowing you to easily brighten or darken your image with a few taps or clicks. For outdoor shoots, one of the most impactful pieces of advice is to consciously avoid shooting when the sun is directly overhead, typically around midday. This period often produces the harshest, most unforgiving lighting conditions, which are a prime culprit for causing overexposure and unflattering shadows.
As with finding the perfect light for clarity, shooting during the softer light of early morning or late afternoon – those ‘golden hours’ we talked about – is your best bet for achieving balanced exposure. The diffused light during these times minimizes harsh contrasts and provides a more even illumination. If your photoshoot takes you indoors, the solution involves carefully adjusting the artificial lighting to ensure the car is illuminated uniformly, eliminating hotspots and deep shadows. Mastering the delicate balance of exposure will dramatically elevate your car photos, transforming them into professional, beautifully lit images that truly capture the car’s essence. It’s a technical adjustment that delivers ‘better than predicted’ artistic results.
7. **No Focus on the Car**
It might seem absurd, but one of the most fundamental mistakes, surprisingly common, is a photograph where the *car itself* isn’t the primary, sharp focal point. If the car is out of focus, floating ambiguously in a sea of blur, the entire photograph loses its impact and purpose. The car, as your designated subject, should unequivocally command the viewer’s attention, drawing their eye directly to its every detail. When your main subject is blurry or unfocused, the photograph immediately loses its professional edge, making the car’s meticulously designed features and inherent beauty completely lost to the viewer. It’s a fundamental breakdown in visual storytelling.
The surprisingly simple remedy for this crucial oversight is to be meticulously diligent about achieving sharp focus on the car before you even consider pressing the shutter button. Modern cameras and smartphones are equipped with sophisticated autofocus settings that make this process incredibly user-friendly; often, it’s as straightforward as pointing your camera at the car and letting the technology do its work. For smartphone photographers, a quick tap on the car’s image on your screen will usually prompt the device to lock its focus precisely where you intend it to be. This intentional act ensures that every curve, every reflection, and every unique element of the car is presented with crystal clarity.
The importance of sharp focus cannot be overstated because it’s what allows the viewer to truly appreciate the distinct, unique features that set a car apart. If the car remains blurry, viewers might completely miss those custom wheels, the iconic grille, or the distinctive headlights that give the vehicle its personality. Always make it a habit to double-check your focus before you snap the picture, especially when you’re capturing intricate close-up shots of specific details like the badges, rims, or headlights. Achieving pristine focus guarantees that your photos will brilliantly showcase the car’s true beauty and its most compelling features, delivering results that are undeniably ‘better than predicted’ and truly captivating. It’s the cornerstone of impactful automotive photography.” , “_words_section1”: “1945
Mastering the Art: Tackling the Remaining Six Mistakes, from Depth of Field to Flawless Editing, for professional automotive shots that truly stand out
Having covered the initial crucial errors, we’re ready to dive even deeper, uncovering the next set of common pitfalls that can undermine your car photography. But don’t despair! Just like the first batch, these challenges come with their own set of unexpectedly simple, yet incredibly powerful, solutions that will propel your images into the realm of professional-grade artistry. Get ready to fine-tune your approach, understand the nuances of composition, and learn how to make every single detail of your subject scream ‘wow!’ Your journey to truly outstanding car photos continues now, promising results far better than you ever predicted.
Read more about: Navigating the Rough Road: The 13 Critical Reasons Why Used Car Dealerships Fail and How to Thrive
8. **Wrong Depth of Field**
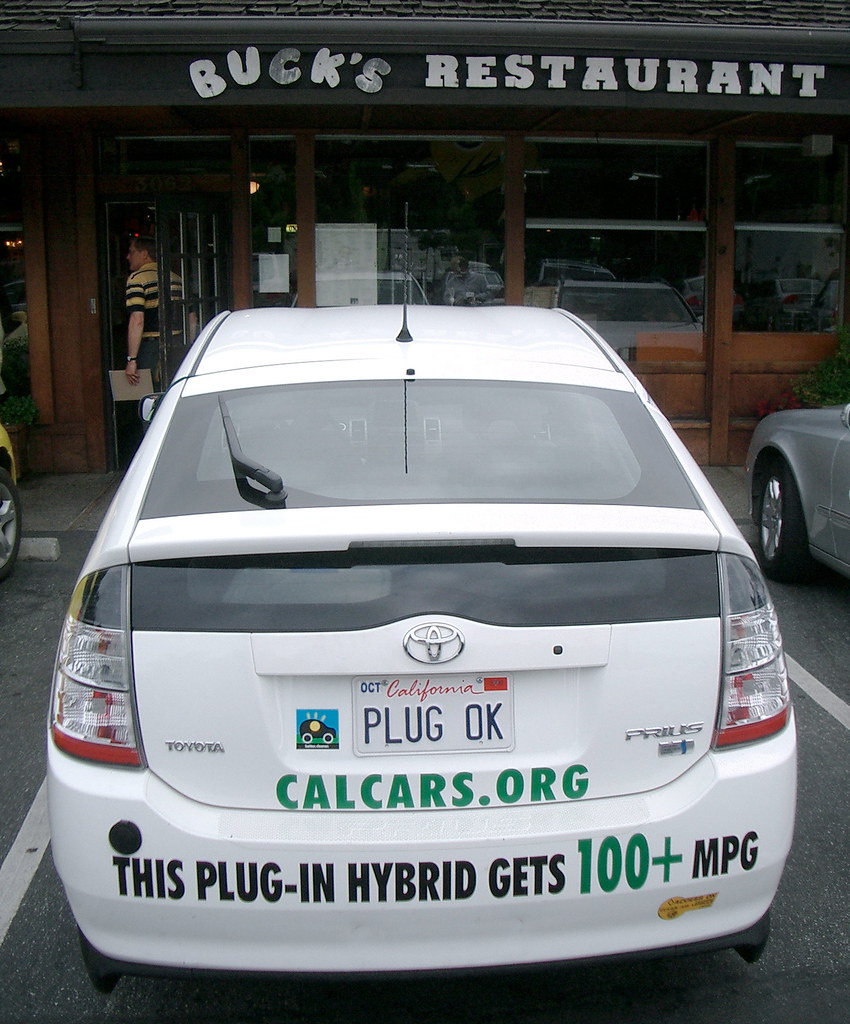
The depth of field in a photograph determines precisely how much of your image remains in crisp focus, and surprisingly, getting it wrong is a common pitfall that can dramatically impact your automotive shots. If your depth of field is too shallow, you’ll find that only a small portion of the car might be sharp, while the background dissolves into an overly aggressive blur, potentially isolating the car in an unappealing way. Conversely, a depth of field that is too deep means both the car and its surroundings are equally sharp, which can unfortunately make the entire photograph feel chaotic and visually overwhelming, robbing the car of its deserved spotlight.
The brilliant news is that there’s a surprisingly straightforward fix for this photographic balancing act: employing a moderate depth of field. This sweet spot allows you to keep the star of your show – the car – in beautifully sharp focus, while still artfully blurring the background just enough to make it recede into a pleasing, supportive haze. Adjusting the aperture on your camera or even your smartphone is the key to mastering this control, letting you dictate how much of the scene falls into that beautiful, gentle blur.
While a very shallow depth of field can be quite effective for artistic close-up shots, perhaps highlighting a specific badge or a unique wheel, for broader, wide-angle views where you want the entire vehicle to be clearly visible, a moderate depth of field truly shines. It’s a technique that not only adds a compelling sense of dimension and richness to your automotive photos but also ensures the car stands out powerfully without any unnecessary distractions vying for attention. This thoughtful application of focus can transform an ordinary snapshot into a captivating visual statement, proving once again that simple adjustments yield ‘better than predicted’ artistic results.
Read more about: More Than Just Feet: A Deep Dive into Quentin Tarantino’s Signature Style and Its Most Talked-About Motif
9. **No Composition**
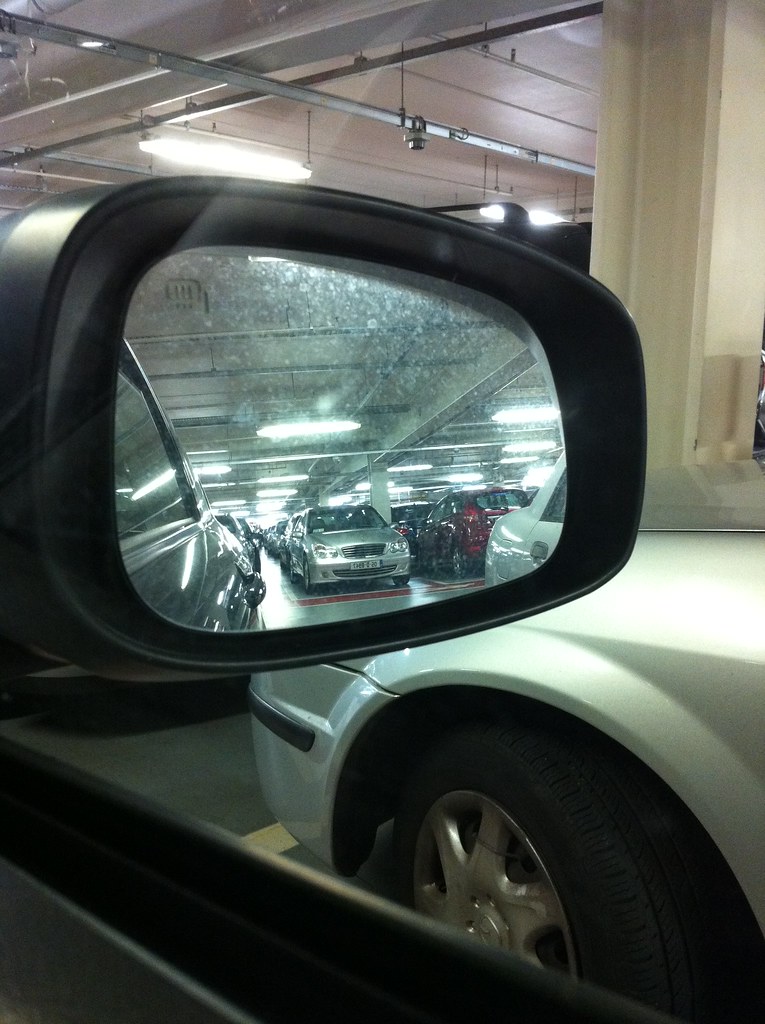
Composition is the artful arrangement of every element within your photo’s frame, and neglecting it can lead to surprisingly lackluster results. Without proper composition, your magnificent car might end up looking off-center, poorly framed, or simply uninteresting, instantly making the photo less appealing to any viewer. It’s an often-overlooked secret weapon that determines how visually impactful your automotive image will be, demanding careful attention to how you place the car and how you integrate the background and other surrounding elements.
One profoundly effective way to dramatically improve your photo composition is by following the classic ‘rule of thirds.’ This clever guideline involves imagining your photo divided into a 3×3 grid, with two horizontal and two vertical lines. The magic happens when you strategically place your car – or key parts of it – along these invisible lines or at their intersections, creating a more balanced, dynamic, and inherently appealing shot. The rule of thirds is a powerful tool that ensures your car remains the undeniable main focus while still leaving just enough breathing room for the background to provide context without competing.
Beyond the rule of thirds, don’t be afraid to unleash your creativity and experiment with various angles and innovative framing techniques to discover different, compelling compositions. The ultimate goal, always, is to unequivocally establish the car as the undisputed focal point of your photo, with every compositional choice serving to support and enhance its prominence. This strategic thinking transforms a mere picture into a meticulously crafted visual narrative, offering ‘better than predicted’ depth and engagement.
Read more about: Brains and Beats: 13 Famous Musicians Who Also Hold Advanced Degrees from Elite Universities
10. **Using Flash Indoors**
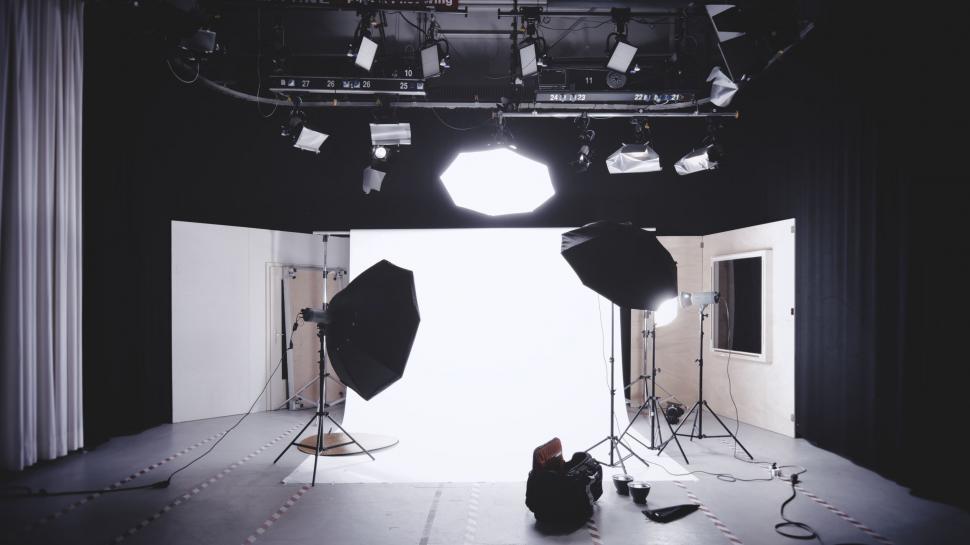
One surprisingly common blunder, especially when shooting cars indoors, is the indiscriminate use of flash, which can, unfortunately, make your prized vehicle look completely unnatural and unflattering. Flash often creates incredibly harsh, direct lighting that has a nasty habit of causing unwelcome reflections on shiny surfaces like windows, mirrors, and even the gleaming paintwork itself. This can also cast stark, unappealing shadows across the car’s body, effectively washing out crucial details and making the vehicle appear flat, two-dimensional, and utterly unrealistic in your photographs.
The unexpectedly simple and effective fix for this problem is to consciously avoid using direct flash when you’re shooting indoors. Instead, wholeheartedly embrace the power of natural light wherever possible, or intelligently deploy softbox lights to illuminate the car evenly and gently. If you find yourself needing a little extra illumination, a reflector can be a phenomenal tool to bounce existing light onto the car’s surface, filling in shadows without creating harshness. The overarching goal here is to cultivate soft, diffused, and uniform lighting that never overpowers the car’s inherent beauty or its meticulously designed natural look.
However, if circumstances absolutely dictate that you must use a flash, there’s still a saving grace: make sure to diffuse the light to significantly soften its impact. Thankfully, you can readily purchase diffusers for both your camera and even your smartphone’s flash, which are brilliant at scattering the light, thereby dramatically reducing those harsh shadows and distracting reflections. This small but mighty adjustment ensures that even when flash is a necessity, your car photos still retain a professional polish and an authentic, captivating appearance that goes beyond predictable results.
Read more about: Unlock Your Power: 11 Essential Legal Rights Every American Tenant Must Master for a Stress-Free Rental Life
11. **Not Highlighting Unique Features**
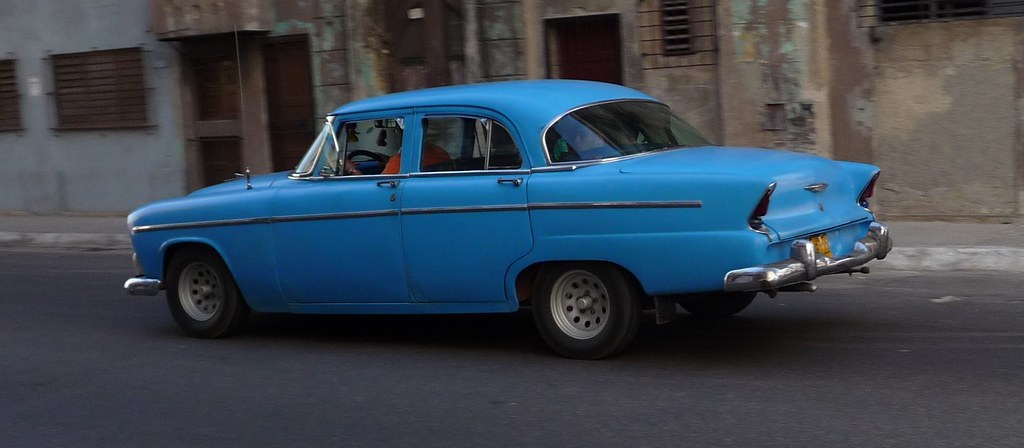
Every single car possesses a captivating personality, replete with special features that make it truly stand out from the crowd. Whether we’re talking about dazzling custom rims, a breathtakingly unique paint job, a luxurious leather interior, or subtle, distinctive badges, these intricate details are powerful storytelling elements that can make a photo far more interesting and profoundly highlight the car’s intrinsic value. The mistake here is surprisingly common: if you only ever capture photos of the car as a whole, these unique, often vital, features can easily be overlooked, leading to a missed opportunity for true visual impact.
The surprisingly straightforward remedy for this oversight is to actively seek out and capture compelling close-up shots of these crucial car details. Instead of just general views, intentionally focus your lens on the custom wheels, the iconic badges, the intricate stitching of the interior, or any other bespoke features that lend the car its unique character. These focused, detailed shots are incredibly effective at giving viewers a far better, more intimate sense of the car’s distinct personality, making the entire photographic series significantly more engaging and memorable.
When you make a conscious effort to brilliantly highlight a car’s unique features, you’re not just taking pictures; you’re actively helping to narrate a compelling story about the vehicle itself. This becomes especially pivotal and powerful when your objective is to successfully sell the car, showcasing its worth through tangible details, or meticulously documenting a complex restoration project. By bringing these ‘hidden gems’ to the forefront, your photos transcend mere documentation, delivering a ‘better than predicted’ depth of narrative that resonates deeply with enthusiasts and potential buyers alike.
Read more about: Hair-Raising Hype: 14 Celebrity Haircuts That Broke the Internet and Became Viral Trends!
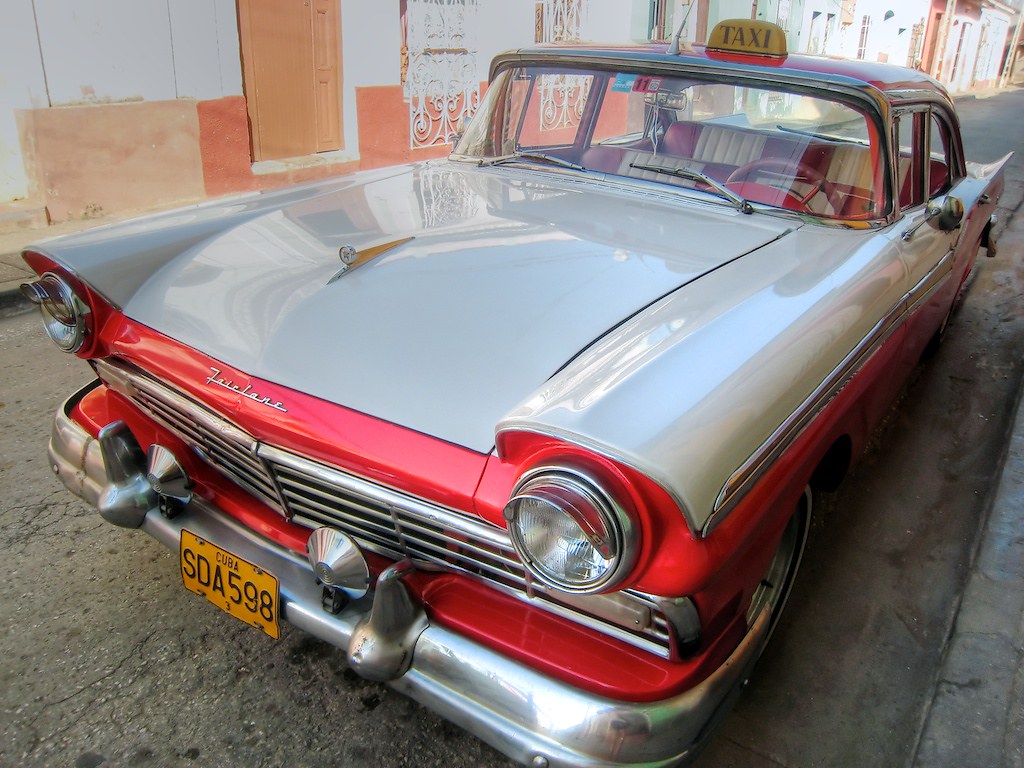
12. **Not Using the Right Lens**
The lens you choose to wield for your car photography can dramatically influence how the car is perceived in the final image, and opting for the wrong one is a surprisingly common misstep. For instance, a wide-angle lens, while great for expansive landscapes, can unfortunately distort a car’s beautiful proportions, making it look awkwardly stretched, squished, or strangely elongated. Conversely, a telephoto lens, often used for distant subjects, can sometimes make the car appear smaller than it is or flatten its dynamic image, stripping away its sense of depth and presence in the frame.
The incredibly effective fix for this particular lens-related dilemma is to generally gravitate towards a standard 35mm or 50mm lens. These workhorse lenses are renowned for their ability to capture the car in a way that looks profoundly natural, true to life, and free from undesirable distortions. They strike an exceptional balance, proving versatile and excellent for both comprehensive wide-angle shots that frame the entire vehicle and for more intimate close-up shots, all without compromising the car’s authentic proportions or stunning aesthetic.
For those of us primarily capturing these automotive marvels with a smartphone, there’s an equally important piece of advice: consciously avoid relying on the digital zoom feature. While convenient, using digital zoom invariably reduces the overall quality of your photo, often resulting in pixelated or soft images. Instead, make the surprisingly impactful choice to physically get closer to the car, or simply capture a broader shot and then crop the image later in editing to achieve your desired framing. This dedication to optical clarity over digital convenience ensures a ‘better than predicted’ level of sharpness and professional appeal.
Read more about: Unlocking Nolan’s Vision: 14 Essential Filmmaking Tips from the Master Behind Interstellar and The Dark Knight

13. **Overediting**
In the exciting world of digital photography, it’s remarkably easy, almost tempting, to get utterly carried away with the myriad of editing software available at our fingertips. While making your car photos look their absolute best is certainly an admirable goal, there’s a surprisingly subtle line you can cross where overediting begins to make the photo look artificial and, dare we say, fake. Excessive use of heavy filters, pushing contrast levels too far, or applying unnatural color changes can unfortunately render the car unrealistic, stripping away its authentic charm and inherent beauty.
The simple, yet profoundly effective, fix for this artistic pitfall is to conscientiously keep your edits subtle and tasteful. Focus your efforts on making thoughtful adjustments to brightness, contrast, and sharpness, all with the singular aim of enhancing the car’s inherent appearance rather than fundamentally altering its overall look. The golden rule here is to ensure that the car in your photograph still unequivocally resembles the actual vehicle you were photographing, just presented with demonstrably improved lighting, more vibrant colors, and crisper details.
Always approach your editing tools with a mindset of enhancement, using them judiciously to highlight the car’s best features, but remember this crucial mantra: ‘less is more’ when it truly comes to refining car photos. A light touch in post-processing ensures your images retain their natural appeal and credibility, avoiding the trap of artificiality. This restrained yet powerful approach to editing delivers results that are undeniably ‘better than predicted,’ making your car photos pop with genuine, captivating brilliance that truly stands out.
Ready to Transform Your Car Photos?
So there you have it! Taking great car photos isn’t about owning the most expensive camera or having a fully-equipped professional studio at your disposal. It’s a thrilling journey of understanding foundational principles and consciously sidestepping these surprisingly common mistakes. By honing your focus on critical elements like impeccable lighting, meticulously clean backgrounds, dynamic angles, precise depth of field, artful composition, wise lens choices, and judicious editing techniques, you possess the power to capture truly stunning photos of any car, every single time.
Whether your passion lies in showcasing a beloved vehicle, meticulously documenting a restoration, or creating captivating imagery for potential buyers, these powerful, yet accessible, tips will equip you to achieve that perfect shot. Get ready to embark on a new era of automotive photography, where every click of the shutter holds the promise of ‘better than predicted’ visual magic. Happy photographing, and may your automotive images always be breathtakingly sharp and beautifully composed!


