

Let’s be real: keeping a home consistently clean and organized often feels like an uphill battle, doesn’t it? Many of us, myself included, have navigated the cleaning landscape through endless trial and error, hoping to stumble upon that magical formula for a perpetually tidy space. We spend hours scrubbing, dusting, and tidying, only to sometimes feel like we’re just chasing our tails, never quite getting our homes to that sparkling, serene state we dream of. It’s a common challenge, and if that sounds like your story, you’re definitely not alone.
But what if I told you there’s a smarter way? Professional cleaners, those wizards of tidiness who make homes sparkle with apparent ease, operate with a distinct method to the madness. They’ve perfected techniques that not only save precious time but also ensure every nook and cranny is spotless, all while often staying within a budget. These aren’t just about making things look good; they’re about creating beautiful, functional, and organized living spaces that truly feel like a haven, without demanding your entire weekend.
So, get ready to clean smarter, not harder! We’ve gathered some of the most ingenious home organization and cleaning hacks directly from the pros themselves. These aren’t complicated, expensive solutions, but rather practical, easy-to-implement tips designed to inspire you and make a real difference in your daily routine. From conquering stubborn dust to streamlining your regular spruce-up, these secrets will have you wondering why no one shared them sooner. Let’s dive in and transform your cleaning game!

1. **The Pillowcase Ceiling Fan Trick**Here’s a brilliant hack that professional cleaners swear by, one that tackles a notoriously messy task with absolute elegance. We all know the struggle of dusting ceiling fan blades; it often feels like you’re just redistributing the dust, sending it showering down onto your furniture and floors like unwanted confetti. It’s a guaranteed mess and often triggers a sneezing fit, making this particular chore one we tend to procrastinate.
But imagine a world where you can capture all that accumulated grime in one swift, contained motion. That’s precisely what the pillowcase trick offers. Simply grab an old pillowcase – perhaps one that’s seen better days and you’re not emotionally attached to – and slip it right over each blade of your ceiling fan. As you gently press and pull the pillowcase back, it effectively traps all the dust inside, preventing it from scattering throughout your freshly cleaned room.
The beauty of this method lies in its simplicity and efficiency. It wraps around the blade, acting as its own little dust containment system, grabbing all that grime in one go. No more dust showers, no more immediate need to re-dust everything below. Once you’re done with all the blades, just take the pillowcase outside for a good shake-out, then toss it into the wash, ready for its next mission.
For an extra boost of cleaning power and to help break down any stubborn film, you can even add a spritz of a vinegar and water solution inside the pillowcase before you start. This simple addition ensures you’re not just removing dust but also giving the blades a deeper clean, all while making a significant dent in one of those often-forgotten, high-up dusting zones. It truly transforms a dreaded chore into a satisfyingly quick and clean task.
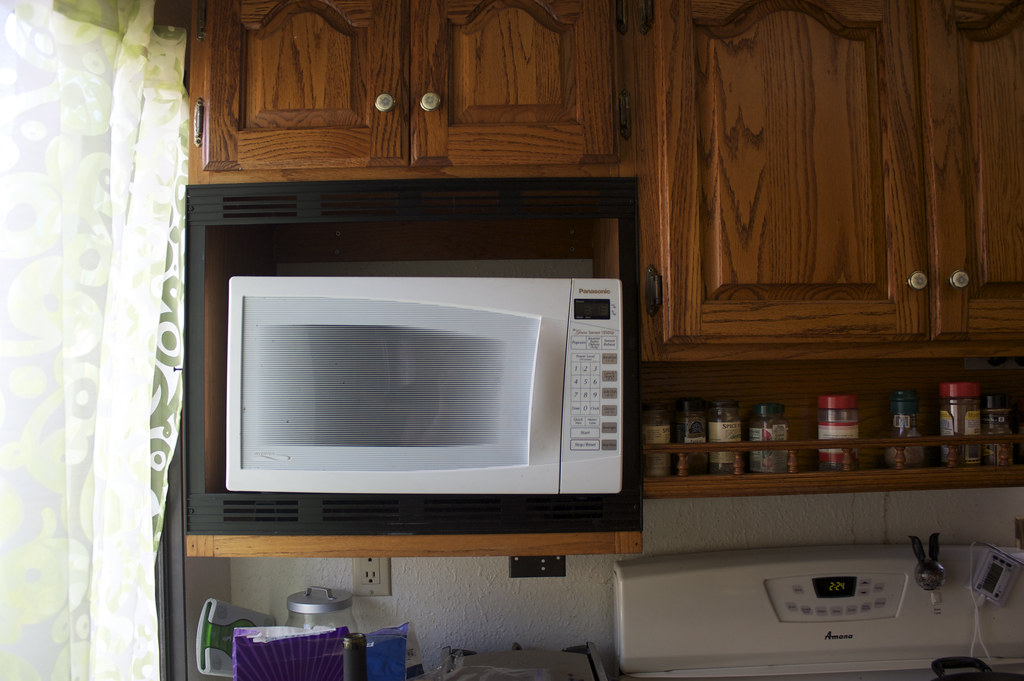
2. **Two-Minute Microwave Steam Clean**The microwave is a kitchen workhorse, but it’s also a magnet for splatters and hardened food gunk. We’ve all faced that daunting task of trying to scrape off ancient sauce or melted cheese, making us wish for a magic wand. Well, professional cleaners have a trick that’s pretty close to magic, turning a tough job into a two-minute breeze.
The secret lies in the power of steam and a common kitchen ingredient. Simply grab a microwave-safe bowl and fill it with about a cup of water. To amp up the cleaning power and infuse a fresh scent, add a few slices of lemon or even a splash of white vinegar. Pop this bowl into the center of your microwave and heat it on high for just two minutes, until it’s steamy. Then, here’s the crucial part: leave the bowl inside with the door closed for an extra minute or two, allowing that glorious steam to work its magic.
This burst of steam isn’t just for show; it’s softening every single splatter, every crusty corner, and every bit of hardened food residue. No more intense scraping or scrubbing! The moisture penetrates the caked-on grime, loosening it up beautifully. The added lemon slices contribute a wonderful, fresh scent that effectively neutralizes any lingering food odors – a godsend if your microwave is still haunted by the ghost of last night’s fish dinner.
Once the steam has had its moment, carefully remove the hot bowl. You’ll find that wiping down the interior with a microfiber cloth is now incredibly easy; the food gunk simply comes away. For an even smoother cleanup, you can dip your cloth or sponge into the warm lemon-infused water before wiping. This ingenious hack ensures your microwave is not only spotless but also smells delightful, without the need for harsh chemicals or endless elbow grease.

3. **Lazy Mop Trick for Baseboards**Baseboards – the unsung heroes of our homes that quietly collect dust and scuff marks, often going unnoticed until they’re truly caked in grime. Cleaning them typically involves bending, kneeling, and contorting yourself into awkward positions, which is hardly ideal for our backs and knees. But fear not, because professional cleaners have found a wonderfully “lazy” way to keep them pristine without the physical strain.
This hack leverages tools you might already have on hand to tackle those dusty, often-forgotten zones. Simply take a clean microfiber cloth – a true game-changer for dusting and wiping surfaces, known for trapping dirt instead of just pushing it around – and wrap it securely around the head of a Swiffer or any flat mop. This creates a soft, absorbent cleaning surface that’s perfect for reaching those low-lying areas.
Next, lightly spritz your chosen all-purpose cleaner onto the microfiber-wrapped mop head. This can be your favorite store-bought solution, or even a simple homemade one, like equal parts distilled vinegar and water. With your makeshift baseboard cleaner ready, all that’s left to do is glide it along your baseboards. The long handle means you can clean an entire hallway in minutes, effortlessly reaching every corner without having to stoop down.
The brilliance here is twofold: the microfiber acts like a dust magnet, grabbing all those tiny particles and scuffs, while the extended reach saves your back and knees from unnecessary strain. It transforms a formerly tedious task into a quick, easy sweep that leaves your baseboards looking fresh and clean, contributing to an overall sense of tidiness throughout your living space.
4. **Speed-Clean Your Shower with a Dish Wand**The shower, a place for relaxation, can quickly become a haven for soap scum, hard water spots, and even a bit of mildew. Keeping it sparkling often feels like a constant battle, especially when you factor in our busy schedules. However, professional cleaners have a genius, low-effort strategy that turns your daily shower into a mini-cleaning session, keeping buildup at bay without any extra dedicated time.
This brilliant hack starts with a simple tool: a dish wand. You know, those handy brushes with a soap dispenser built into the handle. Fill it with an equal parts mixture of Blue Dawn dish soap and white vinegar. This dynamic duo is a powerhouse against common bathroom grime. The vinegar, with its natural acidity, is phenomenal at cutting through hard water deposits and tackling mildew, while the Dawn dish soap excels at breaking down body oils, shampoo gunk, and soap scum.
Once your dish wand is loaded, the key is to store it *right there in the shower*. Tuck it neatly into a corner or hang it from a suction hook, making it easily accessible. Then, whenever you’re in the shower, perhaps while you’re letting your conditioner sink in or simply enjoying the warm water, take just a few seconds to give the walls or floor a quick swipe with the wand. The steam from your shower naturally helps to open up and loosen soap scum, making the cleaning agents even more effective.
This method is truly a game-changer because it integrates cleaning seamlessly into your routine. By doing a few seconds of scrubbing during your regular rinse, you prevent heavy buildup from ever taking hold. It’s oddly satisfying to multitask in such an efficient way, and the result is a consistently cleaner shower, free from those gunky soap scum layers and surprising mold growth that make bathroom cleaning feel like such an uphill battle.

5. **The Sock Trick for Blinds**Blinds are undeniably stylish, but oh, how they love to collect dust! Those numerous slats and intricate nooks and crannies make them one of the most tedious and frustrating items to clean in any home. Many of us simply avoid them, letting dust quietly build up, transforming them into veritable dust magnets. But professional cleaners, always armed with ingenious solutions, have a brilliant trick up their sleeve – or, rather, on their hand!
This hack is wonderfully simple and utilizes something you likely have lying around: an old, clean sock. Instead of trying to maneuver bulky tools or delicate cloths into tight spaces, just slip that sock over your hand like a mitten. This instantly gives you unparalleled control, allowing you to easily navigate the contours of each blind slat with your fingers, getting into those spots that are usually impossible to reach.
To make it even more effective, dip your sock-covered hand into a 50/50 mix of white vinegar and water. The vinegar solution isn’t just for dampening; its natural acidity helps to break down grime, cut through any sticky residue, and even neutralize odors that blinds might absorb over time. It’s a powerhouse combination that lifts away dust and dirt without damaging surfaces.
With your hand as your cleaning tool, simply run your fingers along each slat, wiping away dust and grime as you go. The flexible nature of the sock and your hand ensures that every part of the blind is covered efficiently. And the best part? When you’re finished, the dirty sock goes straight into the wash, no complicated cleaning of tools required. It’s an incredibly satisfying and efficient way to make those dusty blinds sparkling clean again.
Read more about: Is Your Electric Bill Giving You Nightmares? 14 Epic Ways to Slash Your Costs, Starting Today!
6. **Shaving Cream for Mirror Streaks and Fogging**We’ve all experienced the frustration of a steamy bathroom mirror after a hot shower, rendering it utterly useless until it clears on its own or after an endless cycle of wiping with a towel, which often leaves streaks anyway. It’s a minor inconvenience, perhaps, but one that professional cleaners have ingeniously bypassed with an unexpected household item: classic shaving cream.
We’ve all experienced the frustration of a steamy bathroom mirror after a hot shower, rendering it utterly useless until it clears on its own or after an endless cycle of wiping with a towel, which often leaves streaks anyway. It’s a minor inconvenience, perhaps, but one that professional cleaners have ingeniously bypassed with an unexpected household item: classic shaving cream.
This isn’t just a cleaning hack; it’s a science-backed solution for a common bathroom dilemma. To achieve crystal-clear, fog-free mirrors, simply squirt a small dab of the classic foamy shaving cream – make sure it’s not the gel variety – directly onto your mirror’s surface. Don’t overdo it; a little goes a long way.
Once the shaving cream is applied, buff it off thoroughly with a clean, dry cloth until the mirror is completely clear and streak-free. The magic behind this seemingly simple act is that shaving cream contains surfactants. These are the same type of agents found in specialized defogging products, and they work by leaving behind a thin, invisible film on the mirror.
This invisible film prevents condensation from forming as fog, ensuring that your mirror remains perfectly clear, even after the hottest, steamiest shower. You’ll no longer be reaching for your towel to wipe it down, saving you time and effort while maintaining a consistently functional and sparkling mirror. It’s a brilliant, budget-friendly trick that harnesses a bit of science to solve an everyday problem with remarkable effectiveness.
Read more about: Unmasking the Hidden Costs: Why These Seemingly Cheap Car Hacks Could Be Draining Your Wallet

7. **Polish a Stainless Sink with Lemon and Baking Soda**Stainless steel sinks are sleek and modern, but they can quickly accumulate water spots, food gunk, and general dullness, making them lose their shine. While there are countless specialized cleaners on the market, professional cleaners often turn to simple, natural ingredients to restore that gleaming, streak-free finish – and the result is not only effective but also wonderfully aromatic.
This brilliant hack combines the power of two kitchen staples you likely already have in your pantry: lemons and baking soda. Start by cutting a lemon in half. Then, generously sprinkle baking soda all over the surface of your stainless steel sink, making sure to cover any areas with grime, hard water deposits, or dull spots.
Now, here’s where the magic happens: use the cut lemon itself as your scrub brush. Hold the rind side in your hand and use the pulp side to gently scrub the baking soda into the sink in circular motions. The lemon’s natural citric acid is a fantastic degreaser and cuts through hard water deposits and food gunk with ease. Meanwhile, the baking soda provides just the right amount of gentle grit to lift residue without scratching the delicate stainless steel surface.
As you scrub, you’ll not only be cleaning but also enjoying a fresh, clean scent, far healthier for your environment than harsh chemical fumes. Once you’ve scrubbed the entire sink, rinse it thoroughly. What you’ll be left with is a remarkably shiny, streak-free stainless steel sink that gleams like new and smells like a vibrant citrus grove. It’s an incredibly satisfying and eco-friendly way to bring your sink back to life, reminding us that sometimes, the best cleaning solutions are found right in our kitchens.
Beyond the surface, professional cleaners aren’t just about the quick sparkle; they’re masters of creating systems and habits that ensure a home stays clean and inviting long-term. This isn’t about constant scrubbing, but about smart, consistent strategies that tackle hidden issues and keep clutter from ever piling up. It’s about making your home a naturally tidy and stress-free haven.
Now that we’ve covered the immediate impact hacks, let’s dive into the enduring strategies that will simplify your entire home management process. These next eight tips are all about sustained cleanliness and organization, integrating effortless solutions into your daily life to ensure your home feels perpetually fresh and beautifully put together. Get ready to transform your approach to tidiness!
8. **Keep Your Trash Can Fresh with Baking Soda**That lingering smell around the kitchen trash can is a common foe, isn’t it? Even with regular bag changes, an unpleasant odor can persist, subtly reminding you of its presence. It’s one of those minor annoyances that can detract from the overall freshness of your kitchen, making it feel less than perfectly clean. This is where a simple, budget-friendly hack steps in to neutralize those unwelcome scents.
Professional cleaners know that prevention is key, and that often means addressing odors at their source. Before you even think about putting in a new trash bag, simply sprinkle a generous amount of baking soda directly into the bottom of the clean can. This creates an invisible line of defense against future smells. It’s a foundational step that makes a surprisingly big difference.
The magic of baking soda isn’t just a myth; it’s a natural deodorizer that actively neutralizes odors rather than merely masking them. Its unique chemical properties absorb acidic and alkaline odor molecules, effectively trapping them so they can no longer bother your senses. This means you’re not just covering up a smell; you’re making it disappear.
For an extra layer of freshness and a truly delightful scent, consider adding a few drops of your favorite essential oil – like lemon for a zesty lift or eucalyptus for a clean, invigorating aroma – to the baking soda before you sprinkle it in. This small addition provides a pleasant fragrance that gently diffuses through your kitchen, elevating the entire space. It’s a simple trick that keeps your busiest appliance smelling wonderfully clean.
Read more about: Transform Your Ride: Simple Hacks to Get That New Car Smell Back for Under $10

9. **No-Scrub DIY Toilet Bombs That Work**Cleaning the toilet is probably nobody’s favorite chore, yet it’s essential for a truly hygienic bathroom. The thought of scrubbing often leads to procrastination, allowing rings and stains to build up and making the task even more daunting. But what if maintaining a fresh, clean toilet could be as simple and satisfying as dropping in a fizzing bomb?
Professional cleaners swear by their methods to keep toilets sparkling with minimal effort, and these DIY toilet bombs are a true game-changer. Imagine a little puck of cleaning power, ready to be deployed whenever your toilet bowl needs a quick refresh. The beauty lies in their homemade nature, using common ingredients for powerful results.
To whip up these wonders, you’ll need ½ cup baking soda, ¼ cup citric acid, and 1 tablespoon of Blue Dawn dish soap. In a small bowl, combine these ingredients and stir with a fork until you achieve a consistency similar to damp sand. Then, firmly press the mixture into a silicone ice cube tray and let it dry overnight. Once hardened, pop them out and store your ready-to-use bombs in an airtight container for future sparkle.
These fizzing little marvels are a triple threat against toilet grime. The baking soda works to deodorize and gently scrub, while the citric acid is a powerhouse for breaking down hard water stains and providing that satisfying fizz. Blue Dawn dish soap, of course, excels at cutting through everyday gunk and grime, leaving your bowl spotless.
It’s truly a no-scrub solution that pulls double duty, ensuring your toilet is not only visibly clean but also smells fresh without the need for harsh chemicals or extensive scrubbing. Just drop one in whenever your toilet needs a little love, let it fizz, and flush. It’s a proactive approach that keeps your bathroom feeling effortlessly clean and guest-ready at all times.
10. **Declutter as You Clean**Clutter has a sneaky way of accumulating, doesn’t it? One minute your countertop is clear, the next it’s a landing strip for mail, keys, and miscellaneous items. This constant buildup can make cleaning feel like an endless battle against an ever-growing tide of “stuff.” Tackling it often feels like a separate, monumental task, leading to overwhelm and procrastination.
Professional cleaners understand that true cleanliness goes hand-in-hand with organization. Their ingenious strategy is to integrate decluttering directly into the cleaning process. Before you even begin your cleaning spree, set up a designated donation box or bag in a central, easily accessible spot. This small, proactive step makes a huge difference in streamlining your tidying efforts.
As you move through each room, dusting, wiping, or vacuuming, keep a keen eye out for anything that no longer serves a purpose, sparks joy, or simply doesn’t belong. See that unused gadget in the drawer? The book you finished months ago? That shirt you haven’t worn in a year? Don’t overthink it—just toss it into your donation box. This simultaneous action makes decluttering feel less like a chore and more like a natural part of cleaning.
The brilliance of this approach is simple math: the less you own, the less you have to clean and organize. By consistently shedding unwanted items, you create more space, reduce visual noise, and make your entire home management process significantly lighter. It’s a foundational shift that transforms your relationship with your belongings and your living space.
Beyond the practical benefits, decluttering as you clean offers a wonderful emotional reward. You’re not just tidying your home; you’re curating your environment, ensuring that only items you truly value remain. Plus, knowing that your unused items are finding a second life in someone else’s home adds a layer of guilt-free satisfaction to the entire process. It’s about creating a space that feels intentional, serene, and truly reflective of you.
Read more about: Unlock the Open Road: 12 Genius Ways to Double Your Car’s Cargo Space for Any Road Trip
11. **The Magic of Rubbing Alcohol for Stainless Steel**Stainless steel appliances are the epitome of modern kitchen design, bringing a sleek, professional look to any home. Yet, they are notorious for attracting fingerprints, smudges, and greasy streaks, quickly diminishing their shiny appeal. The endless cycle of wiping, often with expensive specialized cleaners that leave their own residue, can be incredibly frustrating. It feels like a constant uphill battle to maintain that pristine, showroom gleam.
Here’s a secret from the pros that will change your stainless steel cleaning game forever: grab a clean cloth and a bottle of rubbing alcohol. That’s right, the same inexpensive stuff you might have in your medicine cabinet. Dampen the cloth with 70% rubbing alcohol – no need for anything fancy – and give your stainless steel appliances a quick, gentle wipe-down, following the grain of the steel.
The magic behind this simple hack is twofold. First, rubbing alcohol is an excellent solvent, effortlessly cutting through the oils and residues that create fingerprints and smudges. Second, and crucially, it evaporates incredibly quickly. This rapid evaporation means you’re left with a perfectly streak-free, sparkling finish without the need for tedious rinsing or buffing. Your appliances will dry almost instantly to a brilliant shine.
This isn’t just about appearances; rubbing alcohol also offers disinfectant properties, giving your surfaces a hygienic refresh while making them gleam. Imagine wiping down your fridge, dishwasher, or oven doors in under a minute, seeing those pesky smudges vanish, and knowing you’ve also given them a quick sanitize. It’s an incredibly efficient and effective method that transforms a frustrating chore into a satisfyingly quick task.
So, ditch those pricey, chemical-laden stainless steel cleaners! This budget-friendly, powerful solution will have your kitchen looking showroom-clean in moments, proving that sometimes, the simplest solutions are truly the most effective. It’s a small change that yields a massive improvement in the visual appeal and cleanliness of your home.
Read more about: Your Essential Guide to Bikini Longevity: 12 Expert Tips to Preserve Shape and Extend Lifespan
12. **Don’t Forget the Doormat**We all focus on cleaning inside our homes, but sometimes the most effective strategies start even before dirt crosses the threshold. Doormats are often seen as purely decorative, or a place to wipe off the heaviest mud, but professional cleaners know they are absolute workhorses in the battle against grime. They are the unsung heroes preventing countless particles from ever entering your living space.
This hack is delightfully simple yet profoundly impactful: invest in two quality doormats. Place one robust mat outside your main entrance to capture coarse dirt, leaves, and initial moisture. Then, position a second, absorbent mat just inside your doorway. This creates a powerful two-stage barrier that dramatically reduces the amount of dirt, dust, and debris tracked into your home.
The reason this strategy is so effective is pure common sense. The outdoor mat tackles the bulk of the larger particles, while the indoor mat then catches finer dust, moisture, and any lingering grit from shoes. This is especially crucial during challenging seasons like winter, when salt, snow, and slush can wreak havoc on your floors, leaving unsightly trails and demanding constant cleaning.
While doormats are champions at preventing dirt, their effectiveness hinges on one key factor: they need to be cleaned regularly themselves. A dirty mat, overflowing with trapped grit, quickly loses its ability to capture new debris and can actually *contribute* to the mess. Make it a habit to shake out your outdoor mats frequently and vacuum or spot-clean your indoor mats as part of your regular floor care routine.
By giving your doormats the attention they deserve, you’re not just keeping your floors cleaner; you’re simplifying your entire cleaning regimen. Less dirt entering means less sweeping, mopping, and vacuuming inside. It’s a foundational step towards maintaining a pristine home that feels effortlessly clean from the moment you step through the door.
Read more about: Transform Your Home: Simple Backyard Projects That Instantly Boost Your Curb Appeal

13. **Utilize Smart Storage Bins for Effortless Organization**The quest for a beautifully organized home often feels like a never-ending journey, especially when miscellaneous items seem to multiply overnight. From craft supplies to seasonal decorations, toys, or pantry staples, clutter can quickly become overwhelming, making it hard to find what you need and even harder to clean effectively. It’s a common challenge that many of us face, leading to feelings of frustration.
Professional organizers consistently advocate for clear, designated storage, and one of their most beloved tools for achieving this is the humble storage bin. But this isn’t just about tossing things into a box; it’s about a strategic approach to containment. The hack involves investing in clear storage bins and using them to categorize and contain items, transforming chaotic spaces into tidy, accessible zones.
Imagine your pantry, linen closet, or even under-bed storage. Instead of a jumble of disparate items, each category—be it baking supplies, extra towels, or holiday decor—has its own clear bin. The transparency allows you to see what’s inside at a glance, eliminating the need to rummage. Crucially, labeling each bin ensures that every item has a specific home, making put-away effortless for everyone in the household.
This method isn’t just visually appealing; it’s incredibly practical and supportive of sustained cleanliness. When items are contained and organized by category, surfaces remain clearer, and cleaning becomes much easier because there are fewer obstacles to move. It simplifies the entire process of tidying up, as there’s no guesswork involved in where things belong.
By embracing smart storage bins, you’re not just clearing clutter; you’re implementing a system that promotes long-term order. It creates a serene environment where everything has its place, making your home feel more functional, beautiful, and less stressful. It’s an empowering step towards an organized lifestyle, ensuring that every corner of your home works for you, not against you.
Read more about: Unlock the Open Road: 12 Genius Ways to Double Your Car’s Cargo Space for Any Road Trip
14. **Master Your Schedule with a Pro Cleaning Plan**Does the idea of a “deep clean” leave you feeling instantly overwhelmed? Many of us find ourselves in a reactive cycle with cleaning, only tackling major tasks when visible grime or a desperate need arises. This often leads to marathon cleaning sessions that are physically draining and mentally taxing, creating a cycle of dread around home maintenance. It’s a common experience that can make keeping a home tidy feel like an impossible feat.
Professional cleaners, with their ability to transform spaces with apparent ease, operate with a secret weapon: a structured cleaning schedule. This isn’t about being rigid; it’s about breaking down the monumental task of home upkeep into manageable, consistent actions. The hack involves creating a personalized cleaning plan, categorizing tasks into daily, weekly, and monthly routines.
Think of your daily tasks as quick touch-ups: wiping down kitchen counters, making the bed, and doing a quick declutter of visible surfaces. These small, consistent efforts prevent messes from escalating. Weekly tasks might include vacuuming all floors, cleaning bathrooms thoroughly, and dusting. Monthly tasks could be deeper dives like cleaning baseboards, washing curtains, or tackling specific appliances.
The power of this system lies in its ability to prevent overwhelm. By distributing tasks across different timeframes, you never feel like you have to do everything at once. Each small effort contributes to the overall cleanliness of your home, building momentum and making the entire process feel less daunting. It transforms cleaning from a sporadic emergency into a predictable, manageable routine.
Embracing a cleaning schedule isn’t just about a cleaner home; it’s about creating peace of mind and reducing stress. It empowers you to stay on top of your home maintenance without sacrificing your weekends or feeling perpetually behind. It turns cleaning into a habit rather than a chore, ensuring your home remains welcoming and stress-free, reflecting a beautifully organized life.
Read more about: The Roadblock Rundown: 12 Common Reasons Your Custom Classic Car Build Might Fail Inspection – And How to Ace It
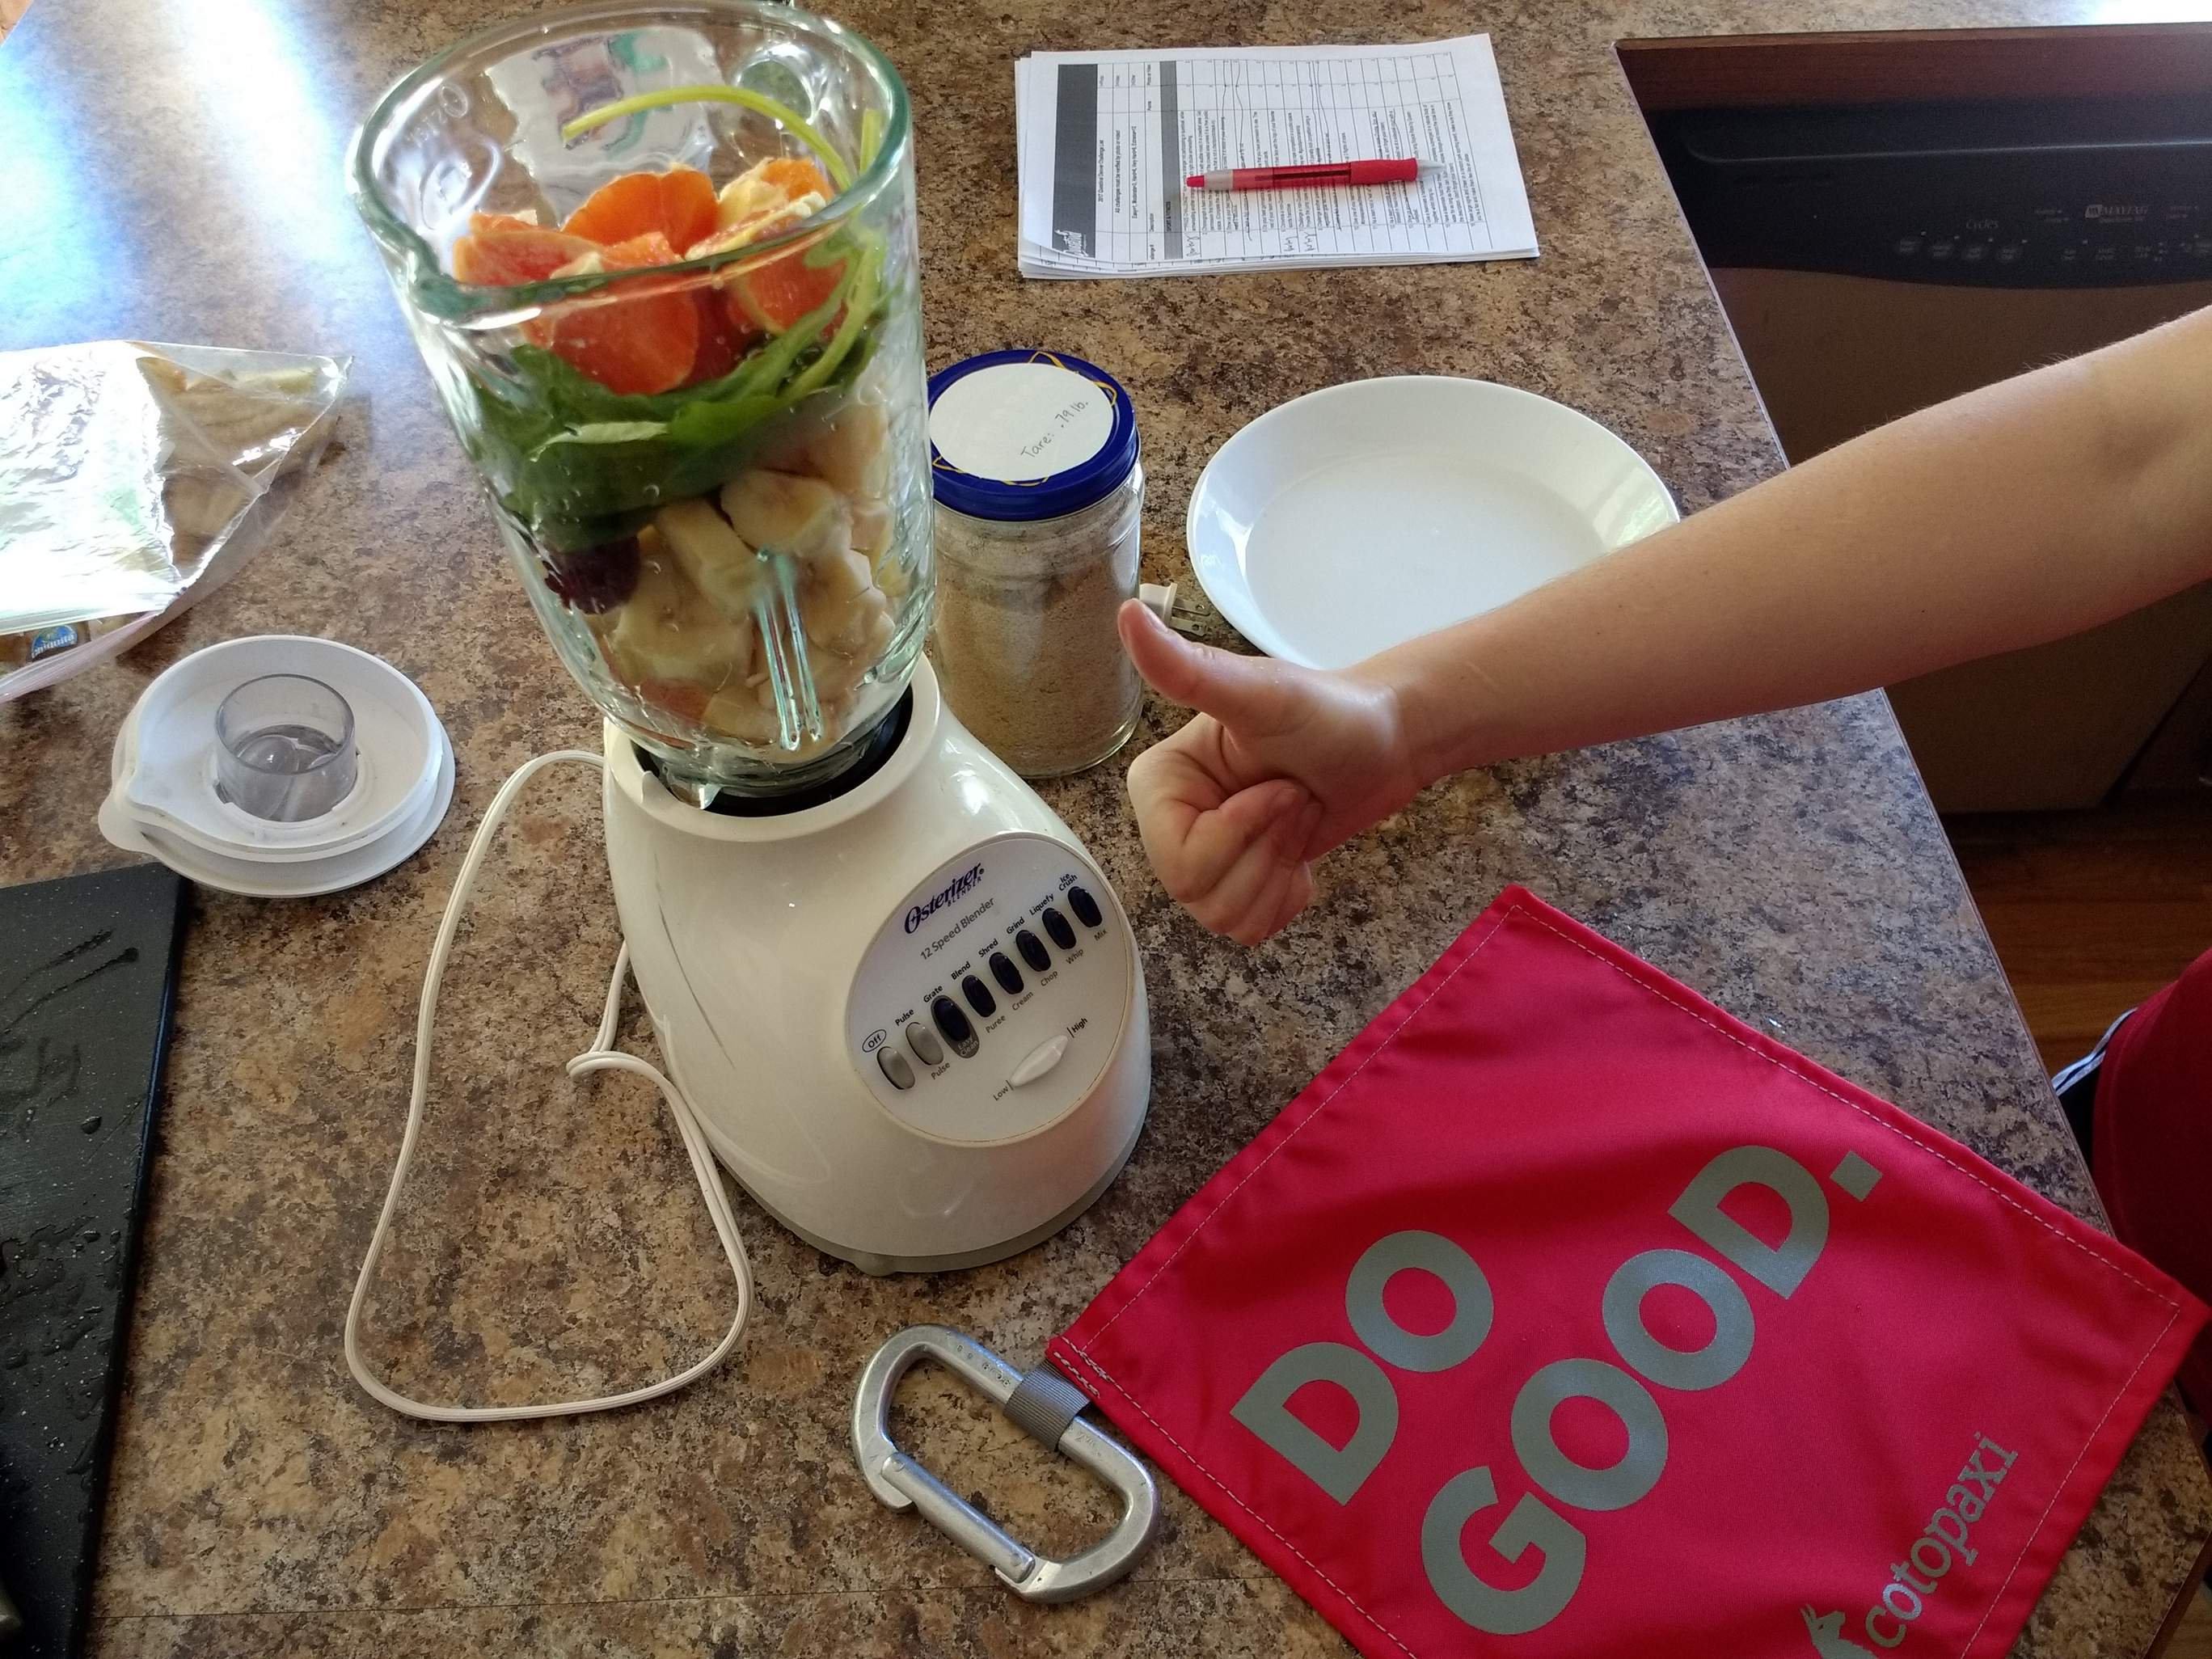
15. **Clean Your Blender the Easy Way**The blender is a kitchen essential for smoothies, sauces, and soups, but cleaning it can often feel like a tedious task. Bits of food cling to the blades, and those hard-to-reach nooks and crannies around the base can be a nightmare to scrub by hand. Many of us are tempted to delay cleaning, leading to dried-on residue that only makes the job harder. It’s a small frustration that can deter us from using this versatile appliance as often as we’d like.
Professional cleaners, always looking for efficiency, have a brilliant hack to make blender cleanup virtually effortless. This isn’t about disassembly and scrubbing; it’s about letting the blender clean itself. The secret lies in a quick, self-cleaning cycle that harnesses the power of soap and water in moments.
Once you’re done blending your delicious creation, simply rinse out the large chunks of food. Then, fill the blender halfway with warm water and add just a drop or two of dish soap. Secure the lid, and run the blender on high for about 30 seconds. Watch as the soapy water creates a powerful vortex, dislodging all those stubborn bits from the blades and the interior.
The brilliance of this method is its simplicity and effectiveness. The warm water helps to loosen any sticky residue, while the dish soap breaks down oils and food particles. The high-speed blending action creates a scrubbing motion that reaches every corner, doing all the hard work for you. No more struggling with brushes or risking cuts on sharp blades!
Once the 30 seconds are up, simply pour out the soapy water and give the blender a quick rinse under the tap. You’ll be left with a sparkling clean carafe, ready for its next use, without any fuss or mess. This hack ensures your blender is always pristine and ready to go, encouraging you to whip up more healthy smoothies and delicious meals without the dread of a difficult cleanup.
Read more about: Gone But Not Forgotten: Reliving the Magic of 10 Iconic Video Stores We Miss
So there you have it: a treasure trove of incredible home organization and cleaning hacks, straight from the pros themselves! From tackling the trickiest dust traps to establishing sustainable routines, these insights are designed to empower you to clean smarter, not harder. Whether you’re neutralizing odors, streamlining your decluttering, or maintaining your appliances, these tips prove that a truly clean, organized, and stress-free home is absolutely within reach. Embrace these professional secrets, and watch as your home transforms into the beautiful, functional haven you’ve always dreamed of, effortlessly maintained with a touch of cleverness and consistency.


