


Taking screenshots is a daily necessity for countless Windows users, a simple yet powerful act that allows us to share information, diagnose perplexing issues, or simply document cherished moments on our screens. In the bustling digital landscape of Windows 10 and especially Windows 11, one unsung hero stands out: the Snipping Tool. This isn’t just a utility; it’s your personal digital camera for the desktop, evolving with each update to offer more robust and intuitive ways to capture your screen.
From quick snapshots of important documents to comprehensive video recordings of software glitches, the Snipping Tool has become an indispensable companion. Windows 11, in particular, has seen a significant enhancement, merging the best features of the classic Snipping Tool with the more modern Snip & Sketch app. The result is a unified, powerful application designed to make your screen-capturing experience seamless and remarkably efficient.
This in-depth guide is crafted to walk you through the myriad capabilities of the Snipping Tool, ensuring you not only know how to open it but how to harness its full potential like a true pro. We’ll explore the foundational methods of capturing, delve into the exciting new features, and help you navigate the nuances that make this tool a genuine game-changer for productivity and communication. Prepare to unlock a whole new level of control over your digital canvas.
1. Opening the Snipping Tool with Keyboard Shortcuts: Your Fastest Path to Capture
Imagine a scenario where you need to quickly grab a piece of information from your screen—a crucial detail from a fleeting online article, a specific error message, or perhaps a memorable still from a video call. There’s no quicker way to initiate this process than with the Snipping Tool’s primary keyboard shortcut: “Windows logo key + Shift + S.” This combination is your instant access pass to screen capture.
Upon pressing these three keys simultaneously, your screen will momentarily dim, signaling that the Snipping Tool overlay has been activated. A small yet highly functional toolbar will then gracefully appear at the very top of your display. This visual cue indicates you are ready to select and capture your desired content, all without navigating through menus or search bars.
In Windows 11, this toolbar presents you with a set of four distinct icons, each offering a different approach to capturing your screen. From left to right, you’ll encounter options for various snip types, including the default rectangular capture, and a dedicated icon for initiating a video recording. This streamlined interface is designed for speed, allowing you to react in the moment and seize visual information before it’s gone.
For those using Windows 10, the “Windows + Shift + S” shortcut also brings up a menu, though it looks slightly different. Here, you’re prompted to “Draw a shape to create a screen snip.” Regardless of your Windows version, this keyboard shortcut remains the undisputed champion for quick, on-the-fly screen captures, ensuring no detail escapes your digital grasp.
Product on Amazon: 8 Pieces Metal Plastic Spudger Set Pry Opening Tool Triangle Picks Opener Compatible with iPhone iPad MacBook Laptop Repair Kit
Brand: Louishy
Binding: Misc. Product Group: Tools
Price: 4.99 USD
Rating: 4.7 Total reviews: 4
Features:
1. This kit includes 1x metal spudger, 5x plastic spudger and 2x triangle opener.
2. Used to open LCD screen, housing cover, battery, pry flex cable…etc
3. Anti-static material, will not damage sensitive electronics.
4. Light weight and portable, easy to use and carry.
5. It needs professional skill to repair phone/tablet, please be careful.
Shopping on Amazon >>

2. Understanding Different Snip Types: Tailoring Your Capture to Every Need
The Snipping Tool isn’t a one-trick pony; it offers a versatile array of snip types, ensuring you have the perfect method for any capture scenario. This flexibility is key to its enduring popularity and utility. Whether you need a precise crop or a full overview, there’s a snip type designed just for you.
Among the most frequently used is the **Rectangular Snip**. This is often the default setting and is incredibly straightforward. You simply click and drag your cursor to define a perfect rectangular area on your screen. This mode is ideal for capturing specific sections of a webpage, a portion of an image, or a segment of text with clean, defined edges.
For those moments when your desired content doesn’t fit neatly into a rectangle, the **Freeform Snip** comes to the rescue. This imaginative mode allows you to draw any irregular shape around an object, giving you creative freedom to capture exactly what you need, no matter its outline. Imagine clipping a uniquely shaped logo or a conversational bubble from a chat—Freeform Snip makes it effortlessly possible.
When your focus is on a particular application or dialog box, the **Window Snip** is your go-to. Instead of drawing a shape, you simply click on the active window you wish to capture, and the Snipping Tool does the rest, framing the entire window perfectly. This is particularly useful for showcasing specific app interfaces or capturing pop-up messages without any extraneous desktop elements.
Finally, for a complete overview, there’s the **Full-screen Snip**. As its name suggests, this mode captures your entire screen at once, from corner to corner. It’s perfect for documenting your desktop setup, sharing everything visible at a glance, or when you simply don’t need to be selective about what you’re capturing. This comprehensive option ensures nothing is missed, providing a full digital canvas.

3. Capturing Video Clips with the Snipping Tool: Dynamic Documentation at Your Fingertips
The Snipping Tool has evolved far beyond static images, embracing the dynamic world of video to offer a robust screen recording feature. This capability transforms the tool from a simple screenshot utility into a powerful aid for tutorials, troubleshooting, or sharing animated processes. It’s like having a mini film studio right on your desktop, ready to record your digital story.
To embark on your video capture journey, you’ll first open the Snipping Tool. Within its interface, you’ll find a distinct “Record button” – an intuitive icon that signals its readiness for action. Upon selecting this, you’ll then choose “New,” much like you would for an image snip, or simply use the dedicated keyboard shortcut “Windows logo key + Shift + R” to jump directly into video mode.
Once activated, you’ll be prompted to select the specific area of your screen you wish to record. Just as with rectangular image snips, you’ll drag your cursor to define the boundaries of your video capture. This precision ensures your recording focuses solely on the relevant content, eliminating distractions and making your message clear. After setting your area, a simple click on “Start” begins the recording.
When your dynamic demonstration or explanation is complete, another click on “Stop” finalizes the recording. The Snipping Tool then provides you with immediate options. You can choose to save the recording as-is, preserving your digital narrative for future use. Alternatively, and this is where the feature truly shines, you can opt to “Edit in Clipchamp,” which seamlessly integrates your capture with a professional-grade video editor.
Within Clipchamp, the possibilities expand significantly. You can navigate to the “Captions tab” to generate and add captions automatically, a fantastic feature for accessibility and clarity. By selecting “Transcribe media,” you can have the tool convert your audio into text, choosing your language and filter options. Furthermore, the “Audio tab” allows you to adjust volume or even “Detach audio” to download the sound file separately, offering unparalleled control over your video content.
4. Annotation and Editing Features for Image Snips: Personalizing Your Captures
Capturing a screenshot is often just the first step; the real magic happens when you can personalize and enhance that image to convey your message more effectively. The Snipping Tool understands this, offering a suite of intuitive annotation and editing features that empower you to transform a raw snip into a clear, communicative visual. It’s like having a digital pen and highlighter at your command, ready to emphasize key details or add personal notes.
Once you’ve secured an image snip, the Snipping Tool window becomes your creative canvas. You’ll immediately notice buttons for “Pen” and “Highlighter.” These tools allow you to draw directly onto your capture, circling important elements, underlining text, or sketching quick diagrams. The ability to choose different colors and pen sizes further enhances your expressive capabilities, ensuring your annotations stand out precisely as intended.
But the customization doesn’t stop there. The “Shapes button” opens up a world of possibilities, allowing you to add geometric shapes, arrows, or even emojis to your snip. Imagine effortlessly pointing out a specific button with an arrow or adding a smiley face to a positive review. These graphical additions can significantly boost the clarity and engagement of your captured images, making complex information instantly digestible.
Should you make a mistake or decide a particular annotation isn’t quite right, the “Eraser” tool is there for you. It allows you to selectively remove lines or shapes you’ve added, providing a safety net for your creative process. Furthermore, the “Image crop button” gives you the power to refine your capture, trimming away any unnecessary borders or elements to focus precisely on the core content, ensuring a polished final product.
For those who need to go beyond the Snipping Tool’s built-in options, integration with more powerful editing suites is available. By selecting “Edit > Edit with Paint” (or Paint 3D in earlier versions), you can leverage a broader range of features for sizing, color adjustments, adding text, and many other enhancements. This seamless transition ensures that whether you need a quick highlight or a comprehensive graphic overhaul, your captured snips can be perfectly tailored to your needs.
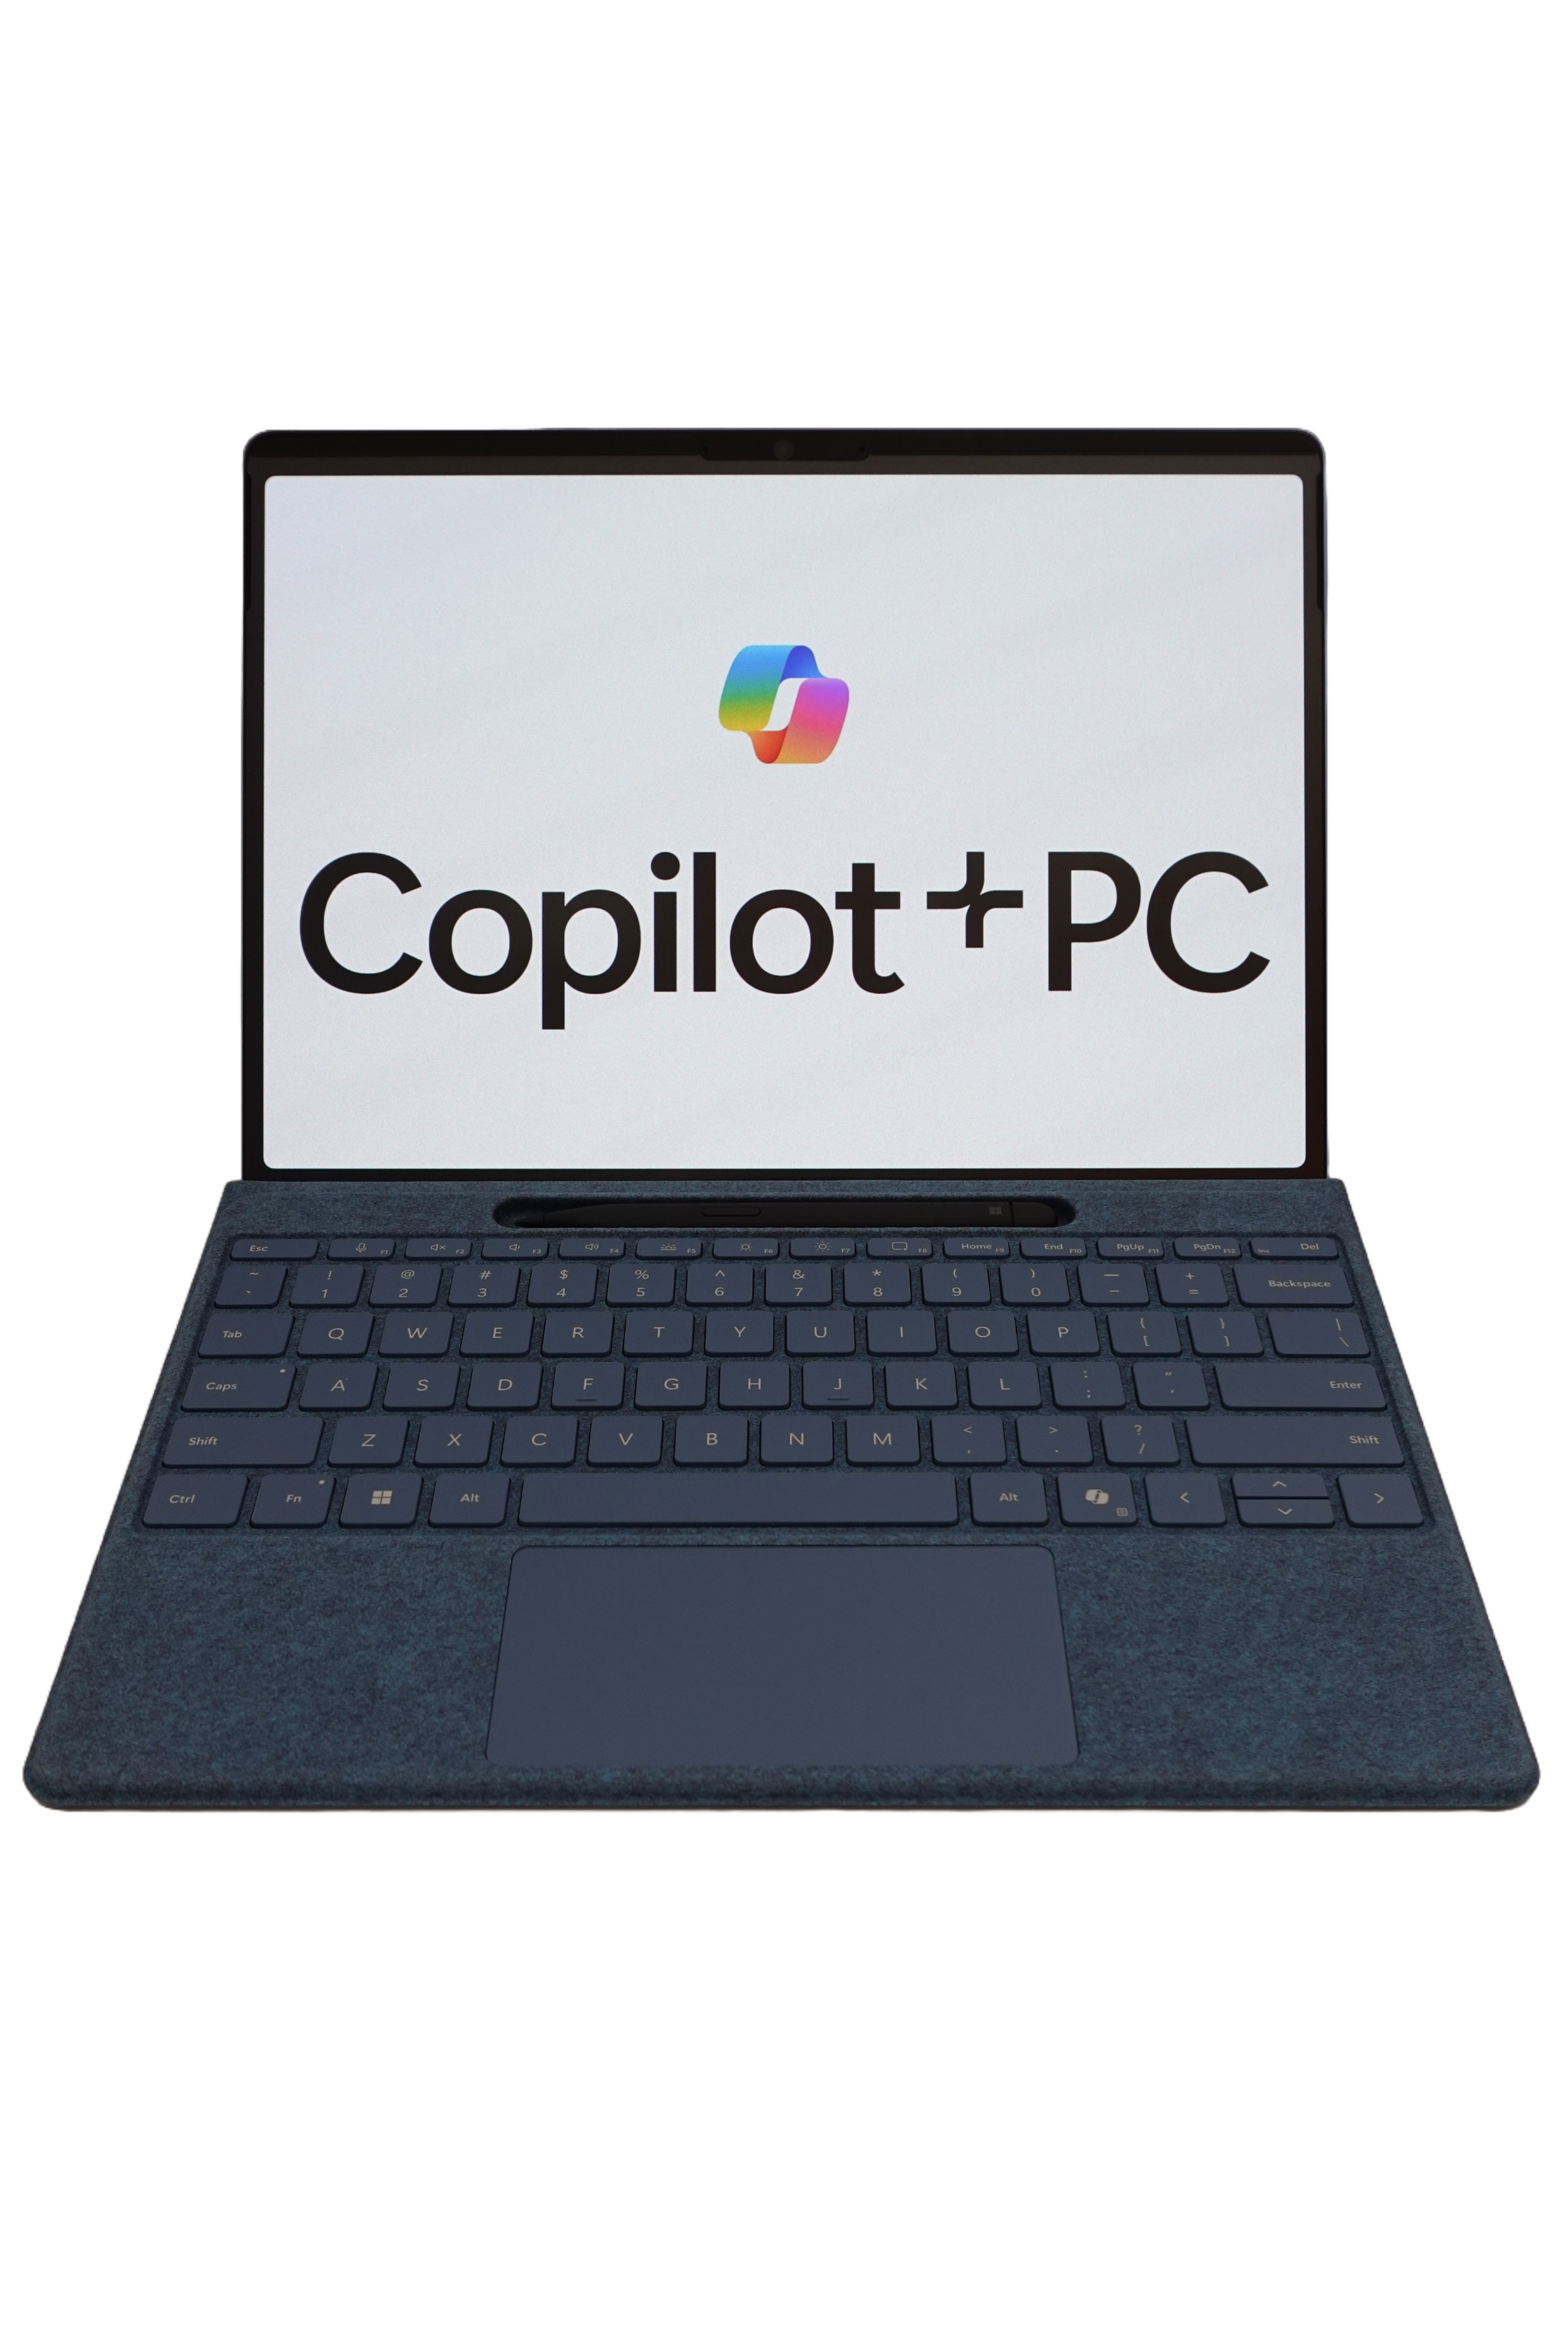
5. Advanced Features for Copilot+ PCs: Perfect Screenshot – Precision Redefined
In the ever-evolving landscape of computing, Copilot+ PCs represent a leap forward, and with them, the Snipping Tool receives an extraordinary enhancement: the “Perfect screenshot” feature. This isn’t just an incremental improvement; it’s a revolutionary, AI-powered capability that fundamentally changes how we think about capturing content, offering a level of precision that was once the realm of intricate manual adjustments. It’s like having an intelligent assistant that anticipates your every cropping need.
Exclusively available on a Copilot+ PC, this feature is accessed directly within the Snipping Tool interface. Instead of painstakingly dragging your cursor to frame an object, you simply select “Perfect Screenshot” and then define a general rectangular area on your screen. This initial selection acts as a guide, but the real magic happens next, as the AI takes over to perfect your capture.
What makes Perfect screenshot truly remarkable is its ability to automatically adjust the capture area. It intelligently analyzes the visible screen content within your chosen rectangle and, with uncanny accuracy, “tightly frame[s] on-screen content.” This drastically reduces the need for any post-capture cropping, saving you precious time and ensuring your screenshots are impeccably composed from the get-go. It’s about efficiency meeting elegance.
The tool is designed to snap around the most prominent content in view, identifying and highlighting the key elements within your selected region. And for those who prefer a touch of manual control, fear not: Perfect screenshot provides intuitive “crop handles.” These allow for optional fine-tuning, giving you the final say in perfecting your capture, blending the best of AI automation with human oversight.
6.Advanced Features for Copilot+ PCs: Color Picker – Unleashing Chromatic Accuracy
For designers, developers, or anyone with a keen eye for aesthetics, achieving chromatic accuracy is paramount. Whether you’re trying to match a brand color, replicate a design element, or simply identify the exact shade of a captivating image, the “Color picker” feature on Copilot+ PCs is a game-changer. This advanced capability within the Snipping Tool transforms your screen into a canvas where every hue is precisely identifiable, making color matching a task of delightful simplicity.
Much like the Perfect screenshot feature, the Color picker is an exclusive benefit for users of a Copilot+ PC, leveraging the enhanced capabilities of these next-generation machines. It’s integrated directly into the Snipping Tool, making it readily accessible whenever you need to pinpoint a specific color. This thoughtful placement means you don’t have to open separate applications or extensions, streamlining your workflow significantly.
To use this incredibly precise tool, you simply open the Snipping Tool and select “Color picker.” Your cursor will then transform, allowing you to move it anywhere on your screen. As you hover over different areas, the tool will instantly identify and display the exact color value beneath your cursor. This real-time feedback is invaluable, providing immediate gratification and ensuring you select the precise shade you’re aiming for.
Once you’ve found the perfect color, a simple click will “copy it to the clipboard.” This means the exact color value (implying a standard color code) is immediately available for you to paste into design software, documents, or any other application where color precision matters. This feature empowers your creative and professional tasks with unwavering chromatic accuracy, ensuring your digital palette is always on point.

7. Extracting and Redacting Text with Text Actions: Intelligent Content Management
In an increasingly information-rich world, our screens are often brimming with text – from critical data in reports to personal details in messages. The Snipping Tool, with its “Text actions” button, offers an incredibly intelligent solution for managing this textual content. This powerful feature leverages Optical Character Recognition (OCR) technology to transform your image snips into editable, usable text, offering both convenience and a crucial layer of privacy. It’s like having a dedicated scribe for your screen.
Once you’ve captured an image snip containing text, locating the “Text actions button” is your next step. A simple click on this icon activates the OCR feature, which meticulously scans the image to identify and convert all visible text. This process is remarkably quick and efficient, instantly turning static pixels into dynamic, selectable characters. The power to extract text directly from an image, without manual retyping, is a significant time-saver and a boost to productivity.
After the OCR process is complete, you are presented with a range of flexible options to interact with the extracted text. You can “select and copy specific text,” allowing you to cherry-pick only the information you need. This is invaluable for grabbing a single quote, a specific address, or a particular data point without having to copy the entire block of text. This granular control ensures you extract only what’s relevant to your immediate task.
Beyond simple extraction, the Text actions feature includes a vital privacy tool: the ability to “Quick redact any email addresses or phone numbers in the snip.” In an age where personal information is carefully guarded, this one-click redaction offers peace of mind, ensuring sensitive data is obscured before you share your screenshot. It’s an indispensable feature for professionals handling confidential information or anyone looking to protect their privacy.
Crucially, all text recognition processes performed by the Snipping Tool are executed “locally on your device.” This detail is significant, as it means your sensitive information never leaves your computer or passes through external servers for processing. This commitment to local processing underscores the tool’s robust security and privacy measures, allowing you to confidently manage textual content from your screen without concerns about data exposure.

