

When it comes to vehicle maintenance and repair, many car owners contemplate tackling issues themselves, often driven by the desire to save on professional labor costs. While the appeal of DIY (Do-It-Yourself) can be strong and, for very minor tasks, genuinely cost-effective, this path is fraught with potential missteps. These seemingly small ‘car button mistakes’ — referring not just to physical buttons, but crucial actions and decisions — can quickly transform a hoped-for saving into a substantial financial drain, potentially costing thousands in additional damage or necessary professional rectifications.
Our in-depth guide is designed to illuminate these critical pitfalls, equipping you with the knowledge needed to navigate vehicle upkeep with greater confidence. We move beyond the literal interpretation of a ‘button’ to encompass the vital procedures and checks that, if overlooked or performed improperly, can jeopardize your vehicle’s safety, performance, and your financial well-being. From incorrect diagnoses to improper tool usage, each error we highlight represents a hidden cost waiting to materialize.
By carefully understanding these common automotive repair and maintenance errors, consumers can approach their car’s upkeep with enhanced competence, ensuring that their efforts truly result in savings rather than unforeseen expenses. This first section delves into the foundational mechanical and safety mistakes that are frequently made, providing practical advice to help you avoid these significant financial traps. Let’s begin our exploration of the crucial mistakes that could cost you thousands.

1. **Incorrectly Diagnosing the Problem**
One of the most frequent and potentially expensive errors in DIY car repairs is incorrectly diagnosing the root cause of an issue. Without access to proper diagnostic tools and a substantial amount of experience, amateur mechanics often misinterpret symptoms, leading to a cascade of unnecessary repairs, significant wasted time, and accumulated additional expenses. This initial misstep sets a problematic course for the entire repair process, as subsequent actions are based on a flawed understanding of the vehicle’s needs.
Consider, for example, a car that simply refuses to start. This common problem could stem from a variety of causes, ranging from a relatively straightforward dead battery to a more complex faulty alternator or a malfunctioning starter motor. Each of these components plays a distinct role in the starting sequence, and their failure presents similar outward symptoms. A misdiagnosis at this critical juncture could easily lead to the replacement of an expensive part that was never the problem to begin with.
The repercussions of an incorrect diagnosis extend beyond just the cost of a misplaced part. It delays the actual repair, potentially leaving you without transportation for longer periods, and the underlying issue remains unaddressed, likely leading to further damage down the line. Moreover, attempting to ‘fix’ a non-existent problem can inadvertently introduce new ones, compounding the complexity and cost of the eventual correct repair. The time spent on fruitless repairs could have been better invested in proper troubleshooting.
To effectively circumvent this costly pitfall, it is strongly recommended that you invest in a quality OBD-II scanner. This tool can provide crucial error codes that point towards specific system malfunctions, offering a more data-driven approach to diagnosis. Furthermore, utilizing reputable online resources or, when in doubt, consulting with a professional mechanic for an accurate diagnosis before committing to any repairs can save you significant time and money in the long run. An accurate diagnosis is the cornerstone of any successful and economical repair.

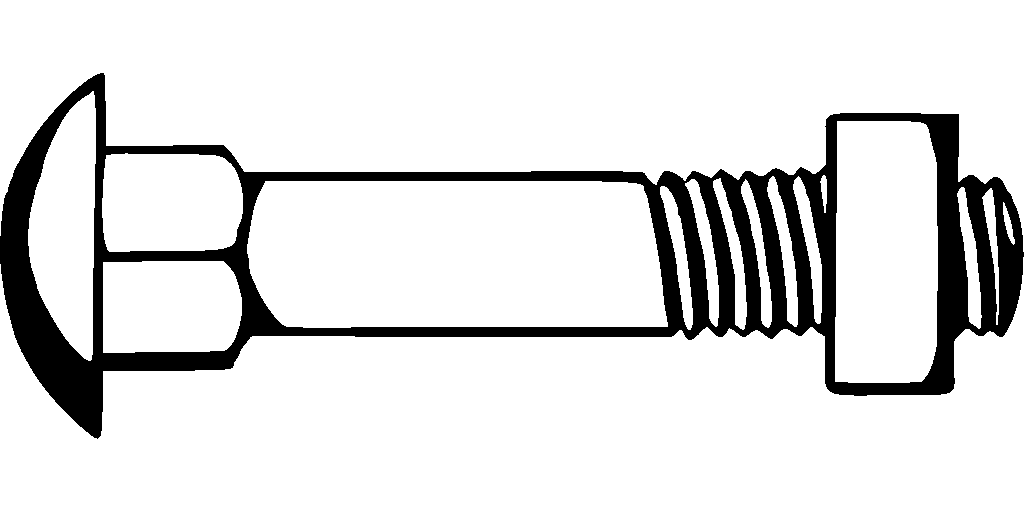
2. **Using the Wrong Tools**
The practice of using incorrect tools for a specific automotive job is another common and damaging DIY mistake. While it might seem convenient to improvise with whatever is at hand, specialized automotive tools are meticulously designed for particular tasks, such as the precise removal of spark plugs, brake calipers, or timing belts. Attempting to force ill-fitting or inappropriate tools can have severe consequences, often damaging components and compromising the safety and integrity of the repair.
When the wrong tools are employed, the risk of stripping bolts is significantly elevated, which can lead to frustrating delays and the need for more extensive repairs, such as drilling out and re-tapping threads. Furthermore, delicate parts can easily break under the stress of improper leverage or inadequate grip, turning a simple maintenance task into a complex and costly component replacement. The cumulative effect of these small damages can rapidly escalate the overall expense of the repair, far outweighing any initial savings from avoiding tool purchases.
Beyond the damage to the vehicle, using the wrong tools also poses a substantial safety risk to the individual performing the repair. Tools can slip, snap, or fail under pressure, leading to cuts, bruises, or more serious injuries. An improperly secured wrench, for instance, can cause a sudden release of force, resulting in harm. The physical strain of struggling with unsuitable tools can also lead to frustration and a higher likelihood of further errors, diminishing the quality of the work and increasing danger.
Therefore, before embarking on any repair, it is crucial to confirm that you possess the precise tools required for the task. Investing in a comprehensive set of quality automotive-specific tools is not an extravagance but a wise investment that can save both time and prevent damage to your vehicle, while also safeguarding your personal well-being. Having the correct equipment ensures that each step of the repair can be executed with precision and without undue risk, contributing to a successful and lasting fix.
Read more about: Budget Travel’s Grand Return: Why Savvy Explorers Are Embracing Value and Discovery in the New Travel Era
3. **Over-Tightening Bolts**
Over-tightening bolts is a surprisingly common, yet highly detrimental, mistake that many DIY mechanics make. The assumption that ‘tighter is better’ can lead to a host of expensive problems, including stripped threads, damaged components, and ultimately, costly repairs that far exceed the perceived benefit of extra firmness. This issue is particularly acute when working with modern vehicle components, many of which are constructed from lighter, more sensitive materials.
Aluminum engine parts, for instance, are especially susceptible to damage from excessive torque. The threads in aluminum housings can strip out with relative ease, necessitating intricate and expensive repairs like thread inserts (Heli-Coils) or, in worst-case scenarios, the complete replacement of the component. The delicate balance of tension and compression in automotive fasteners is critical for their proper function and longevity, and disrupting this balance can have widespread negative effects on the entire assembly.
The long-term consequences of over-tightening can include component fatigue and premature failure. Bolts that are too tight can stretch beyond their elastic limit, losing their ability to hold securely and potentially snapping under stress. This can be critical for components like wheel lug nuts, where a failed bolt could lead to a wheel detaching, or engine components, where a loose connection can lead to leaks or internal damage. Such failures can manifest suddenly and dangerously, creating hazardous driving conditions.
To prevent this pervasive issue, the use of a torque wrench is indispensable. This specialized tool allows you to tighten bolts to the manufacturer’s precise specifications, which are typically found in the vehicle’s service manual. Always refer to this manual for the correct torque settings for every fastener. Using a properly calibrated torque wrench ensures that components are secured firmly without being overstressed, thereby preventing damage and maintaining the vehicle’s intended performance and safety characteristics.
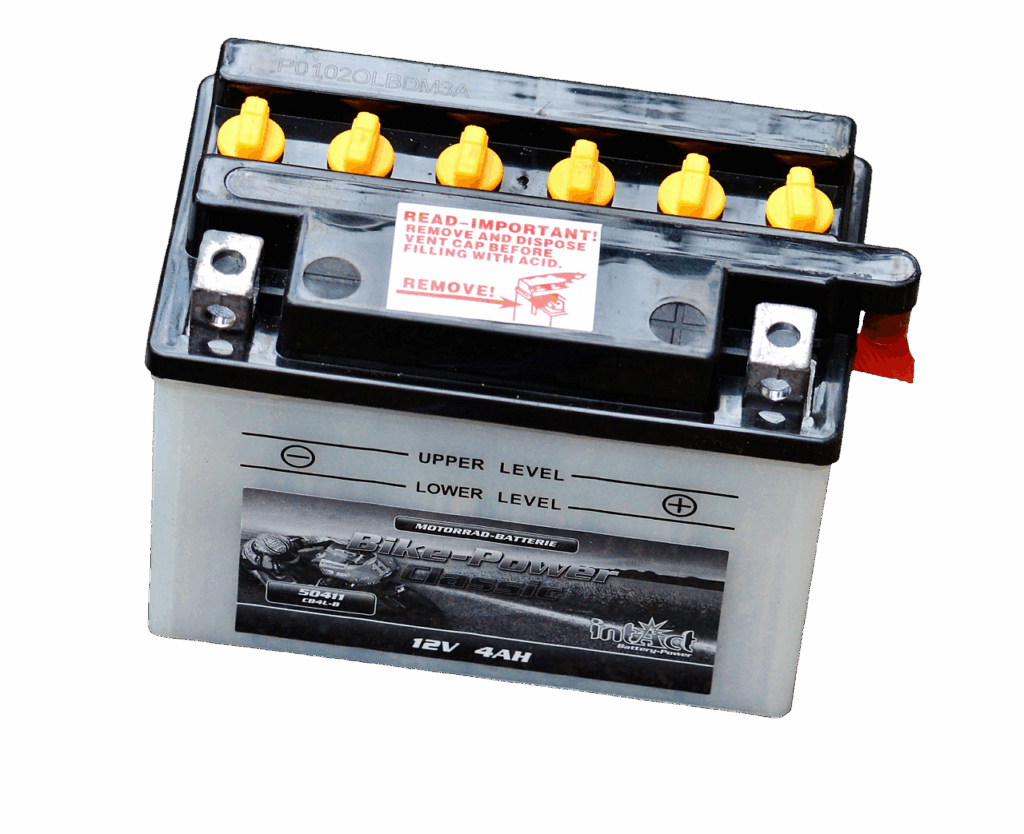
4. **Forgetting to Disconnect the Battery**
Neglecting to disconnect the battery before commencing automotive repairs is a critical oversight that can lead to significant hazards. This seemingly simple step is often overlooked but has the potential to result in serious electrical shorts, dangerous sparks, and even fires, posing risks to both the mechanic and the vehicle. Modern cars are equipped with complex electrical systems, and working on them while power is still supplied is an invitation for trouble.
This precaution becomes especially important when you are working on any electrical components or systems that involve fuel. For instance, tasks such as replacing an alternator, working near the starter motor, or dealing with fuel lines or injectors, all carry an inherent risk of electrical mishap if the battery remains connected. An accidental contact between a tool and a live wire can complete a circuit, leading to an immediate and uncontrolled flow of electricity that can cause damage or injury.
The consequences of failing to disconnect the battery can range from minor electrical component damage, such as blowing a fuse, to severe harm to sensitive electronic control units (ECUs). These ECUs are the ‘brains’ of your vehicle and are extremely expensive to repair or replace. Beyond component damage, the risk of a fire, particularly when fuel is involved, is a terrifying possibility that can lead to total loss of the vehicle and personal injury.
Therefore, cultivating the habit of disconnecting the battery before initiating any significant repairs, especially those involving electrical systems or fuel lines, is paramount for safety. The recommended procedure is to always disconnect the negative terminal of the battery first. This action effectively de-energizes the entire electrical system, creating a safe environment for you to work. This simple, yet crucial, step prevents unforeseen electrical incidents and protects both you and your vehicle from harm.
Read more about: Beyond the Hype: The Real Reasons Your New iPhone Isn’t Perfect (and How to Master the Fixes)

5. **Improperly Jacking Up the Car**
Improperly jacking up a car is a hazardous mistake that carries severe consequences, potentially leading to serious injuries for the individual working on the vehicle and significant damage to the car itself. Relying on incorrect jacking points or failing to adequately support the vehicle with jack stands can result in the car falling, an outcome that is both dangerous and highly destructive. The weight of a vehicle is immense, and its stability while elevated must never be underestimated.
Vehicle manufacturers designate specific jacking points on the chassis, which are engineered to safely bear the car’s weight. Using areas like the oil pan, suspension components, or plastic trim as lifting points can cause irreparable damage to these parts. Such damage can lead to fluid leaks, structural compromise, or a sudden shift in the vehicle’s balance, increasing the risk of it slipping off the jack. The integrity of these components is vital for the car’s operation and safety.
Furthermore, never relying solely on a hydraulic jack for support is a golden rule in automotive repair. Hydraulic jacks are designed for lifting, not for prolonged support. Their seals can fail, or they can slowly bleed pressure, causing the vehicle to unexpectedly drop. Jack stands, on the other hand, are designed to provide a secure, mechanical lock, ensuring the vehicle remains stable while you work underneath it. Their robust construction and wide bases offer superior stability compared to a single point of hydraulic pressure.
To mitigate these risks, always consult your vehicle’s owner manual to identify the manufacturer’s recommended jacking points. Once the vehicle is lifted to the desired height with a hydraulic jack, immediately position sturdy jack stands beneath the appropriate support points and slowly lower the vehicle onto them. This two-step process ensures maximum stability and safety. Prioritizing correct jacking procedures is a non-negotiable aspect of safe DIY automotive work, protecting both you and your investment from grave accidents.
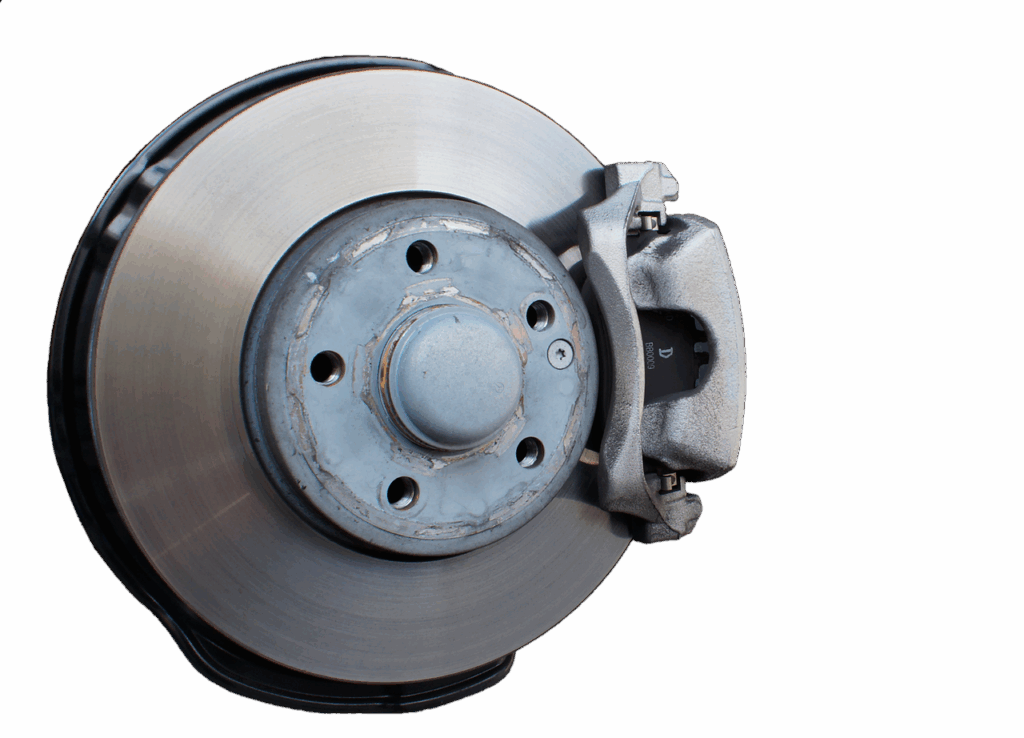
6. **Not Bleeding the Brakes Correctly**
Failing to properly bleed the brakes after any repair to the braking system is a critical error that can severely compromise vehicle safety and performance. When brake components are replaced or lines are opened, air can enter the hydraulic system. If this air is not meticulously removed, it leads to air bubbles in the brake lines, resulting in a spongy brake pedal feel and a significant reduction in braking performance. This condition is inherently dangerous, particularly in emergency situations where immediate and powerful stopping power is required.
The hydraulic brake system relies on an incompressible fluid to transmit force from the brake pedal to the calipers or wheel cylinders. Air, being compressible, disrupts this efficient transfer of force. When you press the brake pedal, instead of directly pushing the brake fluid to activate the brakes, some of that force is wasted on compressing the air bubbles within the lines. This leads to a delayed and weakened braking response, requiring more effort and distance to stop the vehicle.
The dangers associated with improperly bled brakes are profound. In an emergency stop, the inability to achieve full braking power can mean the difference between avoiding an accident and being involved in one. The spongy pedal gives the driver a false sense of security, as the brakes may feel operational but lack the necessary bite and responsiveness under pressure. This compromise in safety can have catastrophic consequences, not only for the driver and passengers but also for others on the road.
To ensure the integrity of your braking system and your safety, it is imperative to use a proper brake bleeding kit and adhere strictly to the correct sequence for your vehicle’s brake system. This sequence, typically found in the service manual, ensures that all air is systematically purged from the longest lines first, working progressively to the shortest. Enlisting the help of a friend to operate the pedal or utilizing a one-man brake bleeding tool can facilitate this crucial process, guaranteeing that all air is completely removed from the system and restoring full, reliable braking performance.
7. **Using the Wrong Type of Oil**
Employing the incorrect type of engine oil is a subtle but highly damaging mistake that can profoundly affect your engine’s performance, longevity, and overall health. Modern engines are precision-engineered machines, and they require specific oil viscosities and formulations to operate efficiently and protect their intricate internal components. The choice of engine oil is not a generic decision; it is a critical specification determined by the manufacturer to match the engine’s design and operational characteristics.
Different engines are designed with varying tolerances, operating temperatures, and lubrication requirements. Using an oil with the wrong viscosity, for example, can lead to either insufficient lubrication or excessive drag within the engine. If the oil is too thin, it may not maintain a robust film between moving parts under high temperatures and pressures, leading to increased metal-on-metal wear. Conversely, if the oil is too thick, it can hinder cold starts and increase pumping losses, reducing fuel efficiency and potentially leading to inadequate lubrication during initial engine operation.
Beyond viscosity, engine oils also contain specific additive packages tailored to protect against wear, corrosion, and sludge buildup. Using an oil with an incompatible formulation can compromise these protective properties, accelerating engine wear, fostering harmful deposits, and potentially clogging critical oil passages. The long-term effects of using the wrong oil can manifest as decreased engine performance, reduced fuel economy, increased emissions, and eventually, severe and costly engine damage that could require extensive repairs or even a full engine replacement.
To prevent this critical and expensive oversight, always refer to your vehicle’s owner manual or the oil filler cap for the recommended oil type and viscosity. These resources provide precise specifications for your engine, ensuring you select the oil that offers optimal protection and performance. If you are ever in doubt, or if your manual’s recommendations seem unclear, consulting with a professional mechanic or a reputable parts supplier can provide the necessary clarity, safeguarding your engine from unnecessary damage and maintaining its peak operational efficiency. This small attention to detail can save you thousands in potential engine repairs.
Read more about: Charlie Kirk’s Assassination: A Nation Grapples with Grief, Rage, and the Escalation of Political Violence
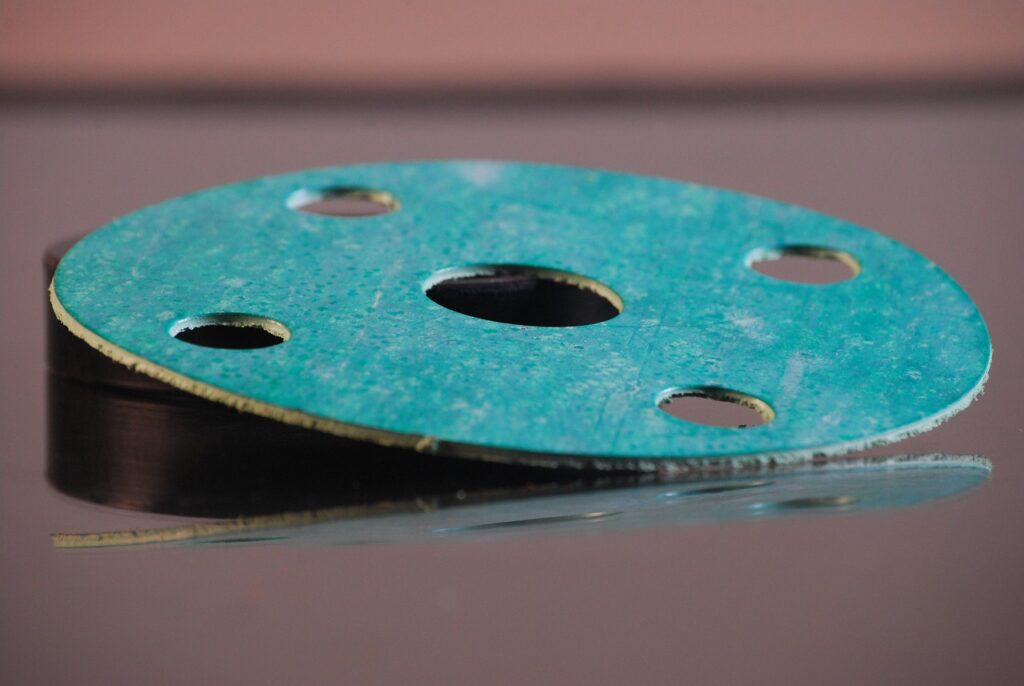
8. **Failing to Use New Gaskets and Seals**
Reusing old gaskets and seals is a frequently overlooked mistake, leading to significant problems and additional expenses. These components are specifically engineered to create an impenetrable barrier between mating surfaces, preventing the escape of vital fluids like oil and coolant, or gases. When old, compressed, or damaged gaskets and seals are reinstalled, their ability to form a perfect seal is severely compromised, almost guaranteeing leaks and compromising the repair’s integrity. The small initial saving is quickly dwarfed by the long-term financial drain.
The integrity of a vehicle’s systems heavily relies on these seals. A compromised gasket can lead to persistent oil leaks, causing critical engine components to run with insufficient lubrication. Similarly, a leaking coolant seal can result in your engine overheating, potentially causing catastrophic damage like a cracked cylinder head or a blown head gasket, repairs that can easily cost thousands of dollars. Beyond fluid containment, seals also prevent foreign contaminants, protecting engine health.
To avoid these costly pitfalls, always use new gaskets and seals whenever you disassemble and reassemble components. Manufacturers design these items for single-use compression, and their performance cannot be guaranteed after initial installation. Investing in high-quality new gaskets and seals ensures the longevity and reliability of your repair, guaranteeing that fluids stay where they belong and preventing expensive secondary damage. This simple step is fundamental to a successful and leak-free automotive repair.
Read more about: From Poster Car to Problem Child: 9 Iconic Designs That Were Reliability Disasters
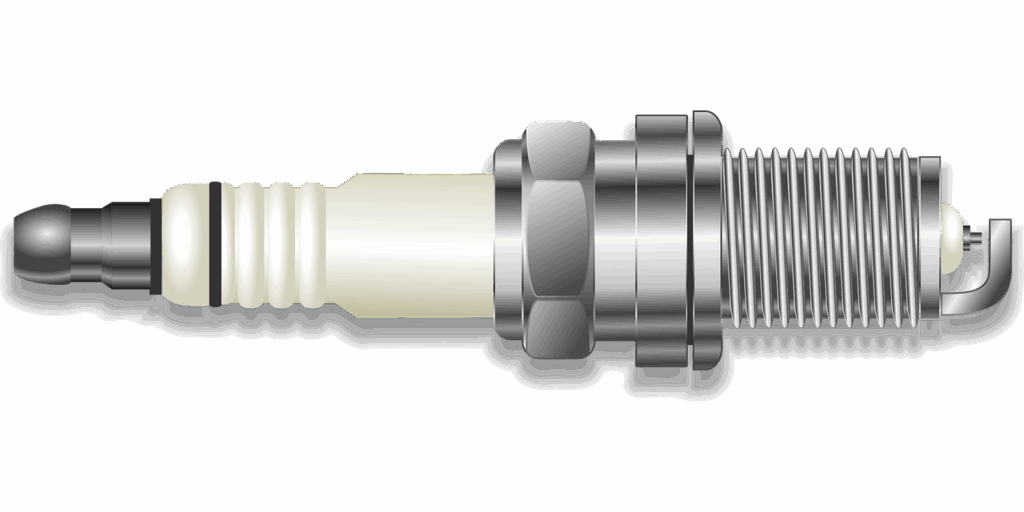
9. **Incorrectly Installing Spark Plugs**
Incorrectly installing spark plugs is a common DIY blunder, leading to both performance issues and expensive damage. This task, if performed carelessly, can result in cross-threading or over-tightening the plugs. Both errors critically damage the cylinder head, a repair that is incredibly costly and complex, significantly impacting engine performance and overall vehicle reliability and requiring extensive labor and part costs.
Cross-threading occurs when a spark plug is inserted at an angle, cutting into the softer aluminum threads of the cylinder head. This creates a weak and improper seal, leading to compression leaks, misfires, and reduced engine power. Over-tightening also risks stripped threads or cracking the ceramic insulator, causing further misfires and damage. The delicate balance for proper spark plug seating is critical; too loose, compression is lost; too tight, damage ensues.
To circumvent these costly mistakes, always start spark plugs by hand, gently turning them until they thread smoothly to prevent cross-threading. A spark plug socket with a rubber insert protects the ceramic. A calibrated torque wrench is indispensable to tighten spark plugs precisely to the manufacturer’s specified torque settings. Applying anti-seize compound, if recommended, can aid future removal. This meticulous approach guarantees proper seating and function, safeguarding your engine from avoidable damage.
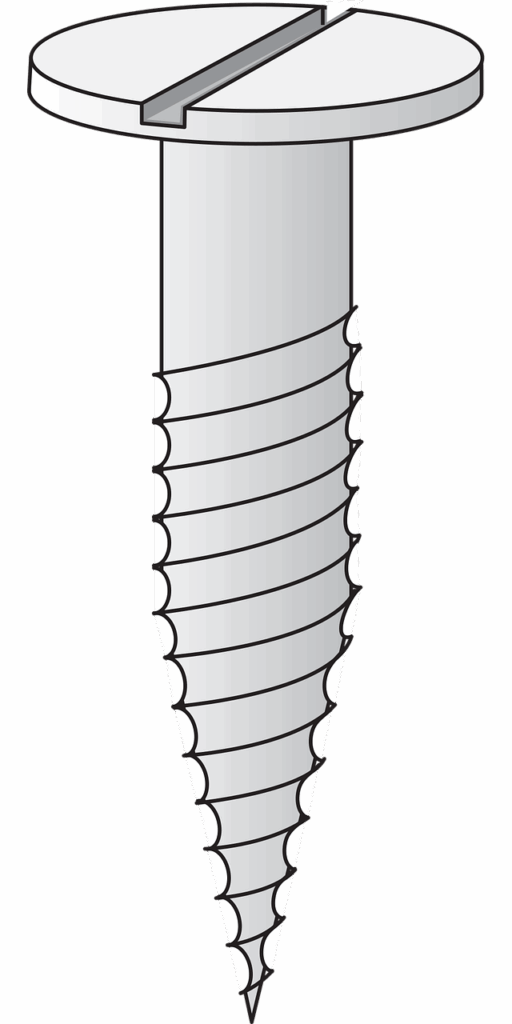
10. **Not Following Proper Torque Specifications**
Failing to adhere to proper torque specifications is a widespread yet underestimated DIY mistake with profound consequences on your vehicle’s performance, safety, and longevity. Every bolt and nut on a modern vehicle is engineered with a specific torque requirement, precisely calculated by the manufacturer to ensure optimal clamping force. Deviating from these specifications, whether by under-tightening or over-tightening components, inevitably leads to poor performance, accelerated wear, structural damage, and potentially severe safety hazards.
Under-tightening a fastener means it doesn’t provide enough clamping force, resulting in parts vibrating loose over time, causing rattling noises, premature wear, or even complete detachment. For critical components like suspension or brakes, a loose fastener can lead to dangerous failures, compromising steering control or braking effectiveness. Conversely, over-tightening bolts can strip threads, deform components, or cause bolts to stretch and snap, necessitating expensive repairs like heli-coils or component replacement, inducing metal fatigue.
To mitigate these risks, the consistent use of a calibrated torque wrench is essential for any DIY mechanic. Always consult your vehicle’s service manual for a comprehensive list of torque specifications for every bolt and nut. This authoritative resource ensures each component is secured with precisely the right amount of force—firm enough to prevent loosening, yet gentle enough to avoid damage. This meticulous attention to detail is crucial for maintaining structural integrity and ensuring safety.
Read more about: Beyond the Horde: The Ultimate Guide to Vehicles That Will Outlast the Zombie Apocalypse

11. **Ignoring Safety Precautions**
Ignoring fundamental safety precautions during automotive repairs is a recipe for disaster, potentially leading to serious injuries or fatal accidents. Many DIY enthusiasts overlook critical safety measures such as wearing appropriate protective gear, ensuring a well-ventilated workspace, or adequately securing the vehicle. These oversights can quickly transform a routine task into a hazardous situation, with repercussions far outweighing any perceived time savings.
Protective gear plays a crucial role in preventing injuries. Gloves protect hands from cuts and chemical exposure. Safety glasses are indispensable for shielding eyes from flying debris or splashes. Appropriate clothing and sturdy, closed-toe shoes prevent slips, falls, and impact injuries. Neglecting these basic items can lead to eye injuries, chemical burns, or severe lacerations, all requiring immediate medical attention and compounding repair costs.
Beyond personal protection, the work environment demands careful consideration. Poorly ventilated areas expose you to hazardous fumes, causing respiratory issues or dizziness. Always ensure ample airflow. Most critically, failing to secure the vehicle properly before working underneath it is arguably the most dangerous mistake. Relying solely on a hydraulic jack is extremely risky; a car falling can cause severe crushing injuries or death, besides catastrophic damage. Prioritizing safety is paramount for any automotive repair. Take the necessary time to set up a safe workspace, wear protective gear, ensure ventilation, and secure the vehicle firmly on sturdy jack stands. Never compromise on safety. Adherence to safety protocols protects your physical well-being and financial investment.
Read more about: Navigating Rainy Roads: Identifying and Avoiding the Most Common Driving Mistakes

12. **Improperly Reassembling Components**
Improperly reassembling components after a repair is a common error that can negate all hard work, leading to malfunctions, further damage, and recurring costly intervention. Many DIY mechanics rush the reassembly process, often resulting in missing bolts, incorrect alignment of parts, or loose connections. These oversights can cascade into significant operational problems, making the vehicle unreliable and potentially unsafe.
Consider, for example, reassembling an intake manifold. If a gasket is misaligned or bolts are not tightened correctly, it can lead to vacuum leaks, causing the engine to run lean, affecting fuel efficiency, performance, and potentially triggering check engine lights. Forgetting a small but critical bracket or sensor can cause a cascade of electronic malfunctions, leading to engine misfires, transmission issues, or even complete system shutdowns. Every component has a specific place and purpose, and any deviation can disrupt the entire operational symphony, making the cost of repair skyrocket.
The consequences of haphazard reassembly extend beyond performance issues. Loose connections can vibrate apart, leading to wear, short circuits, or further component damage. Misaligned parts can rub against each other, causing premature wear and generating heat. In critical areas like braking or steering, improper reassembly can directly endanger occupants. To prevent these disheartening and costly errors, a meticulous approach to reassembly is crucial. Label and organize all parts during disassembly, and always refer to the vehicle’s service manual for detailed diagrams and instructions. Ensuring every component is correctly aligned and securely fastened is the cornerstone of a successful, reliable, and lasting repair.

13. **Failing to Perform a Test Drive**
Failing to perform a thorough test drive after completing automotive repairs is a critical omission that can leave underlying issues undiscovered and potentially introduce new, unforeseen problems. Many DIY mechanics neglect this crucial final step, mistakenly assuming that if the car starts, the job is done. However, a proper test drive is the only way to confirm the functionality of the repaired components and ensure that the vehicle is operating correctly and safely under various conditions.
Without a test drive, problems like subtle noises, vibrations, or performance deficiencies may go unnoticed, only to manifest at a later, more inconvenient, or dangerous time. For example, if you’ve replaced brake components, a test drive allows you to assess the pedal feel, braking effectiveness, and any pulling or grinding. If you’ve worked on the engine, a test drive can reveal misfires under load, unusual smells, or dashboard warning lights. These hidden issues can quickly escalate into more severe and expensive problems. The potential safety hazards associated with skipping a test drive are profound, potentially leading to critical failure at highway speeds.
Therefore, after completing any repair, no matter how minor, it is strongly recommended to take the vehicle for a comprehensive test drive. Drive on various road types and at different speeds, mimicking typical driving conditions. Pay close attention to any unusual noises, vibrations, smells, changes in steering or braking feel, or illuminated warning lights. This diligence is a vital component of responsible vehicle maintenance, confirming your repair efforts result in a safe, reliable, and properly functioning automobile.
Read more about: You Won’t Believe These 14 Celebs Secretly Rocked Music Careers (And the Genres They Mastered!)

14. **Neglecting Regular Maintenance**
Neglecting regular maintenance is perhaps the most insidious “car button mistake” of all, representing a pervasive failure to prevent issues before they become critical. Skipping routine tasks such as oil changes, filter replacements, fluid checks, and tire rotations might save a small amount of money in the short term, but it inevitably leads to significantly more substantial and costly repairs down the line. This oversight undermines the vehicle’s overall health, performance, and longevity.
Modern vehicles are complex systems designed to operate optimally with consistent care. Engine oil lubricates moving parts and dissipates heat. When oil changes are skipped, oil degrades, loses viscosity, and accumulates contaminants, leading to increased metal-on-metal wear, higher operating temperatures, and sludge buildup. This can culminate in premature engine failure, an immensely expensive repair often equivalent to the vehicle’s value. Neglecting air filter replacements reduces engine efficiency and allows harmful particles into the combustion chamber. The cumulative effect extends to every system, from transmission fluid to brake pads.
To safeguard your vehicle and finances, adhere diligently to the maintenance schedule outlined in your vehicle’s owner manual. This manual is an authoritative guide, providing precise intervals for all routine services. Establishing a habit of addressing minor issues promptly is equally crucial. Proactive regular maintenance is the most effective strategy for preventing major breakdowns, extending the lifespan of your vehicle, and ultimately saving you thousands of dollars by keeping your car running efficiently and reliably.
Read more about: The Ultimate Road Trip Safety Playbook: 12 Non-Negotiable Rules to Keep Your Journey Smooth and Secure for Every Driver
Ultimately, this exploration of common DIY pitfalls underscores a crucial truth: while the appeal of saving money on car repairs is strong, true economy lies in knowledge, precision, and adherence to best practices. Each “car button mistake” we’ve examined highlights the importance of an informed approach. Whether you choose to tackle repairs yourself or rely on certified professionals, understanding these potential blunders equips you to make smarter decisions, protect your investment, and ensure your vehicle remains a dependable and safe mode of transportation. Diligent care will undoubtedly save you thousands in the long run, turning potential headaches into smooth journeys.


