

There are few things as universally irritating on a drive as an unwelcome symphony of clicks, squeaks, or rattles emanating from your car’s dashboard. What might start as a minor annoyance can quickly escalate into a maddening distraction, making even the shortest trips feel interminably long. The good news is that many of these vexing noises aren’t mysterious gremlins but rather identifiable issues with practical, often DIY-friendly solutions that don’t necessarily require a costly trip to the shop. For the practical-minded individual or the curious car enthusiast, understanding the root causes of these sounds is the first step toward reclaiming the peace and quiet of your cabin.
This in-depth guide is designed to empower you with the knowledge and actionable steps to diagnose and silence those annoying dashboard noises. Drawing on real-world experience and technical insights, we’ll strip away the complexity, offering clear explanations and hands-on advice. From subtle clicks indicating system miscalibration to persistent squeaks that feel like styrofoam rubbing together, we’ll cover the most common culprits and how to tackle them effectively, often with simple tools and a bit of patience.
Let’s embark on this journey to transform your car’s interior from a cacophony of unwanted sounds back into the sanctuary it’s meant to be. We’ll start by learning how to differentiate the types of noises you might be hearing, then move through various diagnostic methods and repair procedures, equipping you with the confidence to become your own dashboard noise expert.

1. **Understanding Common Dashboard Noises: Clicking vs. Squeaking**The first crucial step in resolving any dashboard sound is accurately identifying its nature. Are you hearing a sharp, distinct ‘click,’ or is it more of a prolonged, friction-induced ‘squeak’? While both can originate from the dashboard area, they typically point to very different underlying issues and demand distinct diagnostic approaches. A clicking noise often suggests an electro-mechanical component is engaging or disengaging incorrectly, or perhaps struggling to complete a movement cycle. It’s usually rhythmic or happens in response to a specific action, like turning on the AC or starting the engine.
On the other hand, a squeak usually indicates two surfaces rubbing against each other, often due to vibration, loosening components, or material degradation. This can manifest as a consistent sound over bumps, or a sound that changes with temperature or vehicle flex. Think of it like the sound of styrofoam rubbing—it’s a telltale sign of friction where it shouldn’t be. Recognizing this fundamental difference is vital, as attempting to fix a squeak with solutions meant for a click, or vice versa, will inevitably lead to frustration and wasted effort. Your ears are the most powerful diagnostic tool you possess in this initial phase; listen carefully for the quality, rhythm, and circumstances under which the sound occurs.
Indeed, the perceived origin of a sound can be deceptive within the enclosed space of a car cabin. Sounds can travel and resonate, making it seem like a noise is coming from the dashboard when its true source might be slightly to the side or even below. This phenomenon underscores the importance of a systematic, investigative approach rather than jumping to immediate conclusions. We’ll use both technical understanding and practical observation to pinpoint the exact source of your automotive auditory annoyance. By first categorizing the noise, you’ve already won half the battle in narrowing down the potential culprits.

2. **Initial Checks: Ruling Out Battery and Electrical System Warnings**Before delving deep into the dashboard, it’s imperative to rule out a couple of common clicking sounds that, while not originating from the dashboard *itself*, can sound similar or be related to general electrical issues. These initial checks are quick and can save you a significant amount of diagnostic time if the problem lies elsewhere. For instance, a persistent clicking noise while you are attempting to start your car is a very strong indicator of a flat battery. This isn’t a dashboard component issue, but rather your starter motor struggling to engage due to insufficient power.
In such cases, the clicking you hear is often the starter solenoid rapidly engaging and disengaging because it doesn’t have enough current to fully pull in the contacts and spin the starter motor. If this sounds like a fair description of your problem, then your first course of action should be to check your battery’s charge and connections. This is a common and easily rectifiable issue that, once addressed, might eliminate any perceived dashboard clicking.
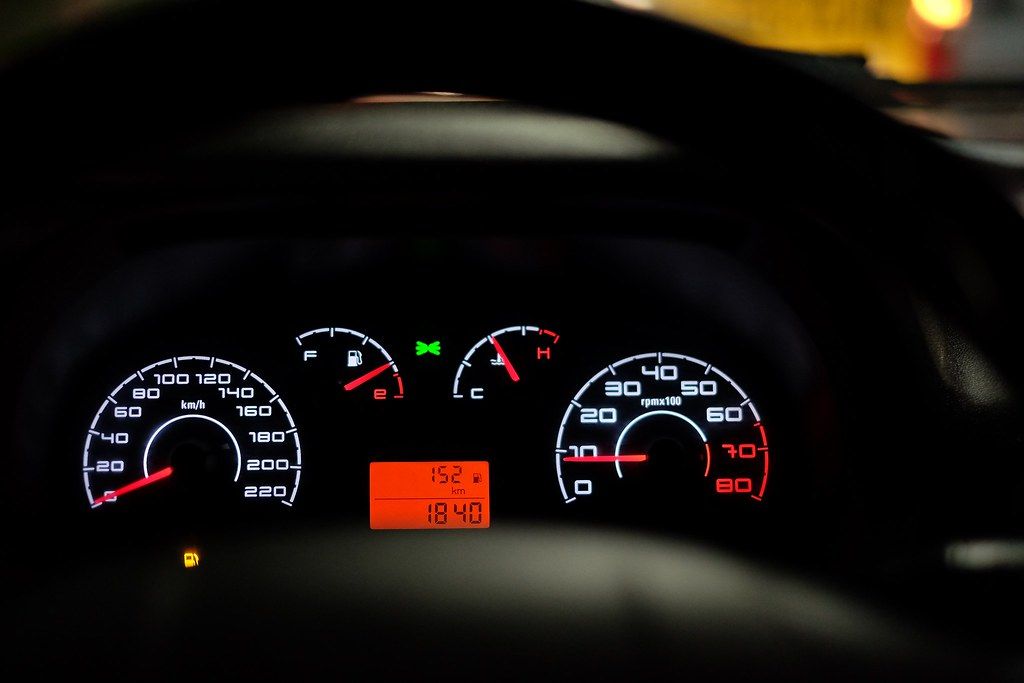
Another scenario to consider is dash lights flashing together with a clicking sound when the engine is off. This peculiar combination also points away from mechanical dashboard components and towards a broader electrical system anomaly. It could suggest anything from a serious electrical drain to a failing component in the vehicle’s electrical control system. If either of these preliminary clicking scenarios resonates with your experience, it’s crucial to investigate them first. They represent distinct problems from the dashboard-specific noises we’ll explore next, and resolving them can often eliminate the clicking entirely, preventing you from chasing a phantom dashboard issue.

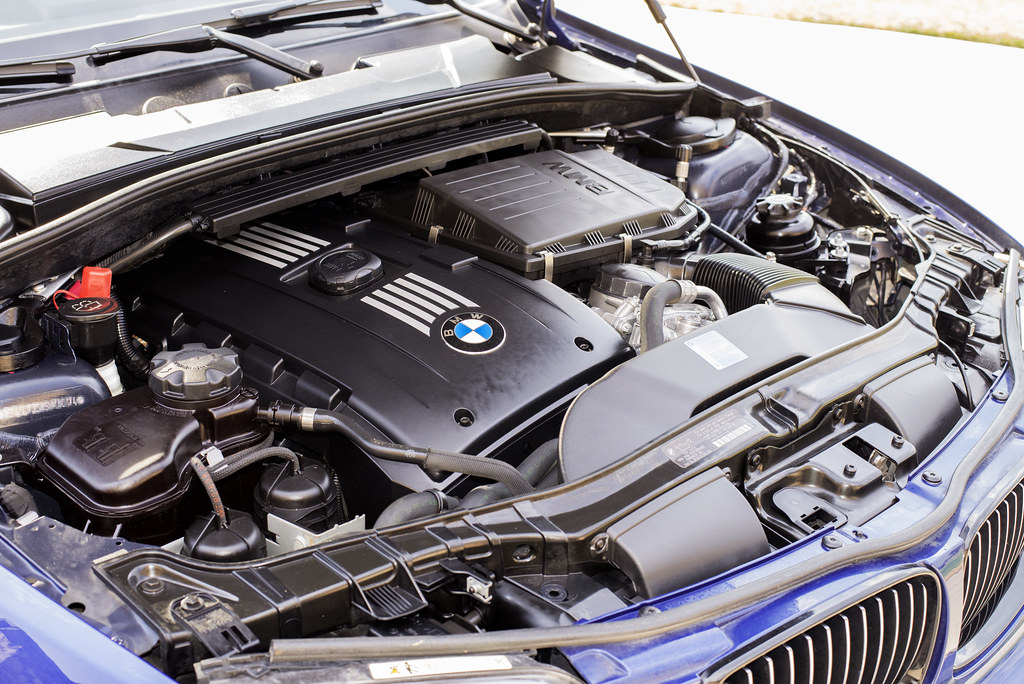
3. **The HVAC System: A Complex Orchestration Behind Your Dash**Beneath the surface of your dashboard lies a remarkably sophisticated piece of engineering: your car’s Heating, Ventilation, and Air Conditioning (HVAC) system. Far from being just a simple blower, this system is a complex network of components working in concert to meticulously control the climate and airflow within your vehicle’s cabin. It’s significantly more intricate than its outward appearance suggests, utilizing a combination of sensors, blend doors, and motors to precisely regulate temperature, air distribution, and fan speed. When any part of this system falters, particularly the moving components, it often translates into an audible clicking or rattling sound from behind the dashboard.
At the heart of the HVAC system is the **Heater Matrix**, which serves as the large housing unit for most of the internal components. Within this matrix, you’ll find the **Heater core**, resembling a small radiator, through which hot engine coolant circulates to warm the air. A powerful **Fan** then blows air over this heater core, ensuring warmed air is efficiently distributed into the cabin. The system’s intelligence comes from **Temperature sensors**, which continuously feed live readings back to the control module, and the **Control module** itself, the computer that manages the entire operation based on these inputs and your climate settings.
Crucially, the system employs several **Blend doors** positioned strategically inside the matrix. These doors open and close with precision to direct air through different zones—such as the windshield, floor, or face vents—allowing for tailored airflow. Powering these blend doors are **Stepper motors**, specialized electric motors designed to move in very precise, incremental steps. These stepper motors don’t just move the doors; they also signal the heater control module with the exact position of the blend doors, a measurement known as ‘counts.’ It’s this intricate dance between sensors, motors, doors, and the control module that makes the HVAC system so effective, but also susceptible to producing noises when communication or movement goes awry.
4. **Heater Control Module Calibration: The Hidden Cause of Dashboard Clicking**Your car’s HVAC control module is the brain of the climate control system, a dedicated computer tasked with an impressive workload. It meticulously manages all motor positions, tracks internal temperatures, regulates fan speed, and even handles dual-zone requests from occupants. For this complex system to function flawlessly and direct airflow precisely as you command, the control module absolutely relies on accurate blend door position readings from its various stepper motors. If this critical information is compromised or lost, the module can’t perform its job correctly.
Your car’s HVAC control module is the brain of the climate control system, a dedicated computer tasked with an impressive workload. It meticulously manages all motor positions, tracks internal temperatures, regulates fan speed, and even handles dual-zone requests from occupants. For this complex system to function flawlessly and direct airflow precisely as you command, the control module absolutely relies on accurate blend door position readings from its various stepper motors. If this critical information is compromised or lost, the module can’t perform its job correctly.
Sometimes, due to various factors, these blend door positions become miscalculated within the control module’s memory. This loss of calibration leads to what’s known as erratic motor activation, where stepper motors might repeatedly attempt to find their correct position, resulting in a persistent and annoying clicking sound from behind your dash. The module essentially gets confused, cycling through commands without knowing where the doors actually are. Recalibrating the system is often the magic bullet that fixes this problem, essentially resetting the module’s understanding of the blend door’s full range of motion.
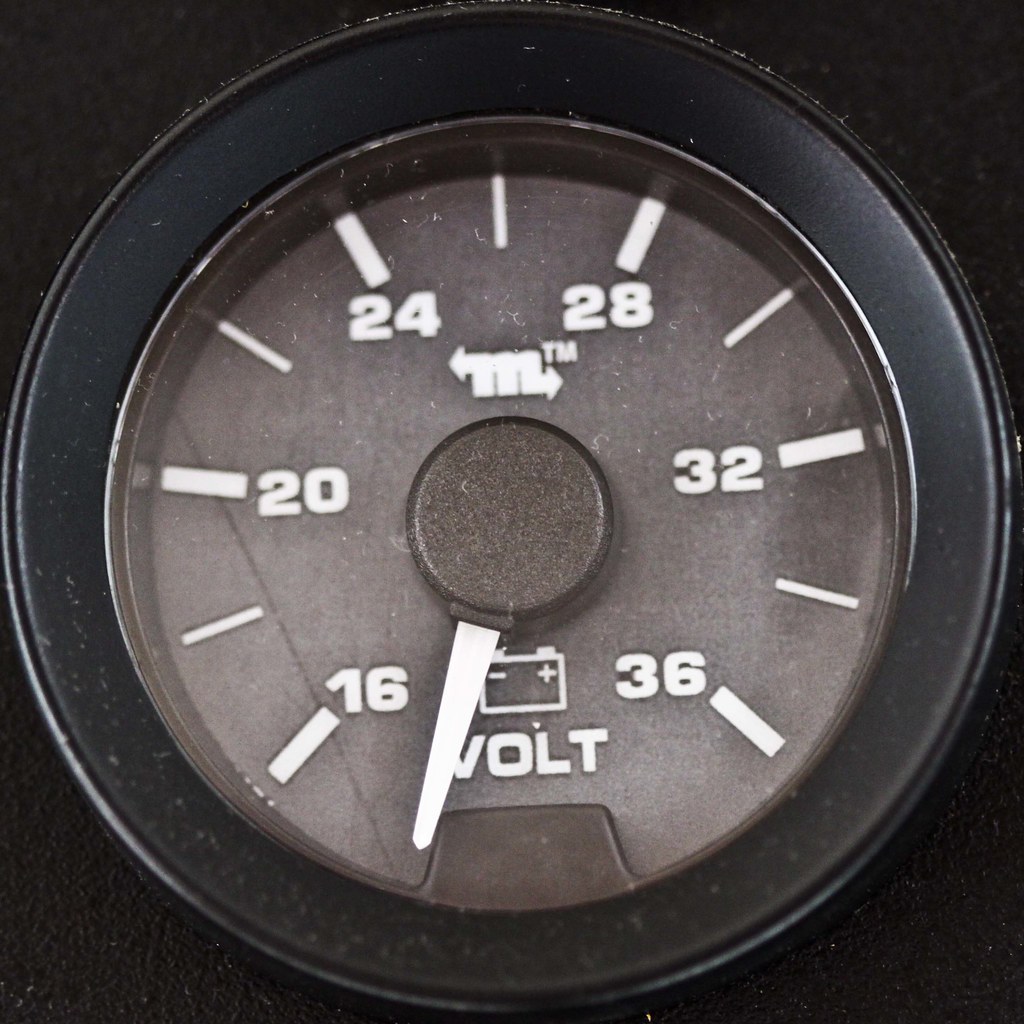
Several common scenarios can lead to the loss of blend door calibration. A very frequent culprit is a **flat car battery** or simply a **disconnected battery**. When the vehicle’s main power source is interrupted, the control module can lose its learned settings, necessitating a relearn process. Other causes include a genuinely **faulty Stepper motor** that’s failing to report its position accurately, a **stuck blend door** that physically prevents movement, or even a **stepper motor removed or disturbed without re-calibrating** afterward. The context highlights that a flat battery is a highly common cause of HVAC calibration issues, along with a multitude of other system calibration woes, making it a crucial consideration when troubleshooting dashboard clicks.
5. **Step-by-Step HVAC Recalibration: Silencing Erratic Motor Activation**While the concept of calibrating your HVAC system might sound daunting, the actual process isn’t inherently difficult for most vehicles, though it often involves a specific sequence of time-sensitive steps. It’s important to remember that all automotive manufacturers will have their own unique relearn procedures, so what works for one vehicle might not be applicable to another. In some more advanced vehicles, a bidirectional scan tool might be required to properly initiate and complete the HVAC system calibration. This type of tool allows two-way communication with the vehicle’s computer, enabling you to command specific functions or initiate system resets.
However, for many common vehicles, particularly certain GM models as detailed in the context, a manual recalibration procedure can be followed. This sequence is designed to force the HVAC control module to relearn the full range of motion for its blend doors, thereby correcting any internal position miscalculations. Following these steps precisely is key to a successful calibration. Any deviation or interruption during the process can lead to an incomplete relearn, meaning the clicking noise might persist or even worsen.
Here’s a common relearn, or recalibration, procedure for some GM vehicles, which illustrates the typical flow: First, turn the ignition on, then press the ‘Auto’ button on your climate control panel, and finally, turn the ignition off. Next, locate and remove the fuse from the HVAC system for a full minute; this completely cycles power to the module. After one minute, reinsert the fuse and turn the ignition on again. At this point, the HVAC system should enter relearn mode and automatically cycle through all the blend door positions. During this critical phase, it’s vital that you do not touch any of the climate controls for at least two minutes. Once this period passes, turn the ignition off for a mere 15 seconds, and then start the engine. If all steps were followed correctly, your system should now be calibrated, and the erratic clicking should cease.
This recalibration process frequently resolves a significant number of HVAC-related issues causing dashboard clicks. However, if the problem regrettably reoccurs after successfully completing a recalibration, it points towards a more serious underlying mechanical fault. In such cases, a failing stepper motor is the most likely root cause, suggesting that the issue isn’t just about lost data but rather a component that is no longer functioning correctly.
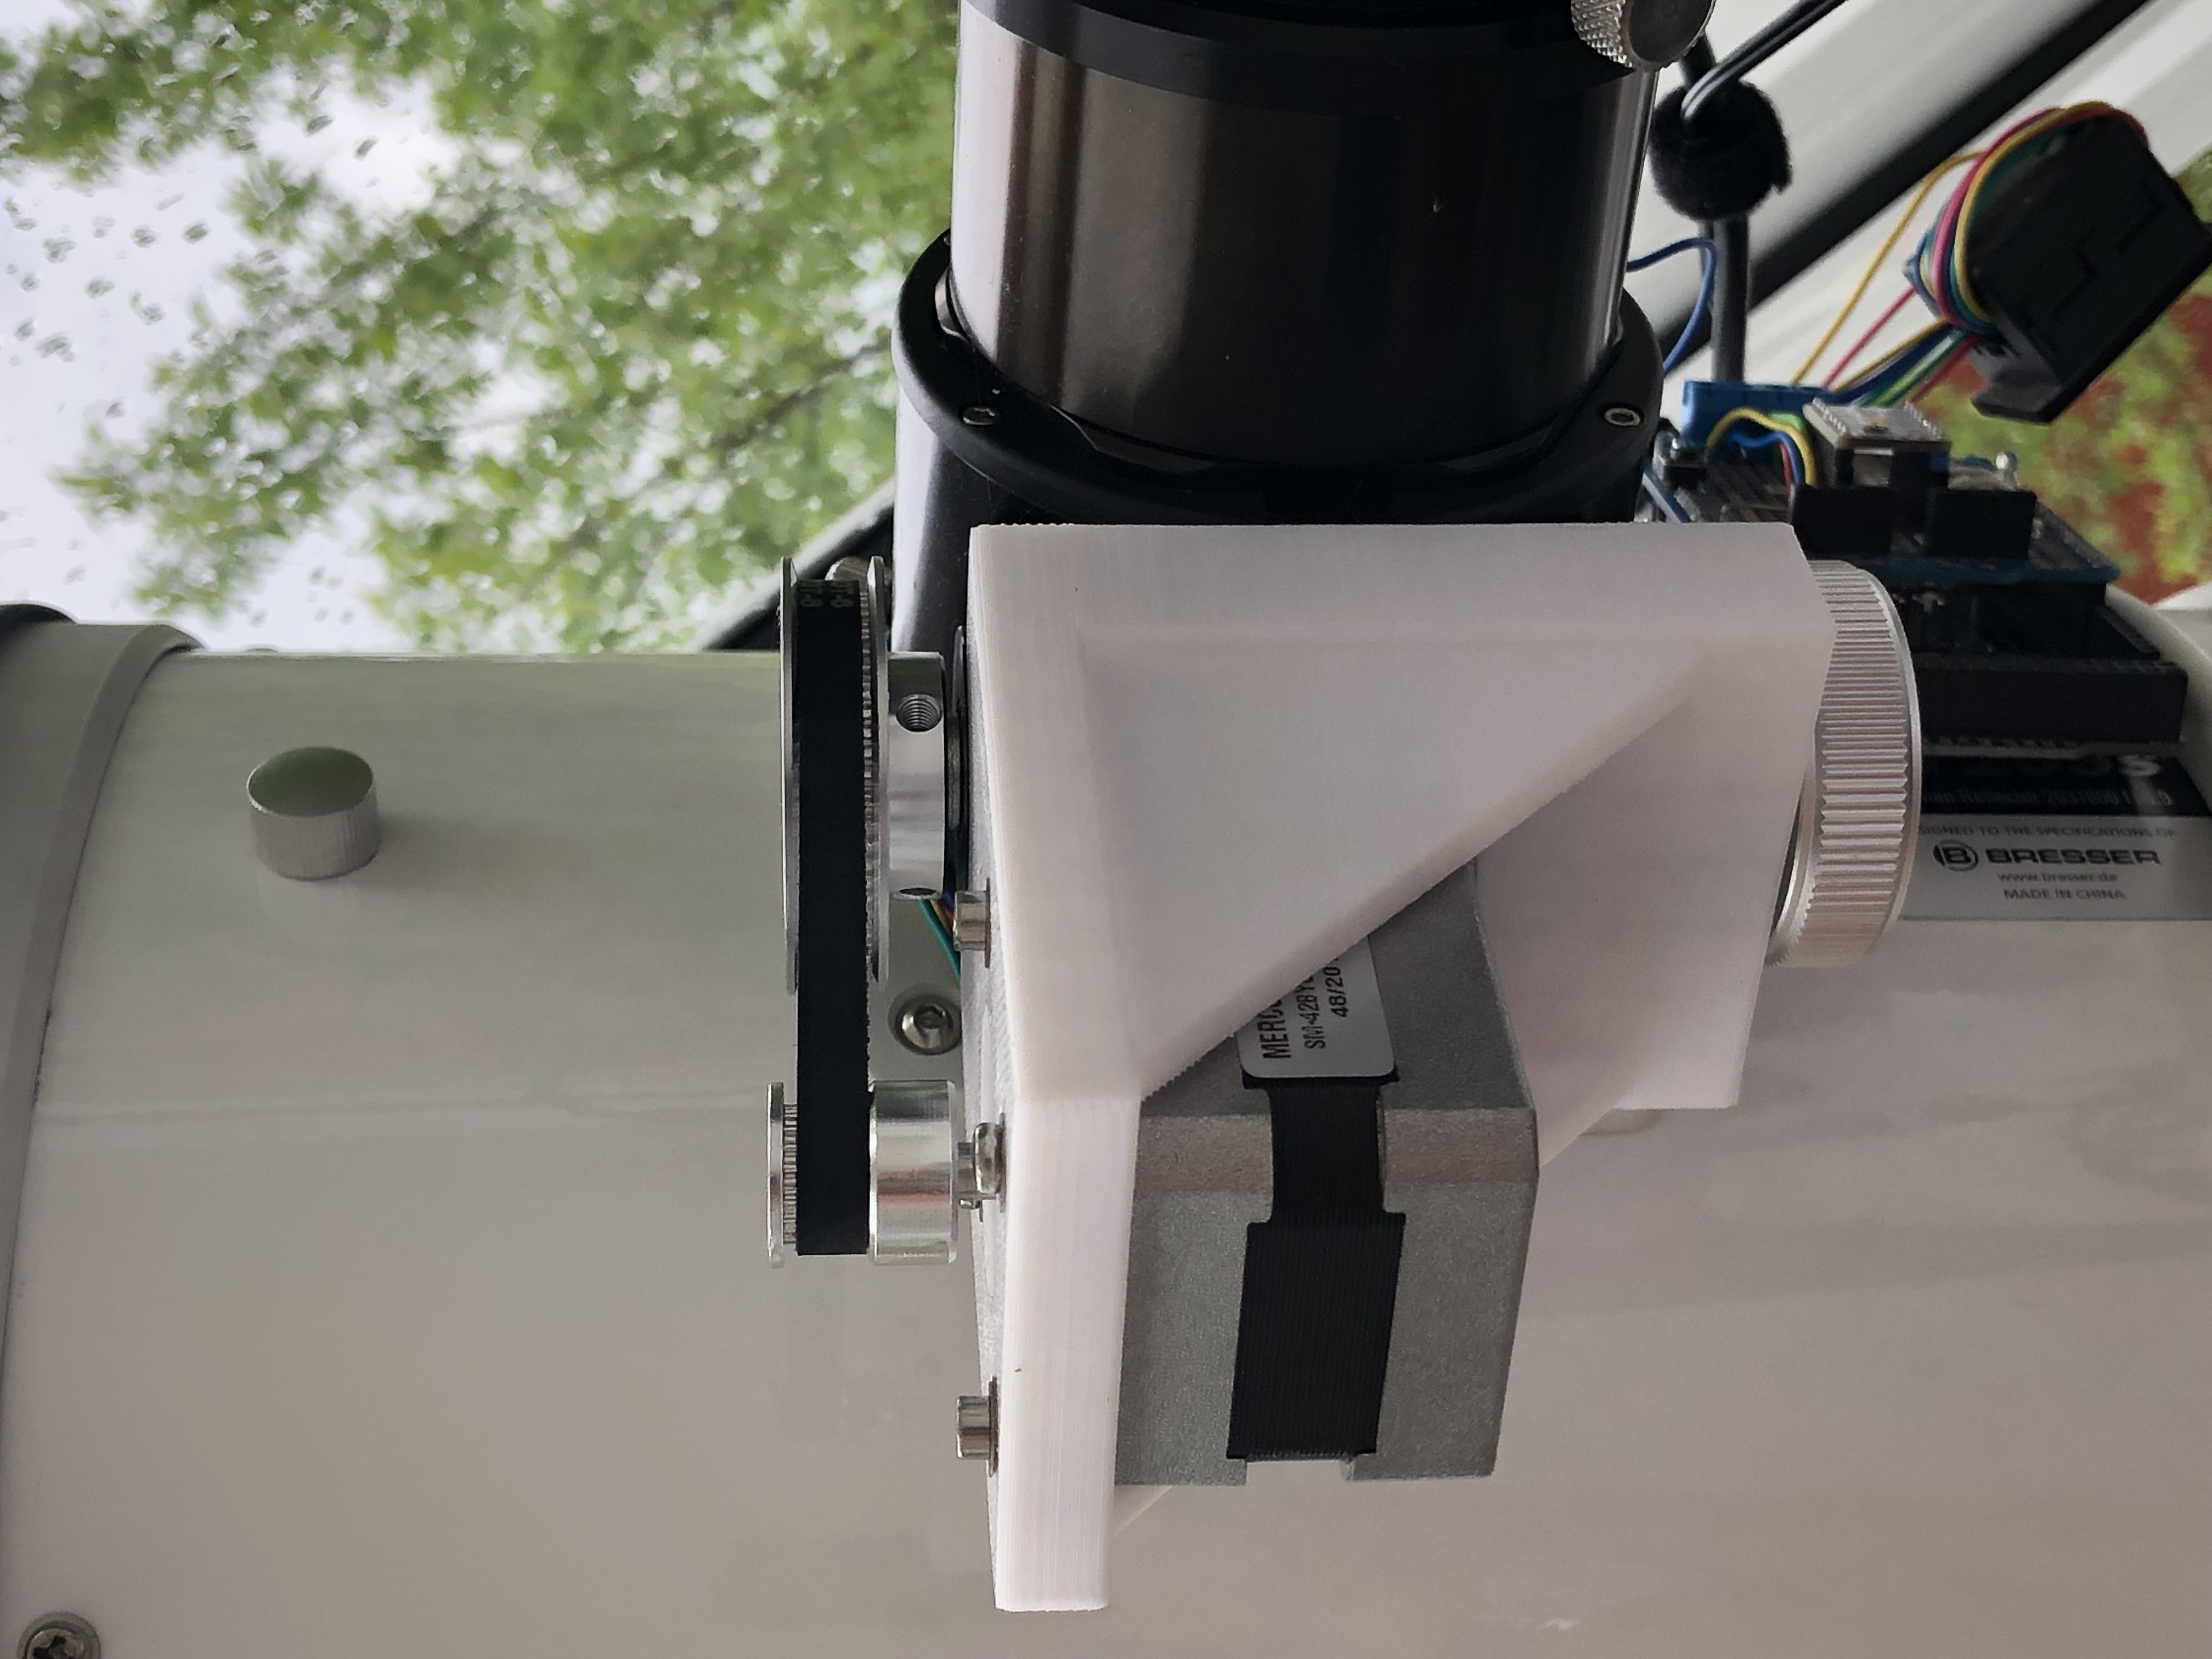
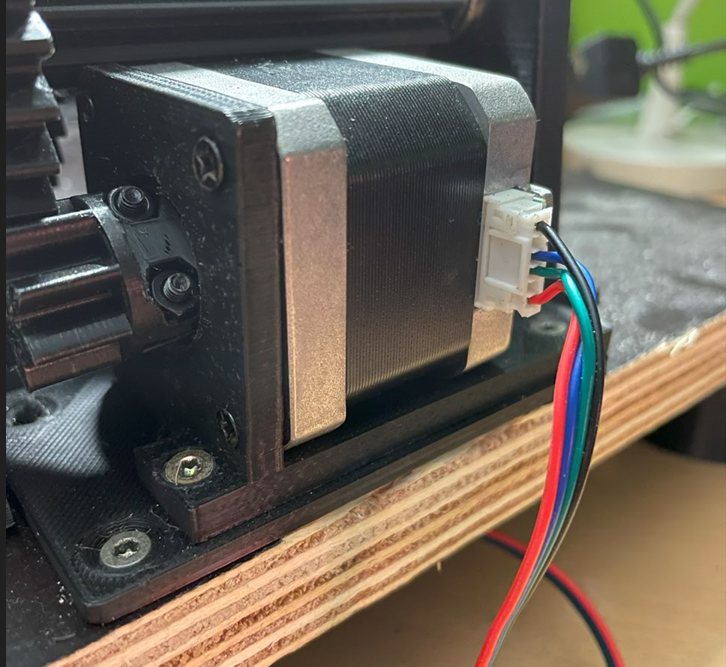
6. **Spotting a Faulty Stepper Motor: Your HVAC System’s Tiny Movers**When recalibration doesn’t solve the incessant dashboard clicking, or if the noise quickly returns, attention often shifts to the stepper motors themselves. These ingenious little devices are fundamental to the precision of your car’s climate control. A stepper motor, at its core, is an electric motor engineered to move in very precise, incremental steps rather than a continuous rotation. This capability makes them ideal for applications requiring exact positioning, such as controlling blend doors within your HVAC system. Your car actually employs several stepper motors across various automotive systems, but the ones connected to the blend doors in your heater system are the prime suspects when it comes to dashboard clicking noises.
These tiny but mighty movers are responsible for the physical adjustment of the blend doors, which in turn direct heated or cooled air to different parts of the cabin. When you adjust the temperature, fan speed, or vent selection, it’s these stepper motors that receive commands from the control module and physically reposition the blend doors. The precise movements and consistent communication of their positions (‘counts’) back to the control module are what allow your HVAC system to provide seamless climate control. If a stepper motor fails to move correctly, gets stuck, or can’t accurately report its position, it can cause the control module to repeatedly try and command it, leading to that telltale clicking sound.
The author of the original text even shared a personal anecdote of encountering this exact problem. His experience highlights how a simple, yet overlooked, issue related to a stepper motor can cause significant frustration. He recounts fixing his own problem for free in less than ten minutes, a testament to the fact that not all fixes require extensive professional intervention. Understanding what a stepper motor does and how it’s integrated into the HVAC system is crucial for effective troubleshooting, paving the way for practical, hands-on solutions.
7. **Diagnosing Stepper Motor Problems Without a Scan Tool: Trust Your Ears!**While a sophisticated scan tool can be invaluable for diagnosing a faulty stepper motor – often revealing a unique fault code that pinpoints the exact component and its location – such tools aren’t always readily available to the average home mechanic. Fortunately, you don’t necessarily need advanced diagnostic equipment to tackle this problem. As the adage goes, sometimes the best tools are your own senses, and when it comes to a dashboard clicking noise, your ears can be incredibly effective. This ‘old school’ approach relies on careful listening and systematic observation to narrow down the source of the issue.
When your dashboard begins to click, one of the most revealing diagnostic steps is to actively manipulate your car’s heater settings. As you change temperature, fan speed, or vent modes, pay close attention to any changes in the clicking noise. Does it get louder or softer? Does it move to a different part of the dash? Does it stop entirely when a certain setting is selected? The author vividly describes how he noticed the clicking noise change slightly as he adjusted his heater settings, leading him to deduce that the problem must be a stuck door or a faulty stepper motor. This simple observation can provide critical clues about which part of the HVAC system is misbehaving.
The author’s persistence led him to a remarkable, yet common, discovery after enduring 50 miles of clicking. He stopped at a gas station, and by simply following the loudest point of the noise, he pinpointed its origin behind the passenger-side dash. Upon removing the glove box, he made a surprising finding: a pen was stuck in the blend door mechanism. Removing the pen instantly solved the problem, though it also left a messy ink stain. This anecdote perfectly illustrates that not all stepper motor problems are due to the motor itself; physical obstructions are surprisingly common. You may also uncover a genuinely stuck door, a disconnected actuator arm, or indeed, a faulty motor. As you manipulate the blend door controls, look and listen for issues with gears and pivots, checking for any signs of wear. If you find yourself needing to manually assist the motor by opening the blend door as you operate the control panel, or if applying a little WD40 to the gears and pivots helps, then replacing the stepper motor is often the next logical step.
8. **Replacing a Faulty Stepper Motor: A Hands-On Guide**When recalibration fails to silence the persistent clicking, or if a physical obstruction like a pesky pen isn’t the culprit, replacing the stepper motor becomes the necessary next step. While the repair itself often seems straightforward, gaining access to these small components can sometimes be the most challenging part of the job. You might find yourself in some awkward positions, contorted under the dashboard, but with patience and the right approach, it’s a perfectly achievable DIY task.
To begin, your primary challenge will be locating the specific stepper motor causing the trouble and then carefully removing it. These tiny motors are typically secured by two small bolts, often 6mm, 7mm, or 8mm in size. Given the confined spaces behind the dashboard, a 1/4-inch ratchet with a suitable socket is usually your best friend, allowing you to maneuver effectively in tight quarters. You’ll also need to disconnect the pigtail connector that supplies power and signals to the motor, ensuring all electrical connections are safely disengaged before proceeding.
Once the old, faulty stepper motor is unbolted and the pigtail connector is detached, the replacement process is, thankfully, the reverse of removal. Install the new stepper motor, carefully ensuring the mounting points align and securing those small bolts firmly but not overtight. Reconnect the electrical pigtail, making sure it clicks securely into place. However, the job isn’t quite complete once the new motor is physically installed. The control module has lost its ‘counts’—its precise understanding of blend door positions—and the system absolutely needs to be recalibrated. Failing to recalibrate will likely lead to a recurrence of the clicking noise, as the system struggles to operate with incorrect positional data.

9. **Faulty Relays: Another Source of Dashboard Clicking**Beyond the intricate world of HVAC systems, another common culprit behind dashboard clicking can be a faulty relay. Modern vehicles are veritable marvels of electronic engineering, packed with an astonishing array of electronic kit that demands a complex web of circuits, control modules, and, crucially, relays. It’s not uncommon for your vehicle to house three or even more separate fuse boxes, strategically located under the hood, beneath the dash, and sometimes even in the trunk, all bristling with fuses and relays.
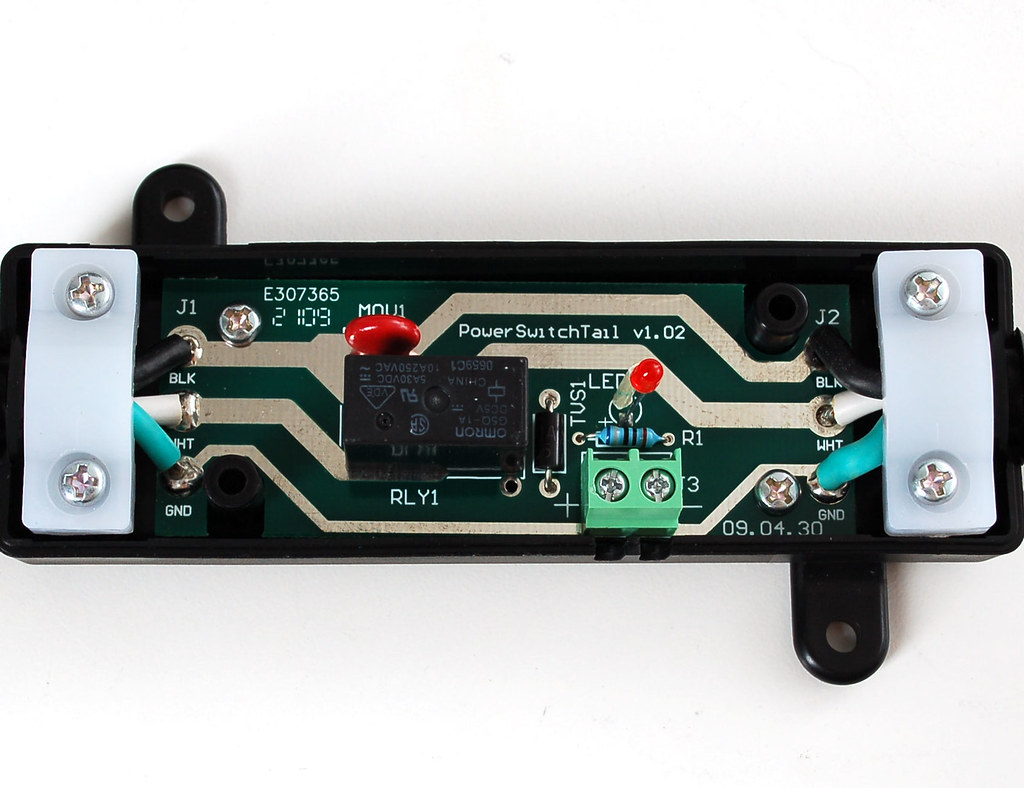
A relay, at its core, is a clever little electro-mechanical switch. Its fundamental purpose is to enable a low-amp control circuit to manage a high-amp load circuit. Think of it as a gatekeeper: a small electrical current sent through the control side of the relay magnetizes it. This magnetization causes internal copper armature contact points to close, which in turn completes the load-side circuit, effectively powering up a consumer component like headlights, the horn, wipers, or even the starter motor.
Under normal operation, as these contact points close and open, relays emit a distinct, audible click—this is entirely natural and indicates the relay is functioning as intended. However, when a relay becomes faulty, or if its internal contact points become dirty or corroded, this normal clicking can transform into a problematic, repeating clicking sound. This happens because the relay struggles to maintain a stable connection, causing it to engage and disengage rapidly, creating that annoying, persistent clicking from behind your dash. Understanding this mechanism is key to diagnosing such issues effectively.
10. **Diagnosing a Faulty Relay: Simple and Effective Techniques**When a faulty relay is suspected of causing dashboard clicking, diagnosing the issue often requires a systematic, yet refreshingly simple, approach. One of the most effective initial steps is to use your ears to pinpoint the general location of the offending sound. Once you’ve narrowed it down to a particular fuse box or area, placing your hand on individual relays as they click can often help you identify the specific unit that’s misbehaving. You’ll feel the distinct vibration or click in the faulty relay as it rapidly engages and disengages.
Once identified, a quick and remarkably simple diagnostic trick is to remove the suspect relay and swap it with one of its neighbors. Many fuse boxes contain multiple identical relays, especially for less critical systems. If the clicking sound either moves to a different circuit or disappears entirely after the swap, you’ve likely found your faulty relay. Additionally, a simple physical test can sometimes reveal an issue: gently shaking a faulty relay will often produce a subtle rattling sound, indicating internal component issues or loose contacts, which isn’t present in a healthy relay.
For those who want to delve deeper or confirm their suspicions, more advanced diagnostic methods are available. You can ‘hotwire’ the relay to test its activation and then use a voltmeter to check for proper resistance across its contacts, ensuring it’s operating within specifications. Alternatively, specialized plug-and-play relay testers are readily available, offering a fast and definitive way to determine a relay’s health without complex electrical measurements, making diagnosis even more accessible for the home mechanic.
11. **Replacing a Relay: A Straightforward Repair**Compared to some of the more involved automotive repairs, replacing a faulty relay is refreshingly simple and quick, making it a highly satisfying DIY fix. Once you’ve successfully diagnosed the problematic relay, the physical replacement process typically requires no special tools or complex procedures. It’s often as straightforward as plug-and-play, allowing you to restore your vehicle’s quiet and functionality with minimal fuss.
To replace the relay, simply grasp the old unit firmly and pull it straight out of its socket. You might need to wiggle it gently, but avoid excessive force. Before inserting the new relay, take a moment to carefully inspect the pins on its base. Ensure they are correctly aligned with the corresponding slots in the fuse box socket. Proper alignment is crucial to prevent bending or damaging the pins, which could create new electrical issues. Once aligned, firmly push the new relay home until it is fully seated. You’ll often feel a satisfying click as it locks into place, confirming a secure connection. This simple action often silences that annoying dashboard clicking for good, proving that not all fixes need to be complicated or expensive.

12. **The Indispensable Workshop Manual: Your Ultimate DIY Companion**Whether you’re tackling a persistent dashboard click, an elusive squeak, or any other automotive repair, one tool stands above almost all others in terms of value and utility: the workshop manual specific to your vehicle. While online forums and videos offer a wealth of information, nothing truly compares to the comprehensive, authoritative guidance found within a factory service manual. It’s an investment that pays for itself countless times over, not just in terms of saving money on shop visits, but also in building your confidence and understanding of your vehicle.
These manuals are meticulously compiled, providing mission-critical information that is often impossible to find reliably elsewhere. They contain detailed repair diagrams that show you exactly how components are assembled and disassembled, wiring diagrams that demystify complex electrical systems, and thorough system operation overviews that explain how everything from your engine to your HVAC functions. Beyond simple instructions, workshop manuals often include dedicated troubleshooting sections, offering diagnostic flowcharts and common fault scenarios that can drastically accelerate your problem-solving efforts.
Furthermore, these manuals provide essential, often overlooked details such as fastener torque specifications, ensuring that every bolt is tightened to the precise factory setting, preventing both over-tightening damage and loosening. They also outline crucial repair sequences, guiding you through multi-step procedures in the correct order to avoid complications. For just a few dollars, a workshop manual empowers you to approach any DIY car repair with the authority and confidence of a seasoned mechanic, making it an absolute must-have for anyone serious about maintaining their vehicle without relying solely on professional intervention.
Reclaiming the peace and quiet of your vehicle’s cabin doesn’t have to be a mystery. Armed with the knowledge to distinguish between clicks and squeaks, understanding the intricate workings of systems like your HVAC, and knowing how to diagnose and address issues from stepper motors to relays and rubbing harnesses, you are well on your way to becoming your own dashboard noise expert. The satisfaction of silencing an annoying sound with your own hands, often for free or with minimal cost, is immense. So next time your dash starts to complain, remember these tricks—your ears, a little patience, and the right information are your most powerful tools for a quieter, more enjoyable ride.” , “_words_section2”: “1945


