
 In Repairs")
In today’s economic climate, every dollar saved makes a significant difference, and nowhere is this truer than in the realm of car ownership. A vehicle, a costly investment for most, demands ongoing financial input, yet there’s substantial good news for the savvy consumer: much of this cost can be significantly reduced, or even eliminated, by embracing do-it-yourself (DIY) car maintenance. Just as we diligently care for our homes and bodies, our vehicles too require consistent attention.
Routine maintenance performed now can both extend your vehicle’s life and save you thousands of dollars over the long run. The principle is simple yet profound: it is always more cost-efficient to identify and rectify a minor issue early than to allow it to escalate into a catastrophic failure of a major vehicle component. The potential for engine damage, transmission failure, or compromised safety due to neglected upkeep can lead to repair bills soaring into the thousands.
This comprehensive guide empowers you with the knowledge to tackle essential car maintenance tasks yourself, ensuring your vehicle remains reliable, efficient, and above all, safe, without breaking the bank. By taking control of these key responsibilities, you’ll not only see considerable savings—potentially over $3,000 annually—but also gain a deeper understanding of your vehicle’s mechanics, preparing you better for any larger, unavoidable fixes down the road. Let’s explore the foundational tasks that make this possible.
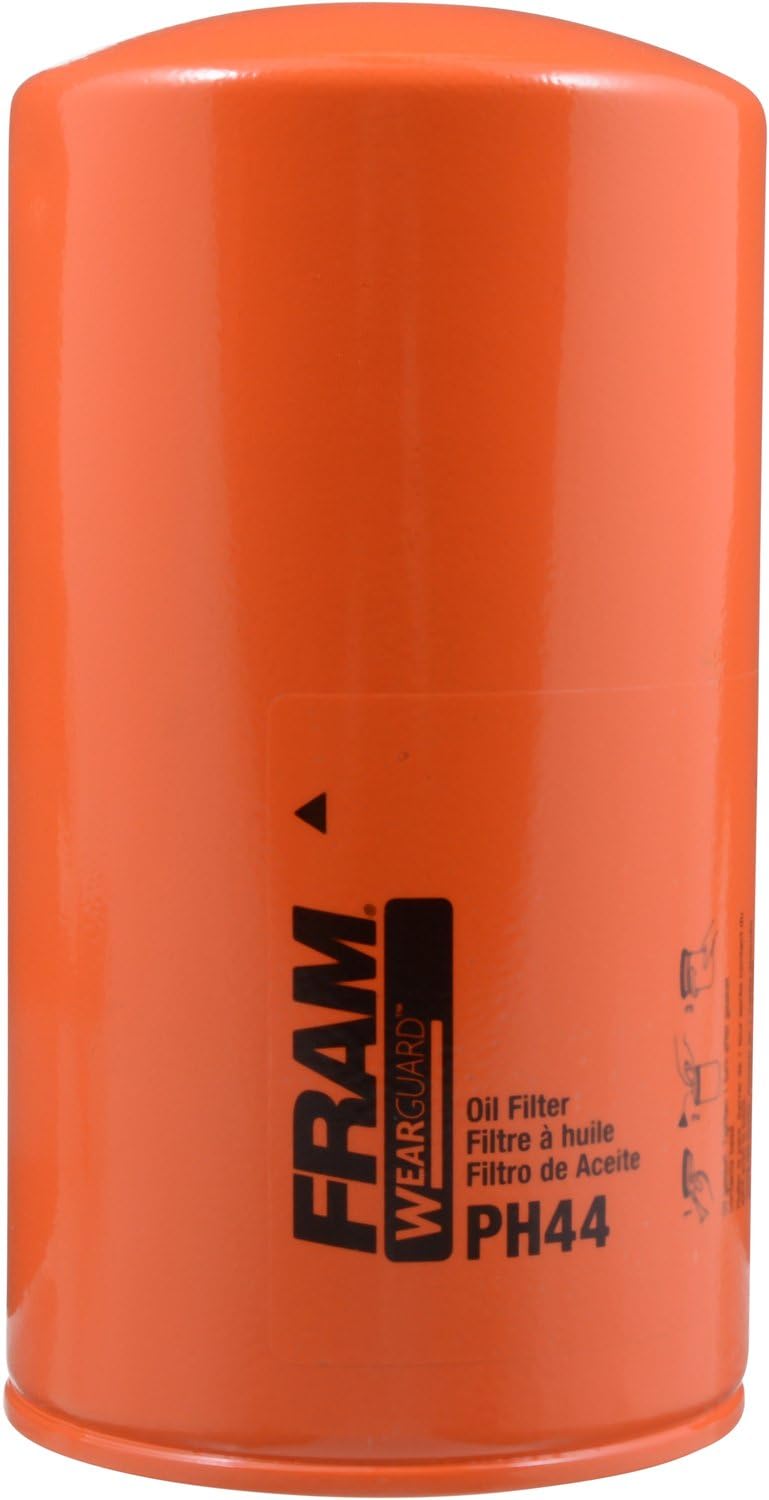
1. **Oil Changes and Filter Replacement**Changing your oil is consistently ranked as one of the most vital—and cost-effective—maintenance tasks for preserving your engine’s health. The engine oil’s primary role is to reduce friction between internal car parts and prevent overheating, which is crucial for optimal performance. Neglecting regular oil changes allows dirt and debris to accumulate, turning the oil into an abrasive substance that wears down engine components and can eventually lead to significant damage or even a blown gasket.
Auto experts and organizations like the American Automobile Association (AAA) emphasize the importance of following your vehicle’s factory maintenance schedule for oil changes, noting that intervals vary depending on vehicle age, oil type, and driving conditions. While the old norm was 3,000 miles, modern lubricants often allow for 5,000 to 7,500 miles, and full-synthetic motor oil can even extend this to 15,000 miles. Even if you drive infrequently, changing your oil at least once or twice a year is a wise practice to ensure freshness.
The financial implications of skipping oil changes are substantial. Beyond reduced fuel efficiency, which leads to more frequent gas purchases over time, the real danger lies in potential engine damage. A new engine can cost anywhere from $2,000 to over $10,000, depending on your vehicle’s model and year. Furthermore, neglecting oil changes can void your vehicle’s warranty, making you liable for repairs that would have otherwise been covered. Performing this DIY task, which typically costs $25 to $50 for materials compared to $35 to $75 (or more for synthetic) at a service center, is a bargain that wards off far greater expenses. It also allows you to be sure of the oil quality that goes into your engine and provides an opportunity to inspect other under-vehicle components.
Read more about: Behind the Grease and Grime: 12 Cars That Make Mechanics Secretly Cheer (Or Curse) When You Roll In
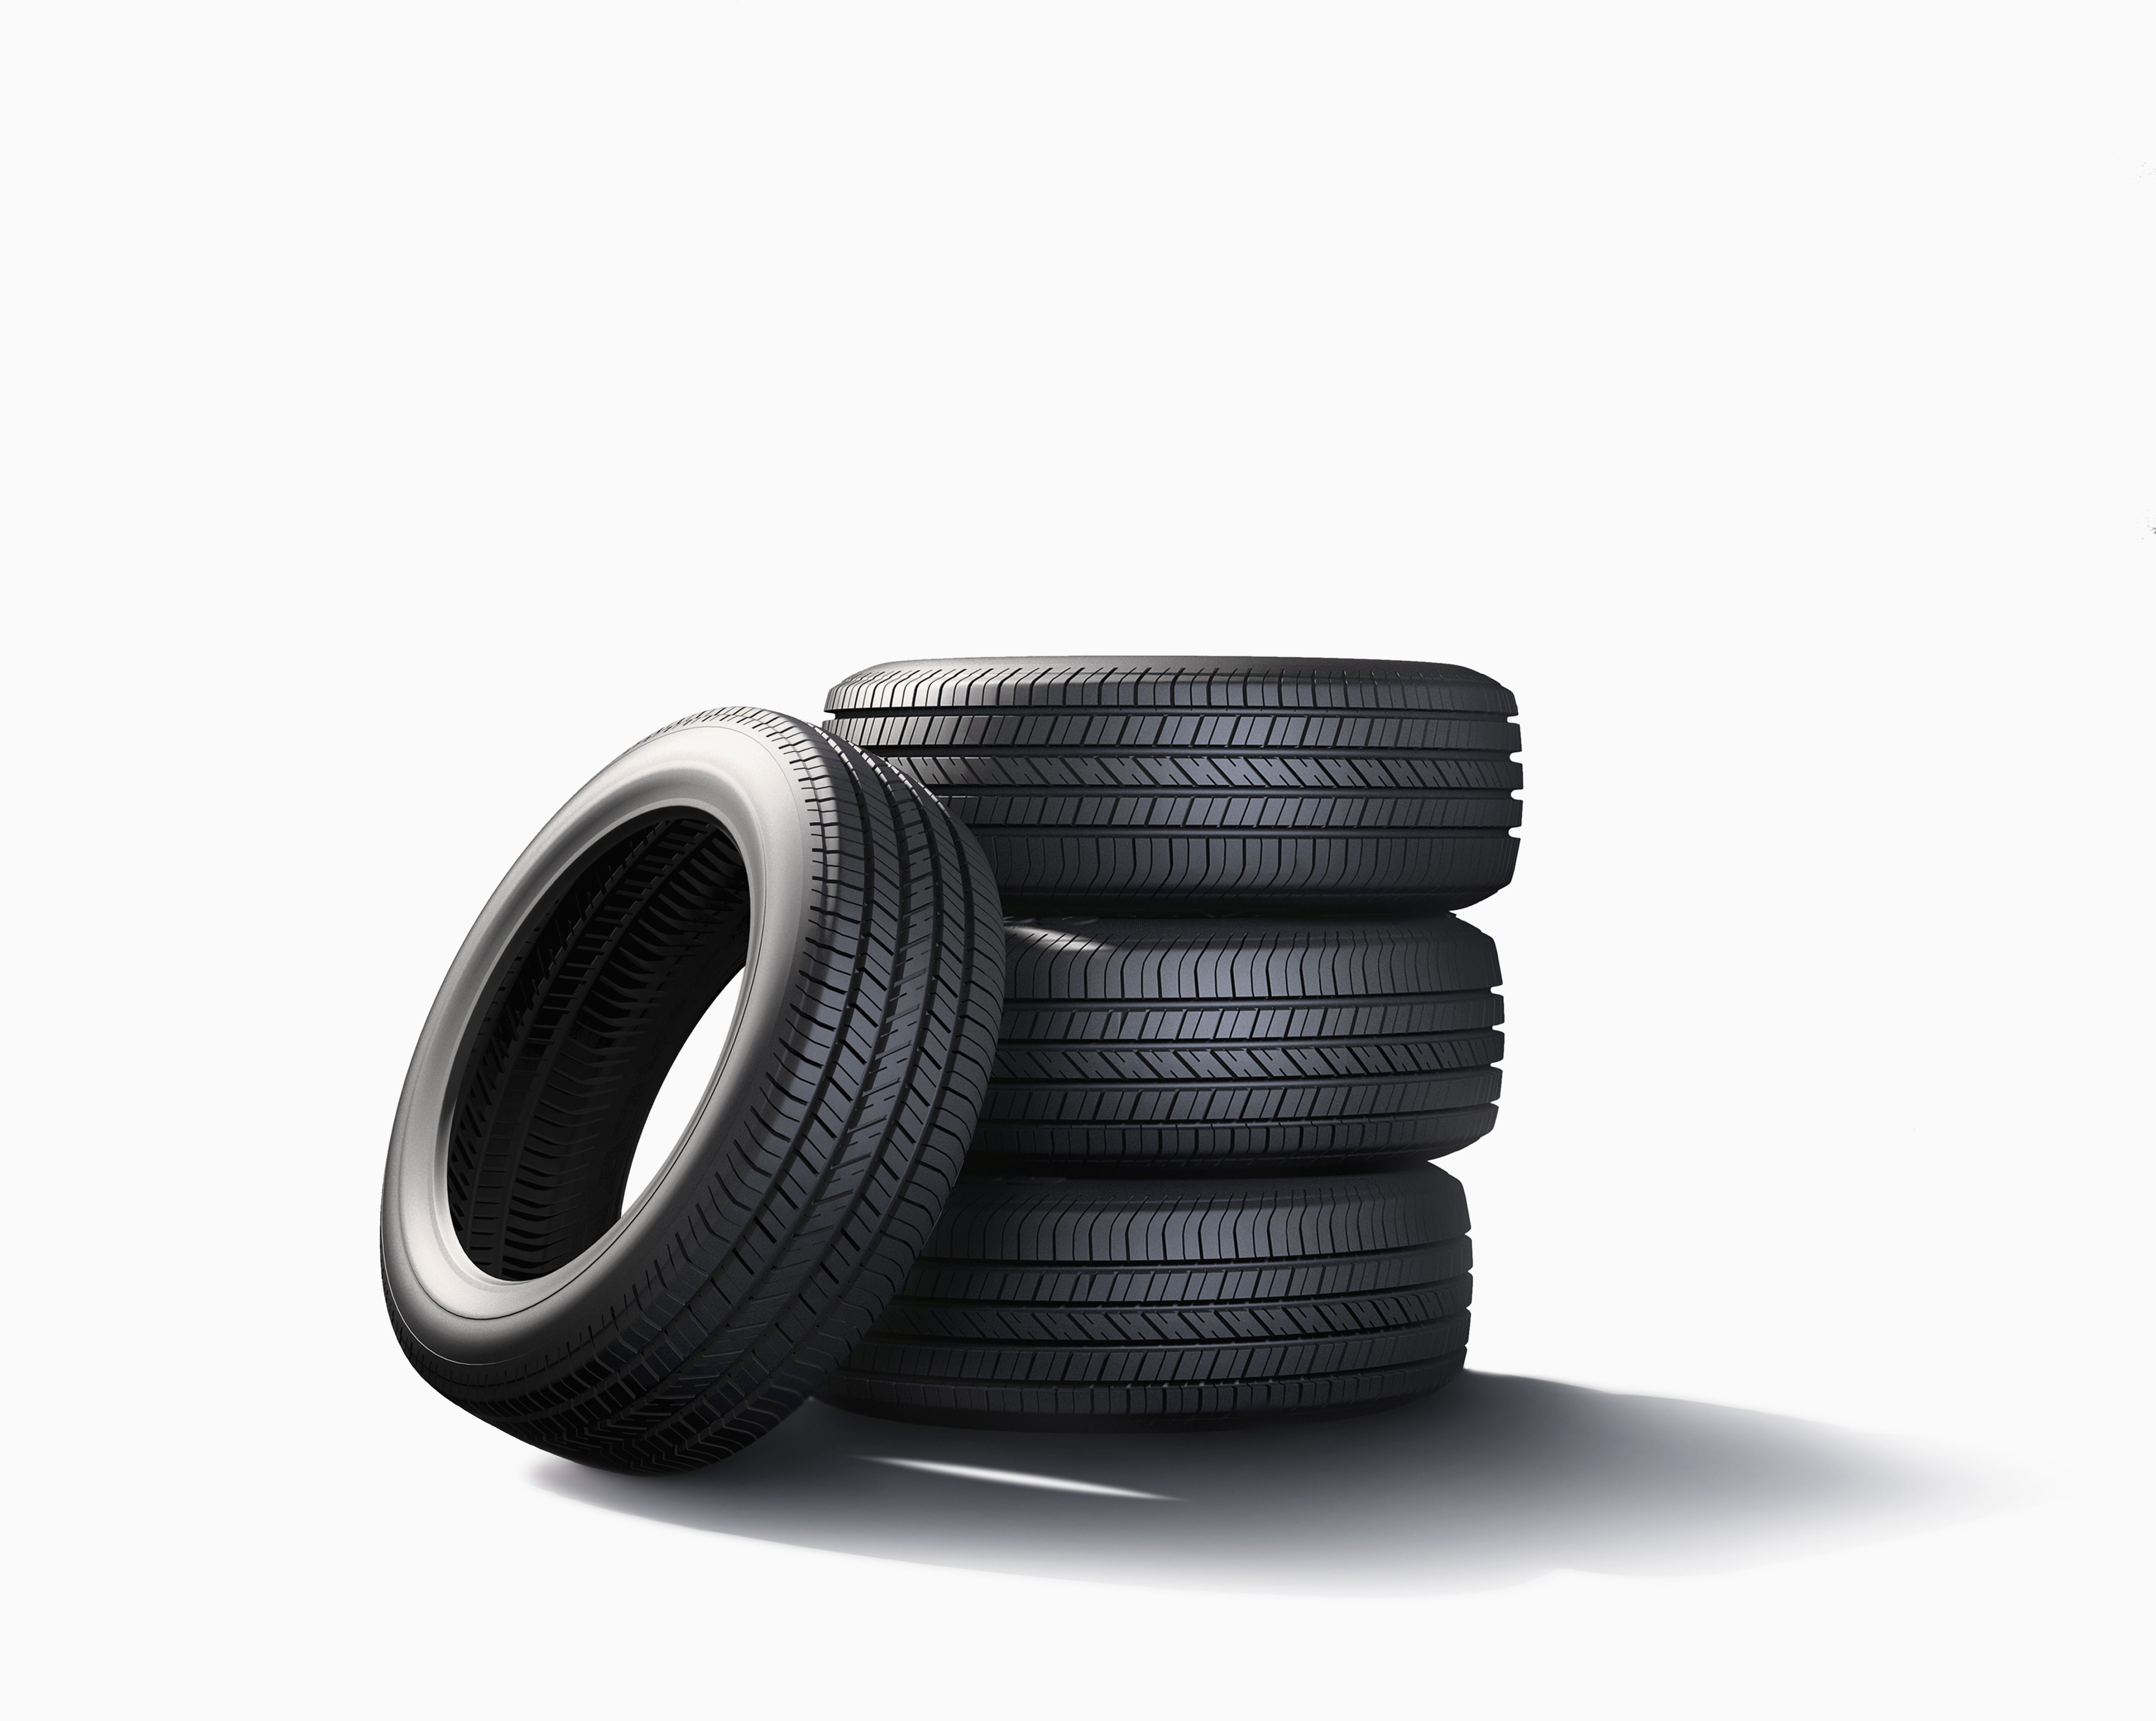
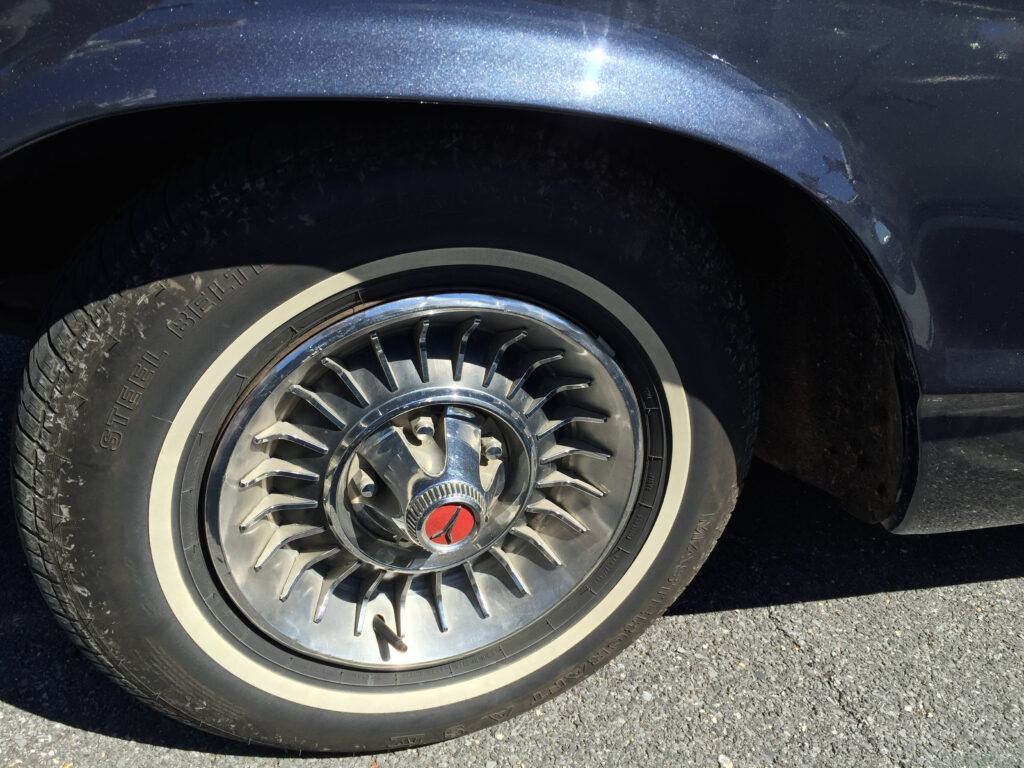
2. **Tire Maintenance (Pressure, Rotation, Tread, Flat Repair)**Maintaining the health of your tires is multifaceted, impacting everything from fuel efficiency and handling to overall safety. Proper tire pressure is critical; low pressure affects fuel efficiency and handling, and can cause uneven wear. This is especially true in winter when low temperatures can make air denser and reduce tire pressure. Using a simple pressure gauge to check tires monthly and before long trips, then topping off at a gas station (most places offer free air), is a cost-free way to save money long-term.
Even tire wear is another key aspect, which is achieved through regular tire rotations—a service typically needed every 6,000 to 8,000 miles. While a service center charges between $60 and $72 for a rotation, staying on top of this extends tire life and improves fuel economy. Skipping rotations can lead to premature tire replacement and increased risks of tire failure. The lifeblood of your vehicle’s connection to the road, tires are a significant investment, ranging from $89 to over $1,200 each, plus around $100 for installation of a set of four. Proactive maintenance helps maximize their lifespan.
Tread depth is equally important for grip and safety. Worn-down tread, easily checked with the ‘penny test’ (if Lincoln’s entire head is visible when inserted head-down, tread is too shallow), increases the risk of tire failure or loss of vehicle control, potentially leading to accidents. Addressing minor punctures, such as those caused by screws or nails in the tread, can often be a DIY task using a plug kit and tire repair cement after locating the leak with soapy water. For leaks where the rubber meets the rim, however, professional help is advised. Lastly, after having wheels reinstalled, re-torquing the wheel nuts after 50 miles with a torque wrench ensures they remain tight, preventing dangerous detachment.
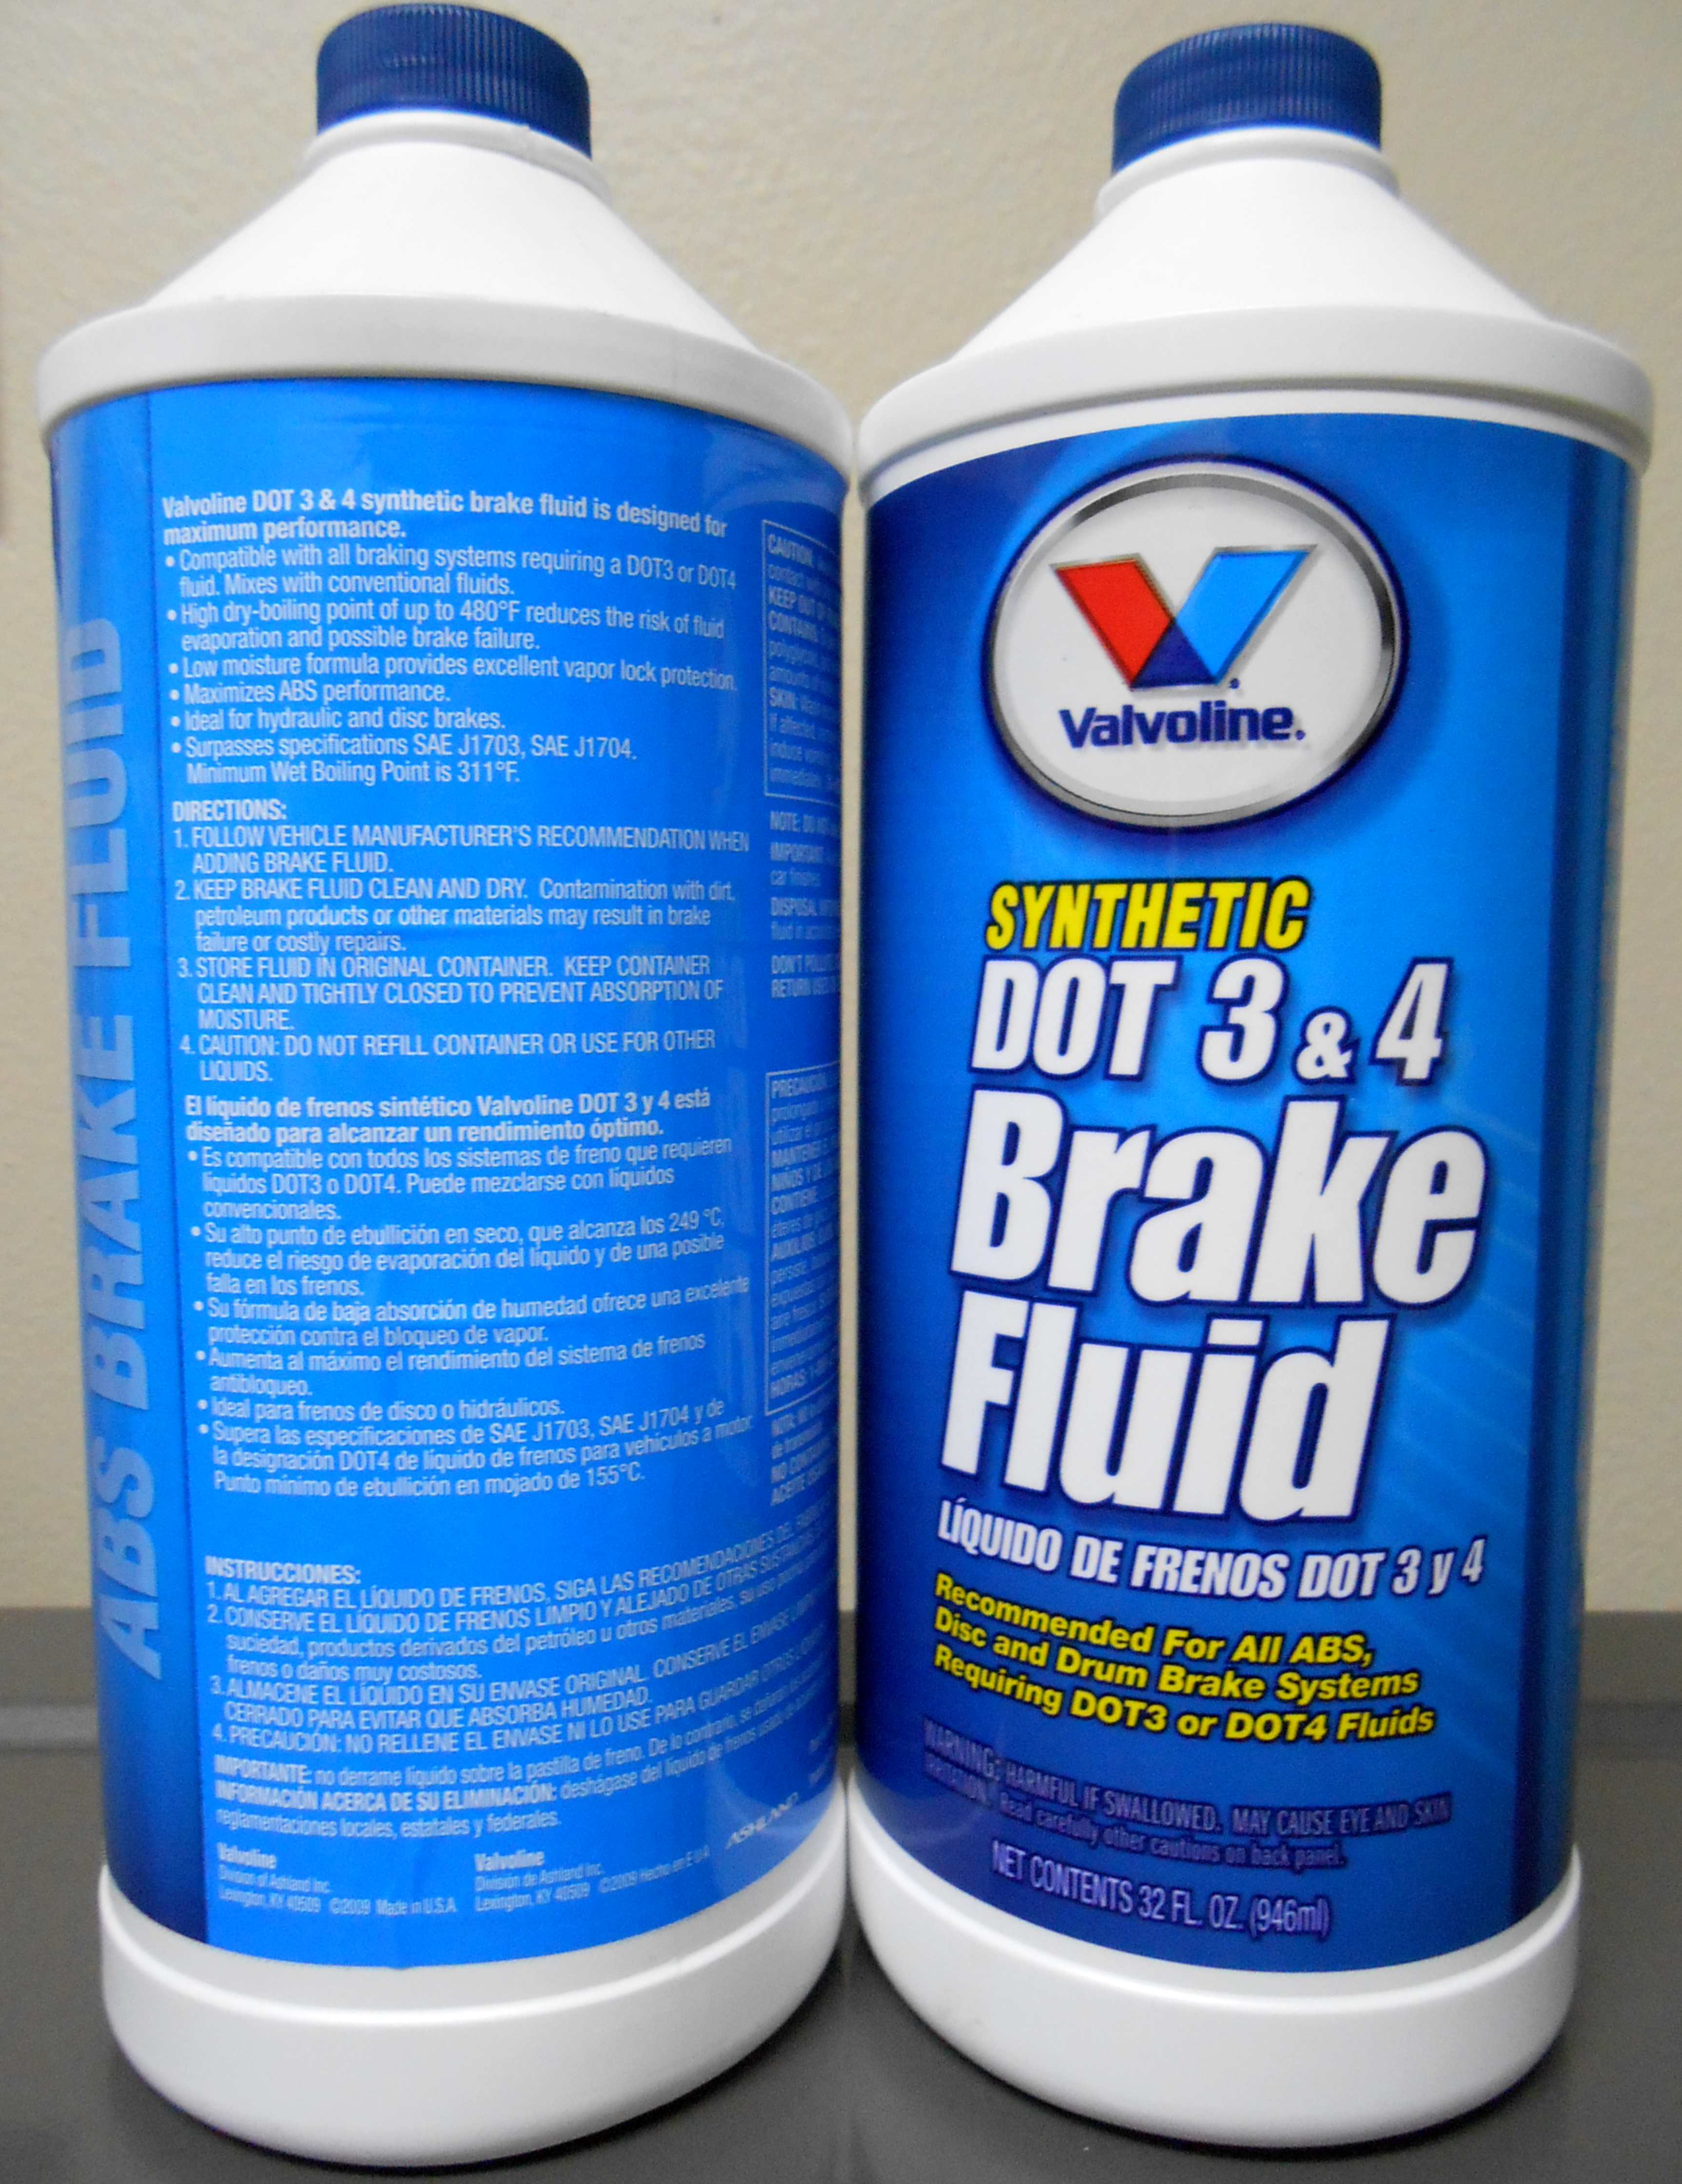
3. **Brake System Inspection and Fluid Flushing**The braking system is undeniably one of your car’s most critical safety components, but maintaining it is also a wise financial decision. Malfunctioning brakes are not only disastrous from a safety perspective but can also lead to significantly higher costs down the line. Brake pads, which typically last between 30,000 and 70,000 miles, need regular replacement. While replacing pads costs between $115 and $270 per axle, and rotors can add $250 to $500 per axle, these costs are minimal compared to the expenses incurred from an accident caused by deteriorated brakes.
Regular brake inspections are paramount, ideally every 10,000 to 20,000 miles for pads and 50,000 to 70,000 miles for rotors, or immediately if you notice reduced braking performance, unusual noises, or vibrations. Beyond physical components, brake fluid quality is crucial. Over time, brake fluid absorbs moisture, which can weaken braking power and lead to brake failure. Flushing and replacing the fluid, recommended every 30,000 miles or two years, ensures your brakes perform optimally.
While a complete brake fluid flush often requires a mechanic, a DIY fluid swap can make a significant difference. This involves using a baster to remove old, dark brown fluid from the reservoir and refilling with fresh fluid, repeating the process over several weeks until the fluid maintains a light honey color. This procedure won’t replace all the old fluid but introduces enough new fluid to improve performance. Keeping your braking system well-maintained not only lowers accident risks—thus avoiding repair costs and stable insurance rates—but also protects other components, making the average $375 to $402 cost of a coolant change (often grouped with other fluid maintenance) a worthwhile investment to prevent far costlier repairs like a $1,000+ radiator replacement.
Read more about: Engine Specialist’s Essential Guide: Master Hill Climbs and Prevent Overheating Without Ever Pulling Over
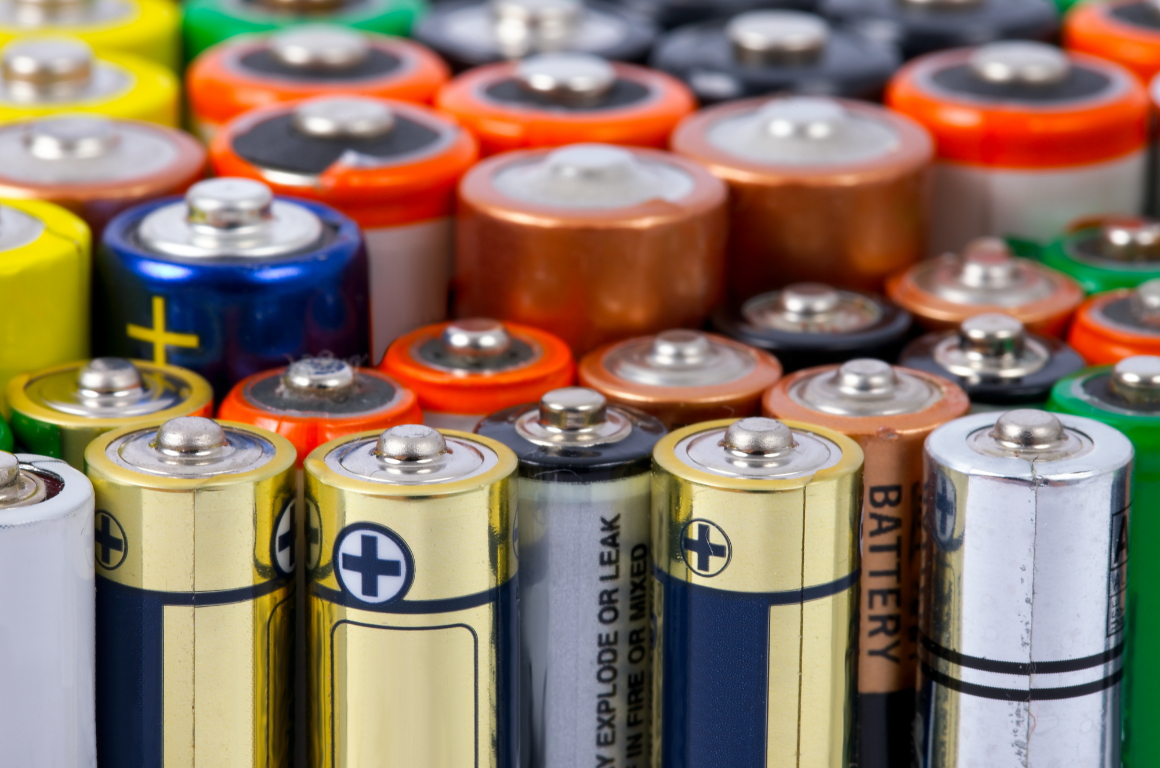
4. **Battery Maintenance (Testing, Cleaning Terminals, Replacement)**A dead car battery is more than just an annoyance; it’s a gateway to unexpected expenses and inconveniences. Proactive battery maintenance can save you from being stranded and from significant replacement costs. All automotive batteries eventually fail, usually lasting about five years, if cared for properly. Testing your battery regularly with an inexpensive battery tester, which measures its capacity and voltage during start-up, provides crucial insights into its remaining life, allowing you to plan for replacement rather than reacting to a sudden failure.
Beyond testing, cleaning battery terminals is a lesser-known but vital task. If neglected, corrosion can build up on terminals, potentially causing the battery to crack or fail entirely. A mechanic might charge $26 to $33 for this service, but you can easily do it yourself with water, baking soda, and a $5 steel wire brush. This simple cleaning prevents common starting issues and extends battery life. For those who need to replace the battery itself, it’s an easier task than many assume. Most auto parts stores will recycle your old battery free of charge when you purchase a new one. Always disconnect the negative terminal first, then the positive, and reverse the order for installation.
While a DIY battery replacement can save you on labor costs (a new battery itself averages $80 to $400, but a mechanic-installed replacement is $378 to $388, mostly parts), ignoring these tasks can lead to more expensive fixes. If corrosion becomes severe enough to require replacing battery cables, that can average $342 to $369, with the bulk of the cost being parts. Simple, regular battery checks and terminal cleanings are small investments of time and minimal money that prevent much larger financial headaches and ensure reliable vehicle starting.
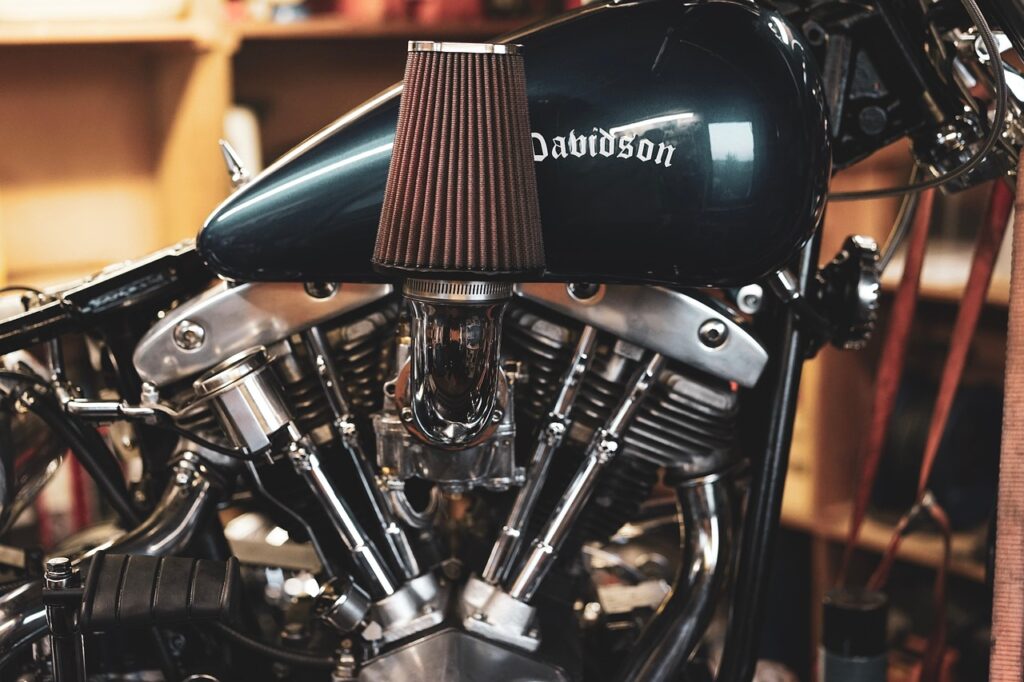
5. **Replacing Air Filters (Engine and Cabin)**Air filters, both for the engine and the cabin, are often overlooked components with significant implications for your vehicle’s performance and your comfort. Clean air filters are essential for an engine to run efficiently. A dirty engine air filter can lead to reduced fuel efficiency, lower horsepower, and even engine damage over time. It’s recommended to check and replace your engine air filter every 12,000 to 15,000 miles. This is a remarkably quick DIY task: simply locate the airbox, pop it open, and slide in a fresh filter. You can assess its condition by holding a shop light behind it; if it blocks 50 percent or more of the light, it’s time for a replacement.
Cabin air filters, while not directly impacting engine performance, play a crucial role in your vehicle’s HVAC system and the air quality inside. A clogged cabin air filter can strain your car’s blower motor, causing the AC to work harder and potentially leading to premature failure. Fortunately, these are also easy to access and replace, typically located behind the glove box or in the cowling area in late-model vehicles. Installation instructions usually come with the new filter, and noting the airflow arrows is key for correct orientation. An air filter replacement at a shop can cost between $59 and $78, with $27 to $34 of that being labor—money easily saved by doing it yourself, as no special tools are required.
Moreover, the context warns against a common scam where mechanics might try to charge for an unnecessary air filter replacement, sometimes even showing you a filter that isn’t yours. By learning to replace these filters yourself, you eliminate this risk. If you do opt for professional service, always ask the mechanic to show you where on your vehicle they pulled the filter from. This simple, inexpensive DIY task, whether for engine or cabin, protects your engine, improves air quality, and prevents unnecessary expenses from unscrupulous practices, making it a truly smart maintenance move.

6. **Checking and Topping Off Essential Fluid Levels (General)**Beyond the specific fluids discussed like oil and brake fluid, monitoring and maintaining the levels of various other fluids is a fundamental aspect of car care that keeps your vehicle running smoothly and prevents costly problems. This includes transmission fluid, power steering fluid, coolant, and wiper fluid. Regularly checking these levels is as simple as using a dipstick or observing marked reservoirs, and it can save you significantly on shop fees by allowing you to top off as needed before issues arise.
For example, engine oil should be checked with the engine off and the vehicle on a level surface. Brake fluid and power steering fluid also require checking with the engine off. Automatic transmission fluid, however, needs to be checked with the engine running, ideally after 10 to 15 minutes of driving to ensure it’s at operating temperature. A critical safety note to remember is never to remove the radiator cap while the engine is hot, as pressurized hot fluid can cause severe burns. Weekly fluid checks are ideal, allowing you to catch low levels before they become detrimental.
Maintaining proper fluid levels prevents a cascade of potential issues. Low coolant can lead to engine overheating and corrosion, while insufficient transmission fluid can cause overheating and system failure. Power steering fluid ensures smooth steering, and even wiper fluid, while seemingly minor, is crucial for visibility. While fluids themselves have a cost, the alternative—repairing components damaged by low fluid levels—is far more expensive, encompassing not only the cost of fluids but also significant labor charges at a service center. For instance, replacing an entire transmission due to fluid neglect could cost between $5,584 and $5,789, mostly in parts, making the DIY cost of fluids a truly tiny investment with massive protective value.
7. **Flushing the Radiator / Coolant Changes**The radiator plays a critical role in preventing your engine from overheating, and its proper function is heavily dependent on the quality of your coolant. Over time, coolant can become acidic, losing its protective properties. Neglecting to change your coolant allows this acidity to corrode essential components within your cooling system, including the radiator itself, the thermostat, the water pump, and even the heater system. This type of damage can quickly escalate into major repair bills.
A radiator flush protects your engine from both overheating and corrosion, significantly extending the life of your cooling system. While there’s wide variation in how often coolant needs to be changed—anywhere from 30,000 to 100,000 miles or two to five years, according to AutoZone—it’s clear that this maintenance task is far preferable to the alternative of replacing expensive components. The average cost of a coolant change at a service center runs between $375 and $402. However, a DIY flush can be done for about $50, primarily the cost of the flush solution and fresh coolant for your climate.
The DIY process involves always waiting for the car to cool completely before opening the radiator cap to avoid injury. You then drain the old fluid, add a flush solution and distilled water, and run the engine as instructed. The process concludes by draining this mixture and refilling with fresh coolant. This relatively simple task provides immense protection; consider that if corrosion were to necessitate a radiator replacement, you could be facing costs between $1,068 and $1,253, on average. Thus, a proactive coolant change is a prime example of how a small, self-performed maintenance task can avert a very substantial financial hit and ensure the longevity of your engine.
Having established the bedrock of DIY car maintenance with foundational tasks like oil changes and tire care, we now pivot to an equally vital array of tasks. These next steps, while perhaps less frequently discussed, are instrumental in managing other critical fluid systems, enhancing vehicle aesthetics, and tackling specific component issues. Proactive attention to these areas not only ensures overall operational smoothness and extends component life but also reinforces the significant financial benefits of owner involvement. Let’s delve into more ways to protect your investment and save substantially on potential repair costs.
Read more about: Navigating the Automotive Minefield: 14 Costly Car Repairs to Avoid and How to Protect Your Wallet
8. **Change Power Steering Fluid**Beyond the engine and brakes, your power steering system relies on its own vital fluid to ensure smooth and responsive handling. Over time, this fluid can degrade, impacting the ease with which you steer your vehicle. Maintaining fresh power steering fluid is essential for the longevity of the pump and the overall steering mechanism, preventing stiffness and potential failure.
Carmakers often provide specific service recommendations, but a general rule-of-thumb suggests changing power steering fluid every two years or 24,000 miles. Unlike some other fluids, there aren’t test strips for power steering fluid, so adherence to mileage or time-based schedules is crucial. Ensuring this fluid is refreshed helps prevent premature wear and tear on your steering system components.
Performing a DIY power steering fluid swap is a straightforward task. With the engine off, use a clean turkey baster to suck out all the old fluid from the reservoir. Refill the reservoir with fresh, manufacturer-recommended fluid, being careful never to substitute “universal” fluids or “miracle” additives, as these can clog fine mesh filter screens and cause expensive failures. Start the engine and let it run for about 15 seconds to circulate, then repeat the swap procedure until you’ve used a full quart of fresh fluid. This simple action can save on potential professional repair costs related to steering issues.
Read more about: America’s Iconic Sports Car: Decoding the Most Problematic Corvette Models in History to Help You Buy Smart
9. **Change Transmission Fluid**The transmission, often one of the most expensive components to repair or replace in a vehicle, depends critically on its fluid. Transmission fluid acts as a lubricant, coolant, and hydraulic fluid, ensuring smooth gear changes and preventing excessive heat buildup. Neglecting this fluid can lead to severe issues, culminating in costly transmission failure.
The recommended interval for changing transmission fluid varies widely based on your vehicle type. Manual transmission vehicles typically need changes every 30,000 to 60,000 miles, while automatic transmissions can range from 30,000 to 100,000 miles. Even for vehicles claiming “lifetime fluid,” it’s generally still advisable to replace the fluid around every 100,000 miles to maintain optimal performance and prevent degradation.
While a full transmission fluid flush often requires specialized equipment found at a service center, a fluid change—draining some old fluid and refilling—can be a DIY task. Some transmission oil pans have a drain plug, making this process relatively simple. If your pan lacks a plug, removing the pan to drain the oil is a more involved task, but installing a retrofit drain plug at that time can significantly ease future changes.
The financial implications of ignoring transmission fluid maintenance are stark. Without proper lubrication and cooling, your transmission may overheat, leading to system failure. Given that the bulk of a transmission replacement cost is often for parts, performing this maintenance yourself, even if just a partial fluid change, offers substantial protective value. This proactive step is a small investment compared to the $5,584 to $5,789 average cost of a full transmission replacement due to fluid neglect, a clear example of how a relatively inexpensive DIY task can prevent a major financial hit.
Read more about: Beyond the Buzz: Unpacking the Hidden Nausea of Next-Gen EVs and How Tech is Tackling Car Sickness
10. **Repair Minor Marks (Buff Out a Paint Scratch, Fix Small Dents and Door Dings)**Your car’s appearance is a significant part of its value and your pride of ownership. Nicks, scratches, dents, and dings can quickly make a vehicle look older and less cared for. While extensive body damage warrants professional attention, many minor imperfections are well within the scope of a savvy DIYer, offering substantial savings on cosmetic repairs.
For scratches that haven’t penetrated through the paint, a simple buffing can work wonders, giving the impression of magic. Using a mild auto body buffing compound with a moistened buffing pad on a random orbit sander (fitted with the correct pad) can effectively remove these surface imperfections. Rinse the area thoroughly once done. This simple process restores the finish and protects the underlying paint.
Tackling small dents and door dings is akin to patching a wall, making it an accessible DIY project. Begin by sanding the dent down to bare metal with coarse-grit sandpaper, feathering the edges, then cleaning with a wax and grease remover. Mix and apply autobody filler in light skim coats, building up layers no more than 1/4-inch thick, feathering the final coat to level with the painted areas. After curing, sand until smooth, apply cream filler for pinholes, cure, and perform a final sand before applying touch-up paint. This prevents rust and maintains your car’s exterior integrity.

11. **Add Trailer Wiring**For those who occasionally need to tow, installing trailer wiring is a practical modification that adds significant utility to your vehicle. Whether for hauling a small utility trailer, a boat, or a bike rack with integrated lights, proper trailer wiring ensures that your trailer’s lights are functional, enhancing safety and legal compliance on the road. This task, once perceived as complex, has become remarkably more accessible for the average vehicle owner.
In the past, adding trailer wiring might have involved intricate splicing and electrical expertise. However, the market now offers ready-made trailer wiring harnesses specifically designed for many different vehicles. These modern kits simplify the installation process considerably, often involving plug-and-play connections rather than extensive electrical work. While some installations are more straightforward than others, the overall difficulty level has been reduced significantly.
The DIY process typically involves locating existing wiring connections in your vehicle and plugging in the appropriate harness, then routing the wiring to the trailer hitch. This eliminates the need for expensive professional installation, saving you on labor costs that can easily run into the hundreds. Equipping your vehicle with trailer wiring yourself not only saves money but also provides the satisfaction of a self-completed upgrade that expands your vehicle’s capabilities for recreational or practical uses.
Read more about: Unlock Thousands More Miles: 14 Essential Driving Habits & Maintenance Tips for a Longer Engine Life

12. **Replace Your Wiper Blades**Clear visibility is non-negotiable for safe driving, especially during inclement weather. Your wiper blades are a crucial safety component, responsible for sweeping away rain, snow, and road grime. Over time, these blades harden, crack, or tear, leading to streaking and reduced effectiveness, which can severely impair your view of the road.
It’s easy to tell when your wiper blades need replacing: simply press the washer button, and if they streak or leave sections unwiped, they’re past their prime. Replacing them is one of the quickest and most inexpensive DIY car maintenance tasks. While the cost of new blades is minimal, the cost of reduced visibility can be catastrophic, making this a high-impact, low-cost maintenance item. Service centers might charge for installation, but it’s money you can easily save.
Purchasing a new set of wiper blades and following the installation instructions provided on the packaging is usually all it takes. Most blades snap or slide into place with minimal effort. However, a crucial safety note is to maintain a firm grip on the wiper arm once the old blade is removed. If it accidentally springs back and hits the windshield, it can strike with enough force to cause a crack, turning a simple task into a costly repair. This simple, regular replacement ensures optimal visibility and driving safety.
Read more about: Navigating Rainy Roads: Identifying and Avoiding the Most Common Driving Mistakes

13. **Replace That Broken Antenna**A broken or damaged antenna, whether for your radio or other communication systems, can be a minor but noticeable flaw on your vehicle’s exterior. Beyond the aesthetic aspect, a compromised antenna can significantly degrade your radio reception, limiting access to news, traffic updates, or entertainment. Fortunately, this is often a straightforward fix that doesn’t require a trip to the mechanic.
Replacing an antenna mast on a fender mount is typically a very simple task: you just unscrew the broken portion and thread in a new replacement mast, readily available at auto parts stores. Pillar mount antennas are a bit more involved but remain a manageable DIY project. This task demonstrates how addressing small component failures yourself can maintain your vehicle’s full functionality without incurring professional labor costs.
For a pillar mount antenna, you’ll first disconnect the antenna cable from your radio, then attach a heavy string to its end. After unscrewing the antenna mount from the pillar, carefully pull the old antenna and the string straight out. Attach the new antenna cable to the string, gently pulling the cable back into the vehicle, and finally connect it to your radio before securing the new antenna to the pillar with the provided screws. This method avoids potential labor charges and keeps your entertainment systems working optimally.
Read more about: From Keys to Cassettes: 14 Once-Loved Car Features That Are Now Relics of the Past

14. **Fix That Leaky Sunroof**Few things are as frustrating as a leaky sunroof, especially when ‘raindrops keep falling on your head’ or, more practically, soaking your interior. A wet interior can lead to mold, mildew, and damage to upholstery and electrical components, significantly decreasing your vehicle’s comfort and resale value. Often, the culprit isn’t a faulty seal but rather clogged drain tubes.
To diagnose and fix a leaky sunroof, begin by opening the sunroof and carefully inspecting the front and rear corners for small drain holes. These are the channels designed to direct water away from the sunroof seal and out of the vehicle. Once located, use a shop vacuum equipped with a small rubber or plastic tube (secured with duct tape) to suck out any visible debris or blockages stuck within these drains. This initial clearing often resolves many common leaks.
After vacuuming, gently dribble water into each drain and check underneath the car to confirm that the water is freely exiting onto your driveway or garage floor. If a drain remains plugged, purchase a speedometer cable from an auto parts store. Insert the cable into the drain and gently push it down as you spin it with your fingers. Crucially, avoid pushing too hard, as this can puncture the delicate drain tubes, potentially diverting water directly into your vehicle’s dash area, leading to more extensive and costly damage. Once cleared, flush the drain with water again. This DIY fix prevents expensive water damage and maintains interior integrity.
Read more about: Decoding the Disappointment: 15 Overrated Car Brands That Underperform on Reliability and Rack Up Costly Upkeep Bills for Owners
Embracing DIY car maintenance is more than just a frugal choice; it’s an empowering journey into understanding and preserving one of your most significant investments. By dedicating a little time and acquiring some basic tools, you transform from a passive owner into an active guardian of your vehicle’s health and longevity. The savings, whether from averting major mechanical failures or simply avoiding routine service charges, are substantial and cumulative. So, roll up your sleeves, consult your owner’s manual, and discover the immense satisfaction and financial freedom that come with taking control of your car’s upkeep. Your wallet—and your vehicle—will thank you for it.


")