
Cast iron pans are truly culinary workhorses, beloved by many for their incredible durability, superior heat retention, and the remarkable ability to actually improve with age. There’s something deeply satisfying about cooking with a well-maintained cast iron skillet, a tradition passed down through generations. However, even these sturdy pieces of cookware can suffer from neglect over time, accumulating rust, stubborn grime, or losing their essential seasoning layer. When your cherished skillet starts to look more like a rusty relic than a kitchen essential, it can feel disheartening, impacting your cooking quality with food sticking and uneven browning.
But here’s the wonderful news: there’s no need to despair, and certainly no need to toss it out! Reviving a cast iron skillet is an entirely achievable and deeply rewarding process. Whether you’ve inherited an old family heirloom covered in rust, stumbled upon a neglected piece at a flea market, or simply forgot to dry your favorite skillet after washing, bringing it back to life is easier than you might think. With the right steps and a little dedicated effort, you can transform a dull, damaged pan back into a prized possession, ready for countless delicious meals.
This in-depth guide is designed to empower you with the knowledge and practical steps needed to restore your cast iron to its former glory. We’ll walk you through a comprehensive, step-by-step journey, from recognizing the signs of neglect to implementing vital post-restoration maintenance. You’ll learn how to bring back the luster and functionality of your well-loved skillet, saving money on expensive replacements and rediscovering the sheer joy of cooking with this timeless piece of cookware. Let’s dive into the simple process that will make your cast iron skillet as good as new, preparing it to serve you well for decades to come.
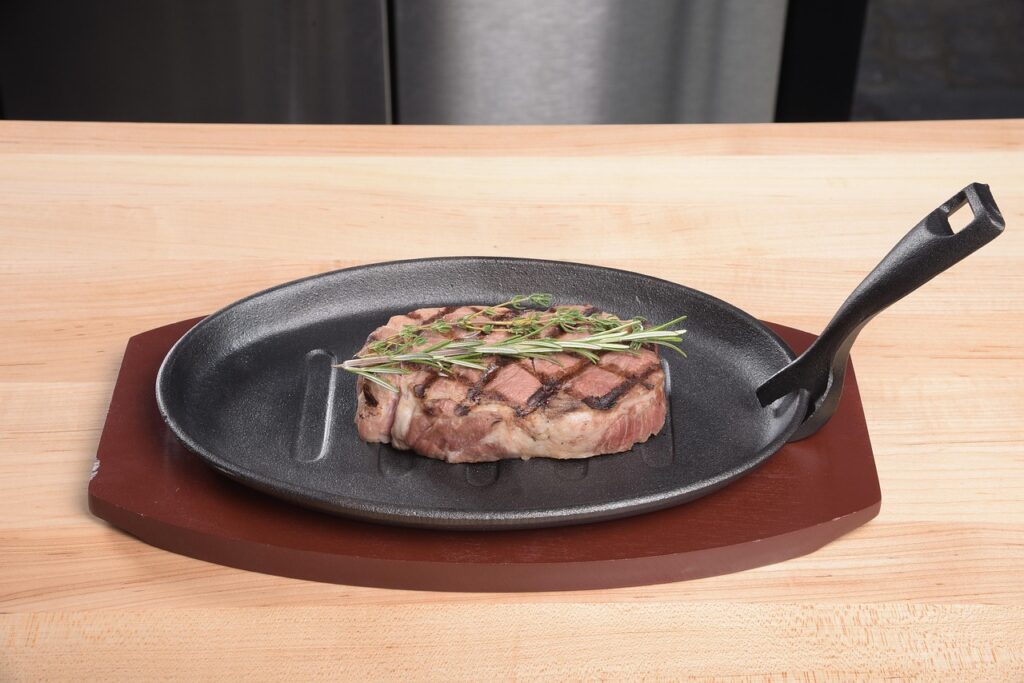
1. **Understanding Your Cast Iron’s Needs**The first crucial step in any successful restoration project is to accurately diagnose the problem. Your cast iron skillet will show clear signs when it needs revival, and recognizing these indicators ensures you address issues before they significantly impact cooking quality or permanently damage the skillet. Common issues with old or neglected skillets often include rust spots, which form when moisture interacts with unseasoned metal or damaged seasoning layers, creating an unsightly and unhygienic surface for cooking.
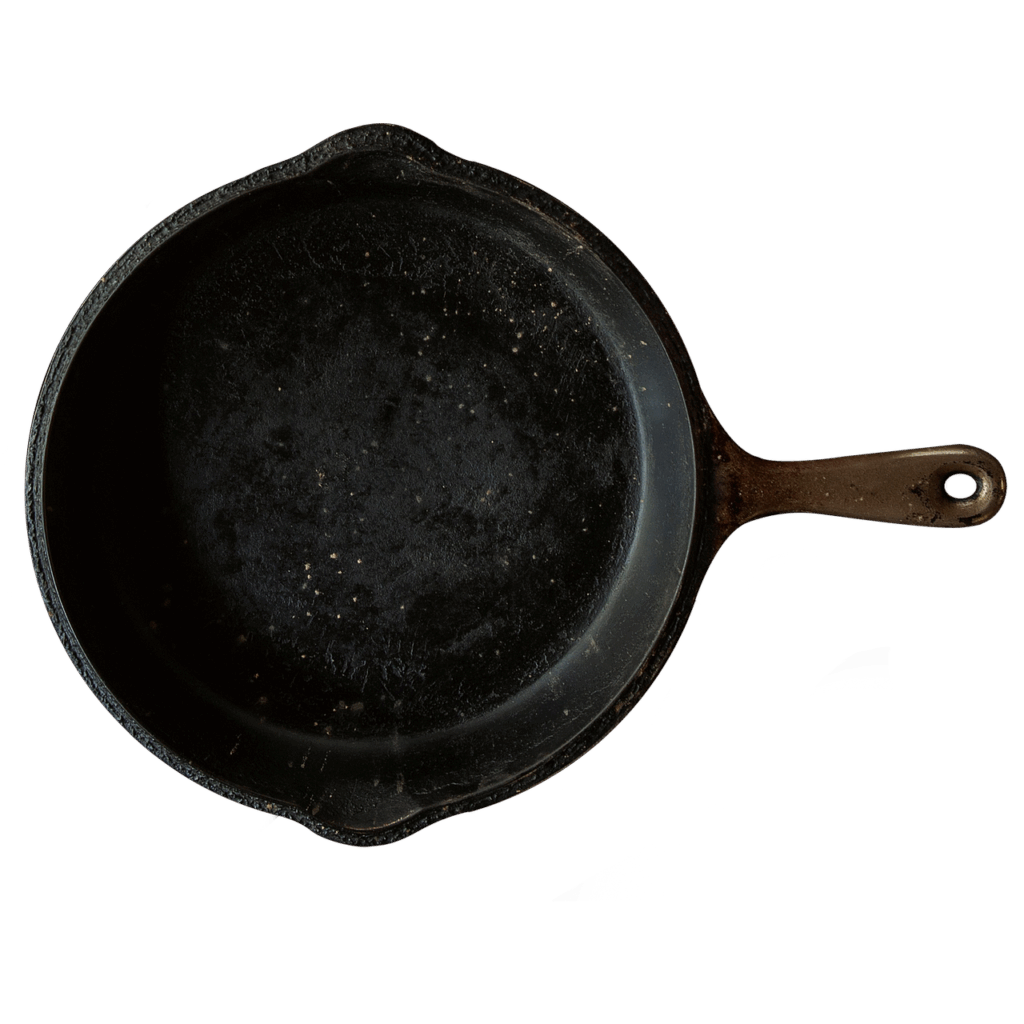
Beyond rust, you might notice flaking or peeling seasoning. This occurs when the protective coating breaks down from improper maintenance or abrasive cleaning, revealing the bare metal beneath. Another tell-tale sign is a sticky or uneven surface, which typically results from a buildup of old seasoning layers or leftover cooking residues. Furthermore, a dull or darkened appearance signals long-term wear without proper seasoning, while food sticking persistently indicates a clear loss of the pan’s essential non-stick seasoning layer.
To accurately assess the condition of your skillet, a thorough inspection is key. Begin by inspecting the surface for rust, pitting, or discoloration that contrasts with the usual smooth, black finish. Next, run your fingers across the cooking area; a rough or flaky texture will immediately reveal damaged seasoning. You can also test food release by cooking a small amount of egg or pancake batter; persistent sticking clearly shows seasoning failure. Finally, check the edges and handles for corrosion or discoloration, as these issues can spread if left untreated, and even smell the skillet – rancid or metallic odors often accompany deteriorated seasoning or rust. Identifying these specific issues helps you decide when to proceed with reviving your cast iron skillet, giving you a clear roadmap for the restoration ahead.
2. **Gathering Your Essential Restoration Arsenal**Before you embark on the rewarding journey of cast iron restoration, it’s absolutely essential to gather all the necessary tools and materials. Proper preparation ensures an efficient, effective, and safe restoration process, making each step smoother and more manageable. Having everything within reach eliminates interruptions and allows you to focus on the task at hand. This is truly the foundation for bringing your beloved skillet back to life, so take a moment to ensure your workspace is ready and equipped.
For removing rust and stubborn residue, you’ll definitely need a strong abrasive cleaning tool. This could be a sturdy steel wool pad, a robust wire brush, or a reliable scraper. These powerful tools are your best allies in effectively scrubbing off built-up grime and tackling those unsightly rust spots from the surface, revealing the bare metal beneath. For more gentle, yet effective, cleaning after the initial scour, a non-metallic scrubbing pad is also highly recommended to protect the skillet’s newly exposed surface.
Next, you’ll need specific cleaning agents and absorbents. While it’s generally advised to avoid using harsh soap on seasoned cast iron, a small amount of mild dish soap can be incredibly useful for initial cleaning if your pan is heavily rusted or exceptionally grimy. Just remember to use soap sparingly, as excessive amounts can strip away existing seasoning layers. You’ll also need plenty of clean cloths or paper towels, which are indispensable for drying, applying oil, and wiping down the pan evenly throughout the restoration process.
Finally, for the all-important re-seasoning, you’ll require high smoke point cooking oil. Popular and effective options include vegetable oil, flaxseed oil, or grapeseed oil, as these are perfect for creating a durable, non-stick seasoning layer. To protect your oven from drips during the baking phase, a sheet of aluminum foil or a baking sheet should also be on hand. Having these materials ready streamlines the cleaning and reseasoning steps, setting you up for success.

3. **Prioritizing Safety: Handling Your Skillet Securely**While restoring cast iron is a straightforward and rewarding process, safety should always be your top priority. Taking appropriate precautions will help you avoid injury and ensure that your skillet remains in excellent condition throughout the restoration. A little foresight goes a long way in creating a safe and efficient working environment, allowing you to focus on the task of revitalizing your cookware without unnecessary risks.
When handling hot cast iron, especially during the crucial seasoning or heating phases, always use oven mitts or thick, heat-resistant gloves. Cast iron retains heat exceptionally well, and direct contact can cause serious burns. It’s also important to remember that cast iron can crack if subjected to rapid temperature changes, such as placing a very hot skillet directly into cold water. Always allow your skillet to cool gradually to prevent thermal shock and potential damage. Your patience here will protect both you and your pan.
Additionally, working in a well-ventilated area is highly recommended. This is particularly important when applying heat to the pan during the oil polymerization process, as it helps you avoid inhaling any smoke or fumes that might be released. You should also steer clear of harsh chemicals or overly abrasive cleaners that can damage the skillet’s surface, opting instead for the recommended tools and materials. These chemicals can not only be dangerous to inhale but also detrimental to the integrity of the iron itself.
Lastly, ensure your workspace is clear of clutter and any flammable materials, especially when you are applying heat, whether on the stovetop or in the oven. Keeping your surroundings tidy and hazard-free contributes significantly to a safer restoration experience. By following these essential safety guidelines, you protect yourself from potential harm and extend your skillet’s lifespan, ensuring it remains a safe and reliable cooking tool for many years to come.
4. **The Initial Deep Clean: Eliminating Residue and Grime**With your tools gathered and safety precautions in place, it’s time to begin the actual restoration process with a thorough deep clean. This initial step is absolutely crucial for preparing the pan’s surface, removing years of accumulated food residue, grease, and loose rust. Think of it as hitting the reset button for your skillet, creating a clean slate for the subsequent rust removal and seasoning steps. A truly clean pan is the foundation for a successful restoration.
Start by vigorously scrubbing the skillet with a stiff brush or steel wool to meticulously remove any food residue and built-up grease. For particularly stubborn grime and rust, these abrasive tools are indispensable. If your pan is exceptionally grimy or heavily rusted, you may, if necessary, apply a small amount of mild dish soap to aid in breaking down the residue. Remember, this is one of the few instances where mild soap is acceptable on cast iron, and it should be used sparingly to avoid stripping any remaining usable seasoning.
After scrubbing, rinse the skillet thoroughly with warm water to wash away all the loosened debris and soap. It’s imperative to remove every trace of cleanser and loosened material. Immediately after rinsing, dry the pan completely with paper towels or a clean cloth. This immediate drying step is critically important to prevent new rust from forming on the now-exposed metal surface. Any lingering moisture will quickly lead to flash rust, undoing your hard work.
For a more targeted approach, especially after initial rust removal, you can use a non-metallic scrub pad to clean the skillet gently, ensuring you don’t re-damage the iron. Avoid abrasive detergents or dishwasher use, which are notorious for degrading the skillet’s surface. For any remaining stubborn spots, a fantastic trick is to use coarse salt and a small amount of water, scrubbing in circular motions. This creates a natural abrasive paste that lifts residue effectively. Always rinse and dry the skillet completely, ensuring absolutely no moisture remains, before moving on.
5. **Tackling Rust: Bringing Back Bare Metal**If your cast iron pan displays visible rust, this is the pivotal moment to address it head-on. Rust must be completely removed before proceeding with any seasoning, as it indicates a lack of proper protection and will hinder the formation of a new, durable non-stick layer. This step is about getting down to the bare metal, creating the perfect canvas for your restoration efforts. Don’t be intimidated; rust is often superficial and can be tackled effectively with the right technique.
You have several powerful tools at your disposal for rust removal. You can use steel wool, a robust wire brush, or even a specialized rust remover if the corrosion is particularly severe. Scrub the affected areas with determination until you can clearly see the bare metal beneath the rust. It’s vital to scrub the entire rusted surface to ensure an even finish, as any patches of rust left behind will only resurface later and compromise your seasoning. The goal is a uniform, clean metallic surface.
An alternative or supplementary method, particularly useful for breaking down old seasoning and rust, involves creating and applying a cleaning paste. Mix baking soda and water to form a paste, then rub this all over the cast iron skillet. Allow this paste to sit for a few minutes to work its magic. Following this, you can add vinegar; the combination helps to further break down stubborn rust and old seasoning layers. This chemical reaction can be quite effective in loosening what manual scrubbing might miss.
After applying any paste or cleaner, it’s essential to scrub the skillet thoroughly to remove all residue, whether it’s rust particles or remnants of the cleaning agents. Make sure the pan is completely clean, with no visible rust or lingering debris. This meticulous scrubbing ensures that the entire surface is uniformly prepared for the next critical step. Every speck of rust needs to be gone for a successful re-seasoning to take hold effectively and durably.
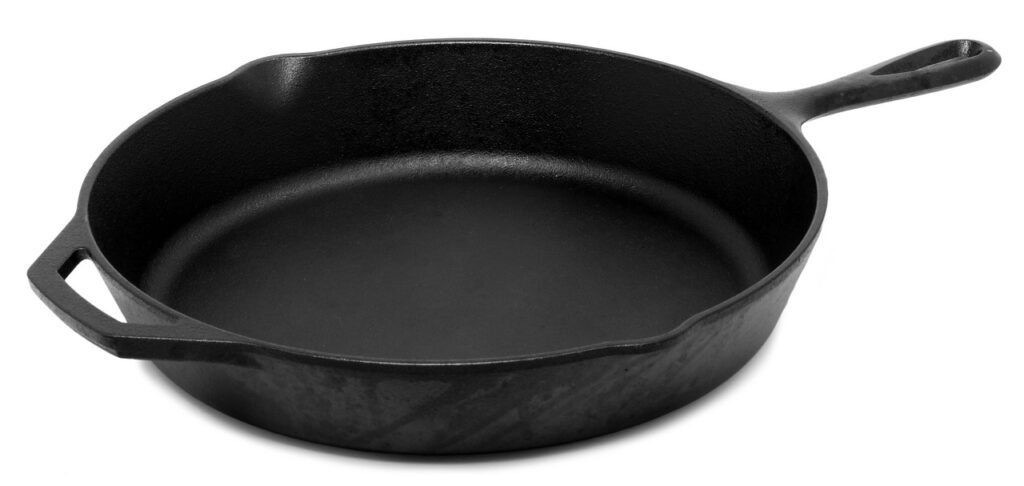
6. **Thorough Drying: The Rust Prevention Imperative**Following the intensive cleaning and rust removal stages, this step is absolutely non-negotiable and perhaps one of the most critical: immediate and thorough drying. Moisture is the archenemy of cast iron, and even a tiny amount left on the surface can lead to flash rust, quickly undoing all your hard work. This instant re-rusting is incredibly frustrating and entirely preventable, making this drying step a true imperative in your restoration process.
To prevent any new rust from forming, your cast iron pan must be dried completely and immediately after washing. There are a couple of highly effective methods to ensure every last drop of moisture is eliminated. The quickest way is to wipe it down meticulously with clean paper towels or a lint-free cloth, ensuring you reach every nook and cranny, including the handle and bottom of the pan. Pay particular attention to any textured areas or crevices where water might stubbornly cling.
For an even more foolproof drying method, especially after a deep clean, you can place the skillet on a stovetop over low heat for a few minutes. This gentle heat will evaporate any residual moisture, ensuring the pan is bone-dry. You’ll often see a slight wisp of steam if there’s any water left. Continue heating until all visible moisture has disappeared. This step is particularly reassuring as it guarantees the surface is perfectly dry and ready for the crucial seasoning process.
Ignoring this step or drying insufficiently is a common mistake that can easily lead to disappointment. Remember, cast iron is made of a mix of pig iron, steel, and alloys, and without the protective layer of carbonized oil (seasoning), it is highly susceptible to rust when moisture interacts with the unseasoned metal. By ensuring your pan is completely dry, you are laying the perfect, rust-free foundation for the subsequent layers of seasoning that will bring your skillet back to like-new condition, ready for years of cooking enjoyment.

7. **Applying the First Layer of Seasoning Oil**After all the diligent cleaning and rust removal, you’ve prepared your cast iron for its most crucial transformation: re-seasoning. This step is where you begin to rebuild that incredibly durable, naturally non-stick surface that makes cast iron so prized. Choosing the right oil is key; opt for cooking oils with a high smoke point like vegetable oil, flaxseed oil, or grapeseed oil. These oils are perfect because they can withstand the high heat of the oven without breaking down too quickly, forming a robust and lasting layer of seasoning.
The application of this first layer needs to be precise. Using a clean paper towel or a lint-free cloth, apply a very thin, even layer of your chosen seasoning oil to the entire surface of the pan. This means coating the inside cooking surface, the outside bottom, and even the handle. Every inch of bare metal should receive a light coating. Think of it as moisturizing your pan; you want to cover it completely but gently, ensuring there are no neglected spots.
Now, here’s a tip that truly makes a difference: once the pan is lightly oiled, take a *fresh*, clean paper towel and wipe away any excess oil. This might feel counterintuitive, like you’re removing what you just applied, but it’s absolutely vital. Too much oil can lead to a sticky, gummy residue rather than a smooth, hard seasoning layer. You’re aiming for a surface that *looks* dry but has a microscopic film of oil. This thin layer is what will polymerize effectively in the oven, bonding to the iron and creating that desirable non-stick finish without becoming tacky.
The goal is to achieve a surface that feels almost dry to the touch, yet has a subtle sheen from the oil. Remember, thin layers are important for baking seasoning into the pan effectively. This careful application sets the stage for a truly successful re-seasoning, ensuring your cast iron develops that beautiful, functional black patina we all love.
Read more about: Mastering the Grill: The Ultimate Guide to Avoiding Common Steak Grilling Mistakes for Home Cooks

8. **The Initial Baking Cycle: Curing the First Layer**With your pan perfectly oiled, it’s time for the magic to happen in the oven. This baking step is absolutely crucial, as it’s where the oil polymerizes and bonds to the cast iron, forming the protective, non-stick seasoning layer. Skipping this step, as some commonly do, means your seasoning won’t be as durable or effective, leading to disappointment down the line. So, let’s get this right!
Begin by preheating your oven to a robust 450°F (232°C). While the oven is heating up, prepare your pan for its bake. Place the cast iron pan upside down on the middle rack of your oven. This clever positioning helps prevent any excess oil from pooling on the cooking surface, which could otherwise lead to uneven, sticky patches. To be extra cautious and protect your oven from any potential drips, it’s a smart move to place a sheet of aluminum foil or a baking sheet on the rack beneath the pan.
Once the oven reaches the target temperature, allow your pan to bake for about an hour. During this time, the heat will cause the oil to transform through a process called polymerization. It essentially bakes onto the iron, creating a hard, plastic-like layer that’s incredibly durable and provides that coveted non-stick quality. You might notice some light smoke, which is normal and indicates the oil is doing its job. Just ensure you’re working in a well-ventilated area, as mentioned earlier, to keep the air clear.
After the hour is up, turn off the oven completely but leave the cast iron pan inside to cool down gradually. This slow cooling process is just as important as the baking itself. It allows the seasoning to further cure and adhere securely to the iron, solidifying its bond and making the layer even stronger and more resilient. Resist the urge to pull it out immediately! Patience here will pay off immensely, ensuring the seasoning is properly set and ready for subsequent layers, or for its first culinary adventure.
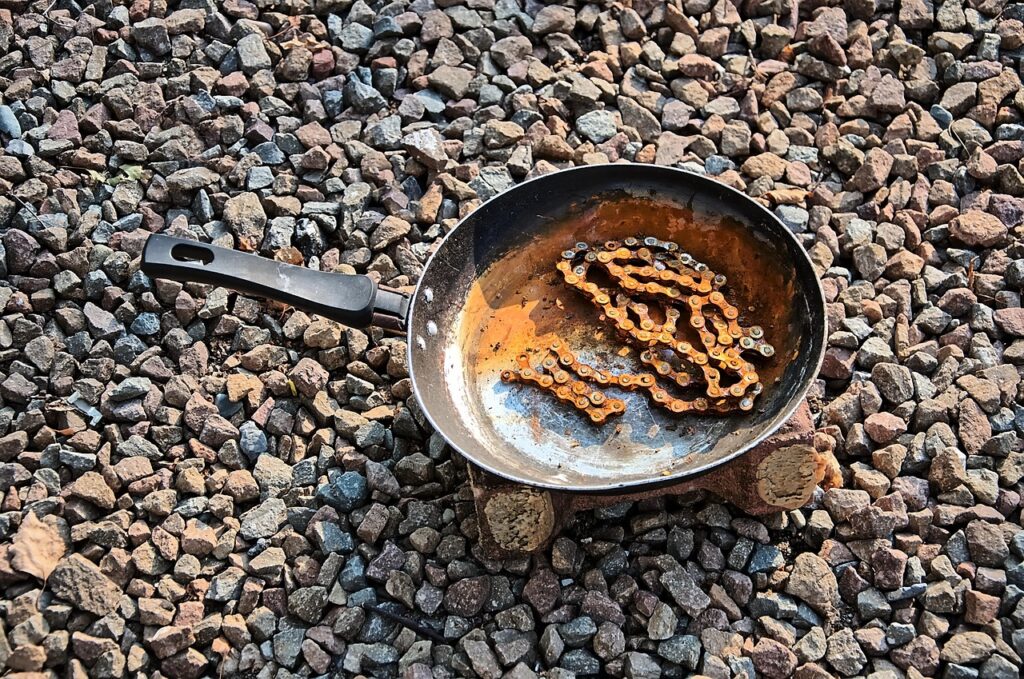
9. **Building Durability: Repeating the Seasoning Process**Now that you’ve completed the initial seasoning cycle, you might be thinking your pan is ready to go. While one layer is a great start, the real secret to a truly superior, long-lasting non-stick surface lies in repetition. For the very best results, you’ll want to repeat the entire oiling and baking process at least two to three more times. This layering technique is precisely what creates a stronger, more effective non-stick coating that can withstand years of enthusiastic cooking.
Each additional layer of seasoning builds upon the last, deepening the protective barrier and enhancing the pan’s natural non-stick properties. Think of it like building a house brick by brick; each brick adds to the overall strength and integrity. The more times you meticulously repeat this process – applying a thin coat of oil, wiping away the excess, baking, and then allowing it to cool – the more robust and resilient your cast iron skillet will become. This dedication truly makes a difference in its performance and longevity.
When you complete these additional cycles, your cast iron skillet will begin to develop a richer, darker patina and a noticeable sheen. This is the visual confirmation that your seasoning efforts are paying off. The surface will also become increasingly smooth and less prone to sticking, which is exactly what we’re aiming for. It transforms from a dull, bare metal surface into a beautifully dark, slick, and incredibly functional piece of cookware.
This commitment to multiple seasoning layers is what sets apart a good cast iron pan from a truly exceptional one. It’s an investment of time, but one that rewards you with unparalleled cooking experiences, from perfectly seared steaks to fluffy scrambled eggs, all gliding effortlessly across the surface. Your patience and effort in building these layers will ensure your cast iron thrives, becoming an indispensable tool in your kitchen for generations to come.
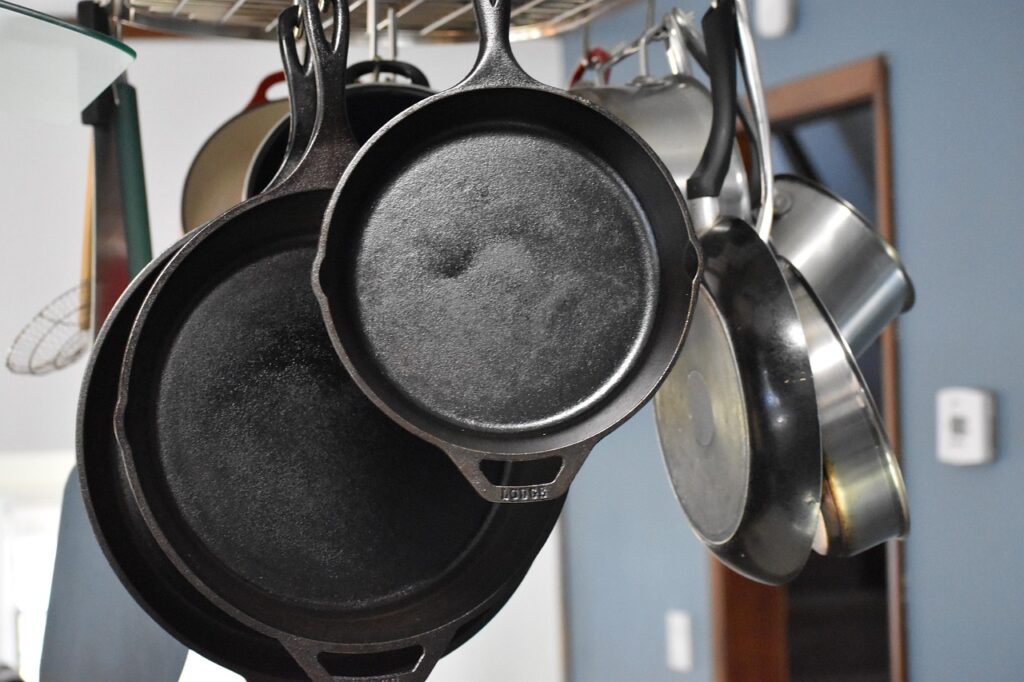
10. **Post-Restoration Cleaning: Mastering Maintenance**Congratulations, your cast iron skillet is now beautifully restored and seasoned! To keep it in this pristine condition and ensure its longevity, mastering post-restoration cleaning is just as crucial as the restoration itself. The cardinal rule for a well-seasoned cast iron pan is to generally avoid harsh soaps. Many believe soap is necessary, but it can strip away the protective seasoning, leaving your pan sticky and vulnerable to rust.
Instead of soap, the best practice is to clean your skillet immediately after use, while it’s still warm. This makes removing food residue much easier. Simply rinse it with hot water and use a stiff brush or a non-metallic scrub pad to gently remove any food particles. For particularly stubborn bits of food that are stuck on, a fantastic solution is to use a small amount of coarse salt as a natural abrasive scrub. Just sprinkle it in, add a touch of warm water, and scrub in circular motions until the residue lifts away.
It’s important to understand *why* we avoid soap on seasoned cast iron. The seasoning layer is essentially polymerized oil, a delicate protective coating. Traditional dish soap, especially harsh detergents, is designed to break down oils and fats, which is precisely what your seasoning is made of. Using it regularly will gradually erode this hard-earned layer, diminishing your pan’s non-stick properties and exposing the bare metal to potential rust.
Remember, the goal is to clean without compromising the seasoning. A quick rinse with hot water and a good scrub with a non-abrasive tool is typically all you need. You’re not just cleaning; you’re preserving the integrity of that hard-won, naturally non-stick surface, ensuring your pan continues to perform beautifully for every meal.
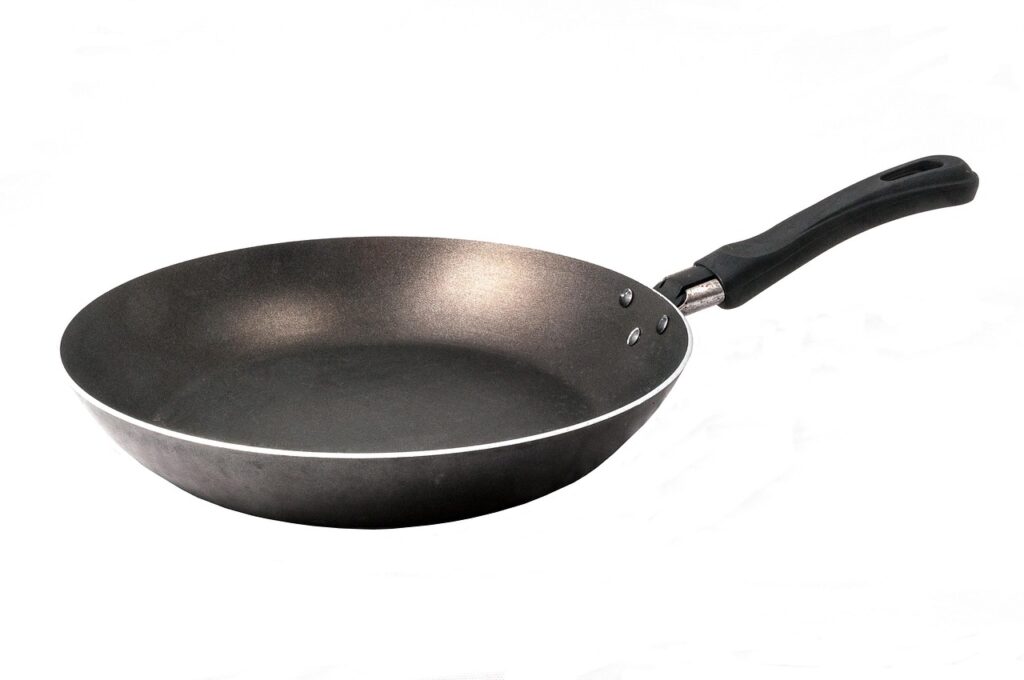
11. **Vigilant Drying and Protective Storage**Following cleaning, the very next step is arguably the most important in preventing future issues: immediate and thorough drying. Moisture is the archenemy of cast iron, and even a tiny amount left on the surface can lead to flash rust, undoing your hard work in an instant. This instant re-rusting is incredibly frustrating and entirely preventable, making this drying step a true imperative for maintaining your restored pan.
To ensure every last drop of moisture is eliminated, you have a couple of highly effective methods. The quickest way is to meticulously wipe down your skillet with clean paper towels or a lint-free cloth, making sure to reach every nook and cranny, including the handle and the bottom of the pan. Pay particular attention to any textured areas or crevices where water might stubbornly cling. Alternatively, for an even more foolproof dry, place the skillet on your stovetop over low heat for a few minutes. This gentle heat will evaporate any residual moisture, guaranteeing your pan is bone-dry before storage.
Once your skillet is completely dry, a small, protective application of oil is highly recommended. While the pan is still warm, apply another very thin layer of your high smoke point cooking oil – the same kind you used for seasoning. Rub it in with a clean cloth or paper towel, ensuring you coat the entire surface. This extra layer of oil helps maintain the seasoning, adds an additional barrier against moisture, and keeps your pan looking healthy and ready for its next use.
Finally, proper storage is key to preventing future rust and damage. Store your skillet in a dry place with good air circulation. Avoid damp areas like under the sink. For added protection, especially if stacking pans, place a paper towel or a clean cloth inside the skillet during storage. This absorbs any lingering moisture and provides a soft buffer, protecting the cooking surface from scratches or chips. Remember to avoid soaking the skillet or leaving it in water, as this is a sure way to invite rust.
Read more about: Unveiling the Unseen: Masterful Hidden Messages and Ingenious Features, From Automotive Marvels to Clever Campaigns
12. **Long-Term Care: Preventing Future Damage and Re-Seasoning as Needed**Maintaining your cast iron skillet after its revival is a continuous journey that ensures its durability and optimal cooking performance for decades to come. Beyond daily cleaning and drying, some proactive measures and an understanding of common pitfalls will safeguard your pan. One of the most important aspects of long-term care is periodic re-seasoning. If your pan starts to lose its beautiful non-stick coating, looks dull, or food begins to stick more often, it’s a clear signal to reapply a light layer of seasoning oil and put it through a baking cycle again. This simple step can quickly restore its smooth surface and prevent further issues.
Your choice of cooking oil also plays a role in maintaining seasoning stability. Continuously cooking with oils that have high smoke points, such as grapeseed, flaxseed, or vegetable oil, helps to reinforce and deepen the existing seasoning with every use. Conversely, it’s wise to avoid storing acidic or highly salty foods in your skillet for extended periods. Ingredients like tomatoes, citrus, or heavily brined items can degrade the seasoning layer over time, potentially leading to dullness or even rust if left unchecked.
Another crucial tip for preserving the integrity of your pan’s surface is to be mindful of the utensils you use. Opt for wooden, silicone, or plastic utensils when cooking. Metal spatulas or spoons can scrape away the hard-won seasoning, creating weak spots that are prone to sticking and damage. Gentle handling protects that smooth, non-stick surface, ensuring your cooking experience remains effortless and enjoyable.
Finally, be aware of common mistakes that can hinder your cast iron’s longevity. Over-oiling during seasoning, skipping the vital baking process, or simply ignoring regular maintenance are frequent missteps. Remember, a truly successful restoration is just the beginning; consistent, thoughtful care is the key to keeping your pan in top condition. By embracing these practices, your cast iron skillet will not only remain a kitchen staple but will also become an enduring legacy, ready to craft countless cherished meals.
Bringing your cast iron skillet back to life is an incredibly rewarding endeavor, transforming a forgotten relic into a powerhouse of culinary potential. It’s a testament to the timeless design and enduring quality of this beloved cookware. With each step of this guide, you’ve not only learned a practical skill but also invested in a piece of kitchen history, ensuring it continues to serve you and your family for many more delicious years. Enjoy the unparalleled joy of cooking with your beautifully restored, like-new cast iron pan – it’s truly a difference you can taste!


:max_bytes(150000):strip_icc()/kendalljennermain-ab323487a6d443ebac83e4862ae10a0b.jpg)
