

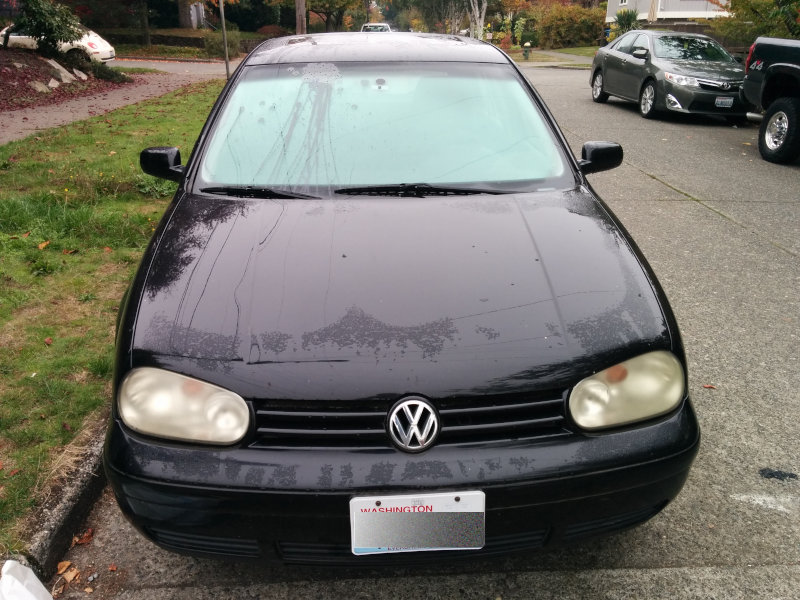
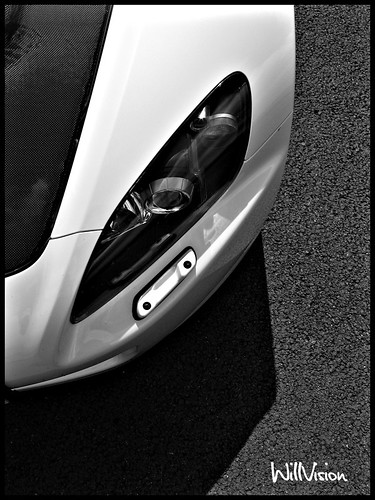
Headlights are absolutely critical safety components for any vehicle, especially when driving at night or in challenging weather. Clear, functional headlights illuminate your path, reveal hazards, and ensure other drivers see you. However, constant exposure to the environment inevitably leads to scratched and hazy lenses, a common and frustrating problem. This degradation not only diminishes your car’s curb appeal but, more importantly, drastically reduces light output, compromising your ability to see and react on the road.
Understanding the root causes of these scratches is the first step toward effective remediation. Headlights face a constant barrage from road debris like small stones, sand, and dust, particularly on highways. Prolonged exposure to harsh UV rays from direct sunlight also makes the lens brittle and prone to scratching, leading to the familiar yellowing and clouding of aging vehicles. Even chemical damage from cleaning products or fuel, and physical damage from accidental bumps, contribute to headlight deterioration.
The good news is that costly replacements aren’t always necessary. Many common headlight issues, from minor scuffs to substantial haziness, are fixable with a bit of effort and the right approach. This comprehensive guide, embodying the practical expertise of Popular Mechanics, will walk you through various effective methods for fixing scratched headlights. Empower yourself to tackle these repairs, enhancing your vehicle’s safety and maintaining its visual integrity without professional intervention. We’ll cover everything from simple household fixes to more advanced techniques to bring your headlights back to life.

1. **Clean the Headlights Thoroughly Before Repairing**
Before beginning any scratch removal, thoroughly cleaning the headlight lens is the most critical first step. This isn’t just about appearance; it fundamentally impacts the success of your repair. Dirt, grime, dust, or oxidation can obscure the true extent of scratches and interfere with repair compounds and abrasives. Failing to clean properly means you might rub abrasive road particles into your headlight, potentially causing more damage.
For this essential cleaning, use a gentle automotive soap or glass cleaner with warm water and a soft microfiber cloth. Avoid harsh chemicals, as they can damage the plastic lens or strip protective coatings. Work in gentle, circular motions across the entire lens, paying attention to edges where grime accumulates. This careful initial scrub removes surface contaminants effectively.
After scrubbing, rinse the headlights exceptionally well with clean, warm water to remove all soap residue and dislodged dirt. Any remaining film can hinder subsequent polishing or sealing steps. Immediately dry the lens completely with a separate, clean, and dry microfiber cloth. A perfectly dry surface is crucial for accurately viewing scratches and ensuring repair materials adhere and work effectively without contamination. Proper pre-cleaning sets the stage for a smooth and successful restoration.
Read more about: Red Flag Rides: 12 Critical Warning Signs Every Used Car Shopper Needs to Heed
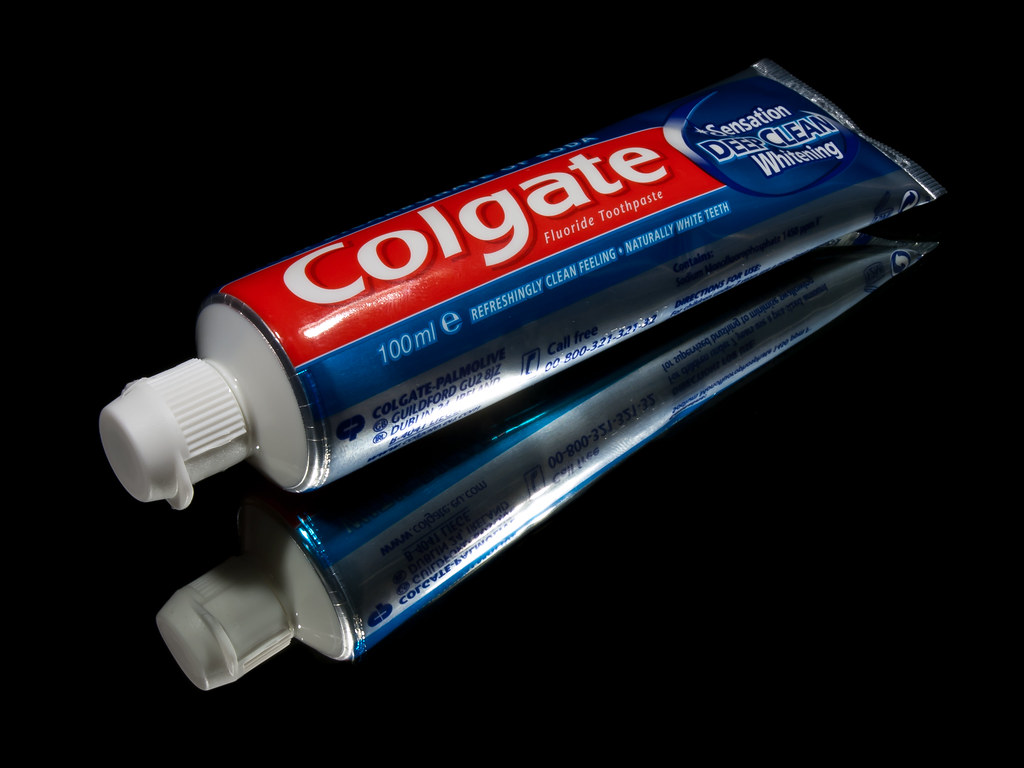
2. **Use Toothpaste as a Mild Abrasive for Light Scratches**
For minor, superficial scratches affecting only the clear coat, a surprisingly effective DIY solution is common toothpaste. This method uses the mild abrasive qualities in most toothpaste formulations, designed to gently polish teeth, to similarly buff away light imperfections on plastic surfaces. It’s an excellent starting point for faint haziness or barely perceptible scuffs, offering an inexpensive and convenient way to improve clarity.
Choose a non-gel, whitening toothpaste, as these contain finer polishing agents more effective at smoothing the lens. Avoid toothpastes with large granules or colored gels. Apply a small, pea-sized amount onto a damp, soft microfiber cloth. The dampness helps create a workable consistency and reduces friction, allowing the toothpaste to spread evenly.
Gently rub the toothpaste onto the scratched areas using consistent circular motions and moderate pressure, focusing on imperfections. Continue for several minutes until clarity improves. The fine abrasives microscopically abrade and smooth the surface, reducing shallow scratch appearance. Rinse thoroughly with warm water to remove all residue, then dry completely with a clean microfiber cloth. While great for light scratches, toothpaste won’t fix deeper gouges or significant oxidation.
Read more about: Unlock the Pro Secret: Restore Your Headlights to Factory Shine with Household Items – No Kit Needed!

3. **Apply a Headlight Restoration Kit**
For headlights showing moderate scratches, significant yellowing, or noticeable haziness, a dedicated headlight restoration kit is your most reliable solution. These kits provide a comprehensive, multi-step approach that systematically removes damage and restores lens transparency, often surpassing simple household remedies. Readily available at auto parts stores, they bundle essential tools and compounds for a broader spectrum of headlight deterioration.
A typical kit includes sanding discs or abrasive pads with progressively finer grits. This graduated abrasive approach starts with coarser grits to remove damaged layers, then moves to finer ones to smooth sanding marks for polishing. Kits also contain specialized polishing compounds to restore clarity and, critically, a UV protective sealant. This sealant is vital, forming a barrier against future UV degradation and environmental assault, extending your restoration’s life.
Begin by cleaning the headlight and masking surrounding paintwork with painter’s tape. Follow the manufacturer’s instructions, typically applying the coarsest abrasive. Work in a consistent pattern, keeping the surface wet with a spray bottle to prevent overheating and clear debris. Progress through finer grits, switching sanding directions to eliminate previous scratch patterns. The lens will appear hazy, which is normal. After the finest grit, apply polishing compound with a cloth or low-speed drill until transparency returns. Finally, apply the UV sealant to prevent future yellowing, safeguarding your hard work.
Read more about: Unlock the Pro Secret: Restore Your Headlights to Factory Shine with Household Items – No Kit Needed!
4. **Use Wet Sanding to Remove Deeper Scratches**
For deeper, more persistent scratches or significant clouding, wet sanding is a highly effective method. This process precisely removes a thin, damaged layer of plastic, leveling the surface and eliminating imperfections that sit beneath the clear coat. It’s meticulous but yields remarkably satisfying results for heavily degraded headlights when executed with patience and precision.
Start with coarse grit sandpaper, around 600-grit, soaked in water for several minutes. Mask off surrounding paintwork. Lightly sand the scratched area with even, horizontal strokes and consistent pressure to uniformly abrade the surface. Keep the headlight surface constantly wet with a spray bottle; this prevents the sandpaper from loading up, reduces friction/heat, and flushes away slurry. A milky white residue forming is normal, indicating effective removal of oxidized material.
Progress to finer grit papers: 800-grit, 1000-grit, then 2000-grit or 3000-grit for final smoothing. With each new grit, switch your sanding direction (e.g., horizontal, then vertical, then horizontal again). This helps ensure even coverage and allows you to remove the scratch patterns from the previous, coarser grit. The objective is to eliminate all prior marks. The lens will appear increasingly hazy but smoother, signaling readiness for the subsequent polishing stage. Wet sanding demands patience and attention but is key to restoring severely scratched headlights.
Read more about: The Essential DIY Car Maintenance Tasks That Can Save You $3,000 (Or More!) In Repairs
5. **Polish the Headlights with a Plastic Polish Compound**
After sanding, particularly wet sanding, your headlight lenses will likely appear uniformly hazy or opaque. This signifies successful removal of damaged outer layers and creation of a smooth, even surface. The next crucial step is polishing, which transforms that hazy finish into crystal-clear transparency and brilliant shine. Polishing refines the surface further, eliminating microscopic scratches and haziness left by the finest sandpaper.
Use a plastic polish compound specifically formulated for automotive headlights. These compounds contain specialized abrasives effective on polycarbonate plastics without causing new damage. Avoid general-purpose automotive rubbing compounds. Apply a small amount of polish onto a clean, soft microfiber applicator pad or a polishing pad attached to a low-speed drill. A drill can speed up the process and provide more consistent results.
Begin buffing the headlight surface in small, overlapping circular motions. If using a drill, set it to a low speed to prevent excessive heat. Apply moderate, consistent pressure. You’ll observe the haze diminishing and the lens regaining clarity and luster. Continue buffing until the entire lens is visibly transparent and possesses a smooth, reflective shine. A separate, clean, dry microfiber cloth can then wipe away any excess residue, revealing the full brilliance of your restored headlight. This step brings the “restoration” to fruition, enhancing both appearance and critical safety.
Read more about: The $20,000 Mistakes: 10 Sedans Drivers Regretted Buying Before Leaving the Lot
6. **Apply UV Protective Coating to Prevent Future Damage**
After investing the effort to meticulously restore your headlights, the final, and arguably most crucial, step is to protect that hard-earned clarity. Headlight plastic, typically polycarbonate, is inherently susceptible to UV degradation, a pervasive environmental factor. This constant exposure to harsh sunlight is the primary culprit behind the unsightly yellowing, pervasive clouding, and increased fragility that makes lenses exceptionally prone to future scratches. Without the application of adequate protection, your carefully restored headlights will inevitably and rapidly revert to their hazy, ineffective state, effectively undoing all your hard work and rendering your efforts temporary.
A high-quality UV protective coating acts as a critical shield, creating an invisible yet robust barrier that effectively guards the headlight lens from harmful ultraviolet rays and the constant onslaught of environmental assault. These specialized coatings are designed to resist the very forces that break down plastic, preserving its structural integrity and optical clarity. Many comprehensive headlight restoration kits will thoughtfully include a sealant specifically designed for this purpose, simplifying the process. However, for those seeking standalone solutions, effective UV sealants are also widely available at reputable automotive supply stores, offering flexibility in choice. Selecting a product explicitly formulated for automotive plastics ensures optimal compatibility and maximum effectiveness, providing a durable and long-lasting defense against the elements.
The process of applying this protective layer is remarkably straightforward, building upon the thorough preparation you’ve already completed. Once your headlights are perfectly clear, thoroughly dry from the polishing stage, and completely free of any residue, you can proceed. Apply the UV coating evenly across the entire lens surface using a clean, soft microfiber cloth, ensuring complete and consistent coverage. It’s absolutely vital to meticulously follow the product manufacturer’s instructions for curing times and application techniques, as proper setting is essential for the coating to fully bond and create its intended robust protective shield. This usually involves allowing it to dry naturally, or in some specific cases, curing under direct sunlight to activate the protective properties.
This crucial protective layer extends the life of your restoration significantly, transforming a temporary fix into a lasting solution. By forming a resilient barrier, it actively prevents future oxidation, mitigates the effects of environmental exposure, and rigorously maintains the lens’s crystal-clear transparency for a much longer period. This vigilance ensures that your headlights continue to perform optimally, delivering powerful illumination onto your path, revealing potential hazards, and keeping you prominently visible to other drivers on the road for months, or even years, to come. Consider this step an indispensable investment in long-term safety and clarity, a genuine shield against premature aging and environmental deterioration.
Read more about: The Definitive Guide to Carbon Mountain Bike Frame Durability: 11 Factors That Determine Longevity
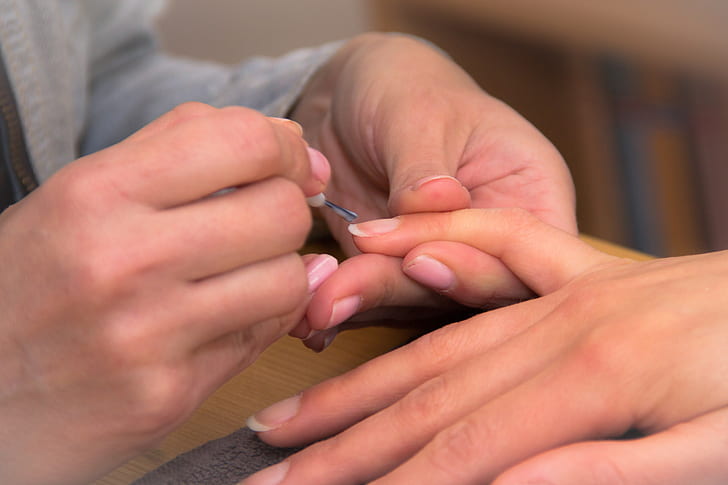
7. **Use Clear Nail Polish for Small Scratches**
While extensive headlight damage undeniably demands a comprehensive, multi-step restoration approach, sometimes you encounter those frustratingly small, isolated scratches that simply don’t warrant the deployment of a full restoration kit. For these minor, superficial imperfections, a surprisingly effective and readily available household item can offer an immediate and convenient quick fix: clear nail polish. This method proves particularly useful for faint scuffs that merely affect the top clear coat or surface layer of the lens, effectively acting as a temporary filler and sealant to visibly improve their appearance.
The application of clear nail polish for these minor blemishes is remarkably simple and requires minimal preparation. First and foremost, ensure the headlight surface is thoroughly clean, completely dry, and free of any dust or grime, as any dirt trapped beneath the polish will only serve to highlight the imperfection rather than conceal it. Next, with a steady hand, carefully apply a thin, even layer of clear polish directly over the scratch, utilizing the small brush applicator that comes conveniently with the bottle. The primary objective here is to meticulously fill the tiny groove of the scratch without inadvertently creating a noticeable or unsightly blob on the surrounding surface.
Allow the applied polish ample time to dry completely, a process that typically takes only a few minutes, though this can vary depending on the thickness of the application and ambient environmental conditions. Once the polish has fully hardened, you can gently buff the treated area with a soft, clean microfiber cloth. This crucial step helps to subtly blend the applied polish with the surrounding headlight surface, further diminishing the visual prominence of the scratch and crucially improving light scattering. It’s important to understand that while this technique is not a permanent solution for deeper gouges or widespread haziness, it undeniably offers an inexpensive and fast way to effectively address those annoying, minor blemishes, enhancing your headlight’s aesthetics with minimal time and effort.
Read more about: Paint Expert’s “Magical” Remedy: Effortlessly Erase Tree Sap Stains Without Damaging Your Car’s Clear Coat – A Popular Mechanics Guide
8. **Employ a Plastic Headlight Lens Repair Resin**
When confronting more stubborn scratches, fine cracks, or areas where conventional polishing techniques alone simply aren’t enough to achieve satisfactory results, specialized plastic headlight lens repair resins emerge as a far more robust and advanced solution. These cutting-edge products are expertly engineered to do more than just superficially buff a surface; they are specifically designed to physically fill and chemically bond with the existing plastic, creating a seamlessly smooth and remarkably durable repair. This method is particularly suitable for imperfections that penetrate deeper into the lens material, where traditional sanding and polishing might only reduce the visibility rather than fully eliminating the embedded damage, demanding a more comprehensive intervention.
The diligent application of a repair resin typically commences only after the headlight has been meticulously cleaned and, in many instances, lightly sanded around the specific damaged area. This careful preparatory work is fundamental, as it ensures proper and lasting adhesion of the resin to the headlight’s surface. Following the manufacturer’s precise and detailed instructions, you will carefully apply a thin, even layer of the resin directly over the scratch or crack, using the provided applicator or a suitable tool. The resin’s viscous nature is purposefully formulated to allow it to seep effectively into the imperfections, thereby efficiently filling them and concurrently creating a uniformly level surface that is ready for the next stage.
A defining characteristic of these specialized resins is their unique curing process, which is essential for their transformation into a durable repair. Most high-quality headlight repair resins require precise exposure to either concentrated UV light, often from a specialized lamp, or sufficient natural sunlight to fully harden and achieve their full structural integrity. This crucial polymerization process transforms the initially liquid resin into a solid, crystal-clear, and exceptionally durable layer that effectively becomes an integral and permanent part of the headlight lens itself. As the resin cures, it rapidly forms a protective barrier that not only eliminates the visual defect but also significantly strengthens the affected area, providing enhanced resilience against any future potential damage.
The ultimate outcome of this meticulous process is a visibly restored lens that proudly boasts significantly improved light transmission, ensuring your headlights function at their absolute optimal capacity. By effectively filling and smoothing out scratches and cracks, the resin actively prevents light from scattering unnecessarily, instead directing it efficiently and precisely onto the road where it is most needed for safe driving. This specialized and expert technique offers a genuinely permanent fix for those more challenging and persistent headlight imperfections, thereby significantly extending the overall lifespan and enhancing the critical performance of your entire headlight assembly, all without the need for a far more costly and involved replacement.

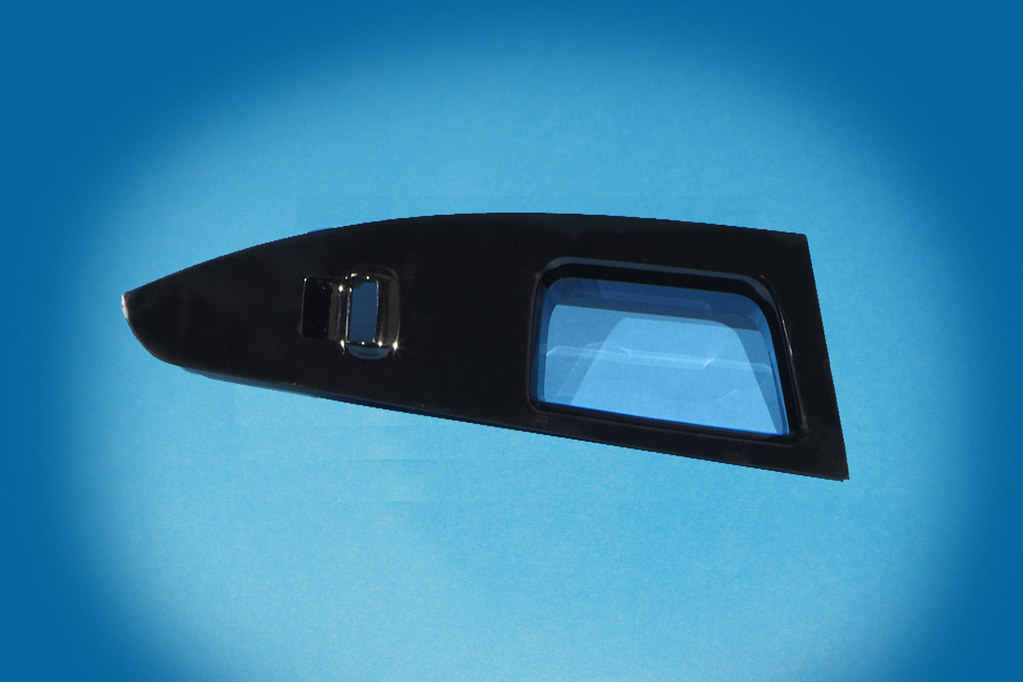
9. **Replace the Headlight Lens or Assembly for Severe Damage**
Despite the demonstrable effectiveness of various restoration methods, there inevitably comes a critical juncture when repairing heavily damaged headlights is simply no longer sufficient, or indeed, even advisable from a safety perspective. If your headlights exhibit extremely deep, jagged scratches that penetrate profoundly and expose the underlying substrate, or if the lens is severely cracked, extensively clouded beyond any reasonable repair, or fundamentally structurally compromised, then attempting further restoration efforts may prove entirely futile. In such severe and unequivocal scenarios, the structural integrity of the lens itself is irrevocably compromised, meaning that no amount of meticulous sanding, precision polishing, or even specialized resin application will fully restore its critical safety function or desirable aesthetic appeal.
When you have thoroughly assessed the damage and conclusively determined that repair efforts simply will not yield satisfactory or, more importantly, safe results, replacing the entire headlight lens—or, in many contemporary vehicle designs, the entire headlight assembly—becomes the most appropriate and responsible course of action. While this option is undeniably more costly and typically more labor-intensive than a straightforward DIY restoration, it offers an absolute guarantee of restored optical clarity and critically ensures your vehicle’s lighting system performs precisely as intended by the manufacturer. This pivotal decision is especially important for your paramount driving safety, as a severely compromised headlight can drastically reduce vital visibility and consequently increase the inherent risk of accidents, making clear illumination non-negotiable.
It is particularly insightful to note that some vehicle designs thoughtfully allow for the individual replacement of just the headlight lens itself, which can represent a more economical and focused approach to addressing the damage. However, it is a common characteristic of many modern vehicle models that they are specifically designed with integrated headlight assemblies, meaning that the entire unit—which includes the housing, the lens, and often even the internal bulbs—must be replaced as a single, cohesive component. Consulting your vehicle’s comprehensive owner’s manual or, even better, seeking expert advice from a professional mechanic or a reputable auto body shop, can provide invaluable guidance to help you definitively determine the correct and most efficient approach for your specific make and model, ensuring a precise and effective solution.
When weighing the decision between repair and replacement, considering the long-term implications is paramount. While a one-time, superficial repair is invariably cheaper upfront, if a headlight is severely damaged to begin with, continuously needing to restore it can accumulate significant costs over time, diminishing the perceived savings. Furthermore, if a headlight has been repeatedly restored and continues to quickly fade, yellow, or re-develop issues, replacement often emerges as the more truly cost-effective and enduring solution in the long run. Professional attention is highly recommended if your headlights exhibit severe scratches, deep cracks, or pervasive yellowing, as this ensures the chosen repair method is not only effective but also crucially safe, durable, and provides lasting peace of mind.
Read more about: Luxury Car Owner’s Headlight Nightmare: Unmasking the Shocking Costs Behind Modern Automotive Lighting
10. **Prevent Future Scratches with Proper Cleaning and Protection**
Successfully restoring your vehicle’s headlights is a significant and commendable achievement, bringing back essential clarity and substantially enhancing overall safety on the road. However, it is crucial to recognize that this accomplishment represents only one part of the ongoing battle for optimal visibility. To truly maximize the extended lifespan of your meticulous restoration and actively prevent the disheartening recurrence of scratches, unsightly haziness, and destructive UV damage, a proactive and consistent approach to long-term maintenance and protection is absolutely essential. Just as you diligently protect your vehicle’s valuable paintwork from the elements, your headlights demand and deserve ongoing, thoughtful care to maintain their pristine, crystal-clear condition.
A fundamental and non-negotiable aspect of this preventative strategy is consistent and proper cleaning. Make it an ingrained habit to wash your headlights with a mild automotive soap and warm water every single time you wash your car, or at a minimum, at least once a month. This routine cleaning is instrumental in effectively removing the accumulated dirt, abrasive grime, and various road debris that, if left unchecked, can act as miniature abrasives and inadvertently cause new surface scratches on the delicate plastic lens. Crucially, always use a soft, clean microfiber cloth for cleaning, and stringently avoid harsh chemicals or any abrasive materials, as these can strip away vital protective coatings or inflict new, irreparable damage on the sensitive polycarbonate surface.
Beyond mere regular cleaning, strategic protection against environmental stressors plays an equally vital role in preserving headlight clarity. Parking your vehicle in shaded areas whenever physically possible significantly minimizes the direct exposure of your headlights to harmful UV rays, which are unequivocally a primary cause of plastic degradation, embrittlement, and the familiar yellowing phenomenon. Furthermore, consider actively applying specialized coatings or high-quality waxes, explicitly formulated for plastics, on a regular and consistent basis. These specialized products add an invaluable extra protective barrier to the lens, much like a robust wax coat safeguards your car’s paint, helping to actively repel contaminants and provide a formidable shield against relentless environmental elements.
For an even greater, added layer of defense against physical damage, particularly from common road debris such as small stones, gravel, and sand, investing in dedicated headlight covers or durable protective films can be an extremely effective and wise measure. These transparent, yet remarkably tough, films adhere seamlessly to the lens surface, specifically designed to absorb impacts and rigorously resist scratches that would otherwise mar the plastic itself, providing an unseen but powerful guard. This comprehensive and multi-faceted approach to maintenance, combining diligent regular gentle cleaning, proactive UV mitigation, and robust physical protection, is the unequivocal key to preserving your headlights’ crystal clarity and ensuring they continue to provide optimal illumination and crucial safety for countless years to come.
Read more about: The Essential DIY Car Maintenance Tasks That Can Save You $3,000 (Or More!) In Repairs
Mastering the techniques to fix and protect your vehicle’s headlights is an empowering step towards ensuring both its aesthetic appeal and, more importantly, its undeniable safety on the road. From simple toothpaste applications for minor scuffs to advanced resin repairs and the critical application of UV coatings, you now possess a comprehensive toolkit to confidently tackle a wide spectrum of headlight issues. Remember, consistently clear headlights are not merely about a better-looking car; they are fundamentally about illuminating your journey, revealing potential hazards before they become threats, and guaranteeing you’re seen by other drivers, making every single drive a safer and more confident experience. Embrace these practical, expert-driven solutions, and keep your path brightly lit, mile after mile, ensuring clarity and peace of mind on every journey.


