


In our quest for a more efficient and hassle-free home, we often overlook the incredible potential hidden within the everyday items already scattered around us. From the kitchen drawer to the garage, ordinary objects possess surprising versatility, ready to be repurposed into ingenious tools and solutions that can save you time, money, and a good deal of frustration. This isn’t just about saving a few bucks; it’s about embracing a resourceful mindset that empowers you to tackle common household problems with creativity and confidence.
At Lifehacker, we believe in practical tips and actionable insights that you can immediately apply to your daily routine. We know the satisfaction that comes from finding a simple, elegant solution to a nagging problem. This guide is crafted to empower you, transforming you into a home efficiency maestro capable of seeing beyond an item’s primary function and unlocking its full, surprising utility.
Join us as we embark on a journey through some of the most clever and unexpected uses for items you probably already have lying around. Get ready to rethink what’s possible and make your home life smoother, smarter, and a whole lot more organized. Let’s dive into the first half of these brilliant hacks that promise to revolutionize the way you interact with your living space.
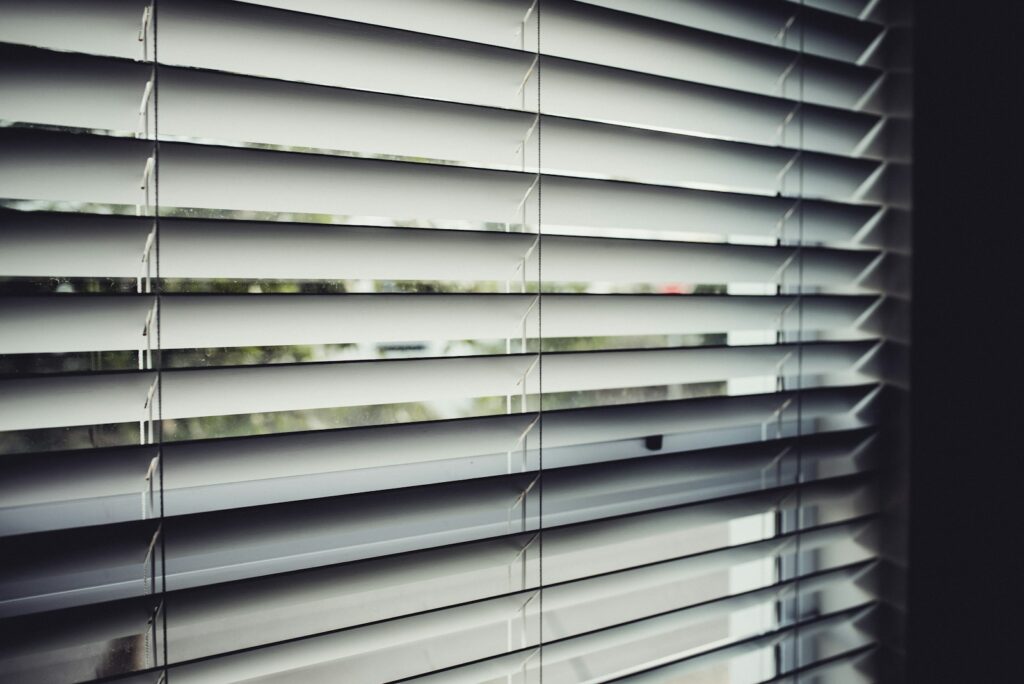
1. **Use Soft Socks to Clean Blinds**Cleaning window blinds can feel like an endless, frustrating chore. The narrow slats, the accumulated dust, and the awkward angles conspire to make it one of those tasks we often put off. Traditional methods can be cumbersome, requiring special tools or a lot of elbow grease to get into every nook and cranny.
But what if we told you the perfect blind-cleaning tool is likely sitting in your laundry basket right now? An old, soft sock, slipped over your hand, becomes an incredibly effective and surprisingly ergonomic dusting mitt. Your fingers, now encased in a fabric that loves to pick up dust, can effortlessly navigate the intricate surfaces of your blinds.
Simply slide your sock-covered hand along each slat, gripping both sides to clean them simultaneously. The natural dexterity of your hand allows you to reach into those difficult spots that brushes often miss, ensuring a thorough clean without the need for excessive scrubbing or complicated maneuvers. It’s a method that turns a tedious task into a quick and satisfying one.
When you’re finished, the best part is the cleanup itself. There’s no need to rinse out a grimy cloth or deal with sticky residues. Just peel off the sock and toss it straight into the washing machine with your regular laundry. This resourceful hack not only gets your blinds sparkling clean but also makes the entire process incredibly straightforward and efficient.
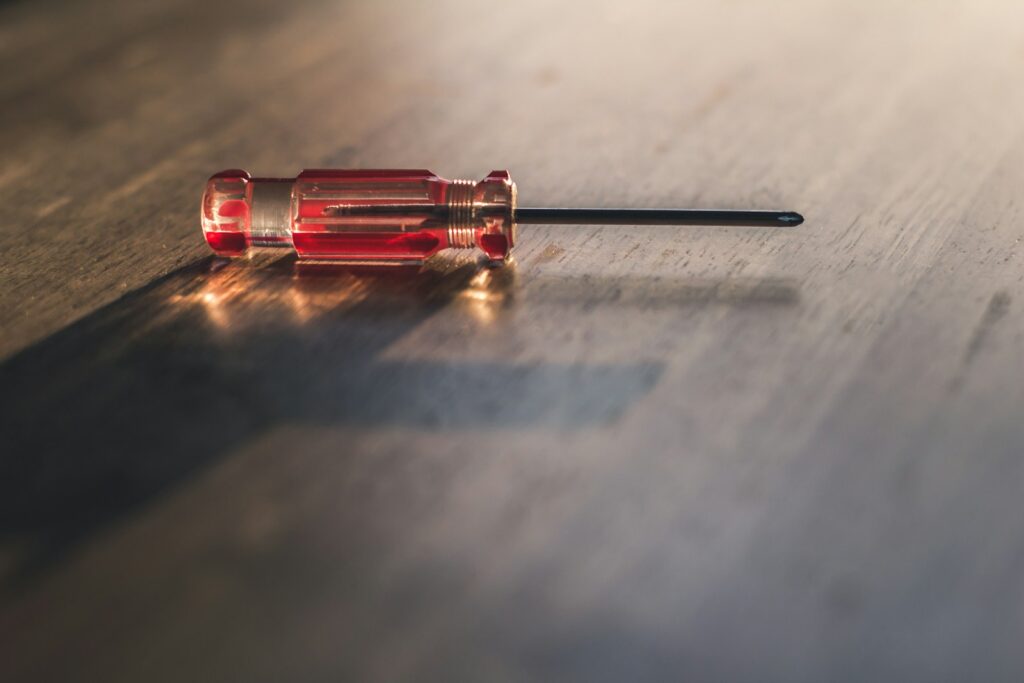
2. **Magnetize a Screwdriver**How many times have you been working on a DIY project, only to drop a tiny screw into an inaccessible spot? It’s a common scenario that can bring a project to a grinding halt, costing you precious time and testing your patience. Small fasteners, especially when working in cramped spaces or overhead, seem to have a mischievous tendency to escape your grasp.
Fortunately, there’s an old trick that can save you hundreds of dropped screws over your DIY lifetime, turning your ordinary screwdriver into a precision tool. You don’t need any specialized equipment or a trip to the hardware store; the solution is as simple as finding a common household magnet.
To create a magnetic tip, grab a magnet and rub it along the shaft of your screwdriver. The key is to rub in one direction only, repeating this motion a dozen times or so. Think of it like sharpening a knife, creating a consistent magnetic field along the tool. This focused application quickly charges the metal, giving it a temporary but effective magnetic pull.
In approximately 10 seconds, you’ll notice a remarkable difference: your screwdriver will be able to hold screws firmly in place, allowing for easier insertion and preventing those frustrating drops. This hack is incredibly useful for driving screws into tight spots, starting fasteners with one hand, or retrieving dropped items. Repeat the process as needed to maintain its magnetic strength, ensuring your projects proceed smoothly and without interruption.
Read more about: Your Essential Home Toolkit: 14 Must-Have Tools Every New Homeowner Needs for Smart Repairs

3. **Wine Cork Caulk Saver**There’s nothing quite as frustrating as needing to do a quick caulking job, only to find your last tube of caulk has dried solid at the nozzle. Partially used tubes are notorious for hardening, rendering the remaining caulk useless and forcing an unexpected trip to the store for a replacement. This not only wastes material but also disrupts your project flow.
Many conventional methods for sealing caulk tubes, like using a nail or a cap, often fall short of creating a truly airtight seal, leading to premature drying. What you need is a robust, reusable solution that effectively preserves the caulk, keeping it fresh and pliable for future applications without any fuss.
Reader Susan Claussen offers a brilliantly simple and effective trick using an item you might otherwise discard: a synthetic wine cork. These corks are made from a dense, non-porous material that makes them ideal for creating a tight barrier against air exposure, which is the primary enemy of leftover caulk.
To implement this hack, take a synthetic wine cork and drill a 5/16-inch hole into it, about 1 inch deep. This perfectly sized bore allows the cork to slide snugly over the nozzle of your partially used caulk tube. The tight fit ensures an airtight seal, preventing air from reaching the caulk inside and keeping it from hardening prematurely.
This clever tip means you can confidently store your caulk tubes, knowing that they’ll be ready for action the next time a sealing project comes up. It’s a sustainable solution that reduces waste and ensures your materials are always in prime condition, saving you both money and hassle in the long run.
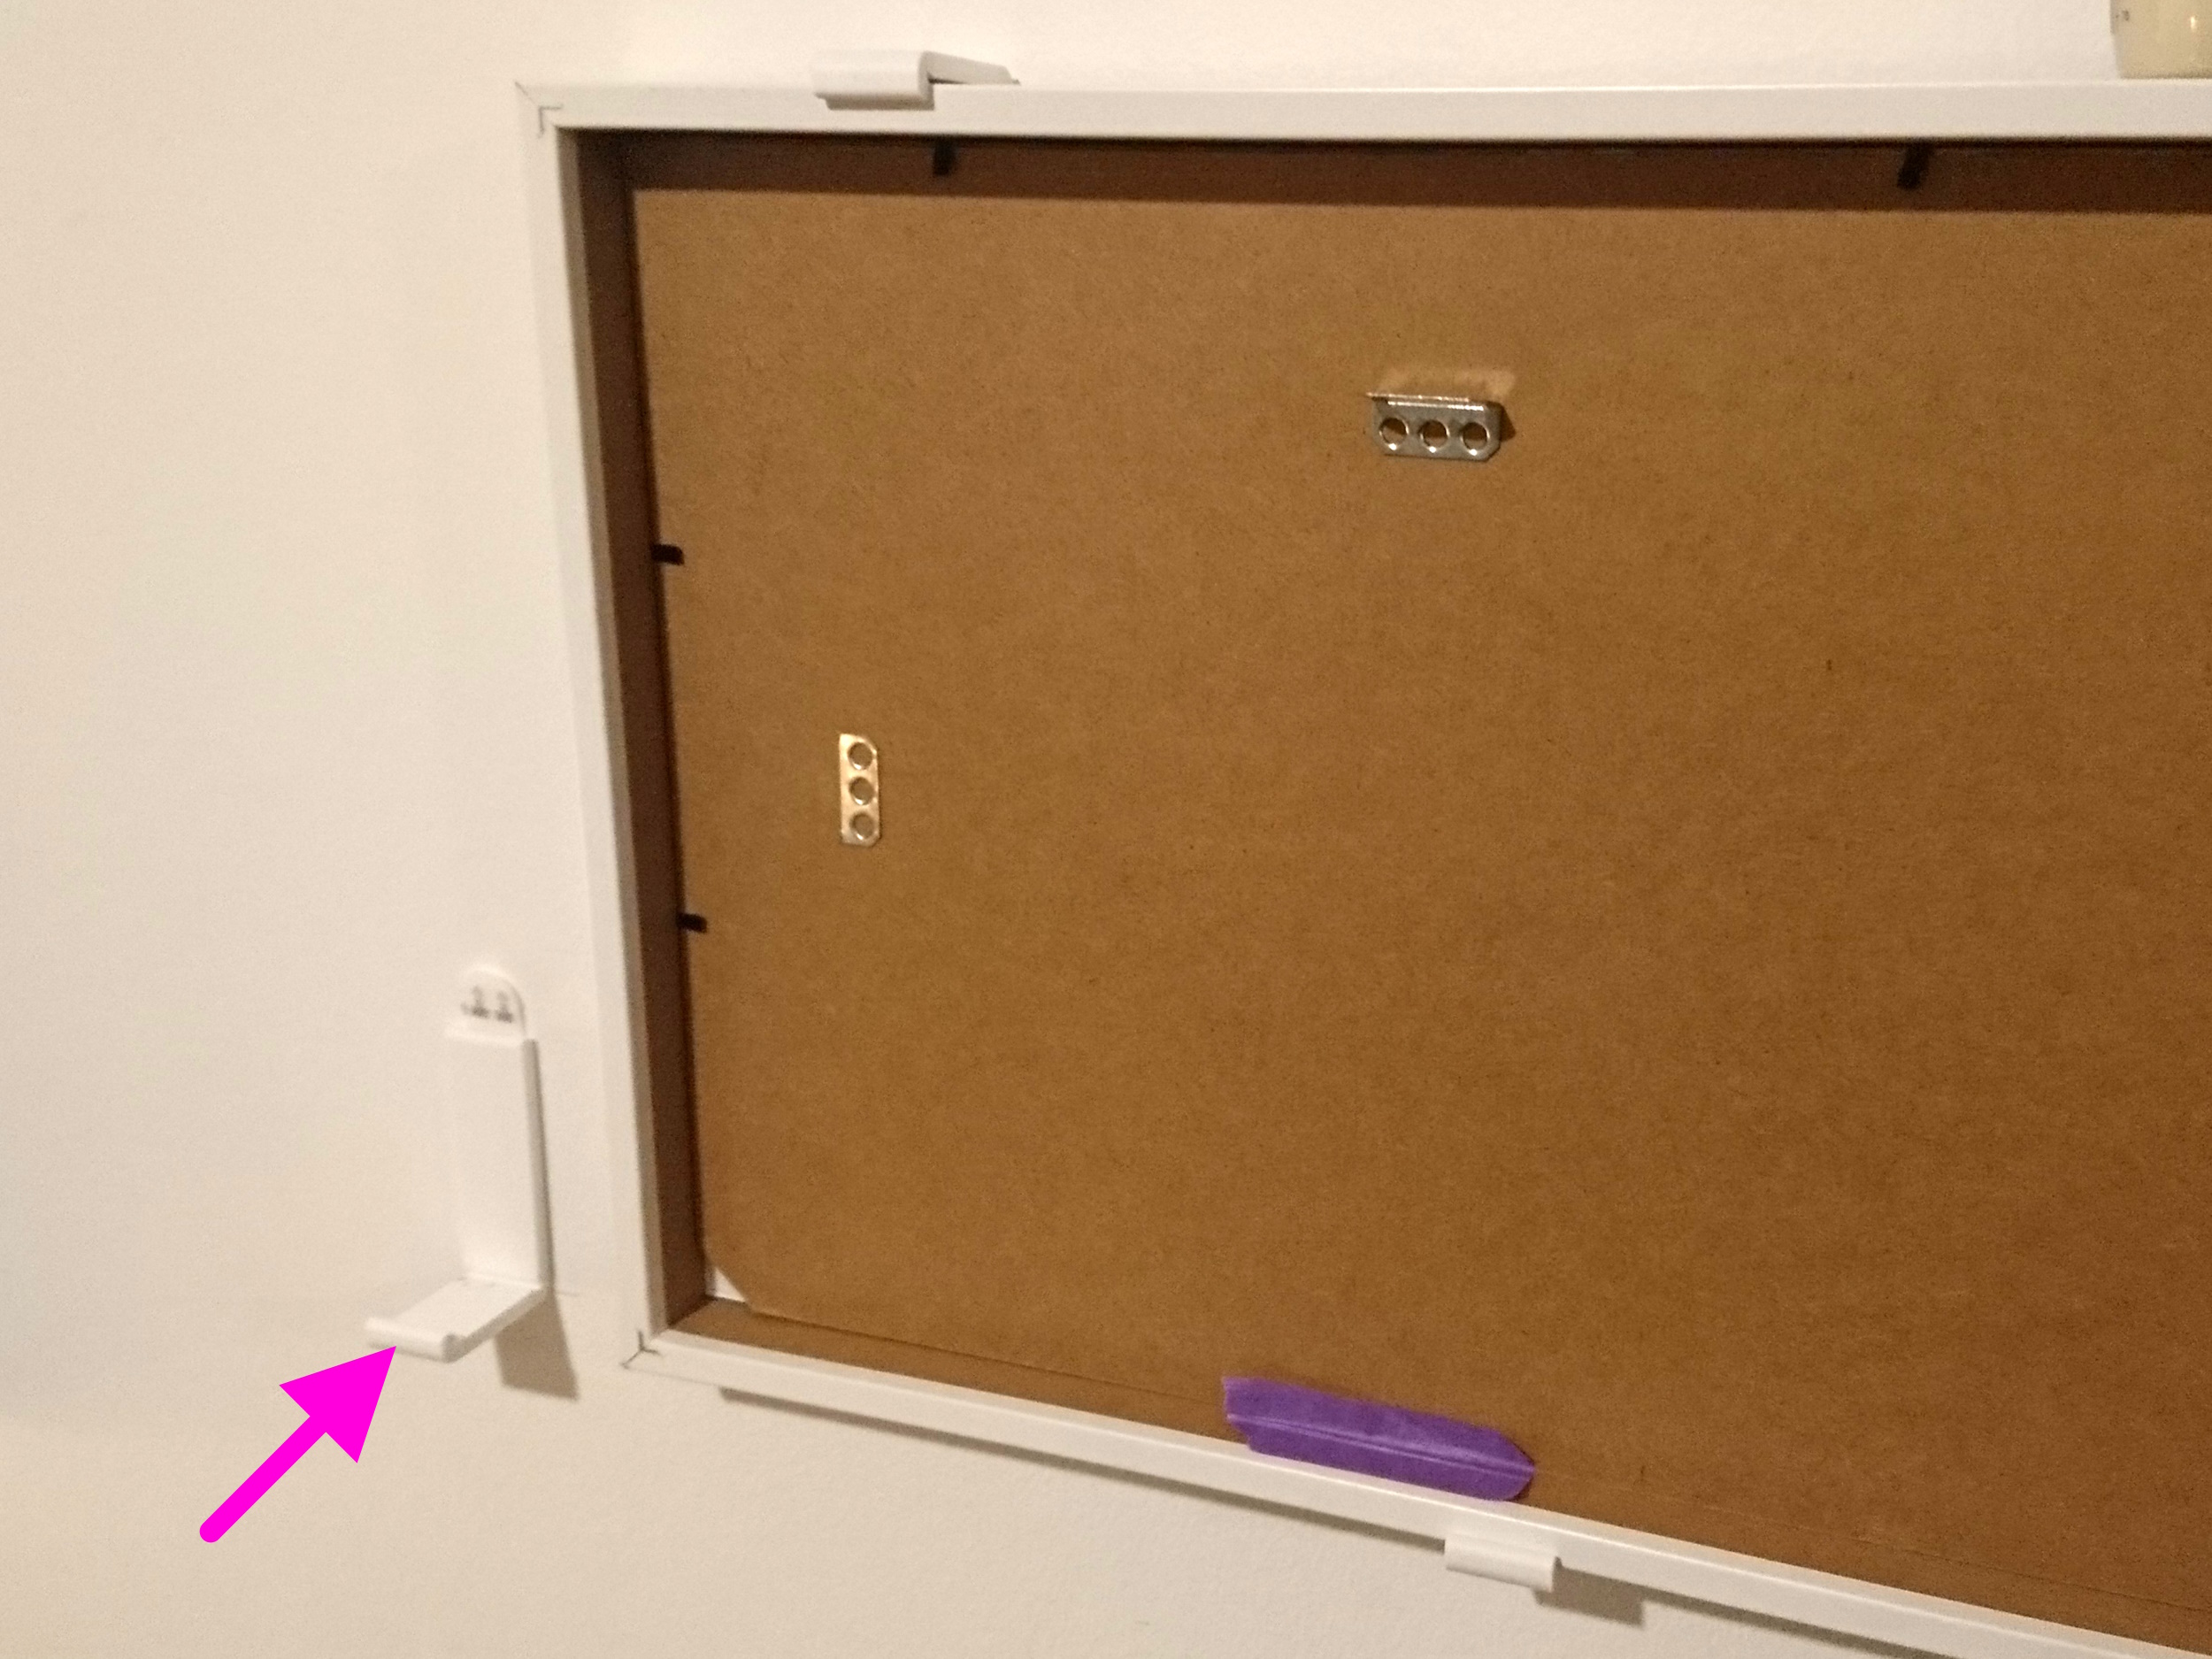
4. **Pull-Tab Picture Frame Hook**Picture hanging can often be a game of precision and having the right hardware on hand. It’s particularly annoying when you’re ready to hang a beautiful new frame, only to discover you’ve run out of those small, essential sawtooth hangers. This minor oversight can halt your decorating plans, forcing a delay until you can acquire more supplies.
But what if a perfectly functional and surprisingly sturdy picture hook was as close as your recycling bin? Reader Carrie Tegeler shares an ingenious, free solution that repurposes a common item into effective hanging hardware, ensuring your decorating momentum never has to pause.
The secret lies in the humble pull tab from a pop can. These seemingly insignificant pieces of aluminum are designed to be durable and are surprisingly strong for their size. By transforming this everyday discard, you gain a quick and reliable way to get your pictures up on the wall without needing to buy extra specialized hooks.
To create your makeshift picture hanger, carefully bend the pull tab back and forth until it cleanly breaks off from the can. This detached piece then becomes your new hardware. Screw one end of the pull tab to the back of your picture frame, much like you would a traditional sawtooth hanger. Once it’s securely attached, gently bend the free end of the tab out slightly to form a small hook.
This small, upward bend provides the perfect catch for a nail or picture hook on your wall, allowing you to hang your frame securely and aesthetically. It’s a truly resourceful hack that highlights how simple ingenuity can overcome common household obstacles with surprising elegance and practicality.

5. **Use a Sneaker to Clean Sandpaper**Any DIY enthusiast or woodworker knows the frustration of clogged sandpaper. As you work, tiny particles of wood dust, paint, or other materials get embedded in the grit, rendering the sandpaper less effective and shortening its lifespan. This means more frequent replacements and interrupted workflow, especially when using power sanders.
Maintaining the cutting efficiency of your sandpaper is crucial for achieving smooth finishes and consistent results. When your sandpaper starts to feel less abrasive and more like a smooth, dusty surface, it’s a clear sign that it needs a refresh, rather than an immediate discard.
Here’s a fantastic, almost magical trick that can make sandpaper nearly new again, extending its usability and saving you money on replacements. The secret weapon? An old sneaker. Yes, the rubber sole of your worn-out athletic shoe holds the key to revitalizing your sanding sheets and belts.
To put this hack into action, start up your power sander and ensure your dust collection system is running. Crucially, always remember to wear hearing and eye protection for safety. Then, slowly press the rubber sole of an old sneaker along the moving sandpaper. As the rubber makes contact, it dislodges and pulls away the embedded particles, revealing the sharp, clean grit underneath.
You’ll see a noticeable difference instantly as the sandpaper sheds its grime and regains its abrasive quality. This simple, effective technique breathes new life into your sanding supplies, allowing you to continue your projects with optimal performance and fewer interruptions. It’s a testament to the unexpected utility found in the most common items.
Read more about: Unlocking the ‘Magical’ Scratch Erasers: Top Car Finish Solutions That Deliver Instant Results, With or Without a Buffing Tool!

6. **Beat the Dust out of Cushions with a Tennis Racket**Upholstered furniture, especially cushions on sofas and armchairs, acts as a silent reservoir for dust, allergens, and microscopic debris. Routine vacuuming certainly helps to manage surface dust, but it often can’t reach the deep-down particulate matter that settles within the cushion’s core. Every time you sit down, a puff of this hidden dust is sent airborne, contributing to indoor air pollution and potentially aggravating allergies.
For a truly deep clean that refreshes your upholstery and significantly reduces airborne dust, a more aggressive approach than just vacuuming is needed. You need a method that literally ‘beats’ the dust out, liberating it from its cozy hiding spots within the fabric and foam.
Reader Carrie Tegeler suggests a brilliant and somewhat nostalgic solution: an old tennis racket. This isn’t just a nod to classic cleaning techniques; it’s a highly effective way to dislodge stubborn dust that suction alone cannot remove. The broad, flat surface of the racket allows you to apply force evenly without damaging the fabric.
To execute this powerful cleaning hack, take your cushions outside, preferably on a windy day. The breeze will help carry away the liberated dust, preventing it from resettling. Then, using an old tennis racket, vigorously ‘spank’ or beat the cushions. Focus on different areas, applying a firm, rhythmic motion to ensure maximum dust expulsion.
The sight of clouds of dust escaping your cushions will be both startling and satisfying, confirming just how much was hidden within. This method not only makes your cushions cleaner but also contributes to a healthier indoor environment by drastically reducing a major source of allergens. It’s a simple, effective, and environmentally friendly way to give your upholstery a truly deep clean.
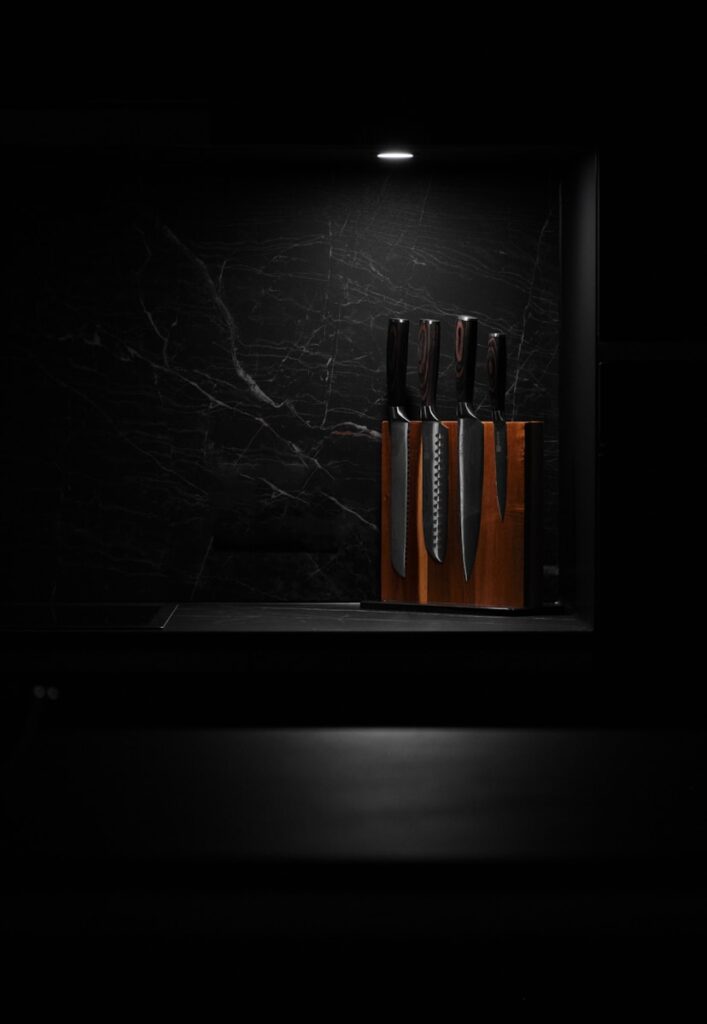
7. **Knife Block (from old books)**Imagine a kitchen where functionality meets unique style, and essential tools are always within reach. Traditional knife blocks often feel generic or take up too much precious counter space. They lack the personal touch that truly makes a kitchen feel like your own, leaving you longing for a solution that combines practicality with aesthetic appeal.
There’s a wonderfully resourceful hack to address this: crafting a knife block from a collection of old books. This DIY project isn’t just about storage; it’s a charming statement piece that reflects your personality and embraces creative upcycling. It teaches us to look beyond an item’s primary function and transform it into something ingenious for the heart of your home.
To bring this idea to life, select unique books that complement your favorite color scheme or kitchen decor. Hardcovers of similar size work best to ensure a stable block. Once chosen, bind these books together tightly with strong twine, rope, or a stylish ribbon. The tighter the bind, the more secure and effective your unique knife block will be.
This tightly bound bundle then becomes the perfect, protective home for your kitchen knives. The compressed pages create narrow, individual slots that safely house various knife sizes, keeping their blades sharp and protected from dulling. It’s a smart way to store knives, preventing them from clanking against each other in a drawer and preserving their edge.
Beyond its practicality, this DIY knife block offers impressive aesthetic flexibility. You can easily swap out books to create different color schemes or thematic arrangements for seasons or holidays. As the context notes, “Who says practical storage can’t be pretty? This DIY Knife Block, made from old books, is easy to make.” This hack empowers you to reclaim counter space and infuse your kitchen with a truly distinctive, artistic touch.

8. **Bread Tabs for Labeling Cords**In our gadget-filled homes, a tangled mess of cords behind your TV or under your desk is a familiar sight. It’s often a frustrating guessing game to identify which cable powers which device amidst the chaos, especially when you need to unplug something specific. This common organizational headache leads to wasted time and unnecessary effort.
Fortunately, a surprisingly effective and completely free solution is hiding in plain sight: those small, plastic bread tabs. Far from being simple discards, these unassuming pieces of plastic are perfectly suited to become invaluable organizational tools for your home electronics. Their sturdy construction and convenient size make them ideal for quick, visual identification of your many cables.
Implementing this ingenious hack is incredibly straightforward. Start by saving a collection of plastic bread tabs from your grocery runs. Using a permanent marker, clearly label each tab with the name of the corresponding electronic device—e.g., “Monitor,” “Router,” “Phone Charger.” Clear, consistent labeling is key for maximum future efficiency.
Once labeled, simply clip each tab directly onto the plugin end of its respective cord. This strategic placement ensures the label is always visible and easily accessible right at the power strip or wall outlet. The snug fit of the tabs means they will stay securely in place, even with cable movement.
This resourceful tip instantly transforms cord chaos into an organized system. No more fumbling or blindly tracing wires! You’ll identify and manage your electrical devices with remarkable speed and precision. As the context points out, “Plastic bread tabs are perfect for labeling cords… because they’re sturdy, have enough room to write on and can easily clip around the plugin end of a cord.” This hack saves you time and eliminates frustration, empowering you to control your home’s digital landscape.
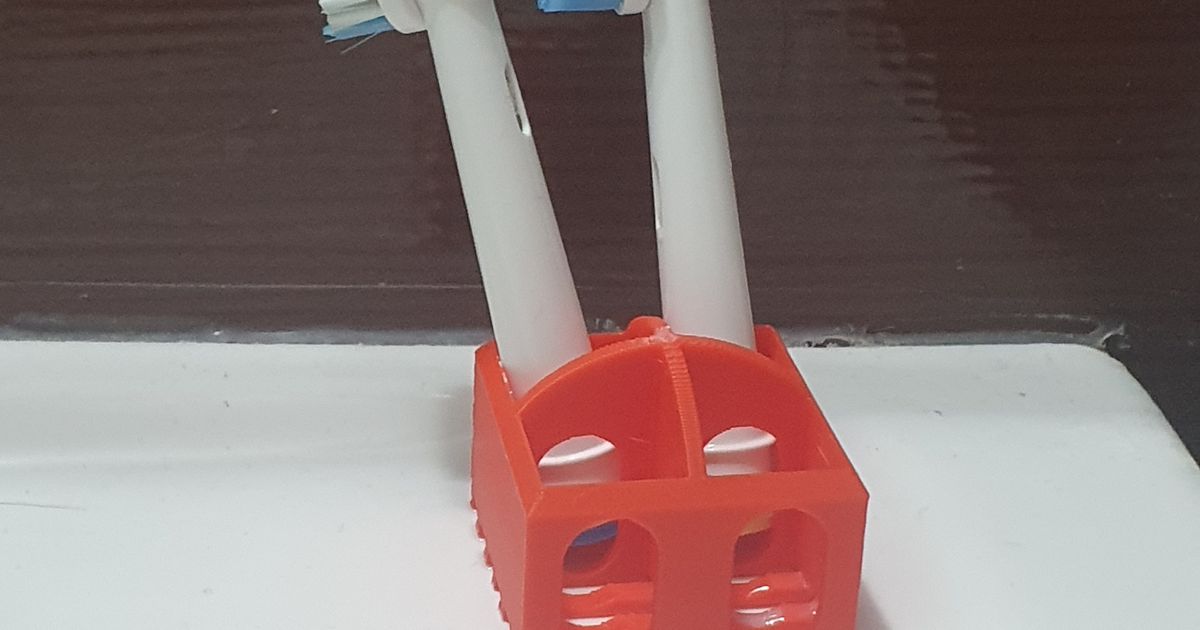
9. **Scour Off Grime with an Electric Toothbrush**Certain nooks and crannies in every home present a formidable cleaning challenge. Grout lines, intricate faucet bases, or the tight seals around appliance doors often harbor stubborn dirt that traditional brushes can’t reach. Manual scrubbing demands significant effort, yet often falls short of truly dislodging deeply embedded grime.
For a genuinely transformative cleaning experience in these challenging areas, consider repurposing an old electric toothbrush. This isn’t just a minor upgrade; it’s a game-changer that utilizes rapid vibration technology to tackle dirt with unmatched precision and power. It’s a modern twist on routine cleaning, reaching places you once thought impossible to clean thoroughly.
To harness this powerful cleaning hack, pick up an inexpensive electric toothbrush from a discount store, specifically for cleaning tasks. Crucially, keep this tool separate from your personal oral hygiene items. This dedicated cleaning brush ensures you’re always ready to precisely tackle tough spots without any cross-contamination concerns.
When ready to clean, apply your preferred cleaning solution directly to the problem area or a small amount onto the toothbrush head. Power it on and gently guide the vibrating head along the grimy surface. The high-frequency scrubbing action quickly breaks down and lifts away embedded dirt and mildew, revealing a pristine finish underneath.
A significant advantage of this hack is its ergonomic design and reach. The long handle allows access to hard-to-reach places without awkward bending or straining, significantly reducing the “elbow grease” required. The context notes, “Rapid vibration will quickly scrub out stubborn dirt, while the long handle can get to hard-to-reach places without all the elbow grease.” This empowers you to maintain a spotless home with precision and less effort, turning tedious tasks into satisfying victories.

10. **Hot Glue Gun Uses: Fix Wobbly Furniture with a Penny**Few household annoyances are as persistent and distracting as a wobbly piece of furniture. A rocking table, a shifting chair, or an unstable bench can disrupt the harmony of your home and make everyday tasks frustrating. This common problem usually stems from slightly uneven leg lengths or an irregular floor surface, leaving many searching for an immediate and effective leveling solution.
Before resorting to complex repairs or expensive glides, consider a brilliantly simple and surprisingly sturdy fix using two common household items: a hot glue gun and a penny. This ingenious hack provides an instant, stable, and almost invisible solution, effectively banishing those irritating wobbles for good and restoring peace to your living space.
To implement this smart repair, first identify the exact furniture leg causing the instability by gently rocking the piece. Once located, prepare your materials: a heated hot glue gun and a single penny. Pennies are perfectly sized for making subtle yet effective height adjustments, serving as an ideal, readily available shim.
Next, apply a small, controlled dollop of hot glue to one side of the penny. Ensure there’s enough glue for a strong bond but not so much that it’s excessive. Quickly and firmly press the glued side of the penny onto the very bottom of the unstable furniture leg, precisely where it contacts the floor. Hold it in place for a few seconds to allow the hot glue to set securely.
The hot glue creates an immediate and robust attachment, preventing the penny from slipping or dislodging with use. This clever combination effectively acts as a custom-made shim, leveling the furniture and eliminating the annoying wobble. As the context states, “Add a drop of hot glue to a coin and attach it to the problem area. The coin will act like a shim, leveling out the furniture piece.” This hack showcases problem-solving ingenuity, using readily available items for a professional-looking repair, saving time and frustration.
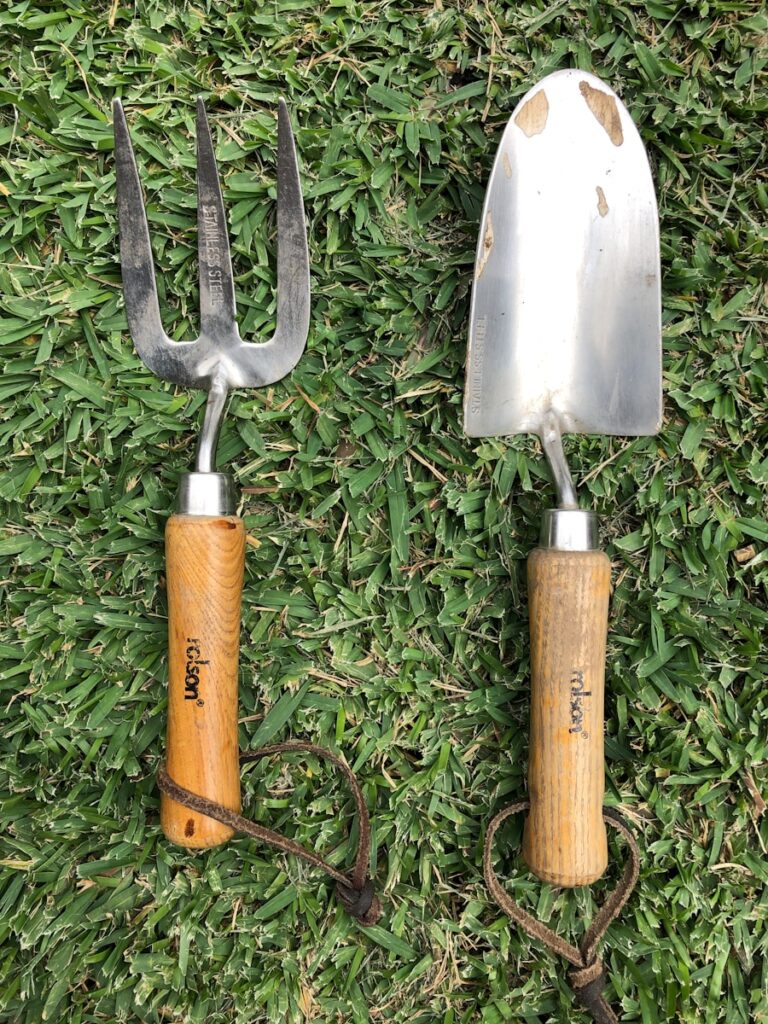
11. **No More Rusty Garden Tools**For any avid gardener, the sight of rusty tools is a constant battle. Shovels, hoes, and pruning shears, routinely exposed to soil, moisture, and varying weather, quickly succumb to corrosion. Rusty tools are not only inefficient and harder to clean, but their reduced lifespan means frequent, costly replacements, interrupting your gardening flow and budget.
Fortunately, a brilliant, long-term maintenance hack from reader Gary Snell offers a sustainable and economical solution to this problem. This isn’t just about preventing rust; it’s about repurposing a common household waste product to create an optimal storage environment that actively protects your metal garden implements. The secret lies in a resourceful use of used motor oil.
The next time your lawn mower is due for an oil change, save that used motor oil. Prepare a dedicated storage solution by filling a standard 5-gallon bucket primarily with sand. Once the sand is in place, carefully pour approximately a quart of the used motor oil into the bucket, ensuring it saturates the sand evenly.
With your oil-infused sand mixture ready, this ingenious setup becomes the perfect haven for your metal garden tools. After each use, and especially after cleaning, simply plunge the metal ends of your shovels, hoes, and other implements directly into the oil-soaked sand. The sand provides stable upright storage, while the oil creates a protective coating on the metal surfaces, effectively preventing rust.
This clever tip keeps your gardening essentials rust-free and in prime condition, always ready for action. As the context highlights, “When you change the oil in your lawn mower, pour a quart or so into a 5-gallon bucket filled with sand. Now store your garden tools in it. This keeps them rust-free and ready for use.” This sustainable approach extends tool life and empowers you with an environmentally conscious way to maintain your gardening equipment efficiently for years to come.
Read more about: Your Essential Home Toolkit: 14 Must-Have Tools Every New Homeowner Needs for Smart Repairs
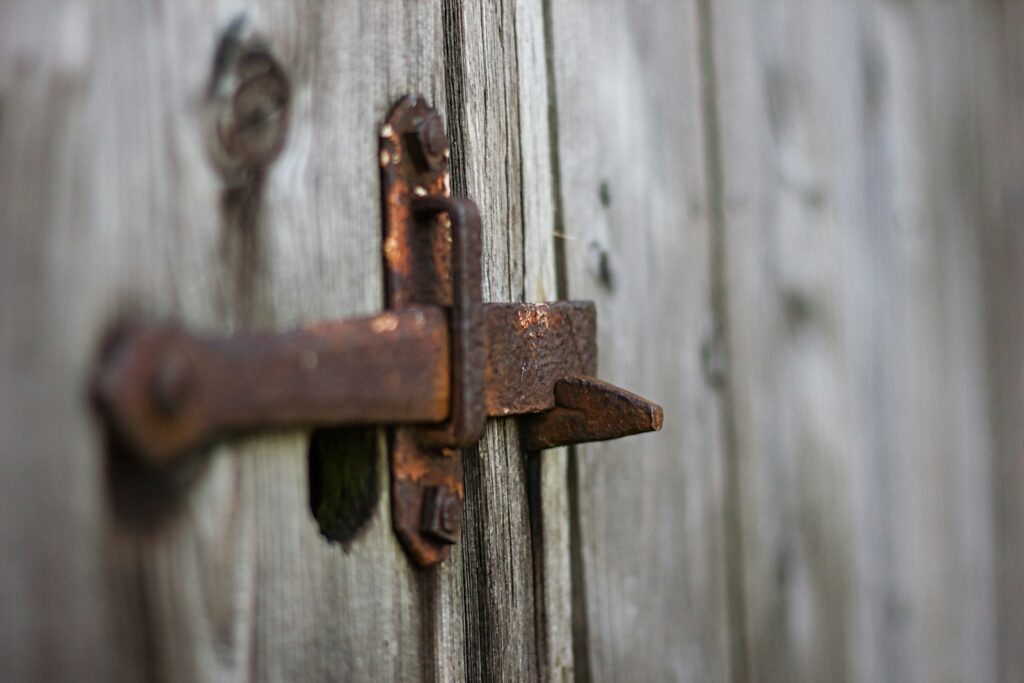
12. **No-Latch (or Hands-Free) Door Trick**We’ve all faced moments when our hands are full—with groceries, laundry, or project materials—and a door frustratingly latches shut behind us. The struggle to push it open with an elbow, or the need to set everything down to turn a doorknob, creates an irritating inefficiency in our daily routines. This minor inconvenience can significantly slow progress and add unnecessary stress.
For times when you need seamless, hands-free passage through an internal door, or simply wish for a door to remain unlatched, there’s a remarkably simple, yet ingeniously effective solution. This resourceful hack uses an everyday item, the humble rubber band, to temporarily override the door’s latch mechanism, providing effortless access.
To put this clever trick into action, grab a standard elastic rubber band. Loop one end securely around one doorknob or handle, ensuring it’s snug but not overly stretched. The flexibility of the rubber band is crucial for creating the necessary tension for this hack to work effectively.
Next, twist the rubber band once in the middle, forming a figure-eight shape. Then, take the remaining loop and stretch it over to the opposite doorknob or handle, securing it in place. The rubber band should now be stretched across both doorknobs, crossing directly over the latch mechanism.
The tension from the stretched rubber band will pull the door’s latch bolt inward, keeping it retracted within the door frame. This prevents the door from engaging with the strike plate when it closes. As the context clearly outlines, “The rubber band holds the latch down, preventing the door from latching shut. Now if the door closes, you can push it back open with your body even if your hands are full.” This brilliant, temporary modification allows you to push or pull the door open effortlessly with your body, even when completely occupied, streamlining your movements and ensuring an uninterrupted workflow.
And there you have it! From transforming old books into a stylish knife block to using a simple rubber band for hands-free door navigation, these practical applications for everyday items underscore a powerful truth: true innovation isn’t always about buying something new. Often, it’s about looking at what you already have with fresh eyes and a problem-solving mindset. By embracing these clever Lifehacker tips, you’re not just saving time, money, and hassle; you’re actively transforming your home into a smarter, more efficient, and ultimately more enjoyable place to live. So, go ahead, rummage through your drawers, peek into your pantry, and start seeing the hidden potential in every object. Your home (and your sanity) will undoubtedly thank you for it.

