Okay, real talk for a sec: improved fitness drastically reduces the risk of chronic diseases that develop over time, like heart disease, type 2 diabetes, and even cancer. As Grayson Wickham, DPT, CSCS, founder of Movement Vault, a mobility and movement company in New York City, puts it, “The one thing that will help prevent almost any type of disease is fitness.” It’s a big deal, and our fitness trackers are supposed to be our trusty sidekicks on this journey. But what happens when that trusty sidekick suddenly decides to play dead and refuses to charge? Talk about a mood killer right before a gym day or a long walk!
We’ve all had that moment—you’re pumped to hit your step goals, but your fitness tracker just sits there, refusing to charge. Is it the cable? The charging port? Or maybe your tracker just needs a pep talk? It always feels a bit dramatic when your tracker dies, and honestly, most charging problems come down to making sure those charging pins and cables are clean, properly connected, and not full of gunk. Sometimes, the simplest fixes save the most frustration (and steps!).
But when your smartwatch or fitness tracker suddenly stops charging, it can be both frustrating and inconvenient, especially when you rely on it for tracking fitness, managing notifications, or monitoring health metrics. Don’t worry, we’re here to untangle these charging issues and get our trackers back in the game! From minor oversights to more complex technical glitches, identifying the root cause is key to fixing the issue. Let’s dive into the common causes and practical solutions to resolve the issue.

1. **Checking Your Charging Cable**Sometimes, the real problem isn’t your tracker at all—it’s the charging cable. Before you start blaming the device, or worse, your own bad luck, give that cable a little attention. It’s the first line of defense in our troubleshooting mission, and often, the silent culprit behind a non-charging wearable. Think of it as the most obvious suspect, and we’re starting our detective work right here.
Grab your imaginary detective hat and hold the charging cable up to the light, because it’s time for some serious inspection. Look for frayed wires, bent pins, or weird dents that might suggest it’s seen better days. Exposed wiring or odd discoloration are huge red flags, signaling that your cable is probably ready for retirement. Plugs should feel snug, not wobbly, both where it connects to the power source and where it meets your device.
A loose USB connector can kill the charge faster than you can bail on a run when it starts raining. Pay close attention to the cable ends and the spot where it plugs into the tracker or smartwatch. Lint, dust, or last week’s cookie crumbs (hey, no judgment!) love to hide in there, creating an invisible barrier. Use a soft brush or a gentle puff of air to clear it out, ensuring a clean connection. If your cable looks like it’s been through a war, swap in a new one. No need to risk frying your tracker—or your patience.
It’s time for a little cable matchmaking! If you have another charging cable that fits your device—maybe from an old tracker or a friend’s spare—plug it in and see what happens. This simple swap can quickly tell you if the original cable was the problem, or if the mystery lies elsewhere. If your tracker wakes up, you’ve found the culprit, and peace is restored.
Don’t forget to try a different USB port or a UL-certified wall charger too. Sometimes, finding the charging sweet spot is all about switching things up and eliminating variables. According to a 2023 tech report, over 20% of smartwatch charging issues stem from insufficient power delivery by USB hubs or wall adapters, so testing multiple power sources is a smart move. If nothing changes after swapping cables and ports, you know the cable wasn’t to blame. At least now you’re not blaming innocent wires!
Read more about: Simplify Your Finances in 2025: 7 Practical Strategies to Reclaim Control and Reduce Stress
2. **Examining the USB Port**Before you fling your tracker across the room in a fit of charging-induced frustration, take a good, hard look at the USB port, especially if you’re working with a device that uses one. Sometimes, a tiny bit of dust or a sneaky broken port messes everything up, turning your tech into a brick. This often-overlooked area can be a magnet for all sorts of microscopic troublemakers, disrupting the crucial connection your device needs.
If USB ports earned miles for every dust speck they collected, we’d all be flying first class! Dust, lint, and crumbs can make the cable fit loosely or stop it from working at all. Even a little grime can break the connection between the charging cable and the port, rendering your power efforts useless. It’s like a tiny, invisible blockade preventing your device from getting its much-needed juice.
To tackle this, use a dry toothbrush, a can of compressed air, or even a wooden toothpick to gently clean things out. Go easy—no need to jab the port like you’re poking a stubborn bag of chips. If you spot anything sticky, a dab of rubbing alcohol on a cotton swab (and remember, not too much!) works wonders, breaking up that stubborn residue. Clean, shiny contacts almost always work better. And hey, if your tracker still refuses to charge after this spa treatment, don’t give up yet.
Don’t let one grumpy USB port ruin your day, or worse, make you think your device is beyond saving. Sometimes, the port—not the cable or tracker—is the actual problem. USB ports wear out, get loose, or just decide to stop working, especially if they’ve been subjected to repeated tugs and pulls over time. Fitbit support even suggests trying another port or a different wall charger, reinforcing the idea that the power source itself can be a weak link.
Plug your tracker into another USB port on your computer, a different computer, or a certified wall charger. The more ports you try, the better your odds of isolating the issue. If switching ports fixes things, you know what to avoid next time you need a charge. If not, we keep moving down our troubleshooting list, systematically eliminating possibilities. Remember, patience is a virtue, especially when dealing with stubborn tech!
Read more about: The Unseen Struggles of a Legend: How One Early Role Nearly Derailed Meryl Streep’s Ascent to Stardom, and the Risky Business of Hollywood Careers
3. **Verifying Device Placement**Alright, you’ve checked the cables, you’ve cleaned the ports, but still nothing? Before you start searching for lost cables under the couch cushions or cursing the battery gods, let’s get back to basics. Sometimes, the issue isn’t a broken component but simply a case of mistaken identity—or rather, mistaken *placement*. Your tracker or smartwatch needs to be positioned *just right* to receive that precious power.
If your fitness tracker had a personality, it’d definitely be a picky guest at the charging table. Most devices, especially smartwatches and trackers with magnetic or pin-based charging, use tiny gold pins or flat spots that must line up absolutely perfectly with the charger. Any slight misalignment, and your device will remain stubbornly uncharged. It’s like trying to put a puzzle piece in the wrong spot; it just won’t click.
Here’s a quick checklist for ensuring proper alignment: First, look: Are the gold pins or charging pads clean? Any dust, grime, or even a stray eyelash will block the connection. Next, align: Place the tracker on the charger and wiggle it gently until you see a charging symbol or light. For some devices, this might mean a subtle vibration or a specific glow. Lastly, listen: Some chargers snap or click when the tracker’s in place—like a tiny cheer for your effort. If alignment looks fine but nothing happens, try another cable, as sometimes the cable that came with your device really does matter, since not all cables are compatible.
Now that your hands are steady and you’ve achieved perfect alignment, let’s make sure the tracker actually *stays put* while it charges. It’s wild how easily things get knocked loose by a curious pet, a clumsy elbow, or even just the subtle vibrations of your desk. A device that constantly shifts off its charging sweet spot might show a brief charging indicator only to stop moments later, leaving you with a half-charged (or entirely uncharged) companion.
Try these simple tricks for securing your device: You can use a rubber band or hair tie to gently hold the tracker and charger together, especially if it’s a magnetic dock that tends to slip. It’s not fancy, but it works in a pinch! Always lay the charger on a flat, stable surface far from chaos (or wiggly kids) to prevent accidental bumps. And if the pins or pad don’t seem to click in, double-check for debris or visible damage in the port, as sometimes visible damage or debris hides in plain sight. Trackers don’t love dramatic falls from the nightstand, so a little care goes a long way. Secure the device, and you’re that much closer to a fully charged wrist buddy.
Read more about: The Critical Mistake: Why Prolonged Idling in Winter is Destroying Your Car’s Engine and How to Protect It
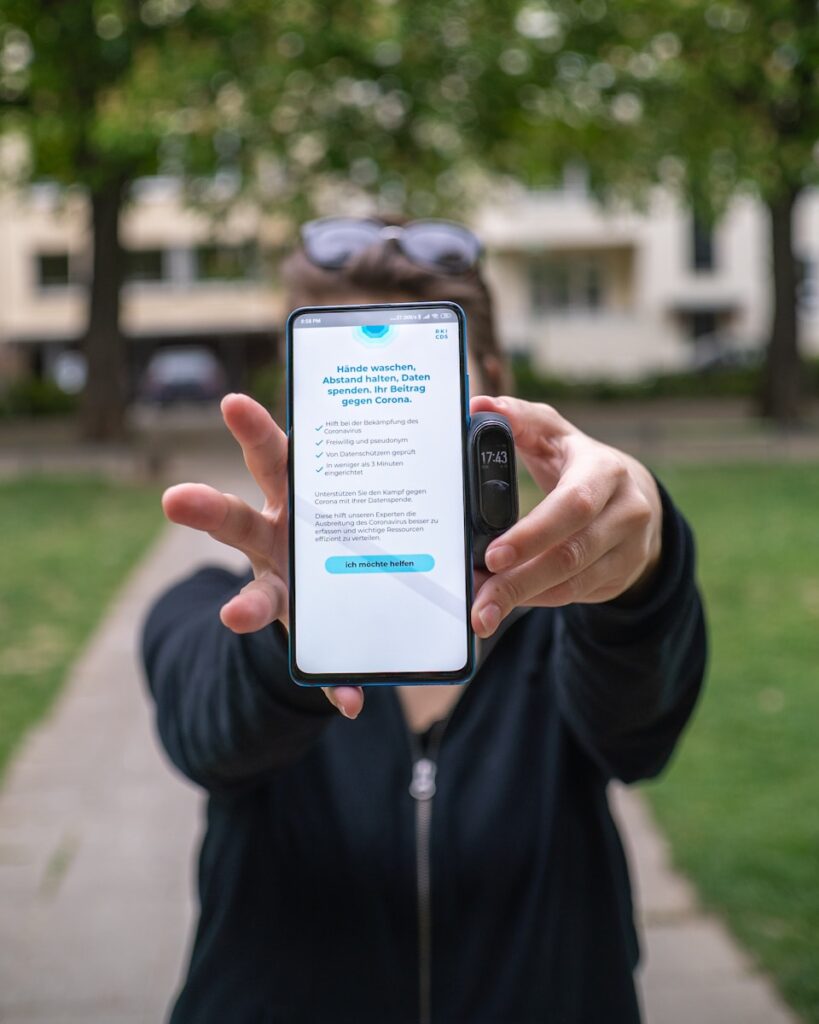
4. **Assessing Charging Contacts and Connectors**Let’s be honest—fitness trackers and smartwatches work up a sweat, often literally! It’s no shock then when the charging contacts or connectors need a little TLC. These tiny metallic points are directly responsible for transferring power, and they’re constantly exposed to your skin, sweat, and whatever else floats around in your environment. Even a bit of dirt or rust can cause major charging drama, turning your workout essential into a mere bracelet.
Charging contacts attract grime, sweat, and pocket lint like magnets, it’s just a fact of life for a wearable device. If your tracker isn’t charging, give those metal contacts a good look. Do they appear dull, smudged, or just generally grimy? Even a little gunk can ruin the connection, acting as an insulator and preventing electricity from flowing through. It’s often the simplest of issues that causes the biggest headaches!
Grab a soft, lint-free cloth and give them a good wipe down. For more stubborn smudges that just won’t budge, use a cotton swab with a tiny bit of rubbing alcohol. Remember, don’t go overboard—just a gentle wipe is enough to get them sparkling again. Let everything dry completely before plugging it back in; moisture and electronics are definitely not friends. A clean connection ensures maximum efficiency, so these small cleaning efforts can make a huge difference in your charging success.
Sometimes, you’ll spot darker or even greenish spots on the charging terminals. Ding, ding, ding! That’s corrosion, and it usually means sweat and moisture hung out too long with the metal, causing an unwelcome chemical reaction. If you see crusty spots or the contacts just look off, you might have a corrosion problem. Reports of terminals corroding off entirely show this can kill charging for good, a rather dramatic end for your beloved device.
Use a soft, dry toothbrush to gently brush the contacts. Don’t scrub like you’re cleaning barnacles off a ship—just enough to loosen things up and remove any visible build-up. If the contacts are badly damaged or, even worse, missing, you’re definitely in the danger zone. At that point, you’ll probably need repairs or a replacement, because even the best cleaning can’t bring back missing metal. You can find more tips for when terminals have corroded, but sometimes, a professional eye is best for severe cases.
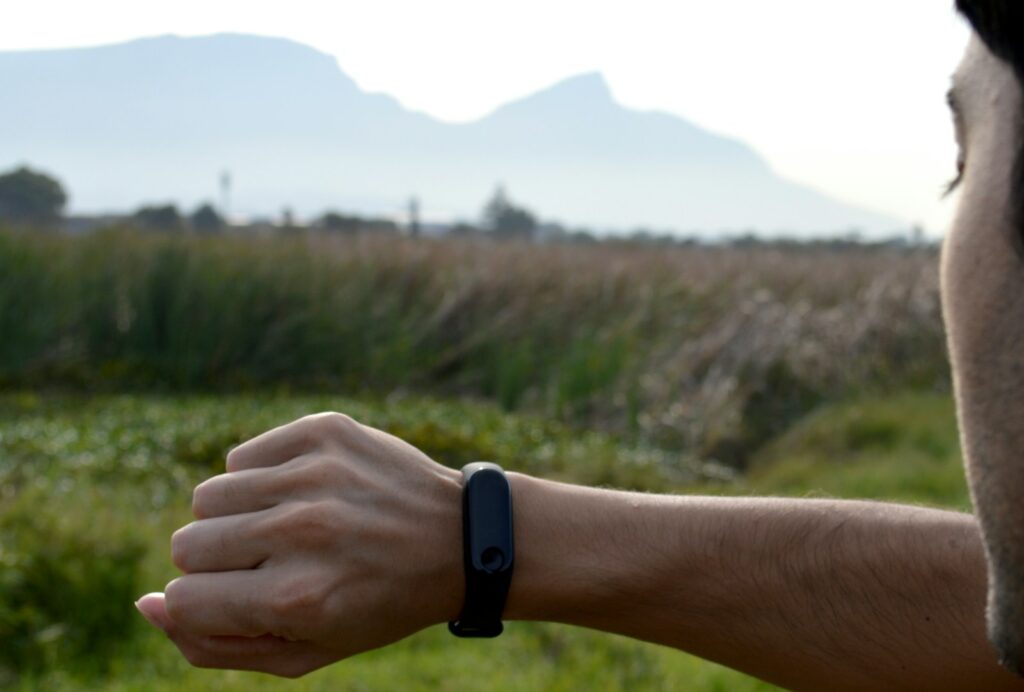
5. **Updating Your Device Firmware**You’ve tried all the physical fixes, but your tracker is still giving you the silent treatment? Sometimes, your tracker needs a little digital nudge to get back on track. Your phone and fitness app can often help fix stubborn charging problems—no screwdriver required. Think of it as giving your device a brain boost, ensuring it’s running on the latest, most bug-free software.
Trackers and smartwatches can get a little cranky if they’re out of date. Seriously! Sometimes, an old firmware version is all that stands between you and a tracker that actually charges. Software bugs can sometimes interfere with charging protocols, leading to unexpected power issues. Ensuring your device is updated means it has the latest fixes and optimizations from the manufacturer.
Grab your phone and open the companion app—whether it’s the Fitbit app or another brand’s dedicated application—to check for a firmware update. Most fitness tracker apps have a specific device updates section. Usually, under “Settings” or “Device Info,” there’s an “Update” button waiting for your tap. If you see it, tap away! Updates often squash bugs, including those pesky charging issues that have been driving you up the wall.
A firmware update is way faster than waiting for tech support, and it gives your tracker a much-needed boost, potentially resolving underlying software conflicts. If you don’t see an update option, you’re probably already running the latest version, which means the problem might lie elsewhere. Here’s a pro tip: always charge the tracker while updating. Nobody wants a half-finished update that introduces *more* charging headaches right after you thought you had a fix!
Read more about: The Essential Guide to Building an Unbreakable Home Wi-Fi Network: 14 Steps to Digital Peace of Mind
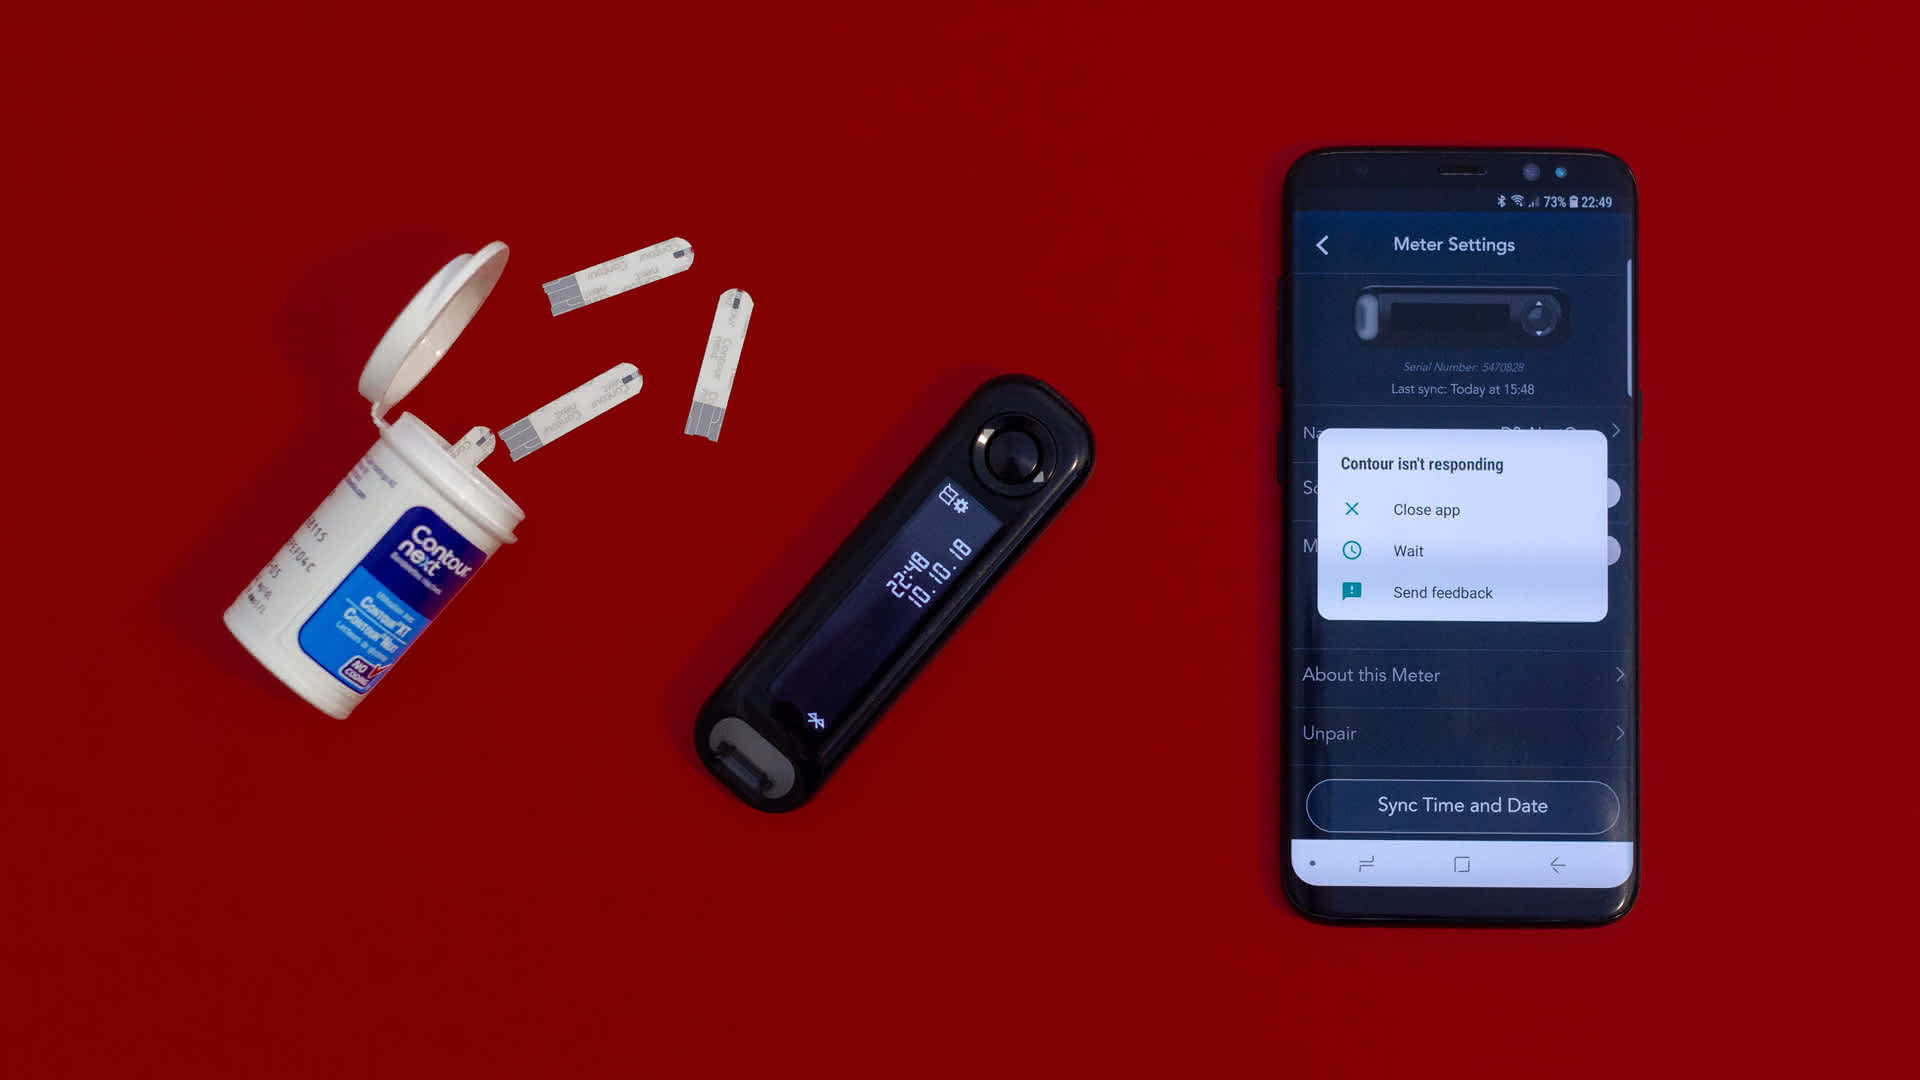
6. **Restarting the Device Using the App**Sometimes our tracker just zones out and refuses to cooperate, acting like it’s had a long Monday when it’s only Tuesday. A quick restart can usually snap it out of its funk, clearing up temporary glitches and resetting internal processes. And guess what? The easiest way to do this isn’t always fiddling with tiny buttons; it’s usually right there in the app! Most fitness trackers—especially anything from Fitbit—let us restart the device right from their dedicated application.
Restarting your smartwatch or fitness tracker can effectively refresh its operating system and address minor software-related issues, which might just be the culprit behind your charging woes. It’s a simple yet powerful troubleshooting step that can clear temporary system caches and reset the device’s software, often resolving hindrances that affect the charging functionality without losing any precious data.
Here’s how I usually do it: First, open the app and tap over to the tracker’s device page. This is usually where you see your stats, battery life, and other settings for your specific model. Next, hunt down a menu or setting called “Restart” or “Reboot.” It might be nestled in a submenu, so don’t be afraid to poke around a bit. Once you find it, follow whatever steps pop up next. It rarely takes more than a minute or two, making it a super-fast potential fix!
If you can’t spot the restart button, peek in the app’s help section or consult the device’s digital manual. Sometimes it hides in a submenu, or the process might be slightly different depending on your specific model. Restarting from the app can clear up little glitches without making us poke around for tiny side buttons or complicated key combinations. If your tracker starts charging after this, that’s a win in my book! If not, well, at least we didn’t have to wrestle with the hardware, and we’ve ruled out a common software hiccup.
Read more about: Fueling Your Savings: 12 Smart Lifehacker Strategies to Drastically Improve Your Car’s Gas Mileage Now
7. **Resetting Factory Settings**Okay, so you’ve tried all the easy stuff: cleaning, checking cables, updating firmware, and even a quick restart. If your tracker or smartwatch is still playing hard to get, it might be time for the nuclear option in software troubleshooting: a factory reset. Let’s be real: sometimes our tracker just needs a clean slate, kind of like us after a rough week. If it keeps freezing, won’t charge, or acts possessed by gremlins, a factory reset might be the only way out.
This is a big step, so pause and take a deep breath. A factory reset will wipe all your personal data, settings, and downloaded apps from the device, effectively returning it to the state it was in when you first unboxed it. Think of it as a fresh start, clearing out any deeply entrenched software bugs or corrupt settings that might be interfering with the charging process.
To reset, you’ll usually need to hold certain physical buttons on the device for a specific duration, or dig through the settings menu within the device itself or its companion app until you see “Reset” or “Factory Reset.” The exact steps vary by device, so consulting your device’s manual or the app’s help section is a smart move here. Heads up—this *wipes all our data*, so syncing first is an absolute, non-negotiable smart move if we care about those step counts, heart rate readings, or notification preferences.
After the reset, you’ll need to set up your tracker or smartwatch again from scratch, pairing it with your phone and re-entering any necessary information. Once it’s all set up, try charging it again. If charging still doesn’t work after a factory reset, double-check all the charging cables and pins one more time, just to be sure. At this point, you might even want to reinstall the Fitbit app or whatever app your tracker uses, just to clear out any weird bugs on the phone side too. This ensures you’ve truly given the software side of things a complete overhaul.
Read more about: Fortify Your Digital Fortress: 14 Proactive Strategies to Shield Your Identity from Scammers

8. **Addressing Syncing Problems**So you’ve done all the physical checks, cleaned every nook and cranny, and even tried a factory reset, but your tracker is still giving you the silent treatment? Sometimes the issue isn’t directly about power flow, but a bigger communication breakdown. Syncing issues can make anyone want to “yeet their tracker across the room,” and when the app stops syncing properly, it’s time for troubleshooting beyond just the charging port.
A wonky connection between your tracker and its companion app can sometimes throw a wrench into other functionalities, including its ability to charge or report battery status correctly. When your device isn’t talking nicely with your phone, it might not be able to complete essential background tasks or even properly register that it’s receiving power. It’s like trying to have a serious conversation but your internet keeps cutting out—super frustrating and unproductive!
First things first: Bluetooth. Even if your phone *says* Bluetooth is on, try flipping it off and then back on again. This quick toggle can work magic, refreshing the connection and clearing up minor glitches. You’d be surprised how often a simple restart of your Bluetooth can get everything chatting happily again.
If that doesn’t do the trick, let’s go a little deeper into the app itself. Logging out of your fitness app and then logging back in can resolve a stubborn syncing problem. In more extreme cases, you might even need to reinstall the app entirely. Always make sure both your phone’s operating system and your tracker’s firmware have the latest updates, as outdated software can often be the silent culprit.
Read more about: The Digital Inferno: How Award Show Snubs Ignite Mass Online Backlash and Reshape Pop Culture Discourse

9. **Examining Battery Health**After ruling out external factors and software hiccups, sometimes the cold, hard truth is that your tracker’s battery itself is calling it quits. Over time, smartwatch batteries degrade, impacting their ability to charge efficiently and hold a charge for as long as they once did. Just like us, batteries get older, and their energy levels aren’t quite what they used to be when they were fresh out of the box.
How do you know if your battery is throwing in the towel? Keep an eye out for a few tell-tale signs. You might notice drastic drops in battery percentage even after a full charge, or incredibly inconsistent charging cycles where it seems to charge quickly only to die even faster. If your device goes from 100% to 20% in just a few hours of light use, that’s a big red flag screaming “battery trouble!”
Tech expert Sarah Donovan points out that “Lithium-ion batteries, commonly used in smartwatches, have a limited lifespan.” She warns that “After 2-3 years, users may notice diminished performance,” so if your tracker is a seasoned veteran, battery degradation is a very real possibility. It’s simply the natural course of action for these power packs.
If you suspect your battery is the culprit, the “solution” isn’t usually a DIY fix. It’s often best to visit an authorized service center for a battery replacement. Trying to replace a smartwatch battery yourself can be tricky and might void your warranty or cause further damage. Leave this one to the pros; they have the right tools and expertise to give your tracker a new lease on life.
Read more about: Before You Buy: The 14 Essential Checks Your Mechanic Insists You Make on Any Used Convertible

10. **Tackling Overheating Issues**Imagine trying to charge your phone in a hot car on a scorching summer day. Not ideal, right? The same goes for your fitness tracker! Smartwatches and fitness trackers are designed with safety in mind, which means they’ll often stop charging if they detect overheating. This protective mechanism prevents damage to internal components and any dangerous situations from occurring.
Overheating can happen for a few reasons. Sometimes it’s the environment—charging your device under direct sunlight, next to a heater, or even under a thick blanket can trap heat and trigger this safety shut-off. Other times, the device itself might be struggling, perhaps due to a faulty battery or an intensive background process running while it’s trying to power up. Either way, a hot tracker is a no-go for charging.
Prevention is key here. To keep your device cool and happy while it charges, always try to charge it in a cool, ventilated area. Think of a bedside table or a desk, not tucked away in a drawer. Ensure there’s good airflow around the device and its charger. This simple step can make a world of difference and prevent that frustrating charging pause due to heat.
Another important prevention tip is to avoid using the watch during charging, especially if you’re running power-intensive apps. Streaming music, using GPS for a workout, or constantly checking notifications while it’s plugged in will generate more heat, making it prone to overheating. Let your tracker rest and recharge in peace; it deserves a break after tracking all those steps!
Read more about: Unlock Your Car’s Full Potential: 14 Simple DIY Maintenance Tasks Every Driver Must Master for a Longer, Safer Ride
11. **Identifying Hardware Malfunctions**Alright, we’ve explored every software avenue, checked the battery’s pulse, and made sure our tracker isn’t having a heat stroke. If none of the previously mentioned solutions have worked, then it’s time to face the music: the problem could very well be a deeper, more stubborn hardware malfunction. This is where things get a bit more serious, as it often means something inside your device has physically broken or gone awry.
Sometimes, the damage is visible to the eye. Have you recently dropped your tracker? Did it take an accidental swim? Inspect for visible damage like cracks in the screen, a bent casing, or obvious signs of water exposure. Physical damage to internal components, especially the charging circuitry or even the internal battery connections, can absolutely prevent your device from powering up.
But hardware issues aren’t always glaringly obvious. Sometimes, the problem is an internal component that has simply failed over time, or perhaps a manufacturing defect that only becomes apparent after some use. In these situations, the “Why do smartwatches stop charging?” question often leads back to “Hardware Damage: Physical damage to the charging port or connectors.”
When you’ve reached this point, and you can’t find any external fix, it’s time to reach out to the manufacturer or authorized repair centers for assistance. They have diagnostic tools and expertise to identify internal problems that we humble users just can’t see or fix ourselves. And hey, “Some premium smartwatches come with warranties that cover charging issues—be sure to check yours!” You might get lucky!
Read more about: The 14 Hidden Costs of Home Solar: What Every Owner Needs to Know Beyond Installation
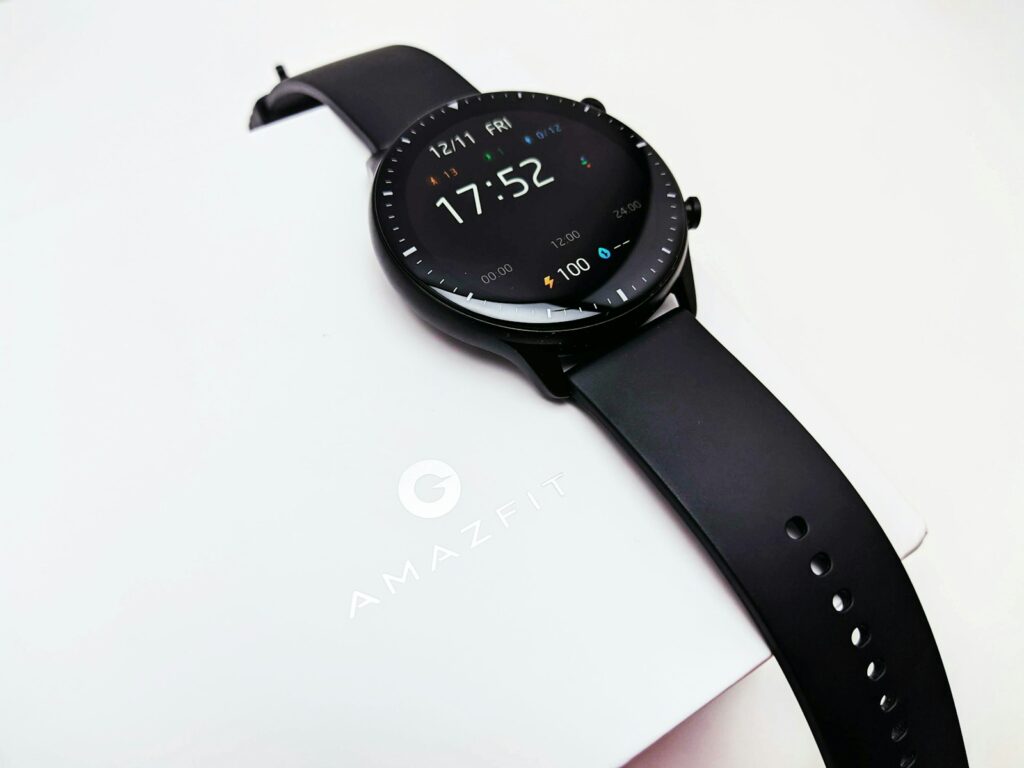
12. **When to Seek Professional Help (Customer Support)**You’ve tried everything under the sun—cleaning, cable swapping, resets, even a little pep talk—and your tracker is still giving you the cold shoulder. At this stage, it’s probably time to throw in the towel on your DIY troubleshooting and bring in the big guns: customer support. There’s no shame in admitting defeat to stubborn tech! Most brands offer a help line, email, or chat, so we can finally ask, “Why is this happening?” without judgment.
Before you dial that number or open that chat window, do yourself a huge favor: prepare! Customer service folks truly appreciate it when you come prepared. Jot down what you’ve done so far—everything from cleaning contacts and switching cables to resetting the device and checking for overheating. Also, have your device’s model and serial number handy, along with any proof of purchase (especially if you’re hoping for a warranty claim).
When you explain the problem, provide a clear description and outline all the troubleshooting steps you’ve already attempted. This saves time and prevents them from asking you to repeat steps you’ve already completed. Usually, they’ll walk you through a few more advanced troubleshooting steps, and if those don’t work, they’ll let you know if something’s actually broken or requires a more formal solution.
If waiting on hold isn’t your vibe, remember that many brands post common fixes online. For Fitbit users, the Google Help page for charging problems is often super useful. If nothing works after all these efforts, at least you’ll have the peace of mind knowing you tried *everything* before seeking professional help. And if they tell you it’s officially toast, you know it’s not for lack of trying!
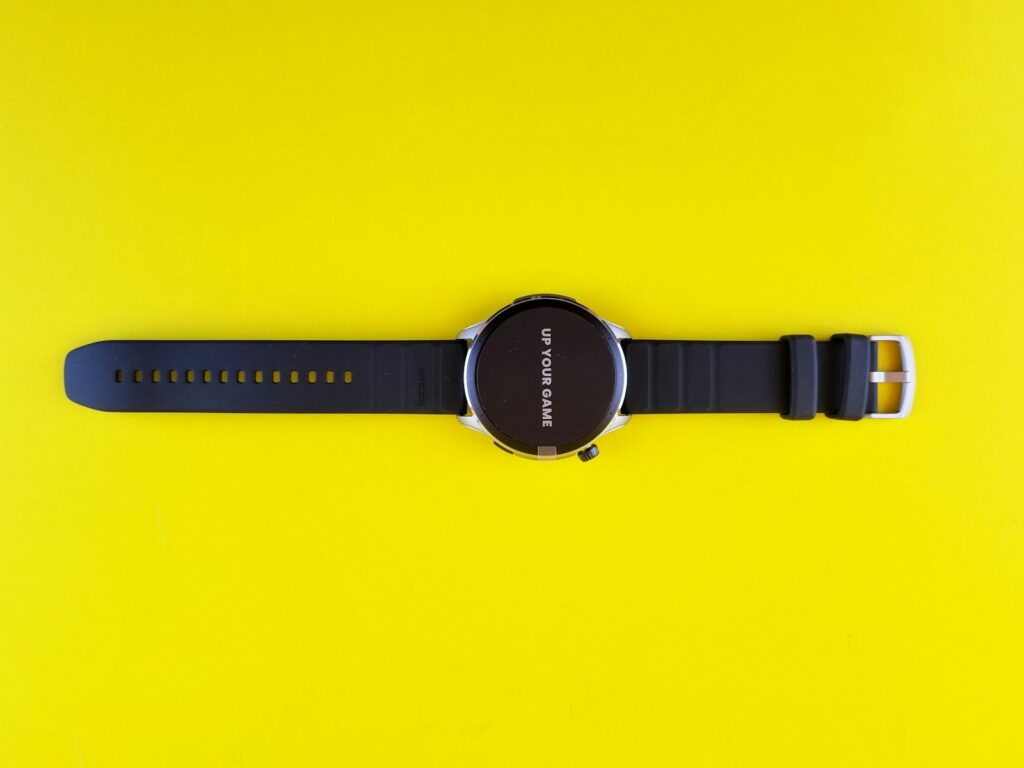
13. **Understanding Warranty and Repair Options**So, customer support has confirmed your worst fears: your tracker might be truly broken, or at least beyond a simple home fix. Now what? This is where understanding your warranty and exploring repair options becomes absolutely crucial. Don’t panic yet; there might still be hope for your digital sidekick!
First, check your warranty. This is often your best friend in situations like these. Most fitness trackers come with at least a year of coverage from the manufacturer, which could be your golden ticket. If your device is still under warranty, they might offer a free repair, a brand-new replacement, or even a generous discount toward a new one. Always have your proof of purchase ready, as that’s usually required for any warranty claim.
What if your warranty has decided to expire, just like your tracker’s battery? Don’t despair entirely! You can still explore options with a certified repair shop. Places like uBreakiFix are often able to diagnose and fix charging issues that are out of warranty. It’s always smart to ask about the costs upfront before handing over your precious device—nobody likes surprise bills, especially when they’re for a gadget that’s already giving you grief.
However, a dose of reality: if your tracker has survived too many accidental showers, dramatic drops, or even the dreaded accidental stomp, sometimes repairs might cost more than it’s actually worth. In that bittersweet scenario, perhaps it’s time for an upgrade. It can be tough to say goodbye, but sometimes a little ceremony for your trusty old fitness buddy is in order as you welcome a newer, shinier model into your life.
Read more about: Buyer Beware: These 12 Crossovers Turn into Money Pits Past 80,000 Miles
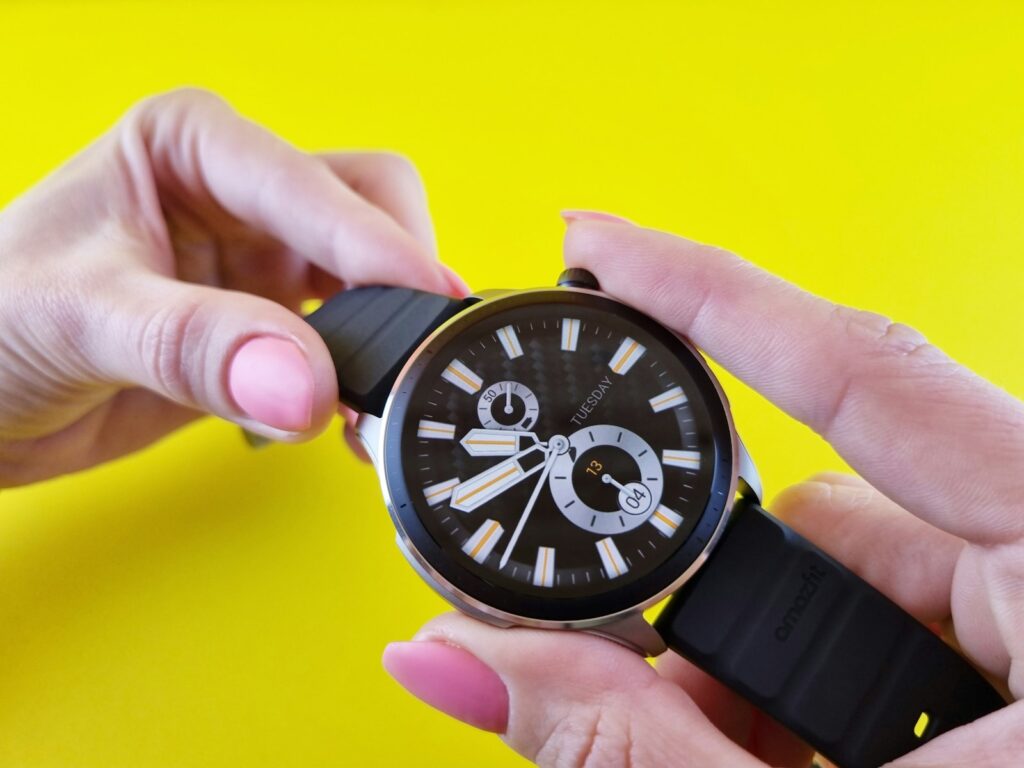
14. **Implementing Best Storage Practices**Okay, so we’ve troubleshoot, repaired, or perhaps even replaced our fitness tracker. The goal now is to prevent all those charging headaches from happening again! Nobody wants their fitness tracker to give up before they do, and a little bit of care, especially when it comes to storage, can help us avoid the dreaded “my tracker died again” moments. Think of storage as tucking your device in for a luxurious nap, not tossing it into the abyss.
Let’s be real, many of us treat our fitness trackers like old socks at the bottom of the laundry basket. But a bit of effort makes a huge difference. You should always keep your device in a dry, cool place and, crucially, out of direct sunlight. Leaving it to bake in a hot car or perch precariously on a sunny windowsill is just asking for trouble, as extreme temperatures are notoriously bad for battery health and overall device longevity.
If you’re taking off your tracker after a sweaty workout (it happens!), a quick wipe-down before storing it away can save you headaches later. Moisture and grime are silent killers for charging contacts. And for those times you’re not using a device for a while, it’s a smart move to unplug it and store it about half-charged. That keeps the battery happier and healthier in the long run, like a dog with a new toy!
To make it super easy, here’s a little cheat sheet for optimal storage:
* **Do:** Keep it dry, wipe after use, store half-charged.
* **Don’t:** Store in heat, leave it in sun, toss it anywhere.
Read more about: Beyond the Showroom Shine: Why Some Vans Rust Fast and 10 Expert Strategies to Conquer Corrosion Before Winter

15. **Establishing a Regular Maintenance Routine**Beyond just smart storage, establishing a regular maintenance routine is truly the secret sauce to keeping your fitness tracker happy and charging without a fuss. Let’s not wait until our tracker gives us the silent treatment and refuses to power on! Proactive care really keeps it going strong, minimizing those “Why won’t it charge?!” moments we all dread.
Think of it like brushing your teeth—you do it regularly to prevent bigger problems down the line. For your tracker, that means grabbing a cotton swab or a soft toothbrush and cleaning off those charging contacts. Lint, dust, and whatever else lurks at the bottom of our bags can block charging faster than a dog blocks our path at dinnertime. A clean connection is a happy connection, ensuring power flows smoothly.
It’s also smart to give your charging cables a quick once-over every now and then. Bent pins or frayed wires can turn charging into a guessing game—who wants that kind of suspense in their life? If you’re feeling brave and dealing with stubborn gunk, dab a little rubbing alcohol on a swab and gently clean off the contacts. That’ll help keep your device contacts as shiny as your post-run glow, literally facilitating better electrical conductivity.
For some serious step-by-step help, you might even find guides that suggest cleaning the ports and those tiny spring-loaded pins with simple tools. And if you’re as forgetful as I am, set a monthly maintenance reminder on your phone. Your tracker just might reward you with fewer charging hiccups and way more time to obsess over your step count, knowing it’s always ready for action.
**Conclusion**
Phew! We’ve tackled everything from dusty ports to full-blown hardware headaches. When your fitness tracker or smartwatch decides to go on a charging strike, it can feel like the end of the world (or at least the end of your step count goals!). But as we’ve seen, most issues are totally fixable, especially if you start with the simple stuff.
Remember, a little TLC goes a long way. Regularly cleaning your contacts, checking those cables, and making sure your device is living in a cool, dry place can seriously extend its lifespan and save you a ton of frustration. Think of it as investing in your fitness journey, one perfectly charged tracker at a time.
Read more about: 14 High-Potential Small Business Ideas Poised for Exceptional ROI in 2025
If your device is still playing hard to get, don’t be afraid to call in the cavalry—customer support is there for a reason, and warranties exist to give us peace of mind. Ultimately, being proactive with maintenance and knowing when to ask for help means you can keep hitting those goals without your trusty sidekick suddenly pulling a disappearing act. Stay charged, stay active, and keep tracking those wins!

