

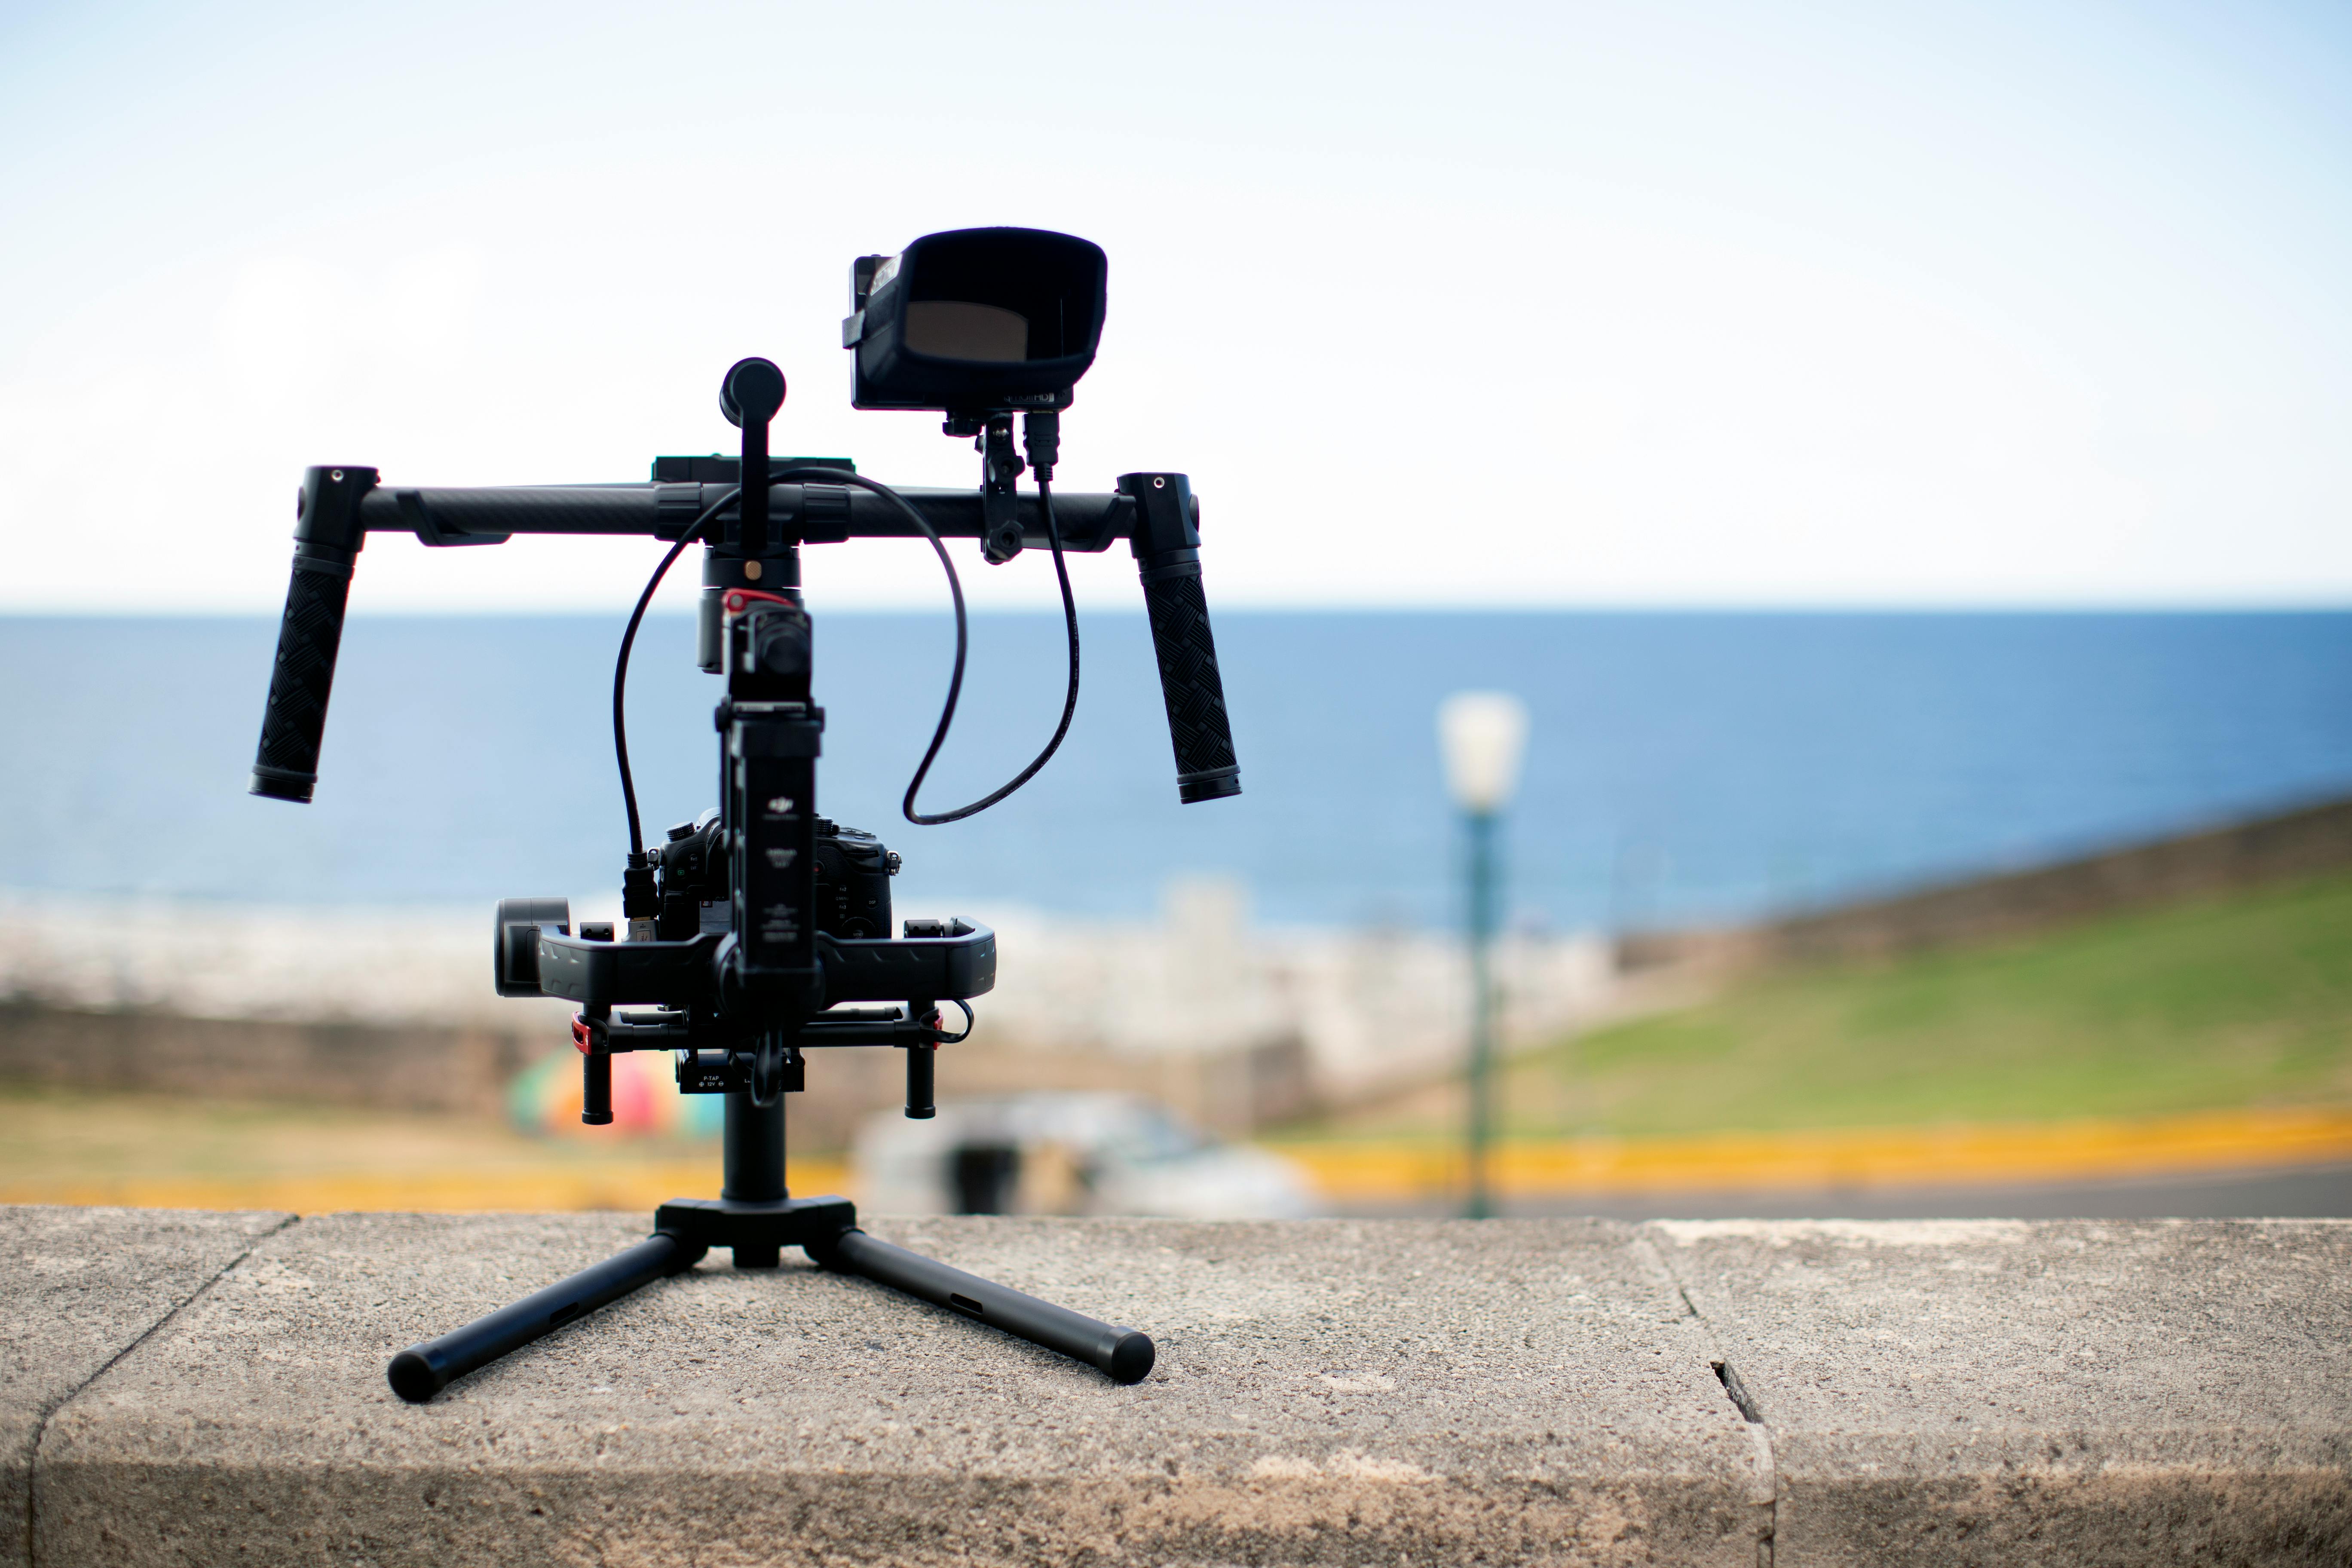
These days, the incredible camera in your pocket is far more than just a device for quick snaps. You don’t need professional photography equipment like bulky DSLRs or mirrorless models to capture stunning photos; your smartphone has evolved into a powerhouse capable of high-quality shots that can genuinely compete with images found in magazines. It’s an incredibly accessible tool, but mastering it involves a bit more than just pointing and shooting.
To truly unlock your smartphone’s photography potential, we’ll dive into a variety of crucial elements. Think about composition, lighting, and understanding your exposure settings. Beyond that, knowing the specific capabilities of your phone model and considering a few choice accessories can elevate your game significantly. This guide is designed to carefully walk you through the process, from selecting the right gear to understanding various Android and iPhone modes and settings, ensuring you can start creating awesome, beautiful, and memorable mobile phone photos of your very own.
Get ready to explore the immense power of photography right in the palm of your hand. Whether you’re an absolute beginner or looking to refine your existing skills, there’s something here for everyone. We’re about to unveil 15 simple yet effective photography tricks that will transform your smartphone into a true creative instrument. Let’s dive right in and start leveling up your mobile photography!

1. **Clean Your Lens**This might seem like the most basic piece of advice, but you’d be absolutely amazed at the amount of dirt and grime that accumulates on your smartphone lens. Our phones are constantly in our hands, pockets, bags, and subjected to all sorts of environmental factors, leading to smudges, fingerprints, and dust. These seemingly small obstructions can dramatically degrade the quality of your photos, making them appear soft, hazy, or lacking clarity.
Before you even think about framing your shot or adjusting settings, make it a habit to quickly wipe your phone lens. A soft cloth, or even the corner of your t-shirt in a pinch, can do wonders. This simple act takes mere seconds but can make an enormous difference, ensuring your photos are as sharp and vibrant as possible right from the moment of capture. It’s the foundational step to truly clear and crisp imagery.
Furthermore, this practice becomes even more critical when you’re shooting in challenging conditions. Imagine photographing a beautiful landscape during a light drizzle – a single water droplet on your lens can ruin an entire scene. In such situations, wiping your lens clean frequently, perhaps every few minutes, is paramount. This diligence ensures that environmental factors don’t compromise your visual storytelling, keeping your images consistently sharp and focused.
Read more about: Jennifer Aniston’s Red Carpet Reign: A Dazzling Journey Through Her Most Iconic ‘Naked Dress’ Moments and Timeless Style Triumphs!
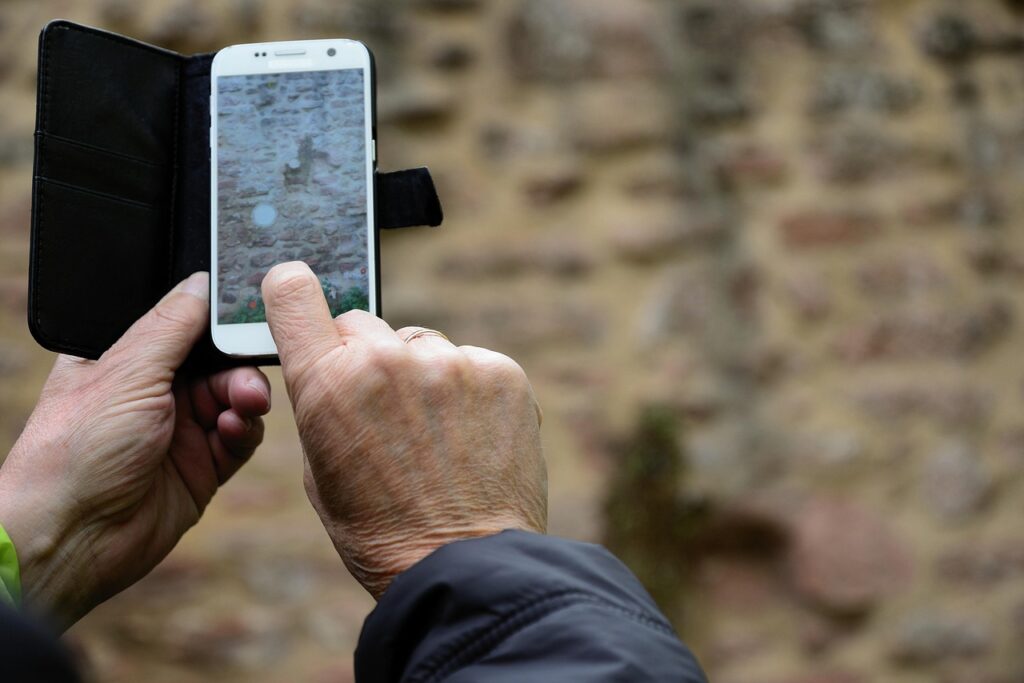
2. **Tap the Screen to Set Focus**Smartphones are incredibly intelligent, and their cameras often attempt to guess what you intend to photograph. For instance, if the camera detects faces in the frame, it will typically prioritize focusing on those faces. Similarly, if it recognizes a person, it will lock its focus onto them. This automatic autofocusing mechanism works remarkably well in many straightforward scenarios, especially when your scene has an obvious, dominant subject.
However, in more complex environments, the automatic system can sometimes miss the mark. Consider a bird nestled amidst a dense canopy of trees, or a specific flower in a bustling garden – your smartphone might struggle to discern your intended subject from the background clutter, resulting in a blurry or incorrectly focused image. This is where your manual input becomes a game-changer, allowing you to take precise control.
Instead of passively letting your smartphone’s algorithms decide the point of focus, simply tap directly on your subject on the screen. With that single tap, the camera will immediately shift its focus to that specific area, ensuring a sharp and clear result. This instant adjustment is incredibly satisfying and provides a level of precision that elevates your photography significantly, ensuring your main subject is always in perfect clarity.
For those who crave even finer control, especially when delving into specialized genres like close-up or macro photography, there are a variety of advanced camera apps available. These applications often provide manual focusing capabilities, allowing you to meticulously rack the plane of focus back and forth until you achieve the exact sharp details you envision. This level of customization empowers you to push the boundaries of your mobile photography.
Read more about: The 15 Most Valuable Celebrity Motorcycles That Ruled Auction Blocks in the Last Decade
3. **Don’t Use Flash**Let’s be blunt: while your smartphone camera does come equipped with a built-in flash, its performance is, to put it mildly, less than ideal. There’s simply no way to sugarcoat it – the flash on your phone camera is not flattering for photographs. Whether you’re shooting during the day or at night, capturing landscapes, flowers, or portraits, the harsh, direct light from a smartphone flash rarely produces aesthetically pleasing results. It often leads to overexposed subjects, harsh shadows, and unnatural colors, completely flattening the scene.
Therefore, a golden rule for smartphone photography is to keep that flash off at all times. Instead of relying on artificial, built-in light, prioritize seeking out and utilizing natural light for superior results. Natural light offers a vast spectrum of moods and qualities that can dramatically enhance your images. Think about the soft, warm glow of the ‘golden hour’ – the early morning or late evening – which can bathe your subjects in beautiful, flattering light.
Even on cloudy days, natural light is your friend, providing a soft, diffused, and evenly lit environment that minimizes harsh shadows and highlights. By embracing natural light, you allow your subjects to shine in their true essence, capturing authentic tones and textures. It’s a free, readily available resource that consistently outperforms your phone’s integrated flash in almost every scenario, leading to far more professional-looking and engaging photographs.
Should you find yourself in a situation where extra light is absolutely essential and natural light is simply not sufficient, consider investing in dedicated lighting accessories designed specifically for smartphones. Portable LED ring lights or small, compact LED panels offer a much more controlled and flattering light source than your phone’s flash. These accessories can provide the necessary illumination without the harsh, unflattering effects, truly elevating your low-light photography.
Read more about: Seriously Where Did They Go? 14 Nostalgic Childhood Treats That Are No Longer Available
4. **Discreetly Take Photos by Pressing the Volume Buttons**Sometimes, capturing the perfect moment demands a touch of subtlety. Imagine witnessing a spontaneous, beautiful scene unfold during a quiet walk, or observing your children engaged in an especially cute and unselfconscious activity. In such instances, overtly raising your phone and tapping the screen can break the spell, making your subjects aware of the camera and potentially altering their natural behavior. This is where the volume button technique shines.
Utilizing your phone’s volume buttons as an alternative shutter control is an excellent way to capture images without disturbing your subjects or making them feel self-conscious. This method allows you to maintain a more natural posture and make the act of taking a photo far less conspicuous, preserving the authenticity of the moment. It’s a fantastic trick for candid photography, enabling you to snap shots without drawing unwanted attention.
How does this ingenious trick work? Many smartphones, by default, integrate the volume buttons to function as a shutter release, offering an immediate and tactile way to take pictures. For other models, this might not be the default setting, but it’s typically a simple adjustment within your camera settings to enable this feature. Once configured, you can discreetly raise your smartphone and gently press either the upward or downward volume button to trigger the shutter, capturing the scene with minimal fuss.
It’s crucial to remember that this technique should always be employed with care and a strong sense of ethics. The primary goal is to capture genuine moments without causing discomfort or invading privacy. Use this feature thoughtfully, ensuring your actions respect those around you. The aim is to enhance your ability to capture life’s fleeting beauty, not to make anyone feel uneasy or observed against their will.
Read more about: Navigate the World with Grace: Your Guide to Avoiding Fashion and Cultural Faux Pas Abroad
5. **Manually Set the Image Brightness**Did you know that you possess the power to manually control your image’s brightness, also known as exposure? This fundamental function is incredibly versatile and allows you to precisely manage the level of detail that will be preserved and visible in your final photograph. By taking charge of exposure, you can prevent blown-out highlights or crushed shadows, ensuring a balanced and visually appealing image that aligns with your creative vision.
While the specific interface might vary slightly depending on your smartphone model, the general method is quite intuitive. Begin by tapping on the screen to initiate focus. After tapping, keep an eye out for an exposure symbol, which is often represented by a small sun icon. Once this symbol appears, you can interact with it to adjust the brightness. Swiping up on the screen (or dragging an associated slider) will brighten the exposure, revealing more detail in darker areas. Conversely, swiping down (or dragging the slider) will darken it, ideal for preserving details in bright skies or creating a more dramatic mood.
The overarching objective when manually adjusting exposure is to maintain as much detail as possible across the entire image, from the brightest highlights to the deepest shadows. This ensures that your photo doesn’t lose important visual information due to incorrect automatic exposure. However, this manual control also opens up immense creative possibilities. You can deliberately brighten an image to create a light, airy, and optimistic feel, or intentionally darken it to evoke a sense of moodiness, drama, or mystery. It’s a powerful tool for artistic expression.
Read more about: Buyer Beware: Unpacking 14 Smart TV Glitches That May Not Make It to Five Years

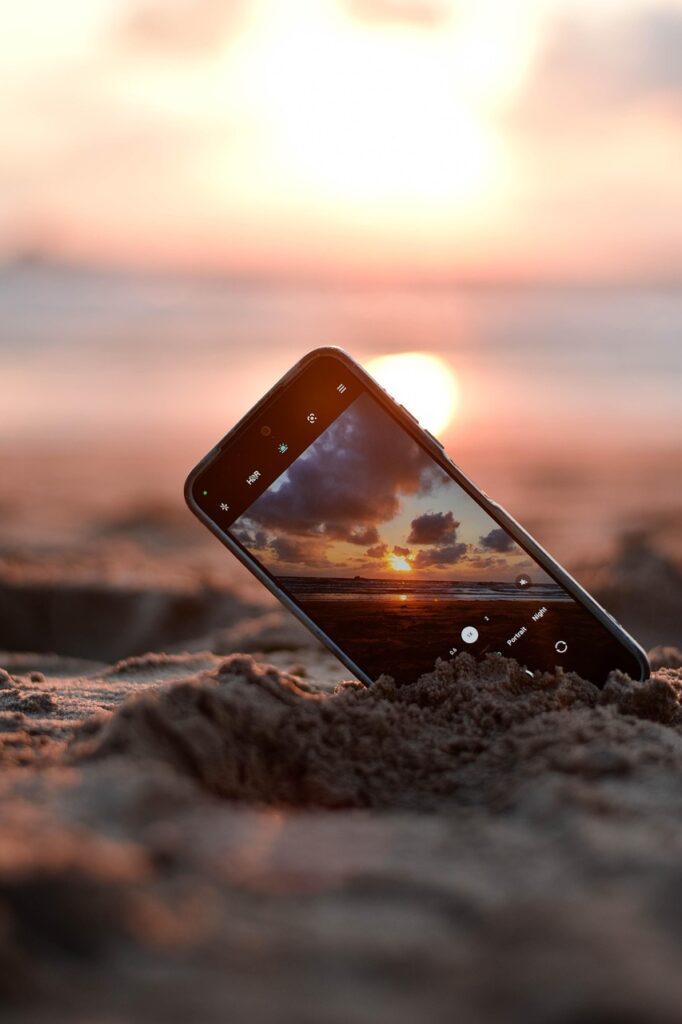
6. **Make Sure Your Smartphone’s HDR Function Is On**HDR, which stands for High Dynamic Range, is a remarkably handy feature found in nearly all modern smartphones, and you might be genuinely surprised by how much it can enhance your photographs. Its primary purpose is to intelligently bring out details in both the brightest highlight areas and the darkest shadow areas of your image. It achieves this impressive feat by rapidly capturing multiple shots at different exposure levels – one underexposed, one correctly exposed, and one overexposed – and then seamlessly merging them together. This process results in a single, balanced image that boasts a far greater range of tones than a single capture could.
Most contemporary phones offer some form of HDR functionality, which can typically be toggled on or off within your phone’s camera settings. You’ll often find it tucked away within the camera app’s menu. Understanding where and how to activate this feature is crucial, as it can be a true game-changer in many photographic scenarios. When enabled, HDR works its magic to even out those contrasts, making the image appear much closer to how your eyes perceived the scene in real life, preserving rich detail in areas that would otherwise be lost.
It’s especially important to ensure HDR is active when you’re photographing scenes characterized by significant contrast between bright and dark areas. Think of a landscape where the sky is brilliantly bright, but the foreground is cast in deep shadow, or subjects that are dramatically backlit. In these challenging lighting conditions, HDR is invaluable. It will prevent the sky from being completely blown out while simultaneously revealing intricate details in the shaded land, creating a much more balanced and visually appealing photograph.
Conversely, there are specific situations where you might prefer to turn HDR off. For instance, if you’re deliberately aiming for a more dramatic, high-contrast, or moody effect, HDR might flatten the dynamic range too much, lessening the impact. It’s empowering to know how to control this feature, allowing you to make a conscious choice that perfectly aligns with your creative vision for each shot, ensuring your photos reflect your artistic intent.
Read more about: Beyond the Lens: 12 Photography Icons and Media Gadgets Today’s Teens Are Actively Ditching, Explaining Why Smartphones Reign Supreme

7. **Compose Your Photos Creatively**Composition is arguably one of the most critical elements in photography, referring to the thoughtful arrangement of all elements within your frame. If your goal is to capture truly stunning and impactful photos, you must intentionally and carefully position people and objects in a visually pleasing and coherent manner. Good composition guides the viewer’s eye, creates balance, and adds depth and narrative to your images, transforming a simple snapshot into a work of art.
To begin, here are a few quick pieces of practical advice to immediately elevate your compositions: Firstly, try to avoid the common beginner mistake of placing your main subject directly in the dead center of the frame. While it can sometimes work, it often leads to static and less engaging images. Secondly, embrace symmetry when it feels right; symmetrical arrangements can be incredibly powerful and aesthetically pleasing, creating a sense of balance and harmony. Lastly, look for natural frames within your environment, such as a window, a doorway, or an archway, to draw attention to your subject and add depth to the scene.
For those aspiring to create especially beautiful and dynamic compositions, I highly recommend exploring and applying the ‘Rule of Thirds’. This guideline encourages you to divide your image into nine equal segments using two equally spaced horizontal and two equally spaced vertical lines, much like a tic-tac-toe grid. The core idea is to position key elements of interest – your subject or important compositional features – along these lines or, even more powerfully, at their intersections. This often leads to compositions that are both well-balanced and inherently dynamic, making your photos more engaging.
It’s important to remember that the ‘Rule of Thirds’ isn’t a rigid, unbreakable law, but rather a flexible guideline. You don’t always *have* to use it, and sometimes intentionally breaking it can lead to compelling results. However, it serves as an excellent starting point and a reliable tool for developing an eye for stronger compositions. By consciously applying these principles, you’ll find your smartphone photos becoming more professional, visually appealing, and capable of telling a more compelling story.
Read more about: Beyond the Human Touch: 15 Groundbreaking Elements Shaping AI-Powered Movie Soundtracks
8. **Try the rule of odds**Another excellent strategy for composing great smartphone photos is to consider the “rule of odds.” This compositional guideline suggests that photographs often appear more aesthetically pleasing and balanced when the main subjects are grouped in odd-numbered collections. There’s a certain visual harmony that odd numbers tend to create, making an image feel more natural and dynamic than even-numbered groupings.
So, when you’re framing a shot, consciously aim to include three, five, or even seven subjects if the scene allows. For example, if you’re photographing a cluster of people, try to position them so that an odd number is prominent, rather than two or four. Similarly, if you’re capturing still life, like a collection of items, arranging them in threes or fives can significantly enhance the visual appeal, drawing the viewer’s eye more effectively through the scene.
It’s important to remember that, like the “rule of thirds,” the “rule of odds” isn’t a strict, unbending law of photography. Instead, it serves as a powerful suggestion and a valuable tool to add to your compositional toolkit. By actively thinking about grouping your subjects in odd numbers, you’ll often find your smartphone photos becoming more engaging and professionally composed.
Read more about: The 12 Underrated Automotive Icons We Desperately Wish Would Roar Back to Life
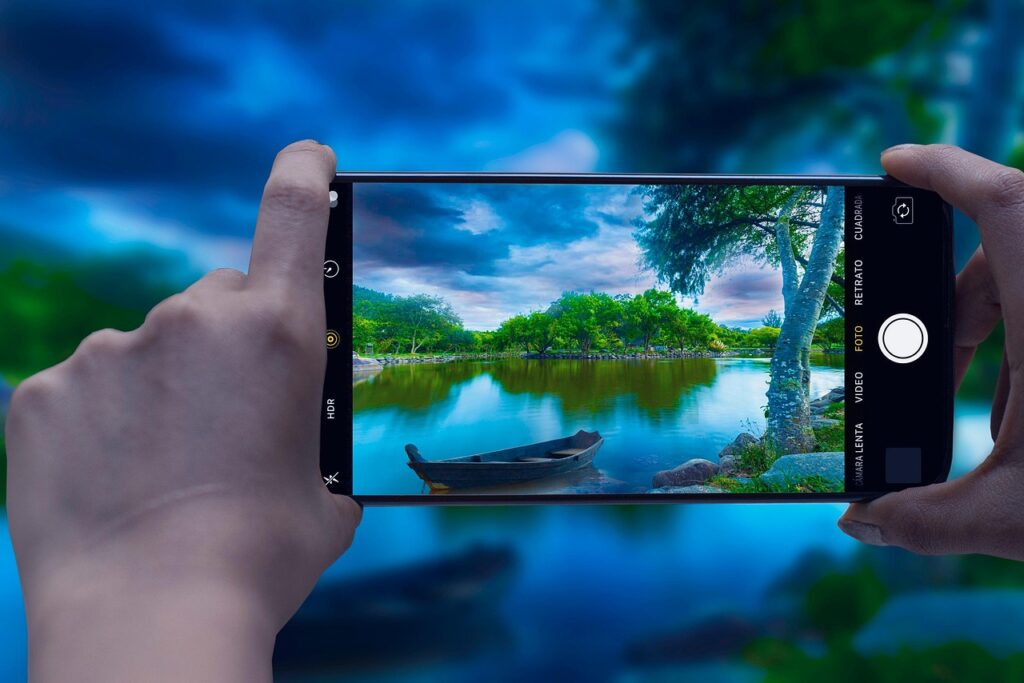
9. **Test out your smartphone’s photography modes**Your smartphone is packed with more than just a standard point-and-shoot camera; it likely comes equipped with a suite of specialized photography modes, each designed to help you capture stunning images in different scenarios. These modes are powerful features that can dramatically enhance your photos without requiring any advanced technical knowledge, making complex photographic effects accessible to everyone. Don’t let them go unused!
Take, for instance, Portrait mode, a popular feature on many devices. This mode intelligently blurs the background, creating a beautiful bokeh effect that keeps your subject sharply in focus, giving your individual or couple photos a professional, high-end camera look. Similarly, Night mode is a game-changer for low-light situations. Instead of relying on a harsh flash, it captures multiple images and intelligently blends them to produce clear, bright, and detailed shots even in dim environments. And for those sweeping vistas, Panorama mode allows you to stitch together a series of photos into one incredibly wide, immersive image.
The beauty of these modes lies in their ease of use. You don’t need to be a seasoned pro to leverage them; simply open your camera app, select the mode that best suits your scene, and shoot. The more you experiment and play with each one, the more intuitive it will become to know precisely when and how to apply them. This hands-on exploration is the fastest and most enjoyable way to become a more skilled and confident smartphone photographer.
Read more about: Beyond the Lens: 12 Photography Icons and Media Gadgets Today’s Teens Are Actively Ditching, Explaining Why Smartphones Reign Supreme
10. **Straighten the horizon**One of the most common and often overlooked mistakes in beginner smartphone photography is a crooked horizon. It’s incredibly easy to accidentally tilt your phone ever so slightly when framing a shot, resulting in an image where the horizon line, or any significant horizontal element, appears ofilter. Unfortunately, a noticeably crooked horizon can be a major distraction, undermining the perceived quality and professionalism of an otherwise good photograph.
Fortunately, rectifying a crooked horizon is a straightforward task, both during capture and in post-processing. The most effective way to address this issue in the field is to enable your camera’s grid overlay. This feature displays a set of evenly spaced lines across your screen, acting as a visual guide. By aligning the horizon or other key horizontal and vertical elements with these grid lines, you can ensure a perfectly level and balanced composition before you even press the shutter button.
While it’s always best to get your composition right in-camera, most modern photo editing apps offer a “straighten” or “rotate” tool that can correct crooked horizons. However, it’s important to note that straightening an image in post-processing often involves cropping, which means you’ll lose a small portion of your original photo’s pixels. This slight reduction in image size or quality reinforces the value of using your grid and getting it right from the outset, preserving the integrity of your shot.
Read more about: Don’t Let Your Action Camera Become a Money Pit: 10 Critical Issues That Ruin Footage and Reliability
11. **Use leading lines**Leading lines are an incredibly powerful compositional tool that can dramatically elevate your smartphone photos by guiding the viewer’s eye directly into the frame and towards your main subject. These are essentially visual pathways, whether explicit or implied, that create a sense of depth and direction within your image, making the photograph more engaging and purposeful. Mastering their use can transform a simple snapshot into a visually compelling narrative.
When you’re out shooting with your smartphone, make it a habit to actively scan your environment for potential leading lines. These can manifest in countless forms: the receding lines of a road, the converging edges of buildings, the pattern of a fence, or even the subtle curves of a river or a path. Don’t limit your imagination; even natural elements like outstretched tree branches, the arrangement of furniture, or repeating patterns can function as effective leading lines, pulling the viewer’s gaze right where you want it.
Once you identify a compelling leading line, adjust your shooting position and angle to strategically align it with your main subject. For example, if you’re photographing a building, you might position yourself so that a row of chairs or a pathway leads the eye directly to its facade, as demonstrated in the example provided in the article. This thoughtful placement instantly improves your composition, adding depth and ensuring your viewer’s focus lands squarely on the most important element of your scene.
Read more about: Lights, Camera, Action… and Absolute Refusal! 14 Famous Actors Who Said ‘Never Again’ to Working Together
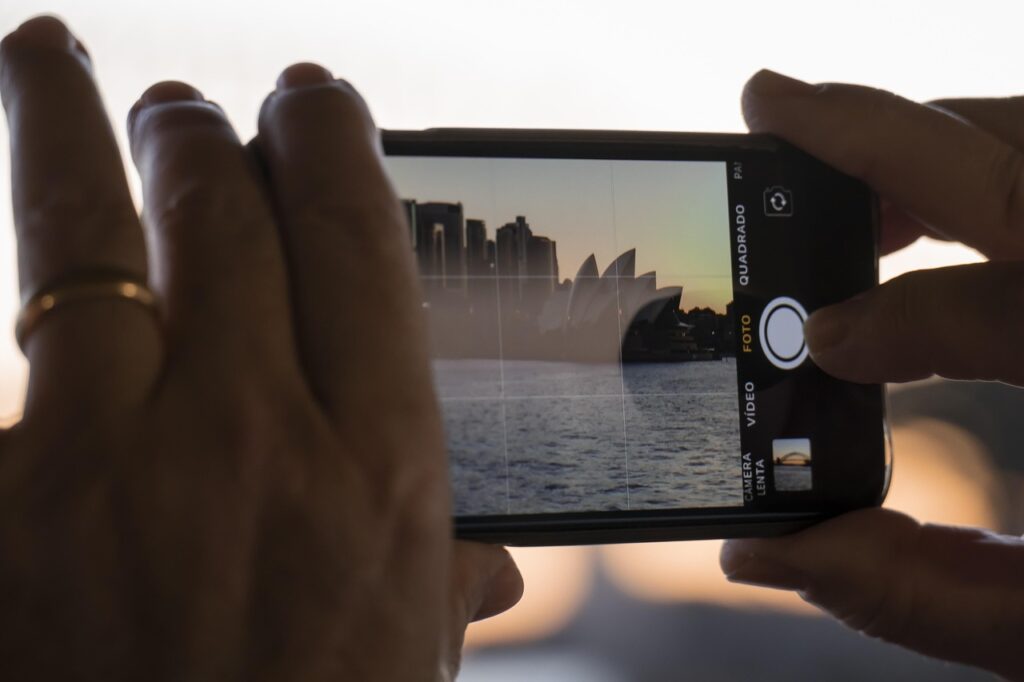
12. **Photograph in natural light**While artificial lighting has its place in specialized photography, for most smartphone users, embracing natural light is the golden rule for achieving breathtaking results. There’s an unparalleled purity and cleanliness that natural light brings to photographs; it inherently looks great, produces beautifully authentic images, and, best of all, it’s perpetually available to us. Learning to see and utilize natural light effectively is one of the most impactful steps you can take to enhance your mobile photography.
The quality of natural light changes throughout the day, offering a diverse palette of moods. The “golden hour,” occurring during early morning and late evening, bathes subjects in a soft, warm, and incredibly flattering glow, perfect for portraits and landscapes alike. Overcast days, while seemingly dull, provide a wonderfully diffused and even light that minimizes harsh shadows and highlights. Even high-contrast light from a bright, midday sun can be creatively leveraged, especially when converted to black and white, to create dramatic and striking effects.
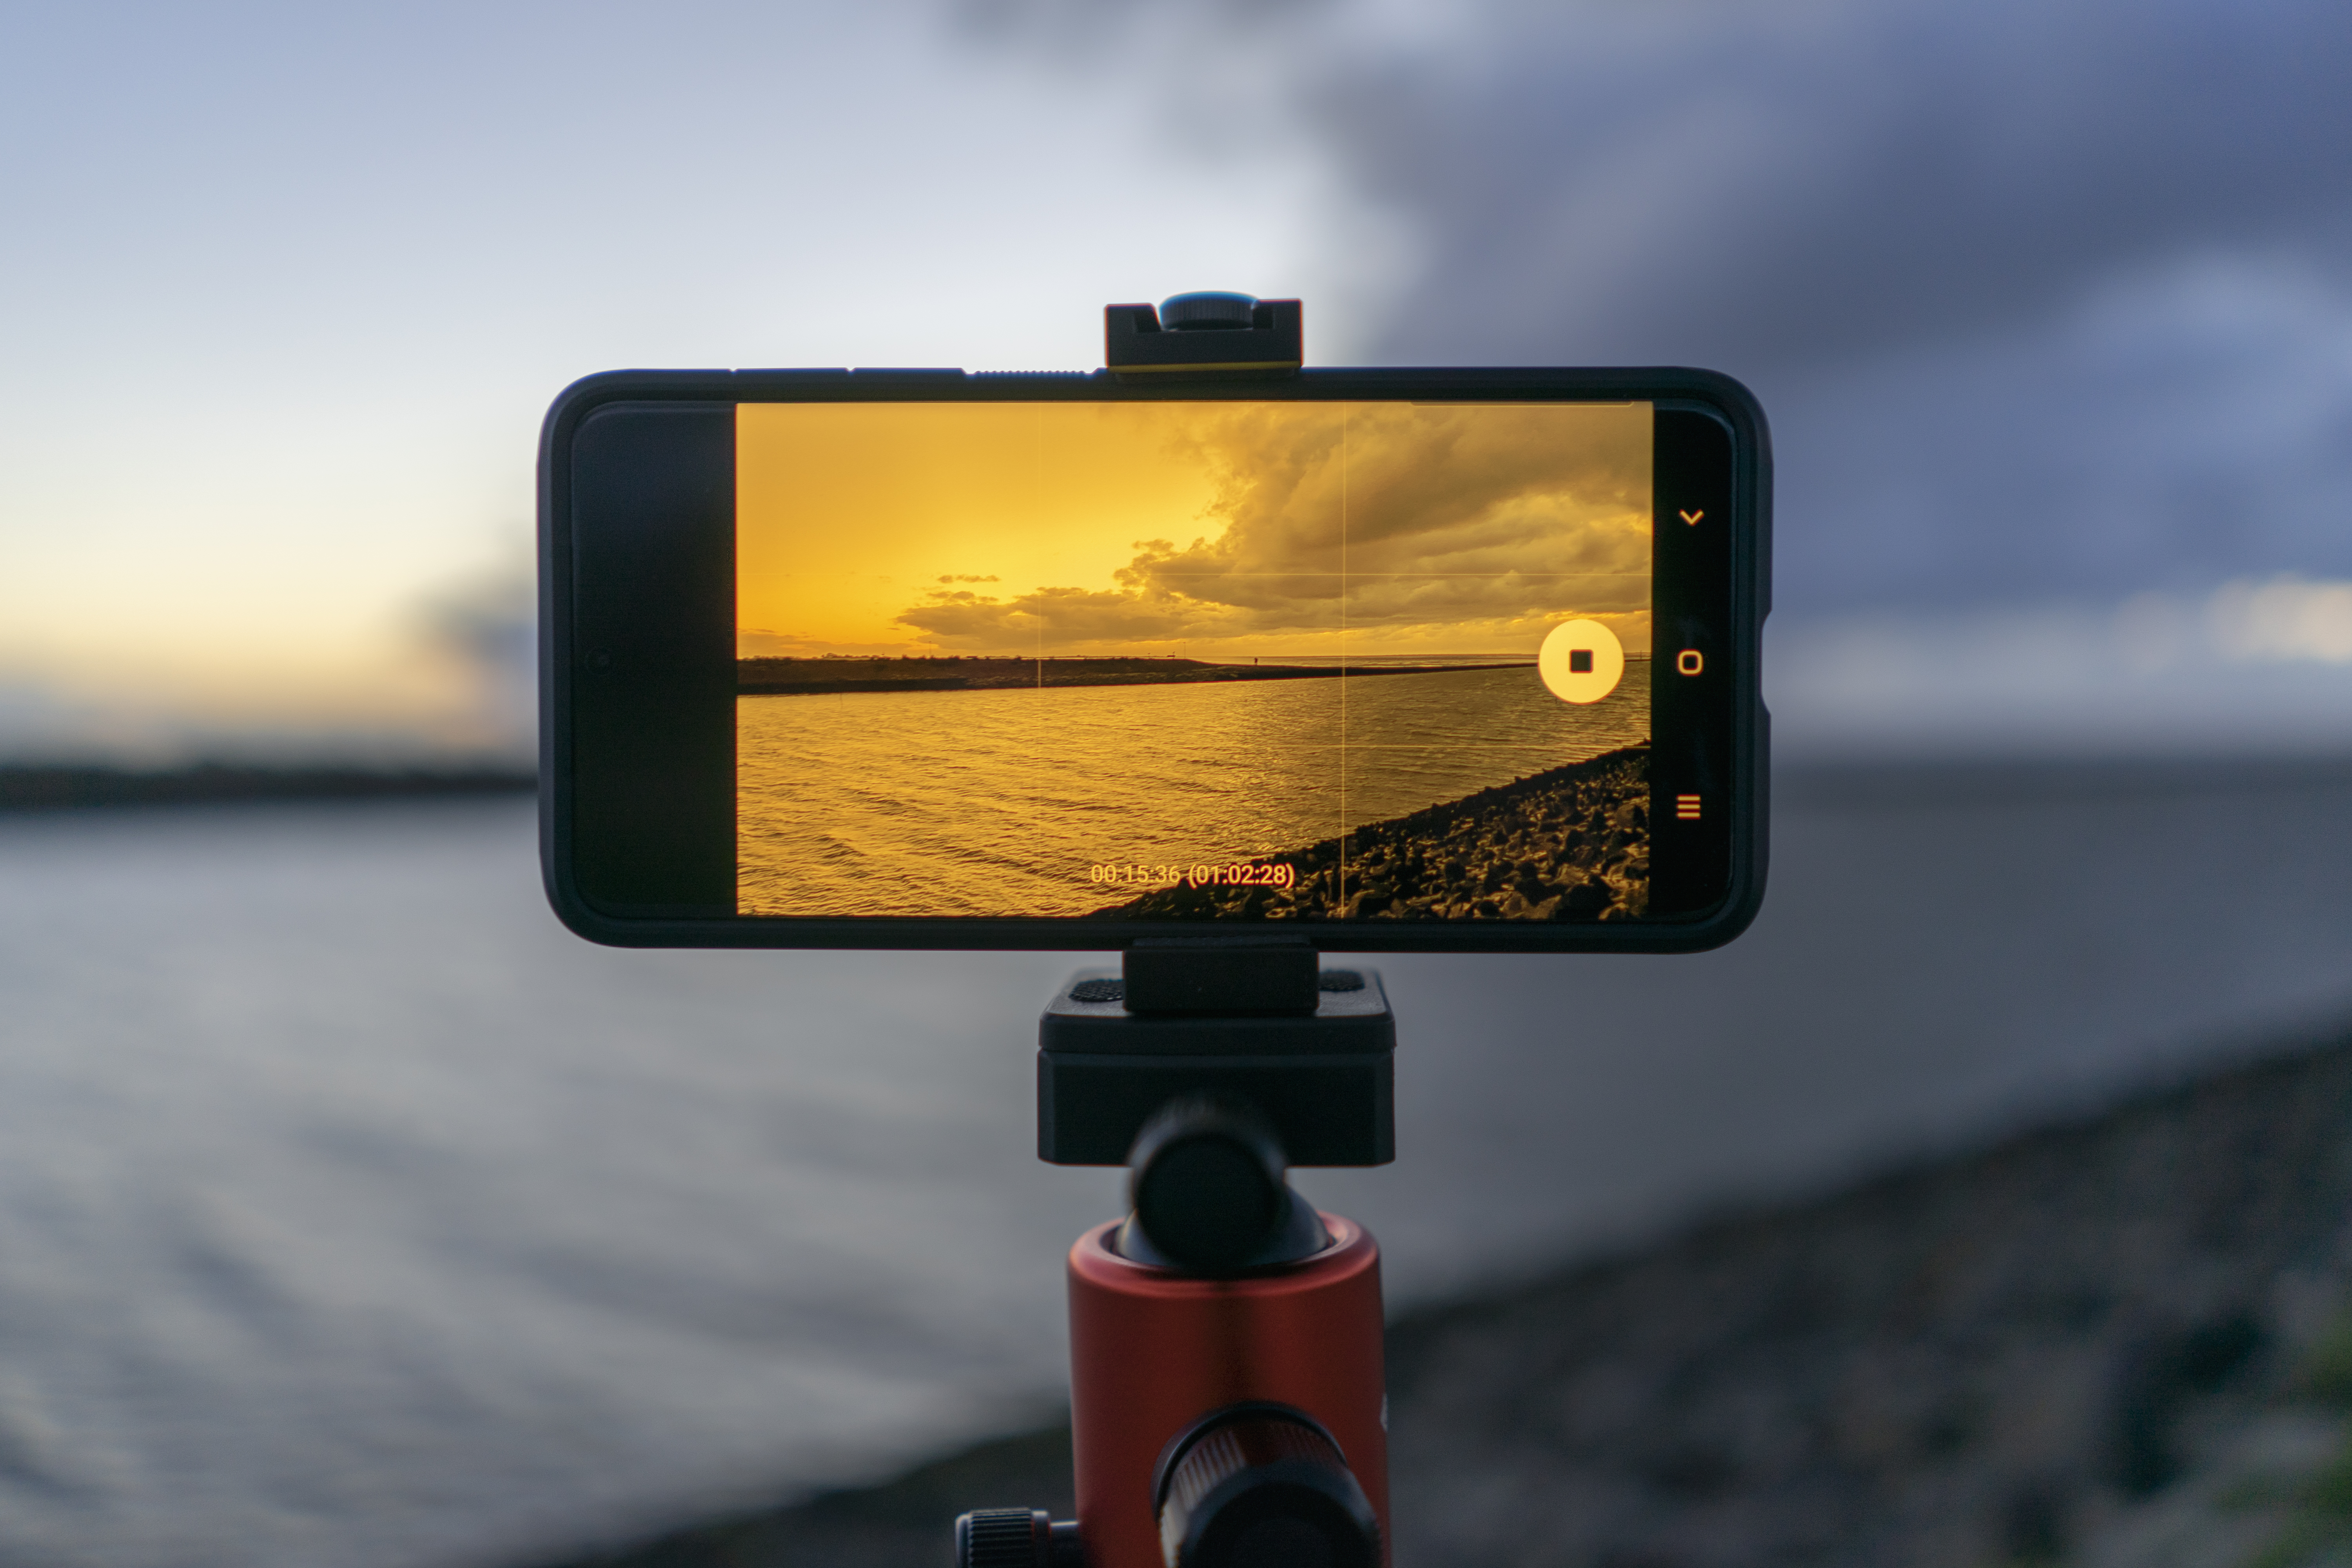
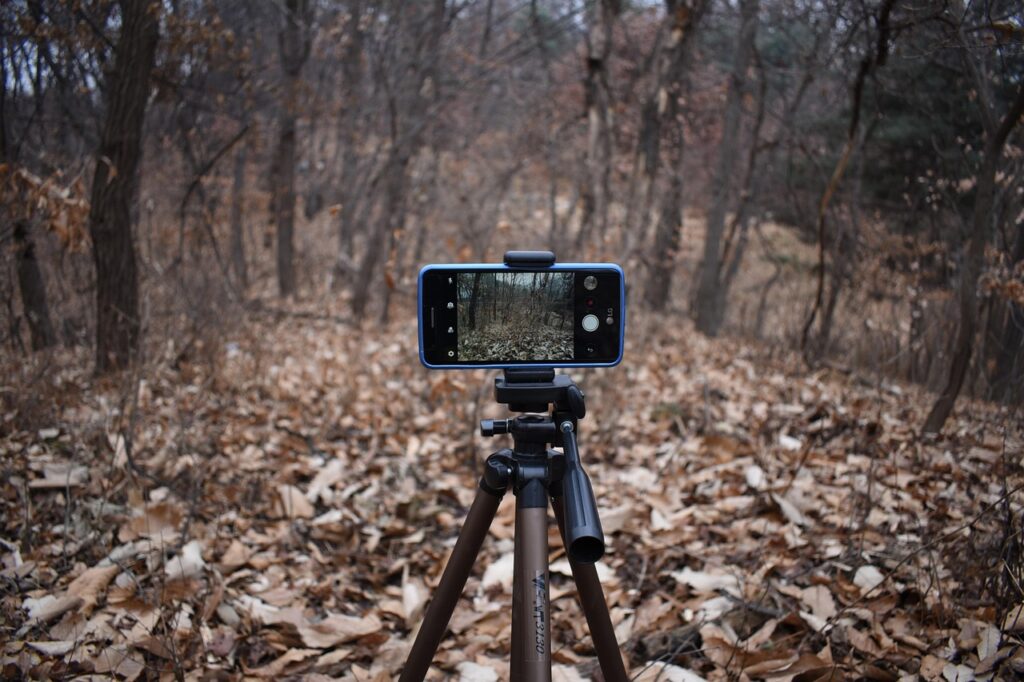
Should you find yourself photographing in heavily shaded areas or venturing into nighttime photography with natural light, a tripod becomes an invaluable ally. It stabilizes your smartphone, allowing for longer exposures without introducing image blur, even in dimmer conditions. Fortunately, the market is rich with high-quality yet surprisingly affordable smartphone tripods that are portable and easy to use. The image of a foggy morning on Lake Michigan, for instance, beautifully illustrates the soft, ethereal quality that can be achieved purely through masterful use of natural light.
Read more about: Lights, Camera, Action… and Absolute Refusal! 14 Famous Actors Who Said ‘Never Again’ to Working Together
13. **Try not to zoom**Here’s a crucial piece of advice for maintaining image quality with your smartphone: unless your device boasts a genuine optical telephoto camera, make every effort to avoid using the digital zoom function. The reason is simple: most smartphone zoom capabilities rely on “digital zoom,” which doesn’t actually magnify your subject by adjusting the lens. Instead, it merely crops into the existing image and then digitally enlarges that cropped section, essentially throwing away pixels and reducing overall image quality.
This process results in a magnified but often pixelated, soft, or blurry image that lacks the sharpness and detail of an uncropped shot. While smartphone manufacturers have made strides in developing algorithms to slightly improve digital zoom results, it’s still universally better to physically move closer to your subject whenever possible. Getting closer ensures you capture the maximum amount of detail and sharpness that your phone’s camera is capable of.
If you’re unsure whether your smartphone features a true telephoto lens or primarily relies on digital zoom, a quick consultation of your device’s specifications sheet – usually found on the manufacturer’s official website – will provide clarity. Understanding your phone’s capabilities in this area is key to making informed decisions when photographing distant subjects, ensuring you always opt for the approach that yields the highest quality images rather than sacrificing detail for magnification.
Read more about: From Budding Beginnings to Bright Futures: 14 Core Childhood Realities That Pave the Way to Adulthood
14. **Consider using a sophisticated camera app**While the built-in camera app on your smartphone is certainly convenient and capable for everyday snaps, as your photography skills grow, you might find yourself craving more control and creative flexibility. This is where exploring sophisticated third-party camera apps can truly unlock a new level of potential for your mobile photography. These advanced applications are designed to give you capabilities far beyond the default offerings, mimicking features found in professional cameras.
Many of these sophisticated camera apps provide robust manual controls, putting you in the driver’s seat for critical settings. Imagine being able to fine-tune shutter speed to control motion blur, adjust ISO for light sensitivity, and precisely set white balance to achieve accurate colors – just as professional photographers do with their DSLRs. Moreover, some of these apps empower you with manual focusing, allowing you to pinpoint exactly where you want the sharpest details in your image, which is invaluable for macro or portrait work. Apps like Adobe Lightroom Mobile and Halide Mark II for iPhone, or VSCO, Manual Camera, and FV-5 for Android, are excellent starting points for those seeking greater manual command.
Beyond technical control, many advanced apps also foster a more artistic shooting process. They can apply real-time filters to your camera feed, letting you visualize the world in high-contrast black and white, intense grunge, or a monochromatic blue *before* you even press the shutter. This creative visualization can be incredibly inspiring, helping you break out of a creative rut and explore new stylistic avenues. Don’t be afraid to download a few options and experiment; you might discover a favorite that perfectly complements your evolving photographic vision.
Read more about: Unleash Your Inner Adventurer: The Ultimate Guide to 10 Off-Roaders That Conquer Any Terrain
15. **Process your images using an editing app**The journey of creating a truly impactful photograph doesn’t necessarily end when you press the shutter button; in fact, a crucial step in transforming a good image into a great one often lies in post-processing. And the wonderful news is that you absolutely don’t need to be a Photoshop wizard to achieve impressive results. Most smartphones come equipped with intuitive, user-friendly editing apps, or you can download a host of powerful alternatives that simplify the enhancement process.
Begin by mastering the basics: cropping your photo can dramatically improve composition by removing distractions and refining the frame. Next, adjust fundamental elements like brightness and contrast to make your image “pop” and enhance visual depth. Don’t shy away from tweaking white balance to ensure accurate colors or adding a touch of sharpening to bring out fine details. The key here is experimentation; often, minor adjustments in these core settings can make a world of difference, subtly elevating the entire feel of your photograph. Many apps also offer ready-made filters and presets that apply a specific aesthetic with a single tap, a fun way to explore styles, but remember that subtlety often yields the best results.
For those eager to delve deeper, some advanced editing apps offer more sophisticated capabilities like layering and blending, though these might present a slight learning curve for newcomers. Online tutorials are an excellent resource for guiding you through these more complex techniques. Crucially, always maintain the quality of your image: if your app doesn’t support non-destructive editing, always work on a copy of your photo, never the original. This safeguards your initial capture while allowing boundless creative exploration. Ultimately, editing isn’t about altering reality; it’s about refining and enhancing your captured vision, bringing it vibrantly to life. Most importantly, enjoy the process – it’s a rewarding part of photographic expression.
**How to take amazing smartphone photos: final words**
With these tips and a bit of dedicated practice, you’re now equipped to capture astonishing smartphone photos of everything from sweeping landscapes to cherished portraits, even if you’re just starting out. The true magic lies in remembering that smartphone photography should be accessible and, above all, enjoyable.
Your iPhone or Android camera is far more than just a communication device; it’s a genuinely powerful tool for exploring the world around you, preserving precious memories, and eloquently expressing your unique artistic vision. There’s no single “right” or “wrong” way to approach mobile photography, so feel absolutely free to experiment, adapt these guidelines, and discover the techniques that resonate most with your personal style.
Read more about: The 2000s Indie Revolution: Unpacking 15 Cinematic Gems That Defined a Decade of Artistry and Impact
I wholeheartedly encourage you to pick up your phone right now and begin experimenting with these possibilities. You might be genuinely surprised and delighted by the incredible images you’re capable of creating. Remember the enduring truth: the very best camera is always the one you have with you, ready to seize the moment.


