

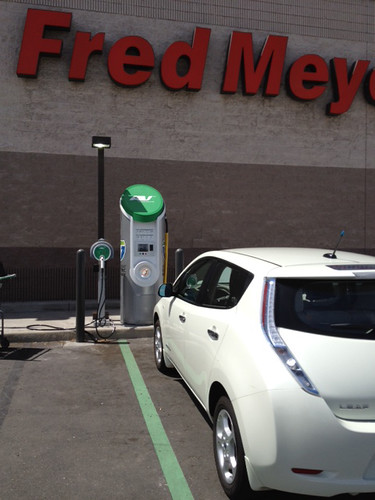
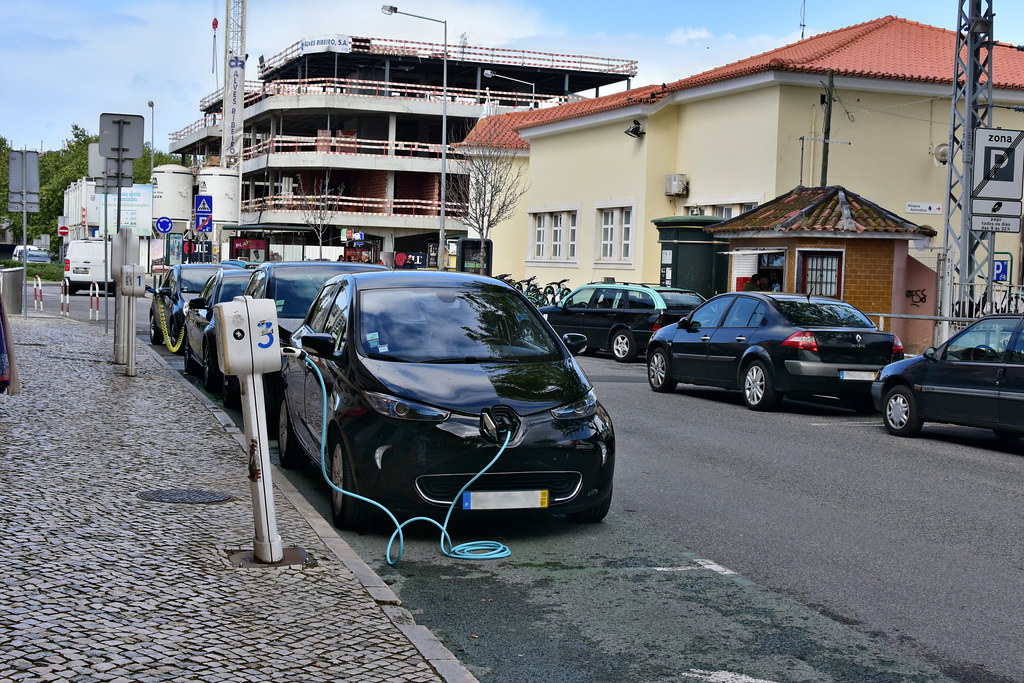
The hum of an electric motor replacing the roar of an internal combustion engine, the instant torque pushing you back in your seat, and the sweet freedom from ever visiting a gas station again – these are the joys of electric vehicle ownership. You’ve embraced the EV revolution, and it’s truly a whole new world. While public charging infrastructure is growing daily, the ultimate game-changer for any EV owner is the convenience of having your very own Level 2 charger right at home, ready whenever you need it.
Imagine waking up every morning to a “full tank,” your electric vehicle completely replenished and prepared for whatever your day holds. No more unexpected detours to find a public charger, no more waiting around, just seamless, overnight power. This dream is not only achievable but, for many, it’s a rewarding do-it-yourself project. It’s certainly more involved than simply plugging in a household appliance, requiring a keen eye for detail and a solid understanding of electrical work, but the satisfaction of powering up your EV on your terms is immense.
However, let’s be absolutely clear from the outset: working with your home’s electrical system demands respect and a serious commitment to safety. Mistakes can carry significant risks, potentially damaging your vehicle, your home, or, most importantly, posing a danger to yourself. This comprehensive guide will walk you through every critical step, from understanding charging levels to the intricate wiring, ensuring you’re equipped with the knowledge to approach this project safely and effectively. We’ll empower you to get your home ready for the seamless integration of a Level 2 EV charger.
1. **Demystifying EV Charging Levels**Before you even consider buying a charger, it’s essential to grasp the fundamental differences between the various “levels” of electric vehicle charging. This foundational understanding is perhaps the most crucial piece of information you’ll encounter on your journey to home EV charging. Knowing these distinctions will help you make informed decisions about your installation.
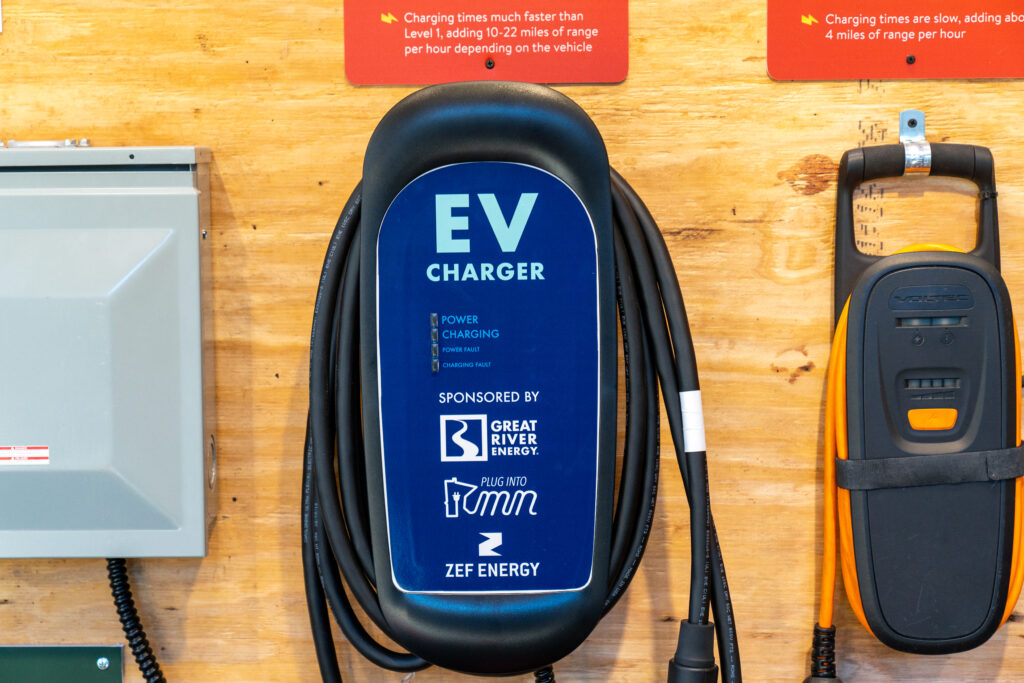
First, there’s Level 1 charging, often described as the slow and steady option. Most electric cars come equipped with a Level 1 charger right out of the box, designed to plug into any standard 120-volt wall outlet—the very same kind you use for everyday devices like lamps or phone chargers. Its primary advantage is its simplicity and lack of installation requirements, making it incredibly easy to use. However, its major drawback is its speed; it typically adds only 3-5 miles of range per hour, meaning a full charge for a pure EV could take 24 hours or even more. While suitable for topping off a plug-in hybrid overnight, it’s rarely a practical daily solution for fully electric vehicles.
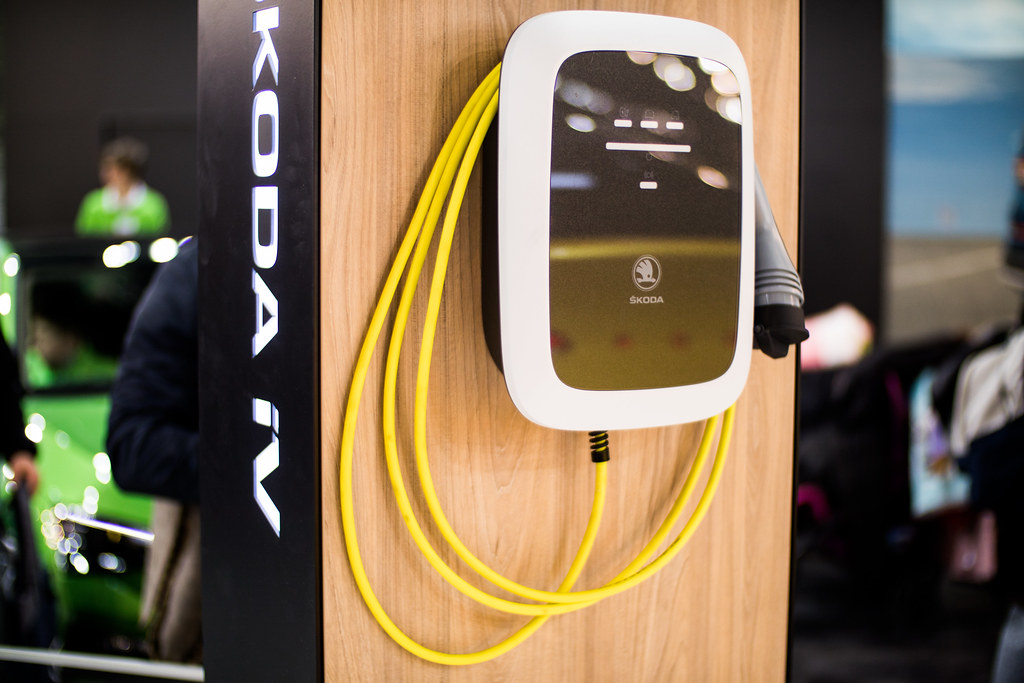
Then we come to the star of our show: Level 2 charging, which is unequivocally the home charging sweet spot. This is the system most EV owners envision when they talk about home chargers, running on 240-volt power, identical to what powers heavy-duty appliances like your electric dryer or oven. The benefits are significant: Level 2 chargers are “MUCH faster,” delivering a full charge overnight, typically within 4-8 hours, depending on your car’s battery capacity and the charger’s amperage. This speed and efficiency make it the ideal, practical setup for daily home charging, and it is the focus of this comprehensive guide.
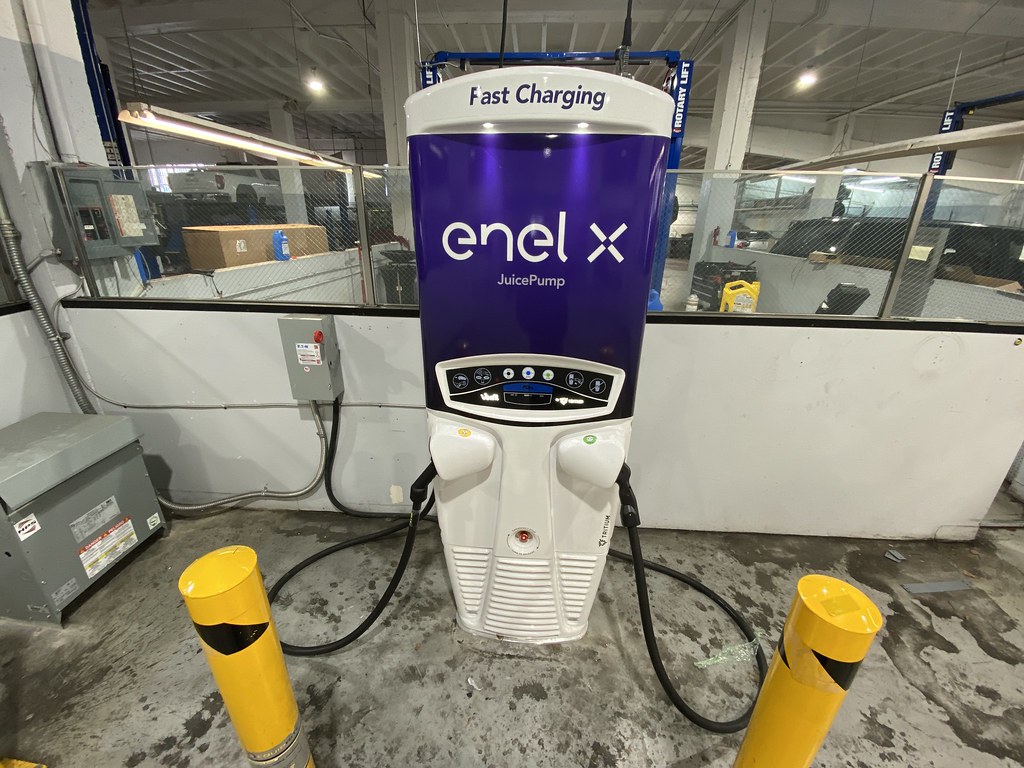
Beyond home use, you’ll also encounter Level 3, or DC Fast Charging. These powerful units are the public powerhouses found along highways and at dedicated charging stations, designed for rapid charging on the go. They utilize high-voltage direct current (DC) to dramatically reduce charging times, often bringing a car’s battery to 80% in as little as 20-30 minutes. However, the immense cost and complex electrical requirements associated with Level 3 chargers mean they are “purely commercial-grade” and are not something you’ll be installing in your residential garage.
Therefore, for the practical homeowner looking to maximize convenience and efficiency, our entire focus zeroes in on the Level 2 charger. It strikes the perfect balance between speed, cost-effectiveness, and feasibility for a home installation, providing the reliable overnight charging solution that truly transforms the EV ownership experience. Understanding this hierarchy of charging options is your first confident step forward.
Read more about: 14 Undeniable Facts About Electricity That Demystify Modern Technology

2. **The DIY Gut Check: Honestly Assessing Your Electrical Expertise**Before picking up a single tool or purchasing any materials, you must perform a serious self-assessment of your electrical knowledge and comfort level. This isn’t a task to be taken lightly. Working with your home’s electrical system is not for the faint of heart, and attempting it without proper understanding can lead to dangerous and costly errors. It is crucial to be brutally honest with yourself about your capabilities.
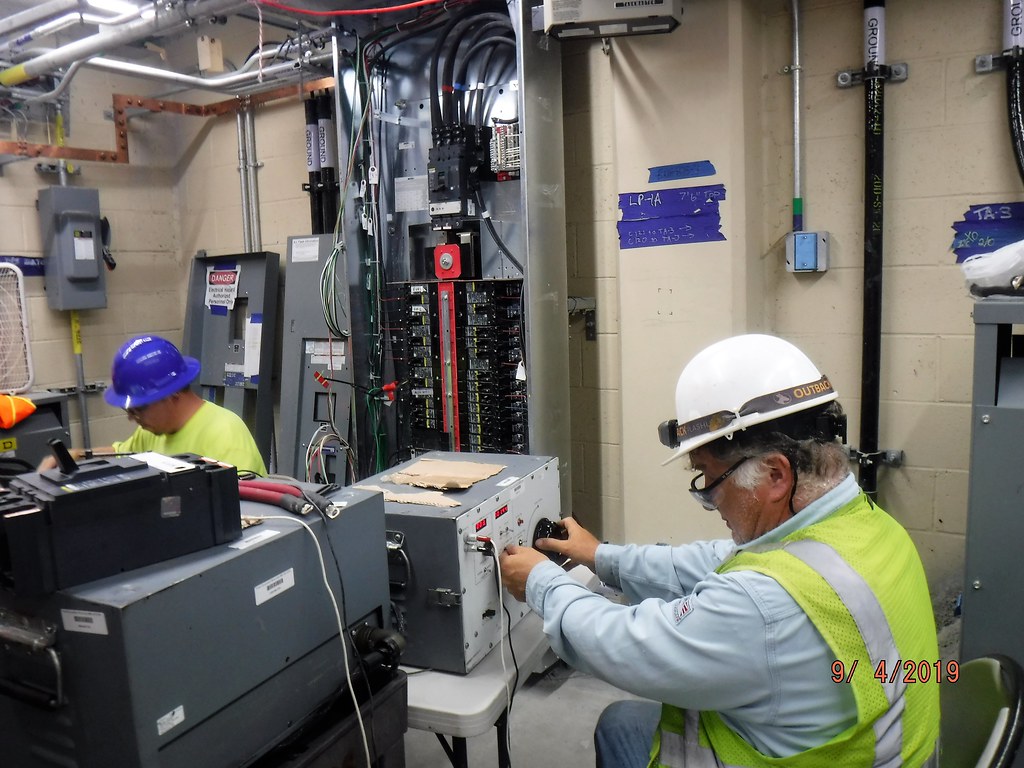
For many, the answer will be clear: if you’ve “never opened your electrical panel,” if “you don’t know the difference between a neutral & a ground wire,” or “if the idea of turning off the main breaker to your house gives you hives,” then this project is definitively not for you. In these scenarios, the only responsible course of action is to “STOP HERE & call a licensed electrician. Seriously.” The potential risks, which include damage to your expensive vehicle, your home, or personal injury, far outweigh any perceived savings from a DIY attempt. A professional ensures everything is done to code and, most importantly, safely.
However, if you possess “some experience with home wiring,” if you are “meticulous,” and “understand the safety protocols,” then a DIY installation of a Level 2 charger is genuinely within reach. This typically applies to installations involving a NEMA 14-50 outlet for a plug-in charger, which is generally less complex than hardwired options. Experience here means having successfully tackled other significant electrical projects, such as installing a new appliance circuit or confidently troubleshooting electrical issues.
Ultimately, the decision to DIY or hire a pro boils down to your personal skill level and comfort. There is no shame in acknowledging a need for expert help; in fact, it’s a sign of wisdom and responsibility. Licensed electricians bring invaluable expertise, handling permits, complex load calculations, and all the “nitty-gritty details” to guarantee your home’s electrical system can safely accommodate the new load. Your safety, and that of your home and vehicle, should always be the top priority.
3. **Assessing Your Electrical Panel’s Capacity**With your understanding of charging levels clarified and a realistic self-assessment complete, the very next, non-negotiable step is to meticulously examine your home’s main electrical panel. This is the heart of your electrical system, and its capacity will dictate whether a Level 2 charger installation is even feasible without major upgrades. “Don’t you dare touch a single wire until you’ve got a solid plan,” and this assessment is the cornerstone of that plan.
The first critical piece of information you need to uncover is the total amperage of your main panel. This is typically indicated on the main breaker at the top of the panel. “Most modern homes have 150-amp or 200-amp service,” which usually provides ample headroom for a new Level 2 circuit. However, “older homes might have 100-amp or even 60-amp service.” A Level 2 charger typically requires a 40A or 50A circuit, and if your home is running on a 100-amp service, “it might be cutting it close, depending on your other electrical appliances (like an electric stove, dryer, or central AC).”
Understanding your panel’s total amperage is paramount because it directly impacts whether your home can safely accommodate the significant additional load of an EV charger. Overloading your panel is not merely an inconvenience; it can lead to tripped breakers, power outages, and, in severe cases, dangerous electrical hazards or damage to your home’s wiring. Therefore, knowing your limits before you proceed is a fundamental safety and planning measure.
Proper evaluation prevents mistakes or “safety risks like overloading your breaker box or undersizing wiring.” This initial check will give you a preliminary indication of whether your existing electrical infrastructure is robust enough or if a more substantial upgrade, often requiring professional intervention, might be necessary. It sets the stage for the next crucial step in determining your home’s readiness.
Read more about: Power Outage Peril: The Home Security Systems That Leave You Vulnerable in the Dark

4. **Performing a Home Electrical Load Calculation**Once you’ve identified your electrical panel’s total capacity, the next analytical phase involves performing a comprehensive load calculation. This isn’t just a recommendation; it’s a critical engineering step to precisely determine “if you have enough juice to spare” within your existing electrical system for the new EV charger. It ensures that adding a high-draw appliance won’t push your home’s electrical system beyond its safe operational limits.
The “basic idea is to add up the electrical loads of all the major appliances in your home.” This includes your HVAC system, water heater, electric range, clothes dryer, and any other significant power consumers. While “you can find worksheets online to help with this,” an electrician routinely performs this calculation to guarantee the new charger won’t “overload your system.” It’s a meticulous process that prevents unexpected power outages and potential fire hazards down the line.
The implications of a deficient load calculation are significant. “If you’re near your panel’s limit, you may need a service upgrade, which is DEFINITELY a job for a pro.” This isn’t a small undertaking; it involves upgrading the main service entrance to your home, a complex and costly endeavor that extends far beyond the scope of a typical DIY project. Skipping this step or miscalculating could lead to a system that’s constantly tripping breakers or, worse, overheating.
In conjunction with the load calculation, you must physically “Check for Open Slots” inside your breaker panel. A 240-volt breaker, which is what your Level 2 charger requires, occupies two adjacent slots within the panel. If your panel is already full, you might need to install a subpanel to accommodate the new circuit. As the context points out, this scenario, too, “is likely a job for an electrician,” adding another layer of complexity that pushes the project beyond the typical DIY comfort zone.
Read more about: Decoding the Charge: 15 Electric Vehicles Redefining Fast Charging for the Modern Driver
5. **Selecting Your Ideal EV Charger and Amperage**With your home’s electrical capacity assessed, the exciting part begins: choosing your Level 2 EV charger. These devices, technically known as Electric Vehicle Supply Equipment (EVSE), are available in a range of amperages, each offering different charging speeds. The higher the amperage rating of the charger, the more quickly it can replenish your EV’s battery, making this a pivotal decision for your home setup.
Here’s where precise electrical knowledge becomes crucial: “The circuit you install must be rated for MORE than the charger’s continuous output.” A universally accepted “general rule is to size the circuit for 125% of the charger’s load.” This safety margin prevents the circuit from being constantly maxed out, which can lead to overheating and premature wear. For practical examples, the context specifies: “A 32A charger needs a 40A breaker & circuit,” while “A 40A charger needs a 50A breaker & circuit,” and “A 48A charger needs a 60A breaker & circuit.” This means your breaker and wiring must be robust enough to safely handle the charger’s demand plus an additional buffer.
It’s also vital to consider your vehicle’s maximum charging speed. A common pitfall is to purchase a high-amperage charger only to find your car cannot accept power that quickly. “Your car also has a maximum charging speed. A car that can only accept 7.7 kW (32A) won’t charge any faster on a 48A charger.” Always “check your vehicle’s specs” to ensure you’re investing in a charger that will actually perform to its potential with your specific EV model, preventing unnecessary expense.
For most homeowners, a 40A or 50A circuit strikes an excellent balance, offering robust charging speed without undue installation complexity. The context specifically notes that “a 50A circuit is often recommended as it future-proofs you for your next EV, which might be able to charge faster.” This forward-thinking approach ensures your charging setup remains relevant and efficient, even if you upgrade to a different electric vehicle in the future.
Read more about: The Indispensable Arsenal: Unpacking the Ultimate Tool Kit for Every Man (And What’s Missing From Yours)

6. **Plug-in vs. Hardwired: Deciding the Installation Method**One of the fundamental decisions you’ll make regarding your Level 2 charger installation is whether to opt for a plug-in or a hardwired setup. Both methods have distinct advantages and disadvantages, and your choice will significantly influence the complexity of the DIY process and the long-term flexibility of your charging station. Understanding these differences is key to aligning the installation with your needs and skill level.
The plug-in installation is generally considered the easier route for DIY enthusiasts. This method involves installing a dedicated 240-volt outlet, most commonly a NEMA 14-50 receptacle, in your garage or chosen location. Your EV charger then simply plugs into this outlet, much like any other appliance. The appeal of this approach lies in its simplicity and portability; “it’s simpler & allows you to easily take the charger with you if you move.” Furthermore, the context highlights that “This is the most common DIY approach” due to its relative straightforwardness.
Conversely, a hardwired installation is a more permanent and robust solution. This method entails directly connecting the electrical conduit and wire into the charger itself, bypassing the need for an intermediate outlet. It offers superior weather resistance, making it “good for outdoor mounting,” and is specifically “required for chargers above 40A” (such as a 48A unit). However, the increased complexity of hardwiring means that “This is a bit more complex & often best left to the pros” who are skilled in detailed electrical connections and conduit work.
Considering the DIY focus of this guide and its aim for accessibility, we will primarily concentrate on the plug-in installation using a NEMA 14-50 outlet. This method provides an excellent balance of efficient Level 2 charging and a manageable project for those with foundational electrical experience. It offers flexibility and simplifies the overall process, making it a popular and sensible choice for many homeowners embarking on their home EV charging journey.
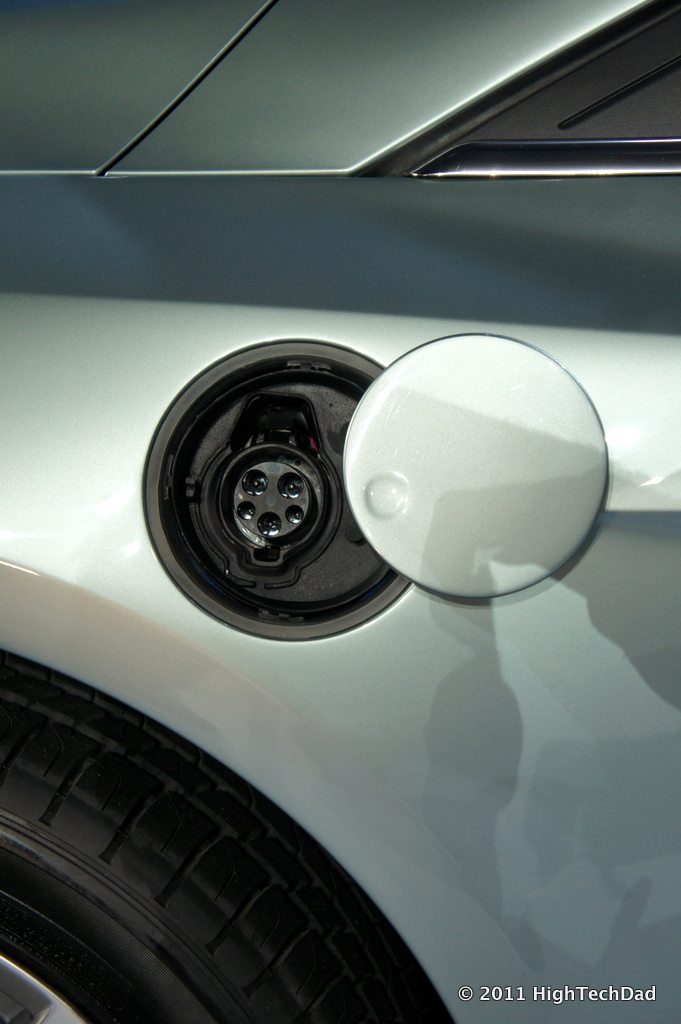
7. **Picking the Perfect Location for Your Charger**With the foundational planning complete, the next practical step is to pinpoint the perfect spot for your Level 2 EV charger. This decision is more than just convenience; it’s about maximizing efficiency, safety, and long-term usability. The primary consideration here is proximity to your vehicle’s charging port. You’ll want the charger close enough so that its cable can comfortably reach without being stretched taut, ensuring ease of use day in and day out.
Beyond just reaching your car, consider the overall convenience and how the charger integrates into your daily life. The chosen location should not impede foot traffic in your garage or interfere with opening car doors. A thoughtfully placed charger minimizes tripping hazards and allows for seamless movement, making the charging routine as effortless as possible. Think about the flow of your garage and how this new addition will fit into that space.
Protection from the elements is another significant factor. While many EV chargers are robustly rated for outdoor use, installing your unit inside the garage offers distinct advantages. Keeping the charger sheltered protects it from harsh weather conditions and extreme temperatures, which can contribute to the longevity of the equipment and even benefit your car’s battery in some climates. This simple choice can prolong the life of your investment.
Finally, always remember that the closer your charger can be positioned to your main electrical panel, the better. A shorter wire run between the panel and the charger translates directly into lower material costs and often less labor during installation. This strategic placement can significantly impact the overall expense and complexity of your DIY project, making the entire process smoother and more budget-friendly.
Read more about: Unlock Your Dream Vacation for Under $1000: 14 AI Hacks to Plan Your Next Escape Effortlessly
8. **Navigating Local Permits: A Non-Negotiable Step**Before you even consider gathering tools, there’s a crucial administrative hurdle that absolutely cannot be skipped: checking local permits. This is a vital step that often gets overlooked by eager DIYers, but it’s paramount for safety and compliance. You *must* contact your local building department to inquire if an electrical permit is required for installing a 240-volt outlet specifically for an EV charger.
Permit and inspection fees, which might add a few hundred dollars to your project’s budget, are not just an arbitrary expense. They are safeguards, ensuring that your installation meets local electrical codes and safety standards. Skipping this process could lead to significant issues down the line. Professional installers, for example, routinely handle this paperwork, integrating the permit fees into their overall service cost.
For those electing to hire a licensed electrician, the good news is that they will typically secure all necessary permits on your behalf. Their expertise ensures that the entire setup adheres to local electrical codes, averting potential fines or failed inspections. This professional handling provides invaluable peace of mind, knowing that your installation is fully compliant and safe.
Conversely, attempting an unpermitted installation carries substantial risks that far outweigh any perceived savings. An unpermitted electrical modification could potentially void your homeowner’s insurance coverage if an issue arises. Furthermore, it can create significant headaches during home resale, as unpermitted work might need to be disclosed and potentially corrected before a sale can proceed. Seriously, do not skip this step.
9. **Gathering Essential Tools and Materials: Your Project Checklist**With your comprehensive plan now firmly in place, it’s time for the exciting part: assembling your arsenal of tools and materials. This careful preparation is key to a smooth and efficient installation. At the top of your materials list will be your chosen Level 2 EV charger itself, ready to deliver that rapid charge. Next, you’ll need a double-pole breaker that specifically matches your electrical panel’s brand and the amperage you’ve decided upon—for example, a 50A breaker for a 50A circuit. The correct wire is absolutely crucial: for a 50A circuit, you’ll need 6-gauge copper wire, typically sold as “6/3 NM-B” for indoor runs, or “6/3 UF-B” if it will be buried or exposed to moisture. This wire configuration includes two hot conductors, one neutral, and a bare copper ground wire.
Continuing with the materials, don’t skimp on quality for your NEMA 14-50 outlet; opt for a high-quality, industrial-grade receptacle to prevent overheating. This will be housed within a sturdy electrical box, such as a 4×4-inch metal box. If your wire run isn’t concealed within walls, you’ll need conduit—like EMT, PVC, or flexible metal conduit—along with appropriate fittings, connectors, and straps to protect the wire. For internal wall runs, wire staples or straps will secure the cable to studs. And, of course, don’t forget miscellaneous essentials like wire nuts, electrical tape, and a faceplate for the outlet.
Now, for the indispensable tools that will turn your plan into reality. A reliable voltage tester, both non-contact and a multimeter, is absolutely paramount for safety checks. You’ll need a drill equipped with various bits, including spade bits for drilling through wall studs if your wire runs internally. A set of Phillips and flathead screwdrivers are a given for countless connections, alongside sturdy pliers, with lineman’s pliers being particularly versatile for electrical work.
Specialized tools also make a big difference. Robust wire strippers capable of handling 6-gauge wire are essential for proper connections. If you’re pulling wire through walls or conduit, a fish tape will prove invaluable. A level and tape measure ensure everything is installed neatly and accurately. Most critically, never forget your personal protective equipment: safety glasses and gloves are non-negotiable for working safely with electricity.
10. **Executing the Installation: Power Shut-Off and Breaker Installation**Alright, take a deep breath. We’re now moving into the hands-on phase of your Level 2 charger installation. This is where meticulous planning meets practical execution, and it’s critical to reiterate: *safety is absolutely everything*. The very first and most crucial step before touching any wiring or components in your electrical panel is to completely shut off the power to your home.
Head to your main electrical panel and locate the main breaker, typically positioned at the very top. Flip this main breaker to the “OFF” position, which should effectively kill power to your entire house. To be absolutely certain, do not rely solely on the breaker’s position. Immediately use your voltage tester to confirm that there is NO power present at the panel’s bus bars before you consider touching anything inside. Further, test a few outlets around your house to ensure that all power is indeed off. This diligent verification step protects you from serious electrical shock.
With the power safely confirmed as off, you can proceed to install the new breaker. Carefully remove the cover from your electrical panel, exposing the internal components. Identify the two empty, adjacent slots you previously earmarked for the new 240-volt circuit. A double-pole breaker is specifically designed to snap onto both hot bus bars simultaneously. Line up your new breaker carefully, then press it firmly into place until you hear it click securely onto the bus bars. At this stage, resist the urge to connect any wires to the breaker; that will come in a subsequent step, ensuring a methodical and safe process.
This careful, two-step approach—absolute power shut-off followed by precise breaker installation—forms the bedrock of a safe electrical project. Each action is designed to eliminate risk and establish a secure foundation for the wiring work that follows. Remember, rushing or cutting corners here is simply not an option when dealing with your home’s electrical heart.
11. **Wiring and Connecting the Outlet and Panel: Precision is Key**This phase is often the most labor-intensive and demands meticulous attention to detail. First, you need to run the wire from your electrical panel to the chosen outlet location. Carefully plan the cleanest and most direct path to minimize length and complexity. If you’re routing the wire through walls, you’ll need to drill appropriately sized holes—typically 3/4″ or 1″—through the center of the wall studs, ensuring the wire is protected. For surface mounting, perhaps on concrete or drywall, you’ll install conduit first and then pull the individual wires through it using a fish tape. Crucially, leave at least a foot of extra wire at both the panel end and the outlet end to provide ample working slack.
Once the wire run is complete, it’s time to mount the electrical box securely to a wall stud and wire the NEMA 14-50 outlet. This outlet has four critical connection points. The two “Hot” terminals, usually brass screws, are where you’ll connect the black and red wires; their specific placement (which hot goes where) doesn’t typically matter. The “Neutral” terminal, typically a silver screw, receives the white wire. Finally, the “Ground” terminal, identifiable by a green screw, is for your bare copper ground wire. Strip about 3/4″ of insulation from each wire, insert them firmly into the correct terminals, and tighten the screws down with absolute certainty. Loose connections are a significant fire hazard, so give them a firm tug to verify security before gently pushing the wired outlet into the box and attaching the faceplate.
Now, return to the electrical panel to complete the connections there. Carefully route the new cable inside the panel. The bare copper ground wire connects to the ground bus bar, a metal bar that typically already has numerous green or bare copper wires attached. Similarly, the white neutral wire connects to the neutral bus bar, often populated with other white wires. Finally, connect the red and black hot wires to the two terminals on your new 50A breaker. Just as with the outlet, give every connection a gentle tug to confirm it is completely secure. Once all connections are confirmed tight and correct, tidy up the wiring within the panel and carefully replace the cover.
Making these connections precisely and securely is paramount for the safe and effective operation of your Level 2 EV charger. Any shortcuts or imprecise work in this stage can lead to dangerous situations or system malfunctions. Double-checking every wire and every screw will provide the confidence that your electrical system is prepared to handle the new load reliably.

12. **Final Testing and Embracing Convenient Home Charging**The moment of truth has arrived. With all physical connections made, it’s time to safely power up and thoroughly test your newly installed circuit. First, ensure that absolutely nothing is plugged into the new NEMA 14-50 outlet. Go to your main electrical panel and turn your new 50A breaker to the “OFF” position. Then, flip the main breaker for the entire house back to the “ON” position. Once the house power is restored, you can carefully flip your new 50A breaker to “ON.”
With the circuit now energized, use your multimeter to meticulously test the outlet. You should observe approximately 240 volts between the two hot terminals. Additionally, you should get around 120 volts between each hot terminal and both the neutral and ground terminals. If all these voltages are correct and stable, congratulations are in order! You have successfully installed a dedicated 240-volt circuit, the backbone of your Level 2 EV charging station.
The final steps involve mounting and plugging in your charger. Follow the manufacturer’s instructions precisely to securely mount your EV charger on the wall. Once mounted, plug it into your shiny new NEMA 14-50 outlet. Power it on, and then connect it to your electric vehicle for a final functional test. You should see the glorious light or notification indicating that your car is now charging at Level 2 speed. Many modern smart chargers, like WiFi-enabled models, offer additional configuration through an app, allowing you to schedule charging, monitor usage, and even adjust amperage to manage your home’s electrical load.
With your Level 2 charger now fully installed and operational, you are officially ready to enjoy the incredible benefits of convenient home charging. Gone are the days of relying solely on public stations or waiting endlessly for a Level 1 top-off. You’ll wake up every morning to a fully charged EV, ready for whatever your day holds, transforming your ownership experience from dependent to utterly seamless. This upgrade not only offers unparalleled convenience but also future-proofs your home and potentially increases its resale value with integrated EV infrastructure.
Read more about: The Essential Car Gadgets That Every Touring Musician Can’t Live Without: Your Ultimate Road Survival Guide
This comprehensive guide empowers you to understand and execute the installation of a Level 2 EV charger, providing practical, actionable advice every step of the way. The satisfaction of powering your own vehicle, safely and efficiently, is immense. It truly represents the pinnacle of EV ownership, offering unlimited and convenient ‘fuel’ right at home. The journey to a fully charged electric future begins in your own garage.” , “_words_section2”: “1845


