

Browsing that slows to a crawl, frustratingly dropped Wi-Fi signals, and those inexplicable wireless dead zones – these are maddening issues in a world where constant online access is a necessity. A robust and reliable Wi-Fi signal is fundamental for streaming, remote work, and staying connected. If your home network feels sluggish, you’re not alone, and there’s much you can do to boost its performance and reclaim your connectivity.
We understand the frustration of a weak signal, especially when you know your router has more potential. This guide offers practical, solution-oriented strategies to directly address your connectivity needs, demystifying home networking with clear, accessible language. Our goal is to empower you to “strengthen” your Wi-Fi, a dynamic process of improvement that will elevate your entire digital experience at home.
Forget struggling for reception near your router or resorting to awkward positions just to get online. This first section focuses on optimizing your current setup, ensuring you maximize the performance of your existing hardware. We’ll provide foundational quick fixes and essential knowledge, enabling you to transform large areas of your home into well-connected sanctuaries. Let’s begin enhancing your Wi-Fi for a smoother, more efficient digital life, starting with these crucial initial adjustments.

1. **Remove Physical Obstructions from Your Router’s Path**One of the most immediate and often overlooked culprits behind a weak Wi-Fi signal is simple physical obstruction. Your wireless signal, much like sound or light, can be blocked, absorbed, or reflected by various objects in its path. These impediments act like invisible barriers, significantly dampening the strength and reach of your network, leading to frustrating slowdowns and dropped connections.
Consider the intricate journey your Wi-Fi signal takes from your router to your device. Every wall, every large piece of furniture, and even a closed cabinet door where your router might be tucked away, works to diminish that crucial signal. This constant degradation means less power for your devices.
Appliances, with their internal metal components and active electrical currents, are particularly notorious for blocking waves and causing interference. Items like refrigerators, washing machines, or even dense bookshelves can act as significant obstacles. The thicker and denser the obstruction, the more pronounced its negative effect on your connectivity will be, severely limiting your network’s effective range.
If you’re aiming to experience your router’s full signal potential, a crucial first step is to optimize its immediate environment by removing as many physical obstructions as possible. While you can’t move walls, reposition smaller, movable items. Clear the area around your router and consider relocating large furniture or appliances directly between your router and main devices. A clear path significantly strengthens your signal, offering an easy yet impactful adjustment.
Read more about: Conquering Connectivity: The 15 Most Common Wi-Fi Problems Plaguing Modern Homes, and How to Fix Them

2. **Position Your Router for Optimal Performance**Once immediate obstructions are cleared, the next critical step is strategically positioning your router itself. While your internet cable’s entry point might dictate the general area, several key principles can dramatically enhance your router’s range and signal distribution throughout your home. Correct placement isn’t merely about convenience; it’s about maximizing your device’s inherent capabilities and ensuring efficient signal propagation.
The golden rule for router placement is to keep it as high as possible and in a central location within your home. Wi-Fi signals tend to spread outwards and downwards, meaning elevation helps the signal broadcast more effectively over and around common household items. This reduces the chances of signal blockage from furniture or other low-lying obstacles.
A central location within your home ensures that the signal has an equal opportunity to reach all corners of your living space. This symmetrical distribution minimizes the creation of frustrating dead zones and provides more uniform coverage, allowing consistent connectivity regardless of where you are. Avoid placing it in a corner or closet, as this immediately limits its reach.
Furthermore, maintaining as direct a line of sight as possible between your router and your primary internet-connected devices is highly beneficial. For bandwidth-intensive activities, this can make a noticeable performance difference. If your modem and router are separate units, keep them a few feet apart to prevent potential electromagnetic interference, ensuring both devices perform without hindering each other.
Read more about: Why Your Home Wi-Fi Is Slow: 12 Common Mistakes and Quick Fixes for a Faster Network

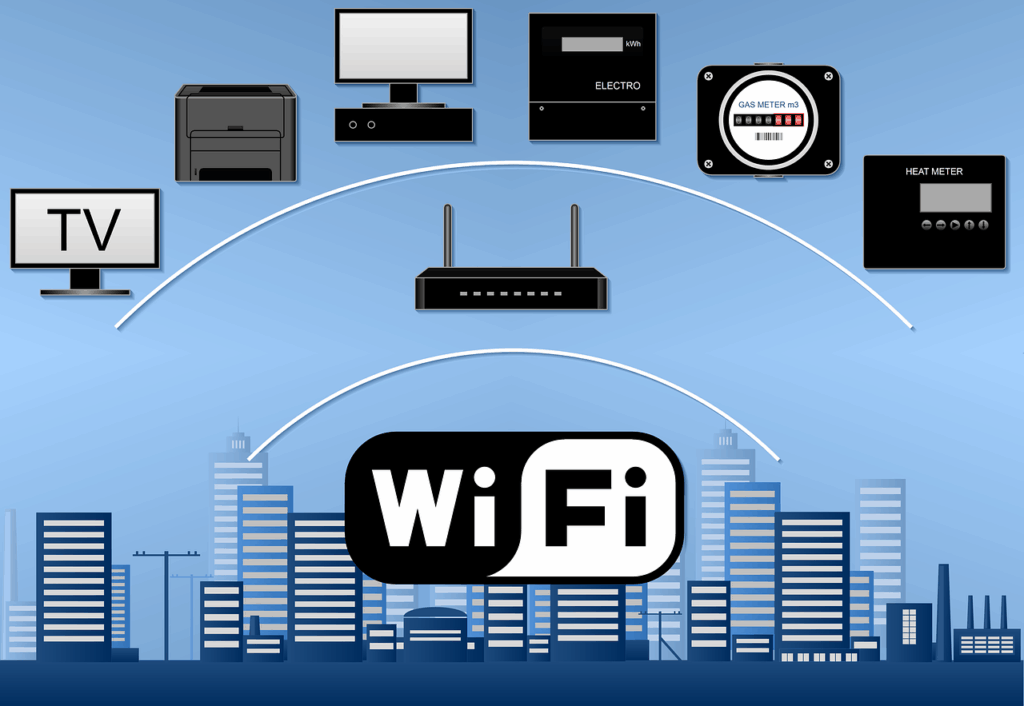
3. **Check for and Eliminate Signal Interference**Beyond physical obstructions, an invisible enemy often lurks, silently sabotaging your Wi-Fi signal: electromagnetic interference. Most routers, particularly those operating on the common 2.4 GHz channel, share this wireless frequency with a multitude of other household devices, leading to a crowded and noisy wireless environment.
This problem arises when these other devices emit signals on or near the same frequency, effectively “talking over” your Wi-Fi network. This creates a cacophony of wireless noise that your router and connected devices struggle to cut through, resulting in slower speeds, increased latency, and ultimately, less reliable connections.
Identifying these interferers is crucial because even if your router is perfectly positioned and free of physical barriers, electromagnetic chaos can still cripple your connectivity. The constant interruption forces your devices to re-transmit data, wasting valuable bandwidth and diminishing your overall internet experience. It’s like trying to have a conversation in a very loud room.
A range of everyday household items are notorious for causing such interference. These include cordless phones, microwave ovens, baby monitors, and even certain security alarms or automatic garage door openers. Systematically turn off or move any such items located between your router and your internet-connected devices. Minimizing these sources of “noise” allows your Wi-Fi signal to transmit more clearly and effectively, providing a much-needed boost to its strength and stability.
Read more about: Rock Royalty: Unveiling the Defining Eras of Dwayne ‘The Rock’ Johnson’s WWE Legacy
4. **Ensure Your Router is Using the 2.4 GHz Channel for Maximum Range**Many modern Wi-Fi routers are “dual-band,” meaning they support two distinct wireless frequency channels: the widely used 2.4 GHz and the faster, but shorter-range, 5 GHz. While the 5 GHz channel often promises larger downloads and a faster, uninterrupted internet experience due to less congestion, it comes with a significant trade-off when it comes to covering larger areas within your home.
The fundamental difference lies in their respective wavelength properties and how they interact with environments. The 2.4 GHz channel, with its longer wavelengths, is far better at penetrating physical obstructions like walls and furniture. This makes its signal incredibly robust for traversing structural elements within your home.
Consequently, the 2.4 GHz channel offers a significantly larger effective range. Its signal can travel further before degrading, making it the preferred choice for extending Wi-Fi coverage to the furthest reaches of your house or apartment. In contrast, the shorter, higher-frequency waves of the 5 GHz channel are more easily absorbed or blocked, leading to a much more confined coverage area—often between half and one-third of the 2.4 GHz channel’s range.
To maximize your router’s reach, especially in larger homes or those with many internal walls, it’s advisable to prioritize connecting to the 2.4 GHz network. You can typically do this from your computer’s or mobile device’s Wi-Fi menu. The 2.4 GHz channel will usually display your network’s basic name, while the 5 GHz channel might have “5 GHz,” “Media,” or similar identifiers appended. Selecting the 2.4 GHz option consciously chooses range over raw speed for distant devices, strengthening your signal where it’s most needed throughout your living space.
Read more about: Why Your Home Wi-Fi Is Slow: 12 Common Mistakes and Quick Fixes for a Faster Network

5. **Consider an Unofficial Range Extender in a Pinch**Sometimes, you need a quick, DIY solution to direct your Wi-Fi signal, especially if you’re experiencing a weak spot in a very specific direction. While certainly unreliable and not a permanent fix, the humble aluminum can can be fashioned into an “unofficial” range extender capable of providing a temporary, directional boost to your router’s signal in a pinch. This ingenious hack costs nothing but a few minutes of your time.
The concept behind this low-tech booster is straightforward: by carefully cutting and shaping an aluminum soda can, you create a parabolic reflector. This simple metallic curve is designed to catch stray wireless signals that would otherwise dissipate inefficiently in open space. It’s a testament to basic physics applied to modern tech.
When positioned correctly behind your router’s antenna, this reflector catches the Wi-Fi signals that would normally dissipate in all directions and redirects them into a more focused beam. This means that instead of a scattered signal, more of the wireless energy is concentrated towards a particular area, potentially strengthening reception in that targeted zone.
However, it’s crucial to understand the limitations of this improvisational method. While it can indeed amplify your router’s signal in one chosen direction, it inherently limits its range in the opposite direction. It’s a distinct trade-off: gain in one area means a corresponding sacrifice in another. Therefore, this trick is best reserved for situations where you need a temporary, specific boost rather than a comprehensive home-wide enhancement.

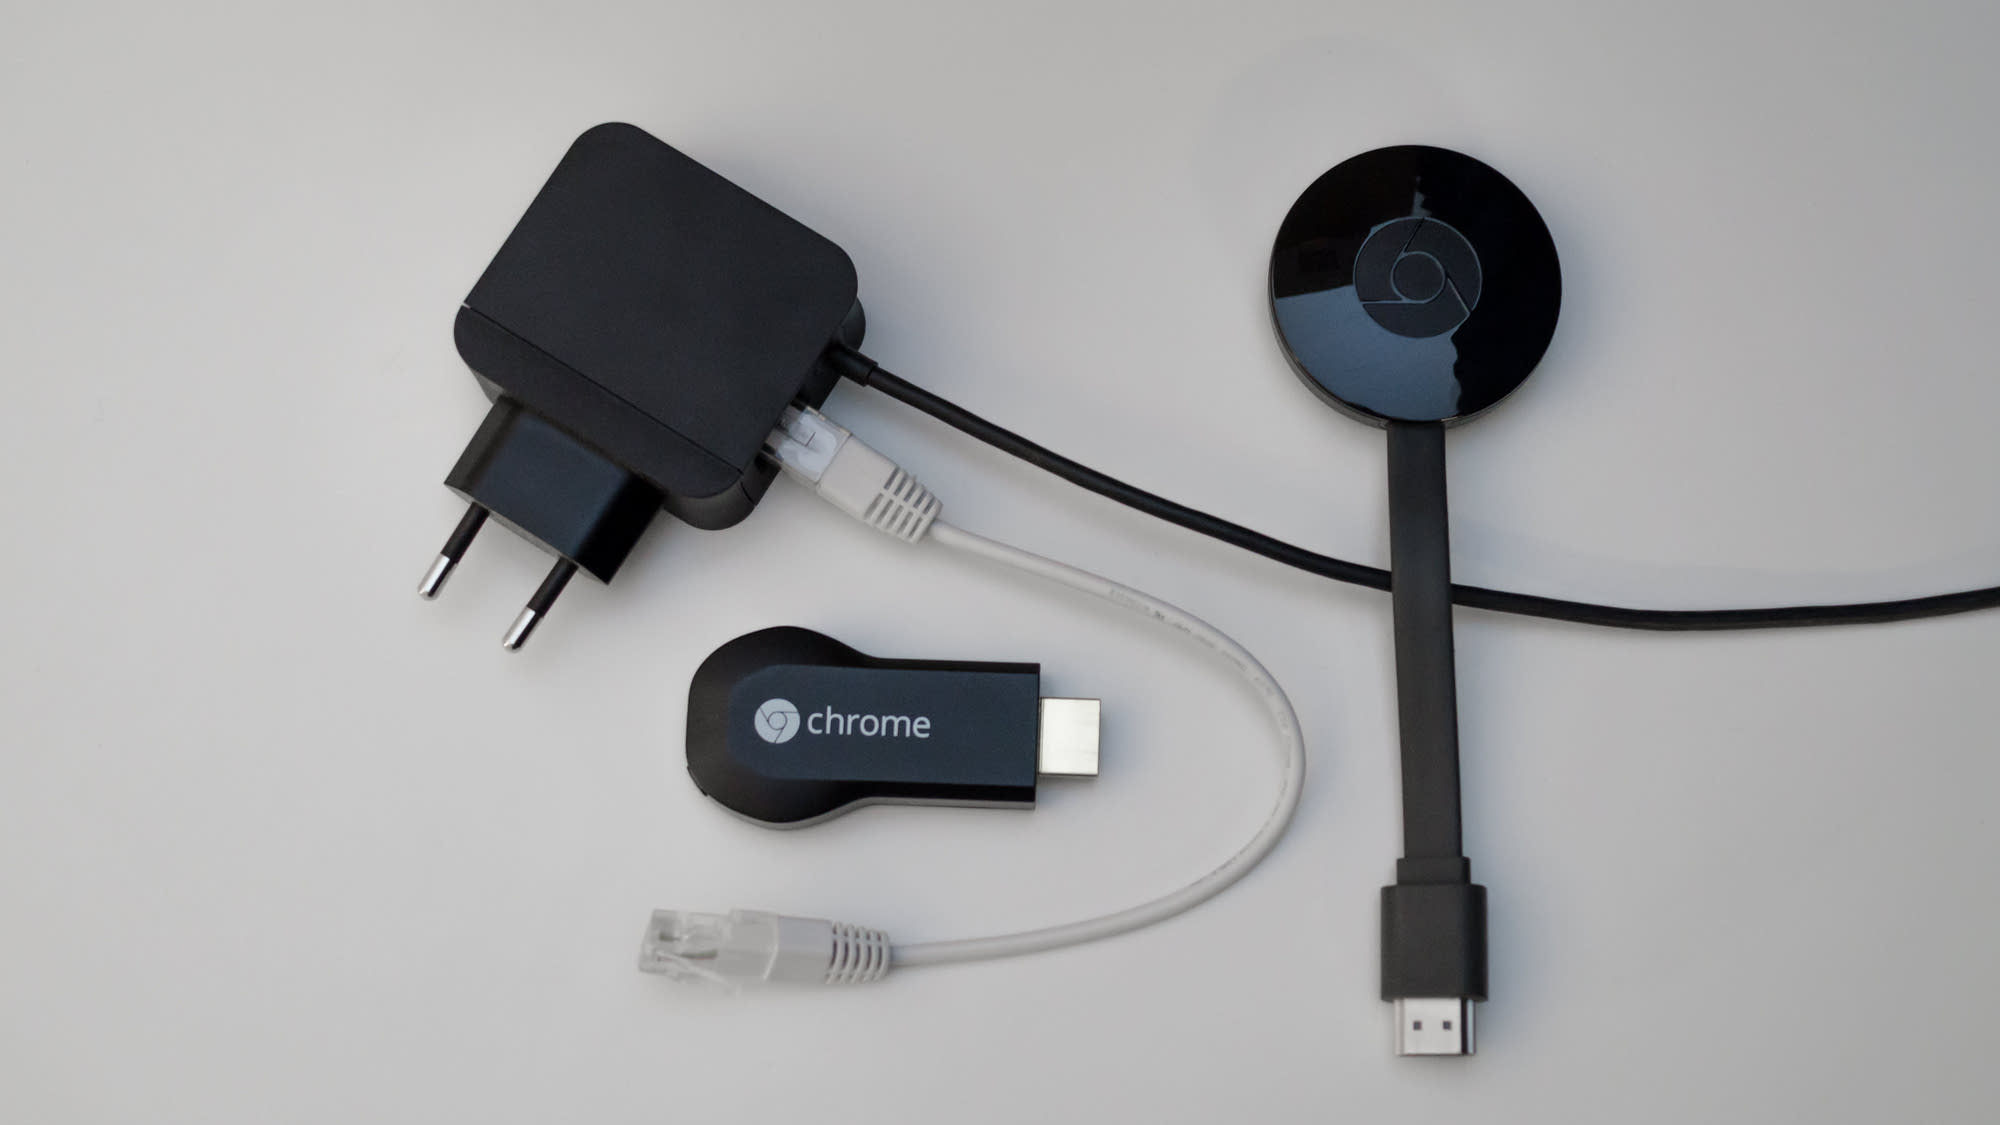
6. **Upgrade Your Old Router for Renewed Performance**In the fast-evolving world of technology, even the most robust pieces of hardware have a lifespan during which they perform optimally. Your Wi-Fi router is no exception to this rule. If you’re experiencing persistent signal issues despite trying various placement and interference-reduction techniques, and your router is three or four years old (or even older), its age might very well be the fundamental problem holding back your network’s potential.
The reality is that router technology advances rapidly. Older routers may not support the latest Wi-Fi standards, like Wi-Fi 5 (802.11ac) or Wi-Fi 6 (802.11ax), which offer significant improvements in speed, efficiency, and capacity. Furthermore, they might have outdated internal components that simply can’t keep up with modern demands, or suffer from general wear and tear that degrades performance over time.
A router that once reliably blanketed your home with signal can become sluggish and unreliable as its internal hardware ages, even if it’s still technically functional. No amount of careful rearranging, firmware updates, or minor adjustments can truly compensate for outdated or failing internal components. It’s akin to expecting an old car to perform like a brand-new model.
Therefore, for many users facing chronic Wi-Fi woes with an aging device, upgrading to a new, up-to-date router is often the single most effective solution. Modern routers boast significantly improved processors, better antenna design, enhanced signal processing capabilities, and support for newer, more efficient wireless protocols. Investing in a current-generation router can instantaneously resolve many long-standing signal issues, providing a more powerful, reliable, and faster network that’s capable of meeting the demands of today’s internet-connected homes.

7. **Understand Your Router’s Maximum Advertised Range**Before investing in additional hardware or undertaking extensive troubleshooting, it’s incredibly helpful to know the inherent capabilities and limitations of your existing router. Every commercially available Wi-Fi router is designed with a specific maximum range in mind, typically falling somewhere between 100 feet (about 30.5 meters) and 150 feet (about 45.7 meters) under ideal, unobstructed conditions. This figure represents the theoretical maximum distance your signal can travel effectively before significant degradation.
This crucial piece of information is usually printed clearly on your router’s packaging or detailed within its user manual. Taking a moment to consult these resources can provide invaluable context for your signal issues. It helps set realistic expectations for your network’s reach and prevents you from attempting to achieve the impossible with your current setup, regardless of how perfectly you’ve positioned your router or minimized interference sources.
Knowing your router’s maximum advertised range helps you accurately diagnose whether your connectivity problems stem from an inefficient setup *within* its capabilities, or if you’re simply asking it to do more than it was designed for. This diagnostic step saves time and effort, guiding your next actions effectively.
If you determine that items well within your router’s specified maximum range are struggling to receive a strong signal, then the previous steps—like repositioning and reducing interference—are your primary focus. However, if the devices you wish to connect are consistently outside this theoretical maximum, then it clearly indicates a need for external solutions to extend your network, which is precisely what we will explore in the next section of our comprehensive guide.
Read more about: Conquering Connectivity: The 15 Most Common Wi-Fi Problems Plaguing Modern Homes, and How to Fix Them

8. **Investing in a Dedicated Wi-Fi Range Extender**When the limits of your primary Wi-Fi router become apparent, particularly in larger homes or those with complex layouts, a dedicated Wi-Fi range extender emerges as a powerful solution. These devices are engineered to capture your router’s existing signal and re-broadcast it, effectively extending your wireless network’s reach into areas previously plagued by weak signals or frustrating dead zones. They function as a crucial relay, ensuring your devices can connect reliably from almost anywhere, transforming connectivity from inconsistent to omnipresent.
The market for Wi-Fi range extenders is extensive, offering a wide variety of models from numerous manufacturers. When selecting an extender, it’s beneficial to look for devices with high user ratings and positive reviews, indicating proven performance and reliability. Consider your budget, as decent extenders typically range from $35 to $100, providing an accessible entry point to significantly enhanced home connectivity. This investment can vastly improve your daily digital experience by providing seamless internet access where it was once nonexistent.
While most range extenders are designed to be universally compatible with various router brands, opting for an extender from the same company that manufactured your current router can often lead to a more streamlined setup and potentially better overall integration. This can simplify the initial pairing process and ensure optimal interaction between the devices, maximizing the efficiency of your extended network.
A key benefit of these devices is their ability to deliver consistent connectivity without requiring you to move your main internet-connected devices closer to the router. Imagine being able to stream high-definition content in your backyard or work from a home office far from the main router. A well-chosen and properly deployed Wi-Fi range extender can make these scenarios a reality, truly expanding the boundaries of your digital living space.
Read more about: Conquering Connectivity: The 15 Most Common Wi-Fi Problems Plaguing Modern Homes, and How to Fix Them

9. **Initial Extender Setup: Pairing with Your Router (WPS Method)**The initial setup of a Wi-Fi range extender is designed to be as straightforward as possible, often leveraging the convenience of Wi-Fi Protected Setup (WPS). To ensure the smoothest pairing process, it is highly recommended to perform this first step in close proximity to your main router, ideally within the same room. Begin by locating a suitable wall outlet within approximately 20 feet of your router. Plug in your new extender, and wait for its indicator lights to illuminate, signifying that the device has powered on and is ready for configuration.
Once the extender is active, identify the WPS button on its casing. This button is typically easy to find, often located on the front or side of the unit, and may be labeled clearly. Press this button to initiate the WPS pairing sequence on the extender. This action puts the extender into a discovery mode, actively seeking a WPS signal from your main router. The WPS feature greatly simplifies the connection, bypassing the need for manual network name entry or password input at this stage.
Immediately after activating WPS on the extender, you must then locate and press the corresponding WPS button on your primary router. For most routers, this button is usually situated on the back or the bottom of the unit. The timing is crucial here; pressing both buttons within a short window allows the devices to automatically handshake and establish a secure, encrypted connection. Successful pairing is usually indicated by a change in the extender’s LED lights, often turning solid green or blue.
In the event your router does not feature a WPS button, or if the automatic WPS pairing fails to establish a connection, refer to your Wi-Fi extender’s manual for alternative setup instructions. These typically involve connecting your computer or mobile device directly to the extender’s temporary Wi-Fi network and then accessing a web-based setup wizard, ensuring you can still get your extended network up and running efficiently.

10. **Strategic Placement for Your Wi-Fi Extender Unit**Once your range extender is successfully paired with your main router, its long-term performance hinges critically on its physical placement. The goal is to maximize the signal re-transmission while ensuring the extender itself receives a robust signal from your primary router. The sweet spot for placement is approximately halfway between your main router and the specific area in your home where you are seeking to improve Wi-Fi coverage. This equidistant positioning allows the extender to effectively capture and amplify the signal, bridging the gap to your target dead zones.
Another vital consideration for placement is minimizing potential signal interference. Just as with your main router, your range extender should be kept away from other electronic devices that emit electromagnetic signals. Appliances such as microwave ovens, cordless phones, and baby monitors can disrupt the extender’s wireless communication. A clear, uncluttered environment free from these common interferers will allow your extender to operate at its peak efficiency, delivering a cleaner and stronger extended signal.
While many range extenders are designed for convenient plug-and-play installation directly into wall outlets, which often means they are situated closer to the floor, this can inadvertently limit their effective range. Wi-Fi signals tend to propagate more effectively when unobstructed and at a higher elevation. If possible, consider utilizing an extension cable to strategically elevate your extender to a higher vantage point, such as on a shelf or atop a piece of furniture. This simple adjustment can significantly improve the line of sight and overall reach of the re-broadcasted signal, ensuring better coverage across your living space.
Optimal placement isn’t just about distance; it’s also about maintaining an unobstructed path for the signal. Thick walls, large metal objects, and even dense furniture can impede the signal traveling to and from your extender. While it’s impractical to reconfigure your home’s structure, being mindful of major obstacles can help you choose a position for your extender that offers the clearest possible line of sight towards both your main router and your target devices. This thoughtful approach ensures that the extender is working with, not against, your home’s physical environment.
Read more about: Why Your Home Wi-Fi Is Slow: 12 Common Mistakes and Quick Fixes for a Faster Network
11. **Connecting Your Devices to the Extended Wi-Fi Network**With your Wi-Fi range extender now strategically positioned and actively broadcasting, the final step is to seamlessly connect your various internet-enabled devices to this expanded network. The process is intuitive and largely mirrors how you would connect to any standard Wi-Fi network. Begin by accessing the Wi-Fi or network settings menu on your computer, smartphone, or tablet. Here, you’ll be presented with a list of all available wireless networks within your device’s range.x
You will typically observe a network name (SSID) broadcast by your range extender that is either identical to your primary router’s network name or a slightly modified version. For example, if your main network is named “MyHomeNetwork,” the extender might broadcast “MyHomeNetwork_EXT” or “MyHomeNetwork_2G.” In some advanced mesh-like extender systems, the SSID may remain exactly the same as your main router, allowing for more fluid roaming. Select the network that clearly represents your extended signal.
Upon selecting the extended network, your device will prompt you to enter the corresponding network password. Crucially, unless you specifically configured a different password during the extender’s initial setup process, you should enter the exact same Wi-Fi password that you use for your primary router. Range extenders are designed to mirror the security settings of the main network they are boosting, ensuring a consistent and secure connection across your entire home.
Once the password is correctly entered and authenticated, your device will connect to the extended network. This signifies that you are now benefiting from the amplified signal provided by your range extender. You should immediately notice a significant improvement in signal strength and stability, particularly in those areas where connectivity was previously unreliable or nonexistent. This enhanced connection will facilitate smoother streaming, faster downloads, and more consistent browsing, elevating your overall digital experience throughout your entire home.
Read more about: Is Your Phone Battery Dying Too Fast? Uncover the 15 Sneaky Culprits and Master the Fixes!
12. **Understanding Potential Speed Reduction with Extenders**While the primary benefit of a Wi-Fi range extender is undeniably the expansion of coverage, it’s crucial for users to be aware of a potential trade-off: a reduction in internet speed. Many traditional range extenders operate on a half-duplex principle, meaning they use the same wireless band to both receive data from your main router and then re-transmit it to your connected devices. This “relay” function essentially requires the extender to perform two tasks (receiving and sending) sequentially on the same channel.
This operational characteristic can lead to a noticeable decrease in your overall bandwidth, often resulting in speeds that are effectively halved compared to connecting directly to your main router. For everyday browsing or light email, this reduction might be imperceptible. However, when engaging in bandwidth-intensive activities such as 4K video streaming, online gaming, or large file transfers, the diminished speeds in the extended coverage area can become a significant point of frustration.
Understanding this limitation is vital for managing your expectations regarding your extended network’s performance. While the gain in signal presence in previously unreachable areas is valuable, it’s important to weigh that against the potential for slower data transfer rates. This makes traditional extenders best suited for scenarios where coverage is the paramount concern, and maximum speed is less critical for the devices connecting in those extended zones.
However, the landscape of wireless technology is continuously evolving. Modern Wi-Fi range extenders have introduced innovative features to mitigate this common speed reduction. Some advanced models are dual-band, allowing the extender to communicate with the router on one frequency band and with your devices on another, effectively creating separate pathways. Others may feature a dedicated “backhaul” channel, which significantly preserves your original internet speed. When purchasing, researching these advanced capabilities can help you select an extender that offers a better balance between extended range and sustained speed.
Read more about: Why Your Home Wi-Fi Is Slow: 12 Common Mistakes and Quick Fixes for a Faster Network
13. **Exploring Advanced Mesh Network Systems**For those seeking the pinnacle of home Wi-Fi coverage and performance, traditional range extenders, while effective, are often surpassed by advanced mesh network systems. Unlike a single router or a basic extender that merely repeats a signal, a mesh network is built upon a foundation of multiple interconnected units, commonly referred to as “nodes.” These nodes are strategically distributed throughout your home, working in concert to forge a single, pervasive Wi-Fi network that envelops every square foot of your living space with a consistently strong signal.
The hallmark advantage of a mesh network lies in its capacity to deliver truly uniform coverage. Instead of experiencing a gradual signal degradation as you move further from a central router, or navigating between different network names with an extender, mesh systems ensure that every area receives robust connectivity. Your devices intelligently connect to the nearest and strongest node, seamlessly “roaming” between them without dropped connections. This sophisticated collaboration effectively eliminates dead zones and provides a far more stable and reliable online experience throughout your entire home.
Moreover, mesh networks are designed for efficiency and high performance. They often utilize dedicated wireless bands for communication between the nodes (a “backhaul” connection), which prevents the speed reduction issues commonly associated with traditional range extenders. This dedicated pathway ensures that the full bandwidth of your internet connection can be delivered to your devices, regardless of which node they are connected to, providing not just wider coverage, but often faster and more consistent speeds.
While the initial investment for a high-quality mesh network system is typically higher than for a standalone router or a simple range extender, the long-term benefits for larger homes, multi-story residences, or those with complex layouts are substantial. They offer superior reliability, simplified management through central apps, and a future-proof solution for increasing demands on home networks. For users committed to achieving the ultimate in ubiquitous and high-speed Wi-Fi, a mesh system represents a significant and worthwhile upgrade to their digital infrastructure.
Read more about: Expert-Reviewed: 7 Leading No-Log VPN Services for Privacy-Conscious Users, Featuring a Top Free Option

14. **Addressing Building Materials: Metal Stud Interference**While much attention is often given to optimizing router placement and mitigating electronic interference, an often-overlooked factor impacting Wi-Fi signal strength is the very construction of your home. Specifically, the type of studs used within your walls can play a critical role in how effectively your wireless signal propagates. In many older, traditional homes, walls are constructed with wooden studs, which generally pose minimal interference to wireless signals, allowing them to pass through with relative ease.
However, the landscape changes dramatically in modern construction, particularly prevalent in newer office buildings, expansive malls, and contemporary residential condominiums. These structures frequently incorporate metal studs in their wall frameworks. While metal studs offer advantages in terms of structural integrity and fire resistance, they present a significant challenge for wireless communication. Metal is an excellent conductor and reflector of electromagnetic waves, meaning it can absorb and deflect Wi-Fi signals quite effectively.
Consequently, walls constructed with metal studs can act as substantial barriers, severely dampening your router’s signal as it attempts to pass through. This can lead to a noticeable reduction in signal strength, creation of frustrating dead zones, and overall inconsistent connectivity in various parts of your home, even if your router is otherwise optimally placed. The signal degradation from metal can be far more pronounced than from wooden walls, making it a critical consideration for homeowners and tenants in such properties.
Therefore, when you’re diligently troubleshooting persistent Wi-Fi signal issues, especially in a newer dwelling, it becomes essential to consider your building’s construction type. While it’s obviously not feasible to alter your home’s fundamental framework, recognizing the presence of metal studs can inform your strategic decisions regarding router and range extender placement. The goal is to minimize the number of metal-studded walls your Wi-Fi signal needs to penetrate, perhaps by positioning your equipment closer to open doorways or less obstructed paths, thereby enhancing your overall wireless performance and reliability.
By implementing these advanced strategies, from deploying dedicated range extenders to considering sophisticated mesh network systems, and even understanding the impact of your home’s construction, you can move “beyond the router” to create a truly robust and pervasive Wi-Fi signal throughout your entire living space. These comprehensive steps empower you to not only troubleshoot existing weak spots but to proactively build a home network that supports every device and every digital demand, ensuring that slow browsing and dropped signals become a distant memory. Embrace the freedom of a fully connected home, where reliable Wi-Fi is no longer a luxury, but a seamless reality.


