

Car scratches are undoubtedly one of the most frustrating problems for vehicle owners. Whether it’s a minor scuff from a tight parking spot or a light surface mark from an accidental brush, these imperfections can diminish the appearance of even the most immaculate vehicle, making it look neglected and unloved. The immediate thought often turns to expensive auto body shops or specialized products, leading to concerns about time, cost, and the sheer effort involved in restoring your car’s pristine look.
Indeed, finding a reliable and cost-effective way to fix scratches can be quite tricky. The world of car repair products is vast and often confusing, with many promising miraculous results that don’t always materialize. This can leave car owners feeling overwhelmed and uncertain about the best course of action to tackle those annoying blemishes without breaking the bank or causing further damage.
But what if a surprisingly simple, budget-friendly solution was hiding in plain sight, perhaps even in your bathroom cabinet? Believe it or not, ordinary toothpaste can be a remarkably effective tool for tackling minor car scratches. This comprehensive guide will equip you with all the practical, actionable advice you need to understand, perform, and perfect the art of using toothpaste for car scratch removal, helping you keep your vehicle looking its best without a hefty professional bill.
1. **Understanding the Abrasive Power: Why Toothpaste Works**At first glance, the idea of using toothpaste on your car might seem counterintuitive, but there’s a clear scientific principle at play. Toothpaste, a staple in daily oral hygiene, contains mild abrasives specifically designed to polish and smoothen surfaces—primarily your teeth. These same abrasive properties, when applied correctly, can work wonders on superficial imperfections in your car’s clear coat.
The secret lies in tiny abrasive particles like silica, calcium carbonate, or even baking soda, which are common ingredients in many toothpastes. These particles act much like a very fine sandpaper, gently scrubbing away a minute layer of material. When you apply toothpaste to a car scratch, these abrasives work to buff out minor imperfections and level the uneven surface of the clear coat.
The process is essentially a form of “polishing.” By rubbing toothpaste in small, circular motions, you are effectively removing the damaged, uneven layer of the clear coat. This controlled abrasion helps to even out the surface of the paint, reducing the visibility of the scratch by allowing light to reflect uniformly once again, thereby making the blemish far less noticeable, or even making it disappear completely if it’s shallow enough.

2. **Identifying the Right Scratches: When Toothpaste is Your Ally**Before you grab your toothbrush and head to the garage, it’s absolutely crucial to identify the type of scratch you’re dealing with. Toothpaste is a targeted solution, and its effectiveness hinges on the depth of the damage. Scratches typically fall into three main categories, and understanding these will prevent unnecessary effort and potential disappointment.
The first category, and the prime candidate for toothpaste treatment, is the clear coat scratch. These are superficial, light marks that affect only the very top clear coat layer of your car’s paintwork. If you run your fingernail across such a scratch and it doesn’t catch, it’s a strong indication that it’s a surface-level clear coat scratch. Toothpaste is highly effective on these types of blemishes, as its mild abrasives can smooth out the clear coat without penetrating deeper.
Next, you have paint scratches. These are deeper marks that have gone through the clear coat and into the actual paint layer. If your fingernail catches in the scratch, it’s likely a paint scratch. While toothpaste might partially reduce the visibility of these, it won’t fully remove them because the damage extends beyond the top protective layer. For such scratches, professional intervention or more robust solutions like touch-up kits are often required.
Finally, there are primer/metal scratches. These are deep scratches that expose the primer layer or, even worse, the bare metal underneath. If your fingernail easily catches in the scratch and you can see a different color beneath the paint (grey for primer, silver for metal), toothpaste is definitively *not* the solution. Attempting to use toothpaste on these types of deep scratches is futile and can even cause further issues, making professional repair an absolute necessity to prevent rust and further damage.
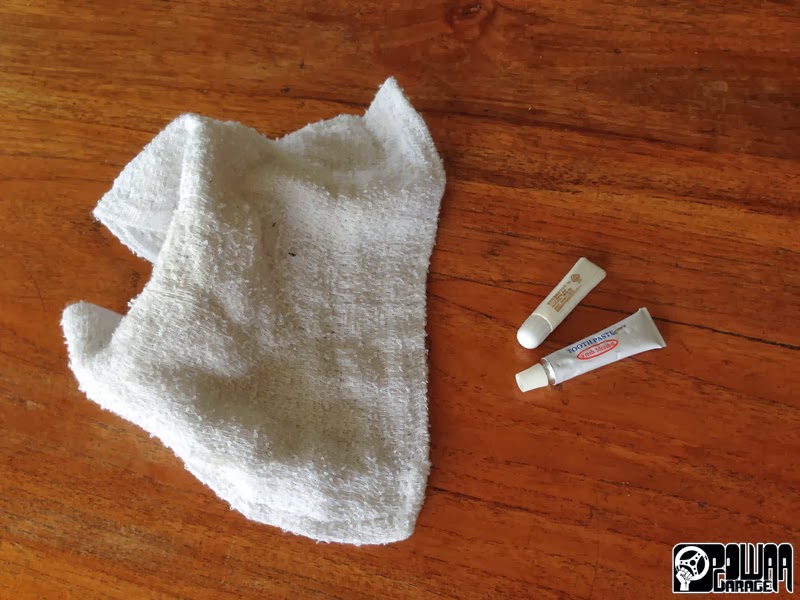
3. **Gathering Your Arsenal: What You’ll Need for the Fix**One of the most appealing aspects of the toothpaste scratch removal method is how incredibly accessible and affordable the required materials are. You won’t need specialized tools or expensive detailing equipment; most items are likely already in your home or can be acquired for a minimal cost. This makes it an ideal DIY project for anyone looking to save money and tackle minor car blemishes themselves.
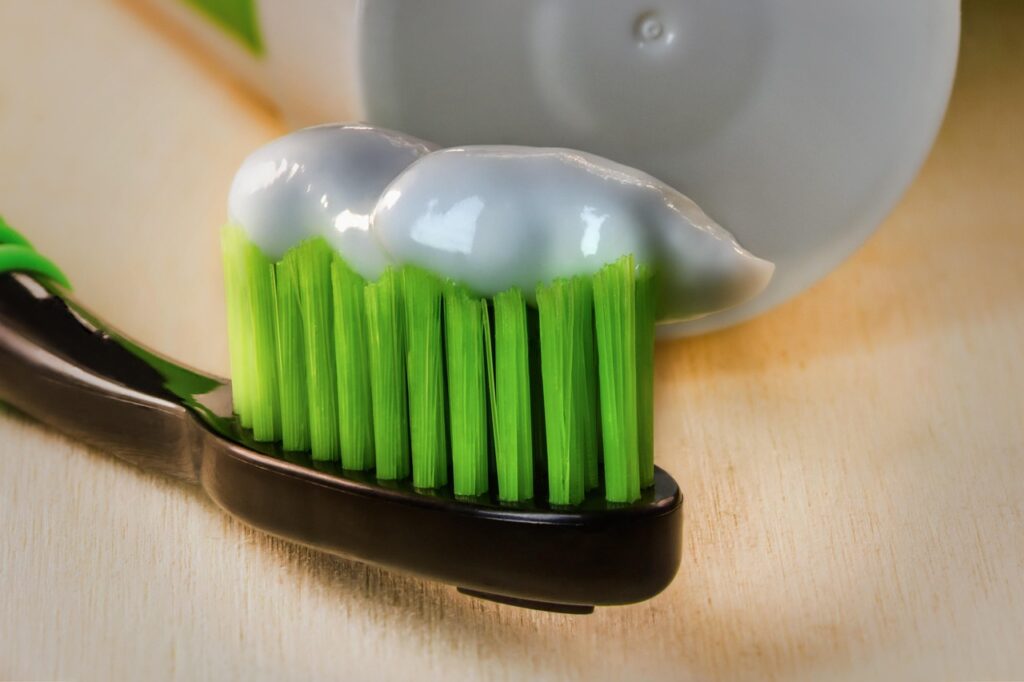
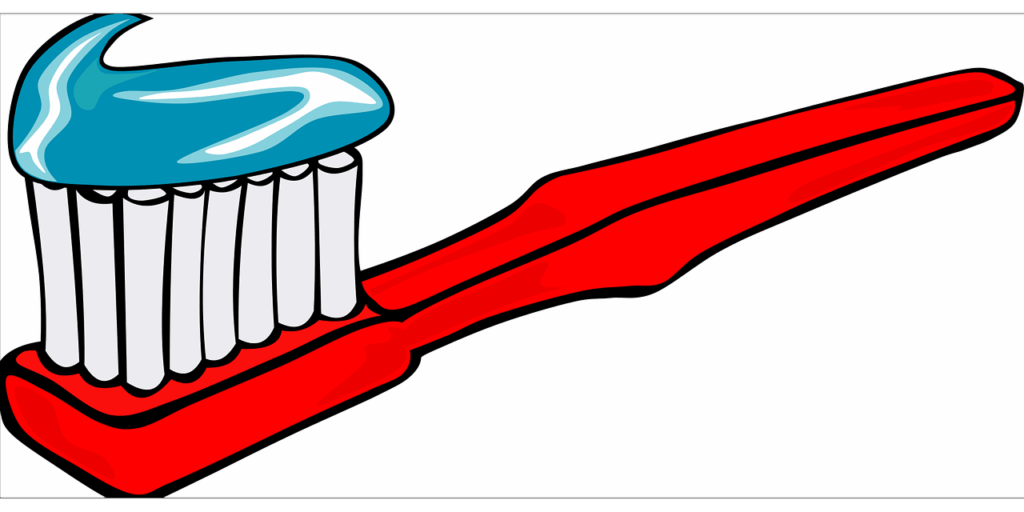
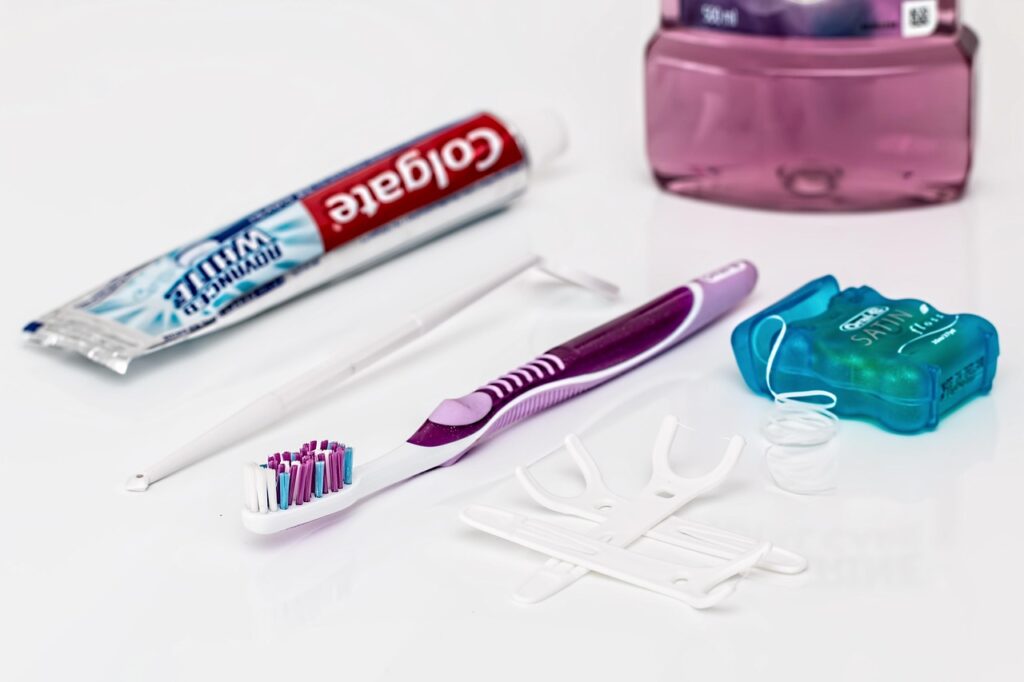
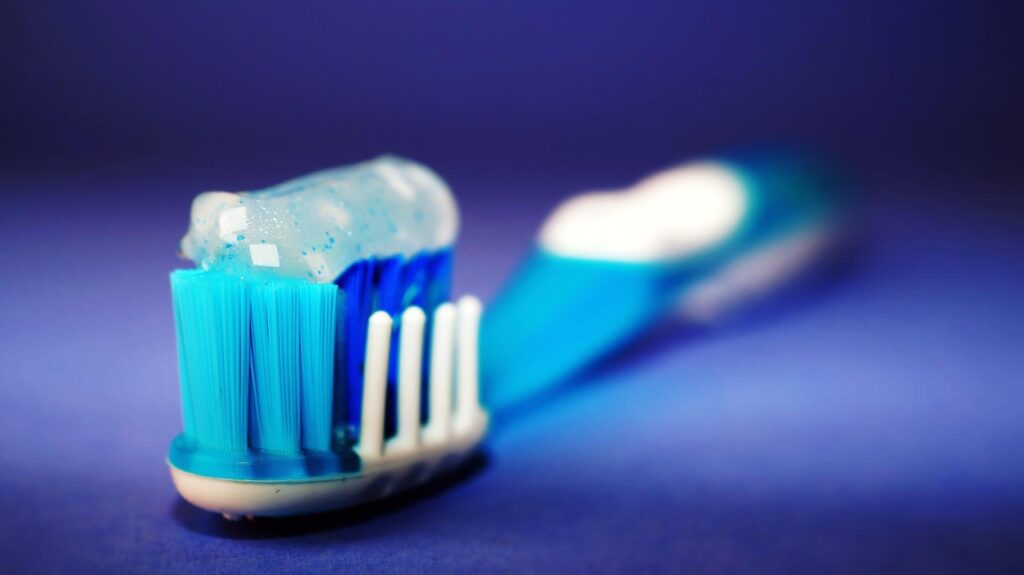
First and foremost, you’ll need a tube of white, non-gel toothpaste. This is a critical distinction because gel formulas often lack the necessary abrasive particles to effectively polish out scratches. Ideally, choose a toothpaste that explicitly mentions baking soda as an ingredient, as this enhances its mild abrasive qualities. While specific brands like Colgate, Crest, or Sensodyne are mentioned in the context as containing suitable mild abrasives like silica or baking soda, the key is the ingredient list, not necessarily the brand name. Avoid colored toothpastes, as they may potentially leave stains on your car’s paint.
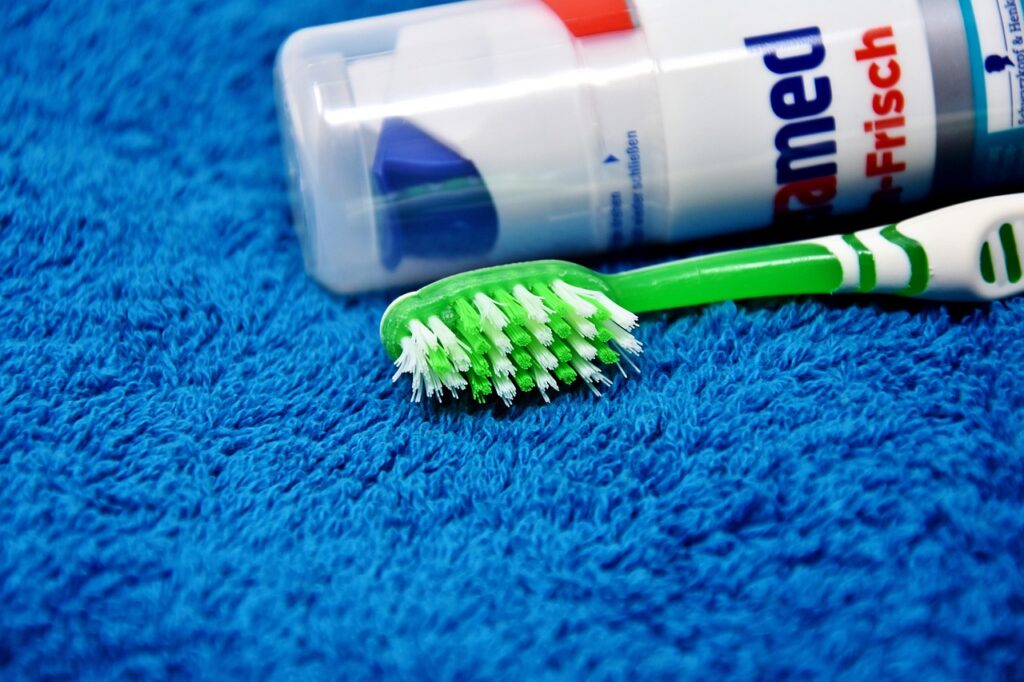
Beyond the toothpaste itself, a soft microfiber cloth or a clean cotton towel is absolutely essential. The softness of the cloth is paramount to prevent adding new scratches to your car’s delicate clear coat. A rough cloth could exacerbate the problem, so investing in a good quality microfiber cloth is a smart move. You’ll also need a bowl of clean water, which will be used for cleaning the area before application and for wiping away toothpaste residue afterward.
An optional, but highly recommended, item for finishing the job is car wax. After you’ve successfully removed or minimized the scratch, applying a small amount of car wax will help restore shine to the treated area and, crucially, add an additional layer of protection to your car’s clear coat. This step helps seal the polished surface and guards against future environmental damage, contributing to a longer-lasting, professional-looking finish.
Read more about: Survival Savvy: 14 Essential Tools More Critical Than a Tent for Wilderness Safety
4. **The Step-by-Step Blueprint: Applying Toothpaste for Scratch Removal**With your materials gathered and your scratch identified as a prime candidate for toothpaste treatment, it’s time to dive into the practical application. This process is straightforward, but adhering to each step carefully is key to achieving the best results without causing any unintended harm. Think of it as a methodical ritual to restore your car’s flawless finish.
**Step 1: Clean the Area.** Begin by thoroughly washing the scratched area with water and a mild car-specific soap. This crucial first step removes all dirt, dust, grime, and debris, which if left on the surface, could act as additional abrasives and cause further scratching during the toothpaste application. Once cleaned, dry the area completely with a separate, clean towel to prevent water spots.
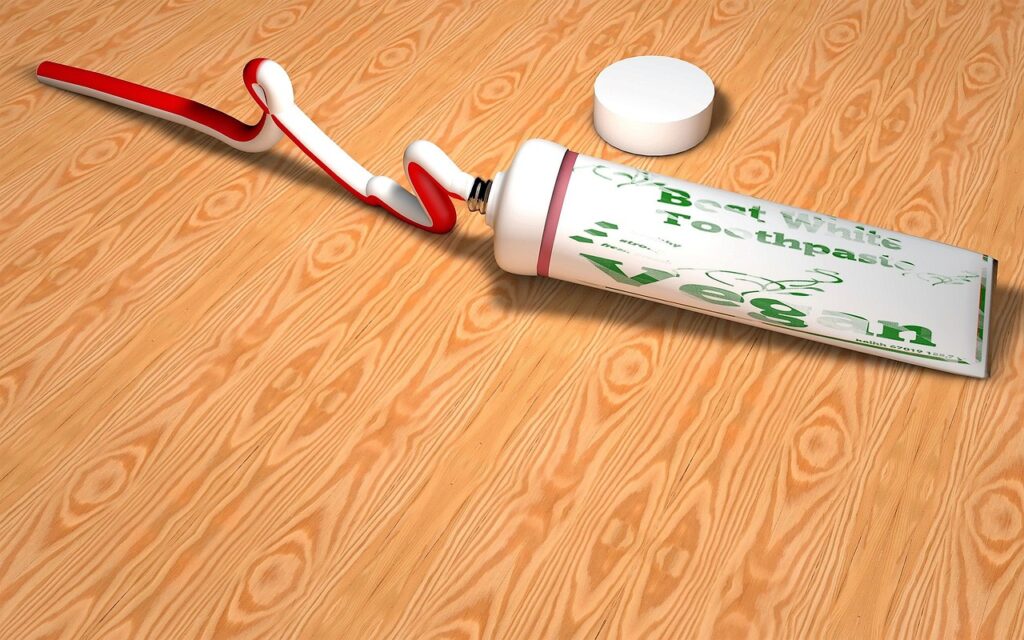
**Step 2: Apply Toothpaste.** Squeeze a small amount of your chosen white, non-gel toothpaste onto a soft microfiber cloth. The amount should be roughly the size of a coin, which is usually sufficient for one small scratched area. Remember, never apply the toothpaste directly to your car’s paint, as this can make it harder to control the application and distribution of the product.
**Step 3: Rub Gently in a Circular Motion.** This is where the magic happens. Gently rub the toothpaste onto the scratched surface using small, circular motions. Apply even pressure – the goal is a gentle polish, not vigorous scrubbing. Continue this motion for approximately 30 to 60 seconds. Being patient and methodical here is more important than applying excessive force, which as we’ll discuss, can be detrimental.
**Step 4: Wipe Off the Residue.** After the initial rubbing, dampen another clean cloth with fresh water and carefully wipe away all the toothpaste residue from the treated area. It’s important to remove all traces of toothpaste to get a clear view of your progress and prevent any residue from drying onto the paint. Once wiped clean, inspect the area closely to see if the scratch has faded or disappeared.
**Step 5: Repeat If Necessary.** For more stubborn clear coat scratches, you may find that the initial application has significantly reduced the blemish but not entirely removed it. If the scratch is still visible, you can repeat the process 1 to 2 more times. However, exercise extreme caution here: do not overdo it. Excessive abrasion, even with mild toothpaste, can eventually wear down your car’s clear coat, potentially causing new problems like dullness or thin spots. If after 2-3 repetitions the scratch remains, it might be too deep for this method.
**Step 6: Apply Wax (Optional but Recommended).** Once you are satisfied with the scratch removal and the area is clean and dry, apply a small amount of car wax. This step serves multiple purposes: it helps restore the shine to the treated area, creates a protective barrier against environmental elements, and can further mask any faint lingering marks. This final touch will leave your car looking polished and protected, enhancing the overall effect of your DIY repair.
5. **Dodging Disaster: Common Mistakes to Avoid When Using Toothpaste**While using toothpaste for scratch removal is a simple and effective hack, it’s not entirely foolproof. Certain missteps can negate your efforts or, worse, cause additional damage to your car’s paintwork. Being aware of these common mistakes will help you achieve optimal results and maintain the integrity of your vehicle’s finish.
One significant error is **using gel toothpaste**. As previously mentioned, gel formulas are typically less abrasive than their white paste counterparts, meaning they lack the fine polishing particles necessary to effectively buff out scratches. Applying gel toothpaste will likely yield minimal to no results, wasting your time and effort. Always opt for a white, non-gel variety, preferably one that lists baking soda or silica as an ingredient.
Another frequent mistake is **using a rough cloth or applying too much pressure**. Your car’s clear coat is delicate. Using abrasive materials like a coarse rag or applying excessive force during the rubbing process can counteract your intentions, creating new swirl marks or even deeper scratches. Always use a soft microfiber cloth or a clean, soft cotton towel, and maintain gentle, even pressure throughout the circular rubbing motion. The goal is mild abrasion, not aggressive scrubbing.
**Over-rubbing** is a subtle but damaging mistake. While the process may require a few repetitions, continuously rubbing the same spot for extended periods or too many times can lead to unintended consequences. Excessive abrasion will thin your car’s clear coat over time, making it vulnerable to environmental damage and potentially creating a dull spot rather than a shiny finish. It’s a balance: be patient, but know when to stop. If the scratch isn’t significantly improved after 2-3 attempts, it’s likely beyond toothpaste’s capability.
Failing to **rinse the area properly** is another pitfall. After each application and rubbing session, it’s vital to thoroughly wipe away all toothpaste residue with a clean, damp cloth. Any lingering toothpaste can dry onto the paint, leaving behind a hazy film or residue that can be difficult to remove later and might even dull the finish. Proper rinsing ensures you can accurately assess your progress and avoid unwanted build-up.
Finally, some users make the mistake of **using toothpaste with harsh chemicals or large granules**. While some toothpastes contain more abrasive elements, those with very large or sharp granules, or aggressive whitening agents, can be too harsh for car paint and might cause more harm than good. Stick to mild abrasives like silica or baking soda, and always, always test the toothpaste on an inconspicuous area first, especially if you’re unsure about its composition or your car’s specific paint type.
6. **The Smart Choice: Advantages of This DIY Method**Embracing toothpaste as a solution for minor car scratches comes with a wealth of practical benefits, making it a truly ‘Lifehacker’ approved method. This DIY approach not only empowers car owners to take matters into their own hands but also addresses common frustrations associated with vehicle maintenance, particularly cost and convenience.
Perhaps the most compelling advantage is its **affordability**. In an era where professional auto body services and specialized scratch removal products can quickly deplete your wallet, toothpaste offers an incredibly cost-effective alternative. There’s no need for expensive tools, professional services, or pricey compounds; you’re leveraging an item you likely already have at home, making it a zero-cost or very low-cost solution. This benefit is particularly appealing for budget-conscious drivers, such as college students maintaining vehicles on a tight budget.
Next, the method is remarkably **quick**. Unlike waiting for appointments at a body shop or spending hours on complex detailing processes, applying toothpaste to a minor scratch can be done in under 15 minutes. This speed and efficiency make it an ideal quick fix for unexpected scuffs and light marks, allowing you to restore your car’s appearance swiftly without disrupting your schedule. It’s a testament to immediate problem-solving that Lifehacker fans adore.
The technique is also **safe for light scratches** when used correctly. As detailed earlier, the mild abrasives in non-gel, white toothpaste are designed to gently polish surfaces without causing damage to the clear coat, provided you use a soft cloth and apply gentle pressure. This ensures that you can tackle superficial blemishes with confidence, knowing you’re not inadvertently harming your paintwork if the proper steps are followed diligently.
Finally, the **accessibility** of toothpaste is unparalleled. It’s a common household item, meaning most people already have it readily available. There’s no special trip to an auto parts store required; the solution is literally at your fingertips. This makes it a go-to practical DIY method, not just for regular maintenance but also for those unexpected moments when you need a quick, accessible solution to keep your vehicle looking fresh and well-maintained without any hassle.”
, “_words_section1”: “1997
7. **Optimizing Your Toothpaste Choice for Superior Results**When it comes to successfully tackling car scratches with toothpaste, the type of toothpaste you choose is far from a minor detail—it’s absolutely critical. Not all toothpastes are created equal when it comes to removing scratches from cars, and making the right selection can significantly impact your results. You’ll want to choose a toothpaste that contains mild abrasives, such as silica or baking soda, which are gentle enough on car paint to polish without causing further damage. Crucially, avoid using any toothpaste with very large granules or harsh chemicals, as these can actually damage your car’s paintwork and create new problems rather than fixing existing ones.
To zero in on the best choice, prioritize white, non-gel toothpaste. Gel toothpastes are typically less abrasive than their white paste counterparts, meaning they lack the fine polishing particles necessary to effectively buff out scratches, rendering them largely ineffective for this purpose. Whitening toothpastes are often a good choice, as they frequently contain tiny polishing agents that are perfectly suited to gently smooth out surface imperfections. Remember, the goal is mild abrasion, so steer clear of any toothpaste with added colors or flavors, as they don’t add any real benefit and might even stain your car’s delicate clear coat.
Many brands like Colgate, Crest, or Sensodyne contain suitable mild abrasives like silica or baking soda. The key is the ingredient list, not just the brand. Some toothpastes also feature micro-crystals for better polishing. Aim for a low to medium RDA (Relative Dentin Abrasivity) in the range of 80-110; lower RDAs mean more effort, while highly abrasive ones risk paint damage. This approach gives you the best chance for successful scratch removal.
By carefully selecting a toothpaste that combines the right abrasive properties with a gentle formulation, you’re setting yourself up for the best possible outcome. This discerning approach ensures you’re leveraging the science without inadvertently causing new blemishes or dulling your car’s shine. Choose smart, keep it sharp.
Read more about: Beyond Broke: Some Essential Money Habits That Define the Financially Savvy
8. **Beyond the Paste: Essential Materials for a Flawless Finish**While the humble tube of toothpaste is the star of this DIY scratch removal show, it certainly isn’t a one-person act. Achieving a truly effective and safe repair also hinges on having the right supporting cast of materials. You need more than just toothpaste; you’ll need a few specific tools to ensure the process is smooth, gentle, and ultimately successful. Overlooking these crucial accompanying items can easily turn a simple fix into a frustrating experience, potentially leading to more scratches or an unsatisfactory finish.
First and foremost, the choice of applicator cloth is paramount. You’ll need a soft microfiber cloth or a clean cotton towel—the emphasis here is on ‘soft.’ The softness of the cloth is absolutely essential to prevent adding new scratches to your car’s delicate clear coat. Microfiber cloths are particularly recommended because their ultra-fine fibers are designed to gently lift and trap debris without scratching surfaces. In contrast, using rougher materials like a coarse rag or a regular towel can be highly abrasive and might actually make the existing scratches worse or introduce new swirl marks, completely counteracting your repair efforts.
Clean water is vital. Wash the area thoroughly beforehand to remove dirt, preventing contaminants from acting as abrasives. After application, use a damp cloth to wipe away all toothpaste residue; proper rinsing prevents hazy film. For initial cleaning, a mild car-specific soap is recommended over plain water for better grime removal.
Finally, consider incorporating car wax into your post-repair routine. After minimizing the scratch and thoroughly cleaning the area, applying wax restores shine, creates a protective barrier against environmental elements, and can further mask faint lingering marks. This vital step seals the polished surface, guards against future damage, and enhances the overall effect of your DIY repair.
9. **Deciphering Success: Factors Influencing Your Repair Quality**Even with the perfect toothpaste and the right tools in hand, the ultimate success of your scratch repair hinges on several critical factors. It’s important to understand that how well toothpaste works depends significantly on these variables, and paying attention to them can be the difference between a barely noticeable improvement and a truly polished finish. Expecting universal results without considering these nuances can lead to disappointment, as the effectiveness of this DIY method is not a ‘one-size-fits-all’ proposition.
Foremost among these factors is the depth of the scratch itself. Toothpaste works best on light, superficial clear coat scratches—those tiny imperfections that only affect the very top layer of your car’s paintwork. If you run your fingernail across such a scratch and it doesn’t catch, it’s likely a prime candidate for toothpaste treatment. However, toothpaste is simply not designed for deep scratches that have penetrated the paint layer, exposed the primer, or, worse, revealed the bare metal underneath. For these more severe blemishes, a different approach entirely is required, as toothpaste can only abrade the surface and cannot fill significant gouges.
Your patience and technique are pivotal. Gently rub the toothpaste in small, circular motions for a few minutes, repeating as needed. Don’t rush; applying too much pressure can easily cause further damage like scratches and swirl marks. Over-rubbing can also thin your clear coat, creating a dull spot instead of shine. The goal is mild abrasion, not aggressive scrubbing.
The toothpaste’s grit also matters. More abrasive toothpastes can work, but carry a higher risk if not careful. Stick to mild abrasives like silica or baking soda. Always test on a small, inconspicuous area first for paint reaction, regardless of car color, as results primarily vary based on scratch depth.
10. **Aftercare and Maintenance: Keeping Your Car Scratch-Free Longer**Successfully removing a scratch with toothpaste is a rewarding feat, but the job doesn’t end there. To truly protect your car’s renewed appearance and prevent future blemishes, proper aftercare and consistent maintenance are absolutely essential. Think of it as investing in the long-term health of your vehicle’s paintwork; without these crucial steps, your hard work might only offer a temporary reprieve. A strategic approach to post-repair care can significantly extend the life of your fix and keep your car looking fresh.
One of the most vital components of aftercare is regular car waxing. Waxing provides a protective barrier against environmental elements, significantly reducing the risk of new scratches. After scratch removal, applying wax restores shine and adds a layer of protection. This seals the polished surface, guarding against UV rays and other aggressors, contributing to a longer-lasting, professional-looking finish for your DIY repair.
Prevention is key, and smart parking habits play a significant role. Avoid parking in high-risk areas like tight spaces, near construction zones, or heavily trafficked spots where accidental bumps are more likely. Being mindful of your surroundings before you park can save you future frustration and repair time.
Regularly inspecting your car for new scratches is a simple yet powerful habit. Early detection allows you to address issues promptly, preventing them from becoming more severe or costly. A quick walk-around your vehicle a few times a month helps spot minor imperfections before they worsen. This proactive approach keeps your car’s exterior in top condition.
Finally, acknowledge that toothpaste results can be temporary. Some scratches, even after fading, might reappear days later. While excellent for light scuffs, its effects on deeper clear coat imperfections may not always be permanent. For lasting results on stubborn marks, combine the toothpaste method with regular waxing and proactive maintenance.
11. **Knowing When to Call a Pro: The Limits of Toothpaste**While the toothpaste trick is a fantastic, budget-friendly hack for minor surface imperfections, it’s absolutely crucial to set realistic expectations and understand its inherent limitations. Toothpaste is a targeted solution, and it simply isn’t a miracle fix for all types of damage. It works only on very shallow, clear coat scratches and is definitively not a solution for deep or structural damage. Pushing this method beyond its capabilities can not only be futile but might also lead to further unnecessary effort and potential disappointment.
The moment your scratch goes beyond the clear coat, professional help is necessary. If your scratch exposes primer, bare metal, or shows signs of rusting, professional intervention is the only course of action. These deeper scratches require specialized tools, expert techniques, and paint correction or touch-up kits that toothpaste cannot provide. Attempting toothpaste on such damage will be ineffective and could delay proper repair, risking corrosion.
A fingernail test helps: if your nail catches, it likely extends beyond the clear coat, requiring professional tools and paint correction. If after two or three toothpaste attempts the scratch remains visible, it’s too deep for this DIY solution. Continuing to rub will only thin your clear coat without effectively removing the deeper mark.
Toothpaste cannot remove all kinds of scratches. It only works on superficial, clear coat scratches. It cannot repair deep paint damage, exposed metal, structural cracks, or deep chips in the paint layers. Its function is to gently polish away a minute layer of material, not to fill or rebuild significant damage. Understanding when to seek an auto body specialist is paramount for your car’s long-term appearance and integrity.
12. **Beyond Toothpaste: Alternative DIY Fixes for Car Blemishes**While toothpaste offers a remarkably accessible and effective solution for light clear coat scratches, it’s important to remember that it’s just one tool in the DIY car care arsenal. If toothpaste doesn’t quite do the trick for a particular blemish, or if you’re looking for other methods to tackle various car imperfections, a range of alternative DIY solutions exists to help keep your vehicle looking its best. These options provide different levels of repair for various types of blemishes, extending your capability beyond the scope of a simple toothpaste application.
For minor surface scratches too stubborn for toothpaste, or if you prefer a different approach, other household items can help. A baking soda and water paste, applied gently, acts as a mild abrasive. For scuffs on plastic or painted surfaces, a magic eraser can sometimes smooth imperfections. WD-40 can make some scratches less visible on car surfaces, though its effect is typically cosmetic and temporary.
Stepping up from household items, dedicated DIY products offer more robust solutions. Rubbing compound, with stronger abrasive properties, is more effective for slightly deeper clear coat scratches. Metal polish works great for scratches on stainless steel or chrome parts. These products are widely available and come with clear instructions, allowing you to tackle persistent surface imperfections with greater efficacy.
Integrated scratch removal kits offer comprehensive solutions. The (2pcs) Magic Pen For Car Scratches quickly fixes small scrapes with a waterproof coating. Carfidant Scratch and Swirl Remover buffs light scratches and swirls, restoring shine. For black cars, Black Gold Car Wax repairs small scratches and protects from sun/water. The 2PCS V-Vaxy Car Scratch Repair Wax removes minor scratches and creates a protective layer.
Finally, for efficiency, Meguiar’s Quik Scratch Eraser Kit uses ScratchX, a drill-mounted pad, and a microfiber towel for quicker removal of light blemishes. While toothpaste is accessible and effective for minor scratches, these alternatives offer varying effectiveness for different blemishes. Understanding this empowers you to choose the most appropriate fix, ensuring your car looks its best and saving time and money.
This comprehensive guide has equipped you with the knowledge to tackle those frustrating car scratches head-on, leveraging both the surprising power of household toothpaste and a range of other effective DIY solutions. We’ve demystified the science, walked through the practical steps, and highlighted crucial tips to ensure you achieve the best possible results. Remember, while toothpaste is a fantastic first line of defense for light clear coat imperfections, understanding its limits and recognizing when to turn to professional help or more robust alternatives is key to maintaining your vehicle’s pristine appearance. With a bit of patience, the right materials, and these actionable insights, you’re now empowered to keep your ride looking sharp, saving both time and money along the way. Your car — and your wallet — will thank you!


