

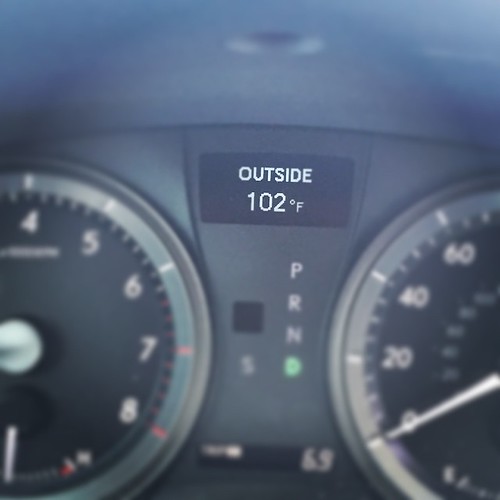
The summer heat can be absolutely relentless, turning your car’s interior into an oven the moment you step inside. There’s nothing quite like that wave of warmth hitting you, making a malfunctioning air conditioner feel less like a minor inconvenience and more like a full-blown crisis. But before you resign yourself to sweating through every drive or rushing off to the nearest mechanic, let me tell you a secret: many car AC problems have simple, do-it-yourself solutions. You absolutely can fix these issues yourself, keeping both your cool and your cash in your wallet.
Taking charge of your car’s AC repair isn’t just about saving money; it’s about empowering yourself with knowledge and practical skills. Imagine the satisfaction of diagnosing a problem, grabbing your tools, and getting that refreshing blast of cold air flowing again, all thanks to your own efforts. This isn’t rocket science, and with the right guidance, you’ll find that understanding your car’s AC system and performing basic fixes is entirely within your grasp. It’s a journey into self-sufficiency that will serve you well for years to come.
In this comprehensive guide, we’re going to break down the most common causes of car AC failures and walk you through actionable, step-by-step solutions that don’t require professional intervention. We’ll start by understanding the crucial components, move on to essential tools you’ll need, and then dive into the initial diagnostic steps that will set you on the path to a perfectly functioning AC. Get ready to transform your understanding of your car’s cooling system and enjoy a comfortable, chilled ride, even on the hottest days.

1. **Understanding Refrigerant Levels: The Core of Your AC**
The refrigerant is truly the lifeblood of your car’s air conditioning system, a critical component that facilitates the cooling process. If these levels are off, your entire system can struggle to perform its primary function: cooling the air before it enters your car’s cabin. This is why addressing refrigerant levels is often the first step in troubleshooting any AC issue.
One of the most frequent culprits behind a warm AC is simply low refrigerant levels, often due to a leak somewhere in the system. Conversely, an overcharged system can also drastically reduce cooling efficiency, which might come as a surprise to many. In fact, overcharging with refrigerant is cited as “the single most common DIY mistake,” because there’s only a “2-oz. window between the correct charge and overcharged,” and more is definitely not better.
To begin your diagnosis, turn on your AC to the highest setting and feel the air coming from the vents; if it’s warm, low refrigerant might be the cause. You’ll need a refrigerant gauge to check the pressure levels accurately. If they fall below the recommended range for your vehicle, a recharge may be in order to restore proper function.
To refill, use an AC recharge kit for your vehicle, connecting it to the low-pressure service port. Slowly add refrigerant while monitoring the gauge, avoiding overfilling which can damage the system. Persistent leaks mean professional repair is best.

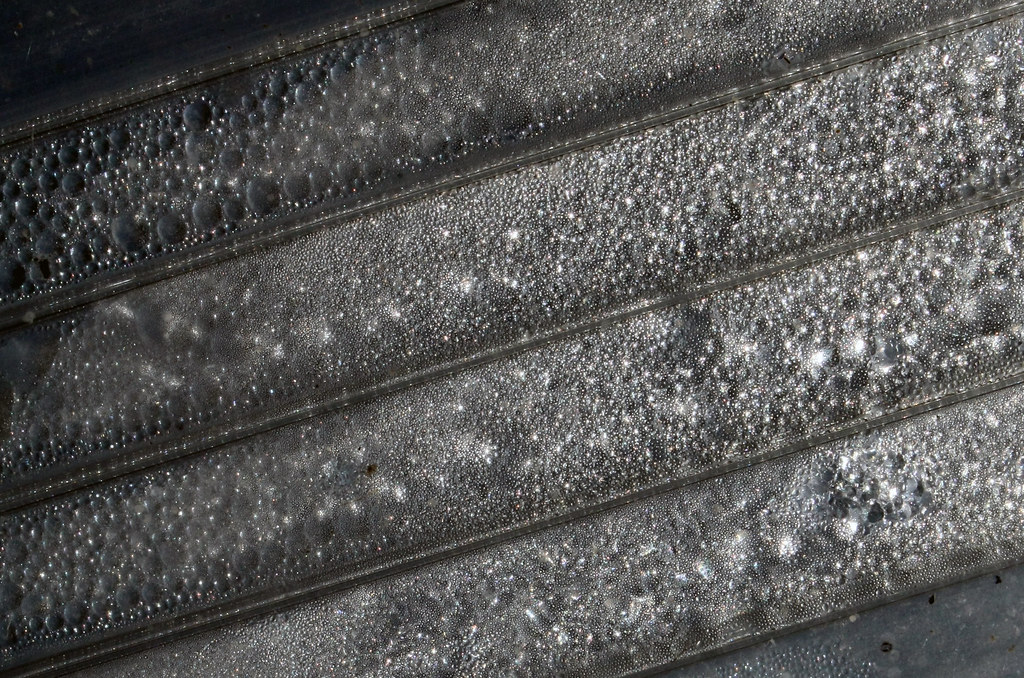
2. **Identifying Air and Moisture in the System: The Silent Destroyers**
Beyond just the level of refrigerant, the purity of what’s circulating in your AC system is equally vital. The presence of air or moisture within the sealed system can severely compromise its ability to cool effectively and, in the long term, lead to significant damage. These contaminants are often tell-tale signs of a leak that needs your immediate attention.
When air finds its way into the AC system, you’ll notice a distinct symptom: the air coming out of your vents is “never very cold, even though gauges show pressures in the acceptable range.” This indicates that despite what your pressure readings might suggest, the system isn’t functioning optimally because the air prevents efficient heat exchange. Once air is introduced, the system requires a full evacuation, the leak must be repaired, and then it needs to be thoroughly dried and recharged.
Moisture, often entering through a leak, poses an even more insidious threat. Its presence can lead to “icing at the orifice tube or expansion valve,” causing your AC to cool air intermittently. The system will cool for a while, stop cooling, and then, after some time, start cooling again, a cycle that’s both frustrating and damaging. This cycle of cooling and stopping is a critical symptom to watch out for.
Most critically, moisture reacts with refrigerant oil, forming corrosive “sludge and acids” that attack metal components. This can ultimately destroy your compressor due to a lack of lubrication. Promptly addressing leaks and maintaining a dry, pure system is paramount for AC longevity and avoiding costly repairs.

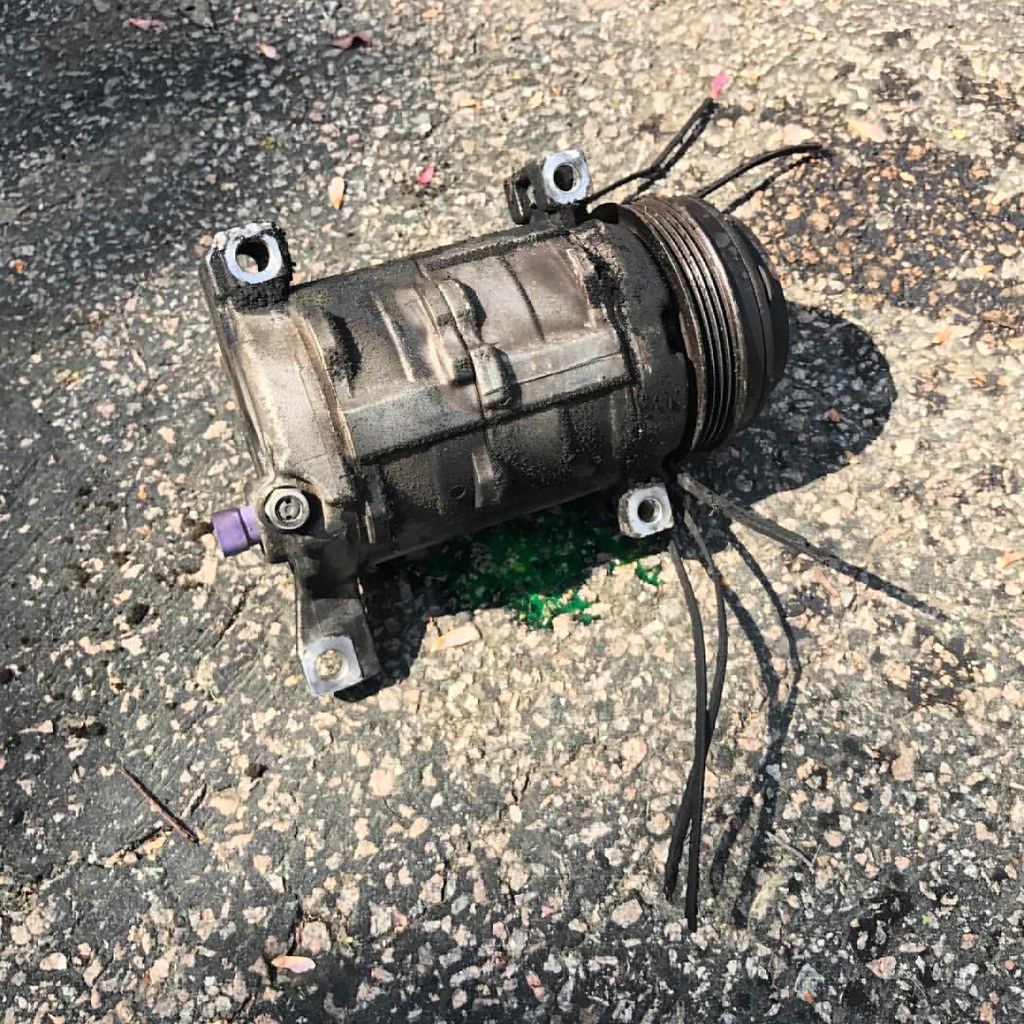
3. **Diagnosing Compressor Clutch Problems: The AC’s Heartbeat**
The compressor is the heart of your car’s AC, pumping refrigerant through the system. Its clutch engages and disengages the compressor, initiating refrigerant compression. A malfunctioning clutch stops the entire cooling process, leaving you with warm air.
There are a couple of common scenarios for a faulty compressor clutch. One is a clutch that simply “prevents the compressor from turning,” meaning no refrigerant compression occurs. Another scenario involves a compressor that does turn but “isn’t actually compressing the refrigerant,” which also results in a lack of cold air.
Diagnosing a faulty clutch involves observing specific symptoms. An “AC compressor clutch fuse blows instantly” might signal a short in the coil windings. If the “clutch receives power and ground but won’t engage,” it could be an open coil winding or air gap issue, preventing mechanical engagement.
Over time, wear can enlarge the air gap between the compressor pulley and clutch plate. This causes the “clutch won’t engage or makes a screeching noise.” The recommended fix is to “replace the entire clutch assembly” to restore proper, quiet operation and efficient cooling.
4. **Addressing Clogged Orifice Tubes or Faulty Expansion Valves**
The orifice tube and expansion valve precisely regulate refrigerant flow into the evaporator. They are crucial gatekeepers controlling how much liquid refrigerant enters. When clogged or faulty, these components disrupt the refrigerant cycle, significantly impairing your AC’s cooling capability.
Symptoms of a clogged orifice tube or an inoperative expansion valve are quite distinct and can be identified with the right diagnostic tools. You might notice that “the refrigerant charge is correct and the compressor engages but produces a very high high-side pressure.” Simultaneously, the “low side pressure is low,” creating a significant pressure imbalance within the system.
These components are designed to create a pressure drop, allowing the refrigerant to expand and cool as it enters the evaporator coil. If this process is hindered by a blockage in the orifice tube or a malfunctioning expansion valve, the heat transfer won’t occur efficiently, leading to warm air from your vents despite other components seemingly working.
Later, the evaporator superheat test helps pinpoint these issues. For now, recognizing the symptoms of an orifice tube or expansion valve problem is a critical initial step in diagnosing AC cooling woes, helping you avoid unnecessary repairs.

5. **Troubleshooting Faulty Pressure Switches: Electrical Gatekeepers**
Your car’s AC relies on electrical signals and sensors for safe, efficient operation. Pressure switches are vital safety mechanisms, monitoring high and low pressures to prevent system damage. They are crucial electrical components.
These pressure switches protect your compressor from operating under harmful conditions, such as extremely low or excessively high refrigerant pressures. For instance, a low-pressure switch prevents clutch engagement if the refrigerant charge is too low, safeguarding the compressor from running dry and seizing. Their role is to ensure the system operates within safe parameters.
Symptoms of faulty pressure switches often present as an AC system that simply won’t turn on or engage. You might observe that the “static pressure is within limits but no power flows to the clutch relay.” This indicates that an electrical signal isn’t reaching the compressor to initiate its operation, pointing to a switch malfunction.
Crucially, never attempt to bypass or “jumpering across the low-pressure switch to activate the compressor.” This “can destroy your car’s compressor,” a risk not worth taking. Always diagnose and replace a faulty switch, rather than bypassing its vital safety function.

6. **Essential Tools for Your DIY AC Toolkit**
Successful DIY car AC repair demands the right tools. Investing in specialized equipment will ultimately put you “ahead over paying a shop.” Having correct tools isn’t just convenient; it’s essential for accurate diagnosis and successful, safe repair.
First on your list should be a reliable “duct thermometer.” You can even start with a digital kitchen thermometer, provided it can measure temperatures down to “30°F.” This simple tool is indispensable for measuring the temperature of the air coming out of your vents and various points in the AC system.
Next, a “digital meter and thermocouple” is highly recommended. If you already own a meter that accepts a “K” style probe, you’ll only need the probe add-on. This combination allows for precise temperature readings at different points across the condenser and evaporator, which is essential for conducting accurate diagnostic tests.
Most crucially, you’ll need a “manifold gauge set with hoses and quick-connect adapters.” “Reading system pressure is mandatory to diagnosing your car’s AC system.” These gauges provide vital high and low-side pressure readings, essential for understanding refrigerant charge and flow. Inexpensive sets are widely available.
Read more about: Emergency Ready: Your Step-by-Step Guide to Safely Changing a Tire on a Busy Highway

7. **Step 1: Checking Static Pressure – Your First Diagnostic Move**
With your tools ready, checking your AC system’s static pressure is the very first diagnostic move. This initial check is fundamental because “the first thing you want to know is whether there is any refrigerant in the system” at all. Without refrigerant, there’s no cooling, making further troubleshooting pointless.
The procedure for checking static pressure is straightforward and must be performed correctly for accurate readings. You need to “attach your manifold gauge set to the high and low-pressure ports.” Crucially, these readings should be taken “with the engine OFF and AC not running for at least 15-mins” to allow pressures to equalize and provide a true static reading.
Additionally, it’s wise to “use the thermometer to check outside temperature right in front of the vehicle” at this stage. Ambient temperature significantly influences static pressure readings, so knowing this variable provides important context for interpreting your gauge results. This holistic approach ensures you have all the necessary information for an informed diagnosis.
Understanding the low-pressure switch is vital. The “low side pressure must be above the threshold” for the compressor clutch to engage. If pressure is too low, add just enough refrigerant to activate the switch. Remember: “never try jumpering across the low-pressure switch to activate the compressor,” as this can severely damage your car’s AC system.
Now that you’ve got your essential tools and have performed the initial static pressure check, it’s time to dive deeper into diagnosing and resolving more intricate car AC problems. This next phase will empower you with advanced diagnostic techniques, crucial maintenance routines, and actionable advice to not only fix your AC but also optimize its performance for lasting comfort. We’ll move methodically through detailed tests and practical fixes, guiding you through each step with the precision and clarity you need.
8. **Step 2: Checking Compressor Clutch Operation**
After confirming static pressure, your next crucial step is to observe your compressor clutch in action. This component is the heart of your AC system, responsible for engaging the compressor to circulate refrigerant. If it’s not engaging, your system simply won’t be able to cool, regardless of refrigerant levels.
To conduct this check, start your engine and set your AC system to its MAX position. Then, pop the hood of your car and visually inspect the compressor clutch. You’re looking to see if the clutch disc is spinning. Its rotation indicates that the compressor is receiving power and attempting to engage.
If you confirm the clutch disc is spinning, you’re good to proceed with further tests. However, if it isn’t, you’ll need to troubleshoot why. This could involve revisiting issues like a blown fuse, an open in the clutch coil windings, or an excessive air gap, as discussed in the earlier section on compressor clutch problems. Addressing this directly is vital before moving forward.
9. **Step 3: Performing a Condenser Subcooling Test – Pinpointing Cooling Issues**
If your compressor clutch is engaging but the AC still isn’t delivering adequate cold air, the condenser might be the culprit. This component, usually located at the front of your vehicle, is responsible for dissipating heat from the refrigerant. A condenser subcooling temperature drop test specifically diagnoses its performance.
Begin by starting your engine and letting it run at a steady 1,500 – 1,700 rpm. Turn your AC to MAX and set the blower speed to its highest setting. To allow the system to stabilize, open all doors and let it run for approximately 5 minutes before taking any readings. This ensures the system is operating under consistent conditions.
Once stabilized, close all doors and windows, and set the blower to a low speed. Using your temperature probe, measure the LINE-IN temperature as close to the condenser as possible. Immediately after, measure the LINE-OUT temperature, also as close to the condenser as possible, and record both findings.
A healthy condenser should reduce the refrigerant temperature by at least 20°F but no more than 50°F between its inlet and outlet. If your readings fall outside this range, it indicates a problem with the condenser’s efficiency. Abnormal temperature drops (either too small or too large) will guide your next troubleshooting steps.

10. **Cleaning and Maintaining Your Condenser for Optimal Performance**
If your condenser subcooling test revealed a drop of less than 20°F, or if you simply want to maintain optimal AC function, addressing the condenser’s physical condition is crucial. A dirty or obstructed condenser cannot effectively shed heat, leading directly to reduced cooling performance.
Start by inspecting the condenser for bent fins or any accumulation of debris. These physical obstructions prevent proper airflow across the condenser, hindering its ability to cool the refrigerant. If you find bent fins or debris, carefully clean or repair them, then retest the system to see if performance improves.
Equally important is verifying the operation of your electric radiator fans. In a two-fan system, both should be running at high speed when the AC is on. Many vehicles utilize multiple-speed fans, so confirm they are indeed engaging at their highest setting to ensure maximum airflow through the condenser and radiator.
Additionally, don’t overlook the condition of the radiator fan shrouds and seals. These seemingly minor components play a significant role in directing airflow, ensuring it passes efficiently through the condenser and radiator rather than bypassing them. A missing or damaged seal can drastically compromise your AC’s cooling capability, making their inspection and repair paramount for restoring efficiency. Beyond diagnostic scenarios, regular cleaning with a hose or compressed air, perhaps with a soft brush and mild solution for stubborn grime, can prevent blockages before they start.
Read more about: Unexpected Appliance Disasters: 10 Common Breakdowns That Cause Genuine Homeowner Panic – And How to Tackle Them Confidently

11. **Step 4: Conducting a System Performance Test – A Comprehensive Check**
With the condenser’s health assessed, the next diagnostic step is a comprehensive system performance test. This procedure is designed to evaluate the combined efficiency of your compressor, evaporator, and the orifice tube or expansion valve, giving you a holistic view of the AC system’s cooling output.
To begin, accurately measure the ambient air temperature one foot in front of your car’s front grille and record it. This baseline temperature is crucial for interpreting your results. Next, start the engine and maintain a consistent speed of 1,500 – 1,700 rpm.
Set your AC to MAX and the blower speed to its highest setting, ensuring the system is set to recirculate air within the cabin. Open all doors and allow the system to run for about 5 minutes to fully stabilize before proceeding. This stabilization period is vital for accurate readings, letting all components reach their normal operating temperatures.
After stabilization, close all doors and windows. Keep the engine running with the AC on MAX and the blower motor on high speed. Insert your AC thermometer into the center duct of your vehicle’s interior and wait until the dial displays the lowest possible temperature. Record this reading, as it will tell you the actual cooling performance.
For a properly functioning AC system, the temperature from your center duct should drop by at least 30°F from the ambient temperature you measured at the front grille. If your system is cooling by less than 30°F, it indicates an issue. This could stem from problems like a blend door not fully closing, a heater valve circulating hot coolant, a recirculation door pulling in outside air, debris blocking the evaporator, or even scale or bacterial buildup on the evaporator fins. Rechecking the refrigerant charge is also a wise step at this point, before moving on to an evaporator superheat test.
Read more about: Unlock Your Potential: A CNET Guide to Mastering S.M.A.R.T. Goals for Everyday Success
12. **Step 5: The Evaporator Superheat Test (For Orifice Tube Systems)**
For vehicles equipped with an orifice tube system, the evaporator superheat test provides a critical insight into how efficiently your evaporator is absorbing heat. This test helps you determine if the refrigerant is expanding and cooling effectively as it should.
Initiate the test by starting your engine and maintaining a speed of 1,500 – 1,700 rpm. Set your AC to MAX, the blower speed to its highest setting, and ensure the system is on recirculate mode. Just as with previous tests, open all doors and let the system stabilize for about 5 minutes to ensure accurate readings.
Once the system is stable, close the doors and windows, keeping the engine running with the AC on MAX and the blower motor on high speed. Now, carefully measure the temperature at the evaporator inlet, getting as close as possible to the evaporator itself. Immediately follow this by measuring the temperature at the evaporator outlet, also as close as possible, and record both readings.
For orifice tube systems, the ideal scenario is to have virtually no difference in temperature between the evaporator inlet and outlet, with a maximum acceptable variation of +5°F to -5°F. If your evaporator outlet tube temperature is more than 5° colder than the inlet, it could signify an overcharged system, leaking O-rings on the orifice tube, or even an incorrect orifice tube size. Conversely, an outlet temperature more than 5° warmer suggests superheat, possibly due to a low refrigerant charge, restrictions in the orifice tube, or excessive oil in the system. It’s important to note that for thermostatic expansion valve (TXV) systems, this superheat test is not a reliable method for confirming refrigerant charge levels.

13. **Replacing Your Cabin Air Filter: A Simple Efficiency Boost**
Beyond the complex diagnostics, one of the simplest yet most effective ways to improve your AC’s cooling efficiency is to address your cabin air filter. This often-overlooked component plays a vital role in the air quality and airflow within your car’s interior. A dirty or clogged filter can severely restrict the air movement, making your AC feel significantly less effective.
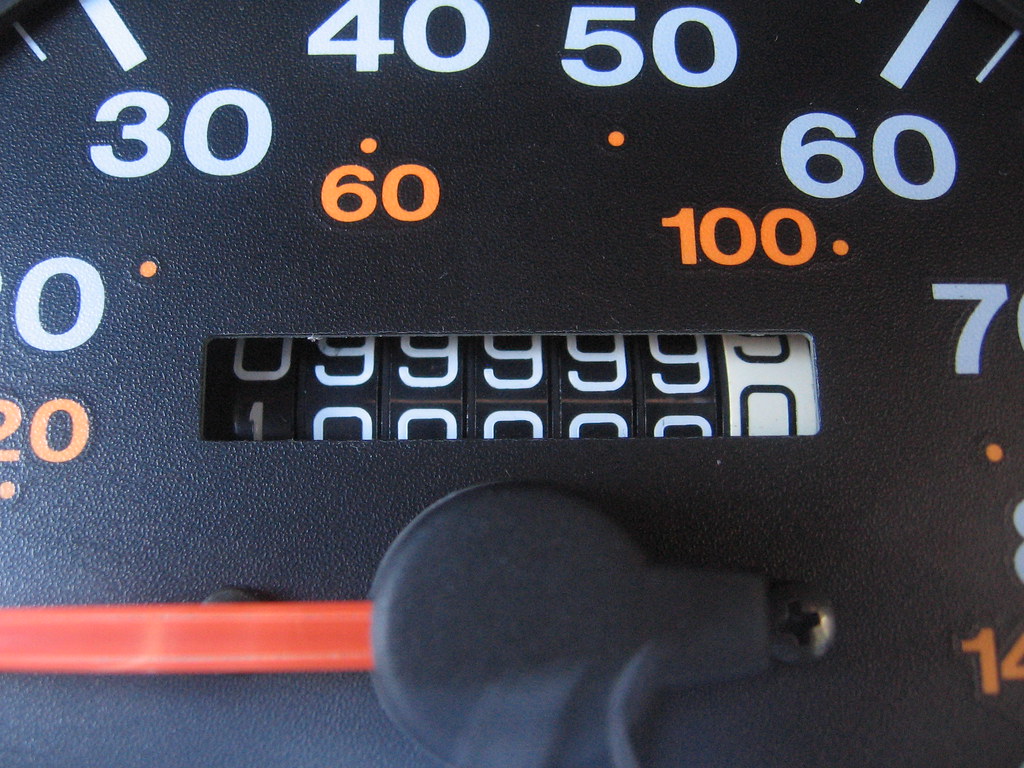
Many car manufacturers recommend replacing this filter every 12,000 to 15,000 miles, but this interval can vary based on driving conditions. If you frequently drive in dusty environments or notice a decrease in airflow from your vents, it’s probably time for a check-up, regardless of the mileage. A visual inspection often reveals a filter laden with leaves, dirt, and other debris.
The process of replacing a cabin air filter is typically straightforward and requires minimal tools. You’ll usually find the filter located either behind the glove box or underneath the dashboard. Once you’ve located it, carefully remove the cover and slide out the old, dirty filter. Pay attention to its orientation.
Insert the new filter, ensuring it’s properly aligned and facing the correct direction, often indicated by an airflow arrow. Secure the cover back in place and then test your AC. This simple, inexpensive replacement can lead to a drastic improvement in both airflow and the overall cooling performance of your system, enhancing your driving comfort almost instantly.
14. **Optimizing AC Settings and Airflow for Peak Comfort**
Sometimes, the solution to feeling cooler isn’t a repair but a smarter approach to how you use your AC. Improper AC usage can surprisingly reduce its cooling efficiency, leaving you feeling less refreshed than you should be. A few simple adjustments can significantly maximize your system’s performance.
One of the most effective strategies is to utilize your recirculation mode. This setting prevents hot outside air from continuously entering the cabin, allowing the AC system to cool the existing, already-cooled air more efficiently. This helps your car reach a comfortable temperature faster and maintains it with less effort from the compressor.
Additionally, when first getting into a car that’s been baking in the sun, always start by opening your windows for a short period. This allows the superheated air trapped inside to escape before you turn on the AC. Trying to cool a cabin full of scorching hot air places an enormous, unnecessary strain on your AC system, making it work much harder and less effectively.
For initial cooling, set your fan speed to high. Once the cabin temperature has dropped to a comfortable level, you can then lower the fan speed for more consistent and quieter cooling. It’s a simple two-step process that optimizes the initial cooling blast and then maintains efficiency. Furthermore, consider your car’s interior layout; bulky car seat covers or tightly pulled seat straps can inadvertently block vents, restricting vital airflow. Ensuring proper, unobstructed airflow is crucial for your AC to distribute cool air effectively throughout the cabin.
Read more about: The 2025 Toyota Wish Redesign: The Ultimate MPV Reimagined, and Your Guide to Finding Your Automotive Wish List Gem

15. **Understanding When to Replace Major AC Components and Seek Professional Help**
While many AC issues are fixable at home, some problems point towards deeper, more complex component failures that often require professional intervention. Knowing when to make a repair yourself and when to call in the experts is a vital part of responsible car maintenance. Components like the condenser, orifice tube, or expansion valve sometimes reach a point where replacement is the only viable solution.
For instance, if your AC condenser is found to be leaking or internally clogged, it almost certainly needs to be replaced. Crucially, “the condensers on most late model cars and trucks cannot be flushed!” The internal passages are too small, and once debris is caught, it remains trapped, necessitating replacement. When replacing such major components, it’s always recommended to pay a shop to evacuate and recycle the old refrigerant first, and to measure how much AC oil comes out. This ensures environmentally responsible disposal and proper replenishment.
Similarly, if diagnostic tests consistently point to a faulty orifice tube or expansion valve, replacement is often the next step. These components, while small, are critical for regulating refrigerant flow. Like condenser replacement, addressing these requires professional evacuation and recycling of refrigerant. Once the new part is installed, ensuring proper lubrication of O-rings with refrigerant oil and having a shop evacuate and refill the system with the correct amount of refrigerant and oil is paramount. Never attempt to bypass safety components like the low-pressure switch, as this “can destroy your car’s compressor.”
Ultimately, if you’ve meticulously followed these troubleshooting steps and your AC system still isn’t cooling effectively, or if you encounter persistent refrigerant leaks, hear loud noises from your compressor, or simply feel uncomfortable tackling a more involved repair, it’s a clear signal to consult a certified mechanic. They have specialized tools and expertise to diagnose complex electrical issues or internal compressor failures that are beyond the scope of most DIY enthusiasts. Empowering yourself with knowledge is great, but knowing your limits ensures your car receives the care it needs.
Read more about: Navigating the Tire Market: 15 Essential Tips to Secure the Best Price and Maximize Value for Your Next Set of Tires
Embracing the world of DIY car AC repair is a genuinely empowering journey, equipping you with the knowledge and skills to tackle common automotive challenges head-on. From understanding the intricate dance of refrigerant and pressure to mastering diagnostic tests and performing crucial maintenance, you’ve gained a deeper appreciation for your vehicle’s cooling system. The satisfaction of a self-diagnosed and fixed AC, blowing crisp, cold air on a sweltering day, is a reward in itself. So, arm yourself with your tools, trust your newfound expertise, and enjoy the cool, comfortable rides that your own hands have made possible. Keep exploring, keep learning, and keep that cool air flowing, mile after mile.


