

Imagine your beloved classic car, the one that turns heads wherever it goes, purring like a kitten and running smoother and more efficiently than ever before. For many vintage vehicle enthusiasts, the thought of upgrading to Electronic Fuel Injection (EFI) from a traditional carburetor might feel like venturing into uncharted territory, a task fraught with technical jargon and a dizzying array of kit options. Yet, the allure of better fuel economy, easier starting, and consistently peak engine performance is a powerful motivator. This comprehensive guide aims to demystify the process and empower you to confidently embark on this transformative journey.
Traditional carbureted engines, while possessing a nostalgic charm, often contend with issues like inconsistent fuel delivery, less-than-optimal fuel economy, and higher emissions. The beauty of an EFI conversion lies in its ability to bring modern precision and reliability to your classic ride, allowing you to enjoy smoother acceleration, sharper throttle response, and significantly optimized fuel efficiency. It’s an upgrade that enhances both the driving experience and the longevity of your cherished vehicle, truly breathing new life into its mechanical heart.
This article is designed to cut through the confusion and provide a clear, step-by-step roadmap for choosing and installing the perfect EFI conversion kit for your classic. We’ll break down what you genuinely need to know, highlight key features to look for, and help you sidestep common pitfalls that can derail a project. By following our methodical approach, whether you’re a seasoned mechanic or a dedicated DIY enthusiast, you’ll gain the confidence to upgrade your fuel system, allowing you to spend less time troubleshooting and more time savoring the open road.
1. **Gather Necessary Tools and Components**Before you even think about turning a wrench, the foundational step for any successful EFI conversion is to meticulously assemble all the required tools and components. This isn’t just about having the right kit; it’s about ensuring you have everything you need to execute each stage of the installation efficiently and safely. A well-prepared workspace and a complete arsenal of parts will dramatically reduce frustration and unexpected delays down the line.
Your essential toolkit should extend beyond basic hand tools like sockets, pliers, and wrenches. You’ll definitely need a reliable multimeter for electrical checks, various hose clamps, and a quality fuel pressure gauge to verify system performance. Safety equipment, including gloves and eye protection, is non-negotiable when working with fuel and electrical systems. Having everything organized and within reach before you begin is a hallmark of a professional-grade installation, even if you’re tackling it in your home garage.
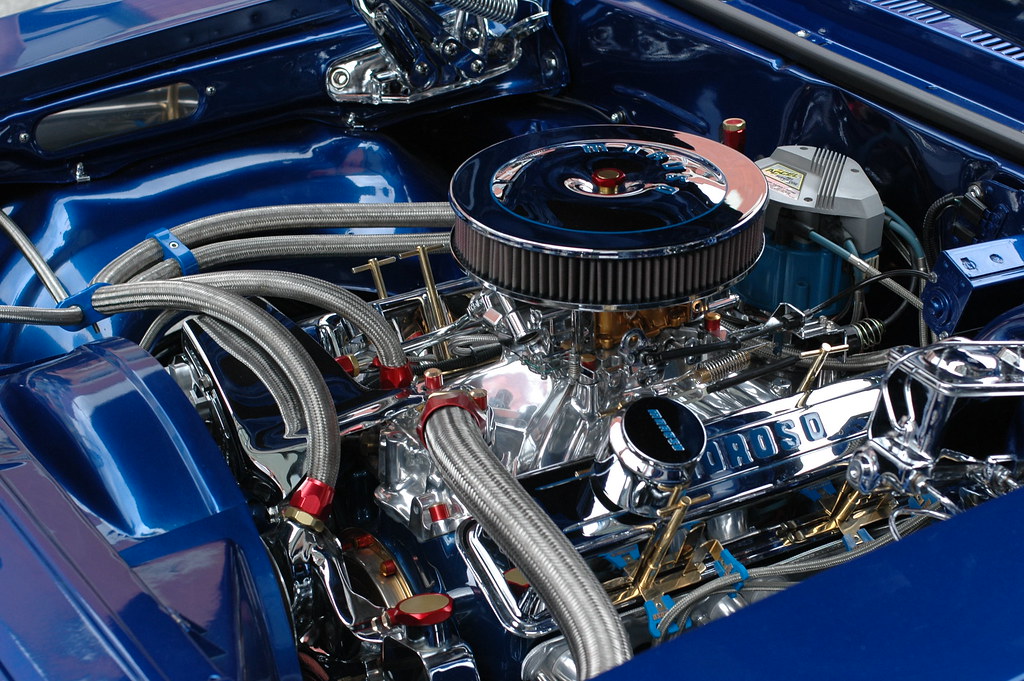
The core of your conversion lies in the EFI system kit itself, which typically includes the throttle body or intake manifold with injectors, a wiring harness, and a fuel pump. However, remember that some kits may be less inclusive, requiring you to source additional vital components separately. Pay close attention to the kit’s contents; a complete kit that includes all necessary parts, even the small but crucial pieces, can save you significant time and hassle.
When evaluating components, consider the specifics. For injectors, look for durable plastic and metal construction from reputable manufacturers. Fuel rails are often aluminum, offering lightweight and corrosion-resistant properties. The wiring harness must be high-quality with proper insulation to prevent electrical issues. And a robust fuel pump, often made of metal or strong plastic, ideally stainless steel for longevity, is absolutely critical. A quality fuel pump is paramount, as it needs to provide consistent, higher pressure to the injectors than a carbureted system.
Read more about: Your Ultimate Guide to Savvy Negotiations: Simple Strategies for Securing the Best Price on a Rare Classic Car
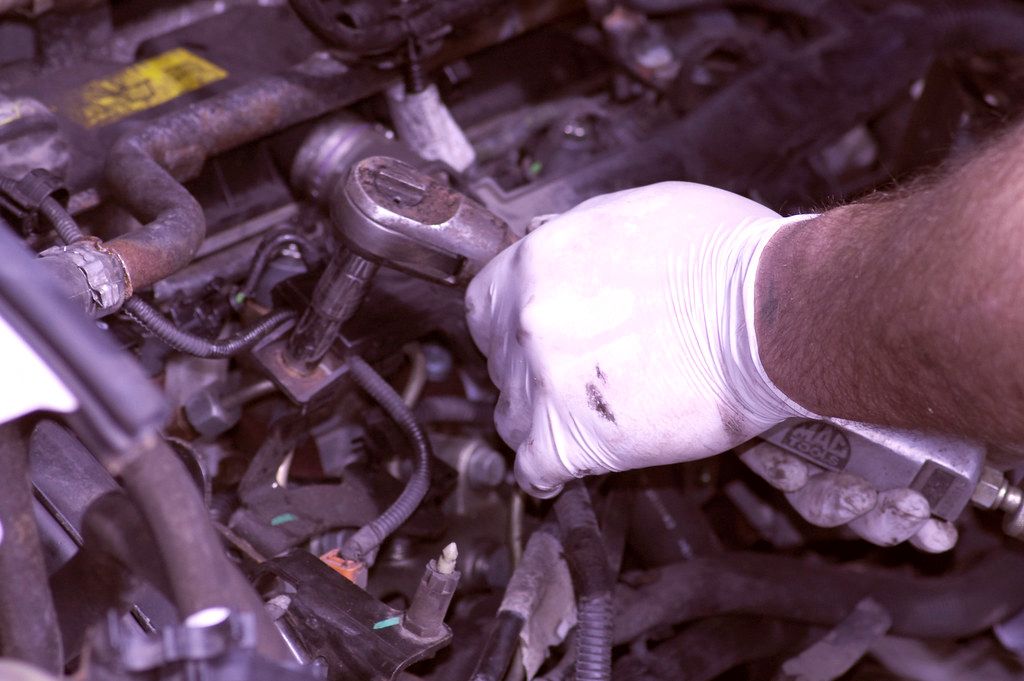
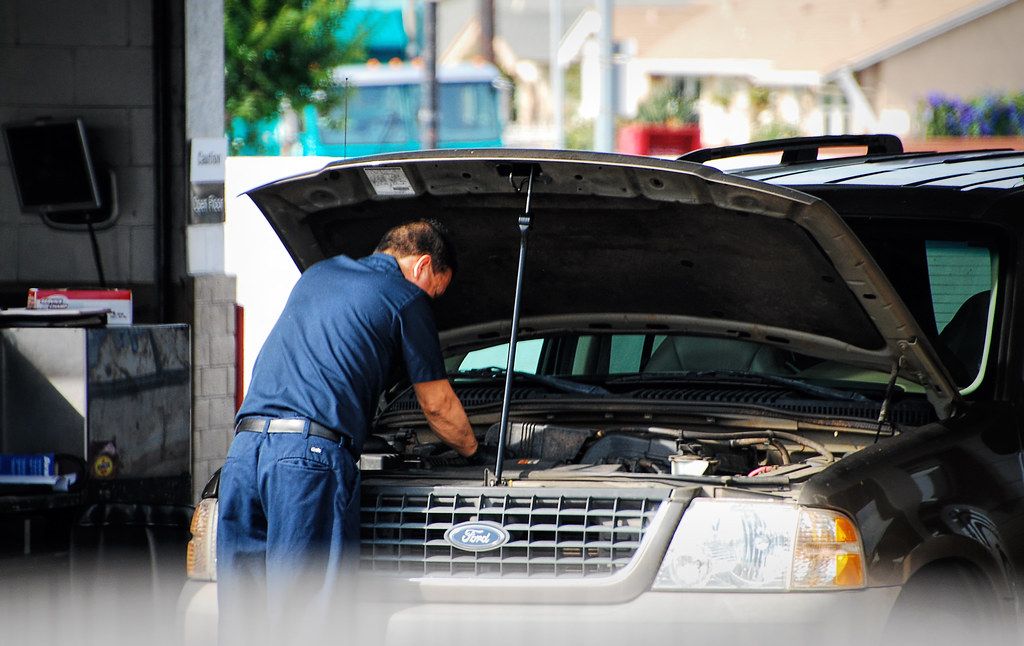
2. **Prepare the Engine Compartment**With your tools and components ready, the next crucial step involves preparing the engine compartment for the arrival of its new fuel injection system. This phase is about removing the old and making way for the new, ensuring a clean, compatible, and efficient environment for the EFI to function optimally. A thorough preparation here will prevent issues and simplify subsequent installation steps.
Begin by carefully removing any existing carburetors and all their associated components, including fuel lines, air cleaner assemblies, and any vacuum lines specific to the carburetor setup. It’s a good practice to photograph the original setup before disassembly; this can serve as a useful reference if you encounter any unexpected complexities. As you remove parts, keep them organized and consider labeling them, especially if you plan to retain them or if the conversion is reversible.
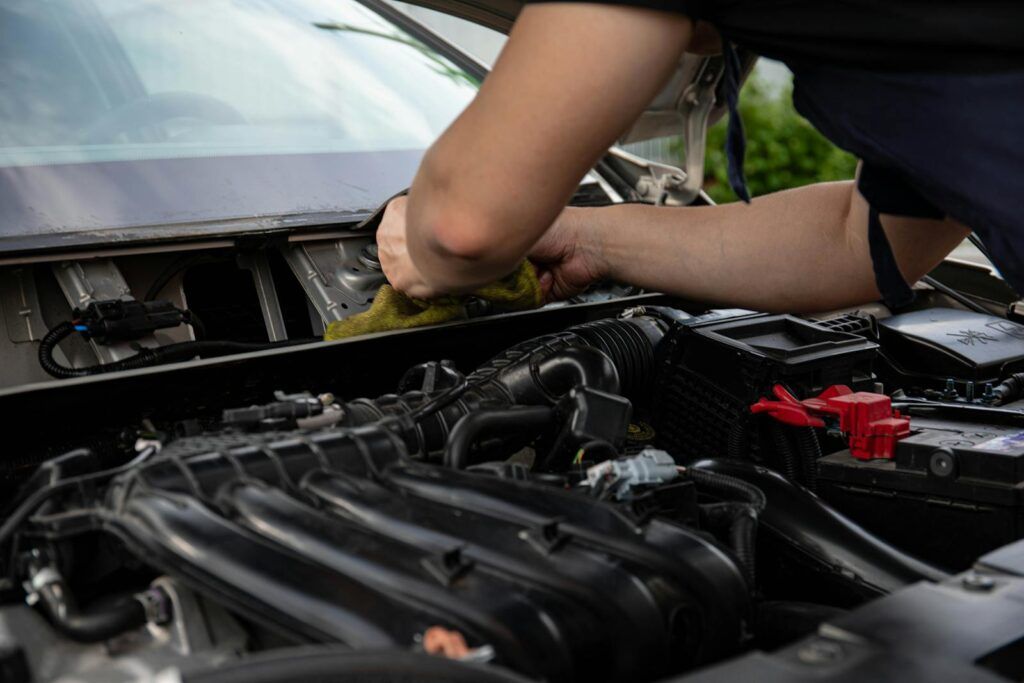
Once the old components are clear, dedicate time to thoroughly clean the engine compartment, particularly the area around the intake manifold. A tidy workspace is not only more pleasant to work in but also helps you spot potential issues, ensure proper sealing of new components, and prevent debris from entering critical engine parts. Cleaning solvents and brushes can help remove years of grime, oil, and fuel residue, providing a fresh canvas for your upgrade.
Finally, inspect the condition of your existing intake manifold. This is a critical point, as its compatibility with your chosen EFI system is paramount. While many throttle body injection (TBI) systems are designed to bolt onto existing intake manifolds, some multiport injection (MPFI) systems may come with a replacement manifold or require modifications to yours. Ensure the mounting type of your EFI system matches your manifold – whether it’s a single, two, or four-barrel setup, and specifically for four-barrels, if it works with 4150 or spread-bore applications. If a match isn’t possible, you might need to acquire a new or adapted manifold to ensure a proper fit and optimal performance.
Read more about: Beyond the Plate: 7 Genius Ways Celebrity Chefs Keep Their Secret Recipes Under Wraps

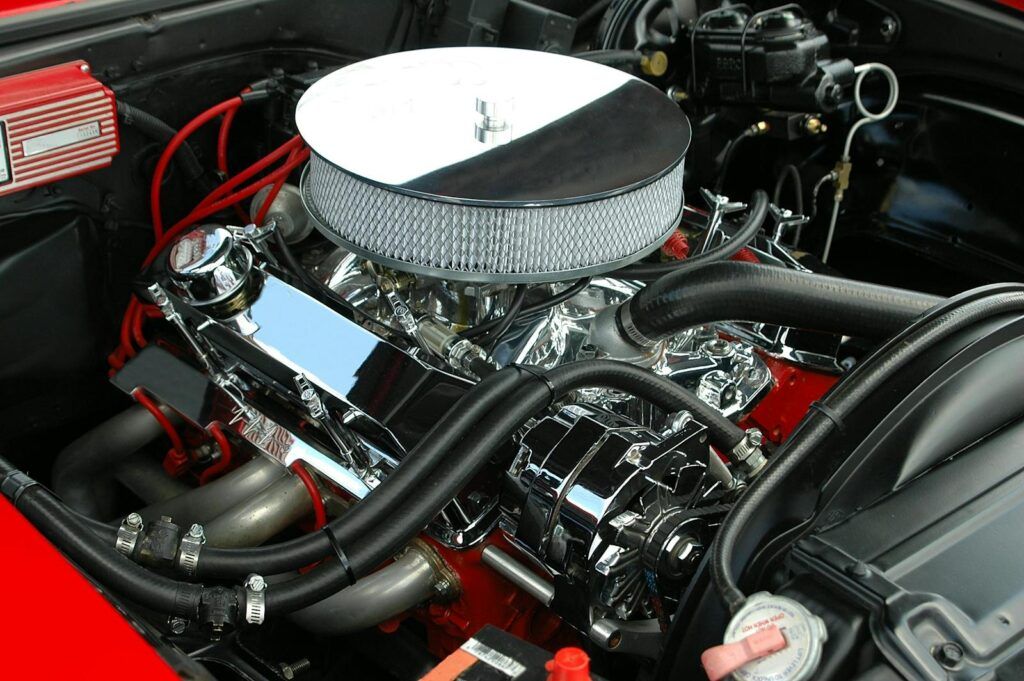
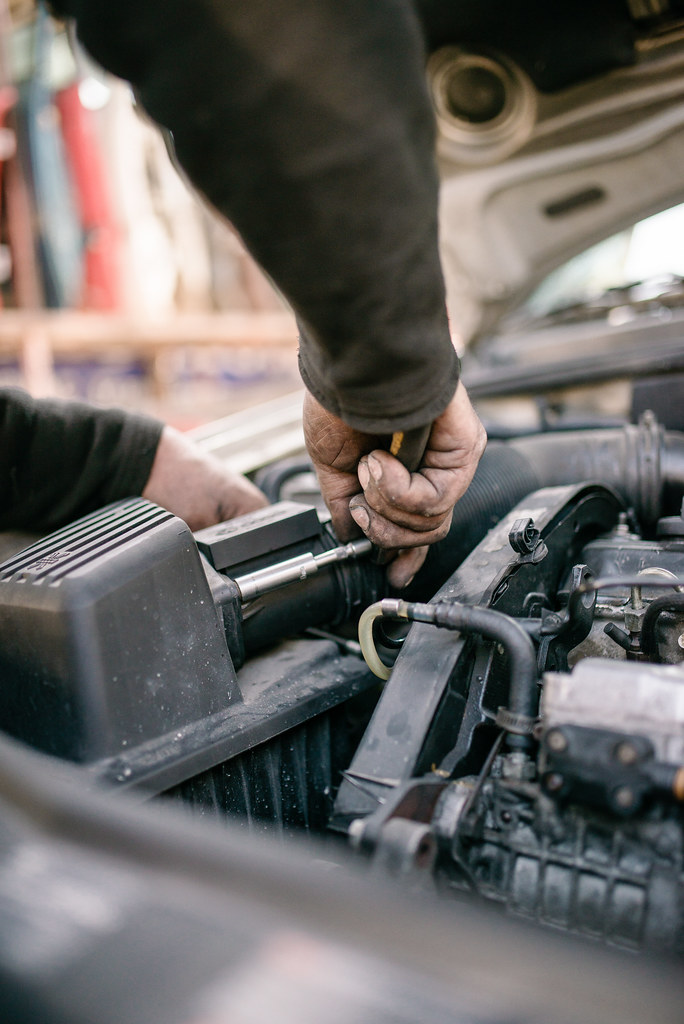
3. **Install the Fuel Injection System**With the engine compartment meticulously prepared, it’s time for the exciting part: installing the core components of your new electronic fuel injection system. This step involves carefully mounting the throttle body or the new intake manifold equipped with injectors onto your engine, marking a significant transition from the old carbureted setup to modern fuel management.
Depending on your chosen system type, you will either be mounting a new throttle body – which often closely resembles a carburetor in its physical footprint – or an entirely new intake manifold that integrates the fuel injectors directly. If your kit uses a throttle body injection (TBI) system, it will typically bolt directly onto your existing intake manifold, simplifying the mechanical installation. For port fuel injection (PFI) or multi-port fuel injection (MPFI) systems, you’ll be installing a manifold that delivers fuel to each cylinder individually, promising more precise control and enhanced performance.
Crucially, always follow the manufacturer’s specific guidelines for securing these components. Every kit will have unique instructions regarding torque specifications for bolts, gasket installation, and any specific sealing compounds required. Adhering to these guidelines is not merely a recommendation; it’s essential for ensuring a leak-free system, preventing vacuum leaks that can severely impact performance, and guaranteeing the long-term reliability of your EFI setup. Incorrect installation here can lead to air leaks, which can throw off your air-fuel mixture and create significant tuning challenges.
Double-check that the alignment of the throttle body or intake manifold is absolutely correct before tightening everything down. Proper alignment ensures that air flows smoothly into the engine and that all components mate perfectly. Any misalignment can lead to binding, leaks, or even damage to the new parts. Take your time during this step; precision now will save you from frustrating troubleshooting later, laying a solid foundation for the rest of your EFI conversion project.
Read more about: Drive Safer and Smarter: The 12 Essential Car Software Updates for Enhanced Security and Performance
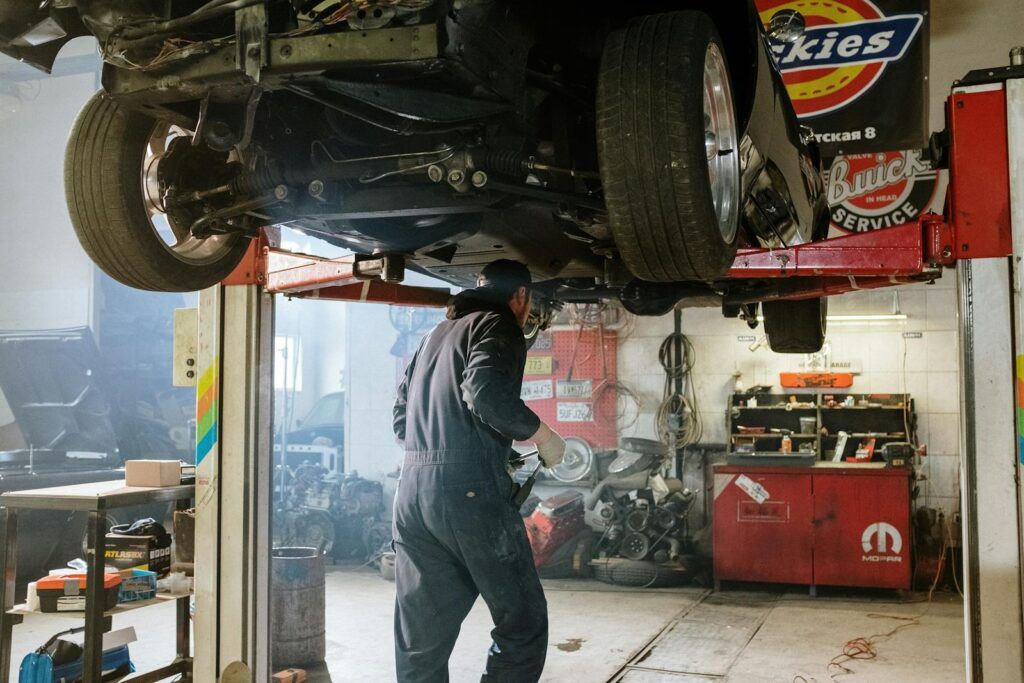
4. **Set Up the Fuel System**One of the most critical aspects of converting to EFI is overhauling your vehicle’s fuel delivery system. Electronic fuel injection operates at much higher pressures than a traditional carburetor, meaning your old fuel pump and lines are simply inadequate. This step is about installing a robust, high-pressure fuel pump and running new, compatible fuel lines to ensure a consistent and reliable fuel supply to your new injectors.
The installation of the fuel pump must be done strictly according to the specifications provided in your conversion kit. Modern EFI systems require a high-pressure electric fuel pump, which should ideally be positioned near the fuel tank. This placement ensures proper suction and minimizes the risk of fuel cavitation, which can damage the pump and disrupt fuel flow. Some kits include a high-pressure pump, which simplifies this decision, while others may require you to source one separately.
Running new fuel lines is another non-negotiable part of this process. These lines must be capable of handling the increased pressure of an EFI system. You will typically run a supply line from the fuel tank to the pump, and then from the pump to the fuel rail where the injectors reside. Critically, you will also need to add a fuel-return line from the fuel rail back to the tank. This return line is essential for maintaining consistent fuel pressure and allowing excess fuel to cycle back, preventing vapor lock and ensuring optimal performance. Some kits come with plumbing to solve this, but you might need to come up with your own combination.
As you install the lines, pay meticulous attention to routing them away from heat sources, sharp edges, and moving parts to prevent damage. All connections, from the tank to the pump, and from the pump to the fuel rail and return line, must be absolutely tight and secure. Use appropriate clamps and fittings. A thorough check for any leaks before and after pressurizing the system is paramount to avert potential fire hazards and ensure the integrity of your new, high-pressure fuel system. You might even need to consider a fuel tank with baffles or a sump to ensure the fuel pump always has a constant supply.
Read more about: Mastering Your Heavy-Duty Diesel: 15 Essential Fluid Checks for Peak Performance and Longevity
5. **Wire the System**The electrical connections are the nervous system of your new EFI setup, dictating how the system communicates and performs. This step involves carefully connecting the wiring harness to all the various sensors, injectors, and the eventual engine control unit (ECU). Precision and patience are key here, as correct wiring is fundamental to preventing system malfunctions and ensuring optimal engine operation.
Begin by methodically connecting the wiring harness to each fuel injector. These connections must be secure and properly seated. Next, connect the harness to vital sensors such as the throttle position sensor (TPS), which tells the ECU how much the throttle is open, and the manifold absolute pressure (MAP) sensor, which measures engine load. Depending on your system, you might also be connecting to an oxygen (O2) sensor in the exhaust, a mass airflow (MAF) sensor, or coolant temperature sensors.
Always follow the wiring diagram included with your kit with extreme care. These diagrams are your blueprint for success, detailing every connection point and wire color. Miswiring can lead to a host of problems, from incorrect sensor readings and poor engine performance to potential damage to the ECU or other components. If the instructions include clear and well-organized wiring harnesses, this process will be significantly smoother, but it still demands your full attention.
Remember, high-quality wiring with proper insulation is essential to prevent electrical issues, shorts, and unreliable signals. Ensure all connections are clean, tight, and protected from heat and abrasion. Taking the time to properly route and secure the wiring harness, using cable ties to keep it neat and away from moving parts or extreme heat, will contribute significantly to the longevity and reliability of your EFI system. This diligent approach now will prevent frustrating electrical gremlins in the future, allowing for accurate data transmission to the ECU and precise control over your engine’s fuel delivery.
With the foundational mechanical and electrical components now in place, the journey continues toward bringing your classic car’s new Electronic Fuel Injection system to life. The final stages involve the brain of the operation, meticulous testing, and the critical adjustments that transform a collection of parts into a seamlessly operating, high-performance machine. This section will guide you through installing the Engine Control Unit, conducting initial system tests, the thrill of the first engine start, comprehensive fine-tuning, and the essential maintenance and troubleshooting tips to ensure your EFI conversion provides years of reliable enjoyment.
Read more about: Shield Your Ride: Simple, Effective Ways to Banish Rust from Your Truck’s Undercarriage This Winter and Beyond
6. **Install the Engine Control Unit (ECU)**The Engine Control Unit (ECU) is, without exaggeration, the central nervous system of your new EFI system. It’s the component that processes data from all the sensors and makes real-time decisions about fuel delivery and ignition timing, ultimately dictating how your engine performs. Securing this vital component in a strategic location is paramount for both its functionality and longevity.
You’ll want to mount the ECU in a spot that offers ample protection from the elements, specifically heat and moisture, which can severely impact its electronic integrity. Once physically secured, the next crucial step is to connect it carefully to the main wiring harness. This ensures all sensors are properly linked and can transmit their vital data to the ECU.
Proper calibration may be required to ensure the ECU can accurately adjust air-fuel mixtures based on the specific needs of your engine. It’s also vital to ensure that the selected ECU supports your engine’s parameters and that all sensors are compatible with the ECU to avoid erroneous readings. Consulting a tuning service can be beneficial for optimal performance matching, especially if you encounter any computer compatibility issues, such as using an ECU not specifically designed for your engine.
Read more about: The Essential Checklist: 13 Crucial Questions to Ask Before Investing in a Used Vehicle with Advanced Driver-Assistance Systems
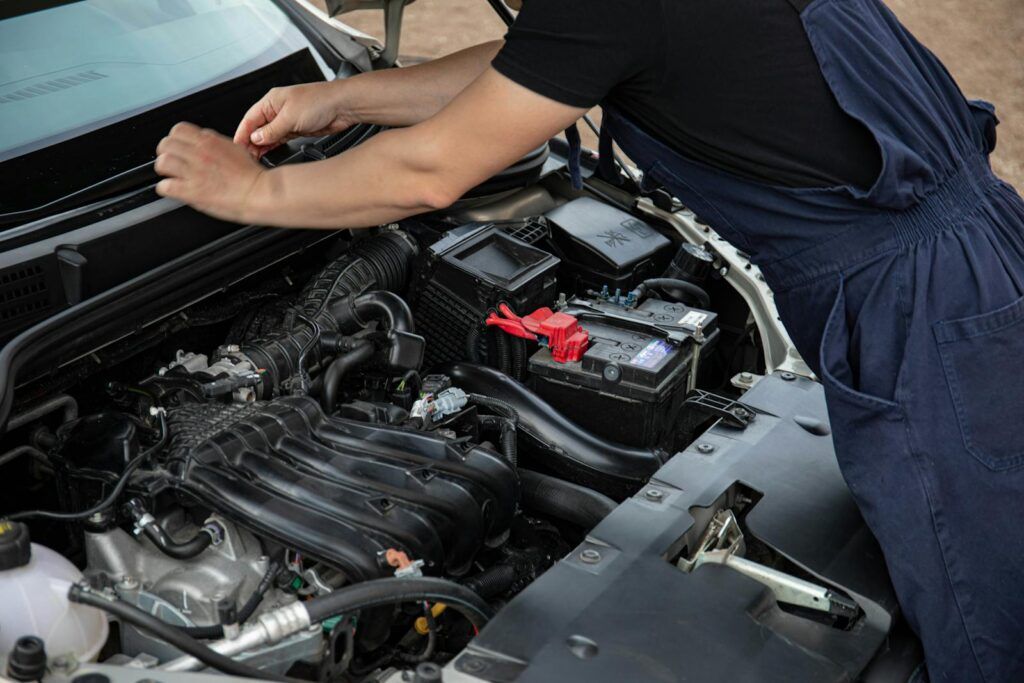
7. **Initial Testing**Before the satisfying roar of your engine can truly be heard, a critical phase of initial testing must be undertaken. This methodical check-up is designed to catch any potential issues before they become major problems, ensuring both the safety and success of your EFI conversion. Precision during this stage can save countless hours of troubleshooting down the road.
Begin by double-checking every single connection you’ve made. This includes verifying all fuel lines for tightness and security, making sure there are no potential fuel leaks that could pose a fire hazard. Simultaneously, inspect all electrical wiring to ensure that there are no loose connections or improperly seated plugs. A thorough visual inspection now can prevent costly damage later.
Once you’re confident in your connections, it’s time to power up the system without actually starting the engine. This allows the ECU to cycle through its pre-start checks. During this phase, closely monitor the system for any error codes or malfunctions that might be indicated by the ECU itself. Many modern EFI systems have diagnostic tools that can communicate potential issues, providing valuable insights into the system’s readiness.
Read more about: Mastering Classic Car Valuation: A MotorTrend Guide to Unlocking Your Collection’s True Worth
8. **Start the Engine**This is often the moment of truth for any EFI conversion project, the culmination of your hard work and meticulous installation. With all previous checks thoroughly completed, it’s time to bring your classic engine to life with its new electronic brain. The sound of a successfully started EFI engine is a symphony to any enthusiast’s ears.
Turn the key and start the engine, listening carefully for a smooth, consistent ignition. Monitor for any unusual sounds, vibrations, or immediate signs of trouble that might indicate an underlying issue. A well-installed EFI system should provide significantly easier starting, often without the need for the familiar manual choke of carbureted setups.
Once the engine is running, allow it to reach its normal operating temperature. This is a crucial period, as components expand and contract, potentially revealing minor leaks or issues that weren’t apparent during cold checks. During this warm-up phase, conduct another thorough visual inspection for any fuel leaks that might emerge under operating pressure.
Maintaining a keen eye and ear during this initial run allows you to confirm the basic functionality of your system. Observing parameters like idle stability and throttle response, even at this early stage, provides valuable feedback. A smooth, steady idle and responsive acceleration are early indicators that your installation has been successful, setting the stage for the next critical phase: fine-tuning.
Read more about: Your Ultimate Guide to Savvy Negotiations: Simple Strategies for Securing the Best Price on a Rare Classic Car
9. **Fine-Tuning**The initial start is a huge milestone, but achieving truly optimal performance from your EFI system requires diligent fine-tuning. This is where the magic happens, transforming good performance into great, maximizing efficiency, and unlocking your engine’s full potential. It’s an iterative process that refines the fuel and ignition maps for your specific setup.
After the engine has started and reached operating temperature, the essential next step is to connect a diagnostic tool to your EFI system. This tool allows you to access and adjust various parameters that dictate engine behavior. Key adjustments typically include fine-tuning the idle speed to a stable and consistent RPM, and meticulously dialing in the air-fuel ratios across different engine loads and RPMs.
Depending on your chosen system, you might also adjust ignition timing or other settings as necessary. Programmable units offer extensive control, allowing you to fine-tune your engine’s performance for specific driving styles or performance goals. Conversely, self-tuning systems learn and adjust automatically, simplifying the process for beginners by constantly optimizing performance based on real-time data.
Once initial adjustments are made, a road test is indispensable. Driving the vehicle under various conditions – city, highway, acceleration, deceleration – allows the system to gather more data and reveals areas where further adjustments might be needed. This real-world testing ensures that the EFI system performs optimally across the entire operating range, delivering the improved drivability, fuel economy, and horsepower you sought.
Read more about: Unlocking Your Creative Potential: The 12 Essential Free AI Tools Reshaping Content Creation in 2025
10. **Regular Maintenance and Comprehensive Troubleshooting**The installation and tuning of your EFI system are significant achievements, but maintaining its peak performance requires ongoing attention. Regular maintenance of the fuel injection system is crucial for its longevity and consistent performance, ensuring your classic car continues to run reliably and efficiently for years to come. Neglecting these simple steps can lead to gradual degradation and unexpected issues.
Periodically checking connections and sensors is a non-negotiable part of your maintenance routine. Ensure all electrical connections remain tight and free from corrosion, and that sensor leads are undamaged. Keeping the fuel filters clean is equally vital, as clogged filters can restrict fuel flow and compromise system pressure, leading to a host of performance problems.
Even with meticulous installation and regular maintenance, challenges can arise. Identifying and resolving common issues promptly can save time and enhance the overall driving experience. For instance, if the engine exhibits sluggishness or stalling after conversion, it’s essential to check if the fuel pump is delivering adequate pressure. Verify its output using a fuel pressure gauge and inspect for any restrictions in the fuel lines or a clogged fuel filter.
Difficulty starting the engine can be a frustrating symptom, often indicating that the injectors are not firing correctly. This might be due to an improper electrical connection or a malfunctioning engine control unit (ECU). Inspect the wiring harness for any frayed or loose connections and confirm that the ECU is programmed correctly for the new fuel injection setup, possibly requiring a check against computer compatibility issues.
Engine misfire or a rough idle often points to an imbalanced fuel-to-air mixture. Begin by verifying that all sensor connections are secure and functioning properly. Specifically, check the mass air flow (MAF) and oxygen (O2) sensors for accurate readings. Adjusting the ECU settings or recalibrating the system may be necessary to achieve optimal performance, and don’t forget to inspect for vacuum leaks which can disrupt normal sensor operation.
Critical safety concerns, such as fuel leaks, demand immediate attention. Leaks can occur at various points, including the fuel rail and injector seals. Use a fuel pressure tester to inspect for weak spots in the lines, and if a leak is detected, replace any compromised components immediately to avert potential fire hazards. A systematic approach to these common issues, coupled with diligent maintenance, ensures a smooth transition and a truly rewarding EFI conversion project.
Read more about: Protecting Our Little Ones: 14 Essential Steps for Flawless Car Seat Installation
Embracing the world of Electronic Fuel Injection is a profound upgrade for any classic car enthusiast, transforming a beloved vintage ride into a modern marvel of reliability and efficiency. From the careful initial setup to the sophisticated art of fine-tuning and the ongoing commitment to maintenance, each step brings you closer to an unparalleled driving experience. The purr of a perfectly tuned engine, the seamless acceleration, and the peace of mind knowing your classic is ready for any road trip are the true rewards. So, take the plunge, follow these steps, and rediscover the joy of your classic car, revitalized and ready for countless more miles on the open road.


