

Keeping your car in peak condition doesn’t have to be a daunting or expensive endeavor. In fact, some of the most impactful maintenance tasks are surprisingly simple and can be tackled right in your driveway, saving you time and money that would otherwise be spent at the dealership. One such task, often overlooked but critical to your vehicle’s longevity and performance, is changing the engine air filter. It’s a job that empowers you, giving you greater control over your car’s health and helping you understand its inner workings a little better. You’ll feel like a pro after completing it yourself, and you won’t have to worry about being overcharged by an auto shop during an oil change.
Your car needs air just as much as it needs fuel; without a clean, unimpeded supply, its engine can’t perform at its best. The air filter acts as the engine’s lungs, diligently sifting out dust, insects, and other airborne contaminants that could otherwise cause significant wear and tear. A clogged or dirty filter forces your engine to work harder, diminishing fuel efficiency and overall power. This routine maintenance is not only inexpensive but also quick, typically taking less than 10 minutes once you get the hang of it. It’s a beginner-level task with major benefits for every driver.
So, if you’re ready to boost your engine’s performance, improve fuel efficiency, and extend your car’s lifespan, you’ve come to the right place. We’re going to walk you through the entire process, step-by-step, transforming what might seem like a technical task into a simple, straightforward project. From understanding why this little pleated component matters so much to the satisfying click of a securely closed housing, we’ll cover everything you need to know to confidently change your car’s air filter. Let’s get started and give your car the breath of fresh air it deserves.

1. **Understanding the Vital Role of Your Car’s Air Filter**.
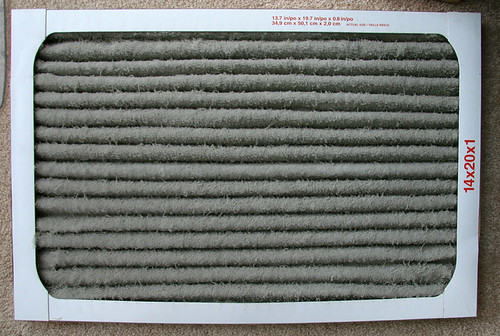
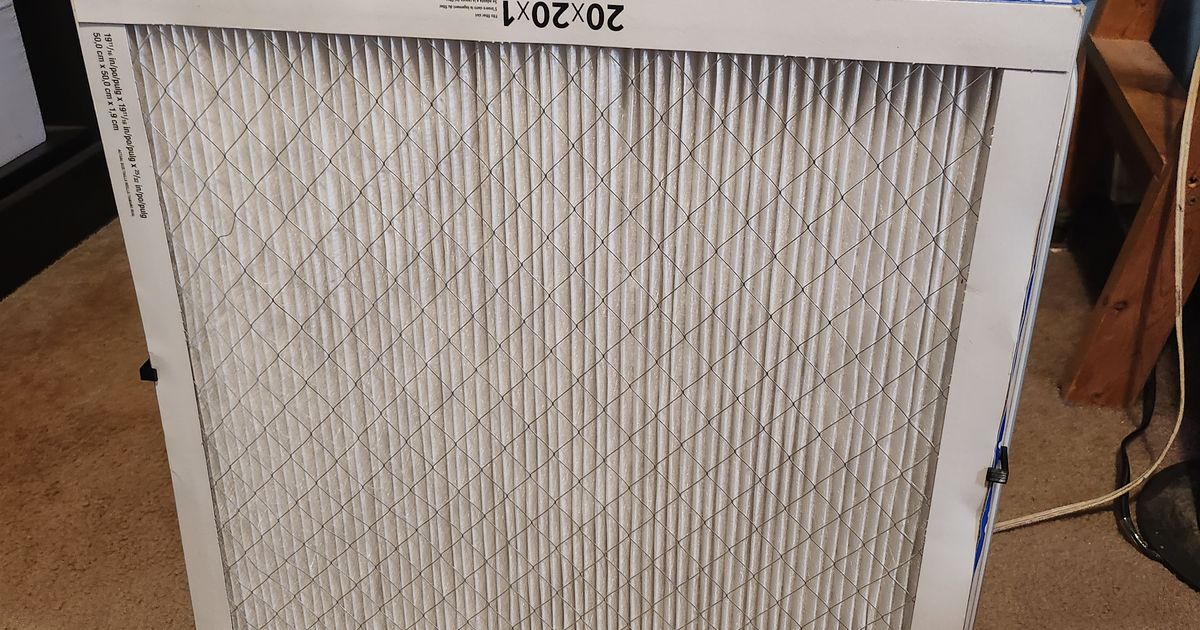
At the heart of your car’s efficient operation lies a deceptively simple component: the engine air filter. This pleated guardian, typically constructed from treated pulp paper, serves a singular yet critical purpose – to trap harmful airborne contaminants before they can reach your engine. Imagine all the dust, pollen, dirt, and even tiny insects floating in the air your car breathes; without the air filter, all that debris would be sucked directly into the combustion chamber, causing significant damage over time.
According to automotive expert Bob Lacivita, a clean engine air filter is instrumental in maintaining the optimum air-to-fuel ratio, which directly translates to better fuel economy. When the filter is clean, it allows the maximum amount of air to enter the combustion chamber, improving acceleration and overall engine performance. Conversely, a clogged filter restricts this vital airflow, forcing the engine to work harder, which in turn burns more fuel and leads to decreased power.
Beyond performance and efficiency, the air filter plays a crucial role in the longevity of your engine. By keeping even the smallest grit out, it prevents premature wear and tear on internal engine components. It also increases the accuracy of the mass airflow (MAF) sensor and helps reduce vehicle emissions, supporting both your car’s health and environmental responsibility. Understanding its function is the first step toward appreciating why its regular maintenance is so important.
Read more about: NWS Extreme Cold Alert: A Comprehensive Consumer’s Guide to Winterizing Your Home and Car for Ultimate Safety and Preparedness

2. **Identifying the Right Filter for Your Vehicle**
Before you even think about lifting your hood, the very first and arguably most crucial step is to obtain the correct replacement air filter. Not all cars are created equal, and neither are their air filters. Using the wrong size or type can lead to poor engine performance and reduced fuel efficiency, or even worse, it might not fit at all, leaving gaps for unfiltered air to sneak through.
Your vehicle’s owner’s manual is your best friend here; it will contain the precise specifications for the air filter your car requires. If the manual isn’t readily available or you can’t find the information, don’t fret. Auto parts stores, whether physical locations or their websites, offer invaluable assistance. Most have systems where you can input your vehicle’s year, make, and model, and they will identify the exact compatible air filter for you. Automotive expert Charley Helvy suggests trying to get the stock filter that comes with your vehicle to get the most engine life and fuel efficiency out of your vehicle.
For those considering reusable options, it’s worth noting that certain four-wheel drive and performance vehicles may have oil-soaked filters designed for reuse. These can be cleaned and re-oiled using a specific cleaning kit. However, for most daily drivers, a disposable paper filter is the standard and often recommended choice. Knowing what you need upfront ensures a smooth replacement process and optimal engine health.
Read more about: NWS Extreme Cold Alert: A Comprehensive Consumer’s Guide to Winterizing Your Home and Car for Ultimate Safety and Preparedness

3. **Pre-Service Safety: Securing Your Car**
Safety is paramount whenever you’re working on your vehicle, even for a task as seemingly simple as changing an air filter. The engine bay can contain hot components, and the car itself needs to be stable to prevent any unexpected movement. Therefore, before you unclip a single latch or loosen a screw, it’s essential to properly secure your vehicle.
Begin by parking your car on level ground. This ensures stability and prevents any rolling. Once parked, engage the parking brake firmly. This is a non-negotiable step for all vehicles, regardless of transmission type. If your car has a manual transmission, shift it into first gear; if it’s an automatic, make sure it’s in Park. These measures provide an additional layer of security against accidental movement.
Finally, and crucially, turn off the ignition. This not only prevents the engine from accidentally starting but also ensures that no electrical components are active while you’re working. Remember that certain parts of the engine may still be hot if you have been running the car recently, so exercise caution. Taking these few minutes to secure your vehicle creates a safe working environment and allows you to focus entirely on the task at hand.
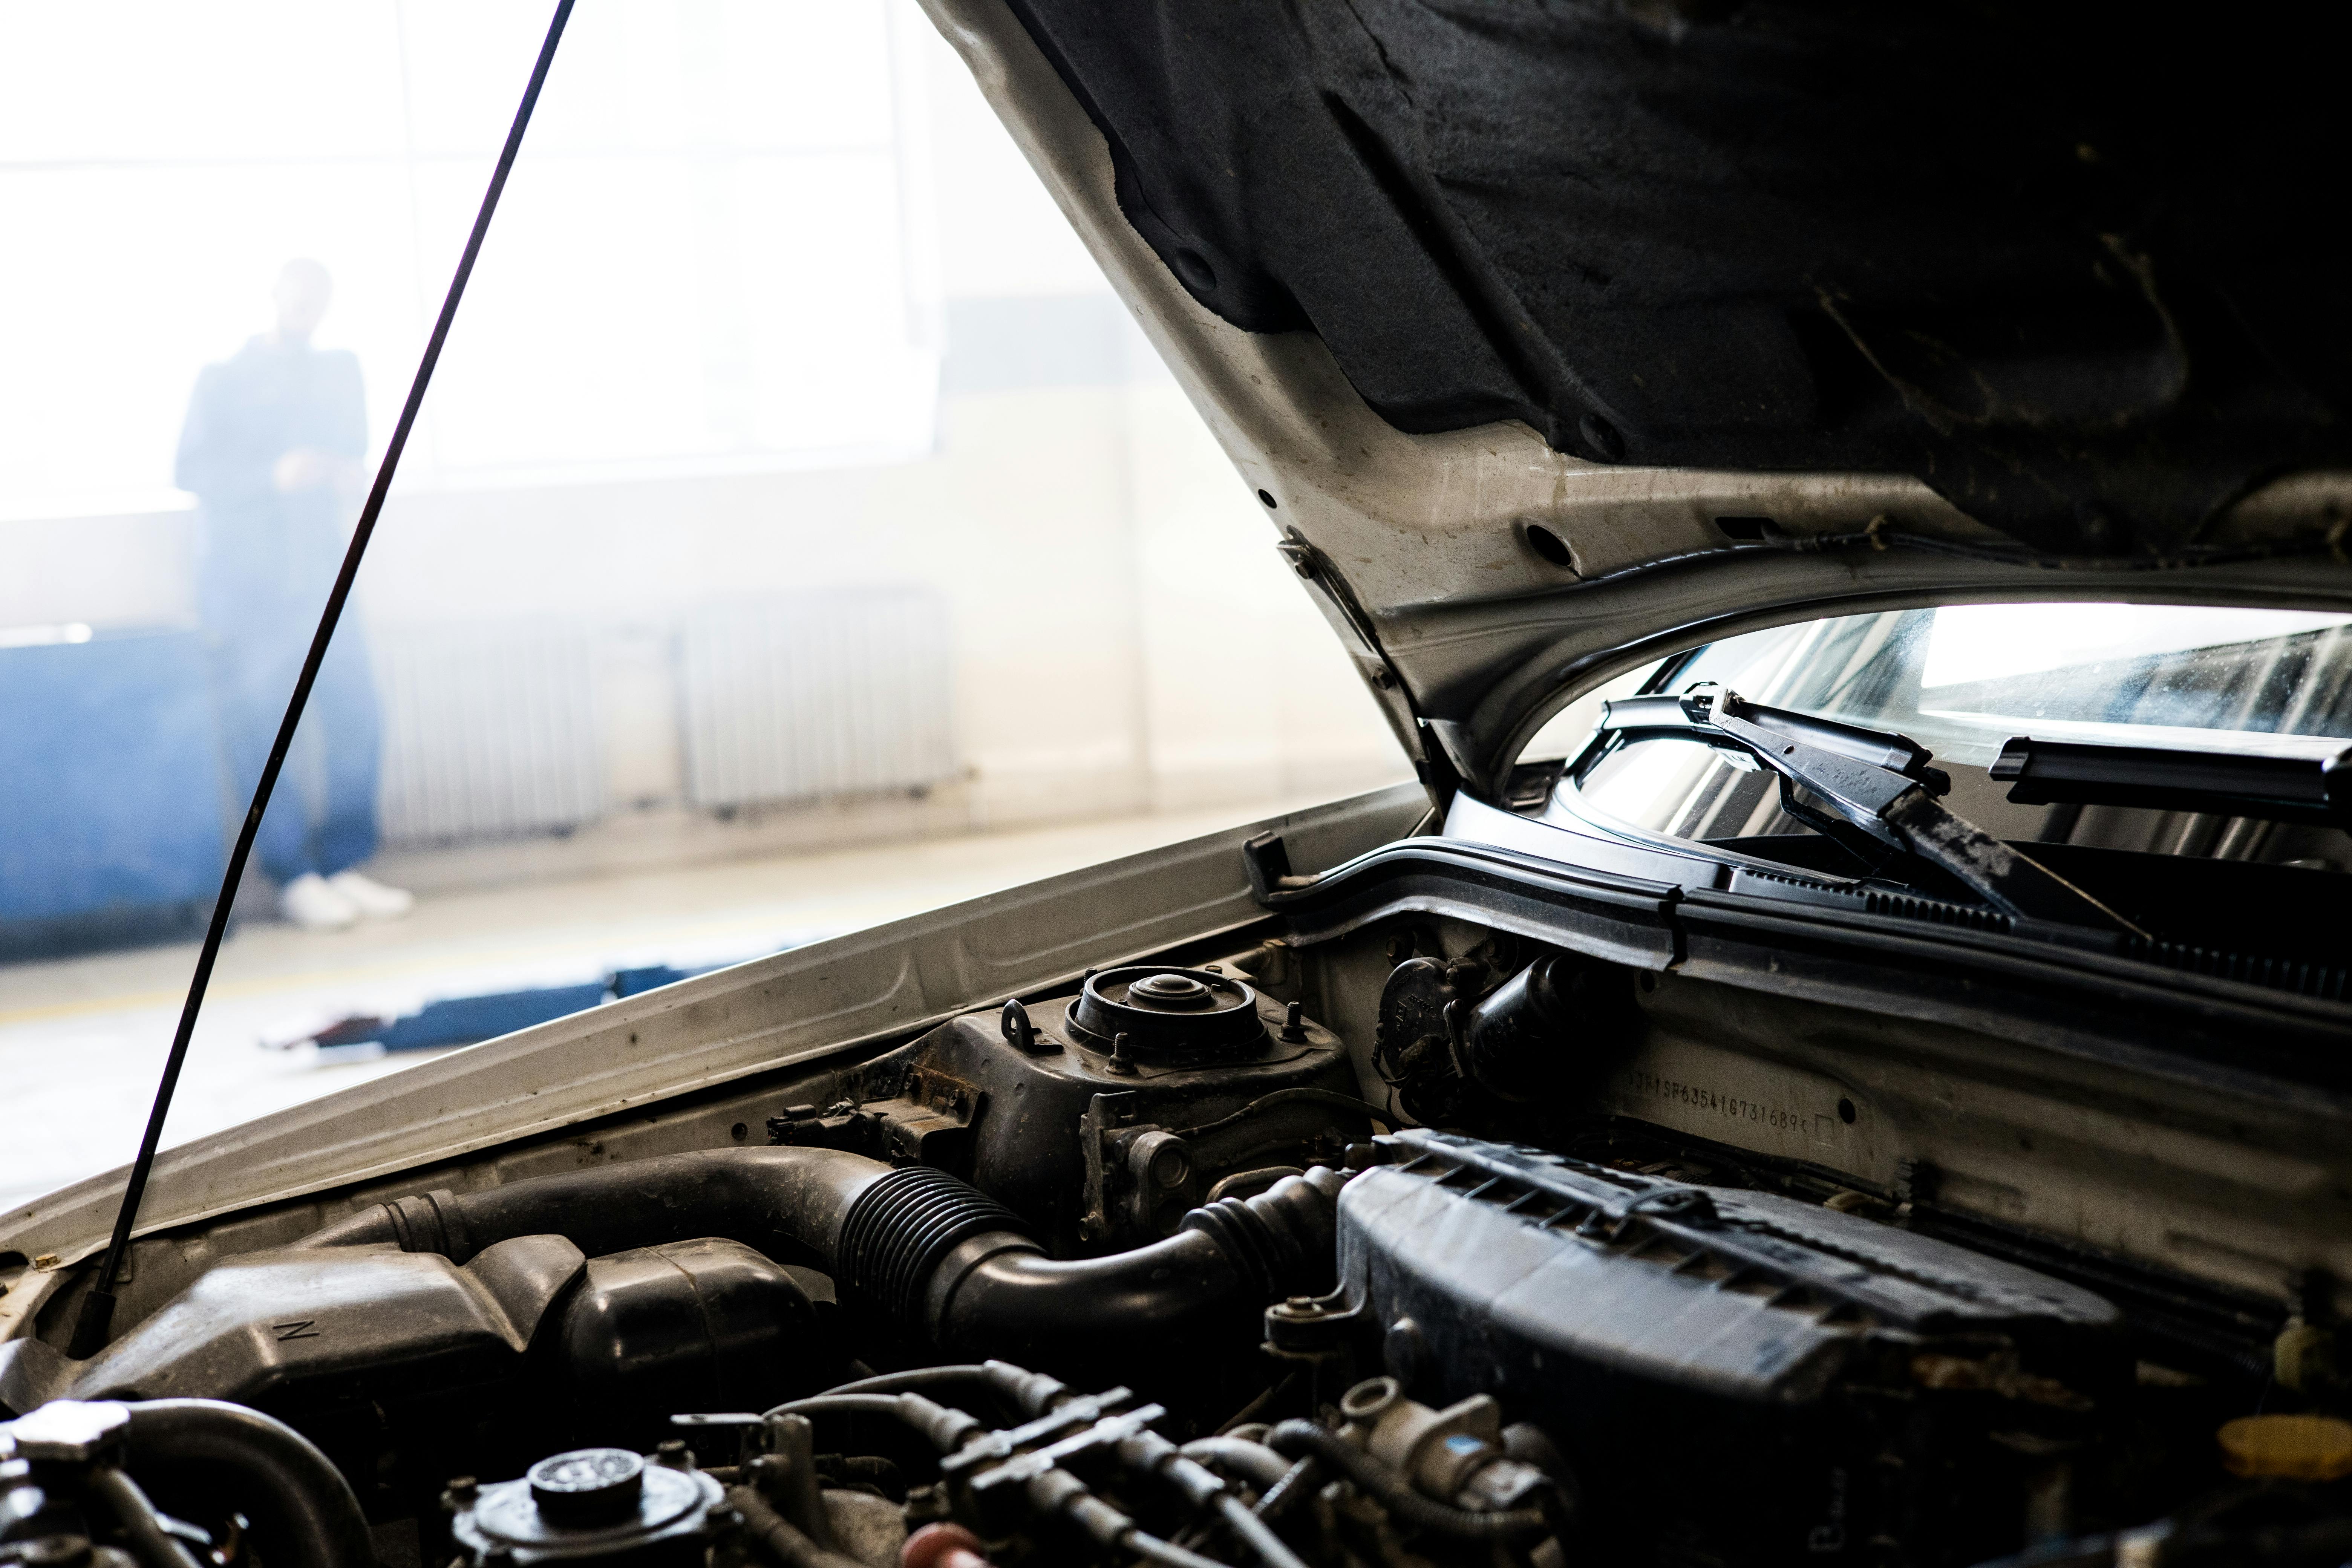
4. **Accessing the Engine Bay: Opening the Hood**
With your vehicle safely secured, the next step is to gain access to the engine compartment where the air filter resides. This involves the straightforward process of opening your car’s hood, often referred to as the bonnet. While it seems basic, there are a couple of small steps to ensure it’s done correctly and safely.
Start by locating the hood release lever inside the car’s cabin. This lever is typically found near the driver’s side footwell, often marked with an icon of a car with its hood open. Give it a firm pull; you’ll hear a ‘pop’ sound as the primary latch on the hood releases.
After the initial release, you’ll need to move to the front of the car. There’s usually an exterior bonnet catch or a secondary release lever located just under the front edge of the hood, which you’ll need to push or lift to fully disengage the hood. Once released, lift the bonnet all the way up. Many vehicles come equipped with a prop rod, which should be securely placed into its designated slot to hold the hood open and prevent it from unexpectedly closing while you’re working.
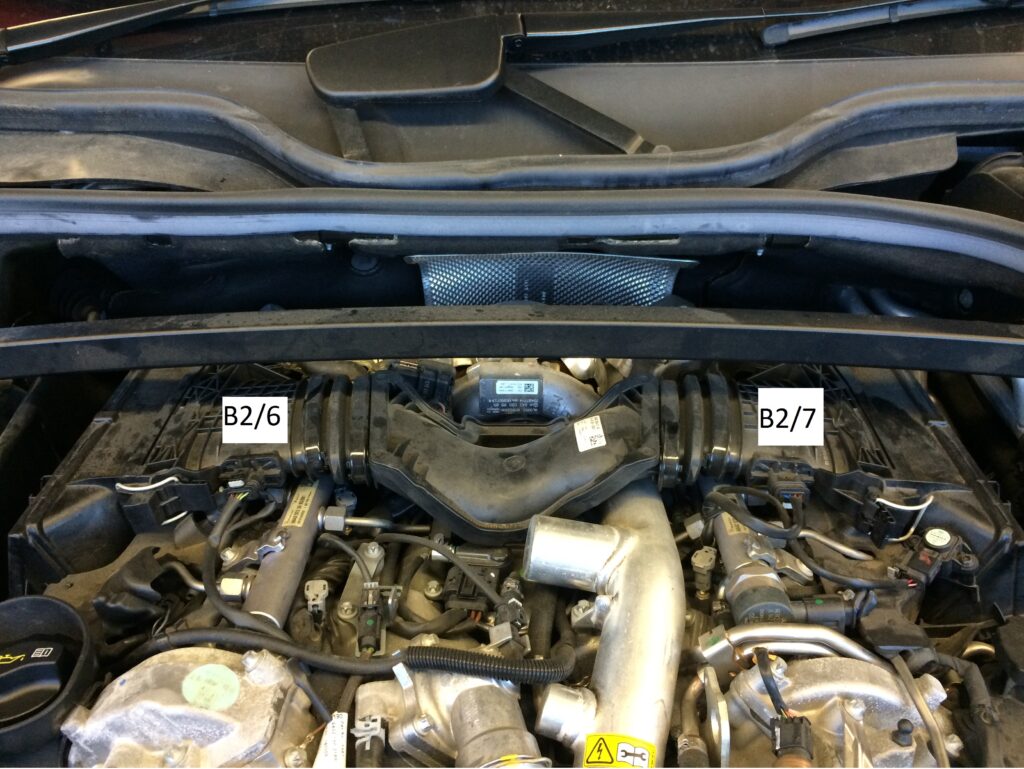
5. **Locating Your Air Box Housing**
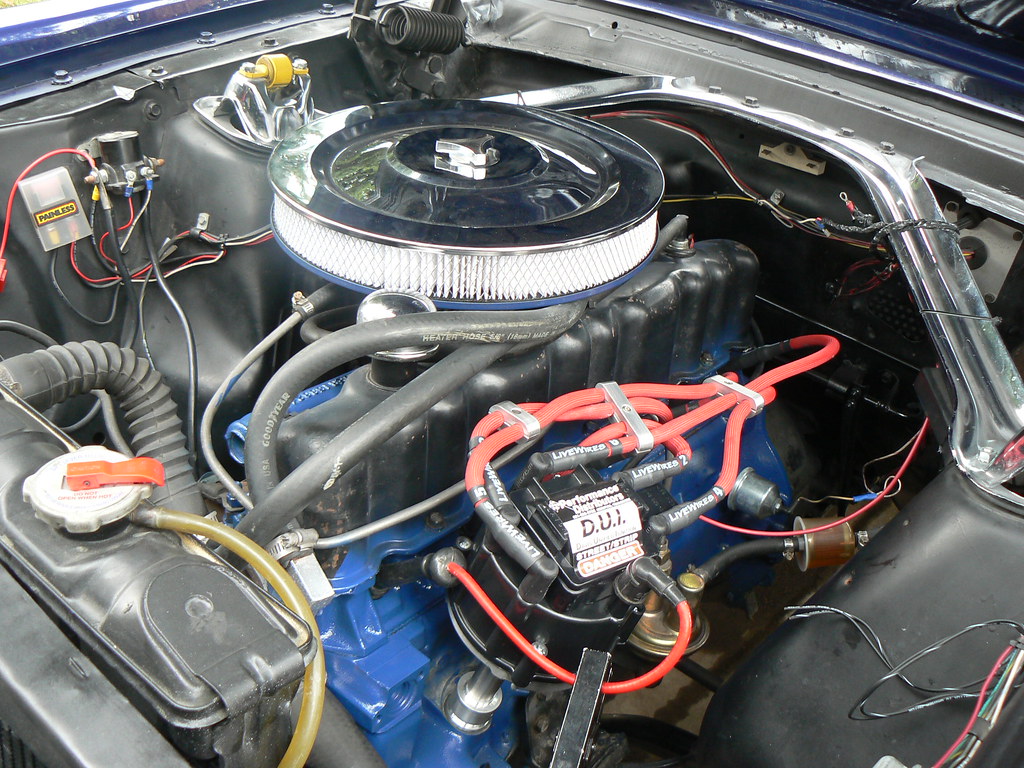
Now that the hood is open and securely propped, it’s time to pinpoint the star of our show: the air filter housing. This component is essentially a protective case for your engine’s air filter and is usually quite noticeable under the hood. For most modern vehicles, it will appear as a rectangular or square plastic box, typically situated near the engine along a duct that travels from the front of the car.
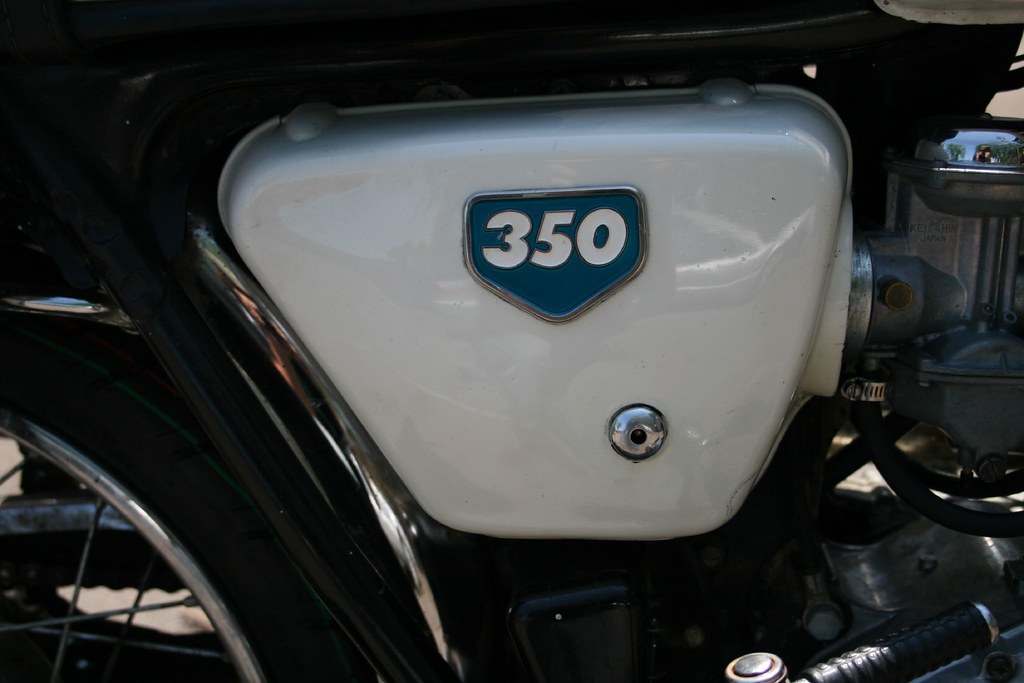
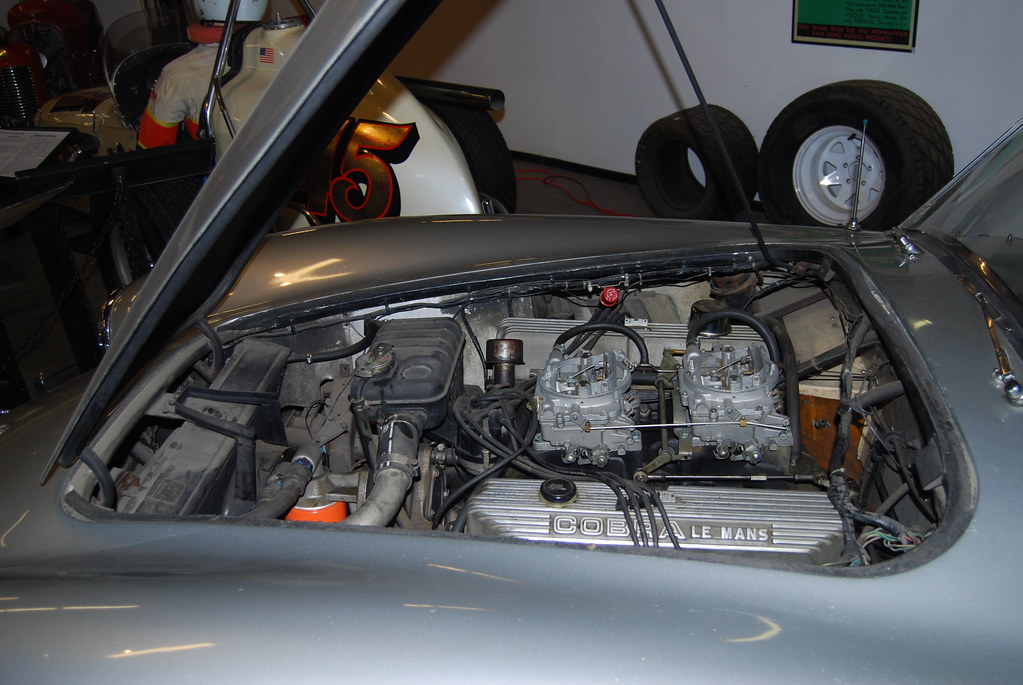
On older cars equipped with carburetors, you might find the filter under a bulky, round cover, often made of plastic or metal. Newer, fuel-injected cars, however, tend to have the square or rectangular air filter housing located slightly off-center, positioned between the front grill and the engine. It’s connected to the intake hose, which is a key visual cue.
If you find yourself struggling to locate it, remember that your owner’s manual is an invaluable resource, often providing diagrams or specific instructions for your make and model. Automotive expert Charley Helvy notes that the air box housing is usually situated near the engine along a duct that travels from the front of the car. Trust us, once you know what you’re looking for, it’s often hard to miss, appearing as a prominent black box connected to the air intake.
Read more about: Mastering Your Heavy-Duty Diesel: 15 Essential Fluid Checks for Peak Performance and Longevity
6. **Carefully Removing the Air Filter Cover**
With the air box housing located, the next step is to open it up to reveal the old air filter. The method for removing the cover can vary significantly between vehicle models, so approach this step carefully. You’ll typically encounter one of a few common securing mechanisms: latches, screws, or hose clamps.
Many cars feature quick-release systems with several latches or clips around the perimeter of the housing. These usually snap open by hand. Other models might use screws, in which case you’ll need a screwdriver – either a flathead or Phillips, depending on the type – or even a socket or ratchet wrench with the correct sizing to loosen and remove them. Some older designs might even have wing nuts. It’s crucial to keep any screws, clips, or other small parts together and in a safe, designated location so you can easily find them later for reassembly.
Some vehicles, especially those with turbocharged engines or newer models, may have an air filter restriction gauge attached to or blocking the filter. If you encounter this, do not pull the filter out unless the gauge indicates that the filter is bad. Once all fasteners are undone, carefully pull the cover out of the air conduit and lift it up so it comes off the lower part of the housing. If you’re unsure how to lift the cover, consulting a mechanic or your vehicle’s service manual is always a good idea.
Read more about: Demystifying Engine Bay Cleanliness: An In-Depth Look at the Core Principles of a ‘Clean’ Engine
7. **Extracting the Old Air Filter**
Once the air filter cover is successfully removed, you’ll finally have a clear view of the old air filter itself. It will likely be a round or rectangular filter made of cotton, paper, or gauze, characterized by a rubber rim that seals off the unit’s interior. This is the moment to visually inspect its condition; if it looks dirty, blackened, or heavily clogged with debris, it’s definitely time for a replacement.
Removing the filter is usually quite simple: you just lift it out of the housing. However, this step comes with a critical warning: you must be extremely careful not to let any dirt or debris fall into the housing or the air conduit during the removal process. Almost all airborne contaminants that cause trouble for an engine will get in when the air filter is removed. Keeping everything exceptionally clean at this stage is paramount to engine health.
Take a moment to note how the old filter was positioned. Filters often have a specific orientation, and replicating this when installing the new one will ensure a proper fit. Compare the old filter with your new replacement to confirm compatibility, checking the shape, size, and the condition of the rubber seal. Once you’ve removed the old, visibly dirty or worn filter, it’s ready for proper disposal, making way for its fresh, clean successor.
Read more about: Feathered Dynamos: Unveiling the Thrilling World of North America’s Most Brilliant and Mysterious Jays
8. **Cleaning the Air Filter Housing**
With the old, clogged air filter removed, your next critical step is to ensure the air filter housing itself is spotless. This isn’t just about aesthetics; any lingering dust, grit, or debris left behind could immediately contaminate your brand-new filter or worse, be drawn into your engine. Taking a moment to clean the housing creates an optimal environment for the new filter to perform its best and ensures unfiltered air doesn’t bypass the system.
The most effective ways to clean the housing involve either compressed air or a vacuum cleaner. If you have an air compressor handy, connect the air hose and use the compressed air to carefully blow out all the dust and loose particles. For those without a compressor, a household vacuum cleaner with a hose attachment works just as well to suck up any dirt. Whichever method you choose, be thorough, ensuring no visible debris remains.
During this cleaning process, especially when using compressed air, it’s a smart move to temporarily seal the air conduit leading to the engine with removable adhesive tape. This simple precaution, as suggested in expert tips, ensures that while you’re dislodging dirt from the housing, none of it accidentally travels further down the intake system towards your engine. It only takes a minute and guarantees that you won’t introduce any new contaminants while making everything exceptionally clean, ready for the fresh filter and a snug fit.
Read more about: Demystifying Engine Bay Cleanliness: An In-Depth Look at the Core Principles of a ‘Clean’ Engine
9. **Installing the New Filter**
Now comes the satisfying part: installing your pristine, new air filter. You’ve prepared the housing, and you have the correct filter for your vehicle; the goal now is to place it securely and correctly. This step is usually straightforward, designed for easy DIY installation, but precision is key to ensuring optimal engine protection and performance.
Carefully take your new air filter and simply insert it into the housing. For most designs, the rubber rim of the filter should be facing up, creating a tight seal against the housing cover once it’s replaced. It’s often helpful to recall how the old filter was positioned when you removed it, and replicate that orientation. Many filters, especially those with pleated paper elements, are designed to sit with the folded pleats facing downward into the housing, allowing for maximum surface area to capture contaminants as air flows through.
As you place the filter, ensure it sits snugly and evenly within the housing. The rubber rim is crucial here, as it acts as a gasket, sealing off the unit’s interior. You want to make sure the edges are perfectly sealed by this rubber rim, leaving no gaps or pathways for unfiltered air to sneak past. A properly seated filter is paramount; any tiny gap can compromise its effectiveness, allowing harmful debris directly into your engine. Press down gently on the edges to confirm it sits flat and flush in its intended position.
Read more about: NWS Extreme Cold Alert: A Comprehensive Consumer’s Guide to Winterizing Your Home and Car for Ultimate Safety and Preparedness
10. **Securing the Air Filter Cover**
With the new air filter perfectly seated, the final mechanical step is to secure the air filter cover back into place. This reassembly is just as important as the disassembly, ensuring the entire system is airtight and protected. A securely fastened cover prevents the filter from shifting and maintains the sealed environment necessary for effective filtration.
Carefully insert the cover back into the air conduit, aligning it precisely with the lower half of the air filter unit. You may need to jiggle or adjust it slightly to ensure all tabs, grooves, or edges fit together correctly. Once it feels properly aligned, press the entire piece down firmly until it sits flush over the new filter and housing. This secure fit is essential, as a misaligned cover could allow unfiltered air into your engine, negating all your hard work.
Next, re-engage all the fasteners you removed earlier. If your system uses quick-release latches, snap them all back into place around the perimeter. For models with screws or hose clamps, carefully tighten them down using the appropriate screwdriver or wrench. It’s a good practice to recheck that you have put everything firmly back together by gently rocking the unit with both hands. It should feel solid and secure, with no play or looseness. Once satisfied, you can confidently shut the bonnet, knowing you’ve completed the task correctly.
Read more about: Navigating the 2025 SUV Landscape: Kelley Blue Book’s Expert Guide to the Best Two-Row Models for Suburban Families

11. **Long-Term Benefits of Regular Air Filter Changes**
Beyond the immediate satisfaction of a DIY task well done, regularly changing your car’s air filter unlocks a cascade of long-term benefits for your vehicle. This simple maintenance item plays a profound role in your engine’s overall health and efficiency, making it one of the most impactful jobs you can perform right at home.
One of the most immediate and appreciated benefits is improved fuel efficiency. A clean air filter allows maximum airflow into the combustion chamber, ensuring your engine breathes easily and maintains an optimum air-to-fuel ratio. This translates directly to better gas mileage, with some sources indicating a clean air filter can increase mileage by up to 10%. Furthermore, enhanced engine performance is a noticeable perk; better airflow means more efficient combustion, leading to improved acceleration and a smoother-running engine, giving you that ‘new car’ feel for longer.
Regular air filter replacement also significantly contributes to a longer engine lifespan. By consistently trapping harmful airborne contaminants like dust and grit, the filter prevents premature wear and tear on vital internal engine components. It also aids in reducing vehicle emissions by ensuring proper combustion and increases the accuracy of your mass airflow (MAF) sensor, which is critical for modern engine management. These combined effects protect your engine from costly damage, ultimately extending its life and saving you from expensive repairs down the road.
Read more about: Chew Wiser, Feel Lighter: The 14 Worst Snacks for Your Liver According to Hepatology Consultants
12. **Optimal Replacement Frequencies**
Understanding *when* to change your air filter is just as crucial as knowing *how* to do it. While it’s an inexpensive and quick task, neglecting it can lead to the very issues you’re trying to prevent. Fortunately, there are clear guidelines and indicators to help you determine the right time for a replacement, ensuring your car always breathes fresh, clean air.
The general recommendation from most manufacturers and automotive experts is to replace your air filter every 12,000 to 15,000 miles or at least once a year, whichever comes first. For instance, AutoZone suggests replacing it once a year or every 12,000 miles, while others recommend every 50,000 km (approximately 30,000 miles) or about once a year. This regular interval helps maintain peak performance under average driving conditions.
However, these are general guidelines, and environmental factors can significantly influence the optimal frequency. If you frequently drive in dusty or polluted areas, such as unpaved roads, construction zones, or heavy urban environments, your filter will accumulate contaminants much faster. In such cases, you might need to inspect and replace it more often than the recommended intervals. Always consult your vehicle’s owner’s manual or periodic maintenance guide for the most accurate and specific recommendations tailored to your car’s make and model.
Read more about: Your Definitive Guide to Long-Term Car Storage: Protecting Your Vehicle Through Travel and Winter

13. **Common Mistakes to Avoid**
Even with a task as straightforward as changing an air filter, there are common pitfalls that can undermine your efforts and potentially impact your engine’s health. Being aware of these missteps can help you ensure your DIY maintenance is genuinely effective and problem-free, making you feel like a seasoned pro.
One significant mistake is forcing the new filter into the wrong position. Air filters are designed to fit precisely, and attempting to jam one in incorrectly can damage the filter element, distort its rubber seal, or even crack the housing. Always make sure the new filter is seated properly, mimicking the orientation of the old one, and confirm that its edges sit flat and snug without any undue pressure. Forcing it creates gaps that allow unfiltered air to bypass the system, defeating the filter’s purpose.
Another frequent oversight is neglecting to clean the air filter housing before inserting the new filter. As previously emphasized, any dirt or debris left within the housing after removing the old filter can immediately contaminate the fresh one or be drawn into the engine. Before placing the new filter, take those few extra minutes to wipe down the housing with a rag, vacuum out loose particles, or use compressed air to ensure a truly clean environment.
Finally, for those with turbocharged engines or newer vehicles, don’t confuse an air filter restriction gauge with a permanent fixture. This gauge, which may be attached to or blocking the filter, is there to indicate the filter’s condition. Automotive experts advise: “Do not pull these kinds of filters out unless the gauge indicates that the filter is bad.” Misinterpreting this can lead to unnecessary filter removal or damage to the sensor itself, highlighting the importance of understanding all components in your air intake system.
Read more about: Navigating the Evolving Landscape: Key Social Security and Medicare Updates for Beneficiaries in 2025 and Beyond

14. **Practical Breakdown of Costs and DIY vs. Professional**
One of the most compelling arguments for tackling an air filter change yourself is the significant cost savings. Dealerships and independent shops often bundle this simple task with other services, and the markup can be considerable, making DIY a truly attractive option for budget-conscious car owners.
When you opt for the DIY route, the cost typically boils down to just the price of the new air filter itself. Average prices for air filters vary depending on your car’s make and model, but most range between a very affordable $10 and $30. This makes it one of the cheapest routine maintenance jobs you can do, and the materials required, if any beyond the filter, are usually basic tools like a screwdriver or wrench that you likely already own.
In stark contrast, having a professional change your air filter can set you back much more. While the filter itself is inexpensive, shops charge for labor and often apply a significant markup on the part. A mechanic may charge anywhere from $30 to $50, with some professionals charging upwards of $50 to $100 for the same job. By doing it yourself, you effectively save anywhere from $20 to $90 on a task that typically takes less than 10 minutes once you get the hang of it, reinforcing the empowerment and financial benefits of skipping the dealership for this particular service.
Read more about: Navigating the 2025 SUV Landscape: Kelley Blue Book’s Expert Guide to the Best Two-Row Models for Suburban Families
And there you have it! From understanding the vital role of this unsung hero of your engine to the satisfying click of a securely closed housing, you’ve now mastered the art of changing your car’s engine air filter. This isn’t just about saving a few bucks at the dealership; it’s about empowering yourself with knowledge, extending the life of your vehicle, and ensuring it runs as smoothly and efficiently as possible. You’ve given your car the breath of fresh air it deserves, and you’ll undoubtedly feel like a pro every time you hit the road.


