

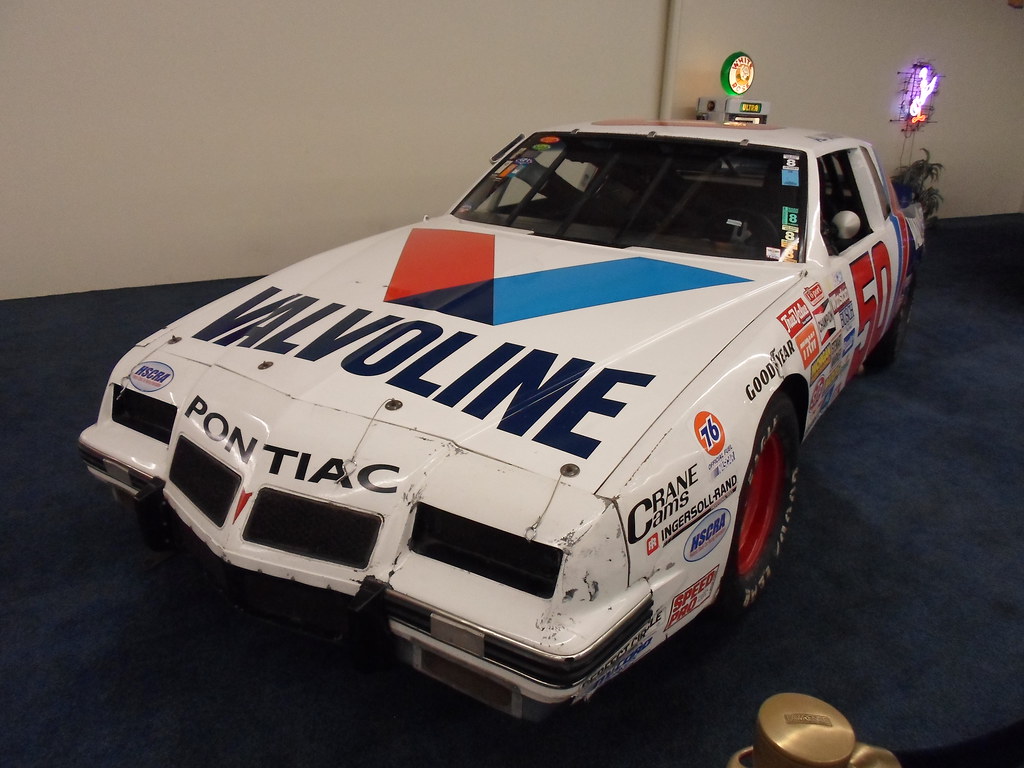
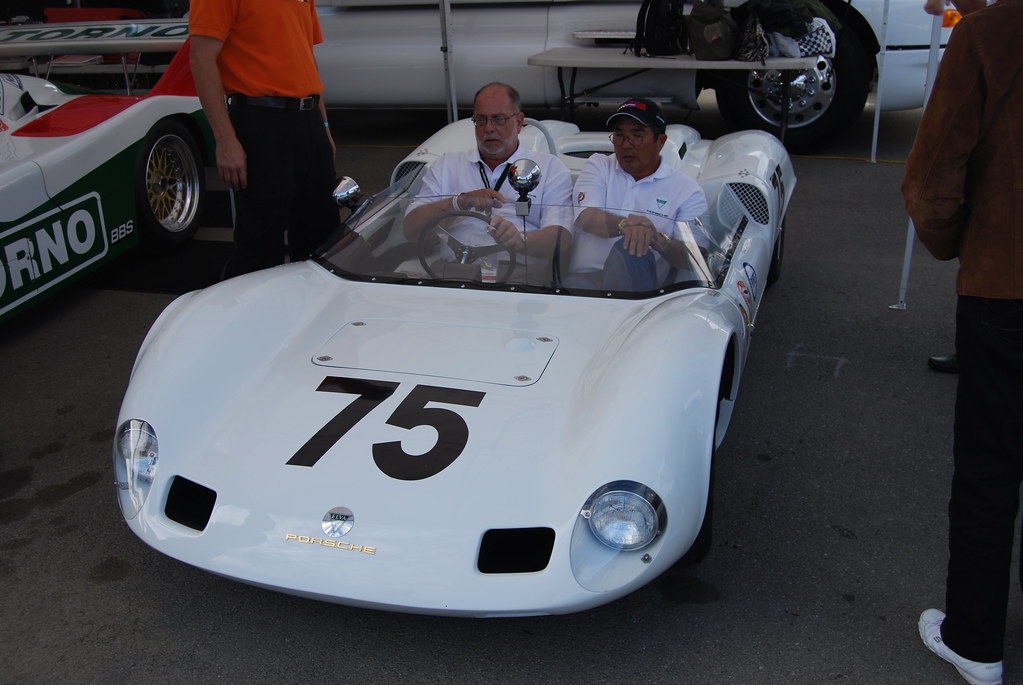
A roll cage is more than just a cluster of metal tubes; it’s a meticulously engineered system designed to safeguard a driver when pushing the limits on the track. For anyone passionate about track days or competitive racing, installing a robust roll cage is not merely an upgrade—it’s a foundational step towards both enhanced safety and superior vehicle performance. This crucial addition protects occupants during impacts and rollovers, while also significantly boosting chassis rigidity, which translates directly into better handling, improved traction, and a longer lifespan for your cherished machine.
The world of automotive modification, especially for performance applications, can seem daunting. However, with the right guidance, even complex projects like roll cage installation become manageable, empowering enthusiasts to tackle challenges themselves. Here at Popular Mechanics, we believe in breaking down intricate tasks into clear, actionable steps, ensuring that whether you’re a seasoned wrench-turner or a dedicated DIY newcomer, you have the knowledge and confidence to achieve exceptional results. Our goal is to provide reliable, hands-on advice that makes your projects both successful and deeply satisfying.
In this comprehensive, step-by-step guide, we’ll walk you through the essential process of installing a roll cage in your track day car. We’ll start from the very beginning, covering crucial preparatory measures, gathering the necessary tools, and meticulously preparing your vehicle. The first half of our journey will focus on laying a solid foundation: from the precise positioning of the main hoop to the secure integration of the seat crossmember, ensuring every initial placement is perfect before you commit to welding. Let’s dive in and transform your vehicle into a safer, higher-performing contender.

1. **Thorough Preparation and Safety First**Before a single cut is made or a weld is struck, the most critical requirement for a successful roll cage installation is to “take your time and use good common sense.” This isn’t just a suggestion; it’s the bedrock of a safe and effective build. Begin by reading the complete instructions thoroughly, familiarizing yourself with every step and nuance of the process.
Simultaneously, you must inspect the package contents against the Bill of Materials to ensure you have all the required components. S&W Performance Group roll bars and roll cages, for instance, are shipped with engravings that act as invaluable aids for customer installation, precision-cut for an extremely tight fit. Understanding these component codes, such as ST for straight cut or 90CP for a 90-degree cope, will streamline your identification process.
Always refer to your racing organization’s rule book for specific installation guidelines or regulations. These rules often dictate materials and welding processes. For example, sanctioning body rules mandate that every chromoly roll bar or roll cage be TIG welded, while mild steel bars and cages permit either MIG or TIG welding. Ensuring you use the approved welding process is a shared responsibility between you and your installer.
Remember, your workmanship directly impacts the ultimate strength of the chassis. If, at any point before or during the installation, you encounter a question or feel unsure, it is imperative to STOP. Reach out to the technical line for clarification, as seeking expert advice can prevent costly mistakes and ensure the integrity of your safety device.
Read more about: Queens of Convenience: A Nostalgic Look at 11 Essential 1950s Kitchen Gadgets That Defined Home Life
2. **Gathering Essential Tools**”Quality Work Requires the Proper Tools,” and this couldn’t be truer for a roll cage installation. Begin by assembling your common hand tools, including a gasket scraper, which can be surprisingly useful for cleaning surfaces. Beyond the basics, you’ll need precise measuring tools such as a tape measure, a carpenter’s square, a level, and a felt tip pen or soapstone for accurate markings.
For cutting and shaping the metal tubing, a robust set of cutting tools is essential. This includes a bench grinder, hand grinder, and belt sander for fine-tuning, alongside a tubing notcher for creating precise fitments. For heavier cuts, an oxy-acetylene torch or a power hacksaw will prove invaluable. Remember, if a torch is used for initial notching, make the cut small to allow for complete dressing before welding.
When it comes to welding, your choice of equipment will depend on the roll cage material. If you purchased an electronic weld seam (EWS) mild steel roll bar or roll cage, MIG welding is recommended. However, if your kit is chromoly (4130) steel, TIG welding is mandatory as per sanctioning body rules. Ensure your welder is appropriate and that you are proficient in its use, or seek professional assistance.
Beyond the primary tools, consider optional but helpful equipment like six jack stands and a floor jack for raising and supporting the vehicle. Crucially, always prioritize safety by wearing eye protection, welding gloves, and a welding helmet. Performing this intricate work in a dry, well-lit area with a level or near-level floor is also paramount to achieving the best results and ensuring your safety throughout the process.
Read more about: Queens of Convenience: A Nostalgic Look at 11 Essential 1950s Kitchen Gadgets That Defined Home Life
3. **Preparing Your Vehicle’s Interior**The first element of a successful installation is to have a correct overview of the job, and this begins with meticulous preparation of your vehicle. You need to create a clean, safe, and accessible workspace within the car’s interior. This involves removing all seats, carpets, carpet pads, the headliner, and any other potentially flammable materials that could pose a fire hazard during welding or grinding.
Beyond just removing materials, you must also address the electrical systems. Carefully remove or thoroughly protect all electrical wires or switches that might be damaged by the cutting or welding processes. Sparks, heat, and accidental nicks can cause significant issues, so taking the time to secure these components now will save considerable headaches later.
It is not always necessary to raise the car for this installation, but whether it is raised or not, it is absolutely critical that the vehicle remains level. If the car is raised, it is paramount that it is not drooping at any point when chassis components are being installed. Any droop in the car’s structure will become permanent once the cage is welded and finalized, leading to potential chassis tuning and handling problems down the line.
While you are leveling and supporting the car, a practical trick is to keep a close eye on the door alignment. This serves as an excellent visual indicator of whether or not the car is drooping or flexing. Additionally, for any mounting locations on the floor, ensure they are thoroughly cleaned—free of paint, carpet glue, sound deadener, and rust—to allow for a solid, secure bond for your roll cage components.
Read more about: Navigating the Wild: The Best 2025 SUVs Packed with Off-Roading Prowess for American Adventurers

4. **Initial Main Hoop Assessment and Fitting**The main hoop is the foundational element of any roll cage, primarily designed to protect the driver from impact without obstructing vision. Before attempting to install it, you must perform a critical assessment. If your S&W Performance Group cage kit was shipped via a freight company, there’s a slight chance the main hoop (and roof hoop) could have been twisted during transit. Check for flatness by laying it down on a flat surface and straighten it out now if necessary.
With the main hoop confirmed flat, the next step is determining its precise position within the vehicle. This is a crucial safety and appearance consideration. Have the driver sit in the car with a helmet on, and adjust the main hoop’s position so that its forward edge is no more than 6 inches from the back of the helmet. This ensures optimal driver protection while maintaining adequate clearance.
Once the fore-aft position is set, measure from the mounting location on the floor to the roof to determine the required height of the main hoop. It will likely be necessary to cut the bottom of the main hoop’s legs on an angle to perfectly match the contour of the vehicle’s floor. Remember, precision here is key for both safety and structural integrity.
After the legs have been cut, perform a trial fit of the main hoop. Carefully position it and ensure that the top is perfectly level. For aesthetic purposes, try to align the vertical portions of the main hoop with the door pillar, ideally along the window seam. Further refine its side-to-side position by measuring evenly from the outer edges of the hoop to the door jams, confirming it is centered and square within the cabin.
Read more about: Gene Kelly’s Final Curtain: A Deep Dive into His Later Years, Private Choices, and Enduring Legacy
5. **Integrating the Seat Crossmember**With the main hoop securely positioned, the next critical component to address is the seat back crossmember. This element serves multiple vital functions, providing a secure mounting location for harnesses and enhancing the structural rigidity of the cage. Determining its correct height is paramount: it should be installed level, positioned so that it is not above the driver’s shoulders, and no more than 4 inches below them.
Crucially, the seat back crossmember must also be installed below the point where the door bar will eventually meet the main hoop. This spatial relationship ensures proper integration of all cage components and avoids interference. It’s also important to note that some sanctioning bodies have specific requirements for shoulder belt angles, often stipulating a range between 0 and 15 degrees down when attached to the seat crossmember. Always consult your racing rule book for these details.
After establishing the ideal height and ensuring a preliminary fit of the crossmember within the main hoop, it may be necessary to trim and refit one end of the crossmember tube. This fine-tuning ensures a tight, flush connection, which is vital for weld integrity and overall cage strength. Take your time during this adjustment phase, as an accurate fit now will simplify the welding process later.
Once you are completely satisfied with the fit and position of the seat back crossmember, carefully mark its location on the main hoop. These marks will serve as your guide for tack welding, ensuring that when the components are joined, they maintain their precise orientation. This step completes the preparation for securely attaching the crossmember, a key element in both driver safety and chassis performance.
Read more about: Rust Never Sleeps: 14 Truck Platforms That Battled Early Corrosion (And Some That Lost)
6. **Securing the Main Hoop and Crossmember**Once the optimal position for the seat crossmember within the main hoop has been precisely determined and marked, the next step is to temporarily remove this assembly from the car. This allows for critical preparation of the mounting surfaces, which is fundamental for a strong and safe installation. For unibody vehicles, you’ll now form two of the provided 6×6 floor plates to precisely match the contour of the floor directly underneath where the main hoop will be situated.
To achieve this, you can tack weld one edge of the plate to the floor, then carefully form the rest of the plate to follow the contours of the stock floor and rocker panel. This custom shaping ensures maximum contact area for welding. Regardless of your vehicle’s construction, the mounting location on the floor must be impeccably clean—completely free of paint, carpet glue, sound deadener, and any rust. A pristine surface is non-negotiable for a reliable weld.
If you are working with a full-frame vehicle, the process differs slightly. You will need to cut an access hole in the floor directly above the frame rail where the main hoop will sit. A crucial warning here: “Before cutting through the floor inspect the bottom of the car for any brake lines, fuel lines or electrical wiring that may have to be removed!” Ignoring this could lead to serious damage or safety hazards. Once cleared, the frame rail mounting location must also be clean and free of paint or rust.
With the mounting surfaces prepared, tack weld the seat crossmember to the main hoop while it’s still outside the car, if you haven’t already. Then, carefully re-position the main hoop assembly back into the car, double-checking its precise location and alignment. Once you are absolutely satisfied with its placement, carefully tack weld the main hoop in place, securing its legs to either the newly formed floor plates (for unibody) or directly to the frame rails (for full-frame vehicles). These initial tack welds are critical for holding the structure as you progress through the remaining installation steps.
Now, let’s continue with the structural integration, building upon the perfectly positioned main hoop and seat crossmember. This next phase is about transforming those foundational elements into a comprehensive safety structure, adding the crucial braces and supports that tie the entire chassis together for unparalleled rigidity and driver protection. Each step requires meticulous attention to detail, ensuring that every tube is precisely fitted and securely joined, aligning with the highest standards of performance and safety.
7. **Rear Brace Installation**With the main hoop and seat crossmember securely tacked, the focus shifts to the rear braces—vital components that connect the main hoop to the rear of the vehicle. These braces play a critical role in strengthening the car, linking the central safety structure to the chassis’s rear. For optimal performance and safety, it is imperative that these tubes are installed parallel to each other and positioned directly over the rear frame rails or subframe. Begin by placing the front end of each brace against the main hoop, then carefully set the back end onto the frame rail or stock floor to check the fit.
The installation method for the rear braces varies slightly depending on your vehicle’s construction. If you are working with a unibody vehicle, the rear of the brace will sit directly on the stock floor. In this scenario, you must install a 6″ x 6″ floor plate between the brace and the floor. This plate distributes the load over a larger area, reinforcing the mounting point and preventing the brace from tearing through the thinner floor pan in an impact. For full-frame vehicles, an access hole must be cut through the floor directly above the frame rail, allowing the brace to be welded directly to the stronger chassis component.
While S&W Performance Group often supplies rear braces with pre-cut ends, some final fitting may still be necessary. Your goal is to minimize any gaps between the brace and the main hoop, as well as at the rear mounting point, to ensure a strong, continuous weld. Work carefully, taking small material removal steps until you are satisfied with the fit, then tack weld the braces firmly in place. It’s worth noting that some applications feature a bend at one end of the rear brace; this bend is typically positioned closest to the main hoop, so be mindful of orientation during installation.
Read more about: Your Ultimate Guide: 12 Essential Strategies to Shield Your Car’s Interior from Sun Damage and Summer Heat
8. **Lateral Frame Support Installation**To further enhance chassis stiffness and improve the vehicle’s responsiveness to tuning changes, the lateral frame supports are indispensable additions. These braces are designed to significantly reduce chassis flexibility, ensuring that your car reacts more predictably on the track and translates power more efficiently. They span from the critical junction of the seat crossmember and the main hoop, extending down to the frame rails or floor pan, ideally near key suspension mounting points such as the ladder bar or four-link brackets.
When installing these supports, particular attention must be paid to their mounting locations. If the lateral frame supports are to be installed on the floor pan or transmission tunnel, it is an absolute requirement that they be welded to robust 6″ x 6″ x 1/8″ steel plates. These plates serve as vital load spreaders, preventing localized stress concentrations and ensuring that the force from the roll cage is distributed across a broader area of the chassis. This reinforcement is critical for both the integrity of the cage and the vehicle’s structural longevity.
The notching required for the lateral frame supports, particularly at the seat crossmember and main hoop junction, is more intricate than a standard 90-degree cut. This compound notch demands precision and patience. It’s a wise practice to create a paper pattern first, meticulously transferring the complex contours to the metal tubing before making any cuts. This method minimizes errors and ensures a tight, flush fit, which is paramount for the strength of the weld. Once satisfied with the fit, carefully tack weld these supports into their designated positions, reinforcing the chassis’s reaction time and overall stability.
Read more about: Redefining Defense: The 500 kW Laser and the Global Surge in High-Energy Weaponry Development

9. **Door Bar Installation**The door bars are among the final, yet profoundly critical, components to be integrated into your roll cage structure, providing essential side-impact protection for the driver. It’s crucial to remember that if you are planning to install a 10-point roll cage or other cage accessories, those steps should be completed first before proceeding with the door bars. The standard door bar design typically involves a continuous bar that spans from the main hoop to the forward floor area of the passenger compartment. Some door bars incorporate a strategic bend to provide additional room for the driver, and this bend is typically positioned closest to the main hoop, requiring careful consideration during trimming and fitting.
For drag racing applications, specific safety regulations dictate the placement of the door bar: it must pass by the driver at a point situated between the shoulder and the elbow. To ensure this critical placement, the driver should be seated in the car, wearing a helmet, allowing for precise marking of the door bar’s intended location on the main hoop. Once this rearward point is established, the front of the door bar should be fitted first. The location for the front of the door bar differs based on whether you are installing an 8-point roll bar or a more comprehensive 10-point roll cage.
For an 8-point roll bar, the front of the door bar is typically located on the area of the floor where the firewall begins its upward kick. Alternatively, placing the bar directly on the firewall is acceptable, provided it remains as close to the floor as possible. If your vehicle is a unibody, the front of the door bar will sit on a floor plate that you’ve previously fitted into place. For full-frame vehicles, you’ll need to cut an access hole in the floor above the frame rail, allowing the front of the door bar to be securely located and welded onto the frame rail itself.
When transitioning to a 10-point roll cage installation, the procedure for the front of the door bar is slightly different, connecting to other structural elements for enhanced rigidity. In this configuration, you would skip to the ‘Windshield Post Runner Installation’ and ‘Dash Crossmember Tube Installation’ first, then return to this step. The front of the door bar in a 10-point cage is precisely located at the bottom of the windshield post runner where it meets the floor plate. For unibody vehicles, this entails cutting an access hole above the frame rail and notching the front of the door bar so it can be welded to both the floor plate and the windshield post runner. In full-frame vehicles, an access hole is cut above the frame rail, and the front of the door bar is notched and fitted to be welded to both the frame rail and the windshield post runner.
Finally, with the front properly situated, carefully notch the back of the door bar to achieve a snug fit against the main hoop. This type of compound notch requires a deliberate approach; mistakes can happen quickly, so work slowly and meticulously. Once you are satisfied with the fitment of both ends, tack weld the door bars securely in place. If you are installing an S&W Performance Group 8-point roll bar, completing this step means you can now perform a thorough check of all your work and proceed to the final welding of all tubes and plates.
Read more about: Unleash Your Inner Mechanic: 15 Essential DIY Car Hacks to Save a Fortune on Maintenance

10. **Roof Hoop Installation**The roof hoop is a critical component of a full roll cage, often mistakenly overlooked during final welding stages. It is absolutely essential that all areas of the upper cage structure, including the roof hoop and its connections to the A-pillars and main hoop, receive complete and thorough welds. Just as you did with the main hoop, begin by checking the roof hoop for flatness by laying it on a flat surface. If any twisting occurred during transit, it’s crucial to straighten it out at this stage to ensure proper fitment and structural integrity.
The precise positioning of the roof hoop is paramount for both safety and driver visibility. It should be installed so that its forward edge is perfectly level and pushed as high as possible into the vehicle’s roofline. Critically, it must not impede the driver’s vision or create any obstructions. To determine the necessary length, measure the distance from the main hoop to where the front edge of the roof hoop will be located. When marking the cut to shorten the roof hoop, remember to add approximately 5/8″ to account for the depth of the notch that will connect it to other tubes. Once the length is set, carefully notch the rear of the roof hoop to precisely match the contour of the main hoop, ensuring a tight, gap-free fit for welding.
Holding the roof hoop in place while tack welding can be challenging, especially if you are working alone. Several practical methods can assist you in this task. One effective technique is to tie a rope around the hoop and suspend it from the roof of the car, allowing for minor adjustments. Another strategy involves cutting a piece of wood to the exact length needed and using it to brace the front of the roof hoop against the floor or another secure point. Once the roof hoop is carefully positioned and tack welded into place, take a moment to recheck its location and the overall fitment one last time, ensuring everything is square and level before proceeding to additional components.
Read more about: Unlock Your Digital Shield: 15 Essential Cybersecurity Tricks Everyone Needs to Master Today

11. **Windshield Post Runner and Dash Crossmember Installation**With the roof hoop in place, the windshield post runners become the next vital elements, supporting the front of the roof hoop and further integrating the front of the cage into the chassis. Their precise position has a direct relationship to the driver’s visibility, so careful placement is key. Aim to space these tubes as far apart as possible, pushing them as close to the vehicle’s A-pillars (the structural braces on the side of the windshield) as practical. If you anticipate installing front frame supports later, make sure to leave sufficient space around these joints to allow for complete and unhindered welding.
For unibody vehicles, you’ll need to determine the exact location of these tubes and precisely where they will meet the floor. Once marked, thoroughly clean the floor surface and then install another set of 6″ x 6″ floor plates, forming them to the floor’s contour as you did for the main hoop. When notching these tubes, take great care to ensure a perfect, all-around fit at both the roof hoop and windshield post runner junction. A meticulous notch guarantees maximum contact for a strong weld. After achieving the ideal fit, tack weld the windshield post runners securely in place.
If you are installing this roll cage in a full-frame vehicle, the process for the windshield post runners involves determining their location and where they will pass through the floor. Once marked, cut an access hole in the floor directly over the frame rail, allowing the tubes to extend down and be tack welded directly to the frame. This direct connection to the robust frame rail provides superior structural integrity and direct load transfer in the event of an impact, enhancing both safety and performance by further stiffening the chassis.
Finally, the dash crossmember tube is integrated between the windshield post runners, offering both safety and performance benefits. From a safety standpoint, this brace significantly supports the door braces and windshield post runners, reinforcing the cabin structure in the event of a side impact. Performance-wise, it actively reduces chassis twist, making the car more responsive to tuning changes and improving overall handling. The height of this tube is flexible, depending on the placement of your windshield post runners, and can be positioned either below or behind the vehicle’s dashboard, maintaining a clean interior while providing its crucial structural advantages.
12. **Final Completed Welding**After all the individual components of your roll cage—the main hoop, seat crossmember, rear braces, lateral frame supports, door bars, roof hoop, windshield post runners, and dash crossmember—have been meticulously fitted, notched, and securely tack welded into their correct positions, the moment arrives for the final, comprehensive welding. This stage is where all temporary connections are transformed into permanent, load-bearing joints, solidifying the entire structure into a cohesive safety cell. Take your time to carefully inspect every tack weld and joint one last time, ensuring that all tubes are installed exactly to your satisfaction and meet all dimensional requirements.
It is important to consider your future plans for the vehicle before embarking on the final welding. If you intend to perform “tin work”—custom metal fabrication for interior panels or enclosures—you might find it advantageous to delay the final welding of certain components, such as the door braces and rocker bars. Temporarily leaving these elements only tack welded can provide considerably easier ingress and egress from the car, simplifying the installation of interior panels, wiring, and other modifications. Once the tin work is complete, you can then return to fully weld these components, ensuring a clean and professional finish.
Read more about: Dusty Relic to Road-Worthy Legend: Your Ultimate Guide to Reviving a Classic Car After Years in Storage
Ultimately, the quality of your final welding directly dictates the strength and effectiveness of your roll cage as a safety device and a chassis-stiffening performance component. Before striking that final arc, conduct one last, thorough review. Confirm that every tube is securely in its intended position, that all notches are clean, and that gaps are minimized for optimal weld penetration. This diligent approach ensures that the roll cage will perform its vital functions precisely as designed, providing maximum protection and enhancing your vehicle’s performance on the track for years to come. Your patience and precision throughout this entire installation process will be rewarded with a robust, reliable, and confidence-inspiring safety structure.


