

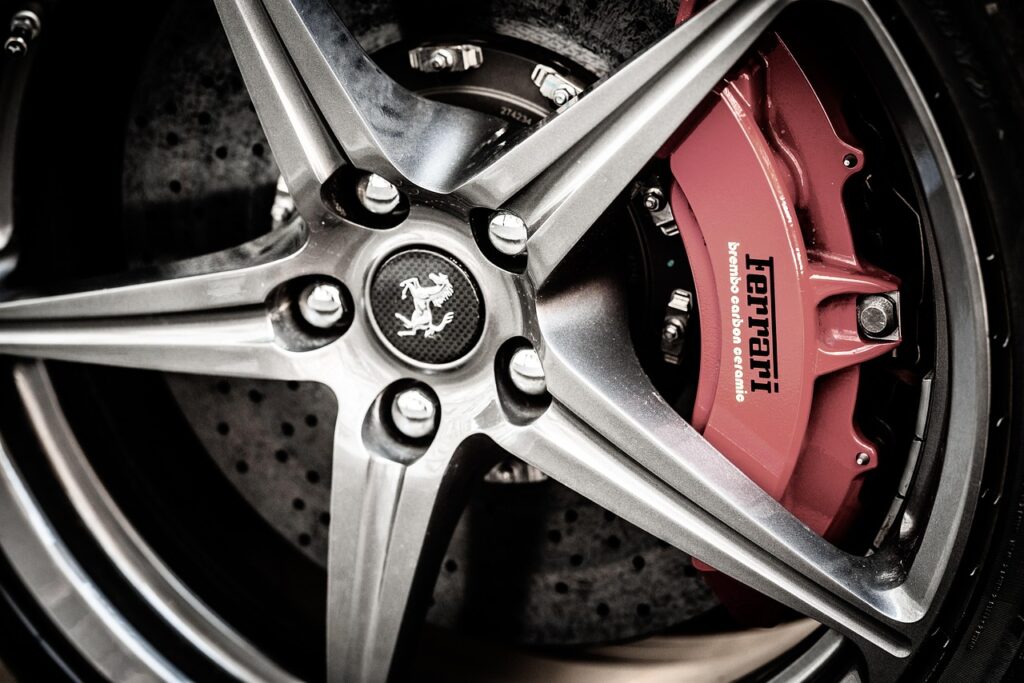
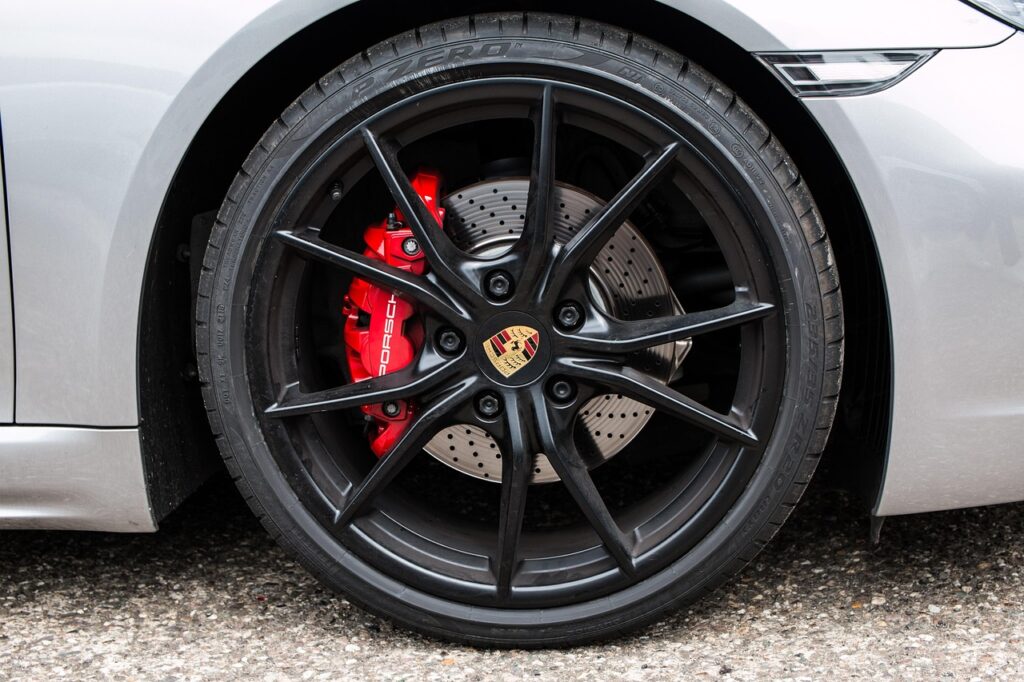
Ever found yourself admiring a car cruising by, its wheels accentuated by a vibrant pop of color peeking through? Chances are, you’ve just witnessed the striking effect of custom-painted brake calipers. It’s a subtle yet incredibly impactful detail that can transform your vehicle’s aesthetic, elevating it from standard to truly personalized. This isn’t just a trend reserved for high-end sports cars; it’s a DIY project that any car enthusiast can tackle to give their ride a unique and distinguished edge.
Beyond the undeniable visual appeal, painting your brake calipers offers practical benefits too, making it a truly rewarding endeavor. A fresh coat of specialized paint acts as a protective shield, warding off the relentless assault of road debris, moisture, and the corrosive elements that brake calipers frequently endure. This protection can extend the lifespan of these crucial components, preventing premature wear and tear that might otherwise go unnoticed until a more significant issue arises.
In this in-depth guide, we’re going to unlock the simple yet professional secrets to painting your brake calipers. We’ll walk you through everything from selecting the right materials and preparing your workspace to the detailed steps of surface preparation, ensuring you achieve a flawless, durable finish. Get ready to dive into a project that promises not only to enhance your car’s appearance but also to empower you with new skills and a sense of accomplishment. Let’s make those calipers shine!
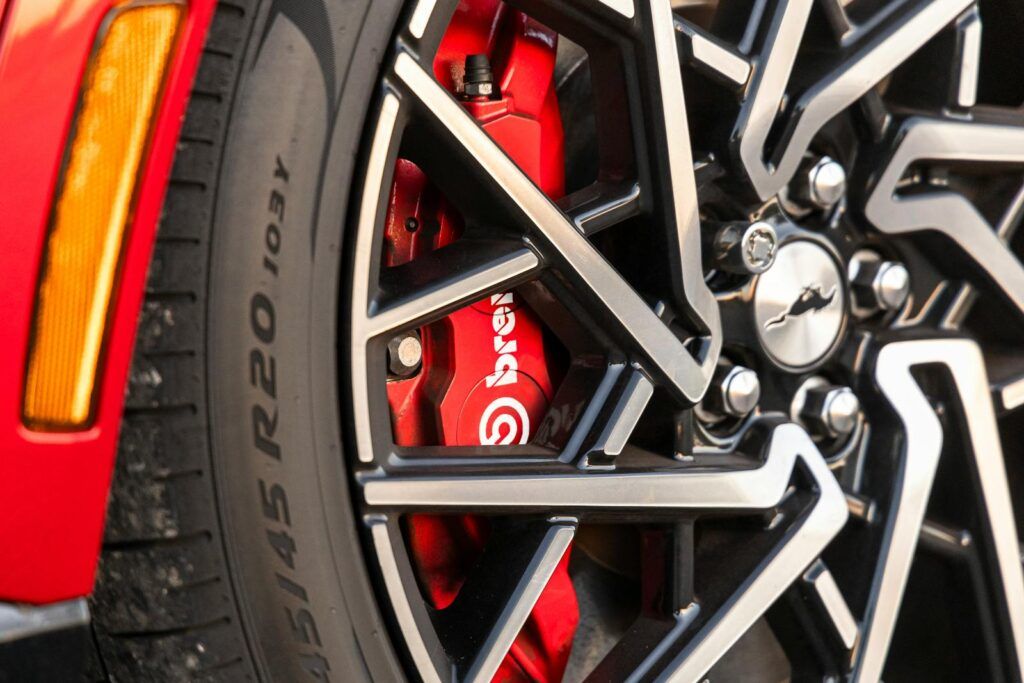
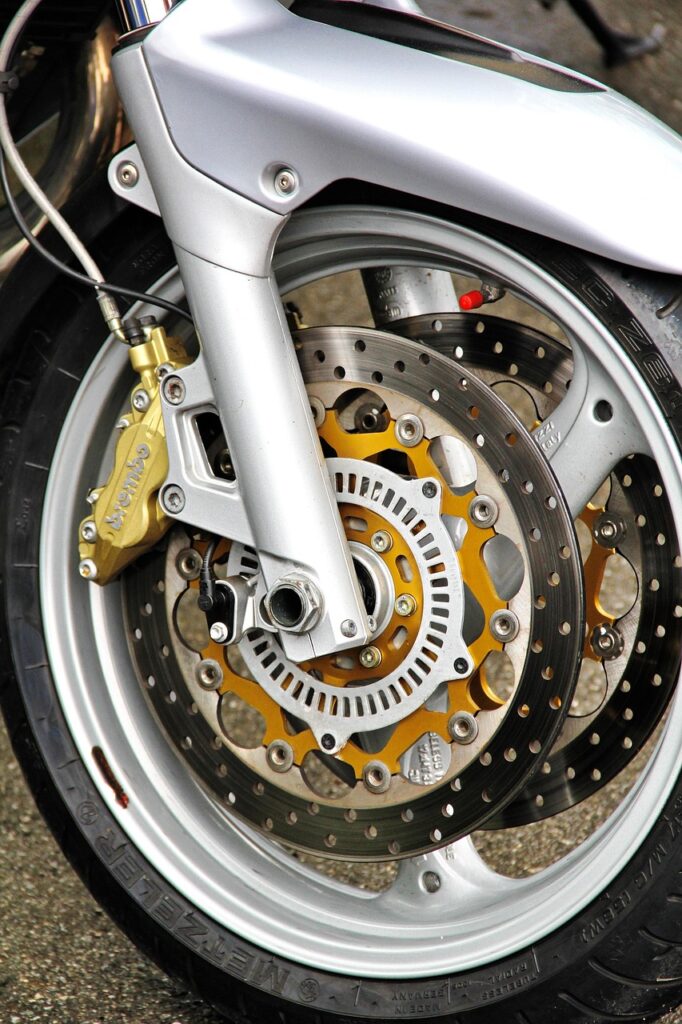
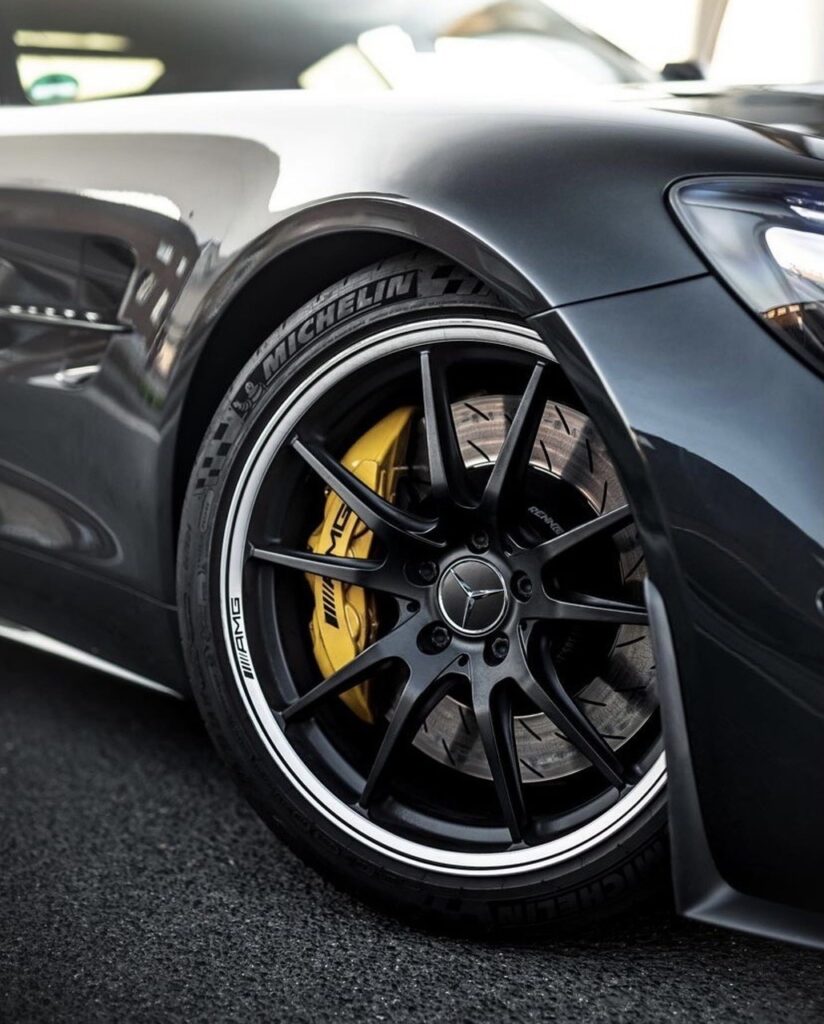
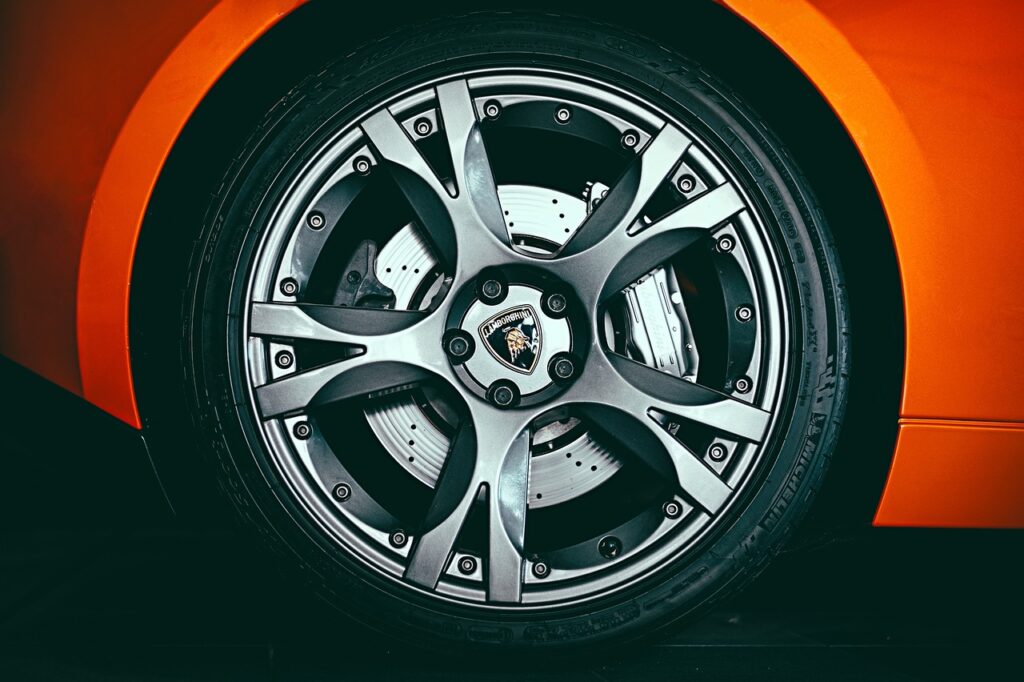
1. **Why Paint Your Brake Calipers?**Painting your brake calipers is far more than a mere cosmetic whim; it’s a strategic enhancement that offers a dual benefit of improved aesthetics and crucial protection. Imagine your car with wheels that perfectly complement a vibrant splash of red, blue, or even gold, giving it a distinctive, high-performance look. This personalization, often seen on luxury and sports models, is now within reach for any vehicle, adding that extra flair of customization that truly reflects your unique style and passion for your ride.
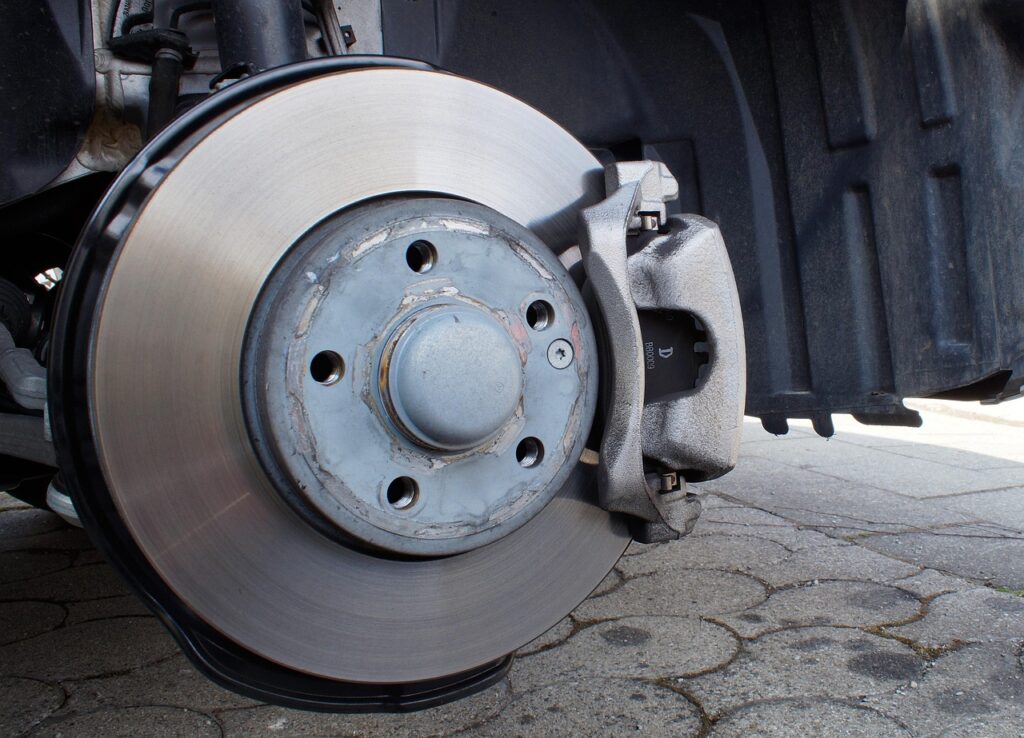
The practical advantages of painting calipers are equally compelling. Brake calipers are constantly exposed to some of the harshest conditions a vehicle encounters: extreme heat generated during braking, persistent road debris, and corrosive moisture. Over time, these elements can lead to rust and wear, compromising the integrity and appearance of the calipers. High-quality, specialized paint forms a robust barrier against these factors, significantly preventing corrosion and extending the overall lifespan of these critical braking components.
For original equipment manufacturers (OEMs) and auto brake suppliers, offering pre-painted or coated calipers has emerged as a valuable upsell opportunity, catering to a growing demand for both performance and styling. Even for the DIY enthusiast, this project provides a budget-friendly alternative to costly aftermarket upgrades, allowing you to achieve a premium, customized look without breaking the bank. It’s an investment that pays dividends in both visual appeal and long-term component health.
Moreover, a fresh, well-maintained paint job on your calipers can serve as an early indicator of potential issues. Chipped, faded, or bubbling paint might signal a problem with the caliper itself, such as excessive heat buildup or fluid leaks, prompting you to investigate before a minor issue escalates. Thus, painting your calipers not only makes your car look fantastic but also contributes to its overall well-being and your proactive maintenance efforts.
2. **Gathering Your Essential Supplies**Embarking on any DIY project starts with meticulous preparation, and painting brake calipers is no exception. Having all your tools and supplies ready before you begin is paramount to a smooth, efficient, and successful outcome, saving you time and frustration down the line. A well-organized workspace equipped with the right materials ensures you can focus on the task at hand without interruptions.
The cornerstone of your toolkit will be a high-temperature brake caliper paint kit. It’s crucial that this paint is specifically designed to withstand temperatures of at least 500°F to 900°F, ensuring it won’t bubble, discolor, or flake under the extreme heat generated by your braking system. These kits often come complete with everything you need, simplifying the selection process, but if purchasing items individually, ensure the paint is rated for continuous heat, ideally 900°F.
Beyond the paint, you’ll need a robust brake cleaner to meticulously remove any dirt, grease, or stubborn brake dust that can sabotage paint adhesion. Masking tape or painter’s tape, along with plastic sheets or newspaper, will be indispensable for protecting surrounding components from overspray. A wire brush or various grits of sandpaper (from 80-120 for initial rust removal to 220-400 for smoothing) will be essential for surface preparation, creating the ideal texture for paint adhesion.
For your safety and comfort, never overlook personal protective equipment: a sturdy pair of gloves to protect your hands from chemicals and paint, and safety glasses to shield your eyes. To safely access your calipers, you’ll require a car jack and jack stands for secure vehicle elevation, along with a lug wrench for wheel removal and a torque wrench for proper wheel reinstallation. Clean cloths or rags will also be handy for wiping down surfaces throughout the process.
Read more about: Redefining Defense: The 500 kW Laser and the Global Surge in High-Energy Weaponry Development
3. **Choosing the Right High-Temperature Paint**Selecting the correct paint is arguably the most critical decision in your brake caliper painting project, directly impacting the durability, finish, and safety of your customization. This isn’t a job for just any automotive paint; brake calipers operate under conditions that demand a specialized product capable of extreme heat resistance. Therefore, your primary consideration must be a high-temperature paint specifically formulated for brake calipers, often capable of withstanding temperatures ranging from 500°F to an impressive 900°F, ensuring it will not fade, peel, or bubble under aggressive driving or everyday use.
Once the functional requirements are met, you can indulge in the exciting world of color. While classic red remains a popular choice for its sporty and performance-oriented aesthetic, don’t hesitate to explore other hues that truly complement your car’s overall color scheme and your personal taste. Many brands offer a spectrum of options, including metallic or glossy finishes, allowing for a truly unique and customized look that makes a statement. Consider how the color will interact with your wheel design and body paint.
The quality and brand reputation of the paint are also significant factors. Investing in a reputable brand known for its automotive finishes will yield a better, more consistent finish and ensure the paint’s longevity under harsh conditions. High-quality paints typically offer superior adhesion, color retention, and resistance to chipping, validating your investment with a professional-looking result that stands the test of time and exposure to road elements and braking heat.
Furthermore, consider the ease of application relative to your skill level. Some brake caliper paints are available in convenient spray cans, offering a quick and even application, while others might come in brush-on formulas or require specialized equipment like a spray gun for a more refined finish. Opt for a product that aligns with your comfort and experience with painting techniques. Lastly, review the drying time specifications; quick-drying paints can significantly reduce the overall project duration and minimize the risk of dust or debris settling on wet surfaces, leading to a cleaner final product.
Read more about: Your Ultimate Guide: 14 Rust-Resistant Gas Grills and Essential Tips for Lasting Durability
4. **Selecting Your Painting Location for Safety and Quality**The environment in which you undertake your brake caliper painting project is just as crucial as the quality of your supplies and your technique. A carefully chosen workspace directly influences both your safety and the professional quality of the final finish. Prioritizing a location with ample ventilation is non-negotiable, as you’ll be working with brake cleaners and paints that emit fumes. Proper airflow ensures these fumes dissipate, preventing inhalation and creating a safer breathing environment for you throughout the task.
Alongside ventilation, good lighting is paramount. A well-lit area allows you to clearly see every surface of the caliper, ensuring thorough cleaning, sanding, and especially the even application of paint. Shadows can hide imperfections or lead to missed spots, resulting in an uneven or subpar finish. Whether it’s natural daylight or strong artificial lights, make sure your workspace is bright enough to meticulously inspect your progress at every stage, from initial preparation to the final coat.
Furthermore, consider the physical space you have available. You’ll need enough room to move around your vehicle comfortably, access each wheel and caliper without strain, and safely position your car on jack stands. Adequate space also helps in preventing accidental bumps or spills, which can compromise your work or create a hazardous situation. A clear, uncluttered area contributes to an organized and efficient workflow, making the entire process more enjoyable and less prone to errors.
Finally, the ambient temperature of your chosen location plays a role in paint application and curing. Many paints perform best when applied within a specific temperature range, typically between 60°F and 85°F, to ensure proper coverage and adhesion. Extremely cold or hot conditions can affect the paint’s consistency, drying time, and ultimately its durability. Choosing a period of steady, moderate weather, or working in a temperature-controlled garage, will help achieve optimal results for curing and longevity.
Read more about: Truck Showdown: Ford F-150 vs. Chevy Silverado – Dissecting Long-Term Reliability for Informed Buyers
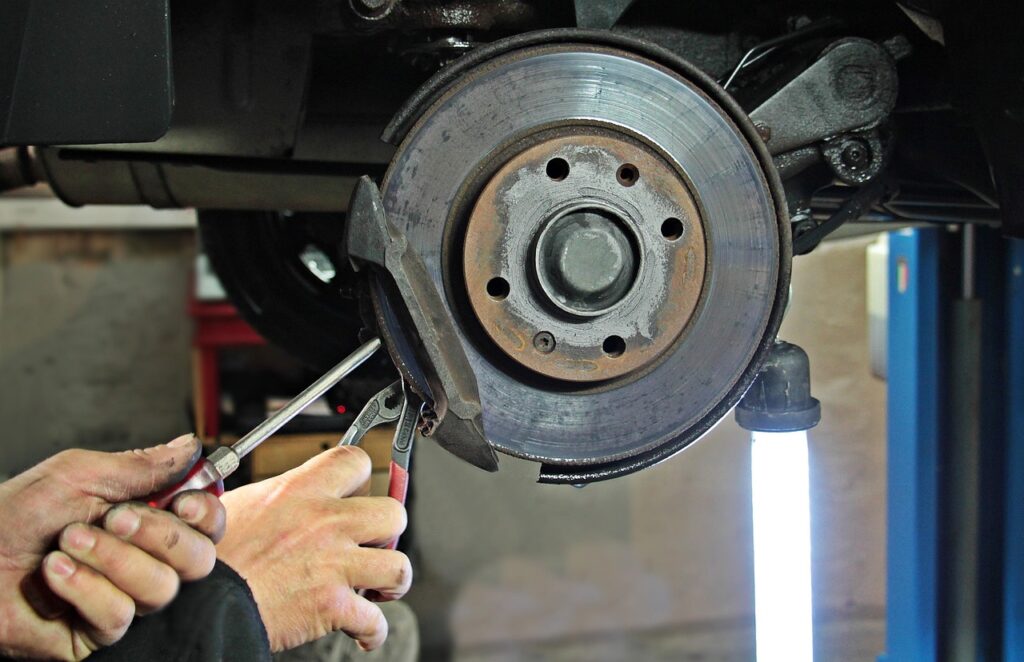
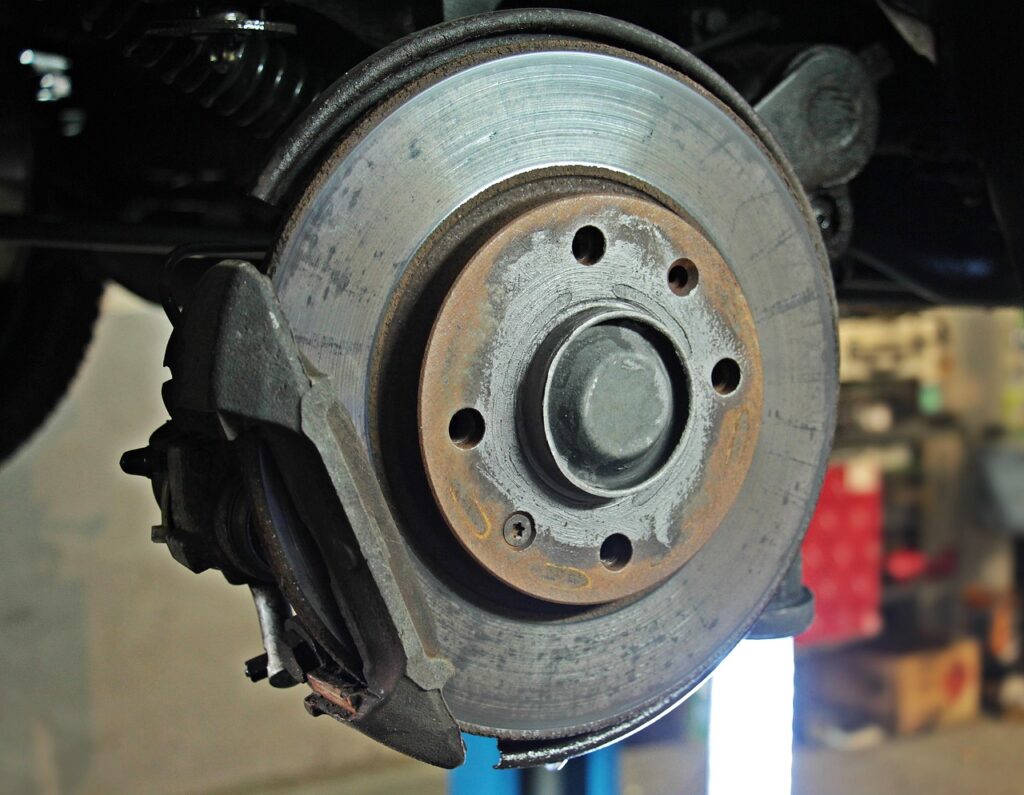
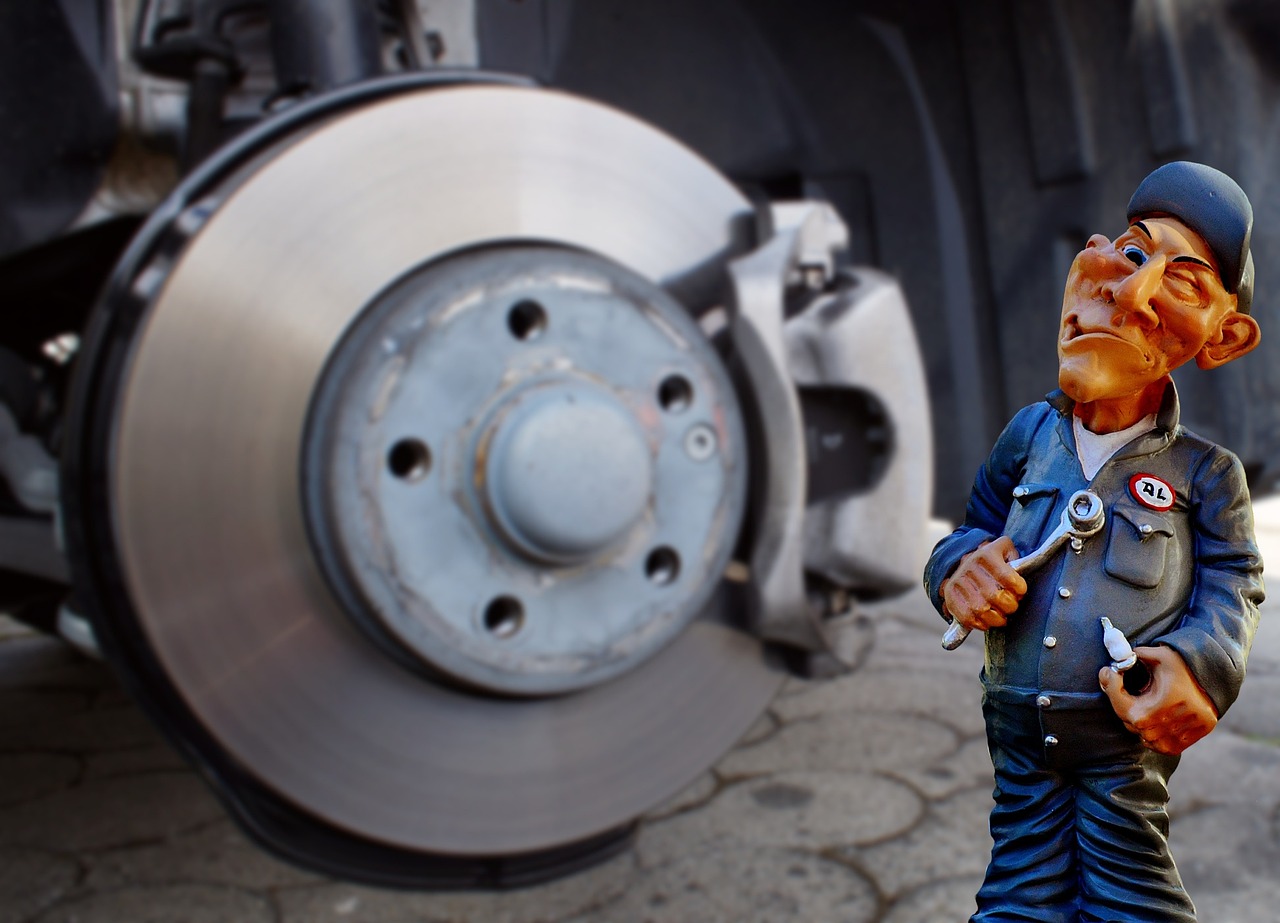
5. **Safely Removing Your Brake Calipers**Before any cleaning or painting can commence, the critical first step is to safely access and, in most cases, remove your brake calipers. This phase demands careful attention to detail and adherence to safety protocols, as it involves lifting your vehicle and manipulating vital braking components. The overarching goal is to gain full access to the caliper surfaces while maintaining the integrity of your brake system and ensuring your personal safety throughout the process.
Begin by securing your vehicle. Engage the parking brake firmly and, if possible, chock the wheels that will remain on the ground to prevent any accidental movement. Next, slightly loosen the lug nuts on the wheel you plan to remove – just a quarter turn – before lifting the car. This makes full removal much easier once the wheel is off the ground. Once loosened, use a hydraulic jack to carefully lift the car, then immediately place sturdy jack stands under appropriate support points on the vehicle’s frame. Never, under any circumstances, rely solely on the jack to hold the car up; jack stands are your essential safety backup.
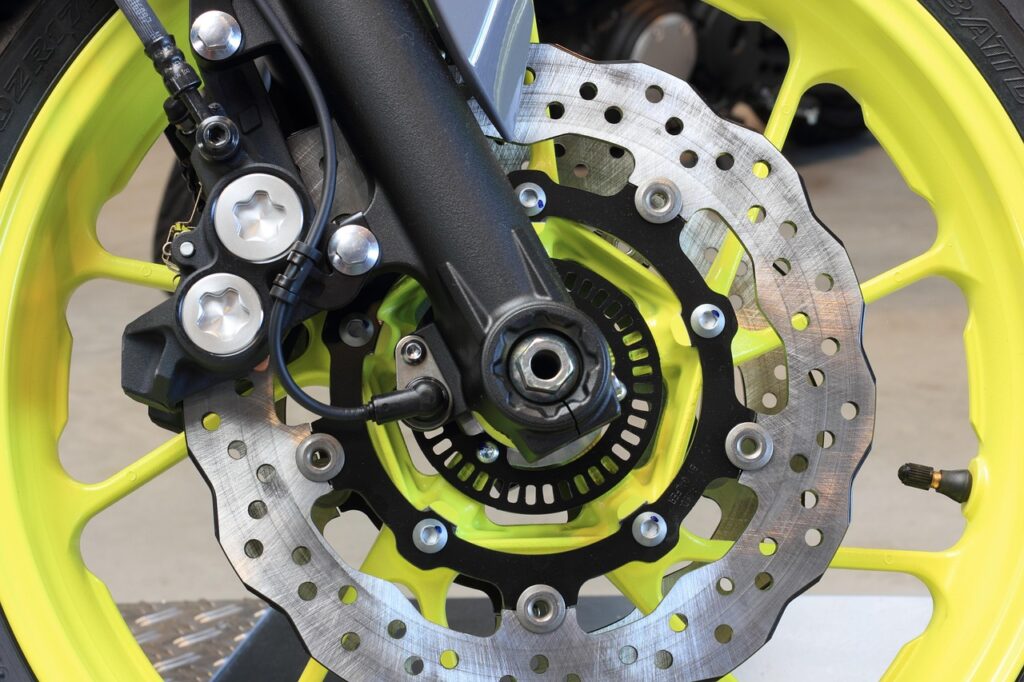
With the car securely elevated, you can now fully remove the wheel using your lug wrench. This will expose the brake assembly, including the caliper, rotor, and pads. For painting, it is highly recommended to remove the caliper completely. You’ll typically find it secured by one or two bolts. Using the appropriate socket set or wrench, carefully unbolt the caliper from its mounting bracket. The critical advice here, often overlooked, is to avoid disconnecting the brake hose from the caliper unless absolutely necessary. Disconnecting the brake line can introduce air into the brake system, necessitating a brake bleed, which adds an extra, more complex step to your project.
Once unbolted, gently support the caliper to prevent it from hanging by the brake line, which can cause damage. You can use a bungee cord, wire, or a sturdy hook to suspend it from a nearby suspension component, ensuring the brake hose is not under tension. With the caliper detached and safely supported, you’ve successfully completed the removal process, setting the stage for thorough preparation. Remember to work on one wheel at a time if you have limited jack stands, ensuring consistent progress and safety.
Read more about: Is Your Toyota Affected by Urgent Safety Recalls? A Deep Dive into Critical Braking Components and Other Key Issues
6. **Initial Cleaning and Sanding for Optimal Adhesion**With your brake calipers safely removed and secured, the next crucial phase is the meticulous cleaning and surface preparation, which directly dictates the quality and longevity of your paint job. Any residual dirt, grease, rust, or old paint will act as a barrier, preventing the new paint from adhering properly, leading to flaking, bubbling, or an uneven finish. This step is about creating a pristine canvas for your chosen color.
Begin with a thorough cleaning using a high-quality brake cleaner. This powerful degreaser is designed to dissolve stubborn brake dust, oil, and grime that accumulate on calipers. Spray the cleaner liberally over all surfaces of the caliper, paying close attention to crevices and mounting brackets. For heavy buildup, use a wire brush or an old toothbrush to scrub away the contaminants, ensuring every speck of debris is dislodged. Wipe down the caliper with clean cloths or rags, repeating the cleaning process until no residue or discoloration appears on your cloth.
Once the caliper is visibly clean, it’s time to create a textured surface for optimal paint adhesion. This is achieved through sanding. Start with a coarser grit sandpaper, such as 80-120, to tackle any existing rust spots, old chipped paint, or significant imperfections. The goal here is to smooth out rough areas and remove loose material, not to remove all the metal. Progress to a finer grit, like 220-400, to create a uniform, slightly scuffed surface. This fine abrasion provides the microscopic ‘teeth’ that the primer and paint need to grip onto securely, ensuring a durable bond.
After sanding, a final wipe-down is essential. Use a clean cloth dampened with rubbing alcohol to remove any sanding dust and remaining oils or residues. This step ensures the surface is absolutely pristine and free of any contaminants that could interfere with paint adhesion. Allow the calipers to dry completely – either by air or with the aid of compressed air if available – before proceeding to masking. Rushing this drying phase can trap moisture beneath the paint, leading to future adhesion issues. Taking your time here will undoubtedly pay off with a professional-looking and long-lasting finish.
Read more about: Customizers Be Wary: 14 Types of Paint Jobs You Should Seriously Think Twice About Choosing for Your Ride
7. **Mastering Paint Application Techniques**With your calipers thoroughly prepared and primed (if using), the moment arrives to bring them to life with color. The technique used during paint application is paramount to achieving a professional, factory-quality finish that not only looks great but also adheres properly under extreme conditions. Patience and precision at this stage will prevent common issues like drips, uneven coverage, and premature peeling, ensuring your hard work yields lasting results.
For most brake caliper paints, especially those in spray cans, the key is to apply multiple light coats rather than attempting one heavy, thick layer. Begin by holding the spray can approximately 6 to 8 inches away from the caliper surface. Use short, controlled bursts and a steady side-to-side motion to ensure an even distribution of paint. This method minimizes the risk of paint running or creating unsightly sags, which can be challenging to correct once dried.
Allow each coat to dry completely before applying the next, typically waiting around 5 to 15 minutes, or as recommended by the paint manufacturer. Applying too quickly can lead to bubbling or a compromised finish, as the solvent from underlying layers might not have fully evaporated. Aim for two to three total coats to ensure solid, opaque coverage, and if you’re painting both sides, allow the first side to dry for about 30 minutes before carefully flipping the caliper to work on the other side.
It’s absolutely crucial to avoid painting any critical areas of the brake caliper. This includes the piston, piston boot, the inside friction surfaces where the brake pads sit, and certainly the brake rotor itself. Paint on these components can interfere with the caliper’s crucial functionality, potentially leading to sticking pistons, uneven brake pad wear, or even dangerous reductions in braking performance. Meticulous masking is your best friend in safeguarding these vital parts.
Once you’ve achieved your desired color and coverage, consider adding a clear topcoat if your chosen paint kit or supplies permit. A high-temperature clear coat provides an additional layer of protection against road debris, chemicals, and UV rays, which helps to preserve the color’s vibrancy and adds an extra glossy sheen. Always follow the clear coat manufacturer’s specific instructions for application and drying times to maximize its protective benefits.
Read more about: Rev Up Your Restoration: The Ultimate Guide to the Best Free Online Forums for Classic Car Enthusiasts
8. **The Art of Curing Your Caliper Paint**Applying the paint is only half the battle; ensuring it properly cures is arguably even more critical for the longevity and resilience of your newly customized brake calipers. Curing transforms the liquid paint into a durable, hardened finish that can withstand the intense heat, moisture, and abrasive conditions your braking system encounters daily. Rushing or neglecting this step can severely compromise your paint job, leading to fading, bubbling, or peeling prematurely.
After your final coat of paint has been applied, it’s essential to allow it to air dry for at least 24 hours before moving on to the curing phase. This initial drying time allows the solvents to fully evaporate and the paint to set, forming a preliminary bond. For many specialized brake caliper paints, achieving full hardness and heat resistance requires a specific curing process, and this is where you’ll refer directly to your paint manufacturer’s instructions, as techniques can vary.
Some high-temperature paints benefit significantly from heat curing. This process often involves exposing the painted calipers to elevated temperatures for a specified duration, effectively “baking” the paint to achieve maximum hardness and heat resistance. For example, some manufacturers recommend placing the calipers in an oven at around 200°F for a couple of hours. If your paint requires this, ensure you follow the exact temperature and time guidelines to prevent damage to the paint or caliper components.
Alternatively, some paints are designed to air-dry and then cure through natural heat cycling once installed on the vehicle. If heat curing isn’t necessary for your chosen product, ensure the calipers are allowed to air-dry in a warm, dust-free environment for the recommended period, which can range from 24 to 48 hours or even longer. This extended air-drying time allows the paint to fully set and achieve its intended durability without external heat assistance.
The importance of proper curing cannot be overstated. A fully cured paint job creates a robust, protective barrier that not only maintains its vibrant appearance but also shields the caliper metal from corrosion, rust, and the damaging effects of brake dust and road salt. It’s this meticulous attention to the curing process that separates a quick cosmetic fix from a truly professional-grade, long-lasting enhancement to your vehicle.
Read more about: Mastering Your Ride: A Comprehensive Guide to Selecting the Perfect Wheel and Tire Combination for Optimal Performance and Safety
9. **Meticulously Reinstalling Your Components**With your calipers beautifully painted and thoroughly cured, the time has come for the careful reinstallation of all brake components. This phase demands precision, as the proper assembly of your braking system is directly linked to your vehicle’s safety and performance. Rushing through reinstallation or overlooking critical details can lead to compromised braking, so take your time to ensure everything is put back together correctly and securely.
Begin by ensuring all brake components—the calipers themselves, brake pads, and rotors—are spotlessly clean. Use a clean cloth dampened with brake cleaner or rubbing alcohol to wipe down any surfaces that might have accumulated dust or contaminants during the painting and curing process. This final cleaning step prevents any debris from interfering with the smooth operation of your brakes and ensures optimal contact surfaces for the pads.
Next, carefully reattach the brake pads into their proper positions within the caliper. If you’re installing new pads, or if the caliper piston has extended, you may need to use a C-clamp to gently compress the piston back into its bore. This action creates sufficient space for the caliper to fit over the brake rotor and the new or reinstalled pads. Always apply even pressure and avoid damaging the piston boot during this process.
Now, carefully position the painted caliper back onto the brake assembly. Align the caliper with its mounting bracket and hand-start all the mounting bolts to ensure they thread correctly. Once aligned, use the appropriate socket and wrench to securely tighten the caliper bolts. It is absolutely crucial to use a torque wrench to fasten these bolts to your vehicle manufacturer’s recommended torque specifications. This prevents both under-tightening (which can lead to loose components) and over-tightening (which can strip threads or damage bolts), ensuring safe and reliable operation.
If, contrary to the earlier recommendation, you had to disconnect your brake lines, now is the time to meticulously reconnect them. Ensure they are properly seated and secured with new washers on the brake line fittings to prevent any leaks. Once the caliper and brake lines are firmly in place, you can proceed to re-mount the wheel. Hand tighten the lug nuts onto the wheel studs, then lower the vehicle slightly until the wheel makes contact with the ground, allowing for final tightening with a lug wrench or air gun in a criss-cross pattern. Finish by using a torque wrench to tighten the lug nuts to the manufacturer’s specified torque, which is essential for preventing uneven wear and tear and ensuring the wheel is safely secured.
Read more about: Unmasking the Mystery: Why Even a Minor Bumper Scratch Can Cost a Fortune to Fix, Explained by a Body Shop Owner

10. **The Critical Step: Bleeding Your Brake System**While every step in this caliper painting guide is important, bleeding your brake system is a critical, non-negotiable procedure if your brake lines were opened or disconnected at any point during the process. Even a small amount of air trapped within the brake lines can lead to a dangerously spongy brake pedal and significantly reduced braking effectiveness, jeopardizing your safety and the performance of your vehicle. This step ensures that only incompressible brake fluid is transmitting pressure, guaranteeing optimal stopping power.
Air can easily enter the brake lines when components are detached, as brake fluid drains out and air replaces it. Unlike brake fluid, air is compressible, meaning that when you press the brake pedal, some of that force will compress the air rather than directly applying pressure to the brake pads. This results in that unsettling spongy feeling and a delay in braking response, which can be extremely hazardous in emergency situations.
The process of bleeding typically involves systematically forcing brake fluid through the lines to expel any air bubbles. This is often a two-person job, where one person operates the brake pedal inside the vehicle, and the other opens and closes the bleeder valves on each caliper in a specific sequence. As the pedal is depressed, air and old fluid are pushed out, and fresh fluid from the master cylinder is drawn in. It’s imperative to use the correct type of new, clean brake fluid specified for your vehicle.
Given the critical safety implications, it is paramount to follow your vehicle’s service manual for the precise bleeding sequence and method. The order in which calipers are bled (e.g., furthest from the master cylinder first) is crucial and varies by vehicle make and model. If you are unsure or uncomfortable performing this task, it is highly recommended to consult a qualified professional mechanic. Their expertise ensures the brake system is bled correctly, restoring full and safe braking function.
Skipping the brake bleeding process after opening the brake lines is a direct path to an unsafe vehicle. A properly bled system ensures a firm, responsive brake pedal and consistent, reliable stopping power, allowing you to drive with confidence. Never compromise on brake safety; if the lines were disturbed, bleeding is a fundamental requirement before your vehicle returns to the road.
11. **Achieving a Durable, Professional-Grade Finish**Beyond the immediate satisfaction of a freshly painted caliper, the true mark of a successful DIY project lies in the durability and professional quality of the finish. Achieving this isn’t a matter of luck but rather a culmination of meticulous attention to detail at every stage. It’s about ensuring your vibrant new calipers withstand the test of time, heat, and the harsh realities of the road, maintaining their aesthetic appeal and protective qualities for years to come.
Firstly, reiterating the choice of paint remains paramount. A professional-grade finish unequivocally demands a high-quality, high-temperature paint specifically formulated for brake calipers. These specialized paints are engineered to resist the extreme thermal cycles of your braking system, road chemicals, and UV exposure. Skimping on paint quality will inevitably lead to premature fading, chipping, or bubbling, undermining all your preparatory efforts.
Equally fundamental is the thoroughness of your surface preparation. A flawless finish is impossible on a contaminated or improperly textured surface. The rigorous cleaning, sanding with progressively finer grits, and final degreasing (with rubbing alcohol) that we detailed earlier are not merely suggestions; they are non-negotiable steps. They create the microscopic “teeth” necessary for optimal primer and paint adhesion, laying the groundwork for a finish that truly lasts.
The application technique itself is a cornerstone of a durable result. Consistently applying multiple thin, even coats, allowing ample drying time between each, is superior to fewer thick coats. This method builds up the paint layers gradually, preventing drips and runs while ensuring uniform coverage and a robust, flexible film that resists cracking. Each thin layer hardens properly, contributing to the overall strength and resilience of the finished paintwork.
Finally, patience throughout the drying and curing phases cannot be overstressed. Rushing these critical periods prevents the paint from fully hardening and bonding, leaving it vulnerable to damage. Whether your chosen paint requires heat curing or extended air drying, adhering strictly to the manufacturer’s guidelines will ensure the paint achieves its maximum designed durability. Furthermore, meticulous masking of surrounding areas is essential to protect critical components, contributing to a clean, factory-like appearance that truly enhances your vehicle.
Read more about: Unlock Top Dollar: The Ultimate Popular Mechanics Guide to Boosting Your Car’s Resale Value Through Smart Detailing
12. **Final Inspection and Road Test for Safety**After all the meticulous preparation, painting, curing, and reassembly, the very last and most crucial stage is the final inspection and a thorough road test. Before your vehicle leaves the garage, you must confirm that every component is securely in place and, most importantly, that your braking system is functioning flawlessly. This is the ultimate verification of your work and an absolute necessity for your safety.
Begin with a comprehensive visual inspection. Double-check all caliper mounting bolts with your torque wrench to ensure they are tightened to the manufacturer’s specifications. Verify that all brake lines are properly connected and secure, with no signs of kinks or leaks, especially if they were disconnected. Ensure the brake pads are correctly seated and that no tools, rags, or debris have been inadvertently left near the wheels or brake components.
Next, it’s time for the critical road test. Choose a safe, open area with minimal traffic for your initial drive. Start by driving at very low speeds, gently applying the brakes. Pay close attention to the brake pedal feel: it should be firm and responsive, not spongy or excessively soft. Listen for any unusual noises, such as squealing, grinding, or clicking, and feel for any pulling to one side or vibrations during braking.
Gradually increase your speed and the pressure you apply to the brakes, simulating normal driving conditions. The brakes should engage smoothly and consistently, bringing the vehicle to a controlled stop without any unexpected behavior. Continue this process until you are entirely confident in the brake system’s responsiveness and performance across various braking intensities.
Should you encounter *any* problems—a spongy pedal, a pulling sensation, persistent unusual noises, or any doubt whatsoever about the brake system’s integrity—do not hesitate. Immediately stop driving the vehicle and consult a qualified mechanic. Brake system issues are not something to diagnose through trial and error; your safety, and the safety of others on the road, depends on ensuring your brakes are in perfect working order. This final, thorough check ensures that your aesthetically enhanced calipers are also safely performing their vital function.
Read more about: Your Comprehensive Guide to Installing a Home EV Charging Station: Costs, Process, and Expert Advice
You’ve just completed a truly rewarding project, transforming your vehicle’s aesthetics with custom-painted brake calipers while also contributing to their protection. By meticulously following the detailed steps in this guide, from initial preparation and precise application to diligent curing and careful reinstallation, you’ve achieved a professional-grade finish that speaks volumes about your attention to detail and passion for your ride. Remember, this isn’t just about a pop of color; it’s about empowering yourself with new skills and enjoying the lasting pride of a job well done. Now, hit the road and let those calipers shine!


