

Vehicles, much like any complex machinery, thrive on regular maintenance to ensure their smooth operation and longevity. Among the myriad of tasks that keep your car running optimally, flushing the radiator stands out as a critical yet often overlooked procedure. While seemingly small and simple, neglecting this essential service can unfortunately lead to significant and expensive repairs down the line, ultimately impacting your engine’s health and performance.
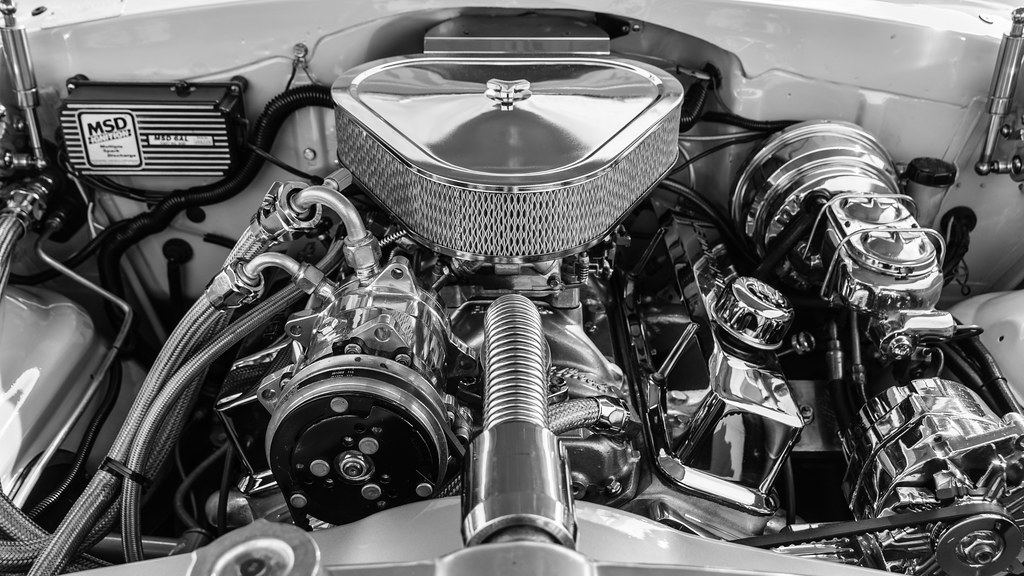
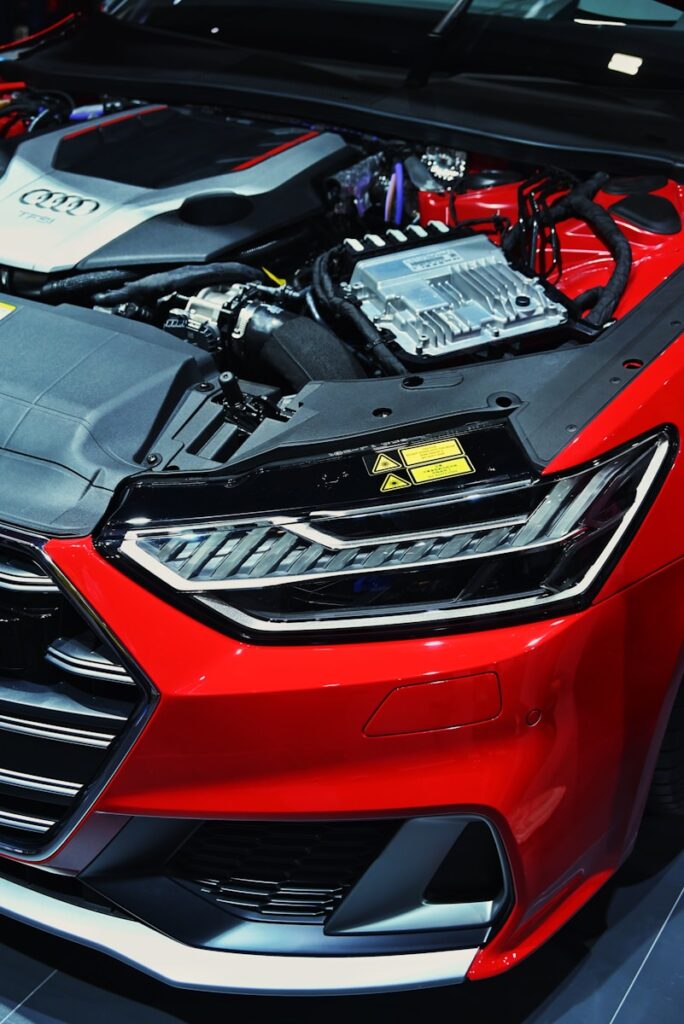
At the core of your vehicle’s temperature regulation lies the radiator, a vital component of the cooling system responsible for preventing overheating. It meticulously circulates liquid coolant (also known as antifreeze) to various parts of the engine, absorbing heat and maintaining optimal operating temperatures. Over time, however, this coolant degrades, and corrosive rust or mineral debris naturally accumulates within the system, diminishing its efficiency and posing a threat to your engine’s well-being.
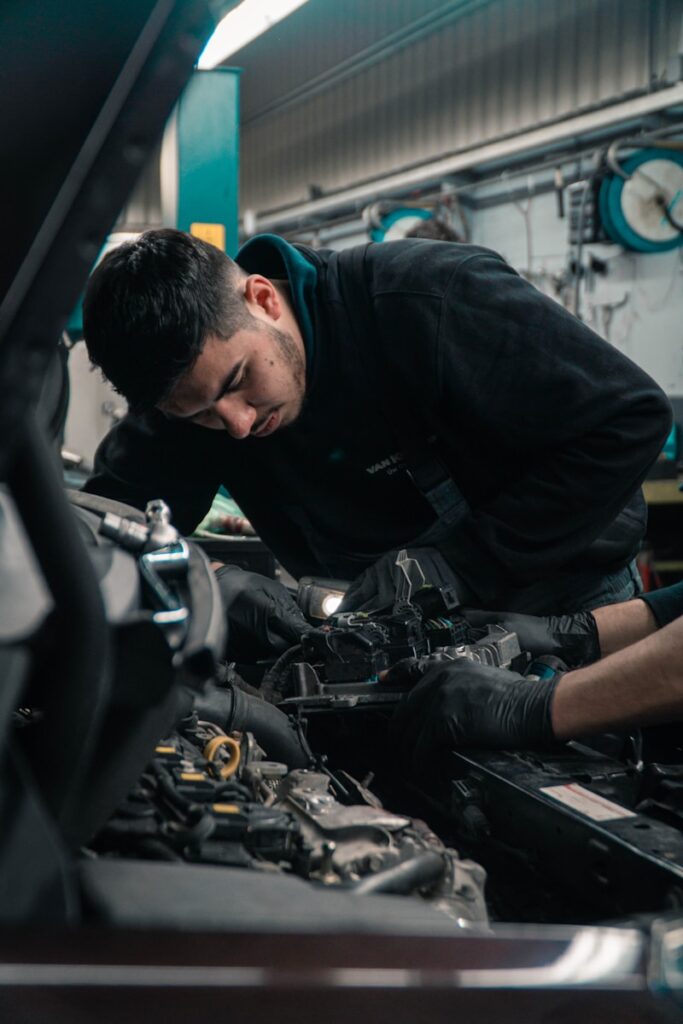
Fortunately, performing a radiator flush is a manageable DIY project that empowers you to take control of your vehicle’s maintenance, saving you money and extending its life. This comprehensive guide will equip you with the knowledge and preparation necessary to tackle the first half of this crucial task, ensuring you understand the ‘why’ and ‘how’ before you even open your hood. Let’s delve into the foundational aspects that pave the way for a successful and effective radiator flush.
1. **Understanding Your Car’s Cooling System: The Engine’s Lifeline**
Your car’s engine generates an immense amount of heat, and without an effective way to dissipate it, critical components would quickly overheat and fail. The cooling system is meticulously engineered to prevent this by circulating coolant to absorb and release this heat, thereby maintaining an optimal operating temperature vital for engine performance and longevity.
The system comprises several key components working in concert. The water pump, often considered the heart of the cooling system, vigorously propels coolant through the engine block and radiator, maintaining continuous circulation. The thermostat acts as a temperature-controlled valve, remaining closed when the engine is cold to help it warm up efficiently, then opening as the engine reaches its ideal operating temperature to allow coolant to flow through the radiator.
Coolant, or antifreeze, is a specialized fluid that absorbs heat from the engine and transports it to the radiator. Modern coolants are formulated not only to prevent freezing in cold weather and raise the boiling point to prevent overheating but also to protect against corrosion and lubricate the water pump. Hoses serve as crucial conduits, connecting these components, with the upper hose carrying hot coolant to the radiator and the lower hose returning the cooled fluid to the engine.
The radiator itself functions as a sophisticated heat exchanger, specifically designed to release the absorbed heat from the coolant into the surrounding air. Hot coolant enters the radiator’s upper tank and then flows down through numerous thin tubes, which are surrounded by cooling fins. As air passes through these fins, either from the vehicle’s movement or pulled by the cooling fan, heat is efficiently transferred from the coolant to the metal tubes, then to the fins, and finally into the air, thus cooling the fluid before it recirculates back to the engine. The radiator cap plays a vital role in maintaining pressure within the system, which elevates the boiling point of the coolant, further preventing overheating.
2. **Why a Radiator Flush is Non-Negotiable: Preventing Overheating and Extending Engine Life**
Regular maintenance is the cornerstone of vehicle reliability, and among these tasks, flushing your car’s radiator is absolutely essential. This process removes rust and gunk that naturally accumulates in your car’s cooling system, which, if left unaddressed, can lead to a cooling system blockage and, ultimately, a dangerously overheated engine.
A radiator flush, sometimes referred to as a coolant flush, goes beyond simply replacing old antifreeze. It actively cleans out the rust, sediment, and other debris that builds up inside your cooling system. This comprehensive cleaning, alongside running distilled water through the radiator before adding fresh antifreeze, is collectively what “flushing” entails, preventing corrosion and extending the life of your engine.
Skipping this process could lead to several detrimental outcomes. Old coolant loses its protective additives and its ability to transfer heat effectively, making your engine vulnerable. The benefits of regular flushing are clear: it prevents overheating by ensuring clean coolant flows freely and maintains proper heat transfer efficiency. It also extends engine life by avoiding heat damage and thermal stress on components, boosts efficiency by allowing the engine to run at its optimal temperature, and stops corrosion, which old, acidic coolant can cause to metal parts like the water pump and heater core. Crucially, regular flushing is significantly cheaper than replacing a damaged radiator or engine head gasket.
While changing coolant merely swaps out old antifreeze for new, it doesn’t include the critical cleaning necessary to remove the gunk that doesn’t belong in your car. Experts recommend that if you’re going to change the coolant, you should absolutely do a flush too. This proactive step is crucial for protecting the expensive parts of your engine and ensuring your cooling system regulates temperature properly, especially when the coolant becomes dirty or its protective additives turn acidic.
3. **When to Flush: Recommended Intervals and Critical Warning Signs**
Knowing precisely when to flush your car’s radiator is just as important as knowing how to do it. Adhering to recommended intervals and recognizing warning signs can save you from inconvenient breakdowns and significant repair costs. Experts recommend draining and replacing the antifreeze in your radiator every five years or 100,000 miles, whichever comes first.
However, this frequency can vary, with other recommendations suggesting every 30,000 miles or every 2-5 years, depending on your coolant type and the manufacturer’s specific guidelines. Newer vehicles, especially those utilizing extended-life coolant, may have longer intervals, sometimes stretching to 50,000-100,000 miles between flushes due to advanced formulations that resist breakdown and corrosion more effectively. Always refer to your owner’s manual for the precise maintenance schedule tailored to your specific vehicle model.
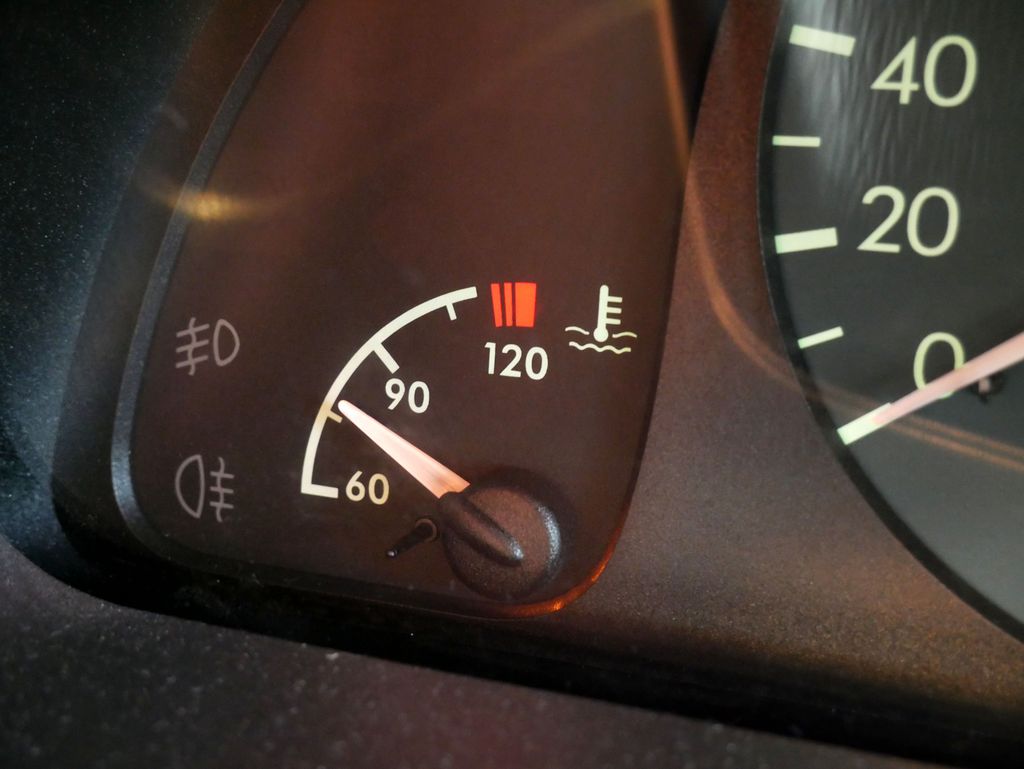
Beyond scheduled maintenance, several critical warning signs signal that your radiator needs immediate attention, irrespective of mileage or time intervals. The most alarming sign is engine overheating, indicated by your temperature gauge reading high or entering the red zone, which demands immediate inspection. Another clear indicator is dirty or discolored coolant; fresh coolant is typically a vibrant green, orange, or pink, so if it has turned murky, brown, or rusty, it’s a strong sign of contamination and a flush is urgently needed.
Other symptoms include a weak heater performance, which can be a sign of a clogged heater core, or the engine running hotter than normal. A sweet smell emanating from your car often indicates a coolant leak, which also requires prompt attention. Additionally, grinding or knocking engine noises can sometimes be related to cooling system issues. Paying close attention to these warning signs is crucial for preventing severe engine damage and ensuring your cooling system operates efficiently.

4. **Choosing the Right Coolant: Compatibility is Key**
Selecting the correct coolant for your vehicle is a critical decision that directly impacts the health and longevity of your cooling system. Not all coolants are created equal, and modern cars often require specific chemical formulations. Using the wrong type can lead to adverse reactions and severe damage to your engine, making this choice as important as the flush itself.
Coolants generally fall into a few primary categories. Inorganic Acid Technology (IAT) coolants are typically green, representing an older formula that often requires more frequent flushing. Organic Acid Technology (OAT) coolants, usually orange or yellow, are extended-life formulas designed to last longer and offer superior protection for modern engines. Hybrid Organic Acid Technology (HOAT) coolants, frequently found in yellow/gold or blue, are a blend of IAT and OAT, commonly used in European and American vehicles.
A critical warning regarding coolants involves their color and compatibility. While coolants come in various hues—green, orange, yellow, or blue—these colors signify distinct chemical formulas, not universal compatibility. Mixing different chemical types, such as IAT and OAT, can trigger an adverse reaction, potentially leading to corrosion or the formation of a sludge-like gel that can severely block your cooling system. Therefore, it is imperative to always use the specific type and color of coolant listed in your vehicle’s owner’s manual to ensure proper system function and protection.
Beyond type and color, certain features in a coolant are vital for optimal performance. A high boiling point prevents overheating under pressure, while a low freezing point safeguards the engine block and radiator from cracking during harsh winter conditions. Furthermore, effective coolants contain anti-corrosion additives that actively prevent rust, scale, and electrolysis buildup within the system. As a safety and environmental tip, it’s worth noting that Ethylene Glycol coolant is toxic and highly dangerous to pets and children; choosing Propylene Glycol is often a safer alternative when possible. Always dispose of old coolant at a certified hazardous waste or recycling center—never pour it down drains or onto the ground.
5. **Gathering Your Arsenal: Essential Tools and Materials for a Smooth Flush**
Preparation is not merely a preliminary step; it is as crucial as the flush process itself. Without adequate preparation, you risk making mistakes, potential injury, or an inefficient flush. Gathering all the necessary tools and materials beforehand ensures a smooth, effective, and safe operation, setting you up for success before you even begin to loosen a single clamp.
First and foremost, you will need the right fluids. This includes four gallons of ready-to-use antifreeze, or alternatively, two gallons of concentrated antifreeze to mix with distilled water. Critically, you will also need two gallons of distilled water, which is essential for rinsing the system and for mixing with concentrated antifreeze if you choose that option. It is vital not to use tap water for rinsing or mixing due to its mineral content, which can lead to scale buildup.
For the actual process, a large drain pan is indispensable to catch the old coolant and debris, preventing spills and environmental contamination. A funnel will prove invaluable when refilling the radiator with fresh coolant, making pouring easier and minimizing spills. A wrench or socket set will be necessary to loosen and tighten drain plugs or hose clamps. While optional, a radiator flush cleaner is highly recommended, especially for heavily contaminated systems, to help remove rust, debris, and scale buildup.
Safety gear is non-negotiable; always wear safety gloves to protect your hands from harsh chemicals and potentially hot coolant, and safety goggles to shield your eyes. Other useful items to consider include a hose to facilitate water flow during the cleaning process, and a coolant tester to verify the effectiveness of the new solution after flushing. By assembling this comprehensive arsenal of tools and materials, you will be thoroughly prepared to perform a complete and effective radiator flush.
6. **The Crucial Pre-Flush Checklist: Preparing Your Vehicle Safely**
Before you dive into the flushing process, taking a few moments for a pre-flush checklist is paramount. This stage focuses on safety, inspection, and proper positioning, ensuring that the environment is secure and your vehicle is ready for the procedure. Neglecting these initial steps can lead to inefficiencies, potential damage, or, most critically, personal injury.
Safety always comes first, and the most important preparatory step is to cool the engine completely. You must wait at least 30 to 60 minutes after driving, or until the engine is completely cool, before attempting to open any part of the cooling system. Never open the system when hot, as scalding steam and pressurized fluid can escape, causing severe burns. Ensure the vehicle is parked on a level surface and the engine is off with the parking brake engaged.
Next, perform a thorough inspection for any existing leaks or damage within the cooling system. Check hoses for cracks, bulges, or softness, and ensure all clamps are secure. If you discover any damaged hoses, a leaking radiator cap, or other compromised components, these should be repaired or replaced before proceeding with the flush. Addressing these issues beforehand prevents aggravation during the flush and ensures the new coolant will remain contained within a properly sealed system.
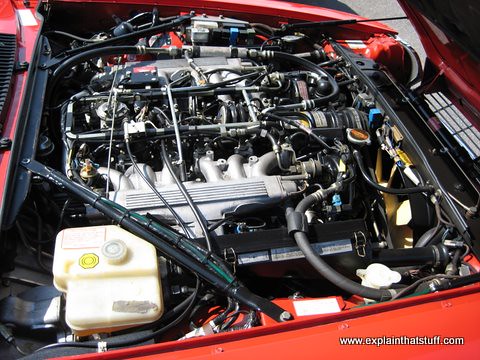
Locating key components is another vital part of preparation. Lift the hood of your vehicle and identify the radiator itself, typically a flat, finned metal area near the front. Note the location of the round radiator cap, which might say “radiator coolant” or something similar; you’ll be adding fluids here later. Also, identify the coolant reservoir or overflow tank, which is usually plastic and connected to the radiator via a small flexible hose. Understanding where these components are situated will streamline the entire flushing process.
Once the engine is cool, the final preparatory step involves safely removing the radiator cap to release any residual pressure. Cover the cap with a rag and turn it slowly counter-clockwise. This slow release is crucial, even when the engine is cool, to prevent any sudden bursts of pressure or fluid. By meticulously following this pre-flush checklist, you ensure both your personal safety and the integrity of your vehicle’s cooling system, setting the stage for a successful flush.
7. **Locating the Radiator and Drain Point: Your Starting Line**
With your safety gear donned and your vehicle properly cooled and inspected, the next critical step is to accurately locate the specific points where you will access and drain the coolant. This foundational step ensures you are targeting the correct components, preventing mishaps and enabling a smooth transition into the active flushing process.
Begin by lifting the hood of your vehicle. You’re looking for a prominent, flat, finned metal area situated near the very front of the engine bay. This is your radiator, a central part of your cooling system. Its position allows for optimal airflow to dissipate heat. Familiarize yourself with its exact location, as it will be your primary point of interaction throughout the flush.
Next, focus on the radiator cap. This is typically a round, often metal cap, positioned on top of the radiator itself or on an integrated reservoir. It might bear labels such as “radiator coolant” or similar instructions. It’s important to note this cap’s exact location, as it serves as the inlet for adding all subsequent fluids, including distilled water and fresh coolant, once the draining and flushing stages are complete.
Now, you’ll need to work beneath the vehicle to find the drain point. Crawl under your car and look for a valve or a large-diameter rubber hose connected to the bottom of the radiator. If it’s a hose, it will be secured by a removable clamp. This valve or hose serves as the primary outlet for the old coolant. Identifying this accurately is crucial for effectively draining the system.
Once you’ve identified the drain valve or lower hose, strategically position your drain pan directly underneath it. This placement is critical to catch all the old, potentially hazardous antifreeze as it pours out, preventing spills and environmental contamination. Having the pan perfectly aligned ensures a clean and contained draining process, marking your definitive starting line for the hands-on portion of the radiator flush. This careful setup reduces mess and simplifies cleanup later, making the entire procedure more manageable for the DIY enthusiast.
Now that you’ve laid the groundwork, gathered your tools, and safely prepared your vehicle, it’s time to dive into the practical steps of flushing your car’s radiator system. This next phase is where you actively engage with your vehicle, moving from preparation to execution. By following these clear, step-by-step instructions, you’ll be able to confidently drain, rinse, refill, and finalize your radiator flush, ensuring your cooling system operates at peak efficiency.
8. **Draining the Old Coolant Safely**
With your vehicle cool, parked on a level surface, and the drain pan strategically positioned, the next critical step is to carefully drain the old, often contaminated, coolant from your system. This is where you’ll begin to see the accumulation of debris and rust that the flush aims to eliminate. Accessing the drain point correctly is paramount for a clean and efficient process.
Crawl beneath your vehicle and locate the radiator drain valve, also known as a petcock, which is typically found at the bottom of the radiator. If your vehicle doesn’t have a specific valve, you’ll need to locate the lower radiator hose, which is a large-diameter rubber hose secured to the radiator with a removable clamp. Having identified this, ensure your large drain pan is directly underneath to catch all the fluid.
Now, with caution, either open the drain valve or loosen the clamp on the lower hose. If you’re working with a hose, a useful ‘Pro Tip’ from experts is to gently pull the hose away from its fitting. You’ll observe the antifreeze, which is typically a yellowish-green or pink color, rapidly pouring out. Be prepared for a substantial flow, especially if the system hasn’t been drained in a while.
Allow the radiator to drain thoroughly for at least 10 minutes, or until the flow of antifreeze slows to a mere drip. This ensures that as much of the old, degraded coolant and any loose sediment as possible is removed from the system. Once the flow has significantly subsided, you’re ready to proceed to the crucial flushing stage.
Read more about: Unleash Your Inner Mechanic: 15 Essential DIY Car Hacks to Save a Fortune on Maintenance

9. **Initial Flushing with Distilled Water**
After successfully draining the old coolant, the next vital phase is to flush the system with distilled water. This initial rinse helps to dislodge and carry away remaining old antifreeze, along with any loose debris and corrosion, preparing the system for a more thorough cleaning. Remember, distilled water is essential here, as tap water can introduce mineral deposits.
First, replace the lower hose and securely re-tighten the clamp holding it in place, or close the radiator drain valve if that’s what your vehicle utilizes. Ensuring a tight seal is crucial to prevent any leaks during the flushing process. You want the distilled water to circulate effectively throughout the system, not drain onto your garage floor.
Next, return to the top of your radiator and remove the radiator cap. Using a funnel to prevent spills, carefully pour distilled water into the radiator until it is completely full. This initial fill-up will begin to dilute any residual old coolant that remained in the engine block and heater core after the initial drain.
Once the radiator is full and the cap is securely replaced, start your vehicle’s engine. Let it run for approximately 10 to 15 minutes. This allows the distilled water to circulate throughout the entire cooling system, effectively flushing out more of the old antifreeze and any loose debris or corrosion particles. This step is a gentle but important cleanse before the next, potentially more intensive, stage.
Read more about: Unleash Your Inner Mechanic: 15 Essential DIY Car Hacks to Save a Fortune on Maintenance

10. **Optional Cleaning Cycle for Stubborn Contamination**
For vehicles with particularly dirty, rusty, or heavily contaminated cooling systems, an optional but highly recommended step is to incorporate a dedicated radiator flush cleaner. This powerful solution is specifically designed to tackle stubborn rust, scale, and other deposits that regular draining and rinsing might not fully remove. It’s an investment that pays off in system longevity.
If you’ve noticed your old coolant was particularly murky, brown, or rusty, or if your vehicle has a high mileage without regular flushes, this step is for you. After your initial distilled water rinse (and draining it), you’ll close the drain plug or reattach the hose as before. Then, following the product’s specific instructions, add the radiator flush cleaner into the radiator, topping off with distilled water if required.
The directions for flush cleaners typically involve running the engine for a certain period, often with the heater on, to allow the cleaning solution to circulate thoroughly. This circulation helps the powerful agents in the cleaner to break down and loosen years of accumulated gunk and corrosion from the internal surfaces of the radiator, engine block, and heater core. Always adhere strictly to the manufacturer’s guidelines for dwell time.
After the recommended cleaning cycle is complete, shut off the engine and allow it to cool down completely once more. This cooling period is important for safety before you once again open the drain point. This potent cleaning action ensures that even the most tenacious deposits are dislodged and prepared for removal, leading to a much cleaner system overall.
11. **Repeating the Rinse and Closing the System**
Whether you opted for the dedicated cleaning solution or not, the next critical step is to thoroughly rinse the entire cooling system until the water draining out is completely clear. This ensures all traces of old coolant, dislodged debris, and any chemical flush cleaner are entirely removed, leaving a pristine environment for your new antifreeze.
Once the engine is cool after the initial flush or cleaning cycle, position your drain pan underneath the radiator drain point. Open the valve or loosen the lower hose clamp again, allowing all the dirty distilled water, along with any remaining contaminants, to drain out completely. This will be a visual testament to the effectiveness of your flushing efforts.
After the system has drained, securely re-tighten the clamp or close the drain valve. Then, refill the radiator with fresh distilled water once more. Replace the radiator cap, start the engine, and let it idle for another 10 to 15 minutes with the heater running at full blast. This second rinse cycle is crucial for flushing out any last lingering residues.
Repeat this draining and refilling process with distilled water until the water coming out of the drain point is absolutely clear. This might take several repetitions, but the clarity of the water is your assurance that the system is truly clean. Once satisfied, perform one final drain and then securely close the system by reattaching and tightening the drain plug or hose clamp, ready for the fresh coolant.

12. **Refilling with Fresh Coolant**
With your cooling system now thoroughly cleaned and rinsed, it’s time for the rewarding step of refilling it with fresh, high-quality coolant. Choosing and adding the correct type of coolant is just as vital as the flushing itself, as it provides the long-term protection your engine needs. This new fluid will maintain proper temperature regulation and prevent future corrosion.
Before you begin pouring, consult your vehicle’s owner’s manual to determine the precise amount of coolant your radiator needs and to confirm the specific type of coolant recommended by the manufacturer. While you can use premixed engine coolant for convenience, which typically comes as a 50/50 blend, using a concentrated antifreeze mixed with distilled water is often a more cost-effective alternative.
Open the radiator cap you located earlier and insert your funnel into the inlet. Slowly and steadily pour the 50/50 blend of concentrated antifreeze and distilled water, or your premixed coolant, into the radiator until it is full. Take your time with this step to avoid spills and allow the fluid to settle into the system gradually.
After filling the radiator, examine the separate coolant reservoir, often called the overflow tank, which is a plastic container connected to the radiator by a small flexible hose. Add coolant to this reservoir if necessary, ensuring the level reaches the designated ‘service line’ or ‘full cold’ mark. Once these are filled, start and run the vehicle for several minutes while keeping a close watch for any signs of leaks around hoses or the drain plug. If everything appears secure, you’re on the right track.
Read more about: Unleash Your Inner Mechanic: 15 Essential DIY Car Hacks to Save a Fortune on Maintenance
13. **The Crucial Step: Bleeding Air Pockets**
Even with careful refilling, air can become trapped within the cooling system, forming ‘air pockets’ or ‘air locks.’ These air bubbles can severely impede coolant circulation, leading to localized hot spots and potential engine overheating. Bleeding these air pockets is arguably the most crucial step in finalizing your radiator flush, ensuring uniform cooling and preventing immediate issues.
To effectively bleed the system, start your engine with the radiator cap still off and the vehicle’s heater set to its highest temperature and fan speed. This helps open the heater core and ensures coolant circulates through all parts of the system where air might hide. As the engine warms up, the coolant level in the radiator may begin to drop as trapped air escapes.
While the engine is running and warming, gently squeeze the upper radiator hose repeatedly. This manual action can help to dislodge stubborn air bubbles and push them towards the radiator opening where they can escape. You might see bubbles rising in the radiator neck as the air purges from the system. Be patient; this process can take some time.
Continuously monitor the coolant level in the radiator. As air escapes and the level drops, top up the coolant as needed with your 50/50 mix until no more bubbles appear and the coolant level stabilizes. Once you are confident that all air pockets have been bled from the system and the level remains steady, you can securely replace the radiator cap, ensuring it’s tightened completely to maintain system pressure.
14. **Final Checks, Topping Off, and Responsible Disposal**
Congratulations! You’ve successfully flushed and refilled your car’s radiator system. However, the job isn’t truly complete until you perform a series of final checks and responsibly dispose of the old coolant. These concluding steps ensure maximum engine protection, confirm system integrity, and safeguard the environment.
After securing the radiator cap, run the engine for a few minutes and then shut it off, allowing it to cool down completely. Once cool, meticulously check for any leaks around all hoses, clamps, and especially the radiator drain plug or lower hose connection. Inspect the radiator itself for any signs of drips. With the system now pressurized by the engine running, any weak points will often reveal themselves.
Next, turn your attention to the coolant reservoir (overflow tank). Open its cap and top it off with a little more antifreeze and distilled water, aiming to stop a couple of inches below the service line. This ensures the system has adequate fluid to draw from as temperatures fluctuate. It’s a good practice to drive your car for a short distance, then allow it to cool down again, and recheck the reservoir level, topping up if necessary, as any residual air may still work its way out.
Finally, and critically important, you must properly dispose of the old, toxic coolant you collected in your drain pan. Automotive antifreeze, particularly Ethylene Glycol, tastes sweet but is highly dangerous and deadly to pets and children. Never pour it down drains, onto the ground, or mix it with other automotive fluids. Instead, pour the old coolant into the empty plastic containers that your new antifreeze came in, labeling them clearly. Take these sealed containers to a certified hazardous waste facility, an auto garage, or an auto parts store that accepts used coolant for safe and environmentally responsible recycling. Your diligence in these final steps ensures both your car’s health and the well-being of the environment.
Read more about: Debunking the Three-Year Myth: 12 Crucial Insights into Enduring EV Battery Life and Performance
Performing a radiator flush might seem like a significant undertaking, but as you’ve seen, it’s a manageable DIY project that offers immense benefits. By methodically following these 14 simple steps, you empower yourself to extend your engine’s life, prevent costly repairs, and ensure your vehicle runs smoothly and efficiently for many miles to come. You’ve mastered a crucial maintenance task, gaining valuable knowledge and saving money in the process. Now, enjoy the peace of mind that comes with a well-maintained cooling system!


