

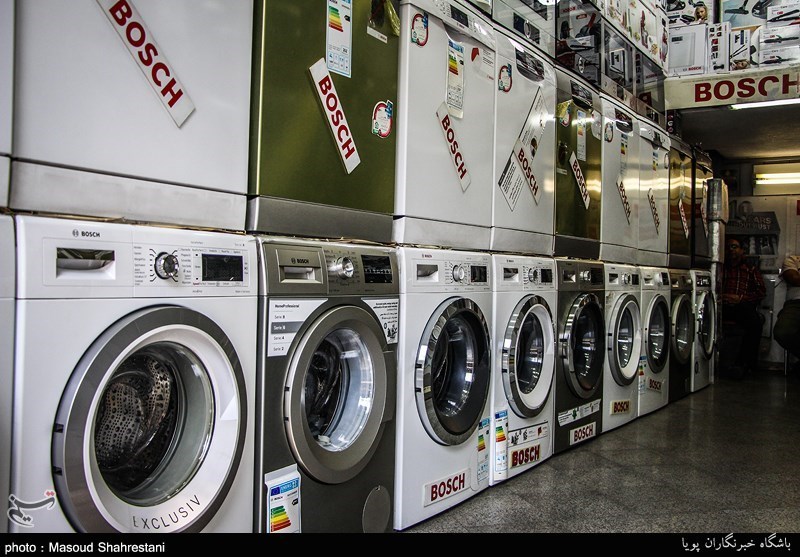
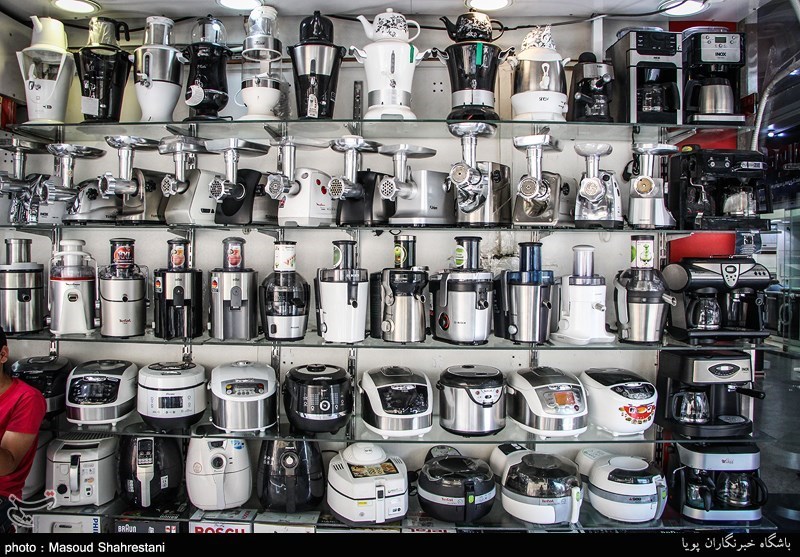
The modern home is powered by a symphony of appliances, from the gentle hum of the refrigerator to the reassuring whir of the washing machine, each working tirelessly to enhance our comfort and simplify daily tasks. These indispensable machines expedite duties and make our lives possible, truly representing contemporary comforts. Yet, even with their inherent dependability, appliances are susceptible to the inevitable wear and tear that comes with constant use, occasionally leading to unforeseen issues that can disrupt our routines and leave us scrambling for solutions.
While many consumers instinctively reach for the phone to call a repair service at the first sign of trouble, a surprising range of common appliance problems can be effectively managed by the ordinary homeowner. Embracing the world of do-it-yourself (DIY) appliance repair not only offers the potential to save significant time and money but also fosters a profound sense of empowerment and self-sufficiency. With the right information, accessible resources, and a boost of confidence, homeowners can confidently tackle routine household challenges.
This comprehensive guide aims to demystify appliance maintenance, equipping you with the practical knowledge and actionable advice needed to diagnose and resolve typical appliance issues. Whether you’re confronted with strange sounds from your dryer, a dishwasher refusing to drain, or a refrigerator that’s lost its chill, we’ll provide the essential tools and insights. Join us as we explore the field of DIY appliance repair, empowering you to take control over the upkeep of your home’s vital machines. Now, let’s roll up those sleeves and grab your instruments, ready to master these practical fixes.

1. **Prioritize Safety in All Repairs**When embarking on any do-it-yourself appliance repair project, an unwavering commitment to safety must always take precedence. Household appliances, especially those connected to gas or electricity, possess inherent hazards that can lead to serious injury if not handled with extreme caution and proper technique. This isn’t merely a suggestion; it is a fundamental principle that underlies all successful and safe repair endeavors.
A critical first step before commencing any repair work is to ensure that the appliance is completely disconnected from its power source. This means unplugging the device or, if hardwired, turning off the corresponding circuit breaker. Furthermore, always utilize the appropriate protective gear, such as durable gloves and safety glasses, to shield yourself from potential harm like cuts, electrical shocks, or flying debris. These simple yet vital precautions significantly mitigate risks.
For problems involving complex electrical or gas components, or if you ever find yourself unsure about any aspect of a repair project, seeking professional assistance is not just advised—it’s imperative. While the spirit of DIY is commendable, recognizing the limits of your expertise and knowing when to call in a certified technician demonstrates discernment and prioritizes your safety and the integrity of your home. As the saying goes, “Safety isn’t expensive; it’s priceless.”
Read more about: Unearthing 15 Unsung 90s Sedans: Reliable Transport Gems for Today’s Commuters
2. **Master Your Appliance’s Manual**Many homeowners overlook one of the most valuable resources at their disposal: the appliance’s Use and Care Manual. This isn’t merely a booklet; it is, in fact, a key to unlocking your appliance’s full potential, serving as your primary guide for understanding and mastering its operation and maintenance. Manufacturers provide these manuals at no extra cost with every appliance purchase, offering foundational support and installation guidance.
Within the pages of your user manual, you’ll discover a wealth of crucial information. This includes essential safety precautions to ensure safe usage, comprehensive steps to take before you power up the device, and invaluable maintenance know-how tips designed to keep your appliance in optimal shape. It also often provides insights into caring for your appliance during travel and relocation, along with warranty wisdom to help you understand your coverage.
Perhaps most importantly for the DIY enthusiast, these manuals offer a detailed tour of your appliance’s features, clear operation instructions, and a dedicated section for troubleshooting tips—quick fixes for common hitches. By familiarizing yourself with the basic operation of the appliances in your house and referring to these manuals, it becomes significantly simpler to identify and resolve issues as they arise, often before they escalate into major problems. They truly are an indispensable first stop in your repair journey.
Read more about: The Ultimate Guide to Washing Machine Longevity: 15 Expert-Backed Tips for Years of Trouble-Free Laundry
3. **Basic Troubleshooting for Common Glitches**Quite often, the solution to many appliance problems doesn’t require complex interventions but rather a straightforward approach to basic troubleshooting. Starting with simple fixes can resolve a significant portion of issues, saving you time, effort, and the expense of more involved repairs or professional service. Sometimes, all that is needed is a thorough cleaning or a minor adjustment to a component.
For instance, the cooling efficiency of your refrigerator can often be dramatically improved simply by cleaning the condenser coils. Dust and debris frequently accumulate on these coils, impeding heat dissipation and forcing the unit to work harder. Similarly, blocked filters in your dishwasher or washing machine can lead to inadequate water flow or poor cleaning performance, a problem often remedied by checking and replacing them.
Another common and easily addressable issue is rattling or shaking from appliance doors or panels. This can frequently be resolved by inspecting and tightening any loose screws or nuts that may have worked their way free over time due to vibrations. Even a seemingly complex glitch can sometimes be fixed with a simple “power reset”—unplugging the appliance for a few minutes and then plugging it back in—which can clear internal errors and restore functionality.
Read more about: 14 Simple Ways to Troubleshoot Your Car’s Bluetooth Connection

4. **Assemble an Essential DIY Toolkit**Equipping yourself with the correct tools is a game-changer when it comes to undertaking your own appliance repairs, transforming potentially daunting tasks into considerably simpler and more effective endeavors. Having a well-stocked and organized toolkit is not just a convenience; it’s a foundational requirement that empowers you to approach various repair challenges with confidence and precision. Investing in quality tools now can save you frustration and effort in the long run.
A few necessities for fixing appliances form the backbone of any robust DIY toolkit. These include both flathead and Phillips head screwdrivers, which are indispensable for opening panels and accessing internal components. An adjustable wrench, along with a set of nut drivers, will allow you to tighten and loosen a variety of nuts and bolts encountered in different appliances.
For diagnosing electrical issues, a multimeter is an invaluable instrument, allowing you to test electrical circuits and check for continuity, which is crucial for pinpointing faults. Needle-nose pliers are excellent for gripping and twisting wires in tight spaces, while a flashlight is essential for illuminating dark corners. Beyond these general tools, consider acquiring appliance-specific tools for tasks like removing washer hoses or refrigerator door seals, as these specialized items can make specific repairs significantly easier.
Read more about: Your DIY Advantage: 13 Simple Steps to Master Car Side Mirror Replacement

5. **Systematic Problem Diagnosis**Before undertaking any fixes, the most crucial step in appliance repair is to perform a thorough and systematic diagnosis of the problem. Rushing into repairs without accurately identifying the root cause can lead to unnecessary work, wasted parts, and potentially even further damage to your appliance. A methodical approach not only saves time but also prevents misguided interventions.
Begin by carefully observing how the appliance behaves and listening intently for any strange noises it might be making. Unusual sounds, performance dips, or visible leaks are all critical clues that can point you toward the source of the malfunction. Modern appliances often flash error codes; once decoded with the help of your manual or online resources, these codes can offer a clear and direct path to understanding the issue.
Next, consult your user manual or look up typical symptoms related to the specific make and model of your appliance online. The internet is a treasure trove of information where countless others have likely experienced similar problems. Based on your observations and what you’ve learned from your investigation, identify the probable reasons behind the malfunction. This systematic approach ensures that you are addressing the actual problem, rather than merely treating its symptoms, thereby increasing your chances of a successful and lasting repair. “Understanding the root cause is often half the battle won.”
Read more about: 14 Simple Ways to Troubleshoot Your Car’s Bluetooth Connection
6. **Leverage the Power of Online Resources**In today’s digital age, the internet stands as an unparalleled resource for anyone enthusiastic about doing their own appliance repairs. It has democratized access to information and expertise, making advanced repair knowledge readily available to the average homeowner. Far from being a niche hobby, DIY appliance repair is supported by a vast online community and extensive repositories of guidance, transforming complex tasks into manageable steps.
For almost any device you can conceive of, there exists an abundance of online tutorials, community forums, and comprehensive troubleshooting manuals. These resources often provide detailed, step-by-step instructions that cater to various skill levels, from beginners tackling simple fixes to more experienced individuals delving into intricate components. The collective wisdom of forums, where users share their experiences and solutions, can be incredibly valuable for diagnosing obscure problems.
Websites like YouTube, in particular, are invaluable, frequently offering step-by-step video instructions that visually guide you through the entire repair procedure. This visual aid makes it significantly simpler to follow along, understand complex mechanics, and replicate techniques that might be difficult to grasp from text alone. By tapping into these rich online resources, you can equip yourself with the knowledge and confidence to tackle a wider array of appliance issues effectively and efficiently.
Read more about: Your Ultimate Blueprint: 14 Killer TikTok Hacks to Grow Your First 1000 Followers!
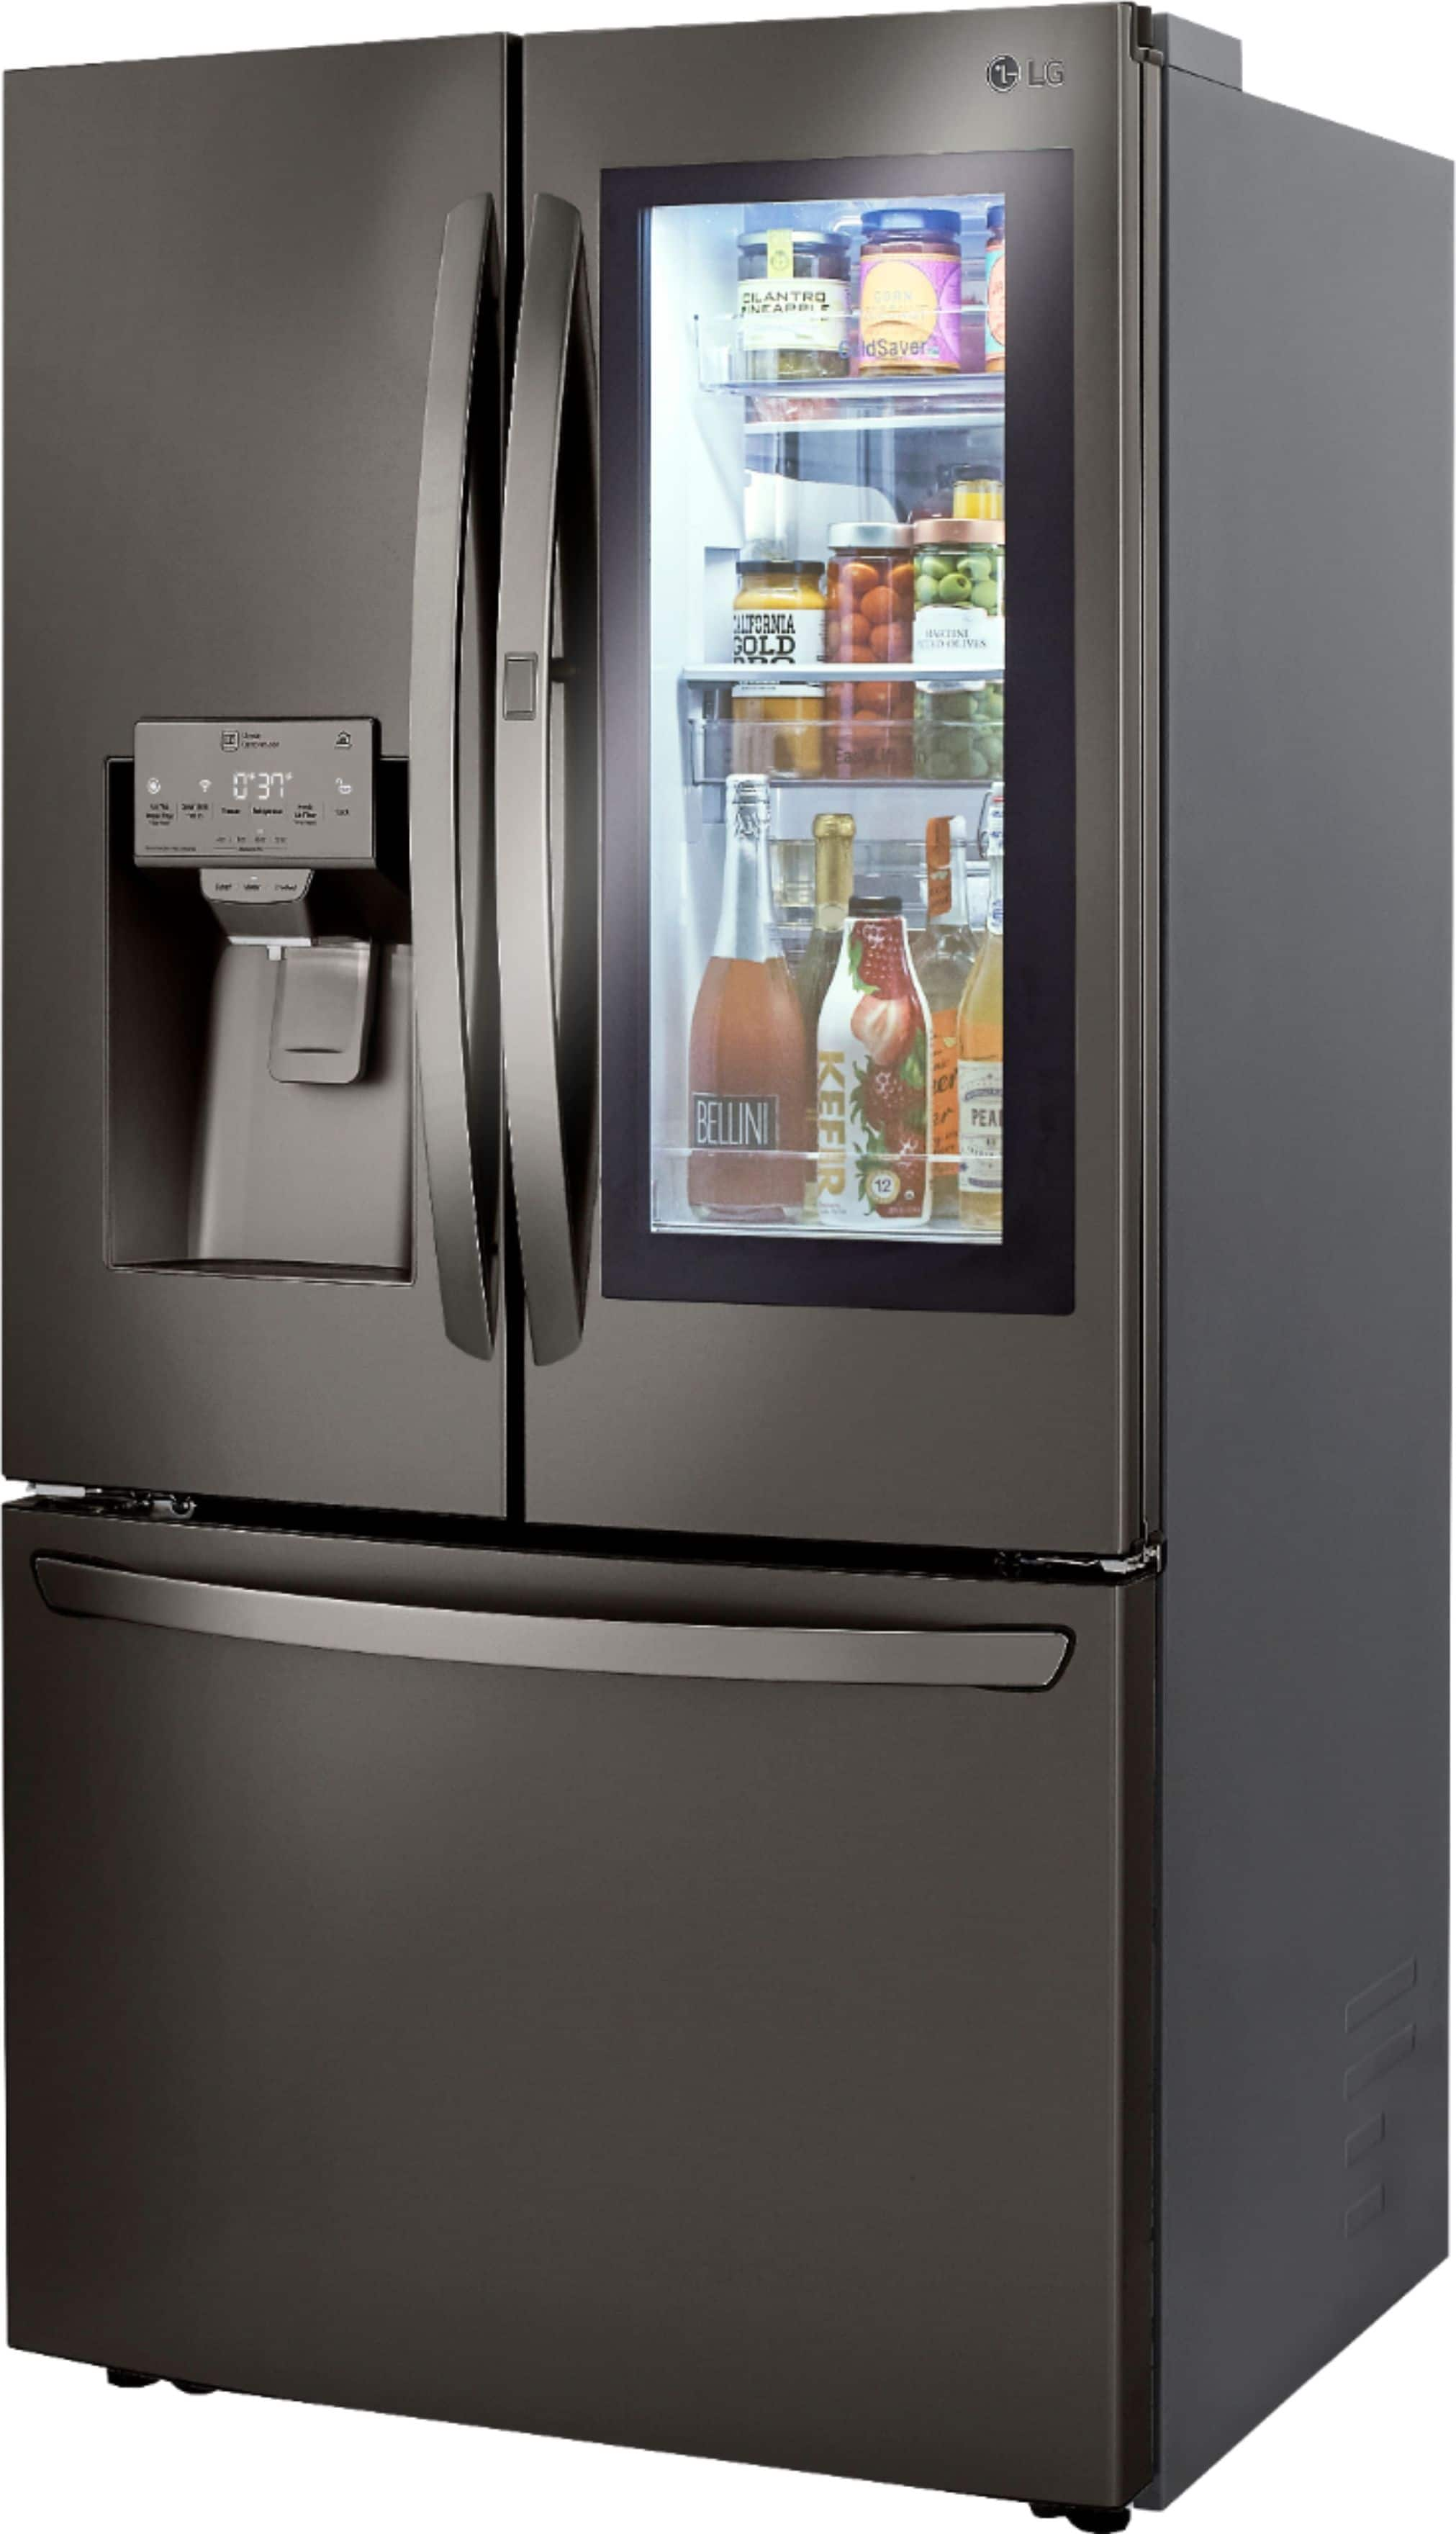
7. **Refrigerator Not Cooling: Practical Troubleshooting and Fixes**Few household disruptions are as immediate and frustrating as a refrigerator that fails to cool effectively. This issue not only jeopardizes the freshness and safety of your food but can also lead to increased energy consumption as the unit struggles to maintain its set temperature. Prompt action is crucial for preserving groceries and preventing further strain on the appliance’s components.
Your first investigative step should always be checking the thermostat settings. Ensure your refrigerator is set to the correct temperature, typically between 37-40°F (3-4°C) for the fresh food compartment and 0°F (-18°C) for the freezer. A simple accidental adjustment can be the surprising culprit. Following this, turn your attention to the condenser coils, vital for dissipating heat. These coils, when caked with dust and debris, severely impede efficiency. A thorough cleaning with a vacuum or stiff brush can dramatically improve cooling performance and is a common, effective fix.
Next, carefully inspect the door seals. These critical components prevent warm air from seeping in. Look for any damage, cracks, or gaps; a simple paper test can reveal compromised seals which should be replaced to restore an airtight closure. Additionally, the evaporator fan in the freezer circulates cold air. If it’s malfunctioning or blocked, airflow is inhibited. You can test its functionality, often with a multimeter, and replace it if necessary to restore consistent cooling. Systematically addressing these points can often resolve seemingly daunting cooling problems.
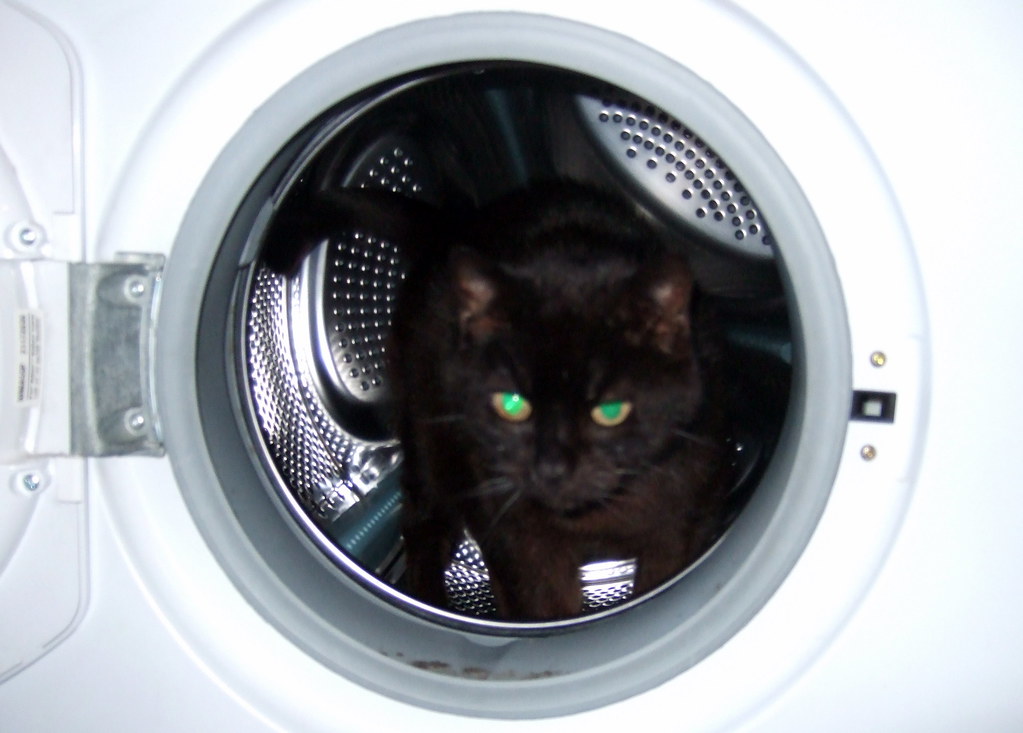
8. **Washing Machine Not Spinning: Restoring Proper Cycle Functionality**When your washing machine completes its cycle only to leave your clothes soaking wet and unwashed, a failure to spin is the most likely culprit. This common malfunction disrupts laundry routines and signals an issue that, while sometimes complex, often has a straightforward fix. Understanding the mechanisms involved in the spin cycle can empower you to diagnose and potentially resolve the problem yourself, preventing repeated rewashes and prolonging the life of your appliance.
A frequent suspect in non-spinning washing machines is the lid switch. Designed as a safety mechanism, most top-loading washers are engineered not to spin if the lid is open or if the switch itself is faulty. Testing its continuity with a multimeter can confirm if it’s defective and needs replacement. This is a relatively inexpensive part and a common point of failure, making it an excellent starting point for your investigation.
Beyond the lid switch, mechanical issues involving the drive belt or motor coupling are common. In many washing machines, a drive belt connects the motor to the transmission; this belt can stretch, break, or simply slip off its pulleys. A visual inspection will usually reveal if replacement is needed. Similarly, in direct-drive models, a damaged motor coupling links the motor directly to the transmission, and if broken, prevents power transfer to the drum. If these are intact, testing the motor’s functionality with a multimeter can pinpoint if the motor itself is the problem, although motor replacement often warrants professional assistance.
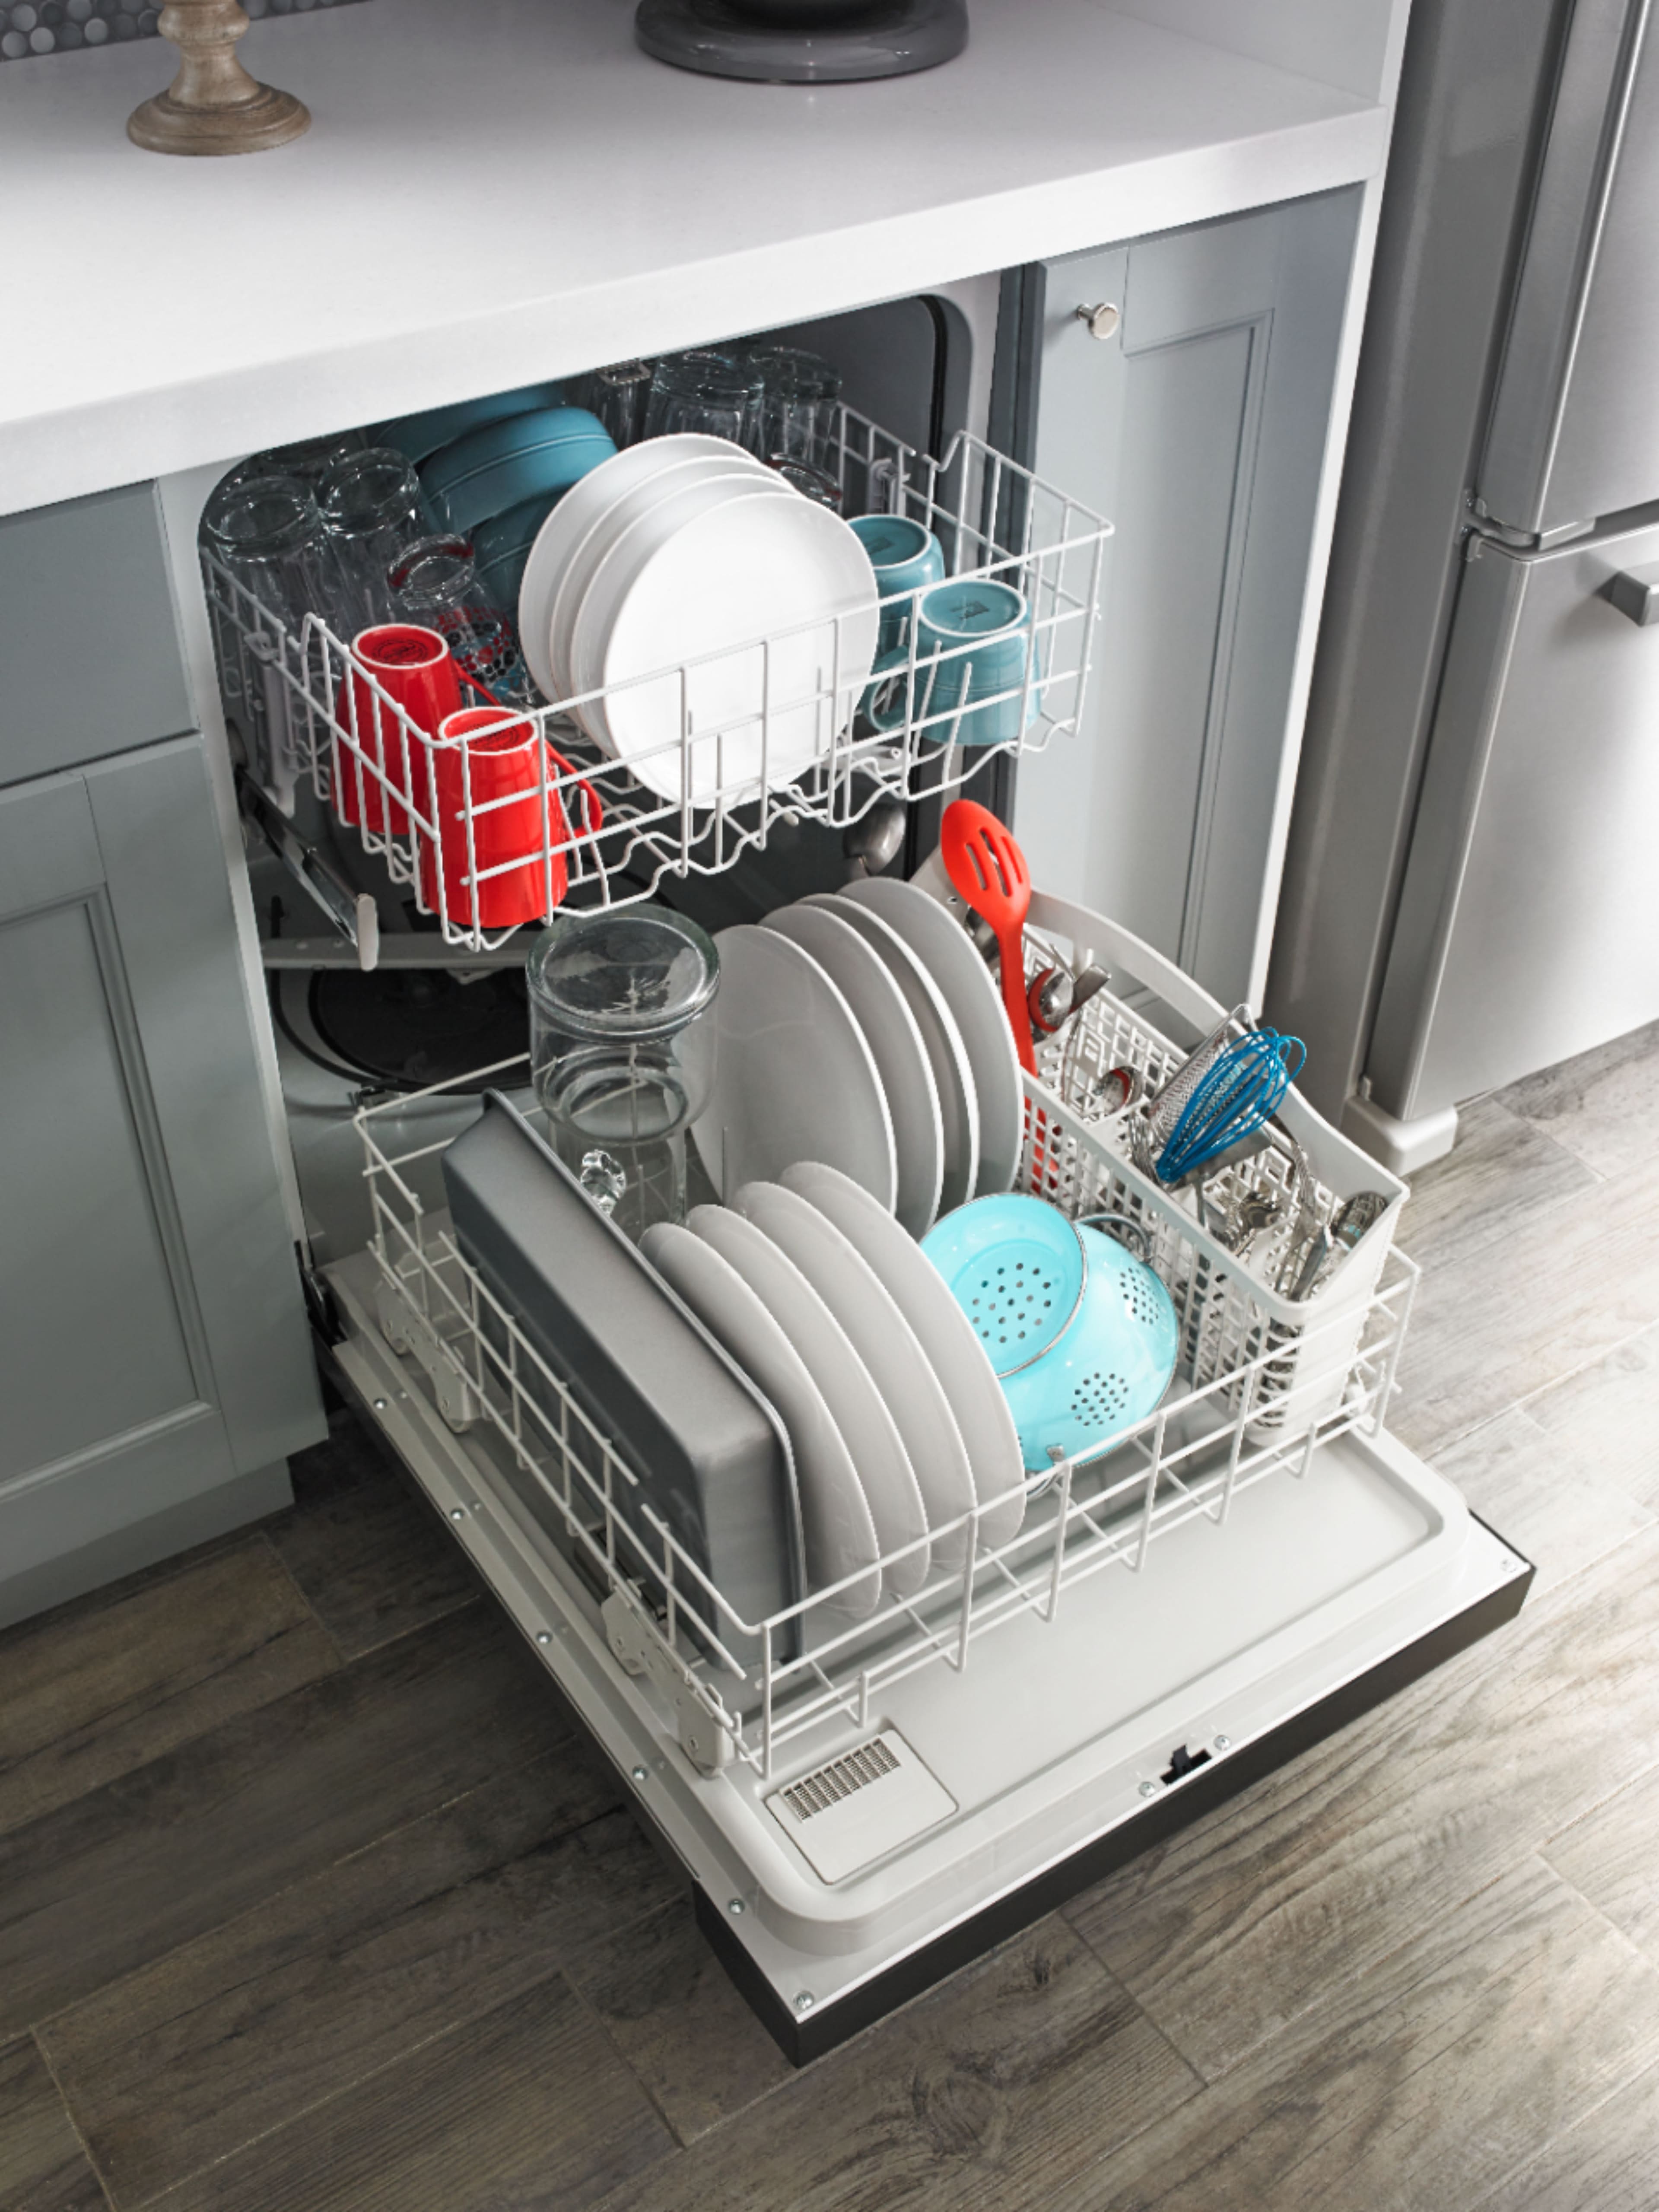
9. **Dishwasher Not Draining: Tackling Standing Water and Residue**A dishwasher that refuses to drain is more than an inconvenience; it leaves behind a pool of dirty water and grimy dishes, rendering the appliance useless and potentially causing unpleasant odors. This issue usually indicates a blockage or a pump malfunction, both often within the realm of a confident DIYer’s abilities to troubleshoot and fix. Addressing the drainage problem quickly ensures sanitation and restores your kitchen’s efficiency.
The most common culprit behind a non-draining dishwasher is a clogged filter. Located at the bottom of the dishwasher, filters are designed to trap food particles and debris. However, if not cleaned regularly, these filters themselves can become completely blocked, stopping water from passing through. The solution is straightforward: remove the filter according to your manual’s instructions, thoroughly clean it under running water, and remove any accumulated debris. Incorporating this simple cleaning into your routine can prevent future drainage woes.
Another frequent obstruction point is the drain hose. This hose connects your dishwasher to the garbage disposal or kitchen sink drain and can become kinked, clogged with food particles, or accumulate grease over time. Inspect the entire length of the hose for any visible kinks. If no external kinks are present, you may need to disconnect the hose (ensuring the dishwasher is unplugged first) and check for internal blockages. Clearing any debris or repositioning a kinked hose can often immediately resolve the draining issue, restoring proper water flow out of the appliance.
If the filter and drain hose are clear, turn your attention to the air gap, if your dishwasher utilizes one, and the drain pump. The air gap, typically found on the countertop near the faucet, prevents dirty drain water from siphoning back into the dishwasher and can become blocked with food debris. For the drain pump, which actively expels water, a multimeter can test for continuity. If the pump is faulty, it will need replacement, but this systematic approach ensures you’re targeting the correct component for a lasting repair.

10. **Comprehensive Refrigerator Maintenance: Extending Its Lifespan**Preventive maintenance is the cornerstone of appliance longevity, and your refrigerator, arguably the most continuously running appliance in your home, benefits immensely from a consistent care regimen. Far beyond simply wiping down spills, a proactive approach to refrigerator upkeep can avert costly breakdowns, enhance efficiency, and ensure your food remains safely stored for years. Embracing these maintenance strategies is a wise investment in your appliance’s future.
Regularly cleaning the condenser coils is paramount for optimal refrigerator performance. As discussed earlier regarding cooling issues, these coils are responsible for releasing heat generated by the refrigeration process. When dust, pet hair, and debris accumulate on them, the refrigerator has to work significantly harder, leading to higher energy bills and increased wear on the compressor. Dedicate time every six to twelve months to gently vacuum or brush these coils, typically located at the back or underneath the unit, to maintain efficient heat exchange and prevent unnecessary strain. This simple step can significantly improve efficiency.
Equally important is the diligent inspection and maintenance of your refrigerator’s door seals, also known as gaskets. These flexible seals are critical for creating an airtight barrier that keeps cold air in and warm air out. Over time, they can become stiff, cracked, or simply lose their magnetic grip, allowing cold air to escape. Regularly clean the seals with a mild detergent to remove food particles and debris. Periodically test their integrity, and promptly replace any seals that show signs of significant wear or damage, as compromised seals force your refrigerator to run constantly. Finally, ensuring your refrigerator is set to the correct temperature range—37-40°F (3-4°C) for the fresh food compartment and 0°F (-18°C) for the freezer—is a fundamental aspect of maintenance. Incorrect settings can either overwork the compressor or lead to unsafe food storage temperatures.
Read more about: The 14 Best Reusable Storage Bags: Still Leak-Proof After 11 Dishwasher Cycles

11. **Washing Machine and Dishwasher Maintenance: Keeping Cycles Smooth**While tackling immediate repair issues is empowering, the true secret to minimizing appliance downtime lies in consistent preventive maintenance. Your washing machine and dishwasher, two of the hardest-working appliances, stand to gain immensely from routine care. Implementing a few simple maintenance habits can ensure they operate smoothly, efficiently, and reliably for many years, avoiding the common pitfalls that lead to frustrating breakdowns.
For your washing machine, the type of detergent you use plays a surprising role in its longevity. High-efficiency (HE) detergents are formulated to produce fewer suds, which is crucial for modern, water-saving machines. Using too much or the wrong type of detergent can lead to excessive suds, residue buildup in the drum and hoses, and even affect the machine’s sensors. Beyond detergent, regularly clean the drum itself by running an empty hot water cycle with a cup of white vinegar or a specialized washing machine cleaner monthly to eliminate mold, mildew, and detergent residue. Inspect the inlet and outlet hoses periodically for any signs of leaks, cracks, or bulges, and consider replacing them every five years as a proactive measure against burst hoses and potential water damage.
Your dishwasher also thrives on regular, targeted maintenance. Its filter, much like a washing machine’s, can accumulate food particles and grease, leading to poor cleaning results and drainage problems. Make it a habit to remove and clean the dishwasher filter regularly, ensuring unhindered water flow and optimal performance. Before initiating a wash cycle, it’s also a smart practice to run the hot water at your kitchen sink for a minute or two. This ensures that the dishwasher starts its cycle with already hot water, improving cleaning effectiveness and reducing the energy needed for the machine to heat the water itself. Furthermore, take a moment to inspect the spray arms, ensuring all nozzles are clear and unobstructed. These proactive steps for both your washing machine and dishwasher not only enhance their cleaning capabilities but also significantly reduce the likelihood of common malfunctions.
12. **Knowing When to Call a Professional: Drawing the Line in DIY Repair**While the journey of DIY appliance repair is rewarding, it is equally important to recognize when a problem extends beyond your skill set or comfort zone. Attempting to fix issues that are too complex or potentially dangerous can lead to further damage, invalidate warranties, or, critically, pose significant safety risks. Knowing when to put down your tools and call a certified professional is a hallmark of a truly savvy homeowner, balancing self-reliance with prudent judgment.
Certain appliance problems inherently demand professional expertise, especially those involving intricate electrical or gas components. For instance, if your issue involves a gas leak, exposed high-voltage wiring, or requires specialized diagnostic equipment not typically found in a home toolkit, it’s imperative to consult a qualified technician. These scenarios present serious hazards, including fire, explosion, or severe electrical shock, and are best left to those with specific training and certifications. Prioritizing safety above all else means acknowledging these limitations.
Another critical consideration is the appliance’s warranty status. Many manufacturers explicitly state that unauthorized repairs can void your warranty, leaving you responsible for the full cost of future malfunctions that would otherwise be covered. Before attempting any repair, always check your appliance’s warranty terms. If the problem is covered, calling a professional authorized by the manufacturer is often the most cost-effective and risk-averse choice, preserving your coverage and ensuring the repair is done to factory standards.
Finally, if you’ve already attempted do-it-yourself fixes, followed all available troubleshooting advice, and the problem still persists, or if the repair calls for complex parts and components that make you uneasy, it’s time to defer to an expert. A professional can quickly diagnose elusive issues, has access to specialized tools and genuine replacement parts, and can perform the repair efficiently and safely. Embracing DIY means knowing your limits, and wisely deciding when to enlist expert help ensures both your safety and the optimal functioning of your valuable home appliances.
The journey through DIY appliance repair is one of continuous learning and empowerment. From understanding the fundamentals of safety and diagnosis to tackling specific component failures and implementing robust maintenance routines, every step equips you with invaluable skills. By mastering the practical fixes outlined in this guide and knowing when to wisely seek professional assistance, you can significantly extend the life of your household essentials, maintain a more efficient home, and cultivate a deep sense of self-reliance. Your appliances are the unsung heroes of daily life; with this knowledge, you can become their steadfast guardian, ensuring they continue their silent, essential work for years to come. Remember, a well-maintained home is a testament to mindful living, and your hands-on approach makes all the difference.


