

Let’s be honest: the thought of dedicating an entire Saturday to scrubbing can feel utterly soul-crushing. We’ve all stood in the cleaning aisle, overwhelmed by sprays and potions, wishing there was a secret handshake to a sparkling home that didn’t involve hours of elbow grease. Good news, fellow home dwellers! The secret is out, and it’s simpler, cheaper, and far more effective than you might imagine.
Over the years, I’ve gathered a treasure trove of clever cleaning tricks, some through the good old-fashioned method of trial and error, and many more directly from the unsung heroes of tidiness: professional housekeepers. These pros don’t have time for guesswork; they use what works, and they do it fast. That’s precisely why their methods are pure gold for anyone yearning for a clean house without sacrificing their precious weekends to the mop and bucket.
Consider this: on average, people spend about 2 to 4 hours each week cleaning, which silently adds up to nearly 13,000 hours—that’s roughly 1.5 years—over a lifetime! With such a significant chunk of time dedicated to cleaning, it makes perfect sense to arm ourselves with hacks that are not only quick and effective but also genuinely enjoyable to implement. These tricks leverage common sense and simple chemistry, transforming mundane chores into manageable tasks. Get ready to clean smarter, not harder, and reclaim your Saturdays for something truly rewarding!

1. **The Pillowcase Ceiling Fan Trick**Imagine a world where cleaning your ceiling fan doesn’t involve a cascade of dust raining down on your freshly tidied furniture. It’s not a dream; it’s a reality with this simple, brilliant hack. All you need is an old pillowcase—one you’re not emotionally attached to, perhaps a forgotten relic from a past bedding set.
Here’s how it works its magic: gently slip the pillowcase over each blade of your ceiling fan, almost like you’re tucking it into bed. Then, with a slow and steady motion, press it down and pull it back. This ingenious maneuver traps all that accumulated dust directly inside the pillowcase, preventing it from scattering across your room and onto surfaces you just cleaned.
Ceiling fan blades are notorious dust magnets, and a traditional swipe with a rag often creates a dust storm. The pillowcase acts as a sealed capture system, grabbing all the grime in one swift motion—no dust showers, no sneezing fits, just clean blades and a cleaner room. Once you’ve tackled all the blades, simply head outside, give the pillowcase a good shake, and toss it into the wash, ready for its next cleaning mission. For an extra boost of cleaning power, consider spritzing a mix of vinegar and water inside the pillowcase before you start; it helps to loosen any stubborn grime as you go.
Read more about: 15 Incredible Home Organization Hacks From Professional Cleaners: Your Guide to a Sparkling Home
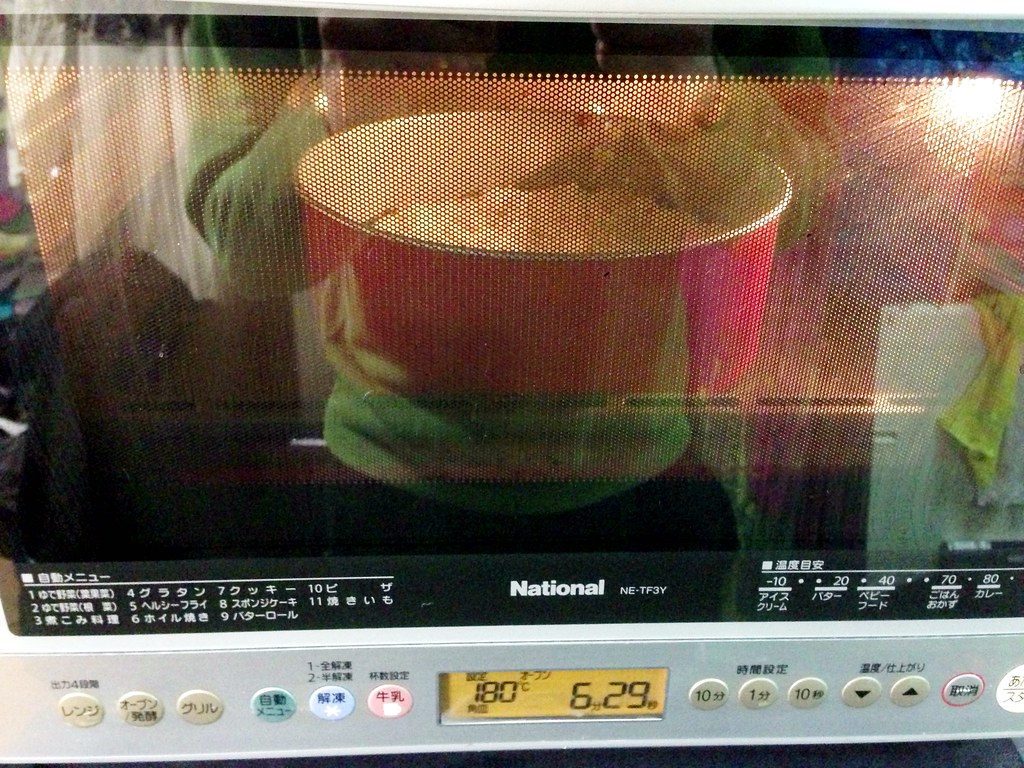
2. **The Two-Minute Microwave Steam Clean**Has your microwave seen better days? Are there mysterious splatters and crusty corners that have long since become permanent fixtures? Fear not, because bringing your microwave back to sparkling glory is astonishingly simple and takes mere minutes. No more scraping with harsh chemicals or endless scrubbing that seems to yield minimal results.
This hack harnesses the natural power of steam and citrus. Grab a microwave-safe bowl and fill it with about 1 cup of water. To this, add a few lemon slices, or for an even more potent solution, a splash of white vinegar. Place this concoction right in the center of your microwave and heat it on high for 2 minutes. The magic truly begins as you let the bowl sit inside, door closed, for another minute, allowing the steam to work its undeniable wonders.
That burst of steam is your secret weapon. It softens every hardened splatter and crusty corner, turning what once felt like scraping off tile grout into a gentle wipe-down. The lemon isn’t just for show; it adds a wonderfully fresh, clean scent that powerfully neutralizes odors, especially helpful if your microwave still carries the ghost of a leftover fish dinner. For an even easier cleanup, dip your sponge or cloth into the warm lemon water before wiping, and watch the grime melt away.
Read more about: 15 Incredible Home Organization Hacks From Professional Cleaners: Your Guide to a Sparkling Home

3. **The Lazy Mop Trick for Baseboards**Cleaning baseboards is one of those tasks that often gets overlooked, primarily because it’s a literal pain in the neck—and back, and knees! Bending, kneeling, and contorting yourself into awkward positions to reach those dusty, scuffed edges is hardly anyone’s idea of a fun afternoon. But what if you could tackle this chore standing upright, with minimal effort and maximum efficiency?
Enter the “lazy mop trick,” a brilliant hack that re-purposes your everyday flat mop or Swiffer. Simply wrap a clean microfiber cloth around the head of your mop. Give the cloth a light spritz with your favorite all-purpose cleaner, whether it’s a store-bought option or a homemade concoction, and you’re ready to glide. This method transforms a strenuous task into a quick, effortless sweep.
The genius of this approach lies in its simplicity and ergonomic benefits. Microfiber is a marvel at grabbing dust like a magnet, ensuring that those neglected baseboards come clean without just pushing dust around. The long handle of the mop means you can clean an entire hallway in minutes, saving your back and knees from unnecessary strain. It’s an undeniable win-win for anyone looking to maintain pristine baseboards without the usual associated discomfort.
Read more about: 15 Incredible Home Organization Hacks From Professional Cleaners: Your Guide to a Sparkling Home
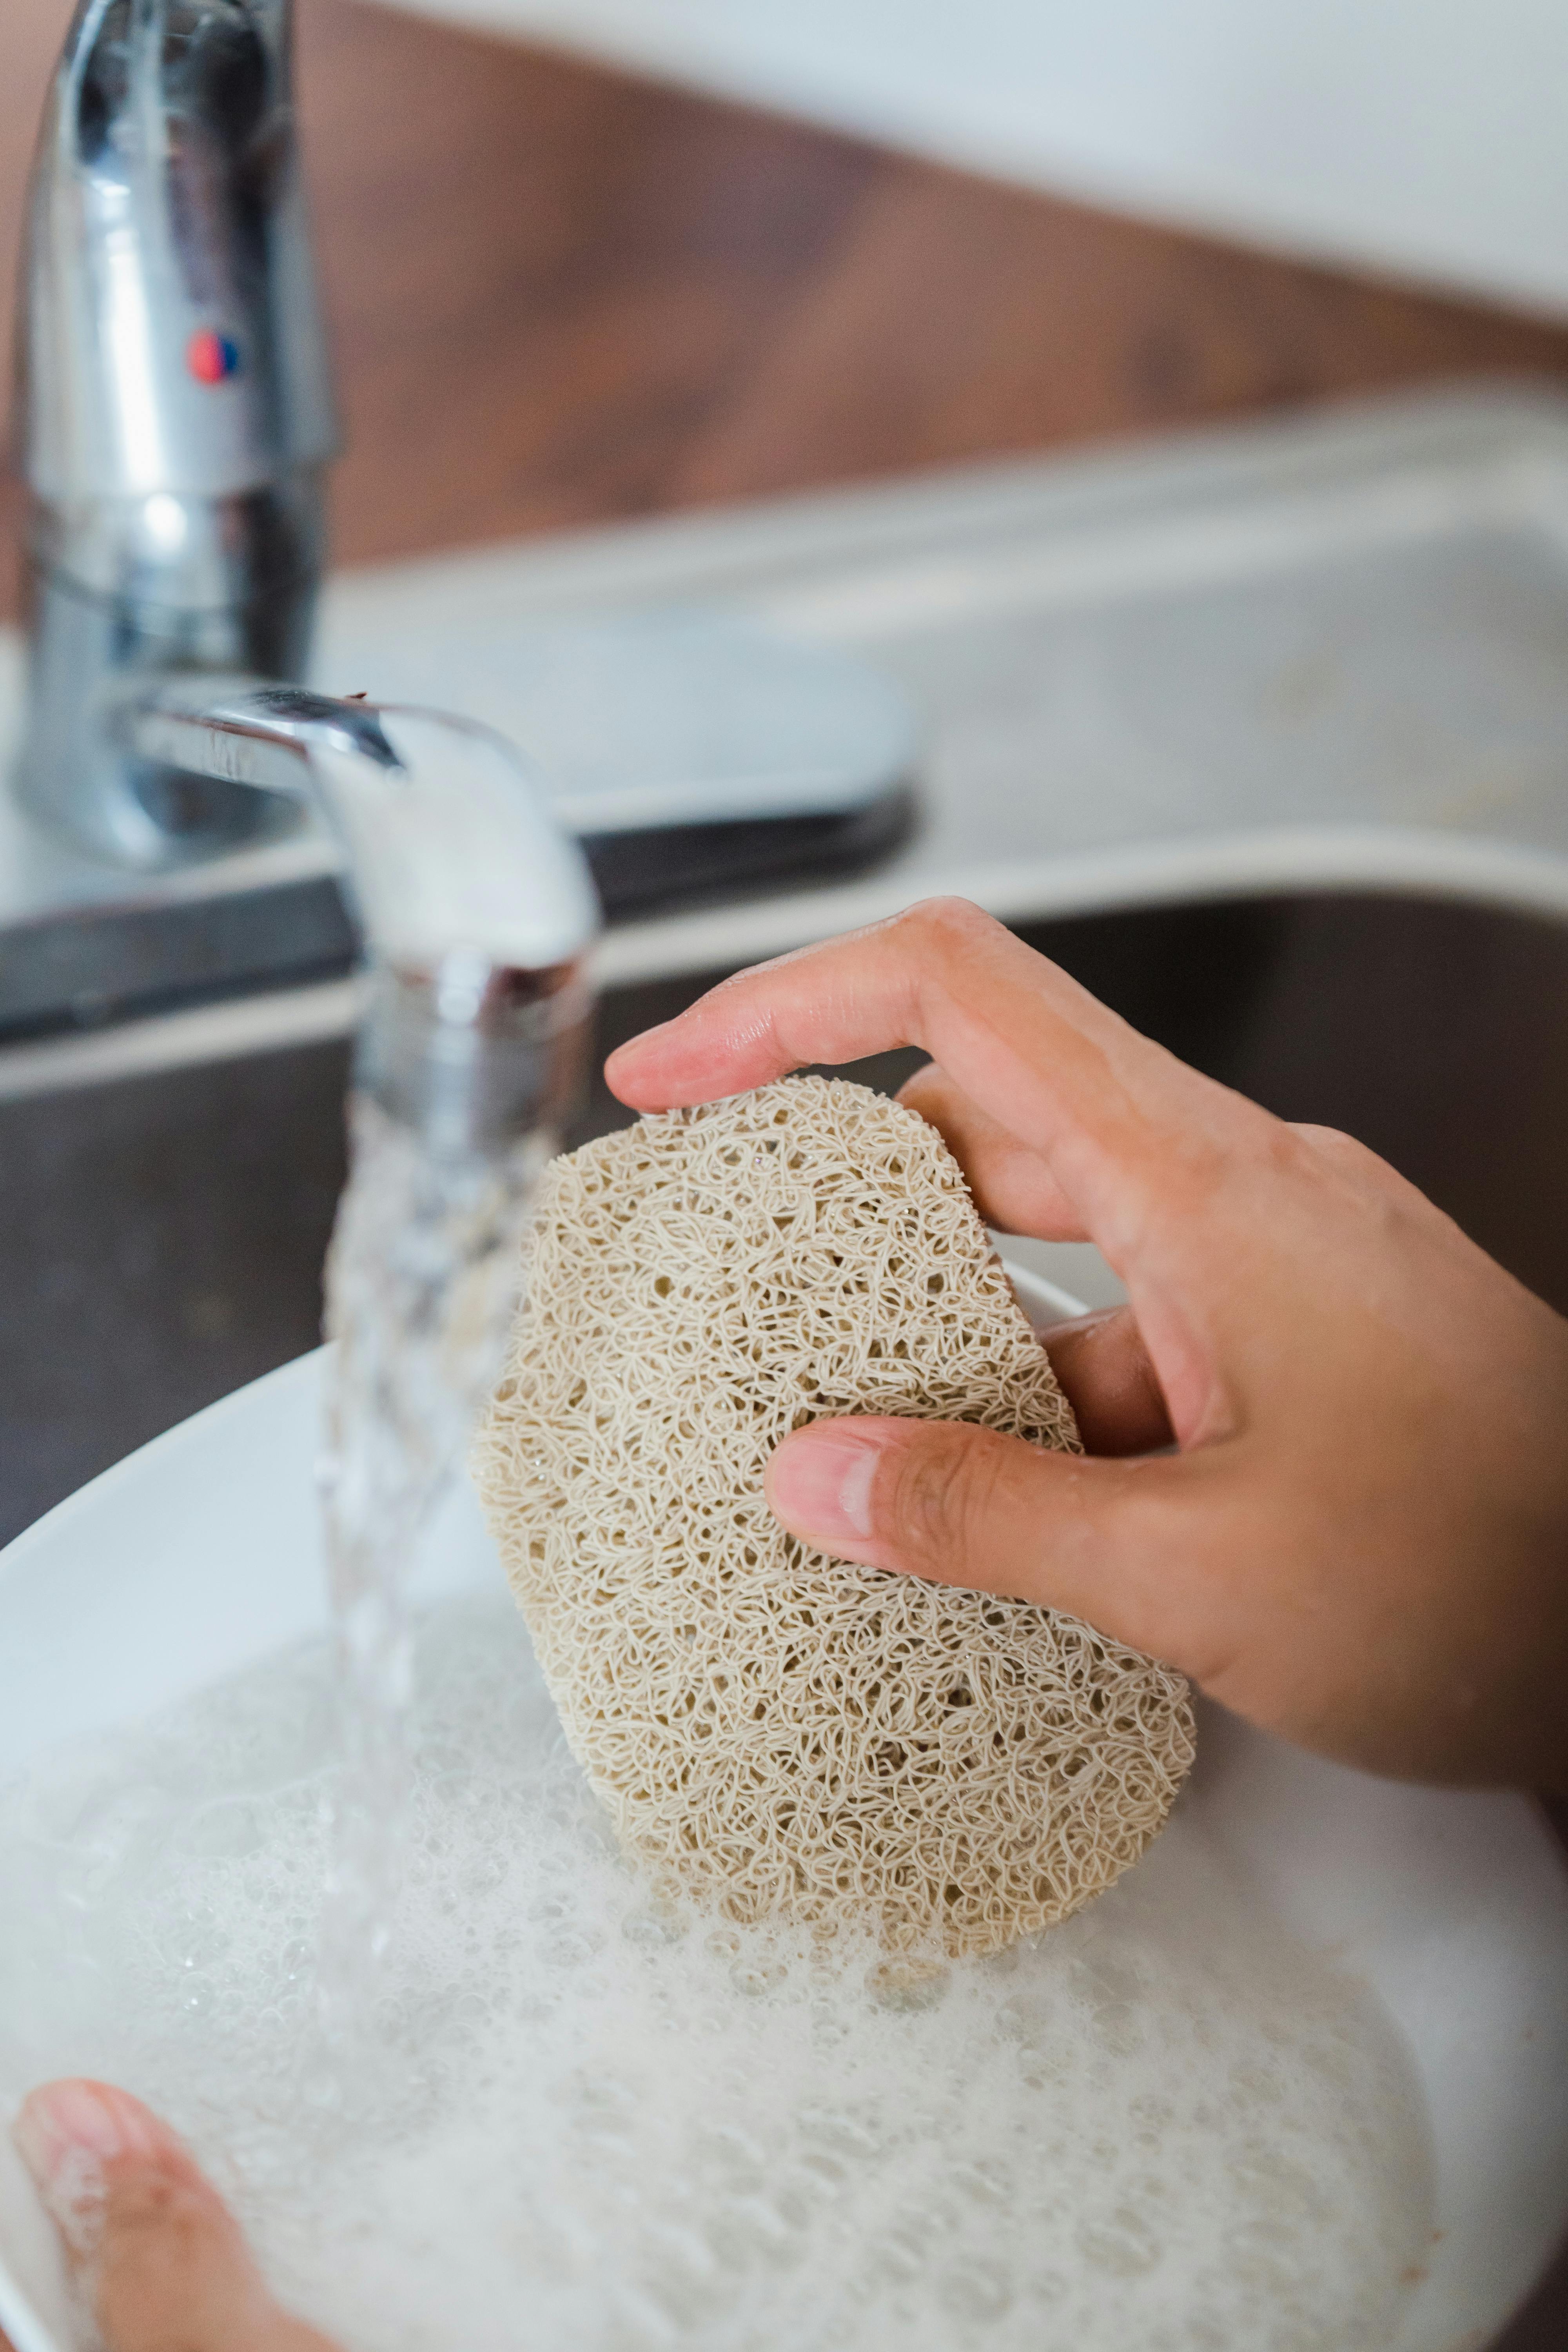
4. **Speed-Clean Your Shower with a Dish Wand**Maintaining a sparkling clean shower often feels like an uphill battle against soap scum, hard water stains, and mildew. Imagine having a tool right at your fingertips that makes daily shower maintenance almost effortless, turning a dreaded chore into a satisfying few seconds of multi-tasking. This hack brings that vision to life with a simple, readily available item: a dish wand.
The trick is to fill a dish wand with an equal parts mixture of Blue Dawn dish soap and white vinegar. Keep this handy wand tucked away in a corner of your shower or hanging from a suction hook, ready for action. While the steam from your shower is working its magic—softening up all that grime—take a few seconds to swipe the wand across your shower walls, glass doors, or tile. It’s a low-effort cleaning routine that practically runs on autopilot.
This dynamic duo is incredibly effective. The steam opens up soap scum, making it more receptive to cleaning. Vinegar, a natural powerhouse, cuts through hard water deposits and mildew with ease, while Dawn dish soap is renowned for breaking down body oils, shampoo gunk, and general grime. A few seconds of scrubbing during your regular rinse keeps buildup at bay, preventing those tough, deep-clean sessions later. Plus, there’s something oddly satisfying about conditioning your hair while simultaneously keeping your shower pristine.
Read more about: 15 Incredible Home Organization Hacks From Professional Cleaners: Your Guide to a Sparkling Home
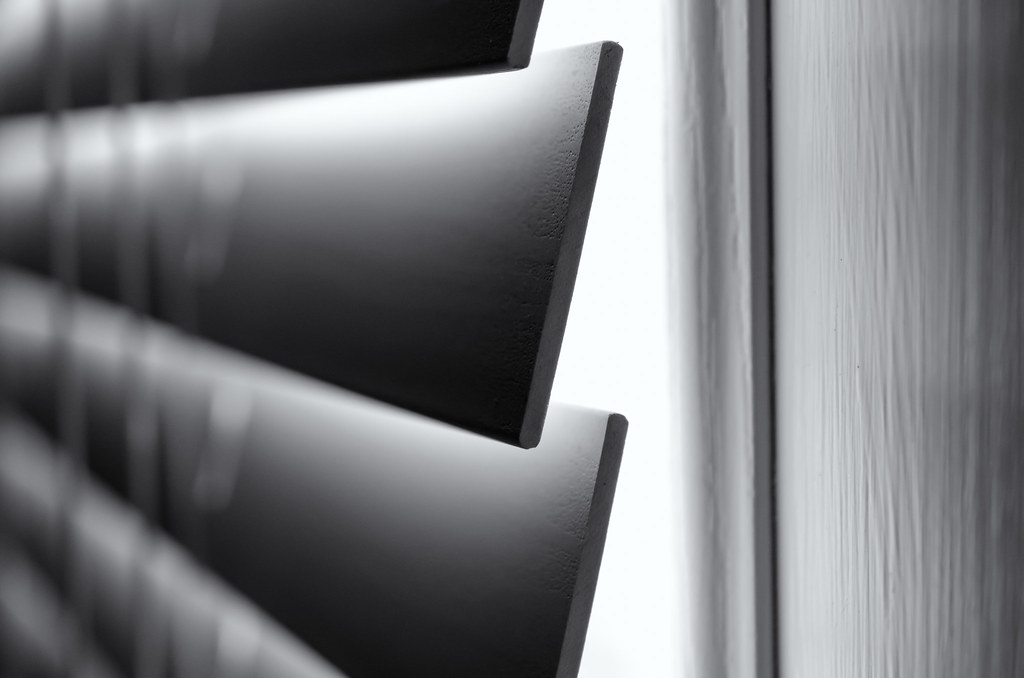
5. **The Sock Trick for Blinds**Window blinds are notorious for collecting dust in every single slat, making them one of the most tedious and time-consuming items to clean in any home. The countless nooks and crannies seem designed to thwart even the most dedicated cleaner. But what if the solution to this challenge was something as simple and unassuming as an old sock?
This ingenious hack calls for you to grab an old (but clean!) sock and slip it over your hand like a mitten. Once your hand is snugly encased, dip the sock into a 50/50 mixture of white vinegar and water. Now, with your sock-covered hand, gently run your fingers along each individual slat. You’ll find that your hand gives you unparalleled control, allowing you to effectively clean both sides of the slat simultaneously.
The beauty of this method lies in its precision and effectiveness. Your hand can navigate the intricacies of blinds far better than any bulky cleaning tool. The vinegar solution is a double-whammy, breaking down grime and dust while also neutralizing any lingering odors. And when you’re done? The sock goes straight into the wash, no fuss, no mess. It’s an excellent way to repurpose that lonely sock that’s lost its mate, turning it into a cleaning superhero.
Read more about: 15 Incredible Home Organization Hacks From Professional Cleaners: Your Guide to a Sparkling Home
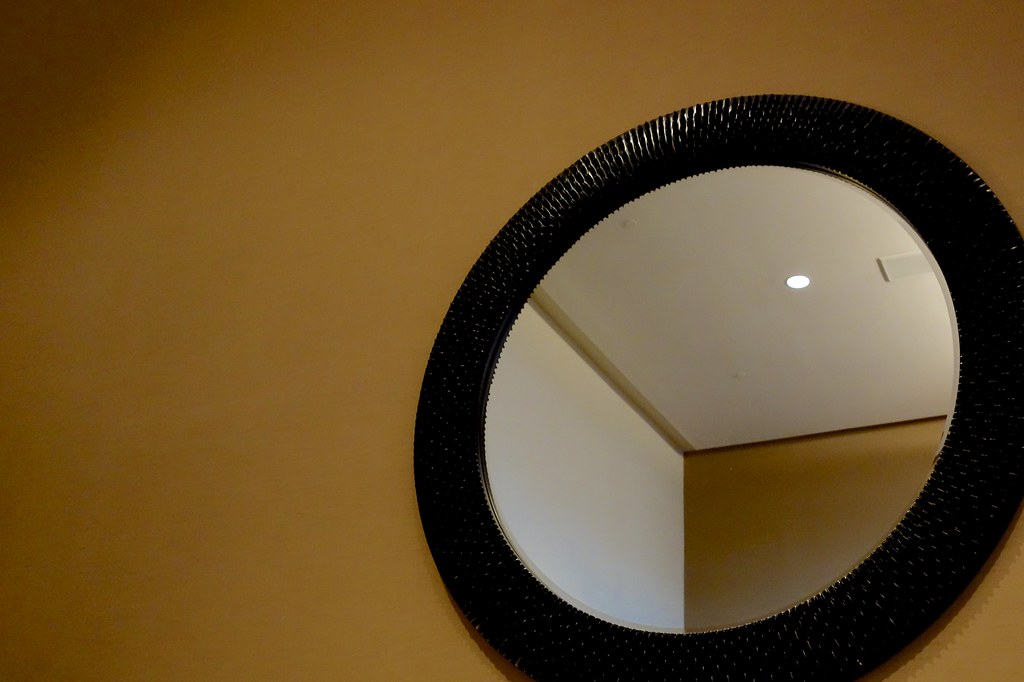
6. **Shaving Cream for Mirror Streaks and Fogging**Are you tired of perpetually streaky mirrors or the infuriating fog that descends after every hot shower, rendering your reflection useless? It’s a common household frustration, but there’s a surprisingly simple and highly effective solution hiding in plain sight, likely already in your bathroom cabinet: classic foamy shaving cream.
Here’s the straightforward approach: squirt a small dab of shaving cream (make sure it’s the foamy kind, not gel) directly onto your mirror. Then, with a clean, dry cloth, buff it off until the mirror is crystal clear and streak-free. The transformation is almost magical, leaving you with a perfectly polished surface that seems to defy the laws of bathroom humidity.
This isn’t magic, however; it’s pure science. Shaving cream contains surfactants, which are the very same type of ingredients used in commercial defoggers. These surfactants leave behind a thin, invisible film on the mirror’s surface. This film prevents water vapor from condensing into tiny droplets that cause fogging, ensuring your mirror stays clear even after the steamiest shower. It’s a brilliant, cost-effective way to achieve consistently clear mirrors without resorting to specialty products or constant wiping.
Read more about: 15 Incredible Home Organization Hacks From Professional Cleaners: Your Guide to a Sparkling Home
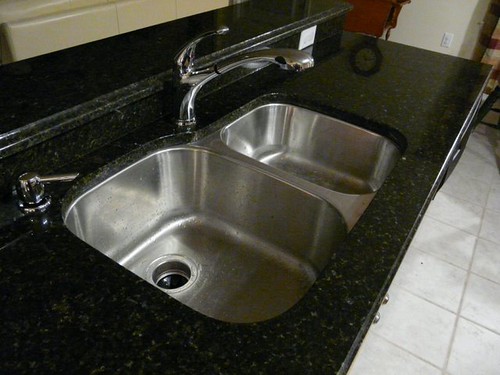
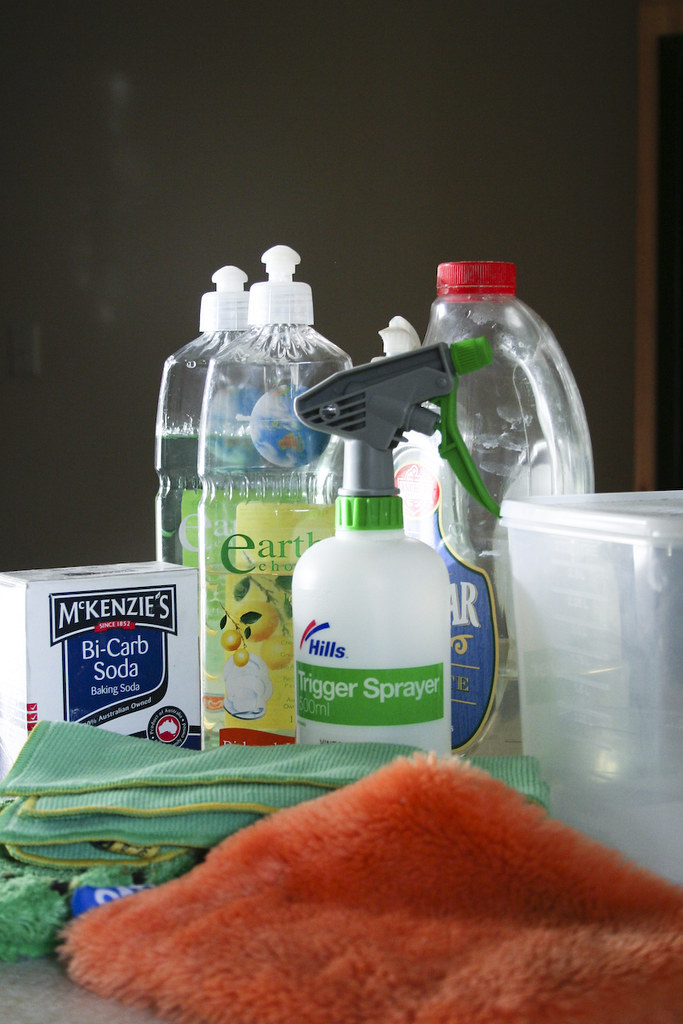
7. **Polish a Stainless Sink with a Lemon and Baking Soda**Your stainless steel sink endures daily battles with food gunk, hard water deposits, and general grime, often looking dull and stained despite your best efforts. But what if you could restore its gleaming shine and leave it smelling wonderfully fresh, using only natural ingredients from your kitchen? This hack reveals a powerful, eco-friendly secret weapon: a lemon and baking soda.
To embark on this refreshing cleaning journey, cut a lemon in half. Then, generously sprinkle baking soda over the entire surface of your stainless steel sink. Now, use the cut lemon as your scrub brush, holding it rind-side in your hand and using the pulp-side directly on the grime. Gently scrub in circular motions, allowing the natural abrasives and acids to work their wonders.
The efficacy of this method is rooted in simple chemistry. The lemon’s citric acid is a fantastic natural degreaser and cuts through hard water deposits and food residues with remarkable ease. Complementing this, the baking soda provides just the right amount of gentle grit to lift away stubborn residue without any risk of scratching the delicate stainless steel surface. The result is a brilliantly shiny, streak-free sink that radiates a fresh, invigorating citrus scent, a far more pleasant aroma than any harsh chemical cleaner.” , “_words_section1”: “1940
Read more about: 15 Incredible Home Organization Hacks From Professional Cleaners: Your Guide to a Sparkling Home
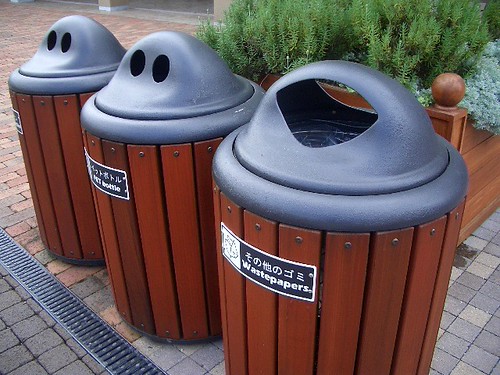
8. **Keep Your Trash Can Fresh with Baking Soda**Trash cans, despite their purpose, often end up emitting less-than-pleasant odors that can waft through your kitchen or bathroom, making your otherwise clean space feel a bit…off. It’s a common struggle, even with regular emptying, as lingering smells can stubbornly embed themselves in the plastic. But what if there was a simple, affordable trick to keep those unwanted aromas at bay from the moment you put in a new liner?
The secret to a perpetually fresh trash can is delightfully straightforward: baking soda. Before you place a new bag inside, simply sprinkle a generous amount of baking soda directly onto the bottom of the can. This unassuming white powder is a natural deodorizer, renowned for its ability to absorb and neutralize odors rather than just masking them with another scent. It actively tackles the molecules causing the smell, leaving behind a clean slate.
Think of it as setting a proactive trap for smells before they even have a chance to take hold. This little habit creates an invisible barrier, ensuring that even the most pungent food scraps or household waste don’t turn your trash can into an odor factory. It’s an easy, consistent way to maintain a fresh-smelling home, making your everyday chores feel a little more rewarding.
For an extra burst of aromatic freshness that complements the deodorizing power, consider enhancing your baking soda base. You can add a few drops of your favorite essential oil—think invigorating lemon or soothing eucalyptus—to the baking soda before you sprinkle it into the can. This simple addition transforms your trash routine into a small, pleasant sensory experience, helping to keep your home smelling wonderfully clean, naturally.
Read more about: 15 Incredible Home Organization Hacks From Professional Cleaners: Your Guide to a Sparkling Home
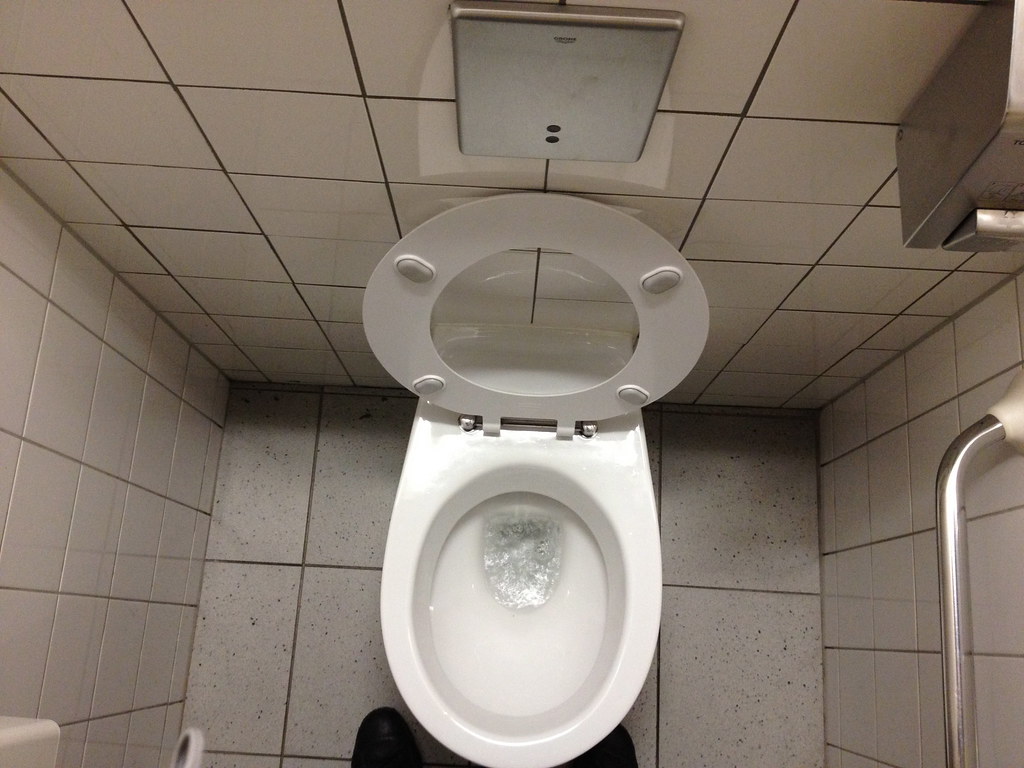
9. **No-Scrub DIY Toilet Bombs That Work**Tackling the toilet is often at the bottom of everyone’s cleaning list, a chore most of us would happily delegate to someone else if we could. The thought of scrubbing away stubborn rings and grime can be less than appealing, especially when you’re aiming for a quick and efficient clean. Imagine a world where you could simply drop something into the bowl, walk away, and return to a much fresher, cleaner toilet with minimal effort.
This isn’t a fantasy; it’s a brilliant DIY reality with “no-scrub toilet bombs”! Crafting these fizzing wonders is an engaging project that will revolutionize your bathroom cleaning routine. You’ll need just a few common household ingredients: a ½ cup of baking soda, ¼ cup of citric acid, and 1 tablespoon of Blue Dawn dish soap. Combine these in a small bowl, stirring with a fork until the mixture achieves a consistency akin to damp sand. The next step is satisfyingly simple: firmly press this mixture into a silicone ice cube tray, then let them dry and harden overnight, transforming them into convenient, powerful cleaning capsules.
The magic of these little bombs lies in their synergistic chemistry. The baking soda acts as a fantastic deodorizer, neutralizing unpleasant smells. Citric acid, when combined with water, creates that satisfying fizz, actively breaking down hard water stains and mineral deposits. And Blue Dawn dish soap? It’s a champion at cutting through grime and body oils, ensuring a thorough clean without needing you to put in the elbow grease. These three ingredients work in harmony to tackle common toilet bowl issues with remarkable efficiency.
Once hardened, store your DIY toilet bombs in an airtight container, ready for action. Whenever your toilet bowl needs a quick refresh or a more thorough cleanse, just drop one in. The fizzing action will do the heavy lifting for you, allowing you to walk away and focus on other tasks. It’s a wonderful way to maintain a clean and sparkling toilet with an absolute minimum of fuss, turning a dreaded chore into a delightful discovery. Plus, making a batch means you’ll always have a supply on hand!
Read more about: 15 Incredible Home Organization Hacks From Professional Cleaners: Your Guide to a Sparkling Home
10. **Declutter as You Clean**Clutter has a sneaky way of accumulating, quietly piling up in corners, on surfaces, and in drawers while we’re simply living our lives. It’s often the biggest roadblock to feeling like your home is truly clean, creating a visual noise that can be overwhelming and make actual cleaning tasks much harder. We often put off decluttering because it feels like a monumental, separate chore, but what if you could chip away at it effortlessly, right alongside your regular cleaning routine?
This hack is less about scrubbing and more about cultivating a smart organizational habit that saves you time and effort in the long run. Before you even pick up a dust rag or a vacuum, set up a donation box or a designated bag in a central, easy-to-access spot in your home. As you move from room to room, cleaning surfaces and tidying up, keep a keen eye out for anything that no longer serves a purpose, sparks joy, or is genuinely needed.
The key here is to act decisively, without overthinking. See an item you haven’t touched in months? Into the donation box it goes. A forgotten gadget? Off to a new home. This method streamlines the decluttering process, turning it from an intimidating project into a series of small, manageable decisions integrated into your existing cleaning flow. It prevents clutter from building up in the first place, ensuring your home stays more organized effortlessly.
Remember the golden rule: the less you own, the less you have to clean. It’s simple math, really! By making decluttering a continuous, low-effort part of your cleaning routine, you’re not only making your home tidier but also giving unused items a valuable second life in someone else’s home. It’s a guilt-free goodbye to excess and a warm welcome to a calmer, easier-to-maintain living space, proving that a little thoughtful organization can make a huge difference.
Read more about: 15 Incredible Home Organization Hacks From Professional Cleaners: Your Guide to a Sparkling Home

11. **The Magic of Rubbing Alcohol for Stainless Steel**Stainless steel appliances are a marvel of modern kitchen design, adding a sleek, professional touch to any home. However, their beauty often comes with a persistent challenge: fingerprints, smudges, and mysterious greasy marks that seem to appear out of nowhere, marring their otherwise pristine surface. You might be tempted to reach for expensive specialty cleaners, but there’s a surprisingly simple, incredibly effective, and budget-friendly solution already likely in your medicine cabinet.
Say goodbye to those frustrating streaks with the magic of rubbing alcohol. All you need is a clean cloth, slightly dampened with 70% rubbing alcohol (the common variety works perfectly), and a few quick swipes. Gently wipe down your stainless steel surfaces, moving in the direction of the grain to ensure a uniform finish. You’ll watch as those stubborn fingerprints and greasy smudges disappear almost instantly, leaving behind nothing but a brilliant shine.
The reason this hack is so effective lies in rubbing alcohol’s properties. It’s a powerful solvent that effortlessly dissolves oils and grime. Crucially, it evaporates incredibly quickly, which is key to achieving that coveted streak-free finish without any additional rinsing or buffing. This rapid evaporation prevents water spots and residue from forming, which are common culprits behind streaky results from other cleaners. It’s a true set-it-and-forget-it approach to gleaming appliances.
Beyond just the aesthetic appeal, rubbing alcohol offers an added bonus: it disinfects as it shines. This means your high-touch appliance surfaces, like fridge doors and oven handles, are not just looking clean but are also hygienically pristine. It’s a game-changer for maintaining a sparkling kitchen, offering a showroom-clean look in under a minute, without the need for overpriced products that simply can’t compete with this simple, scientific solution.
Read more about: 15 Incredible Home Organization Hacks From Professional Cleaners: Your Guide to a Sparkling Home

12. **Use Vinegar to Clean the Gunk Around a Faucet**The base of your kitchen or bathroom faucet often becomes a battleground for hard water minerals, soap scum, and other unsightly gunk. This buildup can be incredibly stubborn, forming a crusty ring that seems impossible to scrub away without intense effort and specialized tools. It detracts from the cleanliness of your sink area and can make you feel like your cleaning efforts are never quite enough. What if a powerful, natural solution could melt away this grime with minimal fuss?
Vinegar, the undisputed champion of natural cleaning, is your secret weapon here. To tackle that persistent gunk, simply soak a cloth thoroughly in white vinegar. Once saturated, carefully wrap or place the vinegar-soaked cloth directly around the base of the faucet, ensuring it makes full contact with all the crusted buildup. Allow this acidic compress to sit for a couple of hours; the longer the gunk has been there, the longer you might want to let it work its magic.
As the vinegar dwells, its acetic acid gets to work, diligently breaking down the mineral deposits and soap scum that cling so stubbornly to your faucet. You’ll be amazed at how effectively this simple, non-toxic liquid can penetrate and loosen even the most hardened grime. After the soaking period, simply remove the cloth and use it to wipe away the softened stains. You’ll find that what once seemed cemented in place now easily detaches, revealing the sparkling surface underneath.
This hack is not only incredibly effective but also safe for most surfaces and the environment, proving that you don’t need harsh chemicals to achieve a deep clean. It’s a fantastic example of leveraging common household ingredients for powerful results, leaving your faucet base gleaming and your sink area looking impeccably tidy. And as an added bonus, you’ll discover just how versatile and safe vinegar truly is for countless other cleaning tasks around your home.
Read more about: The Ultimate Guide: 11 Easy, Chemical-Free Ways to Conquer Clogged Drains for a Healthier Home
13. **Use Salt to Clean a Messy Oven**There’s a special kind of dread that accompanies opening your oven door only to discover the aftermath of a bubbly casserole or an enthusiastic pie that decided to overflow. Those burned-on spills at the bottom of the oven can feel like an impossible challenge, requiring hours of scraping or the use of harsh, fume-filled chemical cleaners. But what if you could turn that hot, messy spill into a much more manageable crumbly mess, using a humble pantry staple?
This ingenious hack capitalizes on the residual heat of your oven and the absorbent power of ordinary salt. The next time you have a spill while something is baking, or immediately after you’ve taken food out, grab a handful of salt and generously sprinkle it directly over the hot mess. The key is to apply the salt while the spill is still warm; this allows it to begin absorbing the liquid and interacting with the baked-on residue.
As the oven cools and the salt does its work, it transforms that sticky, stubborn spill into a dried, crusty layer. This crust formation is what makes the subsequent cleanup remarkably easier. Once the oven has completely cooled, you’ll find that instead of scraping a sticky, liquefied mess, you can simply use a spatula or scraper to lift away the now-hardened, easily removable remnants. It’s a remarkable transformation that saves you significant elbow grease and avoids the need for heavy-duty chemical oven cleaners.
This trick is a true lifesaver for anyone who loves to cook but loathes the cleanup. It’s a proactive, natural approach to oven maintenance, preventing small spills from turning into monumental cleaning tasks. By reacting quickly with salt, you’re not just cleaning smarter; you’re making your future self incredibly grateful, ensuring your oven stays cleaner with less effort and more peace of mind.
Read more about: 15 Incredible Home Organization Hacks From Professional Cleaners: Your Guide to a Sparkling Home
14. **Use a Dryer Sheet to Clean a Casserole Dish**After enjoying a delicious home-cooked meal, the last thing anyone wants to face is a casserole dish encrusted with baked-on food that seems glued to the bottom. Those stubborn, caramelized residues can be a nightmare to scrub, often requiring prolonged soaking, harsh abrasives, or endless elbow grease, which can be tough on your hands and your sponges. What if a simple, unexpected item from your laundry room could magically loosen that grime with almost no effort?
Prepare to be amazed by the cleaning power of an unused dryer sheet! This isn’t just for static cling; its conditioning ingredients hold a secret talent for tackling tough food buildup. Here’s how this genius hack works: after scraping away any loose food from your casserole dish, fill the dish with hot water. Then, drop a single dryer sheet into the water, ensuring it’s submerged and making contact with the baked-on gunk.
Now, here’s the best part: let it soak. Walk away for about 15 minutes, allowing the conditioning agents in the dryer sheet to work their magic on the hardened food particles. These special ingredients help to break down and loosen the bonds that make baked-on food so notoriously difficult to remove. The warm water aids this process, creating a gentle yet powerful soaking solution that does all the hard work for you.
When you return, you’ll find that what was once a stubbornly caked-on mess is now incredibly easy to wipe away with a sponge. The grime should slide off with minimal scrubbing, transforming a dreaded cleanup into a surprisingly satisfying task. Just remember to wash the dish again with regular dish soap and water afterward to remove any residue from the dryer sheet, leaving your casserole dish sparkling clean and ready for your next culinary creation.
These clever cleaning hacks are more than just shortcuts; they’re a testament to the power of smart thinking, simple chemistry, and a little ingenuity. Whether you’re reclaiming your Saturday mornings from the mop and bucket or simply looking for a more efficient way to maintain a fresh, tidy home, these professional-inspired tricks are here to empower you. They prove that you don’t need a cupboard full of expensive, harsh chemicals to achieve sparkling results; often, the most effective solutions are already hiding in plain sight within your home. So, go forth and clean smarter, not harder, and let these tips transform your relationship with household chores. What’s your go-to cleaning shortcut that you wish someone had told you sooner? Share your secrets in the comments below—because when it comes to a clean home, we’re all in this together!


