

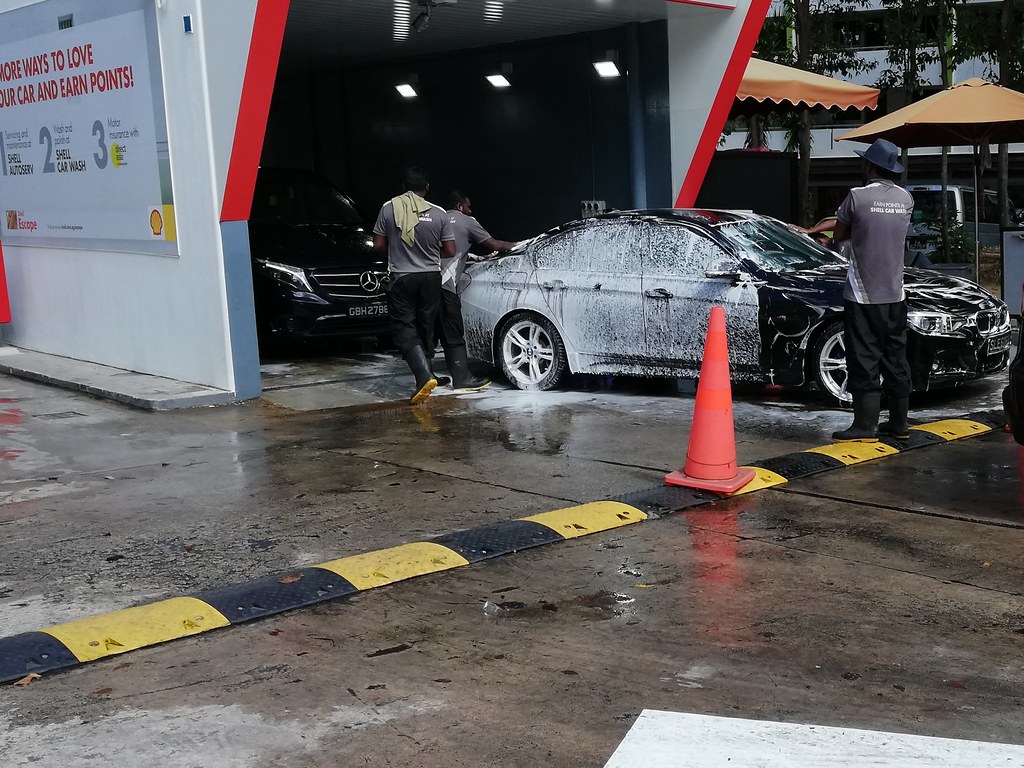
Have you ever looked at a car and thought, “That’s clean, but it could be legendary?” If so, you’ve got the car detailing bug! Many car owners settle for a basic wash, missing out on the transformative power of professional detailing. This isn’t just about making your car look good; it’s about preserving a significant investment and unleashing a showroom brilliance that turns heads. The difference between a casual wash and a meticulous detail lies in understanding specialized techniques and using the right tools, secrets that often feel exclusive to the pros.
While paying for professional detailing can be pricey, ranging from $100 to $500, achieving professional-worthy results at home is entirely possible. By mastering methods such as the two-bucket wash, using clay bars, and applying high-quality wax, you maintain your vehicle’s new and shiny condition, preventing damage that could lead to expensive repairs on the body. Investing in the right tools and car detailing products might seem expensive initially, but it will surely pay off in the long run, saving you money by reducing the need for frequent professional services and ensuring your vehicle’s value is protected.
This in-depth guide is designed to demystify the art of professional car detailing. We’ll walk you through 14 essential secrets and hacks that only the pros know, starting with the critical exterior cleaning techniques that lay the foundation for a truly pristine finish. Get ready to elevate your car care routine, protect your ride, and achieve that immaculate look you’ve always desired.
1. **Use The Two-Bucket Method**One of the most fundamental yet often overlooked secrets to a scratch-free car wash is the two-bucket method. This technique is a “non-negotiable for beginners” and is paramount in reducing the risk of scratching your car’s paint. Casual washers might simply use one bucket, unknowingly reintroducing abrasive dirt particles back onto their vehicle’s delicate clear coat with every swipe of the wash mitt.
The process is straightforward but incredibly effective. Fill one bucket with soapy water, using a premium pH-neutral car wash soap that is “safe for your car’s paint and won’t strip any existing wax or sealant.” The second bucket should be filled with clean, plain water for rinsing your wash mitt. After cleaning a section of your car, dunk your dirty wash mitt into the rinse water bucket and swirl it around to dislodge the dirt and grit before dipping it back into the soapy water.
This simple yet powerful technique ensures that dirt and grime are effectively trapped in the rinse bucket, preventing them from being reintroduced to the paint. As the context explains, by doing this, you “keep dirt out of your wash bucket” and “maintain a scratch-free surface.” This meticulous approach is what separates a professional detailer’s wash from a standard car wash, directly contributing to the longevity and pristine appearance of your vehicle’s paint.
Read more about: Unlocking Showroom Shine: 12 Simple Secrets to Getting Your Car Detailed for Under $50

2. **Microfiber Towels for Everything**Forget the old sponges and chamois; professional detailers swear by microfiber towels, and for good reason. “Microfiber towels are highly absorbent and gentle, making them perfect for various detailing tasks.” Unlike sponges that “capture and hold dirt and grit in their large pores” and can act like sandpaper on your paint, microfiber effectively collects particles and releases them when rinsed, preventing damage.
To maximize their effectiveness and avoid cross-contamination, detailers use different colored towels for specific jobs. For instance, you might use one color for drying, another for waxing, and a third for glass cleaning. This systematic approach ensures that you’re not inadvertently transferring wax residue to your glass or dirt particles to your freshly polished paint, which can lead to streaks or even scratches.
Proper care for your microfiber towels is just as important as their application. “Wash them separately from other laundry to prevent lint buildup,” which can leave unsightly fibers on your car’s surface. Crucially, always use a clean microfiber towel to avoid scratching the paint with embedded dirt particles from previous uses. This dedication to using the right, clean tool for every step is a hallmark of a professional-grade finish.
Read more about: 15 Incredible Home Organization Hacks From Professional Cleaners: Your Guide to a Sparkling Home
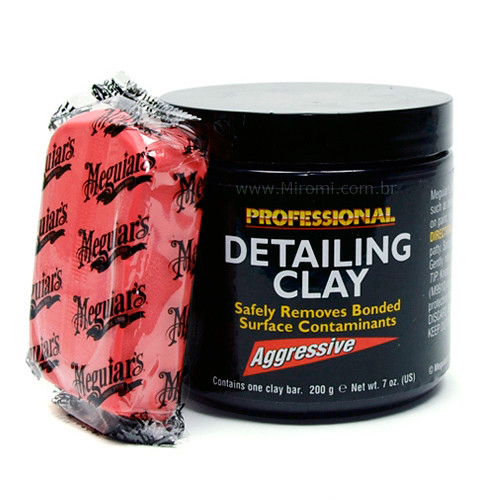
3. **Clay Bar for a Smooth Finish**Beyond what a standard wash can achieve, a clay bar is a secret weapon that professional detailers use to achieve an incredibly smooth paint finish. “A clay bar can remove contaminants that washing alone can’t eliminate, like brake dust and tree sap.” These unseen, bonded contaminants create a rough texture on your paint, dulling its appearance and hindering the effectiveness of waxes or sealants.
After thoroughly washing and drying your car, the clay bar process begins. You’ll “lubricate a small section with clay lubricant or soapy water” to provide a slippery surface. Then, “gently rub the clay bar over the area” in straight-line motions. As you glide it, the clay literally lifts and pulls embedded contaminants from the paint surface, making it feel noticeably smoother to the touch. The context mentions “using a clay bar after washing helps create an incredibly smooth surface, making waxing easier and more effective.”
It’s important to fold the clay to a clean side as it picks up contaminants to prevent scratching. This crucial step leaves the paint incredibly smooth and ready for subsequent polishing or protection. “Regular use of a clay bar can help maintain the smoothness and cleanliness of your car’s paint surface,” creating a perfect foundation that enhances gloss and ensures your protective layers bond effectively and last longer.
Read more about: Unlocking Showroom Shine: 12 Simple Secrets to Getting Your Car Detailed for Under $50
4. **Proper Washing Technique**While the two-bucket method provides the framework for a safe wash, the technique of how you physically wash the car is equally vital in preventing swirl marks and scratches. Professional detailers always “wash your car from top to bottom to prevent dirt from re-contaminating cleaned areas.” This logical progression ensures that gravity works with you, allowing dirt and grime from upper sections to be rinsed away before you clean the lower, often dirtier, parts of the vehicle.
Start with the roof, which is typically the cleanest area, and then meticulously move to the windows, hood, and trunk. Only then should you progress to the sides and the lower panels, which accumulate the most road grime and dirt. This sequence ensures that “the dirtiest parts of the car, typically the lower sections, are cleaned last,” minimizing the risk of spreading heavy contaminants to already cleaned, more delicate surfaces.
Another critical aspect is the motion you use with your wash mitt. “Use straight-line motions instead of circular ones to minimize the risk of swirl marks.” Circular motions can inadvertently create visible micro-scratches that become more apparent in direct sunlight. By using straight lines, any potential marks will be less noticeable and easier to correct, contributing significantly to a uniformly pristine and scratch-free finish that truly reflects professional standards.
Read more about: A Research Age Concludes: Honoring Pioneer Scientists Whose Legacies Endure
5. **Use the Right Soap**This might seem like a given, but a common DIY mistake is using household detergents for car washing, a practice vehemently opposed by professional detailers. “Dishwashing liquid is the go-to choice for most DIYers. But it shouldn’t be. Dishwashing detergent is simply too harsh.” These products are formulated to strip grease and food residues, which means they are also designed to “suck important oils out of your car’s finish and can actually shorten the life of your paint” and strip away protective wax layers.
Professional detailers exclusively “use a car wash soap for professional car detailing, like Meguiar’s Gold Class Car Wash.” These car-specific soaps are formulated to be “gentle on automotive paint while effectively removing dirt.” They are pH-balanced, meaning they clean without damaging your paint or compromising any existing wax or sealant, preserving your car’s protective layers and glossy finish.
“Follow the manufacturer’s dilution instructions for the best results” to ensure optimal cleaning power without causing any adverse effects. Using the right soap is not just about cleanliness; it’s about preserving your paint’s integrity and prolonging the life of your protective coatings. As the context advises, “pH-neutral soap is your friend, even on coated cars,” emphasizing the importance of product selection in achieving and maintaining a professional finish.
Read more about: Unlock a Cleaner Home, Smarter: The 14 Essential Cleaning Hacks You Need to Master Now
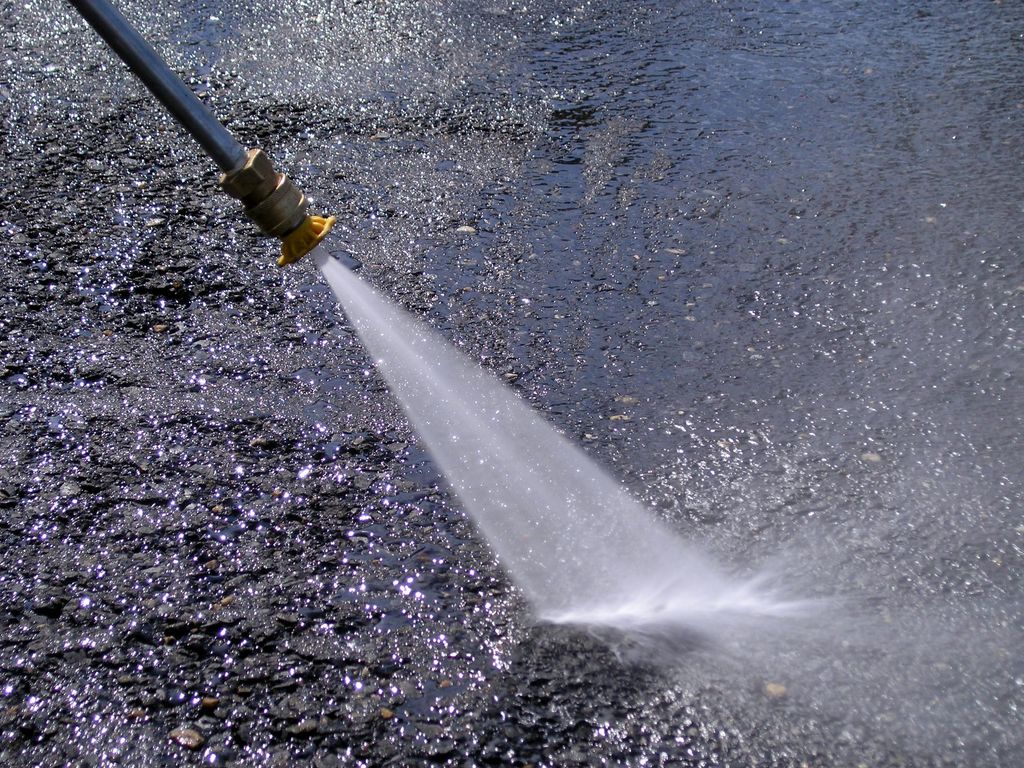
6. **Invest in a Good Foam Cannon**For those looking to elevate their pre-wash routine, a foam cannon is a tool that truly brings a professional edge. “A foam cannon attaches to a pressure washer and sprays thick foam over the car, loosening dirt and grime before you start scrubbing.” This isn’t just for show; it’s a strategic pre-wash step that significantly enhances cleaning safety and efficiency.
The process is quite satisfying and effective. “Fill the foam cannon with a mix of water and car wash soap, adjust it to produce thick foam, and cover the entire car.” Allow the thick foam to dwell on the vehicle for several minutes. This dwell time is crucial, as the soap solution works to encapsulate and lift surface dirt and grime, minimizing the amount of physical agitation required during the contact wash.
This “pre-wash step can significantly reduce the risk of scratching” because much of the loose dirt is rinsed away before your wash mitt even touches the paint. “Always pre-soak—don’t rinse before you foam,” as another tip suggests, highlighting the efficacy of this method. A foam cannon allows for a touchless initial cleaning, reducing the chances of marring the paint and setting the stage for a safer, more effective hand wash.
Read more about: Mastering the Road: 14 Simple Yet Powerful Strategies to Keep Your Car’s Exterior Spotless While Traveling

7. **Use Grit Guard for Buckets to Trap Dirt**Complementing the two-bucket method, grit guards are an unassuming yet crucial component in a professional detailer’s arsenal for preventing scratches. “Place a grit guard at the bottom of both your rinse and wash buckets to trap dirt and grit.” These simple inserts sit at the bottom of your buckets, creating a barrier that helps keep contaminants away from your wash mitt.
Their mechanism is ingeniously effective: when you rinse your wash mitt in the clean water bucket, “rub it against the grit guard to dislodge dirt.” This action forces the dirt particles to settle beneath the guard, preventing them from floating back up and re-contaminating your mitt. This ensures that when you dip your mitt back into the soapy water, you’re picking up only clean soap, not abrasive grit.
This small but mighty addition to your bucket setup can greatly enhance the effectiveness and safety of your washing process. It’s a subtle detail that underscores the meticulous approach of professional detailing, where every measure is taken to safeguard your vehicle’s finish. By isolating dirt, grit guards play a vital role in maintaining a scratch-free surface and prolonging the pristine condition of your car’s paintwork.
Read more about: 14 Simple Ways to Clean and Protect Your Car’s Convertible Top for Lasting Shine
8. **Detailing Brushes for Tight Spaces**While you’ve diligently cleaned the broad panels and prominent surfaces, true professional detailing extends to every nook and cranny. Many car owners overlook the intricate areas where dirt and grime accumulate, diminishing the overall pristine appearance of the vehicle. This is precisely where soft-bristled detailing brushes become an invaluable asset in your arsenal, allowing you to reach spots that sponges or wash mitts simply cannot.
These specialized brushes are designed to navigate tight spaces such as around badges, intricate grilles, delicate trim pieces, and even air vents, dislodging accumulated dust and stubborn grime. To use them effectively, pair your detailing brush with a mild all-purpose cleaner or a solution of soapy water. Gently scrub these often-forgotten spots, allowing the bristles to lift dirt without causing any damage to the surrounding surfaces.
The meticulous attention to these hard-to-reach areas is a hallmark of professional car detailing. By thoroughly cleaning these intricate parts, you ensure a uniform level of cleanliness across your entire vehicle. Detailing brushes are essential for maintaining a truly comprehensive clean, elevating your car’s aesthetic from merely clean to impeccably detailed.
Read more about: Your Ultimate Guide: Simple Ways to Use Vinyl Wrap to Protect Your Car’s Paint Like a Pro
9. **Proper Drying Techniques**After investing your time in a thorough wash, the drying process might seem straightforward, but it’s a critical step where many DIY enthusiasts inadvertently introduce scratches or unsightly water spots. Professional detailers understand that improper drying can negate all the hard work put into washing, making proper technique just as important as the wash itself. The goal is to remove every trace of water without leaving marks or causing new imperfections.
For superior results, ditch old towels and opt for high-quality microfiber drying towels. These towels are engineered to be highly absorbent and gentle, allowing you to blot and gently wipe water off the car’s surface without marring the paint. The technique involves laying the towel flat on a section and allowing it to soak up the water, then gently wiping in straight lines, always ensuring you’re not dragging any lingering dirt across the paint.
For those seeking an even more advanced and virtually touchless drying method, professional detailers often employ car dryers or leaf blowers. These tools allow you to literally blow water off the car’s surface without any physical contact, dramatically reducing the risk of scratches or swirls. They are particularly effective for intricate areas like mirrors, emblems, and door jambs, where water tends to collect and drip, causing stubborn water spots. By mastering these drying techniques, you not only maintain your car’s clean appearance but also protect its finish from future blemishes, ensuring a consistently pristine look.
Read more about: Master Your Laundry: 11 Common Mistakes You’re Making and Simple Fixes for Fresher Clothes
10. **Use a High-Quality Wax or Sealant**Once your car’s paint is immaculately clean and smooth, the next crucial step in professional detailing is to protect that pristine finish and enhance its natural luster. This is where a high-quality wax or sealant comes into play, serving as an invisible shield against environmental contaminants and delivering that coveted glossy sheen. This protective layer is essential for safeguarding your vehicle’s paintwork from the elements, ensuring its longevity and maintaining its aesthetic appeal.
Professional detailers typically choose between carnauba wax and synthetic sealants, each offering distinct advantages. Carnauba wax is renowned for providing a deep, warm, and rich shine, often associated with a classic “wet look” that truly makes colors pop. For those prioritizing durability and longer-lasting protection, a synthetic sealant is the superior choice. These modern formulations create a robust barrier that can withstand harsh weather, UV rays, and environmental fallout for months on end, surpassing the lifespan of traditional waxes. Modern synthetic waxes also offer a superior “wet look” and last longer than old-style paste waxes, making them a preferred choice.
Applying these protective layers correctly is key to their performance. Whether you choose wax or sealant, aim for a thin, even layer using a foam applicator pad. Allow the product to “haze” according to the manufacturer’s instructions, indicating it’s ready for removal. Then, with a clean, soft microfiber towel, gently buff off the residue using circular motions. As the towel collects product, remember to refold it to a clean section or use a second towel if needed. For optimal protection, wax your car approximately every three months, or as needed, and apply a sealant every six to twelve months, depending on the product and your driving conditions. This final step not only locks in your hard work but also ensures your vehicle remains brilliantly protected and stunningly reflective.
Read more about: The Winter Durability Report: 5 Cars That Rust Rapidly, 5 That Stand Strong Against Corrosion

11. **Polish for Perfection**Even after a meticulous wash, clay bar treatment, and the application of protective layers, many vehicles still harbor minor paint imperfections like swirl marks, light scratches, or a dull finish. This is where polishing elevates your car’s appearance from merely clean to truly flawless. Polishing is the art of gently removing these surface blemishes, refining the paint, and significantly enhancing its gloss and clarity, effectively bringing back that “original luster.”
For achieving professional-grade results, a dual-action (DA) polisher is the tool of choice, highly favored by experts for its safety and effectiveness. Unlike high-speed buffers, which can “burn the paint right off your car if you stay in one place too long or press too hard,” DA polishers operate at lower speeds and oscillate as they rotate. This unique action makes them incredibly user-friendly, allowing even DIY enthusiasts to “get the hang of polishing in just a few minutes” without risking damage to the paintwork. Pair your DA polisher with an appropriate foam pad and a high-quality polishing compound designed for your specific needs.
When polishing, work in small sections, typically 2×2 feet, to ensure even coverage and proper defect removal. Apply a small amount of polish directly to the machine’s pad, then gently dab the pad across your paint before starting the machine. This prevents the polish from “flinging off the pad as soon as you hit the trigger.” Use moderate pressure and overlapping passes, slowly moving the polisher across the section. After each section, wipe off any residue with a clean microfiber towel to reveal the corrected, glossy surface. While polishing enhances shine, remember that “if you remove the scratches first with a scratch removal kit and then polish, you’ll get even more shine.” Polishing should be performed as needed, often once or twice a year, to maintain that impeccable, mirror-like finish that truly stands out.
Read more about: Fueling Clarity: The 12 Snacks CEOs Absolutely Avoid for Sharp Decision Making and Energy
12. **Clean Windows Inside and Out**Clear windows are not just about aesthetics; they are absolutely essential for both driver safety and the overall impression of a well-maintained vehicle. Smudged, streaky, or foggy windows can significantly impair visibility, especially in challenging lighting conditions or during nighttime driving. Professional detailers emphasize a meticulous approach to window cleaning, ensuring a crystal-clear view that truly complements a pristine exterior and interior.
The secret to streak-free glass lies in using the right products and techniques. Always opt for an automotive-specific glass cleaner, as household cleaners can sometimes contain ammonia or other chemicals that might damage tint or interior surfaces. Instead of spraying the cleaner directly onto the glass, which can lead to overspray on other surfaces, apply it sparingly onto a clean microfiber towel. Start by cleaning the exterior windows first, tackling external grime and road film, then move to the interior, where residues from breath, dust, and interior protectants often accumulate.
For impeccable, streak-free results, buff the cleaned glass with a second, completely clean and dry microfiber towel. This final buffing action removes any lingering moisture or product residue, leaving behind a perfectly clear surface. As an advanced tip, if your glass feels rough or has stubborn water spots, a clay bar can be used on glass for “insane slickness,” removing bonded contaminants that a cleaner alone cannot. By dedicating this focused attention to your windows, you’ll not only enhance your car’s appearance but also significantly improve your driving experience and safety.
Read more about: Unanswered Calls: Tracing the Curious Journey of Public Phone Booths from Ubiquity to Near Extinction
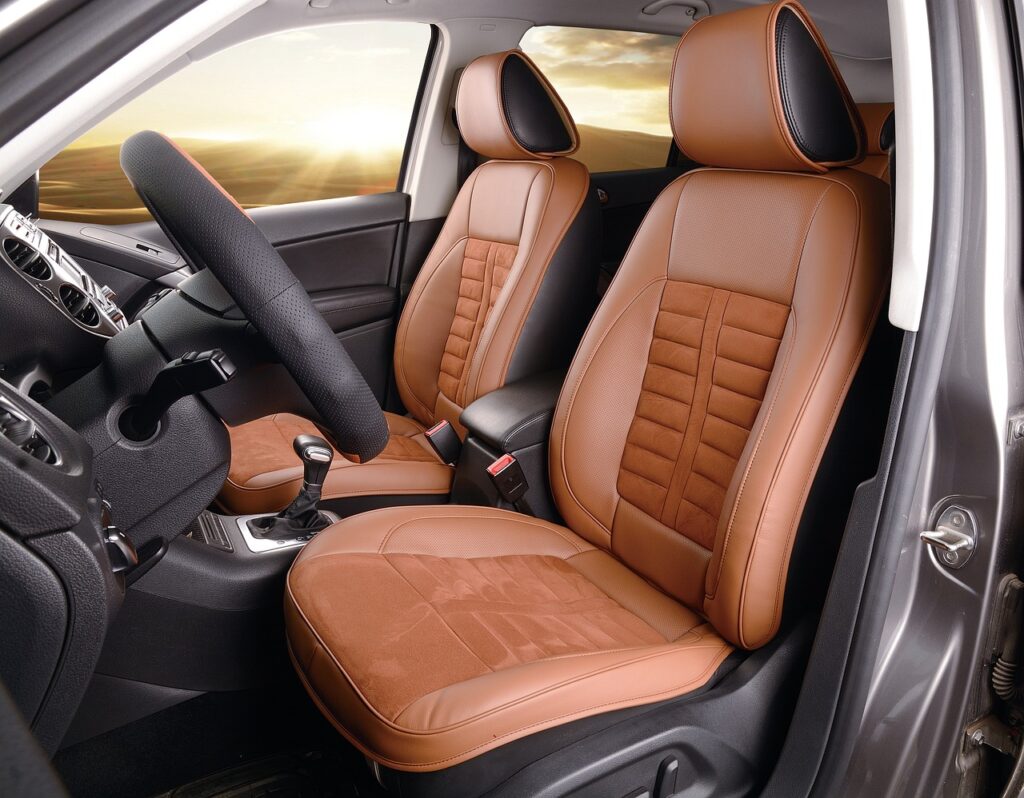
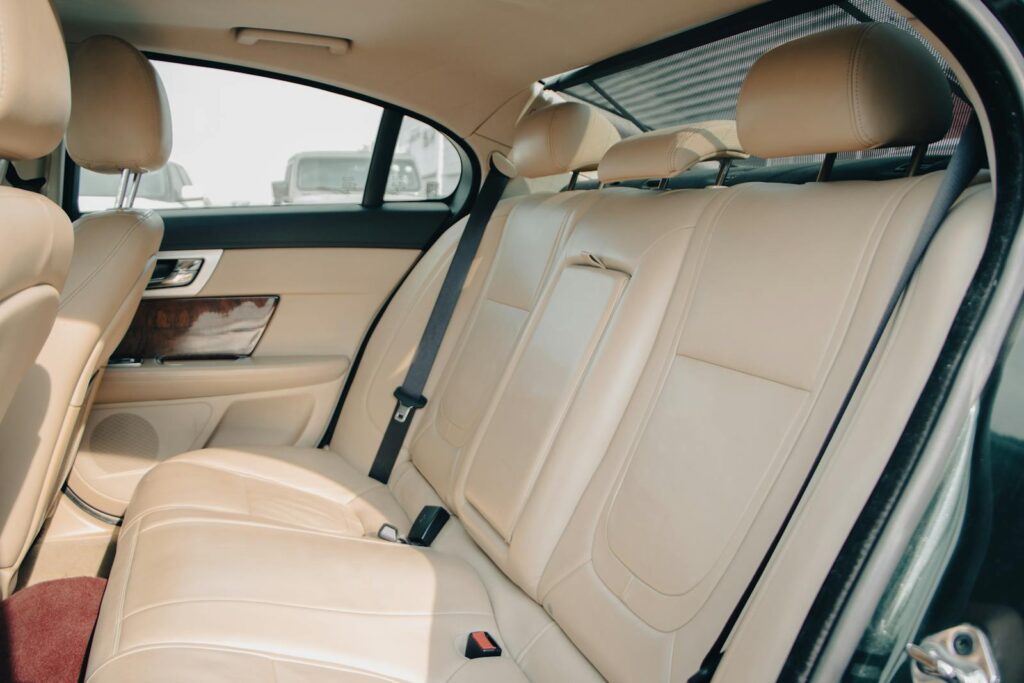
13. **Treating Leather Seats with Care**For vehicles equipped with leather upholstery, maintaining their luxurious feel and appearance requires a specialized and gentle approach. Leather seats are a significant investment and, without proper care, can become dry, cracked, and discolored over time due to exposure to UV rays, body oils, and everyday wear. Professional detailers know that treating leather with the right products and techniques is paramount to keeping it supple, protected, and looking new for years to come.
The process begins with a thorough cleaning using a pH-balanced leather cleaner. It’s crucial to select a cleaner specifically formulated for automotive leather, as harsh household detergents can strip essential oils and cause irreparable damage. Apply the cleaner onto a soft brush or a microfiber cloth, then gently scrub the leather in small sections to lift dirt and body oils from the grain. Avoid saturating the leather; a little goes a long way. After cleaning a section, promptly wipe off the cleaner with a clean, damp cloth, ensuring no residue is left behind.
Once the leather is clean and dry, the conditioning step is vital. A high-quality leather conditioner is applied to moisturize the material, replenish its natural oils, and protect it from future drying and cracking. This helps maintain the leather’s elasticity and soft feel. Spread the conditioner evenly with a clean microfiber applicator, allowing it to soak in before gently buffing off any excess. Regular treatment, typically every three to six months, will keep your leather in top condition, preserving its rich texture, vibrant color, and overall comfort, ensuring your interior remains a luxurious haven.
Read more about: Credit Card Rewards Are Changing: Your 14-Point Master Guide to Maximizing Returns Now
14. **Steam Cleaning for Interiors**Beyond surface wiping and vacuuming, achieving a truly hygienic and deeply clean interior often calls for a more advanced technique: steam cleaning. This method is a secret weapon for professional detailers, offering a powerful, chemical-free way to sanitize and refresh a wide array of interior surfaces. It’s particularly effective for tackling stubborn grime, spills, and odors embedded in fabrics and tight crevices that conventional cleaning methods might miss.
The magic of steam cleaning lies in the high temperature of the steam, which works wonders by breaking down tough grime, dissolving stains, and effectively killing bacteria, allergens, and mildew. You can use a steam cleaner on upholstery, carpets, floor mats, and even hard surfaces like dashboards and door panels, offering remarkable versatility. It provides a level of deep cleaning that not only looks clean but truly is sanitized, contributing to a healthier and fresher cabin environment.
To utilize a steam cleaner effectively, hold the nozzle a few inches away from the surface, applying short bursts of steam. As the steam works its magic to loosen dirt and kill microbes, follow immediately with a clean microfiber cloth to wipe away the loosened grime. For carpets and upholstery, you might agitate with a brush after steaming to lift embedded dirt before wiping. Steam cleaning is especially useful for those challenging areas such as air vents, crevices around console buttons, and door jambs, ensuring a comprehensive deep clean that rivals, or even surpasses, the results of using harsh chemical cleaners, leaving your interior feeling truly revitalized.
Read more about: Unlocking Showroom Shine: 12 Simple Secrets to Getting Your Car Detailed for Under $50
By integrating these professional car detailing secrets and hacks into your routine, you’re not just cleaning your car; you’re meticulously caring for it, preserving its value, and maintaining its showroom brilliance. The journey from a basic wash to a professional-grade finish is truly rewarding, transforming your vehicle into a source of pride every time you hit the road. Remember, consistency is key—regular application of these techniques will ensure your ride looks immaculate, inside and out, making every drive an experience in perfection. Embrace the art of detailing, and prepare to turn heads with a vehicle that embodies pristine care.


