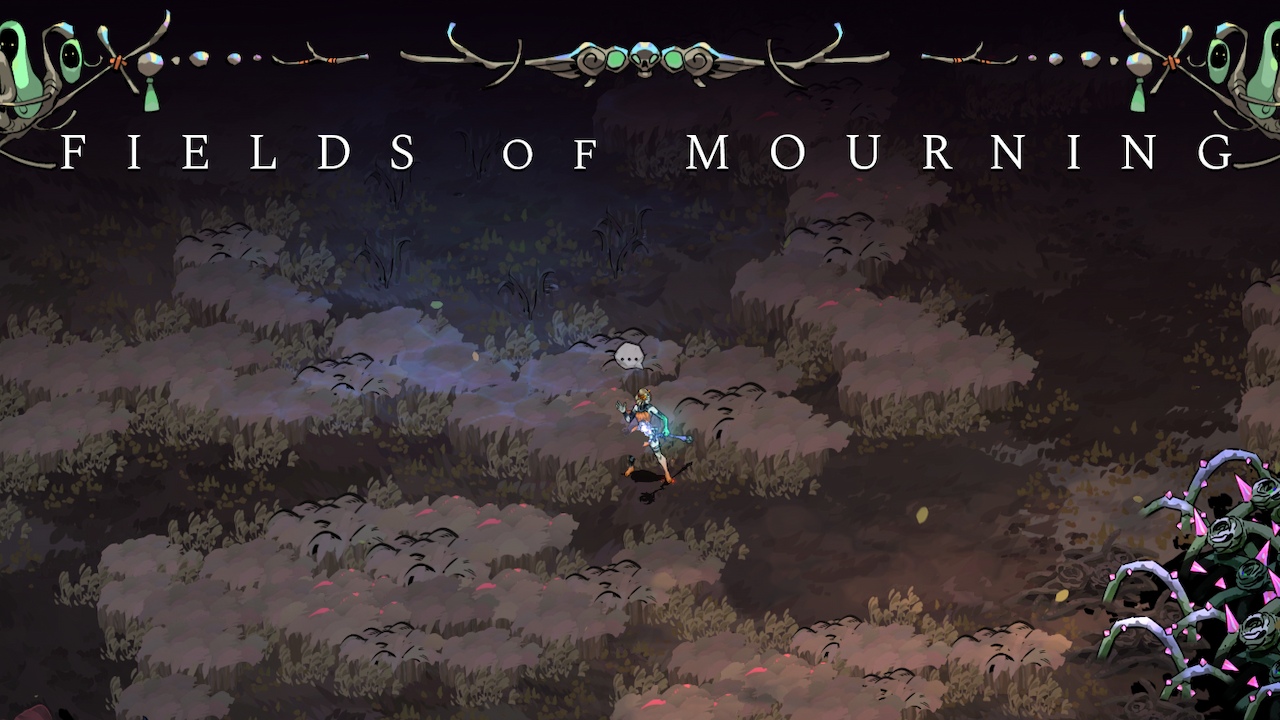
Welcome to the Fields of Mourning, the third and formidable dungeon region within the underworldly narrative of Hades 2. Having navigated the trials of Erebus and Oceanus, you are now prepared to confront the new challenges that lie ahead, including the fearsome Infernal Beast. As you embark on this quest, I offer the invaluable guidance of the gods alongside proven strategies designed for your success. Together, let us explore essential tips to ensure not only your survival but also your triumph in the Fields of Mourning.
Weapons, Incantations, and Strategy in the Fields of Mourning
OK, to the weapons. You’ve most likely unlocked an arsenal by this time and have probably reconsidered your choices; yes, the Witch’s Staff is serving you well, but Fields of Mourning may be good enough reason to switch your armament up. In that regard, consider the Moonstone Axe-a behemoth of a weapon, essentially trading speed for horrific AoE damage. It’s a game-changer if one can master its rhythm.
As you progress through the Fields, look for any opportunity to turn the environment in your favor. The Fields are riddled with dangers, which, if applied correctly, can be turned against your adversaries. One such example is the large flora that unleashes additional damage to your enemies when struck. It’s these Terrain Kills that can often turn the tide of a tussle, so stay alert and use the underworld to your advantage.
Incantations are mighty spells, which would spell the difference between defeat and victory, and keeping them locked up is a mistake that you cannot afford to make. Here are a few of those I have found indispensable: ‘Rise of Stygian Wells’ allows you to have an extra Well of Charon for added buffs to purchase. ‘Briny Lifespring’ reveals a secret chamber in Oceanus, allowing you to heal up before facing the Fields. And ‘Kindred Keepsakes’ enables you to switch out your Keepsake when you change regions, which turns out more useful than you might think.
You have prepared an upgraded arsenal and prepared Incantations; now it is a question of strategy. Fields of Mourning are very generous in providing more than one Boon or buff per room. It is a big break from previous regions, and it is time to make the most of that fact. Prioritize Boons that buff your Attack, Special, and Cast, as these are going to be your bread and butter in combat. Note to pick up any Poms of Power you find to upgrade the Boons.
Speaking of Boons, Hephaestus is one god you want to keep on your good side. His Boons will add some bombastic damage to your strikes, resulting in true explosions capable of taking down hordes of enemies. Most effective against bosses and armored enemies, the boons chip away large chunks of health from them in huge bursts. Be on the lookout for his ‘Volcanic Strike’ and ‘Volcanic Flourish’ Boons on your Attack and Special, respectively.
Another layer here is the Surrounding Auras that can affect the environment. At the start of a run, always check the Boons menu for active auras since some will impact resources that’ll spawn needed for certain Incantations or in exchange for trades. An example would be the aura of Rainfall in Erebus; this increases the drop of Deathcap mushrooms, so be prepared with this environmental observation in mind at all times.
Of course, you also have Melinoe’s Magick meter at your disposal. Spend it to supercharge your Attack, Special, and Cast into Omega Moves. These can be game-changers in an encounter, especially when mixed with a Boon or two. Since the Magick bar refills whenever you enter a new arena, there’s no real need to conserve these moves.
Don’t sleep on Melinoe’s Cast ability, as being able to slow or lock down enemies will prove to be priceless against the swift adversaries you will cross in the Fields. Also, upgrade it with an Omega Cast or Boons to add other effects like knockback or size increase.
As you have seen, Fields of Mourning are complete mesh in strategy and in skill. But armed with the correct weapon in hand and this environment on your backside, aided by the benevolence of the gods, you would leave the treacherous region carrying the confidence of a real champion in the underworld. Look for the next chapter as we carry on further with the strategies to be used against the Infernal Beast itself.
Tactics to Defeat the Infernal Beast
Having cleared the Fields of Mourning with the proper armaments, Incantations, and Boons under your belt, it is finally time to face off with the ultimate challenge-standing guard between you and greater triumph in Hades 2: the Infernal Beast. This guardian falls easily to the right tactics combined with Boon synergy; let’s break down strategies for the boss fight over the Infernal Beast.
The Infernal Beast is a very formidable foe that’ll whittle away at your life if you’re anything less than very careful. The secret to this fight is in the positioning and timing. You want to be behind the beast as much as you can; this is where you’re safest from its various attacks. When it raises both hands, that’s a sign of quickly moving out of the way from the AoE damage. When it raises one hand, you would go behind so as not to take the larger radius of damage.
For the most part of the battle, the Infernal Beast will swipe its arm, sending an arc of fire damage. This attack is dodgeable through but does take perfect timing. Halfway into the battle, the creature summons minions. These are a nuisance, but they do give you a window to dish out extra damage on the Infernal Beast after equipping Boons such as ‘Volcanic Strike’ and ‘Volcanic Flourish’ from Hephaestus; these will create area-of-effect damage blasts from your attacks.
New challenges arise in the second half of the fight. You will need to pay attention to orange circles as indications of where he’s going to attack. There are some small safe spots, but finding one within that can be tough because avoiding major damage is vital. Another attack you must look out for is his fire bursts, which you can easily avoid by standing behind him.
Prepare for this battle by equipping the Boons that will improve your offensive. Examples are ‘Volcanic Strike’ and ‘Volcanic Flourish’ from Hephaestus, adding blast damage to your attacks and specials, respectively. On the other hand, Daedalus gives you ‘Cross Cataclysm’, which increases your magick-imbued attack damage and gives an additional sideways strike-a very useful strike for hitting multiple targets or dealing with minions.
Another Boon to consider would be ‘Arctic Ring’, by Demeter. This makes your casts deal damage repeatedly in an area, inflicting Freeze. Helps you control the battlefield and slows down the Infernal Beast and its minions. Then there’s ‘Soot Spring’ from Hestia, which is very valuable. This actually lets your sprint take out most shots near you while granting Scorch to foes.
Use Melinoe’s Magick meter for the whole battle. Any time you can, incorporate Omega Moves into your attacks, specials, and casts because they can really swing the tide of battle. Since the Magick bar does refill every time you enter a new arena, go ahead and use these as much as you can without holding back.
Another key tool in this fight is your Cast ability. Slowing or immobilizing enemies can be super helpful when facing quick-hitting attacks, like those from the Infernal Beast. The ability to enhance your Cast into an Omega Cast or Boons for additional effects greatly helps with setting up the pace of battle.
You will need to be sprinting quite a bit in this fight, as it is the easiest way to reposition yourself around the tracking attacks of the Infernal Beast. Certain Boons can even buff your sprint, increasing the speed of it and allowing you to apply status effects to enemies. This can be a lifesaver when attempting to dodge some of the more aggressive moves the Infernal Beast can use.
Also, remember turning the right Keepsake into an upgrade in your build. Keepsakes will grant different kinds of buffs and may give that edge needed to defeat the Infernal Beast. Choose one that goes well with your playstyle and Boons equipped.
Putting all of these together and wisely choosing your Boons and Keepsakes will make you ready to face the Infernal Beast. Don’t forget to be cool, keep an eye on your position, and use your powers strategically. Hang in there, be skillful, and you defeat this Fields of Mourning guardian and continue on in the underworld of Hades 2.
The Beast of Hades is terrifying but far from invincible. A little preparation and the right strategy will ensure that this is an obstacle that you can overcome, and thus, you will be able to prove yourself a true champion in the underworld. Take on the challenge, and may the gods be with you as you fight for glory and honor in Hades 2.


