

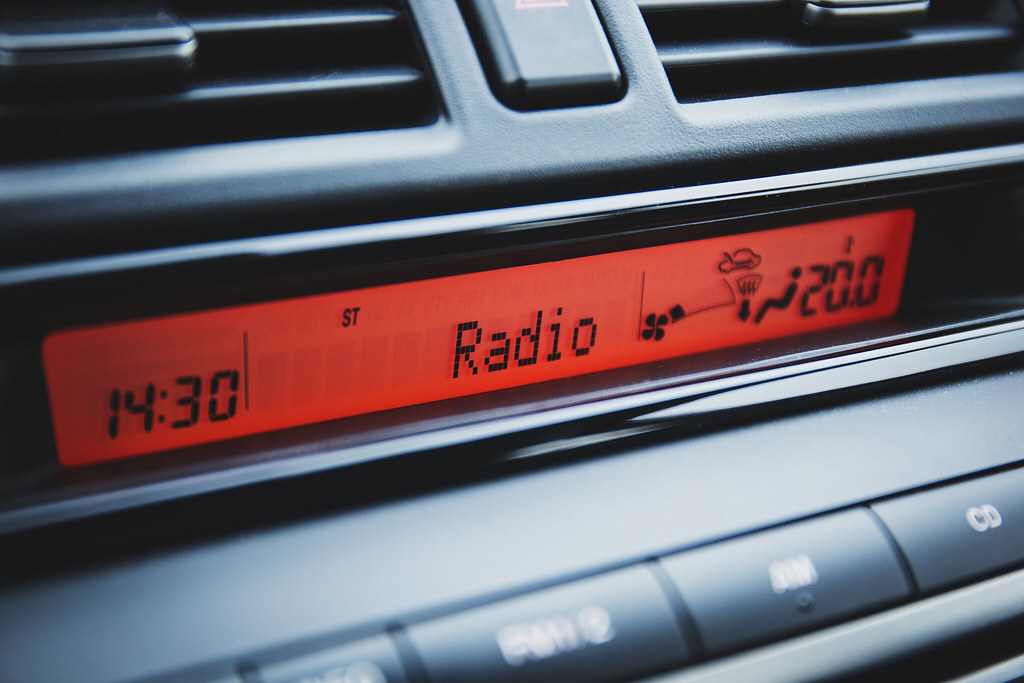
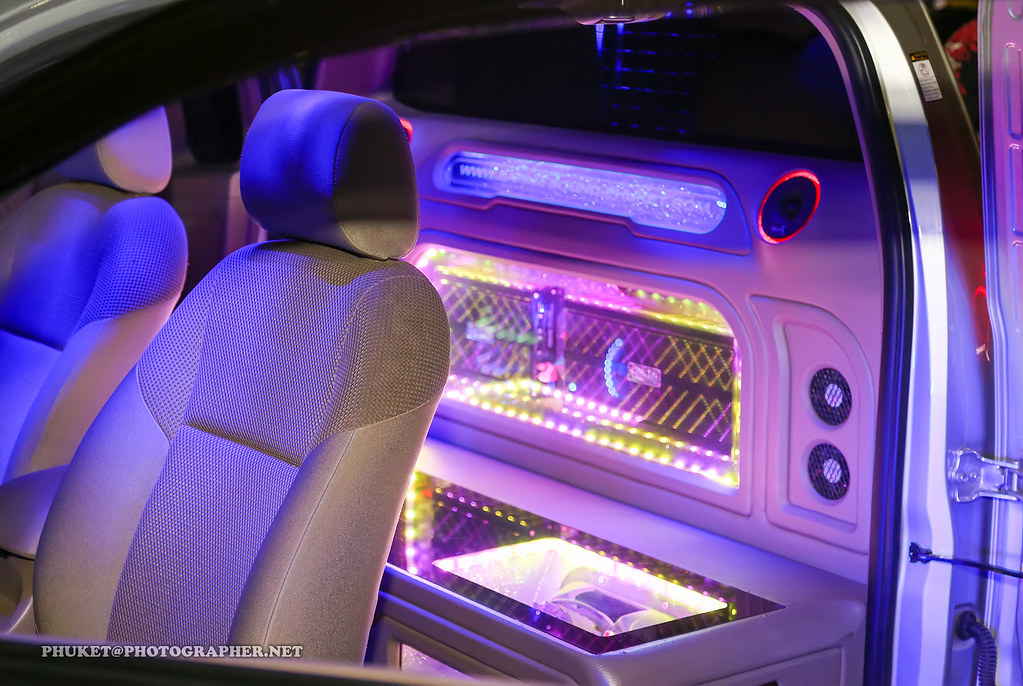
Car audio upgrades can entirely transform the manner in which you listen to music on the highway. The right system makes every drive more pleasant, whether it is a booming bass or a crystal-clear high. However, during the installation process, even minor flaws can cause low quality of sound, damage to equipment, or expensive repair. Knowing the most common errors made during the installation of your car audio will allow you to achieve the best results with your system without unnecessary frustration.
Installing a car stereo system should be an exciting upgrade, not a frustrating lesson in “what not to do.” Whether you’re a weekend warrior doing your first install or a seasoned basshead chasing the cleanest signal path, there are some classic mistakes people make that can leave you scratching your head—or worse, smoking your gear. This in-depth guide is designed to help you dodge these common missteps, ensuring your car audio journey is smooth and successful.
With car audio system installation, the slightest mistake can lead to some bad consequences. If you choose to do a car audio installation on your own, then it is very possible that you will lose some money and end up with poor quality results. Commonly, negative consequences will follow and include equipment damage and safety hazards. By understanding and avoiding these pitfalls, you can get better sound quality, ensure your radio lasts longer, keep yourself and your car safe, and save both money and time.
1. **Not Understanding Your Goals and Car Needs**One of the foundational mistakes people make, even before touching a single tool, is not truly understanding their goals and their car’s specific needs. If you don’t know what exactly you want by replacing the audio of your car, then it is really easy to go in the wrong direction. Are you looking for a louder sound, a more better-sounding audio system, or perhaps something else entirely?
Without a clear vision of what you aim to achieve, you can end up deeply disappointed. You may find yourself having spent money and a lot of time, yet have not achieved the results you desired for. In some instances, this oversight can even make things worse rather than improving them. This initial lack of clarity is the first step towards frustration.
It is also necessary to know the specifications of your car and its limits so as not to have problems at any later stages in the installation process. Moreover, you must determine and specify a reasonable budget to be spent on all the expenses. In summary, failure to understand your goals and car needs is the first mistake in installing a car audio system. You should first know your aim, your budget estimation, and how it can all work with your vehicle.
Read more about: Six-Pack Saboteurs: 15 Ab Exercises Most Guys Should Skip for Real Results
2. **Purchasing the Wrong Audio System**Closely related to understanding your goals is the common pitfall of purchasing an audio system that simply doesn’t meet your car’s specifications. This can manifest in several ways: incorrect dimensions, incompatible devices, or the selection of wrong components altogether. Many people research online and place an order for something that they like in terms of look, without checking compatibility.
The choice of an incorrect audio system may create several problems in the future. At its best, it will not fit inside your car, which means you waste a lot on the audio system and the time spent waiting for it. At its worst, an incompatible system can completely ruin everything, making the installation process impossible or damaging existing vehicle electronics.
Thus, the importance of selecting a proper audio system for your particular car cannot be exaggerated enough. Consumer Reports-style advice emphasizes thorough research into your vehicle’s requirements and the chosen components. Experts can advise on the proper car radio that suits your needs both in terms of its performance, features, as well as the price, assisting in selecting an appropriate system and installing it properly.
Read more about: The Unspoken Rules of Elite Ownership: Why Luxury Car Brands Like Ferrari and Bugatti Restrict Certain Celebrities
3. **Skipping Research and Planning**Once you understand your goals and have identified suitable components, the next critical mistake to avoid is skipping the essential research and planning stages. If you wish to avoid car audio installation problems, there is no possibility of bypassing these crucial preliminary steps. Many car owners simply choose the first option a technician advises, or what they find online, without further investigation.
Taking the time to do your homework and make preparations ahead of time will equip you for car audio installation with much less hassle. This proactive approach includes developing a comprehensive guide on how to install a new car stereo. It’s vital to read such guides completely before proceeding with the installation.
However, don’t restrict yourself to just one guide. Use all the tools and resources available online, finding many more articles or video tutorials on car audio installation. Ideally, try to find tutorials specifically for your particular car or audio system. If there are any areas in which you lack knowledge and skills, such as wiring, then check extra tutorials on those topics too.
Moreover, before installing the car audio system, ensure you have all of your parts from the boxes. Make sure that they’re also well compatible with each other. Double-checking this will help eliminate any surprises in the future and ensure a smoother installation of your new car stereo system. This meticulous preparation is a hallmark of a successful DIY project.
Read more about: The 12 Strategic Time-Wasting Activities That Top CEOs Religiously Avoid for Peak Performance and Growth
4. **Not Disconnecting the Battery**This is a fundamental safety step that is often overlooked, leading to potentially dangerous and costly consequences. Make sure to disconnect the battery just before you start the car audio installation. Skipping this step is one of the most common and costly errors seen by professionals.
Not doing so may cause electrical shocks to the installer, alongside potential damages to the car’s electrical system, including blown fuses, electrical shorts, and even triggered airbag faults. These serious issues can often be avoided by taking a mere 30 seconds to perform this simple but vital action.
To do it safely, before you touch any wiring, turn off the vehicle, pop the hood, and use an insulated wrench to disconnect the negative terminal. Wait a few minutes afterward to let any residual charge clear. It’s a simple step that can save you from serious electrical headaches, ensuring both your safety and the integrity of your vehicle’s electronics.
Read more about: The 12 Most Common Mistakes People Make When Jump-Starting a Dead Battery
5. **Ignoring the Electrical System**Beyond simply disconnecting the battery, a more profound mistake lies in ignoring the entire electrical system’s capacity. Your car’s stock electrical system is designed for factory audio, not the power-hungry aftermarket amplifiers and subwoofers many enthusiasts install. This oversight can have widespread negative repercussions.
If you’re running a system that draws real juice, it’s imperative to ensure your alternator, battery, and wiring can handle the increased load. A weak power supply leads to noticeable symptoms like dimming lights when the bass hits, clipping amplifiers, and eventually, the premature failure of expensive equipment. This is a common root cause of system underperformance.
A crucial pro tip is to upgrade what’s known as the “Big 3” early on. This involves upgrading the alternator wire, the ground wire, and the battery-to-chassis wire. By reinforcing these core electrical pathways, you ensure your aftermarket system receives a stable and sufficient power supply, allowing it to perform at its best without straining your vehicle’s original electrical infrastructure.
Read more about: Why Your Home Wi-Fi Is Slow: 12 Common Mistakes and Quick Fixes for a Faster Network
6. **Poor Wiring and Grounding**One of the most common and impactful mistakes to avoid when installing car audio yourself is poor wiring and grounding. Professionals witness many such cases because car enthusiasts often overlook the value of this stage. Incorrect wiring and grounding can have a very negative effect on the entire audio system’s performance, leading to issues like whining, weak output, flickering screens, and audio glitches.
When discussing wiring, two primary aspects need equal consideration. The first is the use of subpar wire materials. The use of low-quality wires and improper gauge may lead to a decrease in the performance of the audio equipment. There are three main types of materials: copper-clad aluminum (poor quality), copper (medium quality), and oxygen-free copper (the best quality). Experts recommend avoiding copper-clad aluminum entirely and prioritizing oxygen-free copper wires for optimal performance.
The second part of this mistake is incorrect wiring practices. Improperly wiring your car audio not only affects the quality of sound but also poses significant safety risks. Exposed wires, weak crimps, sloppy routing, and unsecured or uninsulated wires have the potential to cause short circuits and even damage your vehicle, or worse, lead to fires. Bad wiring jobs are a top issue often requiring professional correction.
It is crucial to take the time to wire your car sound system correctly, just as you would with any electronic device. Ensure that each wire is connected precisely where it should be. Additionally, pay attention to connections such as grounding the chassis and performing soldering for a reliable and long-lasting connection. Always use a vehicle-specific wiring harness or adapter for cleaner installation, and if splicing is necessary, use crimp connectors or solder with heat-shrink tubing.
Furthermore, your system’s ground wire should be short, solid, and bolted to bare metal—no paint, rust, or coatings. A poor ground connection causes whining, weak output, or worse—blown fuses and fried gear. Check continuity with a multimeter, aiming for zero ohms. Use a ring terminal to make sure the connection stays tight. Strict adherence to manufacturer guidelines for wiring specifications is paramount, and if in doubt, seeking professional help is highly advisable.
Read more about: Beyond the Flickers: 12 Critical Warning Signs Your Home’s Main Electrical Panel Is Failing (and How to Spot Them Before a $1000 Repair)
7. **Wrong Fuse Size**A seemingly minor detail that can have major consequences is using the wrong fuse size. This critical component protects your entire system from electrical overloads. Choosing a fuse that is too small will result in constant nuisance blowing, frustratingly interrupting your audio experience every time there’s a minor power fluctuation.
Conversely, selecting a fuse that is too large presents an even greater risk. A fuse with too high an amperage rating will fail to protect your components in the event of a surge or short circuit, risking the frying of your entire setup. This can lead to costly damage to your amplifier, head unit, and even your vehicle’s wiring, creating a significant safety hazard.
Your fuse should always match the wire gauge and the amp draw of your system. For instance, a 4 AWG Oxygen-Free Copper (OFC) wire typically requires approximately a 150A fuse. It is also imperative to install an inline fuse within 18 inches of the battery. This ensures immediate protection right at the power source, mitigating risks before power reaches sensitive components. Proper fusing is a non-negotiable safety and reliability measure.
Having laid the groundwork with proper planning and foundational electrical integrity, the journey to a stellar car audio experience continues with optimizing component performance and addressing crucial sound quality and post-installation details. Many enthusiasts master the initial steps only to stumble on the nuances of acoustics, component integration, and final system calibration. This section aims to equip you with the knowledge to navigate these next-level challenges, ensuring your investment truly delivers the rich, clear sound you desire without common performance-limiting errors. We’ll explore mistakes related to the acoustic environment, component pairing, system tuning, and the indispensable final testing phase.
Read more about: The 7 Calls That Rocked October: Unpacking the World Series’ Most Controversial Umpire Decisions
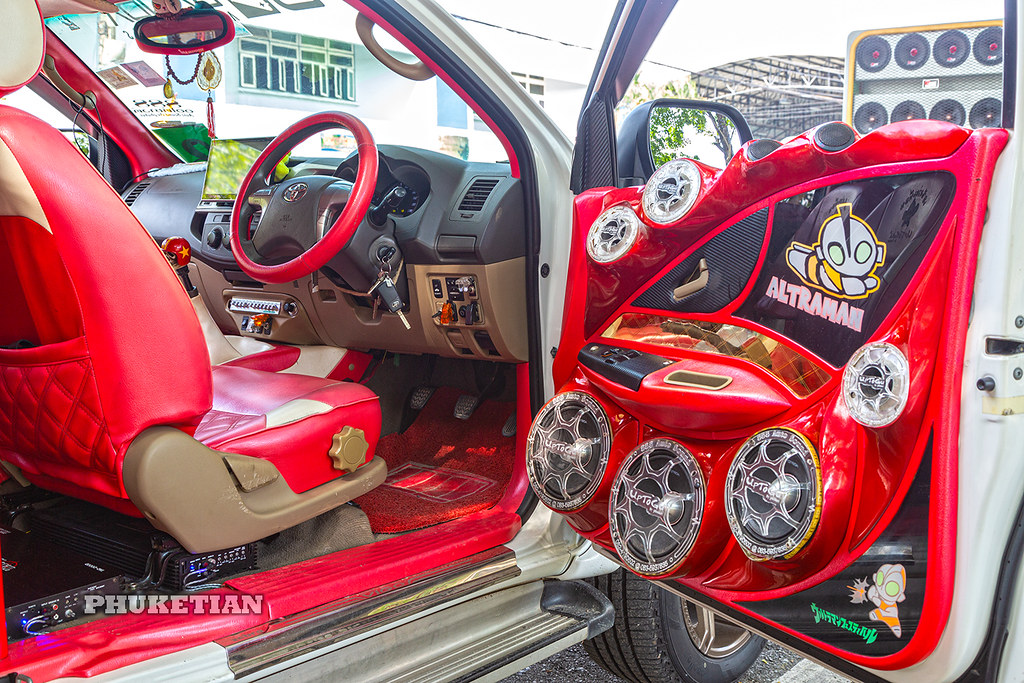
8. **Skipping Sound Deadening**After investing significant resources into powerful amplifiers and high-fidelity speakers, it can be incredibly disheartening to hear your car’s panels rattling along with your favorite tracks. This phenomenon, often described as doors rattling like a junkyard maraca, is a common and often overlooked problem in DIY audio installations. The omission of sound deadening effectively undermines the investment made in premium audio components, as external vibrations compete with the intended sound output.
Sound deadening is not merely about dampening noise; it’s about creating an optimal acoustic environment within your vehicle. Without it, the vibrant energy produced by your speakers causes car panels to vibrate, generating unwanted resonance and distortion. This cacophony detracts significantly from the clarity and richness that your upgraded system is designed to deliver, leading to a less immersive and often irritating listening experience. It’s a critical step that directly impacts the perceived quality of your audio system.
The solution to this widespread issue involves strategically applying sound deadening materials to key areas, particularly inside doors and other vibrating panels. Products designed for this purpose effectively reduce vibration, thereby increasing sound clarity and allowing the audio system to perform closer to its true potential. This targeted application transforms your car’s interior into a more controlled sound stage, enhancing every note and beat.
Investing in quality sound deadening materials, such as Second Skin Damplifier Pro, is a wise decision that pays dividends in acoustic performance. Your ears will discern a noticeable difference, enjoying tighter bass, clearer mids, and sharper highs, all free from distracting rattles. It ensures that the thousands spent on your subs and amps aren’t wasted on a rattling chassis, ultimately elevating your car audio experience significantly.
Read more about: Unleash the Beasts: 14 Legendary American Cars That Roared Through the 1960s, Forging an Unforgettable Automotive Decade

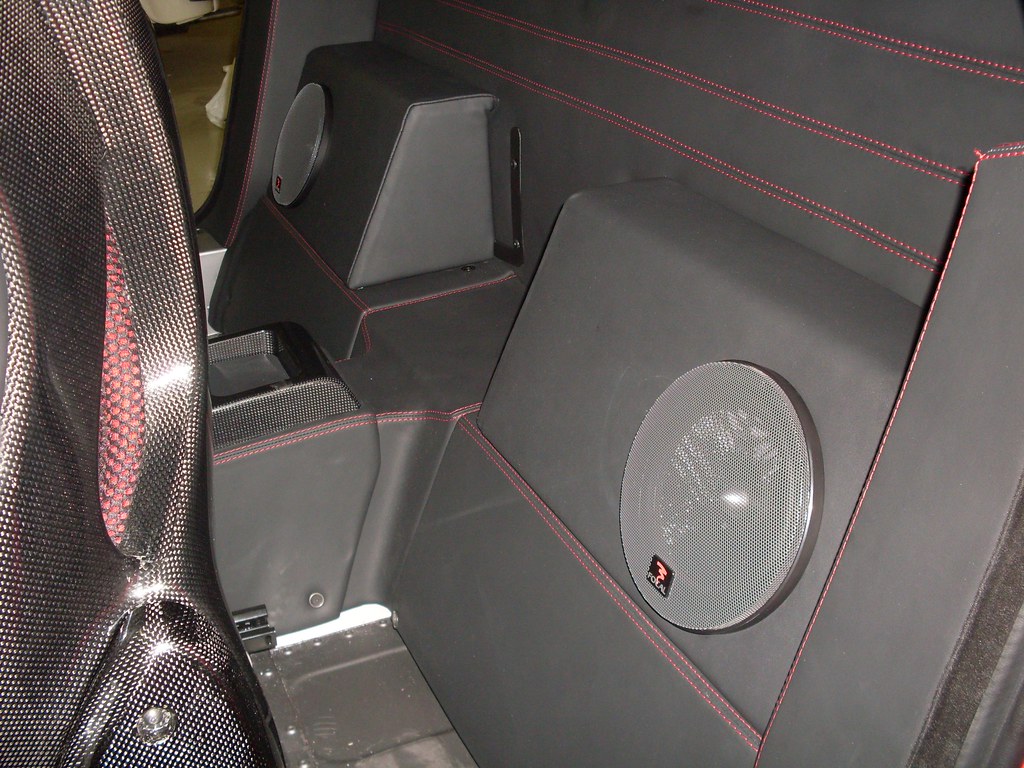
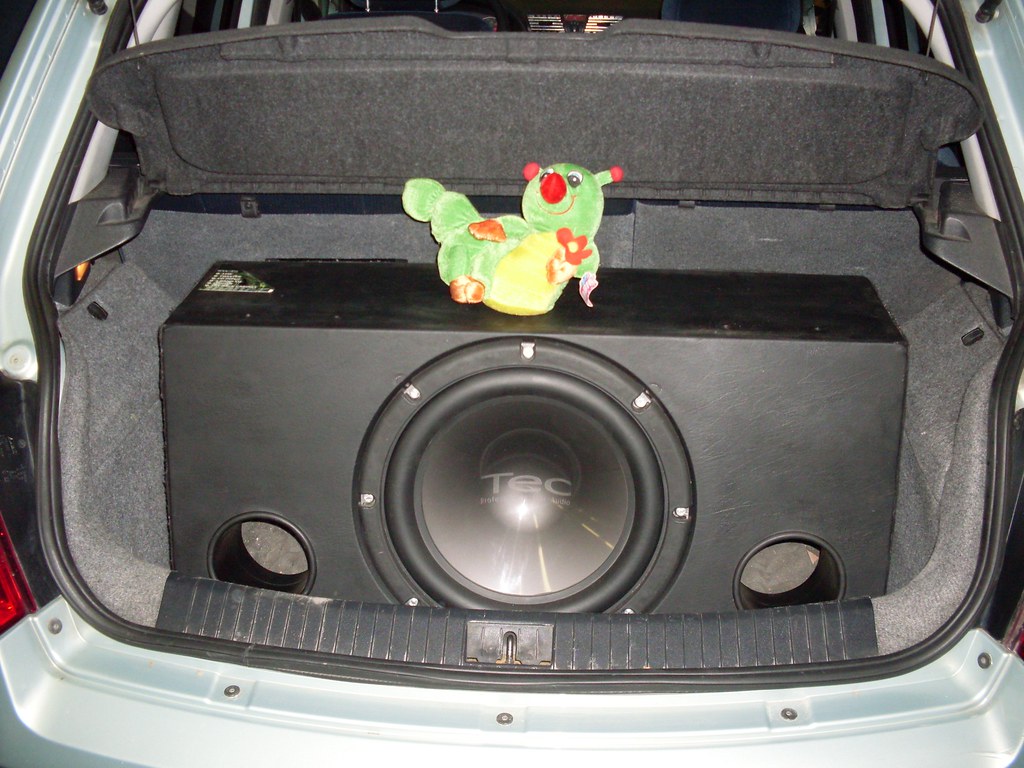
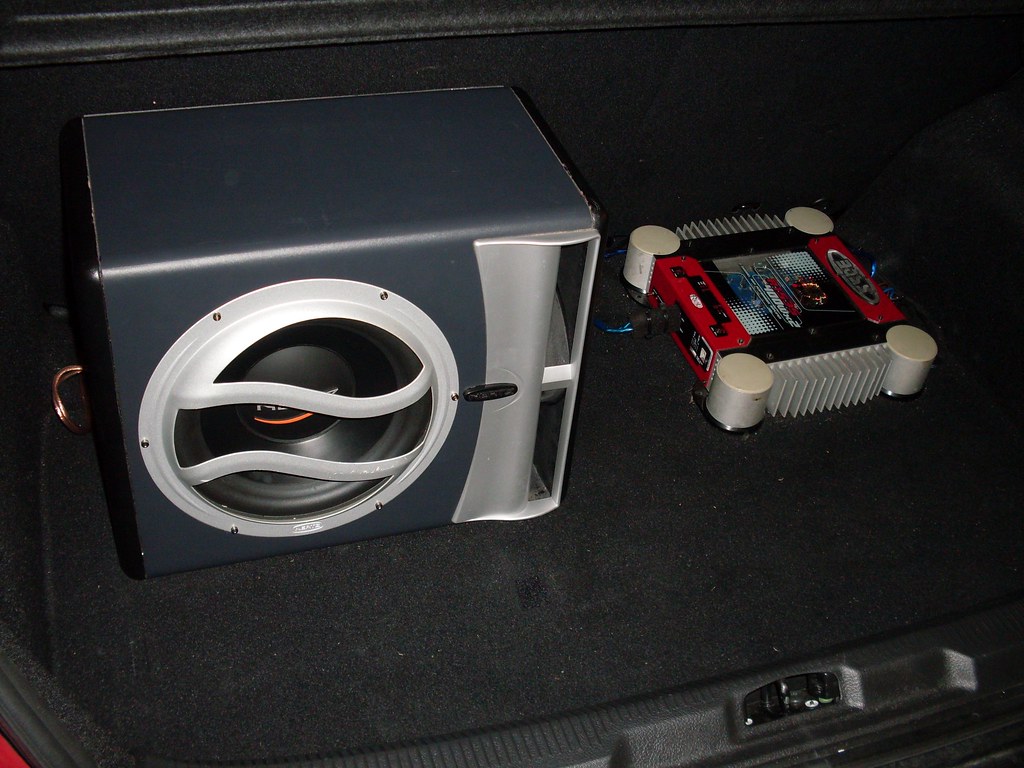
9. **Wrong Box for Your Subwoofer**Many car audio enthusiasts mistakenly believe that any enclosure will suffice for a subwoofer, often simply tossing their new sub into an arbitrary box and expecting optimal performance. This could not be further from the truth. The enclosure, or “box,” is a critical component of a subwoofer system, profoundly influencing its sound characteristics and overall output. Using an unsuitable enclosure can drastically kill performance, making your expensive subwoofer sound underwhelming or even incorrect.
Subwoofers are highly sensitive to the volume and design of their enclosures. An enclosure that is too big might cause the subwoofer to sound boomy and loose, lacking definition, while one that is too small can restrict its movement, resulting in weak, anemic bass. Furthermore, the enclosure’s tuning, particularly for ported designs, dictates the frequency response and overall acoustic behavior of the subwoofer. Without the correct tuning, the subwoofer simply cannot perform as engineered.
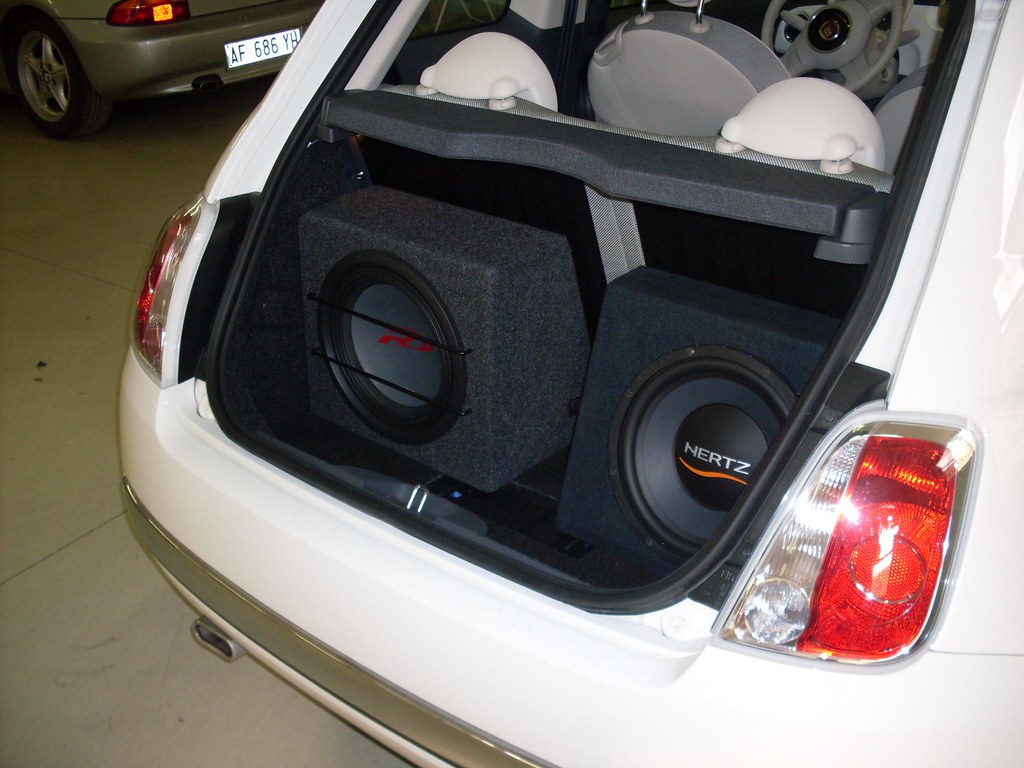
To ensure your subwoofer delivers its intended performance, it is imperative to match the enclosure to the subwoofer’s specific Thiele/Small (T/S) parameters. These specifications provide critical data points that guide the design of an appropriate box. Manufacturers typically provide recommended enclosure volumes and tuning frequencies based on these parameters, which should be strictly adhered to for optimal results.
When selecting or building an enclosure, consider the desired bass characteristics. A sealed enclosure, for instance, is ideal for tight, accurate, punchy bass, while a ported design is better suited for loud, boomy bass with significant output at lower frequencies. For those seeking extreme output and flexibility, advanced enclosures like 4th or 6th order bandpass designs may be considered. Consulting T/S specs and manufacturer guidelines is the key to unlocking your subwoofer’s full potential.
Read more about: What a Rip-Off: 15 Expensive Car Upgrades That Aren’t Worth It, According to Experts

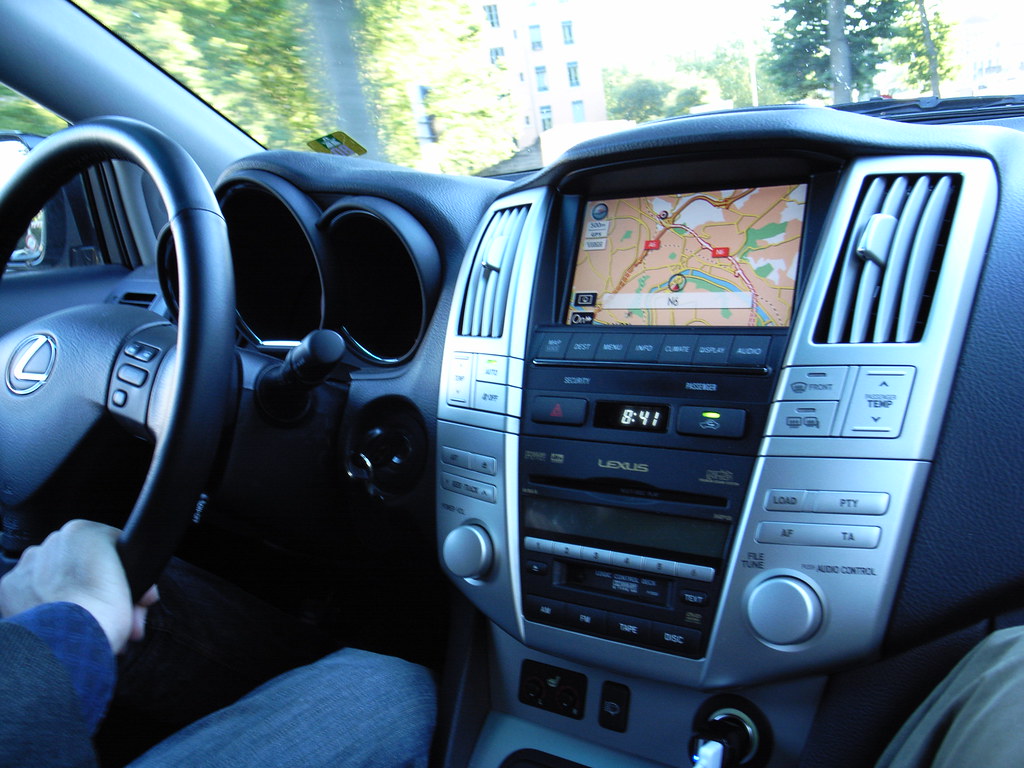
10. **Not Using a Line Output Converter (LOC) Correctly**When upgrading your car’s audio system while retaining the factory head unit, a common mistake is improper integration, particularly neglecting the correct use of a Line Output Converter (LOC). Attempting to connect aftermarket amplifiers to a factory stereo without a quality LOC is a recipe for distortion and unwanted noise, often characterized by a persistent hum that can significantly degrade your listening experience. This oversight is a frequent cause of frustration for DIY installers.
Factory head units typically output a high-level, amplified signal designed for stock speakers. Aftermarket amplifiers, however, are designed to receive a clean, low-level signal. An LOC acts as a crucial bridge, converting the high-level speaker output from the factory stereo into a low-level RCA signal that your aftermarket amplifier can process without introducing distortion or noise. Without this conversion, the amplifier is forced to work with a signal it wasn’t designed for, leading to suboptimal performance.
Choosing a high-quality LOC is paramount. Cheaper units often fail to provide adequate signal conversion, leading to issues like ground loops, buzzing, or hissing sounds that plague your audio system. A good LOC will offer adjustable output levels, allowing for precise matching with your amplifier’s input sensitivity, and may even include a remote turn-on sensing feature, simplifying the power-on sequence for your amplifier.
For those seeking the absolute best in signal purity and system integration, consider an advanced Digital Signal Processor (DSP) with high-level inputs. A DSP not only provides superior signal conversion but also offers extensive tuning capabilities, allowing for precise control over frequency response, time alignment, and equalization. Whether opting for a quality LOC or a sophisticated DSP, proper signal conversion is non-negotiable for achieving clean, dynamic sound from a factory head unit.
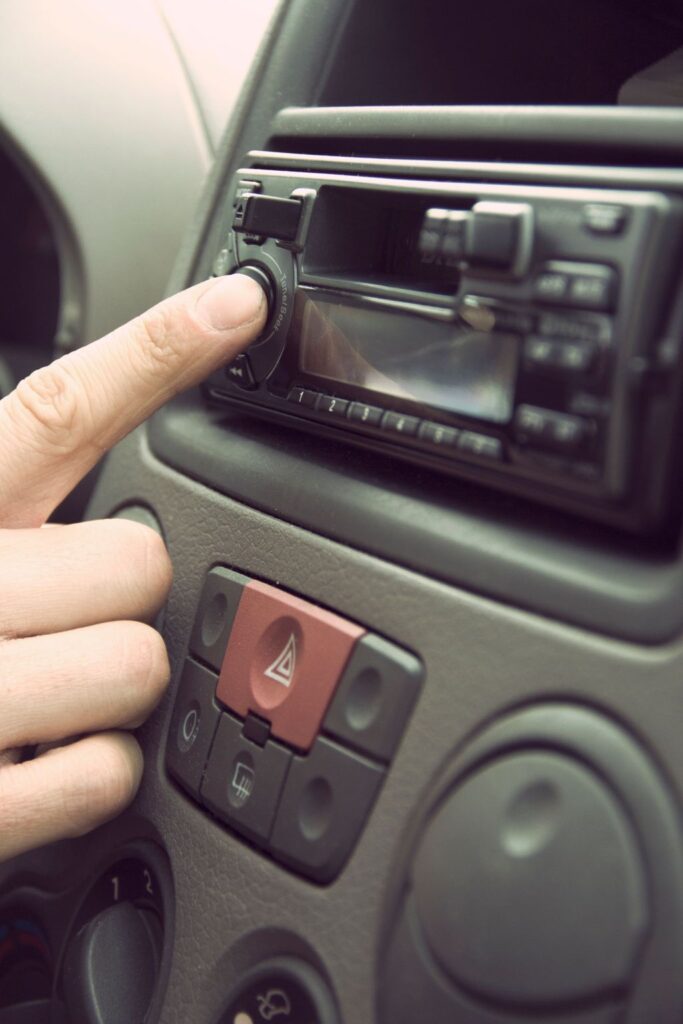
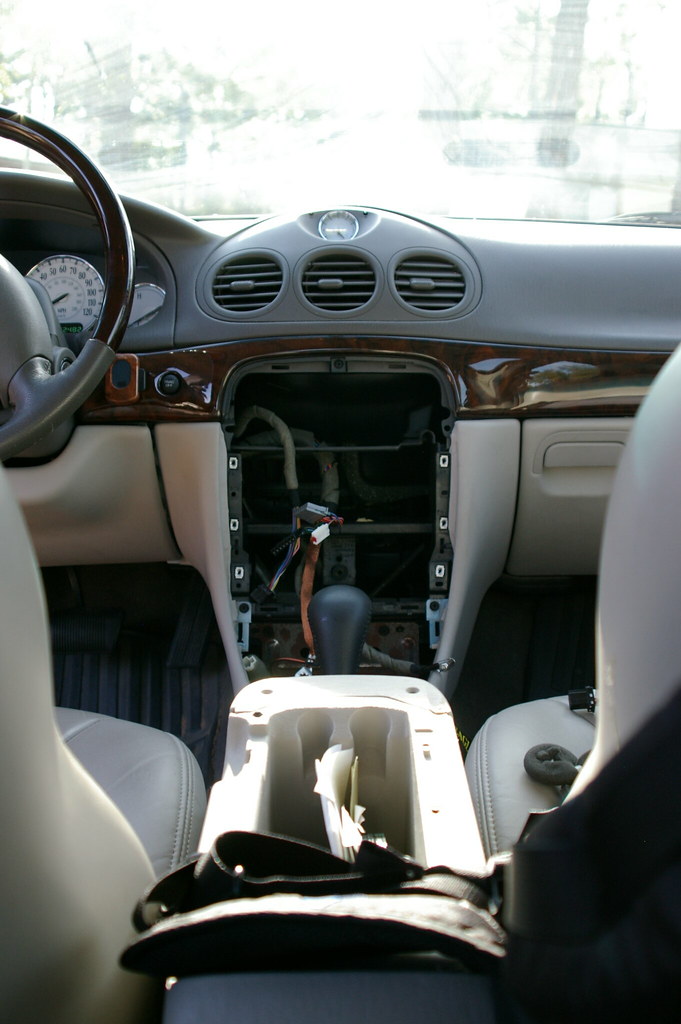
11. **Skipping a Mounting Kit or Bracket**Even after diligently handling wiring and grounding, installers often overlook the critical aspect of properly mounting the head unit, leading to a host of avoidable issues. Many attempt shortcuts, holding head units in place with makeshift solutions like foam, zip ties, or even glue. This not only results in a sloppy and unprofessional appearance but also compromises the stability and functionality of the stereo, inviting rattles, misalignment, and increased vulnerability to theft.
A securely mounted head unit is essential for both aesthetic appeal and operational integrity. A loose or improperly installed stereo can shift over time, leading to poor connections, intermittent functionality, and damage to the surrounding dashboard components. This instability also means that the head unit is not firmly integrated into the vehicle’s structure, which can exacerbate vibrations and compromise sound quality.
The most reliable solution is to always use a dash kit specifically designed for your vehicle’s exact make and model. These kits provide a precision fit, ensuring the head unit sits snugly and securely within the dashboard opening. Investing in a reputable brand for a dash kit, such as Metra or Scosche, ensures quality materials and precise engineering that matches your car’s interior dimensions perfectly.
Before undertaking the installation, it is crucial to double-check fitment using trusted resources like Crutchfield’s vehicle guides or dedicated vehicle-specific forums. A proper bracket system, integral to these dash kits, guarantees a snug fit, a clean, factory-like finish, and eliminates future headaches related to loose components. This meticulous attention to mounting details significantly contributes to a stable, durable, and aesthetically pleasing car audio installation.
Read more about: From Basic Repairs to Epic Builds: 14 Indispensable Tools for the Modern Man’s Garage Workshop
12. **Not Setting Gains Properly**A pervasive misconception among car audio installers is viewing amplifier gains as mere volume knobs. This fundamental misunderstanding leads to one of the most destructive mistakes: improper gain setting. Cranking gains too high in an attempt to achieve maximum volume prematurely clips the audio signal, which can rapidly destroy speakers and subwoofers, while making the entire system sound distorted and harsh, effectively like “garbage.”
Gains are, in fact, level-matching controls, designed to ensure that the amplifier receives an optimal input signal from the head unit without clipping or excessive noise. When gains are set too high, the amplifier is overdriven, producing a squared-off waveform known as clipping. This distorted signal sends damaging amounts of power to speakers, leading to heat buildup and eventual coil failure. Conversely, if gains are under-set, you’re leaving a significant portion of your amplifier’s potential output on the table, resulting in a quieter, less dynamic system.
The objective is to set the gains so that the amplifier reaches its maximum clean output just before the signal begins to clip. This delicate balance ensures that your speakers receive a clear, powerful signal, maximizing both their performance and lifespan. It’s a precise adjustment that requires more than just listening by ear, as clipping can occur subtly before it becomes overtly audible.
For truly optimal results, it is highly recommended to use specialized tools like an oscilloscope or a dedicated gain-matching app in conjunction with a test tone. These tools provide visual feedback, allowing you to accurately identify the clipping point and set the gains precisely. This professional approach to gain setting is a critical step that prevents costly equipment damage and unlocks the full, pristine audio potential of your aftermarket system.
Read more about: From Crude Sticks to Smart Sensors: 12 Game-Changing Baseball Equipment Innovations
13. **Overlooking Tuning and EQ**Many car audio installations are left incomplete, acoustically speaking, when installers simply connect a head unit and deem the system “tuned.” This oversight is a significant rookie mistake, as every vehicle presents a unique acoustic environment with its own quirks and challenges. Neglecting proper tuning and equalization (EQ) means missing out on the vast potential of your audio system, leaving half the show unexplored.
Even with the correct components and meticulous wiring, an untuned system will struggle to deliver its best. The car’s cabin introduces reflections, absorptions, and resonances that can drastically alter the frequency response, leading to imbalances, muffled sounds, or harsh frequencies. Without addressing these acoustic anomalies, your audio may sound disjointed, lacking clarity, depth, and overall musicality, despite the quality of the individual components.
Proper tuning is the process of optimizing the system’s sound characteristics to compensate for the vehicle’s unique acoustics. This involves adjusting equalizer settings, managing crossovers, and sometimes employing time alignment to ensure all sounds reach the listener’s ears at the correct moment. From balance and fade to other aspects of sound quality, each setting profoundly impacts the overall audio experience, transforming raw output into a cohesive and enjoyable soundstage.
To truly bring your build to life, consider investing in an RTA (Real-Time Analyzer) microphone or utilizing Digital Signal Processing (DSP) capabilities. An RTA mic helps diagnose frequency response issues, while a DSP provides granular control over various audio parameters, allowing for precise optimization. Spending time to learn and adjust these settings or seeking expert assistance for fine-tuning will ensure you fully utilize your new car radio’s potential, achieving an exceptional and personalized sound experience.
Read more about: Beyond the Badge: Why a ‘Bargain’ Used Luxury Car Can Lead to Unexpected Financial Headaches and Repair Nightmares
14. **Not Testing Before Reassembling the Dashboard**One of the most frustrating and time-consuming mistakes encountered in car audio installation is failing to thoroughly test the system before fully reassembling the dashboard. It’s a common gamble where everything appears correct on the outside, but hidden issues lurk beneath the panels. The hard lesson learned by many is that putting the dash back together prematurely often leads to the exasperating task of tearing it all apart again if something is amiss.
Installing components like amplifiers, subwoofers, LOCs, and the head unit simultaneously without intermediate checks can create a diagnostic nightmare. If the entire system fails to function, pinpointing the single point of failure among numerous interconnected components becomes an arduous process, wasting hours of valuable time and effort. This ‘all at once’ approach significantly increases the complexity of troubleshooting.
The strategic approach is to install and test in stages, confirming power and signal flow one step at a time. This methodical process allows for immediate identification and rectification of problems as they arise, preventing a cascade of issues. For instance, verify the head unit powers up, then ensure each speaker sounds clear, check Bluetooth and app pairing, confirm button responsiveness and display functionality, and finally, verify solid radio reception.
Performing this comprehensive checklist before snapping all panels back into place ensures that any issues are easily fixable without starting from scratch. This proactive testing saves installers from serious frustration, potential damage, and significant delays. It’s a simple, yet vital, step that guarantees system functionality, allowing you to enjoy your new car audio system without unforeseen complications post-installation.
**Final Thoughts: Build Smarter, Not Just Louder**
Installing an aftermarket car stereo system is a rewarding endeavor that blends technical know-how with personal customization. However, as this comprehensive guide illustrates, the path to pristine in-car audio is fraught with potential missteps. From fundamental planning errors and electrical system oversights to intricate acoustic optimizations and critical post-installation checks, each stage demands careful attention to detail. Ignoring these common mistakes not only risks poor sound quality but also potentially costly equipment damage, safety hazards, and wasted time and money.
The benefits of a correctly installed system are undeniable: superior sound quality, enhanced longevity for your components, and the peace of mind that your vehicle’s electrical system remains safe and intact. Remember, the goal isn’t just a louder system, but a smarter, more refined one that truly transforms your driving experience. By understanding and actively avoiding these common pitfalls, you empower yourself to achieve a professional-grade audio setup.
Read more about: Steering Clear of Costly Car Button Blunders: Essential DIY & Key Fob Mistakes That Could Drain Your Wallet
Should any part of the installation process feel beyond your current skill set, or if you encounter unexpected challenges, do not hesitate to seek professional assistance. Investing in expert help from the outset can prevent irreversible errors and ensure a flawless result that you’ll enjoy for years to come. Ultimately, a clean, reliable, and expertly tuned installation delivers the lasting satisfaction you seek from your car audio upgrade.


