

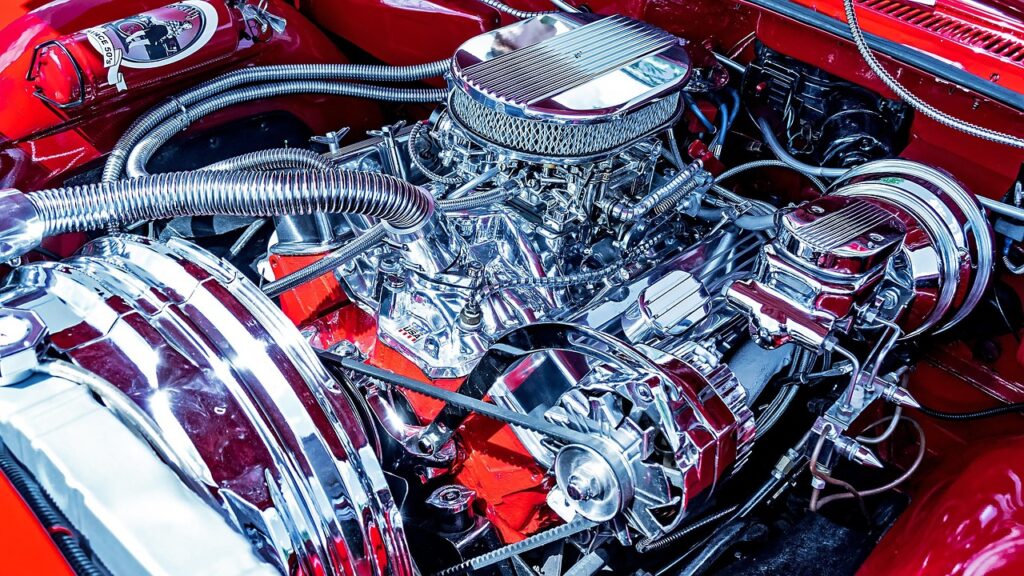
The engine bay, often overlooked, is the heart of your vehicle, and keeping it clean is far more than just aesthetics. Many car owners feel a sense of apprehension when it comes to cleaning this vital area, fearing potential damage to sensitive components. However, with the right approach and a clear understanding of the process, detailing your car’s engine bay can be a straightforward and highly rewarding task. It’s about combining precision with practicality, ensuring your engine not only looks pristine but also functions optimally.
A well-maintained engine bay plays a crucial role in your vehicle’s overall health and longevity. Over time, dirt, grime, and oils can accumulate, leading to potential issues such as corrosion, overheating, and even electrical problems. Beyond preventing mechanical woes, a clean engine bay makes it significantly easier to identify potential leaks or emerging problems early on, turning routine maintenance into a simpler, more efficient endeavor. It’s an investment in your car’s future, safeguarding its performance and potentially enhancing its resale value.
This comprehensive guide breaks down the process into 12 simple, professional-grade steps, empowering you to tackle engine bay detailing with confidence. We’ll walk you through everything from the essential preparatory measures to the critical cleaning and finishing techniques, all designed to protect your vehicle while achieving a showroom-worthy result. By paying close attention to each detail, you’re not just cleaning; you’re applying a level of care and precision that defines professional work, ensuring both beauty and functionality under the hood.

1. **Ensure Engine is Cool**The very first and arguably most critical step in embarking on your engine bay detailing journey is to ensure that the engine is completely cool to the touch. This isn’t merely a suggestion; it’s a fundamental safety precaution that safeguards both you and your vehicle’s components. Attempting to clean a hot engine can introduce a host of undesirable outcomes, from causing damage to sensitive parts to posing a significant safety risk to the person performing the cleaning. The sudden temperature differential from applying cool cleaning solutions or water to a hot engine can lead to thermal shock, potentially cracking delicate plastics or causing other heat-sensitive materials to warp or become brittle over time.
Therefore, patience is paramount before you even reach for your cleaning supplies. If you’ve recently driven your car, it is strongly advised to let the engine cool down for at least 30 minutes before you even contemplate beginning the cleaning process. This waiting period allows sufficient time for the residual heat to dissipate from the engine block, exhaust manifolds, and other hot components, bringing them down to a safe working temperature. This waiting game is a small but vital investment of your time, ensuring a safer and more effective cleaning experience without compromising the integrity of your engine’s intricate systems.
By adhering to this initial cool-down period, you are setting the stage for a successful and risk-free detailing session. It minimizes the chance of cleaning products drying too quickly on hot surfaces, which can leave unsightly streaks or residues that are challenging to remove. Moreover, it prevents the rapid evaporation of water, which could otherwise lead to mineral deposits or water spots, especially in hard-to-reach areas. This foundational step underpins the safety and efficacy of all subsequent actions, paving the way for a truly professional outcome.
Read more about: Unlock Your Potential: The Ultimate Guide to the 14 Best Free Online Coding Courses for Mastering Essential Languages
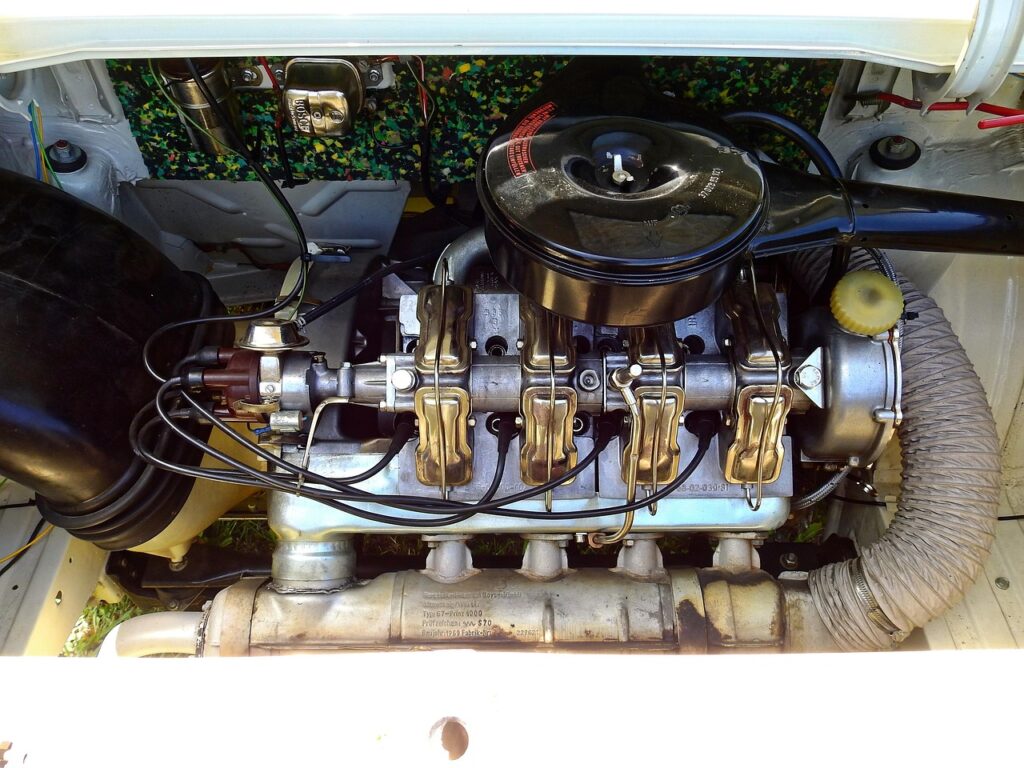
2. **Protect Sensitive Components**Once your engine has adequately cooled, the next crucial step is to protect any sensitive electrical components from direct exposure to water and cleaning solutions. This preemptive measure is vital for preventing potential damage, especially in older vehicles that may not have the same level of integrated protection as modern cars. While modern car engine bays are increasingly designed with protective covers and shielding for sensitive components, exercising caution by identifying and safeguarding these parts remains a cornerstone of professional detailing.
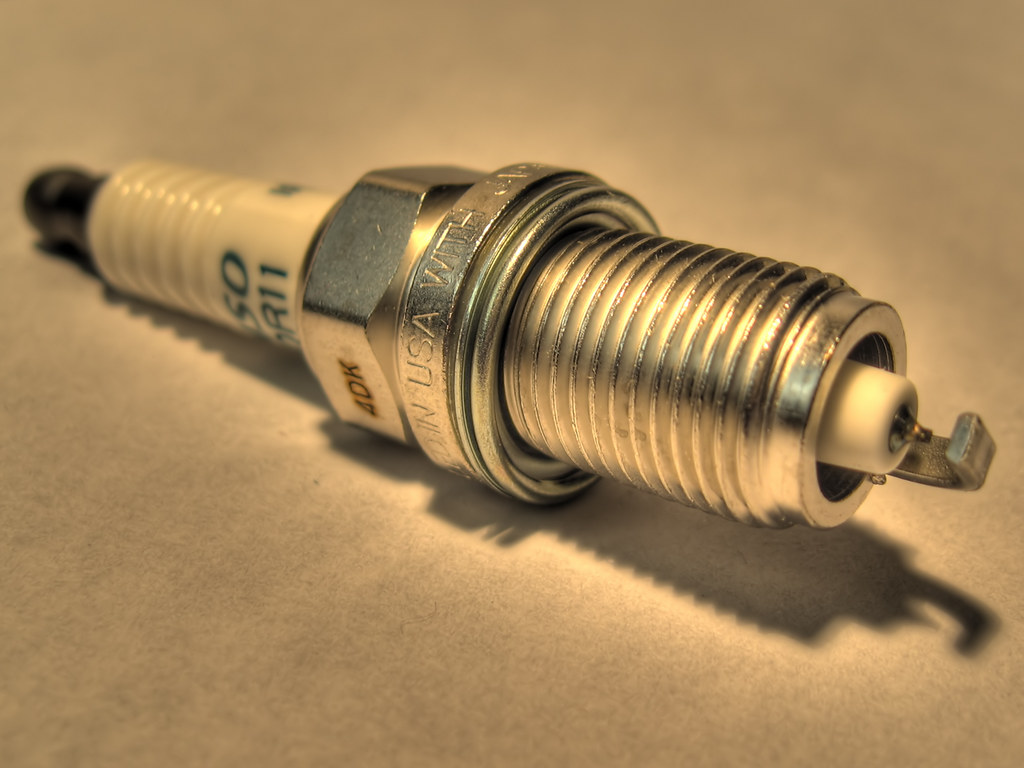
Specifically, components such as the Engine Control Unit (ECU), alternator, spark plugs, ignition cables, and the car battery itself should be given special attention. These electrical elements are susceptible to moisture ingress, which can lead to short circuits, corrosion, or operational failures. To protect these vulnerable parts, consider covering them with plastic bags, carefully securing them with rubber bands or tape to ensure they remain sealed during the cleaning process. This creates a temporary barrier, deflecting water and cleaning agents away from critical electrical connections.
The act of protecting these components underscores the “attention to detail” that distinguishes professional work. It demonstrates a proactive approach to potential problems, ensuring that while you achieve a pristine engine bay, you also maintain the full functionality and reliability of your vehicle’s core systems. Remember, the goal is a clean engine that runs perfectly, not one that looks good but has compromised electronics. Once the cleaning and drying process is entirely complete, it’s equally important to remember to remove all plastic bags, allowing the components to breathe and ensuring no moisture is trapped underneath.
Read more about: Navigating the High Stakes: 14 Essential Questions to Ask Your Celebrity Financial Manager for Unrivaled Wealth Protection and Growth
3. **Work in the Shade**The environment in which you detail your engine bay is just as important as the techniques and products you use. A frequently overlooked but significant preparatory step is to always work in a shaded area, away from direct sunlight. This simple environmental consideration can dramatically influence the effectiveness of your cleaning products and the final quality of your detail, preventing common issues that arise when products dry prematurely.
When cleaning products, particularly all-purpose cleaners (APCs) or degreasers, are applied to hot surfaces under direct sunlight, they can dry out much too quickly. This rapid drying can leave stubborn residues, streaks, or even permanent stains on various engine components, making the cleaning process far more difficult and less effective. Furthermore, the quick evaporation reduces the dwell time of the cleaning agents, diminishing their ability to break down dirt, grime, and oils thoroughly before being rinsed away.
Opting for a shaded area, such as a garage, carport, or even the shaded side of your house, ensures that the surfaces remain cooler. This extended working time allows the cleaning solutions to penetrate and lift contaminants effectively, giving you ample opportunity to agitate and rinse them away before they dry. It facilitates a more controlled and uniform cleaning process, ultimately contributing to a superior and more professional finish. This thoughtful approach minimizes frustration and maximizes the efficacy of every product and effort you invest.
Read more about: Mastering the Nuances: A Business Insider’s Guide to Differentiating ‘Worse’ and ‘Worst’ for Precision Communication
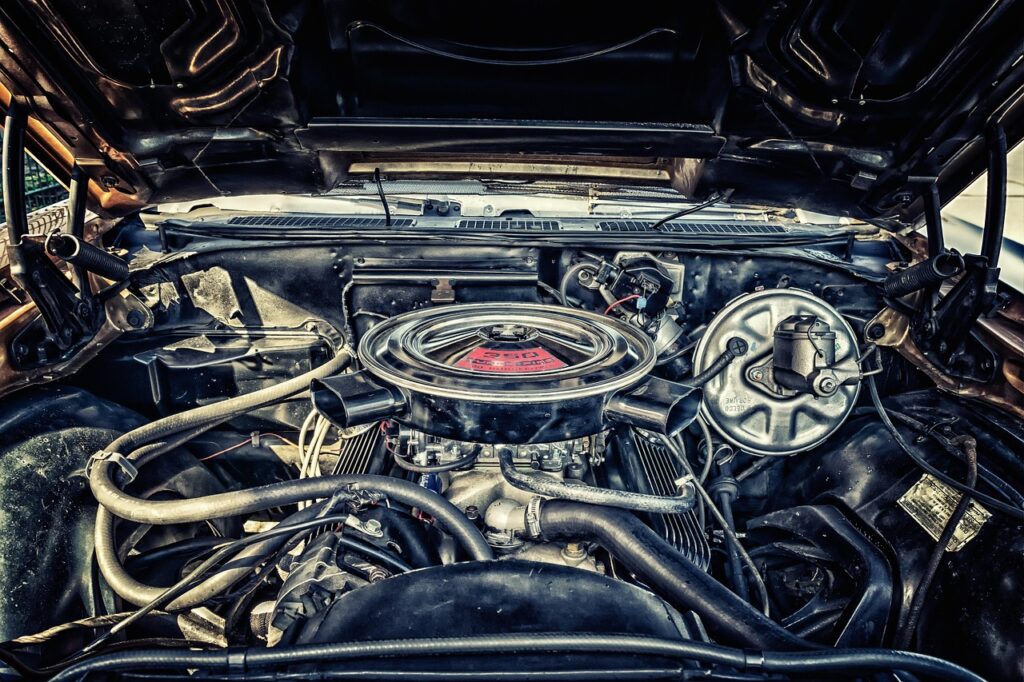
4. **Remove Larger Debris**Before introducing any liquids or cleaning agents to your engine bay, a crucial preliminary step is to manually remove any larger pieces of debris that may have accumulated. This foundational task often gets overlooked in the eagerness to begin spraying, but it is indispensable for optimizing the subsequent cleaning stages and ensuring a thorough job. Such debris commonly includes leaves, twigs, small branches, and other general trash that can find its way into the engine compartment, often trapped particularly in the plastic sections surrounding the engine bay, close to the windshield.
These larger pieces of refuse can not only hinder the even application and effectiveness of your cleaning products but can also potentially scratch surfaces if dragged around during agitation. Furthermore, if left in place, they can clog drains or accumulate moisture, promoting corrosion over time. Removing them by hand or with the aid of a vacuum cleaner ensures you start with a relatively clear area, allowing your cleaning solutions to directly address the built-up dirt and grime without interference from bulky obstructions.
Taking the time to meticulously clear away these larger contaminants creates a much cleaner workspace and allows your detailing brushes and cleaning solutions to work more efficiently and safely. It ensures that your efforts are concentrated on the actual task of breaking down and lifting embedded dirt rather than just moving around surface litter. This initial clearing not only makes the entire cleaning process more manageable but also enhances the overall cleanliness and accessibility of the engine bay, setting a strong precedent for the detailed work to follow.
Read more about: The Savvy Driver’s Guide: 11 Common Car Repairs Mechanics Recommend That You Likely Don’t Need
5. **Pre-Soak the Engine Bay**With the engine cool, sensitive components protected, and larger debris removed, you’re ready for the first application of a cleaning agent: the pre-soak. This step is a game-changer in engine bay detailing, designed to initiate the breakdown of surface grime and loose contaminants before any vigorous agitation begins. It’s akin to preparing a dish for washing; a quick soak can make the scrubbing infinitely easier and more effective, and the same principle applies under your hood.
For this pre-soak, a product like “The Super Soaper” mixed in a pump sprayer is an excellent choice. The instruction suggests using about 2 ounces of this cleaner mixed appropriately. The objective is to lightly mist the entire engine bay, ensuring a comprehensive but not overly saturated application. This initial layer of cleaning solution begins to penetrate and emulsify existing dirt, grease, and road grime, loosening its grip on the various surfaces. This gentle introduction of a cleaning agent makes the subsequent steps far more productive, as the bulk of the surface contaminants will already be compromised.
A key tip provided in the context for this stage is that there is “no need to bag off the alternator — just be careful around sensitive electrical components.” This highlights the balance between thorough cleaning and careful protection. The light misting is generally safe for most areas, but it reinforces the importance of the prior step of protecting truly sensitive electrical components. The pre-soak maximizes the efficiency of your cleaning efforts by getting a head start on breaking down the embedded dirt, ensuring that when you move to more active cleaning, the job is significantly eased, leading to a more effective and less strenuous detailing experience.
6. **Apply All-Purpose Cleaner (APC) and Foam**Following the initial pre-soak, the next critical phase in deep cleaning your engine bay involves a more robust application of an all-purpose cleaner (APC), ideally in foam form. This step is designed to penetrate and lift stubborn dirt, grime, and oils that the pre-soak has begun to soften, preparing the surfaces for effective agitation. An APC, such as Meguiar’s All-Purpose Cleaner, diluted at 1:10 or even 1:5 for very dirty engines, is an essential product for this task due to its powerful cleaning properties.
To maximize coverage and cleaning efficacy while minimizing product waste, a foam cannon is highly recommended for this step. Using 4 ounces of a product like “The Super Soaper” in your foam cannon, you should thoroughly cover every inch of the engine bay and the underside of the hood with an even layer of rich foam. The foaming action allows the cleaning solution to cling to vertical and intricate surfaces for a longer duration, increasing its dwell time and enhancing its ability to break down contaminants.
Once the entire engine compartment is generously foamed, allow the cleaning agents to dwell for a specified period, typically around 5–10 minutes. This dwell time is crucial, as it provides the necessary window for the APC to work its magic, penetrating deeply into the layers of dirt and grime, and emulsifying oils. This chemical action significantly eases the subsequent agitation step, allowing the brush to dislodge loosened contaminants with far greater efficiency. By allowing this ample contact time, you are ensuring that the engine bay is primed for a thorough and effective clean, laying the groundwork for a truly professional finish.
Now that your engine bay is thoroughly pre-soaked and foamed, with cleaning agents actively working to break down stubborn contaminants, it’s time to transition into the hands-on phase of lifting and removing that embedded dirt and grime. This next set of steps focuses on meticulous cleaning, safe rinsing, and applying protective finishes that will not only leave your engine bay looking factory fresh but also safeguard its components for the long haul. Precision and patience remain your most valuable tools as we move towards achieving that professional-grade result.
Read more about: Beyond the Wash: 14 Pro Secrets to Making Your Car’s Interior Look Brand New Again
7. **Agitate with Brushes**With the all-purpose cleaner and foam having dwelled for the recommended time, their chemical action has significantly loosened the dirt, grime, and oils clinging to your engine’s surfaces. This is your cue to bring in the detailing brushes. Agitation is a critical step that physically dislodges these now-softened contaminants, preparing them for removal. It’s about working the product into every crevice and across every surface, maximizing its cleaning power.
You’ll want to employ a variety of brushes tailored for different tasks and areas. Stiffer detailing brushes are ideal for tackling stubborn dirt and grime found on plastic covers, around the battery, and between larger engine components. These brushes provide the necessary scrubbing power without being overly abrasive, ensuring you effectively clean without causing damage. Don’t be afraid to apply a bit of an all-purpose cleaner directly onto your detailing brush periodically to boost its cleaning effectiveness, especially for those more challenging spots.
Remember to extend your agitation efforts beyond just the main engine block. Crucial areas like hinges, latches, and the often-forgotten underside of the hood also accumulate grime and benefit immensely from a thorough brushing. While there’s no need to go too deep into the most inaccessible parts of the engine space, focus on the areas you can reasonably reach and see. This meticulous attention to all visible and accessible surfaces is a hallmark of professional detailing.
Read more about: Seven Surprising Reasons Your New Vacuum Is Losing Its Suction After Just 7 Uses (and How to Bring It Back to Life!)
8. **Rinse Safely**After the satisfying work of agitation, the next crucial step is to rinse away all the loosened dirt, grime, and cleaning solutions. This phase requires a delicate balance of thoroughness and caution, as improper rinsing can leave residues or, more critically, introduce water into sensitive electrical components. Your goal is to completely flush out contaminants while ensuring the integrity of your engine’s systems.
For rinsing, a pressure washer is highly recommended over a standard garden hose, as it uses less water at a higher pressure, providing more control and precision. This reduces the risk of soaking sensitive engine components. When rinsing the hood, be mindful not to spray too much water onto the engine sound insulation, as excessive water can cause damage to the material. Maintain a safe distance, generally at least 50 cm (approximately 20 inches), from engine components to prevent any damage caused by high-pressure water.
The key tip for safe rinsing is to avoid prolonged spraying directly at electrical components. While rinsing, take advantage of the pressure washer’s reach by directing the wand deeper into the engine space. This helps clean the engine block, carter, and other hard-to-reach areas that were inaccessible with the detailing brush, ensuring a comprehensive cleanse. A controlled, sweeping motion across surfaces is far more effective and safer than sustained, direct streams.
Read more about: Unlock the Secrets: 15 Essential Ways to Keep Your Luxury Car Looking Showroom New
9. **Inspect and Spot Clean If Needed**Once you’ve completed the main rinsing phase, the job isn’t quite done. This is the moment for a meticulous inspection—a critical step that differentiates a good detail from a truly professional one. Take a moment to thoroughly examine the entire engine bay for any areas that may have been accidentally missed, or where stubborn dirt, grime, or oils still persist despite the initial cleaning.
Look closely at crevices, seams, and areas around components where grime tends to hide. If you identify any spots that need further attention, don’t hesitate to address them. For these stubborn areas, spraying some Purple Power Degreaser directly onto your detailing brush and gently scrubbing the affected area is an effective approach. The concentrated cleaning solution will help break down any remaining dirt or grime, ensuring a thorough cleaning that leaves no trace of contamination behind.
After spot-cleaning these missed areas, a quick, targeted rinse with the pressure washer is necessary to remove any residual cleaning solution and dislodged dirt. This iterative process of cleaning, inspecting, and re-cleaning ensures that every accessible part of your engine bay achieves the highest possible level of cleanliness. It embodies the “attention to detail” that is the hallmark of expert work, leaving no stone unturned in your pursuit of perfection.
Read more about: The 15 Most Common Reasons Drivers Fail Their Road Test: Essential Fixes for Your DMV Exam

10. **Dry the Engine Bay**With the cleaning and rinsing phases complete, the next critical step is to thoroughly dry the engine bay. Eliminating excess water is paramount not only to prevent water spots and mineral deposits but, more importantly, to mitigate the risk of corrosion and ensure the safety of electrical components. Trapped moisture can lead to long-term issues, making effective drying an indispensable part of a professional detail.
Begin by using a Ryobi blower or an air compressor to blow out excess water from the engine bay. Direct the airflow over the entire area, paying special attention to crevices, seams, and hard-to-reach spots where water tends to collect. This rapid removal of bulk water significantly speeds up the drying process and helps prevent moisture from lingering in sensitive areas around headlights and other components. Ensuring all water is removed from tight spots is crucial to prevent corrosion.
For the underside of the hood, which often retains moisture, use a clean, absorbent microfiber cloth to gently wipe it dry. Microfiber towels are highly effective at removing water and any lingering oils or dirt that might have been left behind after rinsing, preventing water spots from forming on this visible surface. This two-pronged approach—blowing for the engine bay and wiping for the hood—ensures comprehensive drying and sets the stage for the final protective steps.
Read more about: Cracking the Code: The Ingenious Reasons Why America’s Major Cities Rose in Their Iconic Spots
11. **Apply Dressing to Wet Engine Bay**Now that your engine bay is clean and mostly dry, it’s time for the aesthetic and protective finishing touch: applying a dressing to all plastic and rubber components. This step not only enhances the appearance, restoring a rich, uniform look, but also provides a vital layer of protection against environmental elements and future grime buildup. The beauty of this technique is that many modern dressings are formulated to be applied while the engine bay is still wet, making the process both efficient and effective.
I highly recommend using a product like SONAX Plastic Detailer, diluted 1:1, or Carpro Pearl for this purpose. These products work exceptionally well when applied to a wet surface, allowing the water to help spread and blend the dressing evenly across all plastics and rubbers. To apply, simply spray the entire engine bay area thoroughly with your chosen product. Don’t be concerned about using too much; the product is designed to mix with the remaining water on the surface, ensuring uniform coverage without leaving a greasy shine.
This method of dressing a wet engine bay is one of the easiest and most effective techniques discovered by professionals. It significantly saves time compared to meticulously drying the entire engine bay before applying conditioners, and it consistently yields excellent results—leaving components looking new and protected. This protective layer not only makes your engine bay visually appealing but also makes future cleanings much easier, as dirt and grime will have a harder time adhering to the treated surfaces.
Read more about: Behind the Recall Refusals: 14 Critical Reasons Your Vehicle’s Safety Fix Might Be Denied, and Your Rights as a Consumer
12. **Blow Out Excess Water with Compressor (Final Dry) and Start Engine**Following the application of the dressing, the final step involves a meticulous drying process and a crucial operational check. To achieve a truly professional, streak-free finish and ensure the dressing is evenly distributed, a final blow-out with compressed air is indispensable. This helps to remove any remaining excess water and thoroughly spreads the plastic detailer, ensuring a uniform and polished appearance across all treated surfaces.
As you direct the airflow over the engine bay, pay special attention to dispersing the applied dressing. The air stream will assist in pushing the product into every crevice and across every component, guaranteeing that the protective and enhancing properties are maximized. This final drying pass also ensures that no moisture is trapped in hard-to-reach areas, preventing potential issues down the line and contributing to the longevity of your engine components.
Once the engine bay is thoroughly dried and the dressing has settled, the ultimate confirmation of a successful detail is starting your engine. This step is critical to ensure everything runs properly and helps to evaporate any minuscule remaining moisture that might be lingering in less accessible areas. It’s a final safeguard that confirms all electrical connections are sound and that your meticulous cleaning has not inadvertently affected your vehicle’s operation. Your engine bay should now look showroom-worthy, operating flawlessly, and protected for the road ahead.
***
And there you have it—a comprehensive guide to detailing your car’s engine bay like a professional. From the initial precautions to the final protective touches and operational checks, each step is designed to empower you with the knowledge and techniques to transform this often-neglected area into a pristine, well-maintained heart of your vehicle. This isn’t just about aesthetics; it’s an investment in your car’s performance, longevity, and overall value. Embrace these steps, pay attention to every detail, and enjoy the satisfaction of a truly professional finish under your hood. Happy detailing!


