

Think your favorite “all-American” classics are as homegrown as the Fourth of July? Well, get ready for a delicious surprise, because it’s time to think again! Some of these iconic dishes, from diner staples to ballpark favorites, actually trace their roots to far-off places, bringing global flavors to U.S. plates in ways you might never expect. America is, after all, a melting pot of cultures, and its food scene is a prime example of this incredible fusion.
From ancient traditions that fueled Olympic athletes to the indispensable contributions of countless immigrants, these foods have fascinating backstories that might just blow your mind. They’ve found their forever home and evolved on American soil, but their original passports tell a different story. These dishes may not have been born here, but they’ve certainly grown up here, each one telling a rich narrative of cultural exchange and adaptation.
So, prepare your taste buds and your trivia-loving brain for a journey across continents and centuries. We’re about to dive into the surprising international origins of 15 beloved foods you’d absolutely swear were invented in America, but which have deep, fascinating international origins. Get ready for a delicious history lesson that proves even our most familiar comfort foods have traveled the world to reach our plates!
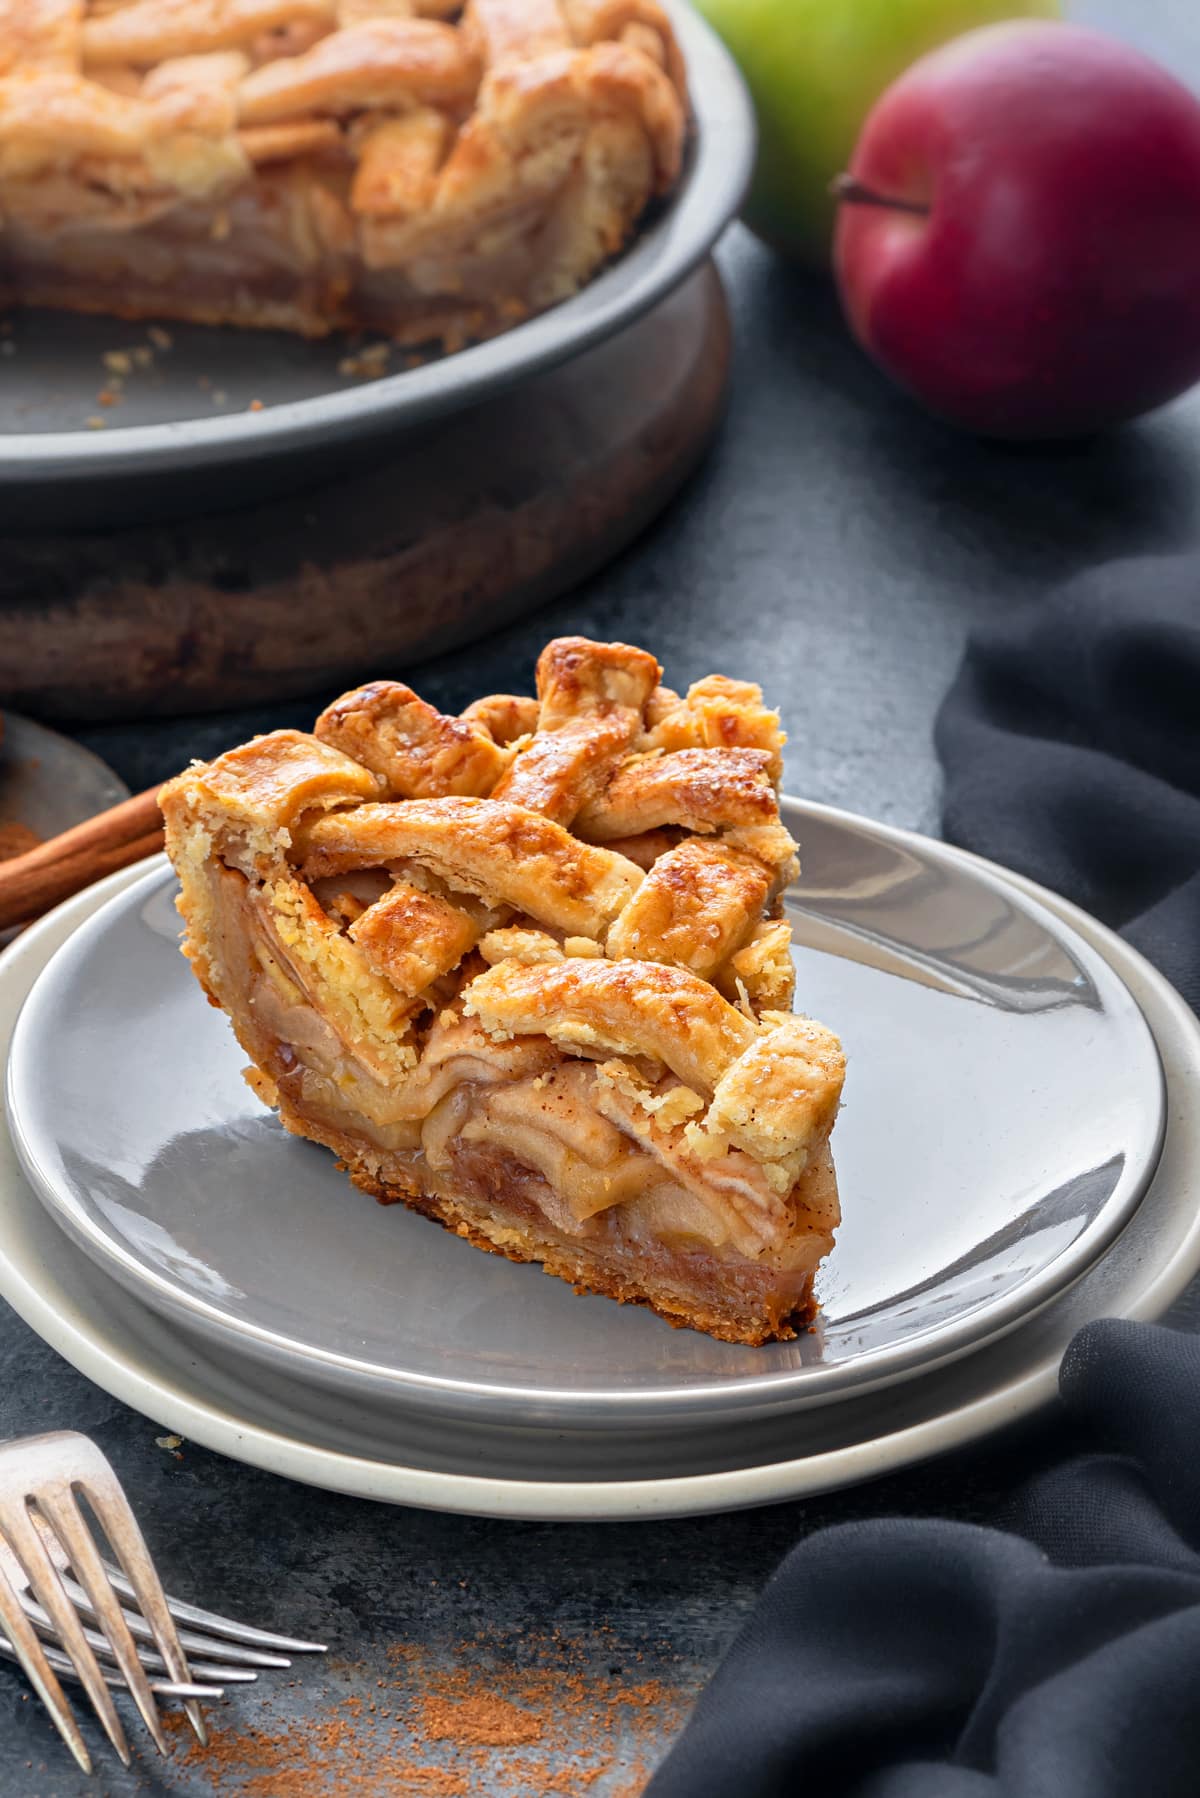
1. **Apple Pie**“As American as apple pie,” right? Well, hold your horses, because that quintessential phrase might just be one of the biggest culinary myths we’ve bought into! While flaky, buttery, and filled with cinnamon-kissed apples, this dessert truly screams Americana, its historical roots trace back much farther, specifically to medieval England. Recipes for this fruity delight appeared as early as the 14th century across the pond, long before the U.S. was even a twinkle in anyone’s eye, and often without the sugar we now consider essential.
It’s not just the pie itself that’s an immigrant; even the apples weren’t native to North America! European colonists brought them over, introducing the very fruit that would become synonymous with American baking. While Dutch settlers later added their own spin, and by the 1700s, America had fully embraced the dish, its ancestry is undeniably British. Settlers brought the recipe, and thanks to its simplicity and adaptability, it quickly became a crowd-pleaser at gatherings, earning a permanent spot on America’s dessert menu.
Essentially, we copied their homework and made it our own, transforming it into the iconic dessert we know today. The classic apple pie we think of today certainly evolved in America, but its foundational elements and early forms hail from elsewhere. So, the next time you savor a slice, you might consider trying it with Bramley apples, the kind Brits swear by, for a taste closer to its original European lineage.

Gluten-Free Tuesday: Cran-Apple White Chocolate Popcorn
Ingredients
Equipment
Method
- Prepare the popcorn: Air-pop 10 cups of popcorn, ensuring it is completely cooled before proceeding. Remove any unpopped kernels.
- Melt the white chocolate: In a large microwave-safe bowl, melt the white chocolate chips in 30-second intervals, stirring thoroughly after each, until smooth and fully melted. Alternatively, use a double boiler.
- Incorporate spices: Stir the ground cinnamon and pumpkin pie spice into the melted white chocolate until well combined.
- Combine popcorn and chocolate: Pour the melted spiced white chocolate over the cooled popcorn in a large mixing bowl.
- Coat evenly: Using a rubber spatula or large spoon, gently fold the popcorn until it is evenly coated with the chocolate mixture.
- Add dried fruits: Sprinkle the chopped dried apple slices and dried cranberries over the chocolate-coated popcorn.
- Mix well: Continue to gently fold until the dried fruits are evenly distributed throughout the popcorn mixture.
- Spread to cool: Transfer the coated popcorn mixture onto a baking sheet lined with parchment paper, spreading it out in a single layer to prevent clumping.
- Allow to set: Let the popcorn cool completely at room temperature or refrigerate briefly until the chocolate is firm.
- Break and serve: Once set, break the popcorn into bite-sized clusters and serve, or store in an airtight container at room temperature.
Notes
2. When melting white chocolate, do so gently. Overheating can cause it to seize and become grainy. Use short intervals in the microwave, stirring well after each, or a double boiler over simmering water.
3. For an enhanced flavor profile, lightly toast the dried apple slices and cranberries in a dry skillet for a few minutes before adding them. This intensifies their fruit notes and adds a subtle nutty depth.
4. A tiny pinch of flaky sea salt sprinkled over the finished popcorn before it sets can beautifully balance the sweetness of the white chocolate and fruits.
Read more about: EVs Go Mainstream: Unpacking the Top Affordable Electric Cars and Tesla Alternatives You Can Buy Today

2. **Hot Dogs**Turns out, the hot dog isn’t as American as your local ballpark or backyard barbecue wants you to believe. While a staple of baseball games and cookouts, the hot dog’s lineage leads straight back to Germany and Austria. The ancestors of this beloved frank were sausages like frankfurters, named after Frankfurt, and wieners, hailing from Vienna, which were brought to America by German immigrants in the 19th century.
These German butchers in the U.S. adapted the traditional sausages, and the genius idea of serving them in a bun? That’s largely credited to New York street vendors, who likely added the bun for convenience on the go, turning a simple sausage into the ultimate grab-and-go snack. This adaptation transformed the humble sausage into the bun-and-condiment combo we know and love today, cementing its place in American fast-food culture.
Over time, it was embraced nationwide, becoming the beloved treat it is today. You can load it with mustard, relish, or even ketchup (we’re not here to judge your condiment choices, though some might strongly disagree!). If you want to go full German with your hot dog experience and truly honor its heritage, you might skip the ketchup and instead load it with spicy mustard and sauerkraut. It’s a classic move that speaks to the hot dog’s rich, transatlantic journey.

The Best Grilled Hot Dogs Recipe
Ingredients
Equipment
Method
- If using stewed hot-dog onions, prepare them according to your preferred method; otherwise, have sauerkraut ready.
- In a large pot or Dutch oven, combine the lager or light ale and bring to a gentle simmer over medium heat.
- Add the natural casing all-beef hot dogs to the simmering beer, ensuring they are fully submerged.
- Reduce heat to low and simmer the hot dogs for 10-15 minutes, allowing them to plump up and absorb the beer’s flavor without bursting.
- While hot dogs simmer, preheat your grill to medium-high heat, ensuring the grates are clean and oiled.
- Carefully remove the hot dogs from the beer bath using tongs, allowing any excess liquid to drain off.
- Place the hot dogs directly on the preheated grill grates and grill for 2-4 minutes per side, turning frequently, until they are evenly browned and have a desirable crisp snap.
- During the last minute of grilling, lightly toast the hot dog buns on the grill if desired, for added warmth and texture.
- Serve the grilled hot dogs immediately in toasted buns with stewed onions or sauerkraut and mustard.
- Enjoy your perfectly grilled, flavorful hot dogs.
Notes
Read more about: From Passion to Paycheck: Everyday Hobbies That Are Turning into Seriously Lucrative Side Hustles

3. **Hamburgers**The beloved burger, another all-American classic that feels deeply ingrained in our culinary soul, also has its origins firmly planted in Germany. The concept of ground beef patties, the very heart of the hamburger, originated in Hamburg, Germany, where it was known as the Hamburg steak. This dish, a seasoned minced beef patty often served without a bun, was a favorite among German immigrants in the 19th century.
When these German immigrants introduced the dish to America, it eventually transformed into the fast-food staple we absolutely can’t live without. Americans, ever the innovators, took the concept and added buns (because, well, carbs!), elevating it to fast-food royalty. It was by 1904 that the hamburger sandwich gained national fame at the St. Louis World’s Fair, securing its place in the American culinary lexicon.
Now, the hamburger is as American as drive-thrus and tailgates, a true icon of our quick-service food landscape. But remember, Germany set the stage for this meal’s incredible journey. It’s proof that sometimes, the best and most universally adored ideas come with a passport stamp, evolving and adapting as they travel across borders and cultures.

Hamburgers
Ingredients
Equipment
Method
- Gently combine freshly ground beef with finely chopped garlic, sea salt, and freshly ground black pepper in a large bowl, mixing minimally to avoid compacting the meat.
- Divide the seasoned beef into four equal portions and lightly form into patties, making a slight indentation in the center of each to ensure even cooking.
- Heat a grill or cast-iron skillet over medium-high heat. Add a generous amount of extra virgin olive oil or tallow until shimmering.
- Carefully place the burger patties on the hot cooking surface and cook for 3-5 minutes per side, adjusting time for desired doneness (e.g., medium-rare to well-done).
- While the burgers cook, slice the brioche buns in half and generously butter the cut sides with raw butter.
- Toast the buttered buns on the grill or in a separate skillet until golden brown and slightly crisp.
- Once cooked, remove the burgers from the heat and let them rest for 2-3 minutes to allow the juices to redistribute.
- Assemble the hamburgers by placing a cooked patty on the toasted bottom bun, then covering with the top bun.
- Serve immediately with your choice of accompaniments and enjoy.
Notes
Read more about: McDonald’s Embraces a Refreshing Future: The Strategic Evolution of its Beverage Offerings with ‘Dirty Sodas’ and Cold Brews
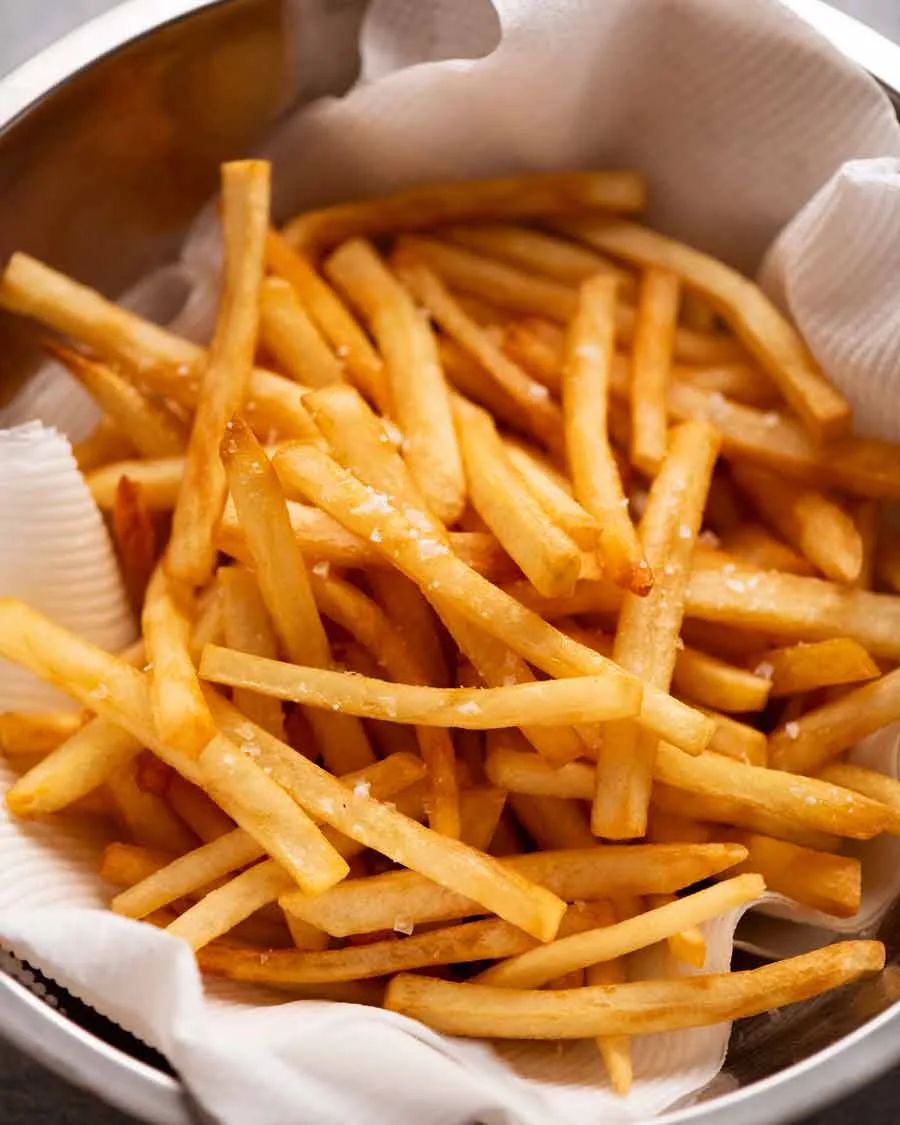
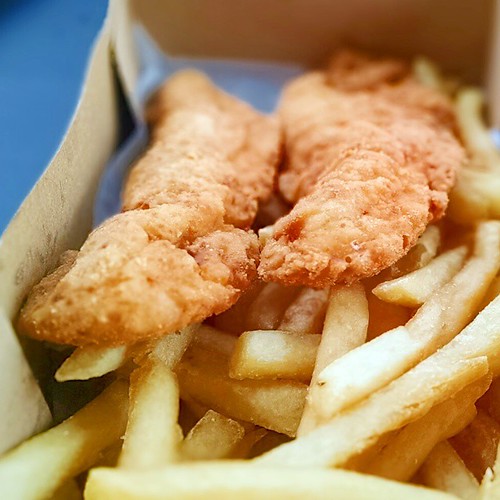
4. **French Fries**If you’re still calling them “French fries,” prepare for a delightful dose of myth-busting, because you’ve got some explaining to do! Despite their misleading name, these golden, crispy delights are actually likely Belgian in origin. Legend has it that villagers in Belgium, in the late 1600s, fried small fish, but during harsh winters when fish were scarce and rivers were frozen, they ingeniously switched to frying potatoes instead.
Centuries later, the “French” label came about during World War I. American soldiers stationed in French-speaking Belgium discovered these delicious fried potatoes and, hearing the locals speak French, mistakenly dubbed them “French fries.” The name stuck, but the crispy goodness undeniably started in Europe, specifically with the Belgians frying thin-cut potatoes since the 1600s.
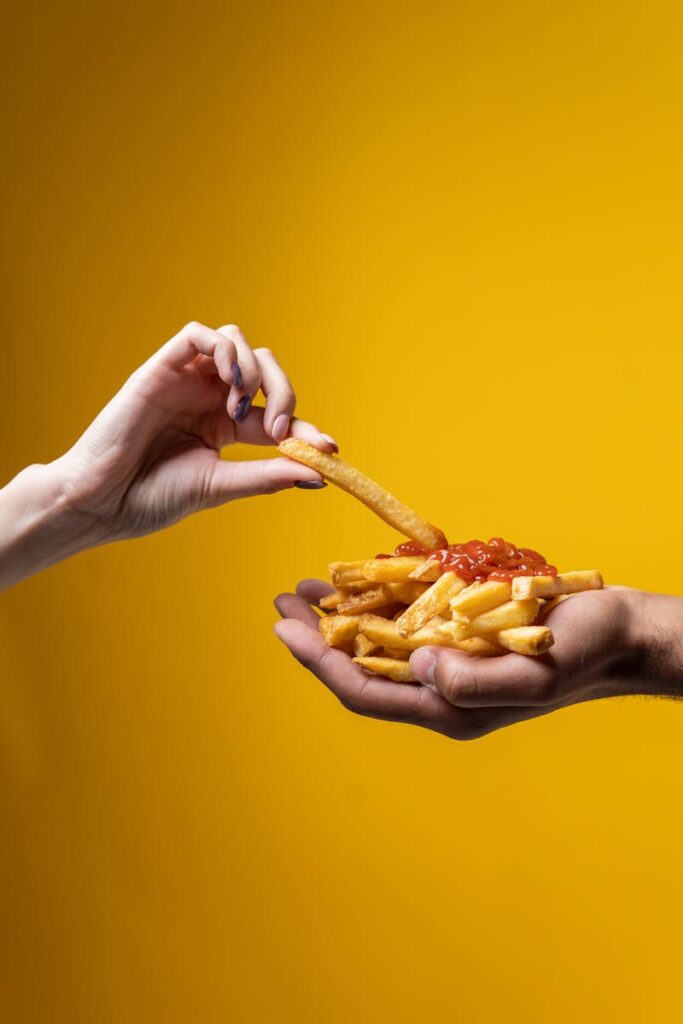
Fries have since become a global obsession, loved coast to coast and across continents, perfect with ketchup or any dipping sauce imaginable. So, next time you bite into that satisfying crisp, let’s give Belgium their well-earned props for inventing this iconic snack. It’s time to recognize the true originators of this globally beloved potato treat.
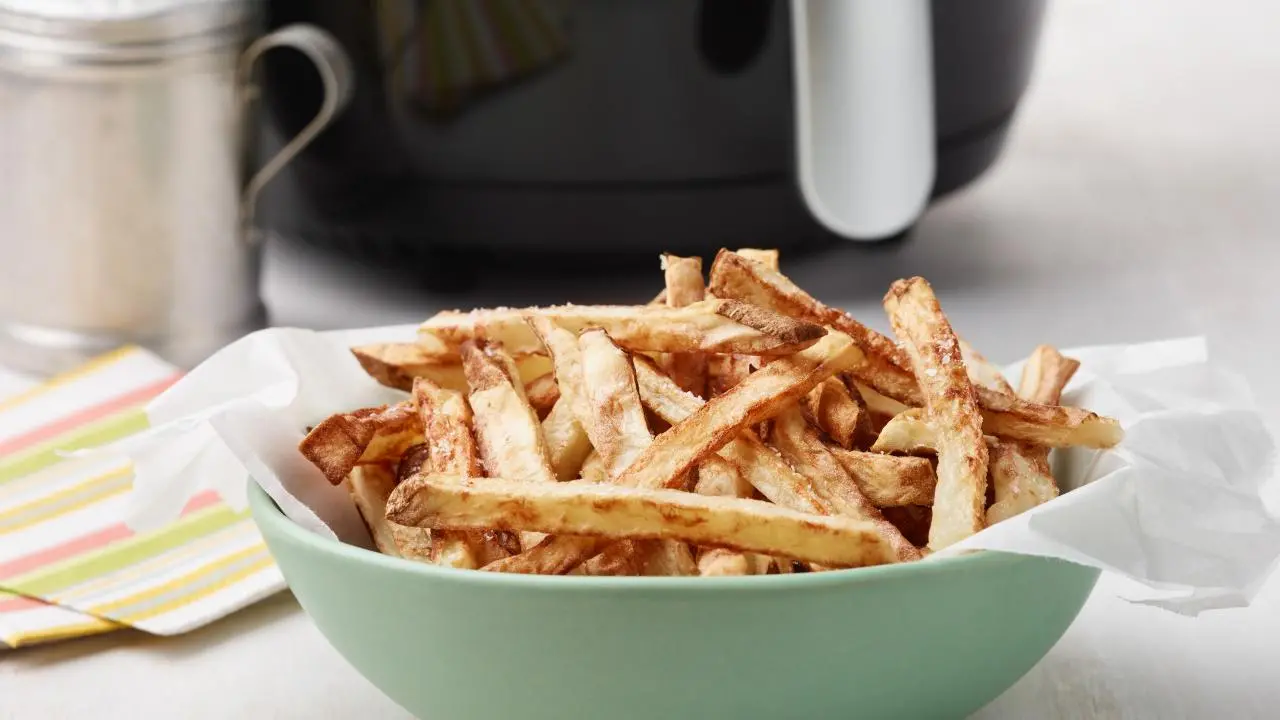
Air Fryer French Fries
Ingredients
Equipment
Method
- Preheat an air fryer to 380 degrees F .
- Cut the potato in half lengthwise, then into 1/4-inch slices. Cut the slices into 1/4-inch sticks. Put the fries in a medium bowl and rinse them well with cold water, then drain and pat dry with paper towels.
- Toss the fries with the oil in a medium bowl, then sprinkle with 1/2 teaspoon salt and several grinds of pepper. Working in batches if necessary, put the fries in an even layer in the air fryer basket with no overlapping and cook, turning them halfway through, until golden brown and crisp, 14 to 16 minutes. Remove and season with salt.
Notes
Read more about: Your Ultimate Guide to a Perfect Filet-O-Fish: How to Guarantee a Fresh McDonald’s Sandwich Every Single Time
5. **Ketchup**That sweet, tangy red sauce you slather on everything from burgers to fries might seem undeniably American, but its roots are far more ancient and much farther east than you’d ever guess. Ketchup didn’t start with tomatoes; it originated in 17th-century China as a fermented fish sauce called “kê-tsiap.” This pungent, savory condiment bore little resemblance to the sugary, tomato-based version we know today.
British traders and sailors discovered this unique sauce in the 1700s and brought the concept back to Europe, where it began to evolve. By the 18th century, Europeans experimented with various ingredients, trying everything from mushrooms and walnuts to anchovies in their versions of “catsup.” It was an era of culinary innovation, constantly reinterpreting this intriguing Asian import.
However, the tomato-based version, the one that became a global pantry staple, didn’t truly emerge until the early 19th century in the U.S. Americans adapted the recipe, adding tomatoes and sugar, creating the tangy, beloved condiment we now consider a classic. From burgers to fries to even eggs (yes, eggs!), ketchup’s versatility and unique flavor profile have made it an indispensable part of kitchens worldwide. For a unique experience, try small-batch artisan ketchup—they hit differently!
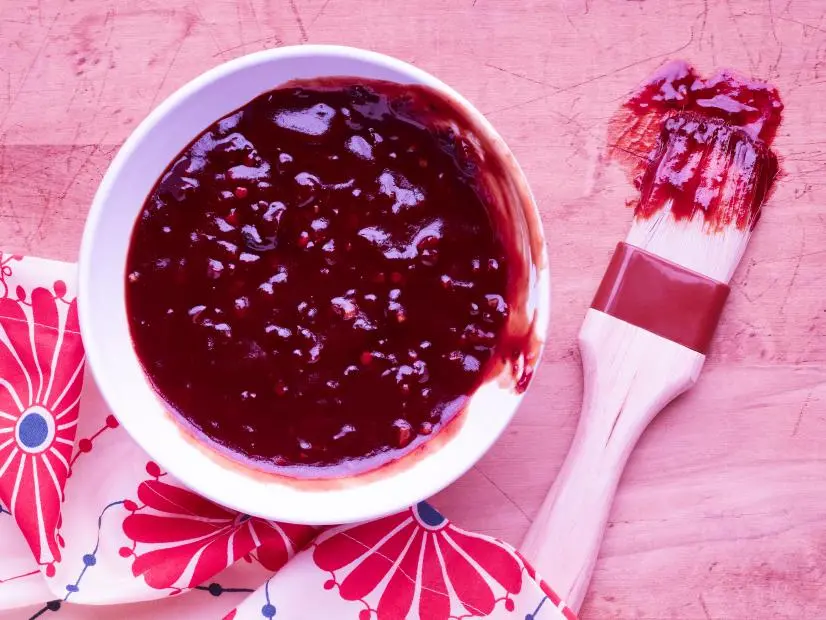
Homemade BBQ Sauce
Ingredients
Equipment
Method
- Heat the oil in a saucepan over medium-low heat. Add the garlic and onions and cook for 5 minutes, stirring, being careful not to burn them. Reduce the heat to low. Add the ketchup, molasses, brown sugar, chipotle peppers, vinegar (or less to taste), Worcestershire sauce and salt and stir. Allow to simmer for 20 minutes. Taste after simmering and add whatever ingredient it needs (more spice, more sugar, etc.).
Notes
Read more about: Surprising Truths: 15 Everyday Foods That Might Be Secretly Harming Your Kidneys – A Comprehensive Guide for Your Renal Health
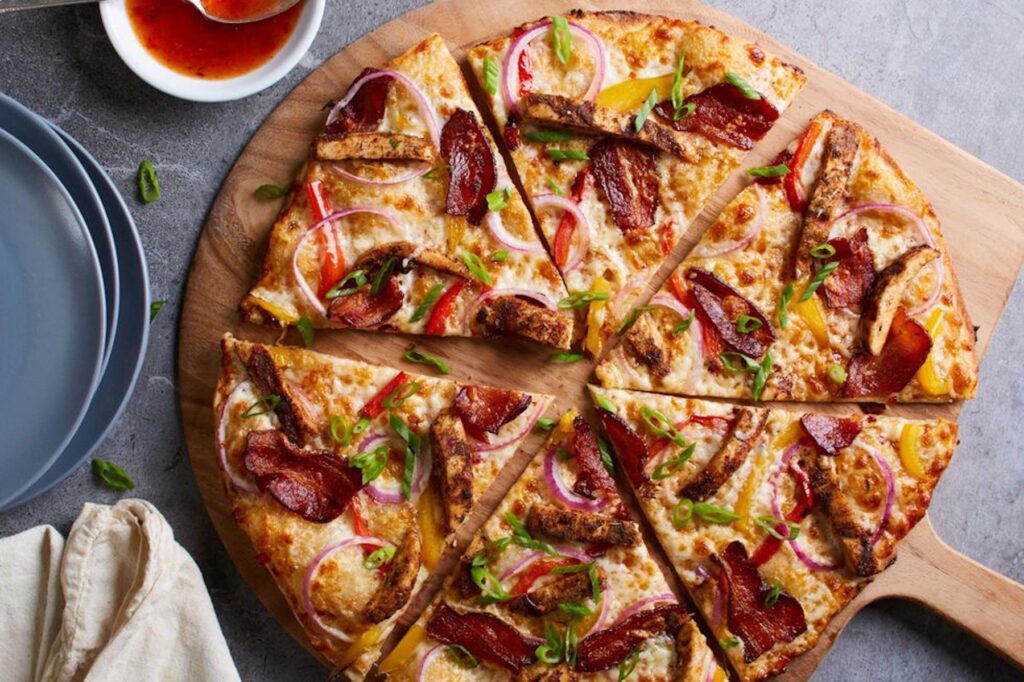
6. **Pizza**Pizza feels deeply ingrained in American food culture, especially with the rise of iconic New York and Chicago-style pies that are practically national treasures. But before the stuffed crusts and layers of extra toppings, this beloved dish began its humble journey in Naples, Italy. The very first pizza was born there as a simple flatbread, topped modestly with fresh tomatoes and cheese, a far cry from the elaborate creations we often see today.
Italian immigrants brought pizza to the U.S. in the late 19th and early 20th centuries, where it was eagerly embraced and eventually transformed into the cheesy, gooey, and often supersized versions we now call our own. While we love our American takes, the original Neapolitan pie is all about simplicity, focusing on fresh ingredients, minimal toppings, and the magic of a wood-fired oven. It’s a testament to the idea that sometimes, less is truly more.
Americans have certainly run with the concept, expanding it into an incredible array of regional styles and topping combinations. However, the foundational elements and the very soul of pizza remain Neapolitan. For the authentic deal, seek out a Neapolitan pizza joint; it’s simple, but it truly SLAPS, offering a taste of history that is both delicious and genuinely surprising in its origins.
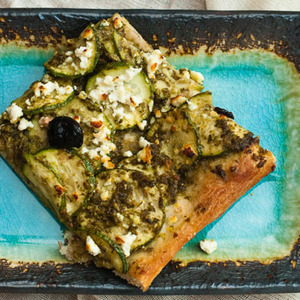
The Crisper Whisperer: Zucchini and Pesto Pizza Recipe
Ingredients
Equipment
Method
- Preheat your oven to its highest setting, ideally 500-550°F (260-290°C), with a pizza stone or baking steel/sheet inside, for at least 30-60 minutes.
- Lightly flour your work surface and dust your pizza peel (or a baking sheet) generously with cornmeal.
- Stretch or roll out the pizza dough to your desired thickness and shape on the prepared peel/baking sheet.
- Spread 3/4 cup of basil pesto evenly over the pizza dough, leaving a small border for the crust.
- Arrange the very thinly sliced zucchini in a single layer over the pesto.
- Evenly scatter the crumbled feta cheese and pitted oil-cured black olives over the zucchini.
- Carefully slide the pizza onto the preheated pizza stone or baking sheet in the oven.
- Bake for 8-12 minutes, or until the crust is golden brown and the cheese is bubbling and slightly caramelized.
- Using the pizza peel, carefully remove the cooked pizza from the oven and transfer it to a cutting board.
- Let the pizza rest for a few minutes before slicing with a pizza cutter and serving hot.
Notes
Read more about: Surprising Truths: 15 Everyday Foods That Might Be Secretly Harming Your Kidneys – A Comprehensive Guide for Your Renal Health
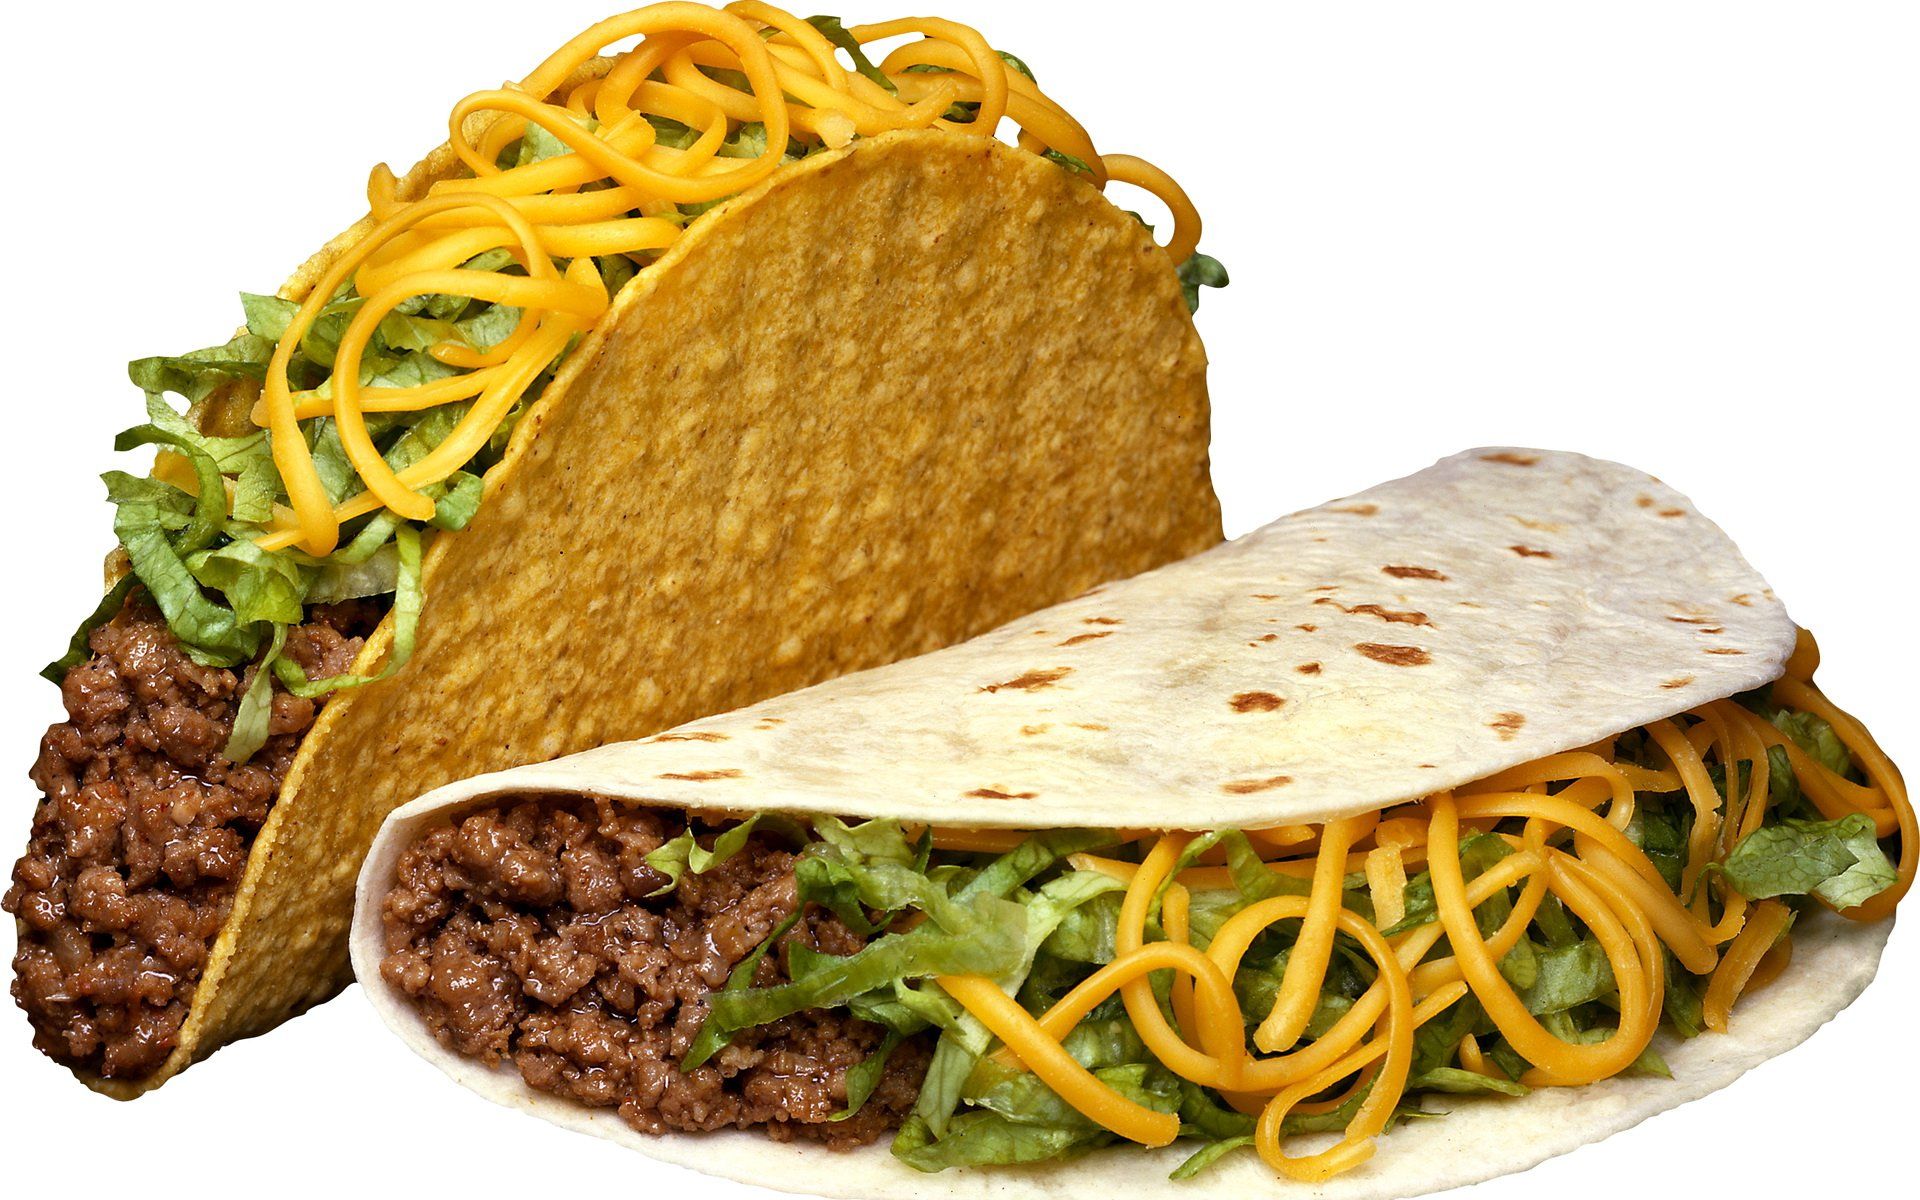
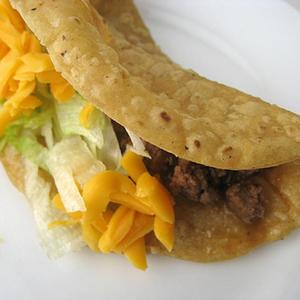
7. **Tacos**Tacos have become a massive, undeniable part of American cuisine, with everything from ubiquitous food trucks to the joy of Taco Tuesdays. They’re a staple, a craving, and a cultural touchstone. However, their origins are firmly and proudly Mexican, dating back centuries to indigenous peoples in Mexico who used corn tortillas to wrap a variety of fillings, long before they became an American obsession or a fast-food sensation.
The idea of these delicious, portable meals traveled north with Mexican migrant workers in the early 1900s, eventually evolving into countless regional favorites across the U.S. While Americans have certainly contributed with innovations like hard shells, the concept of Taco Tuesday, and all sorts of fusion twists, nothing truly beats authentic tacos with their deep historical roots. They’re Mexican through and through, a testament to culinary heritage.
Authentic tacos, with fresh corn tortillas, bold fillings, and zesty toppings, make for a flawless combination that has stood the test of time. Whether you prefer them dressed up with a myriad of salsas and garnishes or kept simple and classic, tacos never miss a beat. For the ultimate experience, seek out street tacos with fresh corn tortillas—they are truly the GOAT. Dress them up or keep them simple; these culinary marvels are a timeless example of international flavor.
Crisp Tacos Picadillo
Ingredients
Equipment
Method
- In a large skillet or Dutch oven, heat 2 tsp vegetable oil over medium-high heat. Add the chopped white onion and sauté until softened, about 5-7 minutes.
- Add the ground chuck to the skillet. Break it apart with a spoon and cook until fully browned, about 8-10 minutes. Drain any excess fat.
- Stir in the minced garlic, paprika, ancho chile powder, dried oregano, coarse salt, freshly ground pepper, and ground cumin. Cook for 1 minute until fragrant.
- Add the diced tomatoes, 1 1/2 cups water, and 3 tsp white vinegar to the skillet. Bring to a simmer, then reduce heat to low, cover, and cook for 20-30 minutes, allowing flavors to meld and the sauce to thicken slightly.
- While the picadillo simmers, prepare the taco toppings: shred iceberg lettuce, thinly slice white onion, and shred cheddar cheese.
- Heat about 1/2 inch of vegetable oil for frying in a separate frying pan over medium-high heat. The oil should be hot but not smoking.
- Carefully dip one corn tortilla into the hot oil for about 10-15 seconds per side, just until it becomes pliable. Using tongs, gently fold the tortilla in half and continue to fry until crisp and golden brown on both sides, about 30 seconds to 1 minute per side.
- Remove the crisp taco shell from the oil and place it on a plate lined with paper towels to drain excess oil. Repeat with the remaining tortillas, adjusting oil temperature as needed.
- Fill each crisp taco shell with a generous spoonful of the warm picadillo mixture.
- Top with shredded iceberg lettuce, shredded white onion, shredded cheddar cheese, and a dollop of salsa picante. Serve immediately.
Notes
Read more about: Fast-Food Confessions: 14 Items Employees Say You Should Skip on Your Next Order
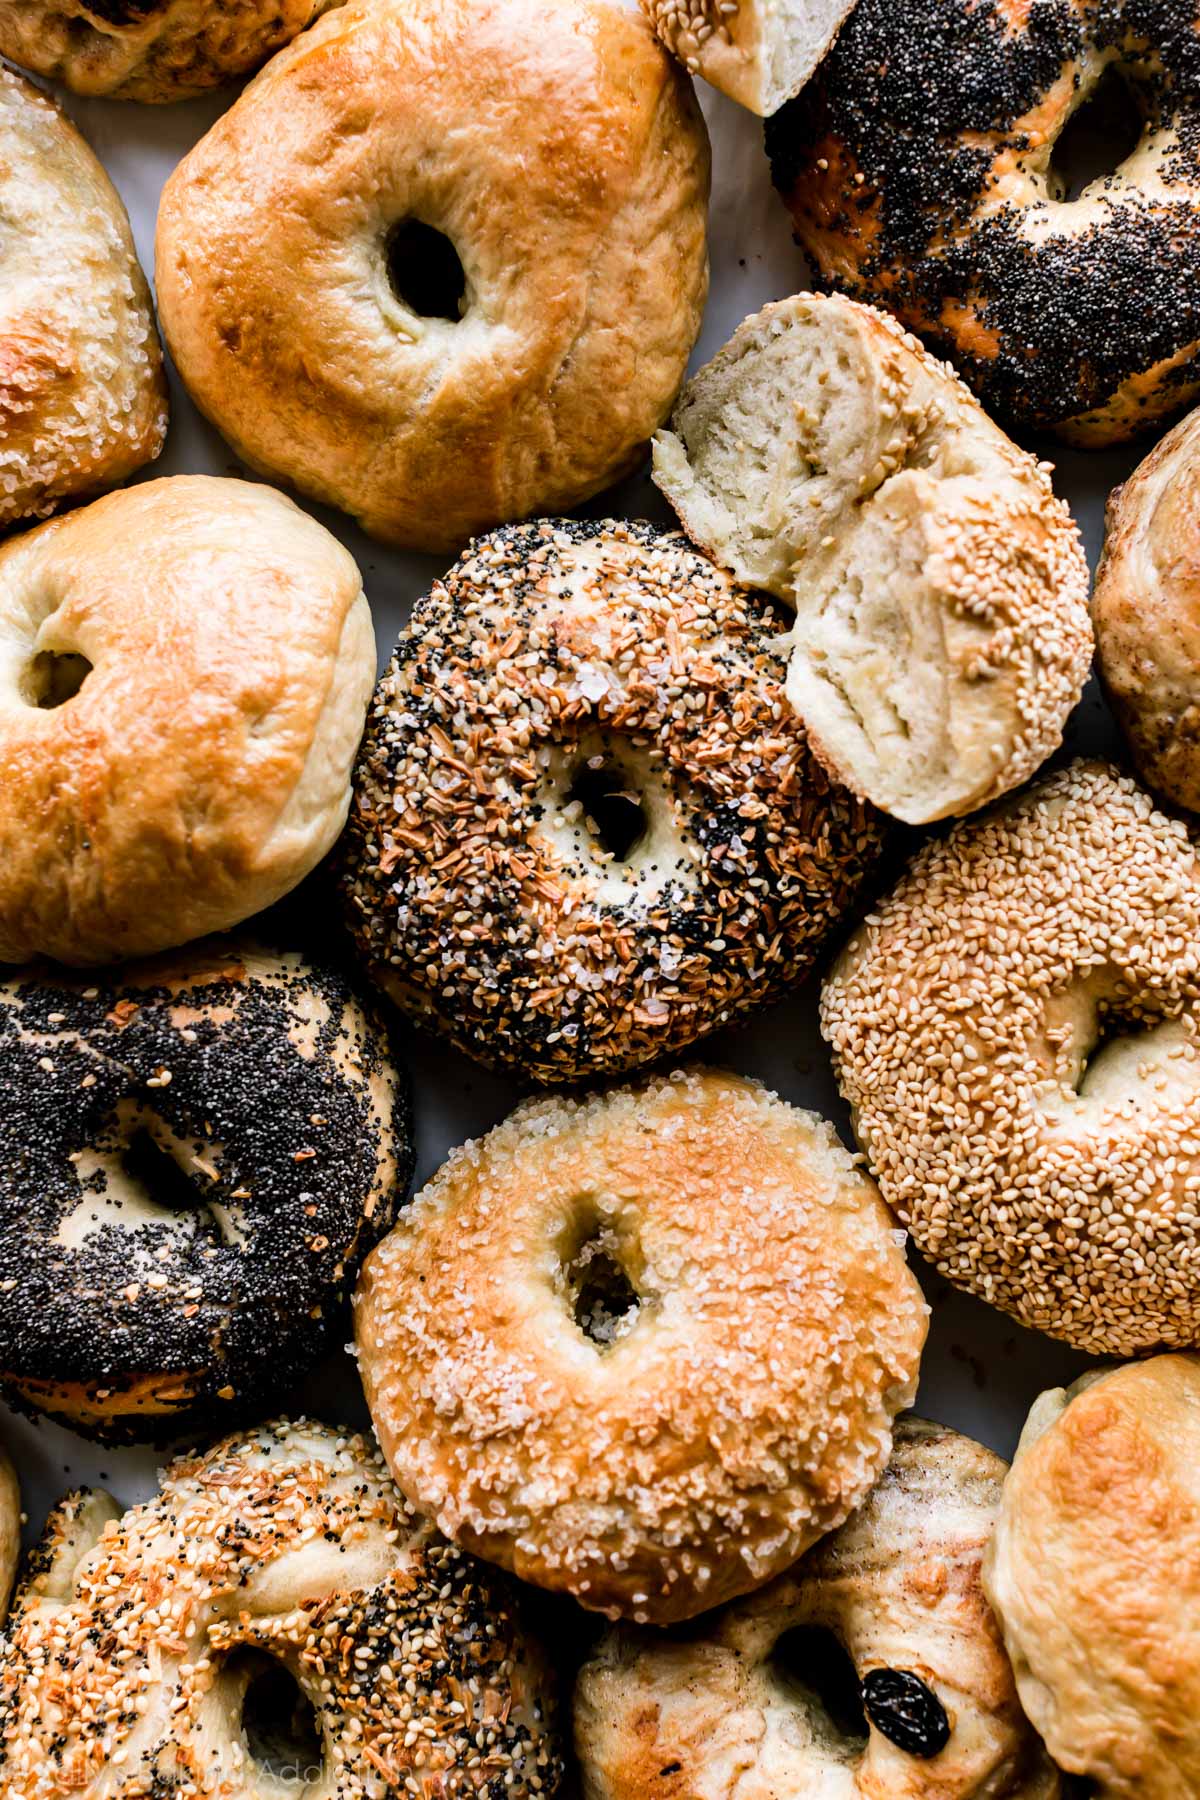
8. **Bagels**If you’ve ever savored a chewy, perfectly toasted bagel slathered with cream cheese, you might instantly think of a bustling New York City deli. However, the true birthplace of this beloved breakfast staple is much further east, nestled within the vibrant Jewish communities of 17th-century Poland. It was there that bakers crafted these distinctive doughy rings, perfecting the technique of boiling them before baking to achieve that signature dense, chewy interior and slightly crisp exterior.
These delightful, resilient rounds made their way across the Atlantic with Eastern European Jewish immigrants, finding a new home and immense popularity in New York City. The city quickly became synonymous with bagel culture, transforming what was once a traditional Old World bread into an American breakfast icon. It’s a testament to the enduring power of immigrant traditions shaping our culinary landscape, proving that even our most ingrained breakfast rituals have global passports.
So, the next time you bite into a fresh bagel, remember its journey from a Polish baker’s oven to a New York street cart. It’s a humble food with a rich, cross-cultural history, a true symbol of how culinary heritage can travel and thrive, becoming a cherished part of a new land’s identity while still honoring its ancient roots. It’s more than just a roll with a hole; it’s a taste of history.

Homemade Pizza Bagels
Ingredients
Equipment
Method
- Preheat your oven to 375°F (190°C).
- Line a baking sheet with parchment paper for easy cleanup, if desired.
- Arrange the halved plain bagels, cut-side up, on the prepared baking sheet.
- Spread approximately 1 tablespoon of pizza sauce evenly over the cut surface of each bagel half.
- Generously sprinkle shredded mozzarella cheese over the sauce on each bagel half.
- Distribute the mini pepperoni evenly over the cheese on all bagel halves.
- Carefully transfer the baking sheet to the preheated oven.
- Bake for 8-10 minutes, or until the cheese is melted, bubbly, and slightly golden brown.
- Remove the pizza bagels from the oven and let them cool for a minute or two before serving.
- Garnish with dried basil, if desired, and serve warm.
Notes
Read more about: I Paid $500 for a Private Room on a 30-Hour Amtrak Ride With Two Beds and a Toilet – Here’s Why It Was Worth Every Penny (And Then Some!)
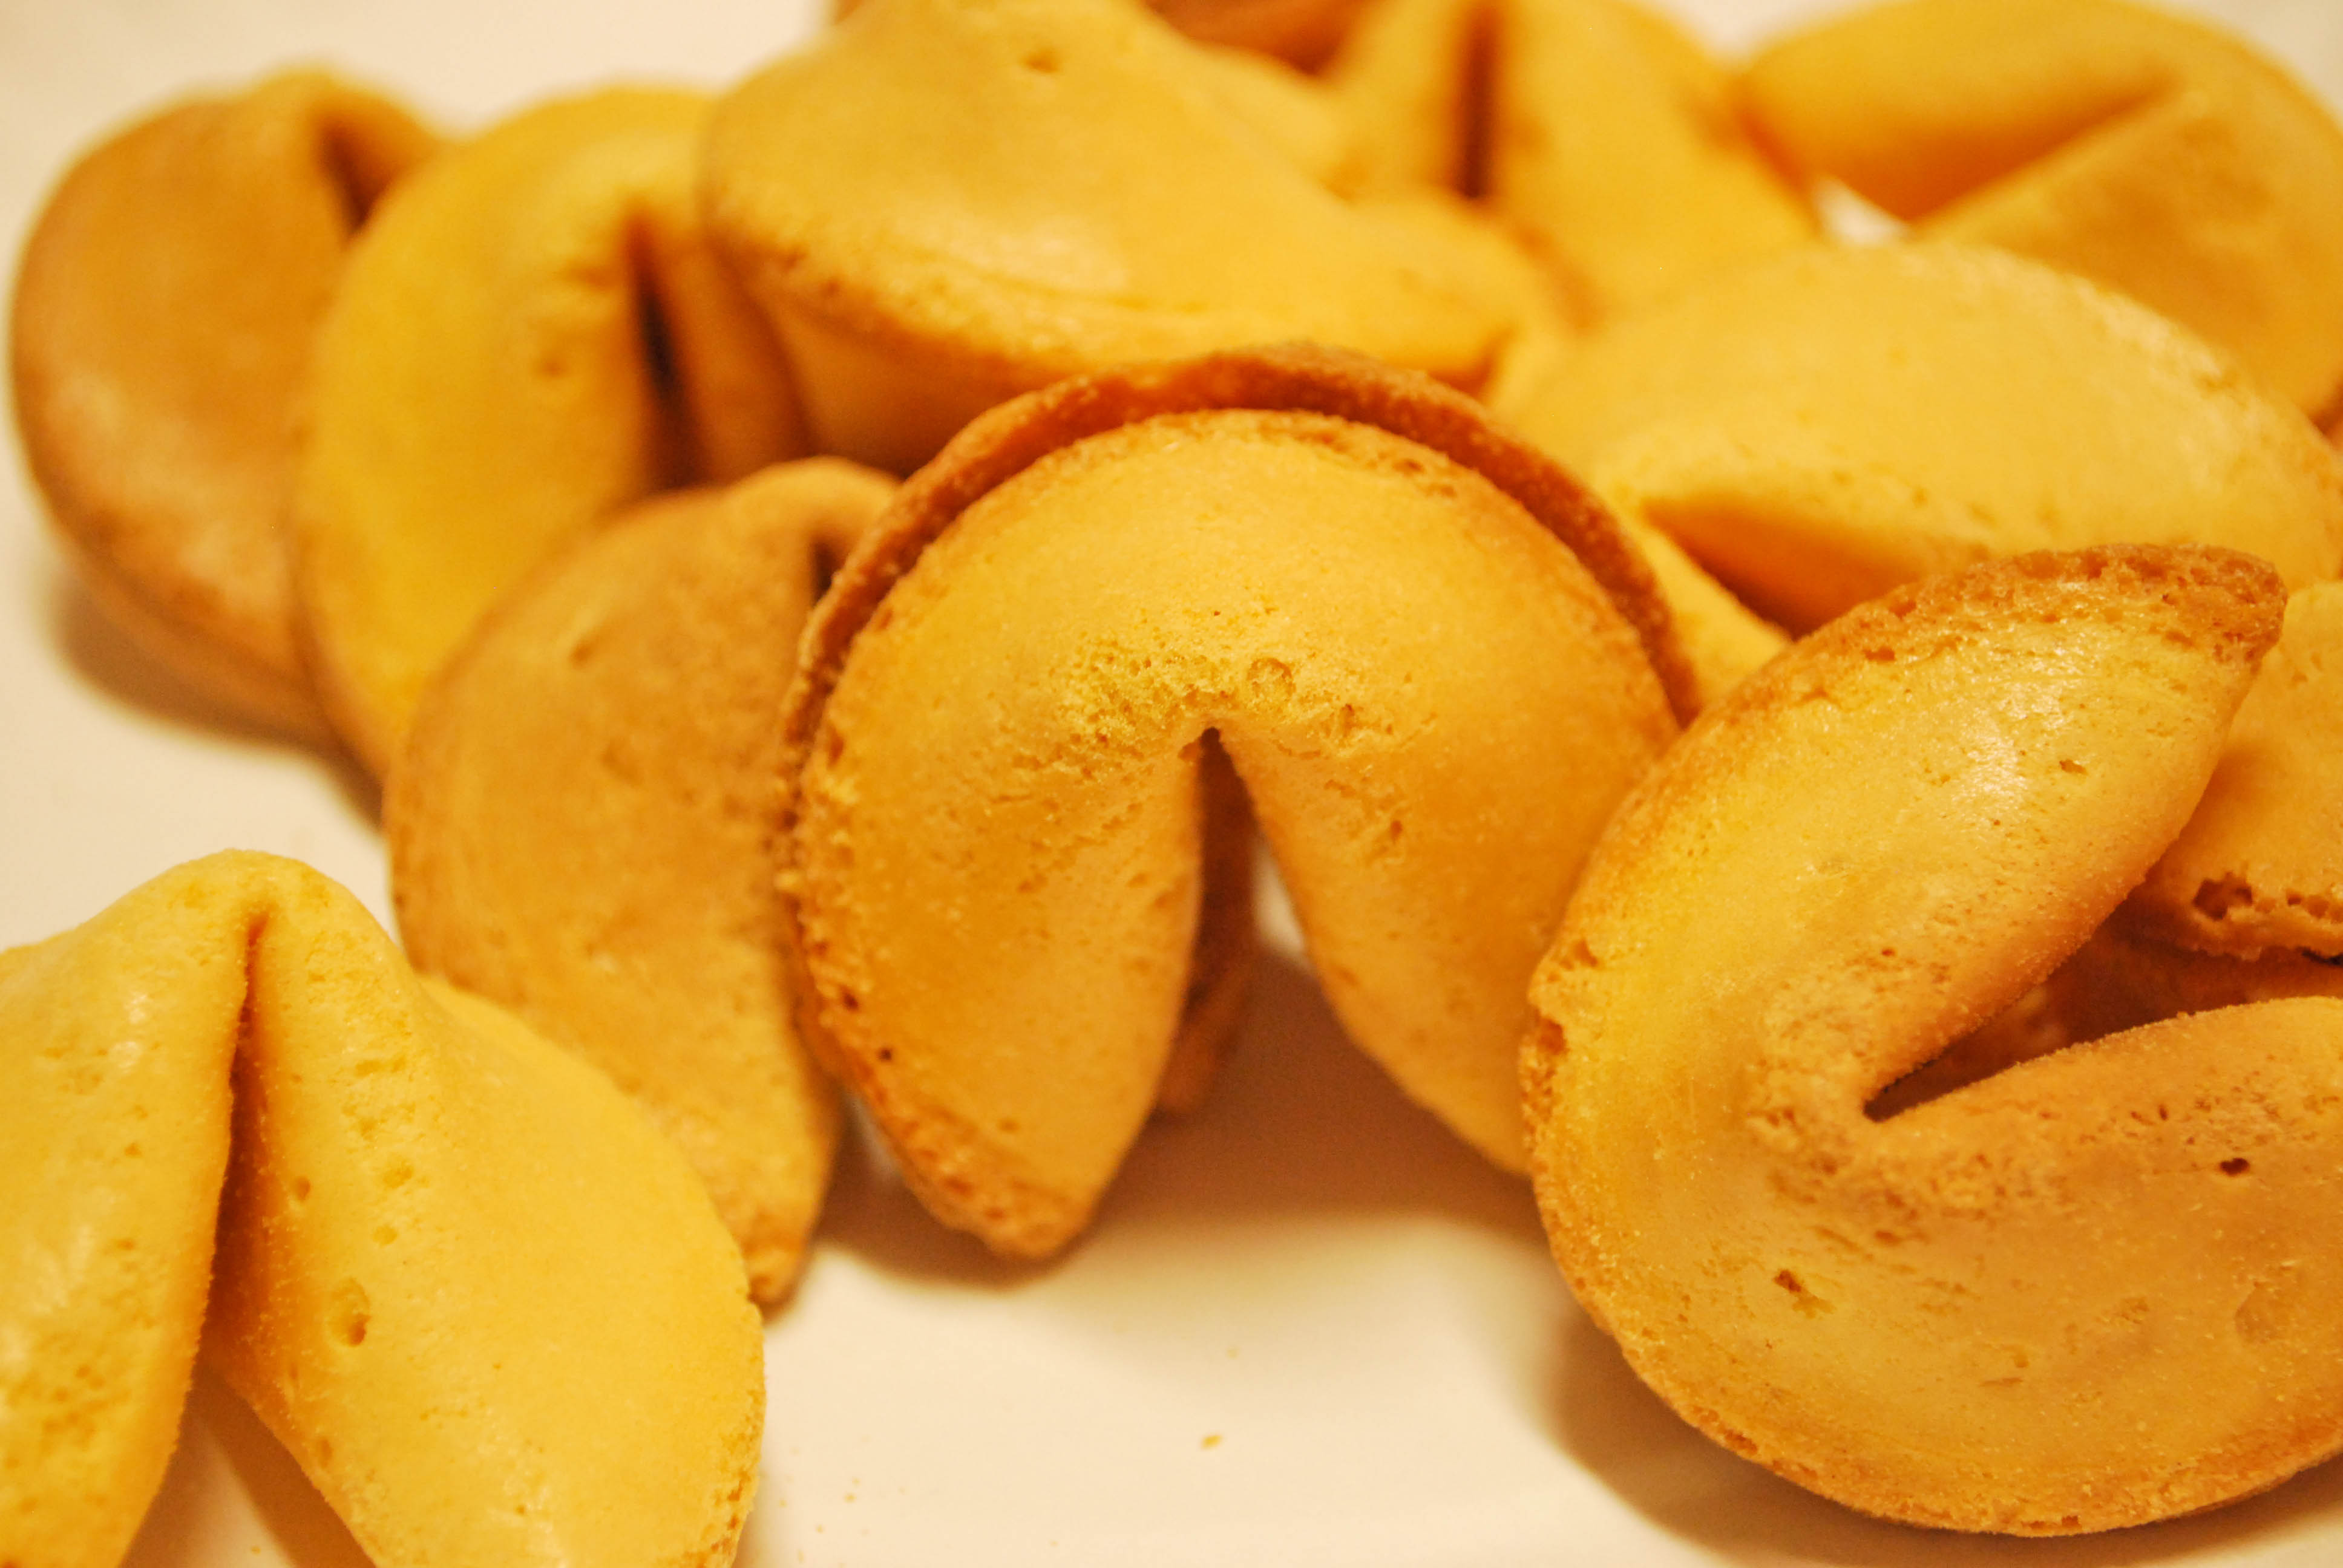
9. **Fortune Cookies**Here’s a mind-bender for you: those crisp, often subtly sweet cookies with a hidden message inside, universally associated with Chinese restaurants in America, aren’t actually from China at all! It’s one of the biggest culinary identity surprises out there. These whimsical treats, which have become a post-meal tradition for millions, were actually invented right here in the U.S., drawing inspiration from a completely different cultural tradition.
The true origin story points to Japanese immigrants in California in the early 20th century. They created these cookies, inspired by Japanese `senbei`, a type of savory rice cracker that sometimes contains fortunes. As Chinese restaurants gained popularity in America, especially after World War II, they began adopting and popularizing these fortune-filled biscuits as a charming, unique dessert gimmick.
So, while you might crack one open at your local Chinese eatery, remember that you’re actually enjoying an American invention with deep Japanese roots, cleverly integrated into a different cuisine. It’s a fantastic example of cultural fusion and adaptation, a sweet little piece of trivia that proves even our most familiar dining rituals can hold unexpected secrets. The element of surprise, both in the fortune and the origin, is truly timeless.
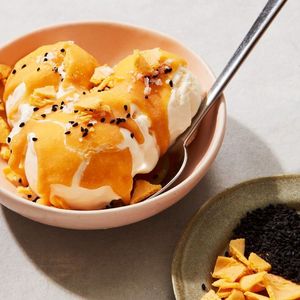
Fortune Cookie Magic Shell Sundae
Ingredients
Equipment
Method
- Remove all fortunes from 15 fortune cookies.
- Using a rolling pin and a zip-top bag or a food processor, crush the fortune cookies into fine crumbs. Set aside a small portion of crushed cookies for garnish.
- In a small bowl, combine the finely crushed fortune cookies, melted refined coconut oil, and kosher salt. Whisk vigorously until the mixture is uniform and smooth.
- Scoop vanilla ice cream into individual serving bowls.
- Immediately and generously drizzle the fortune cookie magic shell mixture over each serving of ice cream. The cold temperature will cause the shell to set within seconds.
- Garnish each sundae with the reserved crushed fortune cookies, a sprinkle of flaky sea salt, and a dash of black sesame seeds.
- Serve the sundaes immediately to enjoy the delightful crunch of the magic shell and the contrast of flavors.
Notes
Read more about: I Paid $500 for a Private Room on a 30-Hour Amtrak Ride With Two Beds and a Toilet – Here’s Why It Was Worth Every Penny (And Then Some!)

10. **Ice Cream**America might be the land of supersized sundaes, overflowing cones, and endless ice cream flavors, but the concept of frozen delights predates our nation by millennia. That refreshing scoop you enjoy on a hot day has ancient origins stretching back to Persia and China, where early versions of frozen desserts involved snow, ice, and sweetened flavorings. Imagine royalty indulging in snow flavored with fruit and honey – talk about a cool treat!
The Italians later took these ancient concepts and refined them, giving us `gelato`, a denser, richer, and often more intensely flavored frozen dessert. Their culinary artistry elevated the humble frozen treat to an art form, emphasizing fresh ingredients and a slower churn to create a silky-smooth texture. This European evolution was crucial in shaping what would eventually make its way to American shores.
By the 18th century, ice cream had finally crossed the Atlantic, quickly becoming a symbol of luxury and indulgence among the American elite, including figures like George Washington and Thomas Jefferson. From these aristocratic beginnings, it gradually spread to the masses, evolving into the ubiquitous and diverse dessert icon we know today. So, the next time you dig into a pint, you’re not just enjoying a treat; you’re savoring a global legacy of frosty deliciousness that spans continents and centuries.
Read more about: See William Shatner’s Incredible 12-Car Collection: From a Morris Minor to a Bugatti Veyron
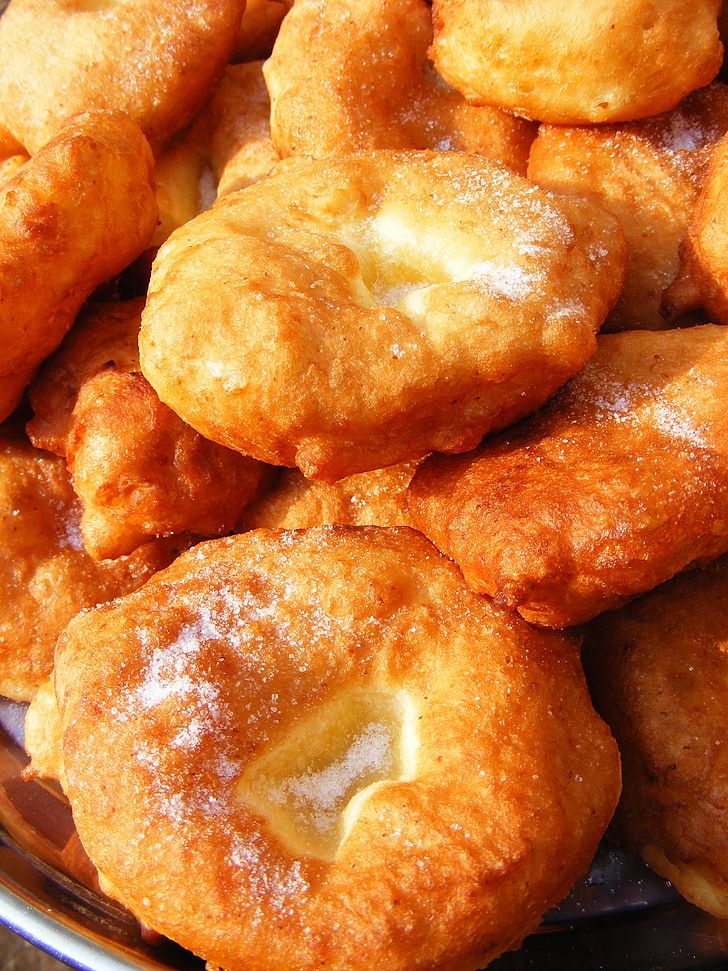
11. **Doughnuts**These beloved rounds of fried dough, whether glazed, sprinkled, or filled, are an undeniable American breakfast and snack icon. However, like so many other “American” classics, the doughnut’s true origins lie across the Atlantic, brought over by Dutch settlers. These early European immigrants introduced `olykoeks`, or “oily cakes,” to colonial America, which were essentially fried balls of sweetened dough.
These early Dutch versions, while delicious, often didn’t cook evenly in the center, leading to a doughy, unappealing middle. Legend has it that a clever New England sailor named Hanson Gregory, exasperated by these undercooked centers, punched a hole in his mother’s `olykoek` in 1847, leading to the creation of the ring-shaped doughnut we recognize today. This simple act of culinary innovation revolutionized the fried dough game, ensuring a perfectly cooked treat every time.
From those humble `olykoek` beginnings, the doughnut evolved into the countless varieties we enjoy today, becoming a true American culinary cornerstone. It’s a breakfast staple, an office indulgence, and a guilty pleasure all rolled into one, winning hearts for centuries. So next time you grab a dozen, remember to thank the Dutch for the delicious concept and an inventive sailor for the iconic hole!

Doughnut Soup
Ingredients
Equipment
Method
- Cut the two glazed yeast doughnuts into small pieces, approximately 1-inch cubes, for easier melting and blending.
- In a medium saucepan, melt 2 tablespoons of butter over medium-low heat until just shimmering.
- Add the cut glazed doughnut pieces to the melted butter and sauté gently for 2-3 minutes, allowing them to lightly toast and absorb some butter.
- Pour in 1 1/2 cups whole milk and 1/2 cup cream, stirring well to combine with the doughnuts.
- Increase heat to medium and bring the mixture to a gentle simmer, stirring occasionally, until the doughnuts have completely broken down and softened into the liquid, about 5-7 minutes.
- Remove the saucepan from the heat. Using an immersion blender, carefully blend the mixture directly in the pot until it is completely smooth and free of lumps. Alternatively, transfer to a standard blender and blend until smooth.
- Return the smooth doughnut soup to the saucepan and gently reheat over low heat, ensuring it is warm but not boiling, stirring constantly.
- Taste and adjust for sweetness if desired, though the glazed doughnuts should provide ample sugar.
- Ladle the warm doughnut soup into four serving bowls.
- Garnish each bowl with a mini cake doughnut or doughnut hole, and a light dusting of cinnamon, nutmeg, or espresso powder before serving immediately.
Notes
Read more about: Dunkin’s Digital Revolution: Unlocking Hyper-Personalized Perks for Your Daily Coffee & Donut Fix
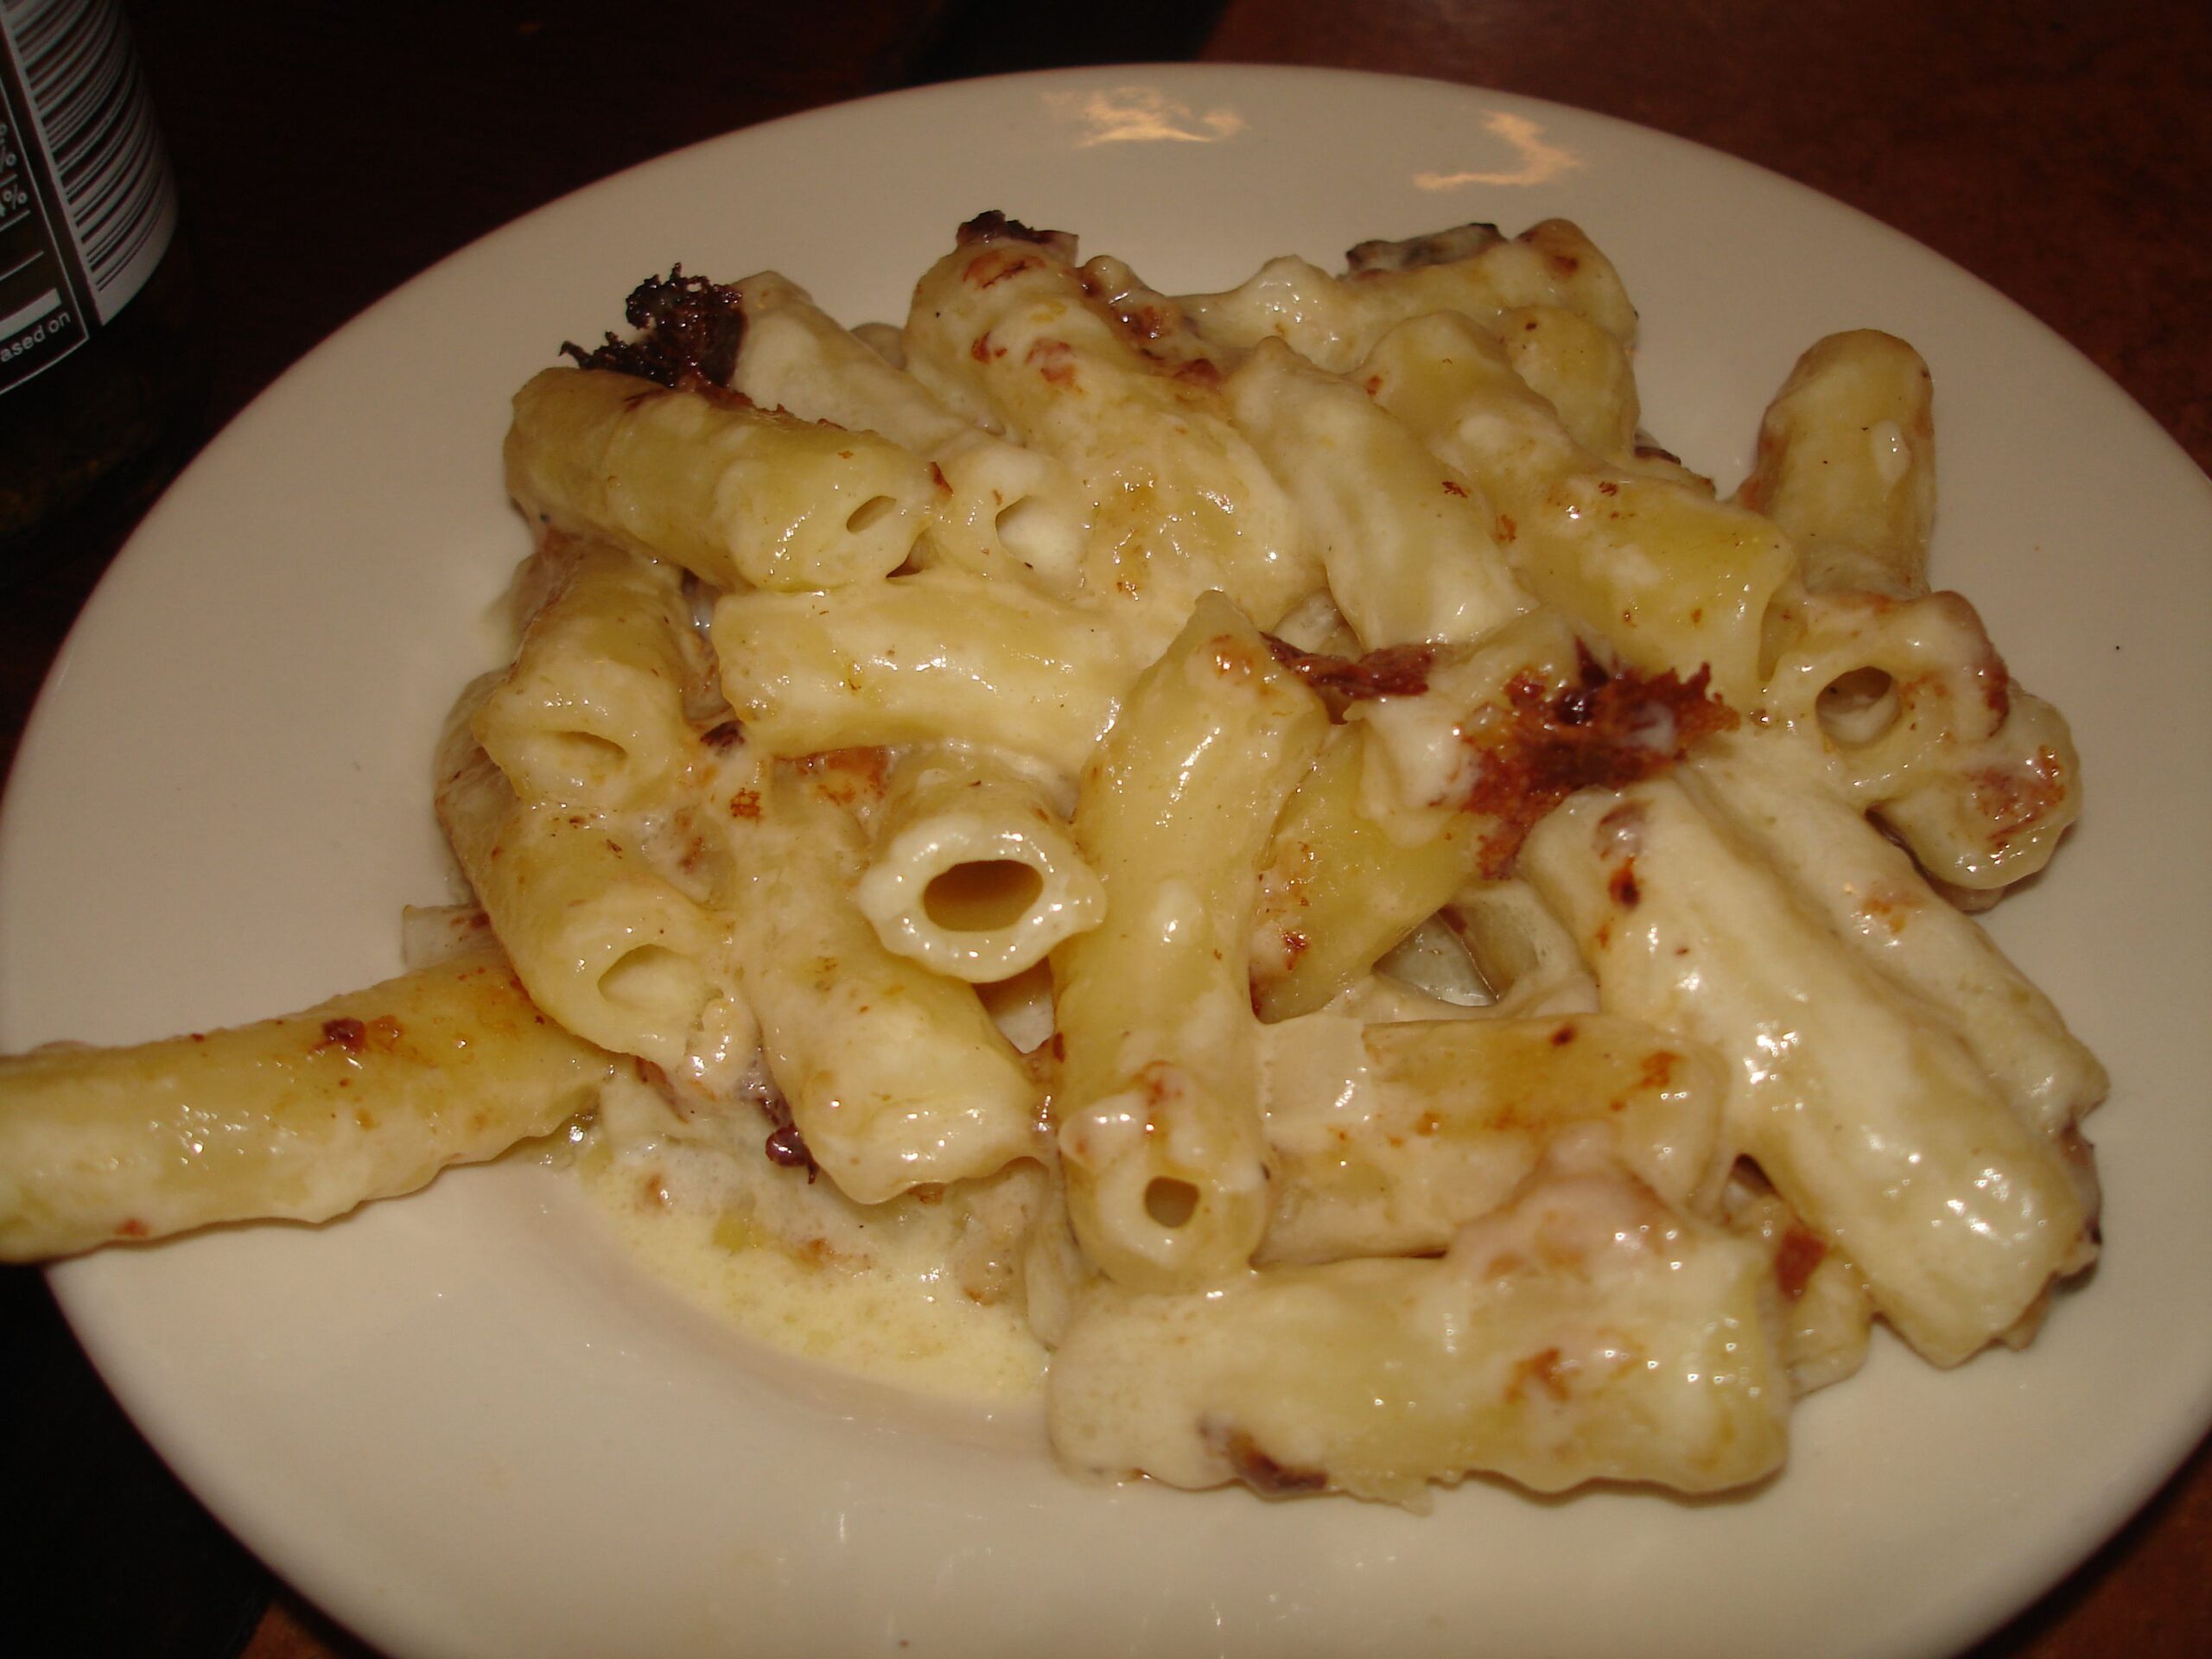
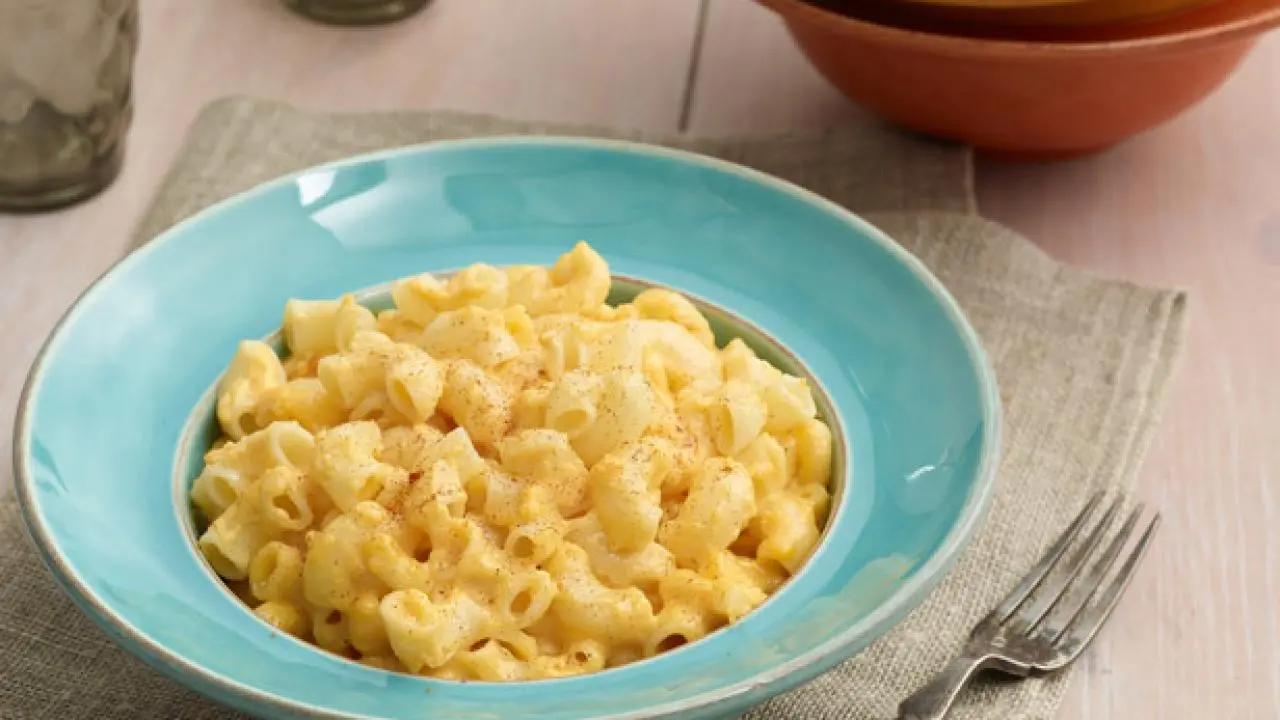
12. **Macaroni and Cheese**Few dishes evoke comfort quite like a bubbling, cheesy dish of macaroni and cheese. It feels like it sprang straight from the heartland of America, a quintessential homemade classic. Yet, this beloved comfort food boasts a sophisticated European pedigree, popularized in the U.S. not by a humble farmer, but by a founding father: Thomas Jefferson.
Jefferson, ever the curious gourmand, encountered various pasta and cheese dishes during his diplomatic travels in France and Italy in the late 18th century. He was so captivated by them that he famously brought back not only recipes for macaroni but also a pasta machine to his home in Monticello. His household then began experimenting, leading to the early American versions of the dish.
While Jefferson introduced it to American high society, it was through the ingenuity of enslaved cooks and later, its widespread adoption as an economical and hearty meal, that mac `n` cheese truly became a classic. From its aristocratic European roots and Jefferson’s table, it eventually transformed into the humble, often orange-hued, comfort food that graces countless dinner tables across the nation. It’s a delicious journey from European elegance to American staple.
Slow Cooker Macaroni and Cheese
Ingredients
Equipment
Method
- In a large 4-quart slow cooker sprayed with cooking spray, mix the macaroni, evaporated milk, milk, butter, salt, pepper, eggs and all but 1/2 cup of the grated cheese. Sprinkle the reserved cheese over the top of the mixture and then sprinkle with paprika. Cover and cook on low heat for 3 hours and 15 minutes. Turn off the slow cooker, stir the mixture and serve hot.
Notes
Read more about: Unlock Top Quality and Value: Exploring Essential Kirkland Signature Products from Costco
13. **Chili**The robust, spicy, and deeply satisfying stew we know as chili might scream “Texas” from the rooftops, conjuring images of cowboys and cook-offs under a wide-open sky. However, like many other dishes considered purely American, chili’s origins are a fascinating fusion of Mexican and Spanish influences, demonstrating a rich culinary cross-pollination. It’s a dish born not just of a single culture, but of a vibrant borderland.
The creation of chili, specifically `chili con carne`, is often credited to `Tejanos` (Texans of Mexican descent), who skillfully blended native Mexican spices like chili peppers with European cooking techniques introduced by Spanish settlers. This ingenious combination led to the development of the hearty, flavorful stew, designed to be both nourishing and easy to prepare on the frontier. It was a dish built for sustenance and spiced for flavor.
Over time, this Tejano creation moved beyond the border, evolving into the staple we now associate with game day parties, backyard barbecues, and fierce cook-off competitions across the Lone Star State and beyond. Whether you prefer it mild or blazing hot, with or without beans (a fiercely debated topic!), chili’s layered flavors and deep historical roots are undeniable. It’s a testament to how culinary traditions can blend and transform, creating entirely new, iconic dishes.
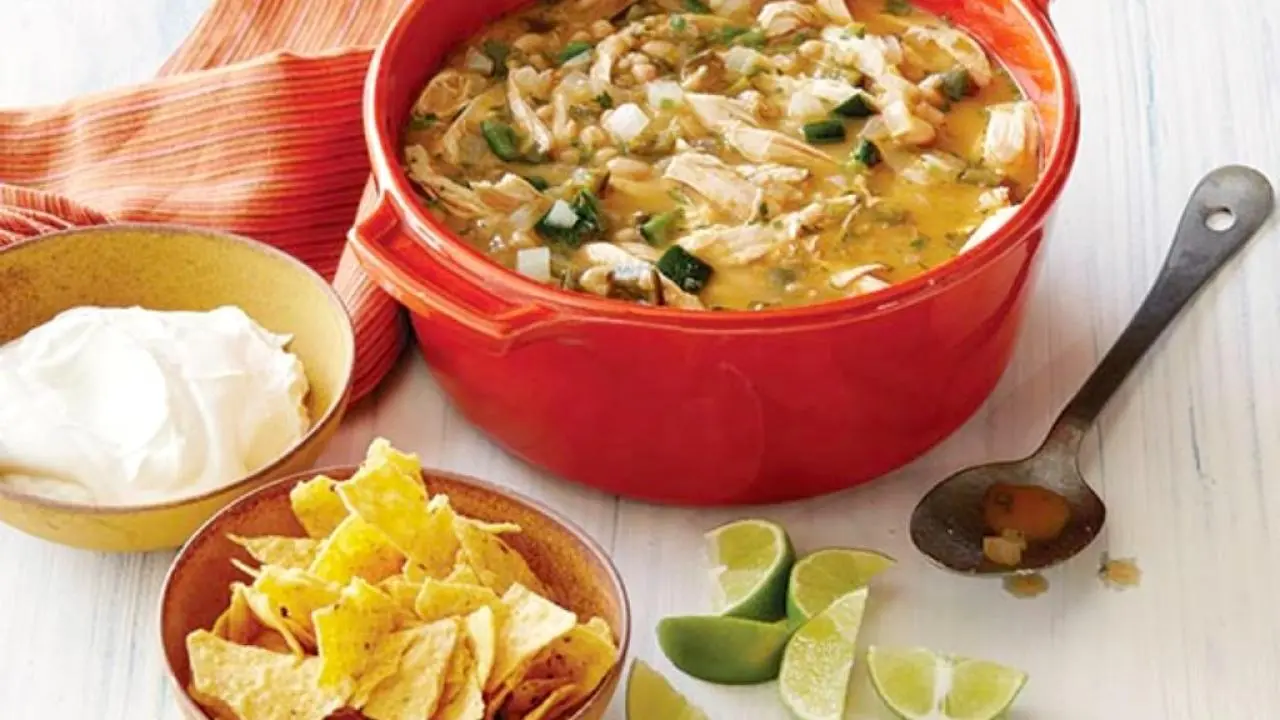
White Chicken Chili
Ingredients
Equipment
Method
- Drain and rinse the canned white beans. In a medium bowl, mash half of the beans with a potato masher until chunky. Reserve the beans until needed.
- Add the canola oil to a large Dutch oven and heat it over medium-high heat. Add the peppers, onions, and garlic and saute until soft and fragrant, about 5 minutes. Season the vegetables with salt, and pepper, to taste. Add the cumin, coriander, and chili powder and continue to saute for 1 more minute to toast the spices. Stir in the chicken stock, and lime juice and bring to a simmer. Add the beans and continue to simmer for 20 more minutes.
- After 20 minutes of simmering, taste for seasoning, and adjust if necessary. Stir in the shredded rotisserie chicken and cilantro and simmer until heated through, about 5 more minutes. Serve the chili in individual bowls topped with a dollop of sour cream, crushed tortilla chips, and lime wedges.
Notes
Read more about: The Sound of Silence: Remembering the Icons Who Left an Unfillable Void in Rock and Roll’s Tumultuous 80s
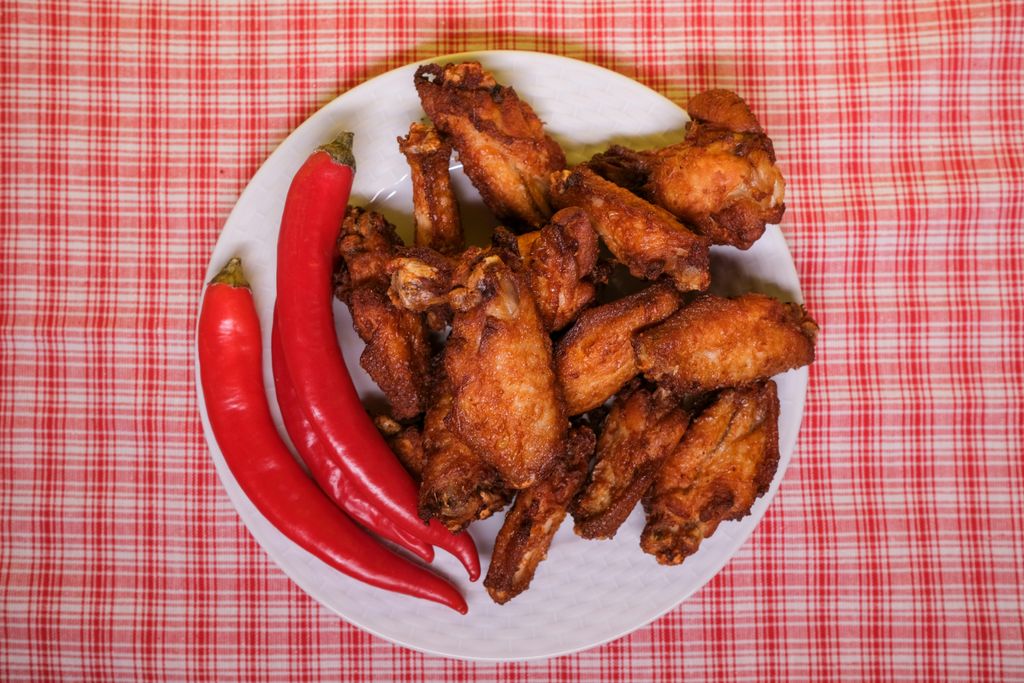
14. **Fried Chicken**Crispy, juicy, and seasoned to perfection, fried chicken is a cornerstone of American cuisine, especially deeply cherished in the American South as a symbol of comfort and hospitality. But this universally adored dish is actually the product of a fascinating cultural collaboration, demonstrating how diverse traditions can converge to create a culinary masterpiece. It’s a true melting pot marvel.
The method of deep-frying, which gives fried chicken its signature crunch, was a technique brought to America by Scottish immigrants. They traditionally fried chicken simply, without heavy seasoning. However, it was the indispensable culinary expertise of enslaved West Africans that truly transformed the dish. They introduced bold spices and rich seasoning techniques, elevating the plain fried chicken into the flavorful, aromatic delight we can’t get enough of today.
This powerful blend of Scottish frying methods and African seasoning traditions created the iconic fried chicken that became a cornerstone of Southern cuisine and, eventually, an American staple. Whether you’re grabbing a bucket at a drive-thru or savoring it at a family dinner, fried chicken is comfort food royalty with a rich, multifaceted heritage. It’s a dish that tells a story of cultural exchange and enduring culinary legacy.
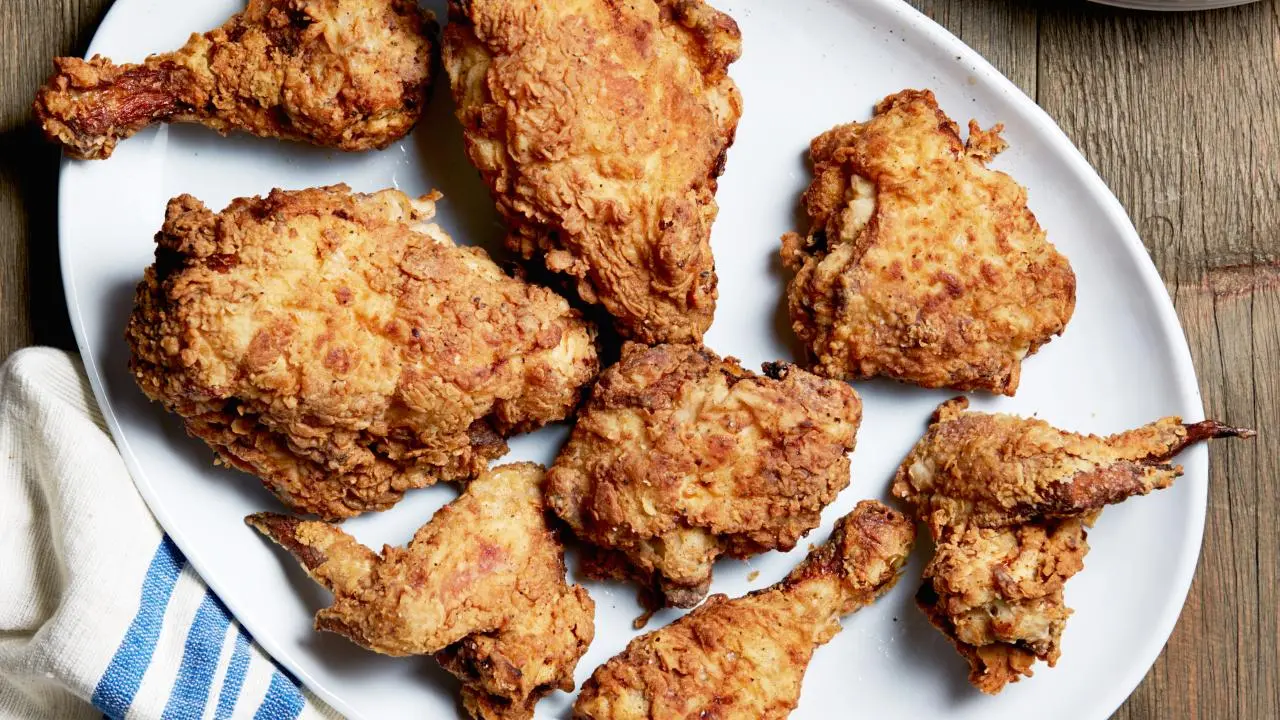
Oven-Fried Chicken
Ingredients
Equipment
Method
- Place the chicken pieces in a large bowl and pour the buttermilk over them. Cover with plastic wrap and refrigerate overnight.
- Preheat the oven to 350 degrees F.
- Combine the flour, salt, and pepper in a large bowl. Take the chicken out of the buttermilk and coat each piece thoroughly with the flour mixture. Pour the oil into a large heavy-bottomed stockpot to a depth of 1-inch and heat to 360 degrees F on a thermometer.
- Working in batches, carefully place several pieces of chicken in the oil and fry for about 3 minutes on each side until the coating is a light golden brown (it will continue to brown in the oven). Don’t crowd the pieces. Remove the chicken from the oil and place each piece on a metal baking rack set on a sheet pan. Allow the oil to return to 360 degrees F before frying the next batch. When all the chicken is fried, bake for 30 to 40 minutes, until the chicken is no longer pink inside. Serve hot.
Notes
Read more about: Doctors Reveal The Surprising Breakfast Foods Secretly Raising Your Stroke Risk — And What To Eat Instead For A Healthier Start

15. **Meatloaf**Hearty, homey, and often topped with a tangy ketchup glaze, meatloaf is the quintessential American family dinner, a symbol of comfort and resourcefulness. It feels like it belongs purely to grandmother’s kitchen, a mid-century classic. However, the concept of mixing ground meat with fillers to create a satisfying loaf-like dish has much older and broader international origins, dating back to ancient Rome and spreading through European traditions.
The ancient Romans were among the first to craft a meatloaf-like dish, blending minced meat with bread, spices, and wine to create a substantial and economical meal. Centuries later, this frugal and practical culinary practice traveled with German immigrants to America. These immigrants brought their traditional recipes and techniques for preparing ground meat dishes, which slowly began to adapt to the American pantry.
By the Great Depression, meatloaf had firmly cemented its place as a household staple in America. Its versatility allowed families to stretch ingredients and create a satisfying, nutritious meal from readily available resources. So, while it warms dinner tables across the U.S. today, its journey began far across the oceans, a delicious echo of ancient resourcefulness and European culinary heritage, perfectly adapted for the American home.
And there you have it! A captivating culinary expedition that has spanned continents and centuries, revealing the surprising global roots of 15 foods you undoubtedly thought were as American as, well, apple pie (which, as we now know, isn’t!). From ancient athletic fuel to immigrant innovations and ingenious adaptations, each dish tells a unique and mouth-watering story of cultural exchange.
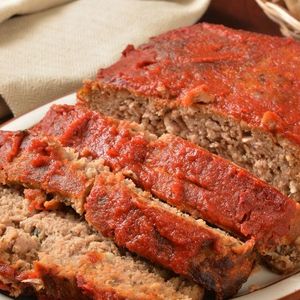
Meatloaf
Ingredients
Equipment
Method
- Preheat your oven to 350°F (175°C).
- Finely chop the onion, garlic, and fresh parsley as specified in the ingredients list.
- In a large mixing bowl, combine the meatloaf mix, cooked oatmeal, chopped onion, parsley, soy sauce, eggs, garlic, thyme, and black pepper.
- Mix gently with your hands until all ingredients are just incorporated, taking care not to overmix the meat mixture.
- Form the mixture into an oblong loaf shape and place it into a standard loaf pan or onto a foil-lined baking sheet.
- Evenly spread the chili sauce over the top surface of the meatloaf.
- Bake for 60-70 minutes, or until the internal temperature of the meatloaf reaches 160°F (71°C) when checked with a meat thermometer.
- Remove the meatloaf from the oven and let it rest for 10-15 minutes before slicing to allow the juices to redistribute.
- Slice the meatloaf into desired portions and serve warm.
Notes
Read more about: Step Back in Time! 14 Jaw-Dropping Pictures That Prove the 1950s Were Totally Wild and Way Cooler Than You Think
America’s food scene truly is a magnificent tapestry, woven with threads from every corner of the globe. These dishes, while lovingly embraced and transformed on American soil, are enduring testaments to the power of human connection, migration, and the universal language of delicious food. So, the next time you savor one of these “all-American” classics, take a moment to appreciate the incredible journey it took to reach your plate – a journey that makes every bite a taste of world history. It’s a delicious reminder that our culinary heritage is as diverse and dynamic as the country itself!


