
In the relentless grip of winter, as snow and ice descend upon our roads, cities deploy a powerful weapon: road salt. While undeniably effective at making our commutes safer by melting treacherous ice, this everyday hero harbors a dark side for our beloved vehicles. Beneath the sleek exterior of your car lies its vulnerable undercarriage, a complex network of metal, rubber, and plastic components that face the brunt of this corrosive onslaught.
Over time, this very salt can initiate a silent, destructive process, eating away at metal parts, accelerating rust, and even damaging crucial rubber and plastic elements. The consequences can range from unsightly corrosion to compromised braking systems, exhaust failures, and expensive, unexpected repairs. As seasoned mechanics and car enthusiasts, we understand the frustration and financial strain that salt damage can inflict, and we’re here to tell you that much of this heartache is entirely preventable.
This comprehensive guide, delivered in the expert-driven style you’ve come to expect from Popular Mechanics, will empower you with 14 simple, yet profoundly effective, strategies to fortify your car’s undercarriage against the ravages of winter road salt. By following these practical, actionable steps, you can significantly extend the life of your vehicle, preserve its structural integrity, and maintain its pristine condition for many winters to come. Let’s dive in and transform your winter car care routine from reactive fixes to proactive protection.

1. **Prepare Your Workspace and Vehicle**
Embarking on undercarriage protection is a significant task that demands careful planning and a safe environment. Before you even think about lifting your vehicle, it’s paramount to ensure you have a suitable workspace. Parking your car on level ground is non-negotiable; this provides stability and a safe foundation for all subsequent work, especially when lifting the vehicle. Attempting this on an incline or uneven surface can introduce serious safety risks and complications.
Given that this project can consume up to five hours, allocating sufficient time is crucial. Plan to start early in the morning to leverage optimal lighting conditions, which can be immensely helpful when working in hard-to-reach areas beneath the vehicle. If a daytime start isn’t feasible, ensure your garage is well-lit or that you have a reliable backup power source for adequate illumination. Regardless of the time, always engage your parking brake as a fundamental safety measure before you begin any work.
Gathering all your required materials beforehand will streamline the process and prevent interruptions. You’ll need essential items such as a wire brush or sandpaper for surface preparation, a professional-grade undercoating spray, and crucial protective gear including a face mask, goggles, and gloves. Additionally, a sturdy car jack and dependable jack stands are indispensable for safely elevating and securing your vehicle, while a lug wrench will be necessary for wheel removal. Having these tools ready ensures a smooth and efficient workflow from start to finish.
Read more about: Master Your Commute: 12 Life-Changing Strategies to Slash Stress and Boost Your Well-being Every Day
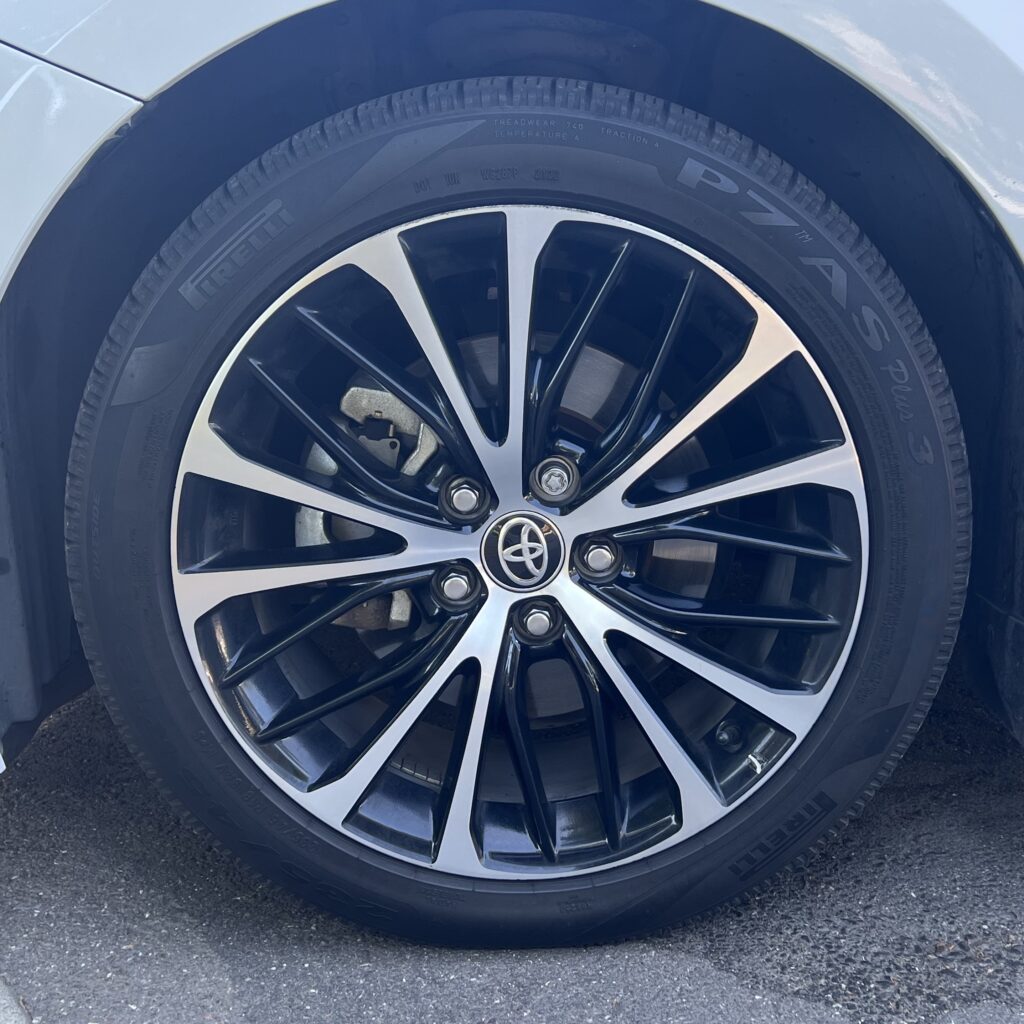
2. **Remove Wheels for Thorough Access**
While removing your car’s wheels might initially appear to be an additional, time-consuming step, it is, in fact, a critical component of a truly comprehensive undercarriage protection strategy. This seemingly minor detour grants you unparalleled access to crucial areas that would otherwise remain difficult, if not impossible, to reach effectively. Skipping this step means leaving significant portions of your undercarriage vulnerable, undermining your overall protective efforts.
The fender area, in particular, is notorious for rust damage, primarily due to the accumulation of snow, ice, and salt thrown up by the tires during driving. This constant barrage of corrosive elements makes it a prime target for premature deterioration. By removing the wheels, you gain clear, unobstructed access to thoroughly clean, sand, and coat these vital areas, ensuring that no hidden pockets of vulnerability are overlooked. This targeted attention is key to preventing rust from taking hold in common problem spots.
To safely remove the wheels, begin by using your lug wrench to loosen all the lug nuts once the vehicle has been securely lifted onto jack stands. Remember to store these nuts safely to avoid misplacement. With the lug nuts removed, gently but firmly tug on each wheel. Exercise caution and avoid excessive force, as the car is resting on jack stands and any abrupt movements could potentially compromise its stability. Patience and careful execution here will ensure both your safety and the integrity of your vehicle’s support.
Read more about: Unleash Your Inner Mechanic: 15 Essential DIY Car Hacks to Save a Fortune on Maintenance

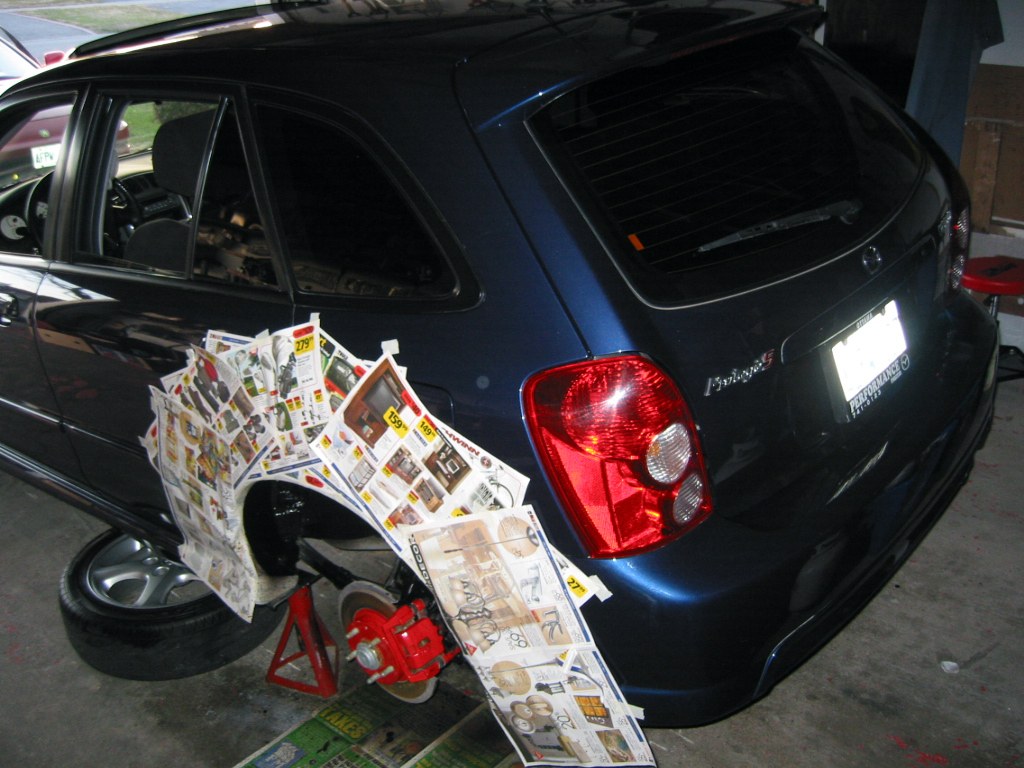
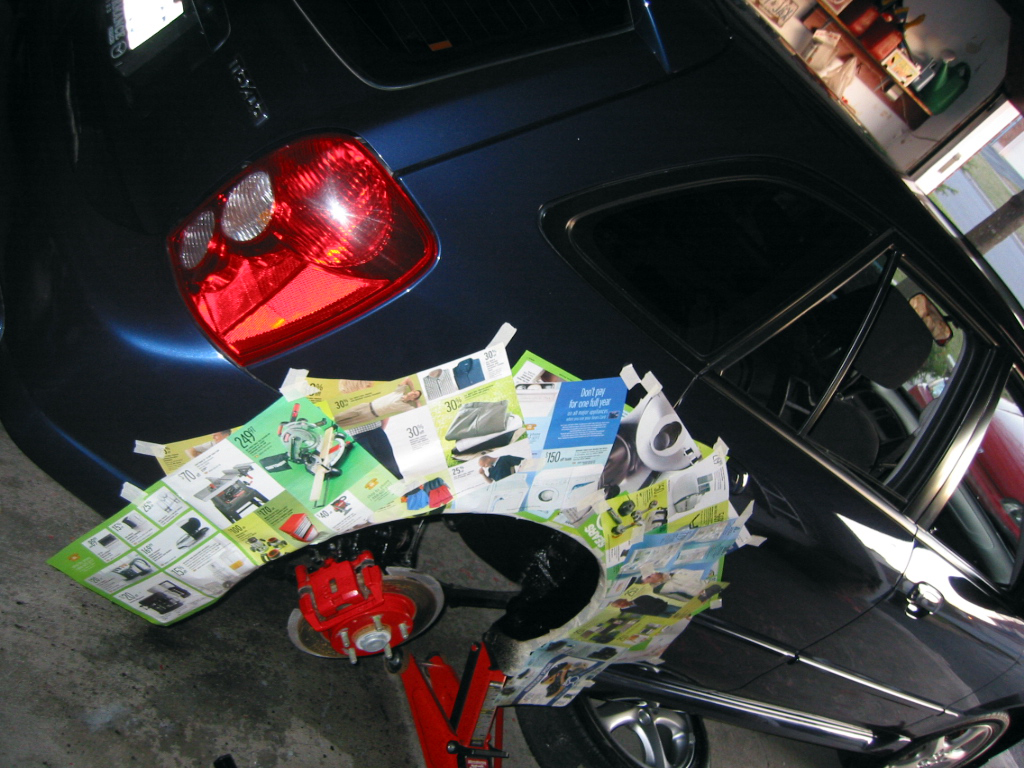
3. **Perform Comprehensive Undercarriage Washing**
Once your vehicle is safely elevated and the wheels are removed, the next critical step is to perform a meticulous wash of the entire undercarriage. This isn’t just about rinsing; it’s about thoroughly eliminating all traces of salt, dirt, grime, and any existing debris that could compromise the adhesion of your protective coatings or accelerate corrosion. A clean surface is the foundation of effective, long-lasting protection.
The ideal tool for this task is a pressure washer. Its focused spray can reach deep into crevices and dislodge stubborn contaminants that a regular hose might miss. However, it’s imperative to adjust the pressure setting to a lower level before you begin. High pressure can inadvertently damage sensitive components such as electrical wiring, rubber hoses, or delicate sensors. Direct the nozzle upward, moving it steadily back and forth across the underside, starting from the front and systematically working your way to the rear. Pay particular attention to areas that visibly appear dirtier or exhibit signs of early corrosion, as these are likely zones of high salt accumulation.
If a pressure washer isn’t available, a standard garden hose can still be effective, especially when paired with an additional brush for persistent grime. Before scrubbing, soak your brush in some soapy water to help break down dirt. However, a crucial follow-up is a thorough rinse. Any soap residue left behind can interfere with the proper bonding of your undercoating, potentially creating a weaker, less durable protective layer. Regular washing, particularly after driving on salted roads or at least once a month during winter, is a non-negotiable aspect of preventative care, effectively removing the corrosive elements before they can do lasting damage.
Read more about: Unleash Your Inner Mechanic: 15 Essential DIY Car Hacks to Save a Fortune on Maintenance
4. **Carefully Sand Down Metal Parts**
With the undercarriage now thoroughly cleaned and dried, the next vital step in preparing your vehicle for lasting protection is to carefully sand down all exposed metal parts. This preparation stage is far more than just a cosmetic touch; it’s an essential process that directly impacts the effectiveness and longevity of your undercoating. By meticulously sanding, you actively eliminate any existing rust and tenacious grime that washing alone couldn’t remove, creating a perfectly primed surface for optimal adhesion.
Rust, even in its earliest stages, acts as a barrier, preventing protective coatings from properly bonding with the metal. Likewise, residual grime can create an uneven surface and weak points in your newly applied layer. Sanding resolves these issues, ensuring that the undercoat can form a strong, seamless, and durable bond directly with the clean metal surface. This enhanced adhesion is critical for providing superior, long-term protection against the relentless assault of salt and moisture.
The task of sanding the undercarriage is quite manageable and doesn’t require specialized skills. Begin by gathering your supplies: a selection of sandpaper in various grits, a wire brush for tighter spots, and essential personal protective equipment such as a dust mask and eye protection. You can use a power sander for larger areas if you own one, but hand sanding with sandpaper or a wire brush is equally effective. Start with a coarse-grit sandpaper to tackle any stubborn rust or pitting, then gradually work your way up to a finer grit to smooth the surface. This progressive approach ensures thorough rust removal without causing undue damage to the underlying metal. Once completed, meticulously clear away all dust residue to prepare for the final protective application.
Read more about: Unleash Your Inner Mechanic: 15 Essential DIY Car Hacks to Save a Fortune on Maintenance
5. **Apply Professional-Grade Undercoating Spray**
The moment has arrived for the culmination of your diligent preparation: applying the professional-grade undercoating spray. At this stage, your undercarriage should be impeccably clean, completely dry, and meticulously sanded, creating the ideal canvas for optimal adhesion and maximum protection. This protective layer is your vehicle’s primary defense, designed to shield metal and plastic components from direct contact with corrosive elements like salt and moisture.
Before commencing, ensure you shake the undercoating can vigorously for at least a minute to thoroughly mix the contents. While you can technically start anywhere, many experienced DIYers prefer to begin by coating the areas behind each wheel well first, then gradually moving to the central underside of the vehicle. This method ensures that the highly vulnerable wheel wells—areas constantly bombarded by salt and slush—receive immediate and thorough attention. As you spray, focus on achieving even coverage, ensuring all metal parts are coated. Don’t be overly concerned if some spray inadvertently lands on plastic components, such as shocks or studs; professional-grade undercoatings are typically non-abrasive and will not cause damage to these materials.
A common pitfall for first-time applicators is underestimating the quantity of undercoating spray required. It’s always prudent to err on the side of caution and purchase more than you anticipate needing. A pack of six cans is a practical starting point for most vehicles, ensuring you have ample supply to cover all critical areas comprehensively. Furthermore, keeping extra undercoating spray on hand is a smart strategy for future touch-ups or subsequent protection projects, guaranteeing that you’re always prepared to maintain your vehicle’s vital defense against corrosion.
Read more about: The Comprehensive Guide: Protecting Your Car’s Undercarriage from Winter Salt Damage
6. **Maintain Undercoating Integrity**
Applying a professional-grade undercoating is a significant step in protecting your vehicle, but it’s equally important to understand that this isn’t a one-and-done solution. The reality of daily driving means your undercarriage is constantly exposed to road debris, gravel, and unforeseen impacts, all of which can gradually chip, abrade, or even crack the protective layer you’ve so carefully applied. Without diligent maintenance, these compromised areas leave the underlying metal vulnerable to the very salt damage you sought to prevent.
Regular inspection of your undercarriage is therefore paramount. Make it a routine practice to periodically get under your vehicle and visually assess the condition of the undercoating. Look for any signs of wear, peeling, cracks, or areas where the coating appears to have been rubbed off. These are critical indicators that your protective barrier has been breached. Early detection of such damage allows for prompt action, preventing corrosive agents from reaching the metal and initiating the rust process.
Should you discover any compromised areas, immediate reapplication or repair of the undercoating is essential. Experts like Pedal Commander emphasize that neglecting to reseal damaged coatings, especially after events like minor collisions or impacts, effectively nullifies your protection against salt buildup. A continuous, intact layer is your vehicle’s shield; any breach, no matter how small, becomes an open invitation for salt and moisture to infiltrate and cause costly, preventable damage. Proactive maintenance ensures your investment in undercarriage protection continues to pay dividends.
Read more about: Investor Alert: Unmasking the 15 High-Mileage Maintenance Traps That Can Sink Your Savings
7. **Seal Body Panels with Wax or Ceramic Coating**
While much of our focus is rightly on the immediate underside of the vehicle, the battle against salt corrosion extends beyond the chassis frame. The lower body panels, rocker panels, and even door bottoms are constantly exposed to salt spray and slush kicked up by your tires, making them highly susceptible to accelerated wear and rust development. Applying a robust sealant to these areas is a crucial complementary step to your undercarriage protection efforts, creating a comprehensive barrier against the elements.
Before the first snowfall, integrating a high-quality wax or, even better, a modern ceramic coating into your pre-winter routine can make a significant difference. These products create a hydrophobic layer on your paint and underlying metal, effectively preventing water and salt from adhering and staying in prolonged contact with the surface. This protective barrier dramatically reduces the chance of rust forming and helps to safeguard your vehicle’s paint integrity, keeping it looking pristine even after enduring harsh winter conditions.
For optimal protection, the application process for wax or sealant should be thorough. Focus particularly on the lower panels and any areas that are prone to salt accumulation. While a quality wax offers excellent protection, ceramic coatings like Gtechniq Crystal Serum Ultra or Ceramic Pro provide multi-year durability and superior resistance, making them a worthwhile investment for long-term defense. Remember that these protective layers are not permanent; reapplication, especially of wax, should be performed periodically throughout the winter months to ensure continuous, effective shielding against salt and moisture. This proactive approach helps maintain the aesthetic appeal and structural integrity of your entire vehicle.
Read more about: Unlock Top Dollar: The Ultimate Popular Mechanics Guide to Boosting Your Car’s Resale Value Through Smart Detailing

8. **Importance of Regular Vehicle Inspections During Winter Months**
While a professionally applied undercoating provides a robust initial defense, it’s crucial to understand that no single application offers permanent immunity against the relentless assault of winter’s elements. Your car’s undercarriage endures constant exposure to road debris, gravel, and, most critically, corrosive salt. Without vigilant, ongoing monitoring, small chips or abrasions in your protective layers can quickly escalate, creating pathways for salt to reach and damage the underlying metal components.
Implementing a routine inspection schedule, particularly during the harsh winter months, is therefore non-negotiable for true long-term protection. Make it a habit to periodically elevate your vehicle and conduct a thorough visual assessment of its underside. This proactive approach allows you to identify any areas where the undercoating or sealant might be compromised, or where early signs of salt accumulation and corrosion are beginning to manifest.
During these checks, pay specific attention to “Routine Checks: Inspect the undercarriage after driving on salted roads. Look for any signs of rust or corrosion. Clean any salt buildup from the undercarriage promptly.” These are the critical indicators that your protective barrier may have been breached or that corrosive agents are at work. Early detection is your most powerful tool, enabling swift action before minor issues develop into significant, costly damage.
Remember, the goal is to maintain a continuous, intact layer of protection across all vulnerable surfaces. By consistently monitoring your undercarriage, you’re not just looking for problems; you’re actively reinforcing your vehicle’s shield against salt. This diligence ensures that the investment you’ve made in undercarriage protection continues to pay dividends, preserving both your car’s structural integrity and its value for many winters to come.
Read more about: Conquering Cold Starts: A Popular Mechanics Guide to Diagnosing and Fixing Winter Car Troubles
9. **Treat Vulnerable Rubber and Plastic Components**
The destructive reach of road salt extends far beyond just metal, posing a significant threat to your vehicle’s often-overlooked rubber and plastic components found in the undercarriage. Parts like bushings, boots, hoses, and wiring insulation are critical for your car’s functionality, yet they are susceptible to premature aging and deterioration when exposed to the corrosive cocktail of modern road treatments. Salt can accelerate the drying and hardening of rubber, leading to cracking and brittleness, while also degrading the integrity of various plastic elements.
This deterioration isn’t merely cosmetic; it can compromise the performance and safety of essential systems. Cracked suspension bushings can lead to poor handling, while degraded wiring insulation can cause electrical malfunctions. Therefore, applying a specialized UV protectant to these vulnerable rubber and plastic parts during your pre-winter preparation is a vital, yet often overlooked, step in comprehensive undercarriage care.
These protectants create a barrier that shields the materials from environmental stressors, including the drying and corrosive effects of salt exposure. They help maintain the pliability of rubber and prevent plastics from becoming brittle and prone to cracking. Regular application, particularly before the onset of winter, forms an integral part of ensuring that every aspect of your undercarriage, not just the metal, is fortified against the season’s challenges.
By proactively safeguarding these often-neglected components, you are contributing to the overall longevity and reliability of your vehicle. It’s a small effort with significant returns, preventing the silent breakdown of critical parts and averting the need for potentially complex and expensive repairs down the line.
Read more about: Jalopnik Investigates: 12 Luxury Car Components That Buckle Under Winter’s Brutal Assault (And How to Keep Them Intact)

10. **Consider Installing Mudflaps**
In the ongoing battle against road salt and winter’s corrosive elements, sometimes the simplest additions can make the most profound difference. While direct undercoating and meticulous washing are paramount, a highly effective proactive measure lies in installing mudflaps, or splash guards, on your vehicle. These seemingly minor accessories play a crucial role in significantly reducing the volume of salt spray, slush, and debris that gets directly thrown onto your car’s vulnerable undercarriage and lower body panels.
As your tires rotate, they relentlessly kick up a torrent of abrasive and corrosive material, particularly when driving on salted roads. This constant barrage is a primary culprit for rust damage in areas like the “fender area, in particular, is notorious for rust damage, primarily due to the accumulation of snow, ice, and salt thrown up by the tires during driving.” Mudflaps act as a physical barrier, deflecting much of this harmful spray downwards and away from your vehicle’s sensitive components.
The protection offered by mudflaps is particularly impactful for the wheel wells, rocker panels, and even the lower doors – areas that are otherwise directly exposed to the brunt of tire-thrown contaminants. By minimizing this direct contact, mudflaps effectively reduce the frequency and intensity of salt exposure, giving your undercoating and paint protection a much-needed assisting hand. “Consider installing mudflaps to minimize salt spray,” the experts recommend, highlighting their efficacy.
Installing mudflaps is a straightforward upgrade, often manageable for the average DIYer, or a quick task for a professional. It represents a cost-effective, continuous line of defense that works every time your wheels turn, offering an essential layer of prevention against the relentless onslaught of winter road salt. This simple addition can drastically cut down on the amount of corrosive material adhering to your vehicle, thereby extending the life of your protective coatings and preserving your car’s pristine condition.
Read more about: Unlock Your Rig’s Potential: The Essential First Affordable Off-Road Upgrades for SUV and Truck Beginners

11. **Utilize Professional Protection Services**
While many undercarriage protection tasks are well within the capabilities of a dedicated DIY enthusiast, there comes a point where enlisting the expertise of professionals can offer unparalleled advantages and peace of mind. For those seeking the most thorough and long-lasting defense against salt corrosion, or when facing complex issues, professional protection services provide a level of application and inspection that is often difficult to replicate at home. Their specialized tools, knowledge, and industrial-grade products can ensure a superior outcome.
Professionals offer a range of targeted services designed to bolster your vehicle’s defenses. These can include “Annual undercoating inspection and touch-up,” ensuring that any wear or damage to your existing protective layers is promptly addressed and meticulously repaired. They can also provide “Paint protection film application for high-impact areas,” offering a robust, invisible shield for vulnerable body panels that face constant bombardment from road debris and salt spray.
Furthermore, when dealing with existing rust or when seeking comprehensive coverage for intricate undercarriage geometries, professional technicians excel. As the context notes, “seeking professional help can ensure a more thorough protection and inspection. Professional technicians are experienced in undercarriage maintenance and can provide expert advice and services.” Their ability to reach every nook and cranny, coupled with their use of advanced, industrial-grade coatings, often results in a more durable and effective barrier.
Considering the potential “Cost-Benefit Analysis” of undercarriage protection, professional services, though an initial investment, can be significantly “less expensive than replacing corroded components.” From initial thorough rust removal to applying specialized, long-lasting protective films and coatings, these services are a strategic investment in your vehicle’s longevity and resale value, ensuring that your car receives the highest caliber of care against winter’s harsh realities.
Read more about: Conquering Cold Starts: A Popular Mechanics Guide to Diagnosing and Fixing Winter Car Troubles
12. **Apply Corrosion Inhibitors Periodically**
Beyond the initial application of undercoating, maintaining an active chemical defense against rust is a cornerstone of comprehensive salt protection. This is where corrosion inhibitors come into play. Unlike a physical barrier like rubberized undercoating that simply repels salt, corrosion inhibitors are “chemicals designed to slow down or prevent rust formation. These inhibitors form a protective barrier on the metal surface, reducing contact with salt and moisture” at a molecular level. They are particularly effective for parts that are difficult to coat thickly or those that experience constant flexing and movement, making them prone to wear.
The key to their effectiveness lies in periodic reapplication, especially throughout the winter season. These inhibitors, often available as sprays, penetrate deep into seams and crevices, actively displacing moisture and forming a protective film. This is a crucial distinction from a one-time undercoating application, as inhibitors provide an ongoing, dynamic shield against the corrosive process. “Regularly applying a corrosion inhibitor spray or coating can greatly extend your vehicle’s lifespan during winter months.”
For optimal results, consider using “Rust-Proofing Oil: Penetrating oils like WD-40 or fluid film prevent rust by displacing moisture.” These types of products adhere well to metal surfaces, providing a continuous sacrificial layer that salt and moisture must overcome before reaching the base metal. They are excellent for touch-ups on areas that might have experienced chipping or abrasion, or for supplementing existing undercoatings in high-risk zones.
Integrating periodic corrosion inhibitor applications into your winter maintenance routine provides an additional, vital layer of chemical protection. This proactive approach ensures that your vehicle’s metal components are not only physically shielded but also chemically fortified against the relentless, rust-inducing properties of road salt, preserving their integrity and extending the overall life of your car.

13. **Take Extra Precautions in Specific Conditions**
While a robust undercoating and a diligent washing routine form the backbone of your car’s salt protection strategy, understanding and responding to specific driving conditions can significantly enhance your defense. Winter driving presents a dynamic environment, and not all exposure to salt is equal. Being acutely aware of “When to Take Extra Precautions” allows for more targeted and immediate protective measures, minimizing prolonged contact with highly corrosive elements.
There are several scenarios that warrant heightened vigilance. You should be “especially vigilant about washing your car: After major snowstorms,” when roads are heavily treated and salt accumulation is at its peak. Similarly, “When temperatures fluctuate around freezing” creates a cycle of melting and re-freezing, which keeps salt active and highly corrosive. Driving in these conditions demands immediate attention to washing your undercarriage soon after exposure.
Another critical time for precaution is “Before long periods of parking (airport, vacation).” Leaving your car with a layer of salt residue to sit for days or weeks allows corrosion to work unhindered, accelerating damage. A thorough wash before extended parking can prevent significant issues. Additionally, “When driving on freshly salted roads,” be extra cautious, and “it is advisable to avoid puddles or standing water on the road as they might contain a high concentration of salt.” These puddles can splash highly concentrated brine onto your undercarriage, requiring prompt rinsing.
By recognizing these high-risk situations and adjusting your maintenance habits accordingly, you move beyond routine care to truly proactive protection. This strategic awareness helps you neutralize the threat of road salt more effectively, ensuring that your vehicle remains protected even under the most challenging winter driving conditions.
Read more about: NWS Extreme Cold Alert: A Comprehensive Consumer’s Guide to Winterizing Your Home and Car for Ultimate Safety and Preparedness
14. **Park in a Dry or Sheltered Area**
One of the simplest, yet most effective, long-term strategies for protecting your car’s undercarriage from salt damage and general corrosion is to control its environment when parked. While driving on salted roads is often unavoidable, minimizing your vehicle’s “prolonged exposure to moisture” and salt when stationary can significantly reduce the risk of rust development. This often comes down to where and how you choose to park your vehicle.
The ideal scenario is to “Park in a Dry Garage: If possible, park in a well-ventilated area to reduce humidity.” A garage provides shelter from snow, rain, and the direct application of salt, ensuring that your car dries out more quickly after being driven. This rapid drying is critical because salt needs moisture to activate its corrosive properties. The less time your undercarriage remains wet and salted, the less opportunity rust has to take hold and spread.
If a garage isn’t an option, or even if it is, consider other measures to keep your vehicle as dry and protected as possible. “If a garage isn’t available, consider using a car cover designed for winter conditions.” These covers can help keep salt and snow off your vehicle, further reducing exposure. Additionally, if parking in a garage, “Use Floor Mats in Garages: These absorb water and prevent undercarriage rust” from pooling directly beneath your vehicle. Avoiding parking directly on wet, salted surfaces for extended periods is also wise.
Ultimately, by prioritizing parking in a dry or sheltered environment, you create a significant advantage in the ongoing battle against corrosion. This seemingly minor habit plays a crucial role in breaking the cycle of salt and moisture accumulation, allowing your primary protective measures to last longer and perform more effectively, thus ensuring the enduring integrity and value of your vehicle.
**Conclusion and final thoughts**
As we navigate the inevitable challenges of winter driving, the threat of road salt to our vehicles’ undercarriages is a persistent concern. However, as this comprehensive guide has demonstrated, armed with the right knowledge and a proactive approach, protecting your automotive investment is not just possible—it’s entirely achievable. From the initial meticulous preparation and application of robust undercoatings to the crucial ongoing maintenance and strategic driving habits, every step you take forms a vital layer in your vehicle’s defense system.
Remember, the true cost of vehicle ownership isn’t just the purchase price; it’s the foresight and care invested to ensure its longevity. Embracing these “14 Simple Ways to Protect Your Car’s Undercarriage from Salt” isn’t merely about preventing unsightly rust; it’s about safeguarding critical components that dictate your vehicle’s safety, performance, and ultimate resale value. Each inspection, each wash, and each protective application contributes to a stronger, more resilient vehicle that can confidently face many winters to come.
Read more about: NWS Extreme Cold Alert: A Comprehensive Consumer’s Guide to Winterizing Your Home and Car for Ultimate Safety and Preparedness
By committing to these practical, actionable strategies, you transform your car care from a reactive scramble into a confident, preventative routine. So, take charge of your car’s destiny this winter. Protect its vulnerable underside with diligence, and enjoy the peace of mind that comes from knowing you’ve fortified your ride against the corrosive onslaught of the season. Your car—and your wallet—will undoubtedly thank you for it.


