

For the true automotive enthusiast, a vehicle is far more than mere transportation; it’s a canvas, an expression, a testament to passion and precision. The allure of customization, particularly a fresh, distinctive paint job, is undeniable. Yet, the road to a flawless, head-turning finish is fraught with potential pitfalls, where the blend of art and science in automotive painting demands meticulous attention to detail and an unwavering commitment to best practices. Without these, even the most ambitious visions can quickly devolve into costly disappointments.
Indeed, while the desire to personalize a ride is commendable, some choices in paint application, preparation, and even the very concept of the custom finish itself can lead to outcomes that are regrettable, both aesthetically and financially. We’ve all seen paint jobs that either failed prematurely or simply missed the mark, leaving owners wishing they had given the decision more thought. These aren’t just minor blemishes; they can fundamentally compromise the integrity and appeal of your prized possession, turning a dream into a repair nightmare.
In this comprehensive guide, we’ll delve deep into the critical foundational errors that often plague customizers and explore the initial, tell-tale defects that arise when corners are cut or expertise is lacking. Our aim is to equip you with the knowledge to navigate the complex world of automotive paint, ensuring your custom creation boasts a finish that stands the test of time, both in durability and style. Here are seven crucial types of paint job issues and choices you should seriously think twice about.
1. **Improper Product Mixing**
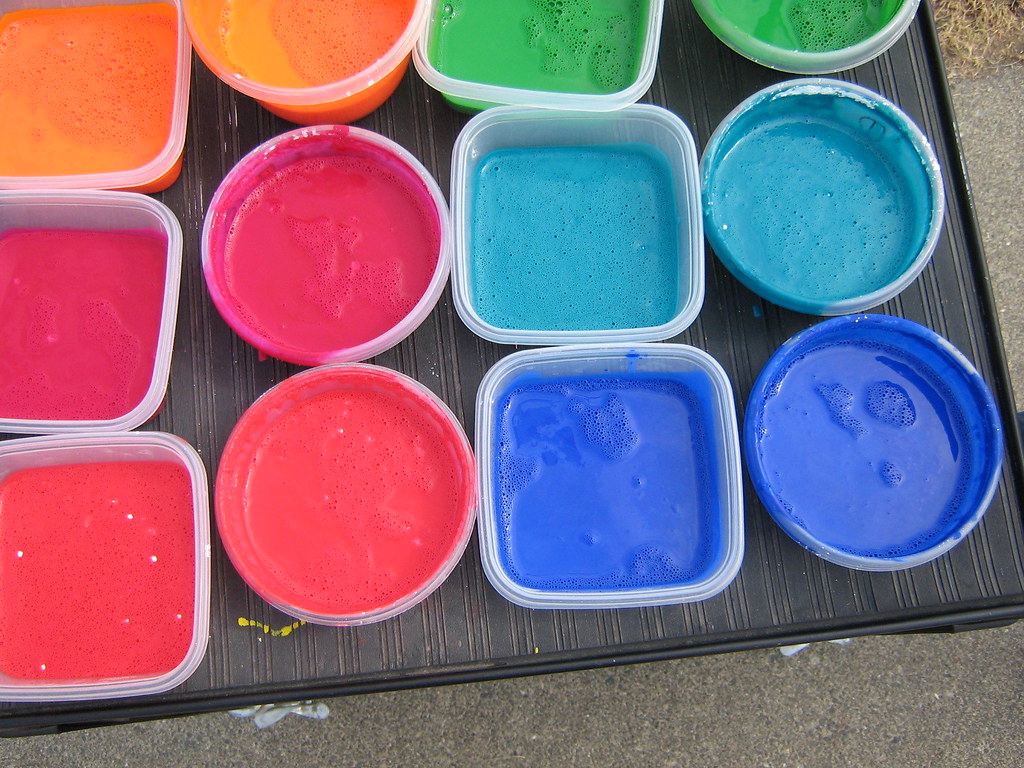
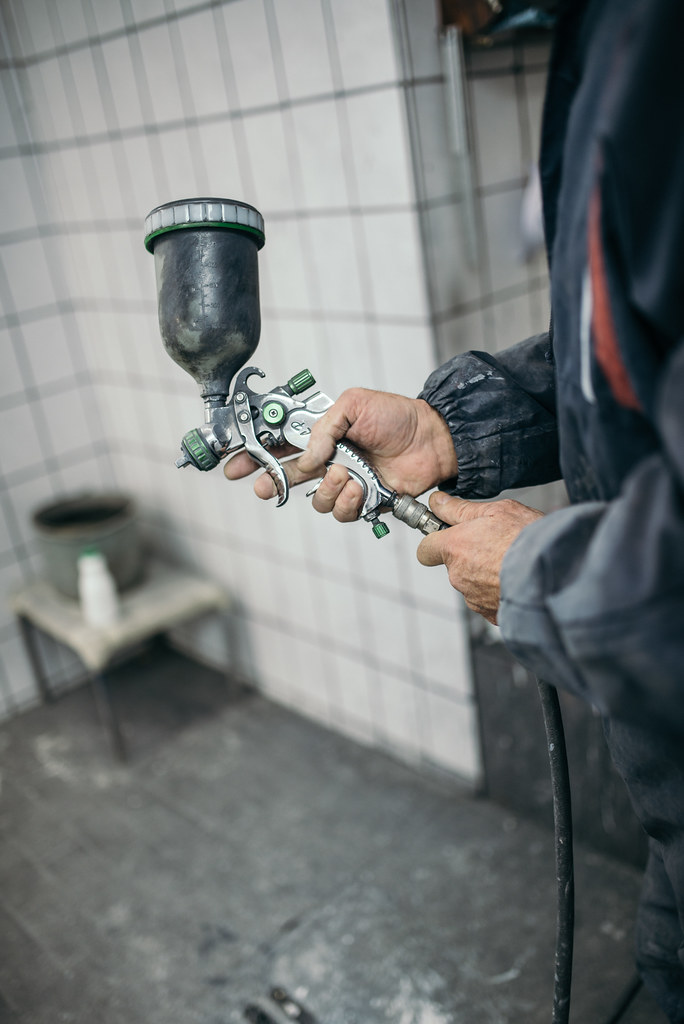
At the heart of any successful automotive paint job lies a delicate chemical ballet, where precise ratios dictate the final outcome. Most modern paint products—be it the base coat, hardener, or reducer—are designed to react in a specific way, and deviating from the manufacturer’s prescribed mixing ratios is akin to performing surgery with a blunt instrument. Some “experts” may rely on intuition or “eyeballing,” but this approach is a direct recipe for catastrophic failure, undermining the very integrity of the paint film before it even leaves the spray gun.
The consequences of incorrect mixing are swift and severe. Undercatalyzing, where there isn’t enough hardener, means the product may never fully cure, leaving a soft, vulnerable finish susceptible to damage. Conversely, overcatalyzing, using too much hardener, can accelerate the chemical reaction too rapidly, manifesting in defects like the dreaded “crocodile skin” texture, a poor surface finish, or even long-term delamination where the paint separates from the substrate. These aren’t just cosmetic issues; they compromise the protective qualities of the paint.
The unwavering recommendation is simple yet critical: always consult and rigorously adhere to the manufacturer’s instructions, typically found in the product’s Technical Data Sheet (TDS). These documents are readily available online—a quick search for the brand and product number followed by “TDS PDF” will often yield the precise guidelines you need. Furthermore, invest in and consistently use a calibrated mixing cup from your paint supplier. Measure precisely, remembering that while a small margin of error (around 5%) might be tolerable, the goal should always be maximum accuracy to ensure a robust, lasting finish.
Read more about: The Definitive Guide: 12 Top-Rated Car Wash Soaps Under $15 for a Professional Shine
2. **Inadequate Surface Priming**
Surface preparation isn’t just a step in the painting process; it is the absolute bedrock upon which the entire success of your paint job rests. Neglecting proper priming or using the wrong type of primer for a specific substrate is an invitation for future failures. If this foundational layer isn’t solid and correctly applied, no topcoat, no matter how expertly sprayed or high-quality, will ever achieve its intended look or durability. The longevity and adhesion of your finish are entirely dependent on what lies beneath.
How you approach priming critically depends on the material you’re painting. For bare metal, if you plan to paint shortly after, a Direct-To-Metal (DTM) primer is often suitable. However, for restorations or situations where the car might sit in primer for an extended period, an epoxy primer is the safer and more protective choice, as even quality DTM primers can absorb moisture over time. When dealing with painted metal where the existing finish is compromised—showing signs of flaking, lifting, delamination, or discoloration—it’s imperative to sand down to bare metal and start fresh with either a DTM or epoxy primer. Trying to paint over a failing base will only exacerbate the problem, as new solvents can worsen existing issues.
Conversely, if the existing paint on metal is in good condition, a simple scuffing with 320–400 grit sandpaper to promote adhesion is sufficient before applying a regular primer. Plastic components, such as bumpers, trims, and mirrors, demand a distinct approach. These require scuffing with 400 grit flexible sandpaper or a scuff pad, followed by the application of a specialized plastic adhesion promoter. From this point, depending on your paint system and color needs, you can either proceed directly to paint or follow up with a primer/sealer. For body filler, which is porous and not meant to be painted directly, best practice involves sanding smooth (180 to 220 grit), applying a 2K high-build or epoxy primer to fill minor scratches and seal the surface, and then block sanding with 320–400 grit before basecoat application. Never use lacquer primer over filler, as it can shrink and reveal sanding lines, compromising the finish over time. Stick with modern 2K urethane or epoxy systems for superior, long-lasting results.
Read more about: Revive Your Dream Ride: 14 Indispensable Insights for First-Time Classic Car Restorers
3. **Neglecting Color Verification**
Few things are as disheartening in automotive painting as a color mismatch. Even when meticulously following the correct formula, numerous variables can conspire to create subtle or even glaring discrepancies. Batch variations in paint products, differences in the underlying substrate color, and even variations in application technique can all contribute to a shade that doesn’t quite hit the mark. For customizers, where color accuracy is often paramount, assuming a perfect match without verification is a gamble rarely worth taking. Never, under any circumstances, assume a color match is accurate until you have visually confirmed it yourself.
The antidote to color mismatch frustration is the indispensable practice of performing a test spray-out. This involves applying a small amount of the mixed paint onto a dedicated spray-out card or an inconspicuous, hidden section of the vehicle. Crucially, allow this test patch to dry completely before comparing it against the vehicle in natural light. This step is non-negotiable, as wet paint can appear vastly different from its cured counterpart. Should a slight discrepancy be noted, blending the new paint into adjacent panels can often minimize visible differences, making the transition less noticeable to the eye.
Metallics and pearls, with their complex light-refracting pigments, introduce an additional layer of challenge. Their appearance is exceptionally sensitive to factors like the angle of observation, ambient lighting conditions, and even the specific spray technique employed. Variables such as air pressure, the application of “drop coats,” and the gun tip size can profoundly affect how these specialized paints lay down and reflect light, leading to significant shifts in hue and effect. This inherent sensitivity underscores why conducting test spray-outs under the exact same conditions you intend to use for the actual job is not merely recommended, but absolutely essential for achieving a cohesive and professional finish.
Read more about: Beyond the Bump: 15 Critical Legal Steps to Take After a Minor Car Accident
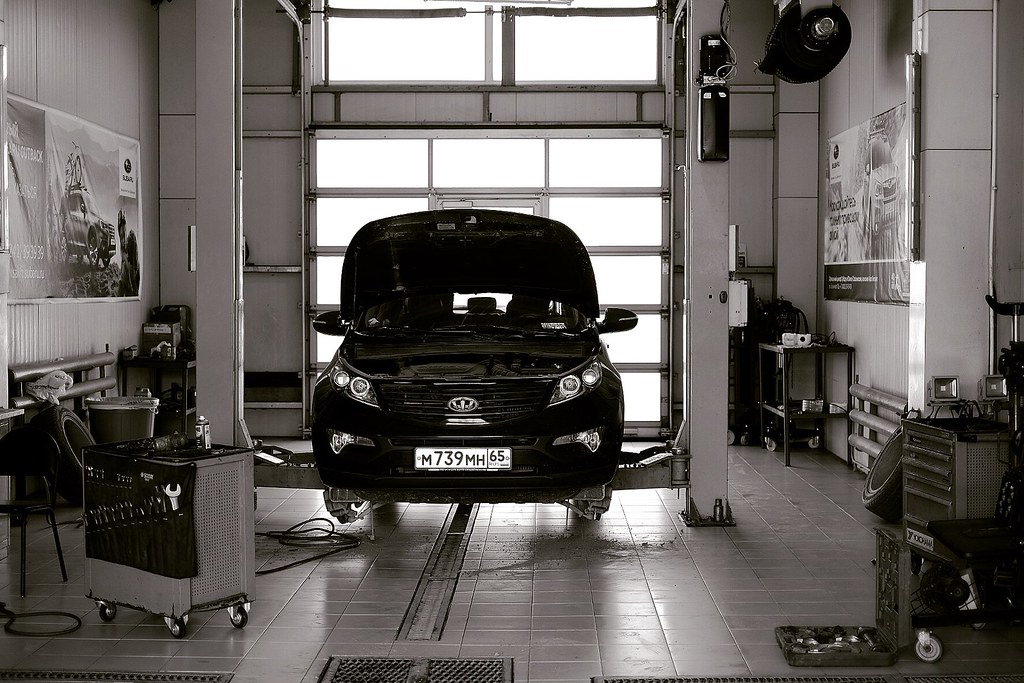
4. **Painting in Suboptimal Environments**
The seemingly invisible world around us plays an astonishingly significant role in the quality of a paint job. What appears to be clean air, when illuminated by a flashlight in a dark room, often reveals countless dust particles and contaminants constantly suspended. These minuscule adversaries, though unseen in normal light, possess a nefarious ability to adhere to fresh paint, leading to a host of defects that can mar an otherwise perfect finish. This is precisely why the painting environment matters far more than many beginners, or even seasoned customizers, might realize. Factors beyond technique, such as temperature, humidity, and overall air cleanliness, are critical determinants of your final result.
Common environmental blunders can range from the obvious to the subtly detrimental. Painting in a dusty garage, for instance, virtually guarantees an unwelcome sprinkling of particulates in your clear coat. High humidity levels can lead to issues like cloudiness or “blushing” in the paint, compromising its clarity and depth. Conversely, painting in excessively cold weather dramatically slows down both drying and curing times, leaving the paint vulnerable to imperfections and potentially affecting its long-term durability. Moreover, poor lighting conditions make it incredibly difficult to spot minor imperfections before they become permanent fixtures. A particularly insidious threat comes from places with oil or silicone contamination, which can cause the dreaded “Fish Eyes” to appear in the clear coat—a frustrating and often difficult defect to rectify.
The best practice for customizers, therefore, involves creating as controlled an environment as possible. Always strive to paint in a clean, enclosed area equipped with ample, consistent lighting and robust ventilation. The ideal conditions typically involve an ambient temperature around 70°F (21°C) coupled with low to moderate humidity. To combat the common issue of moisture from air compressors, it’s wise to incorporate filters or air dryers into your setup. By taking these proactive steps to manage your painting environment, you drastically minimize the chances of environmental factors sabotaging your painstaking work, paving the way for a truly professional and durable finish.
Read more about: 12 Proven Strategies for CEOs: Mastering Stress and Sustaining Peak Performance in High-Pressure Environments

5. **Insufficient Surface Cleaning**
Imagine building a magnificent skyscraper on a foundation of sand – that’s essentially what happens when you apply paint to an insufficiently cleaned surface. Even if you’ve meticulously sanded, primed, and prepared your panels with professional precision, a surface that isn’t absolutely pristine and free of contaminants will inevitably lead to a disastrous paint job. Grease, wax, silicone residues, or even lingering overspray from previous coats are invisible saboteurs, ready to cause unsightly issues like fisheyes, craters, and premature peeling. The integrity of your bond between paint and substrate hinges entirely on a flawlessly clean surface.
The cleaning process, therefore, must be systematic and thorough. Begin by thoroughly blowing off all dust once the car is fully prepped and ready for paint. Using an air hose, direct a strong, even flow across the entire surface. This crucial step dislodges sanding dust and any fine particles that may have settled into sanding scratches—precisely where the new paint needs to bond most effectively. Skipping this initial blow-off risks trapping these particulates, creating a gritty or uneven texture beneath your final coats.
Following the dust removal, the next critical step is to meticulously wipe down the entire area to be painted with a high-quality wax and grease remover. It is imperative to use a clean, lint-free cloth—never shop rags, which can harbor contaminants. Wipe down the surface, and crucially, dispose of the cloth once it shows any signs of buildup or dirt. If your cloth comes away dirty after wiping, the surface is simply not yet clean enough. Continue this process with fresh cloths until a wipe leaves the cloth mostly clean, indicating the surface is truly ready for paint adhesion. This diligence ensures no oily or greasy residues are left behind to compromise the bond.
Once the surface has been thoroughly cleaned, a strict “Don’t Touch!” rule must be enforced. The oils from bare hands, even if seemingly clean, can undo all your diligent prep work and introduce defects into the paint. Always handle panels by edges or with clean gloves. Finally, immediately before applying paint, gently wipe the entire surface with a tack rag. This specialized cloth is designed to pick up any remaining dust or fine overspray that may have settled since the last cleaning step, presenting the cleanest possible canvas for your next layer of paint. This final sweep ensures microscopic contaminants are removed, guaranteeing maximum adhesion and a smooth finish.
Read more about: 15 Simple Hacks: Your Ultimate Guide to Freeing a Truck from Deep Mud and Snow
6. **Cracked or Wrinkled Finishes**
Few sights are more disheartening on a freshly painted vehicle than the appearance of cracks, often referred to as wrinkling, splitting, or checking. This severe paint malady manifests as cracks of random sizes, frequently creating a texture eerily reminiscent of a reptile’s scaly skin. More than just an aesthetic flaw, cracking is a clear indicator of fundamental issues in the paint application or underlying preparation, signaling a compromised finish that is destined for premature failure and requiring extensive corrective action. For customizers, identifying and preventing these causes is paramount to delivering a durable and visually appealing product.
The common causes of automotive paint cracking are multifaceted. Insufficient surface preparation stands as a primary culprit; if the substrate itself harbors existing cracks or imperfections, these must be thoroughly removed before any new material is applied, as fresh paint will not magically conceal or fix these structural issues. Another significant factor is the lifting of the substrate, which can occur when the wrong reducer is incorporated into a topcoat, or when subsequent materials are applied before the undercoat has fully cured. This premature application or incompatible chemistry causes the underlying layers to lift, resulting in the tell-tale cracked appearance.
Improper choices in reducer or hardener are also key contributors. It is absolutely crucial to follow the paint manufacturer’s specific suggestions for the types of reducers and hardeners to use with each paint system. Utilizing improper or low-quality materials can have an adverse effect on the finished dry paint film, leading to a fragile surface prone to cracking. Additionally, incorrect mixing ratios, particularly using too much activator/hardener or not properly mixing the components, can also instigate defects in the dried film. Environmental conditions play a role as well; excessive heat or humidity during application and curing can create stresses that lead to surface imperfections like cracking. Finally, applying “too much, too quickly”—spraying full, wet coats that are excessively thick—can prevent proper solvent escape and film formation, making the paint highly susceptible to cracking. To fix, the film must cure completely, then be sanded out and reapplied, strictly avoiding the initial mistakes.
7. **Orange Peel Texture**
Among the most frequently cited conditions encountered by customizers and DIY enthusiasts alike is “orange peel.” As its name vividly suggests, this common paint malady leaves the dried paint surface with an appearance and texture strikingly similar to the dimpled, irregular skin of an orange. Far from a smooth, mirror-like finish, orange peel indicates a problem with the paint’s ability to flow out evenly before drying. While minor orange peel might be acceptable on certain utilitarian finishes, for a show-quality or high-end custom job, it is an undesirable defect that compromises the overall aesthetic and reflects poorly on the craftsmanship.
Several factors conspire to create the orange peel effect. A primary cause is excessive film thickness—applying too much material in full, wet coats. This prevents the paint from settling and flowing to an even, level film before the solvents evaporate and the paint begins to dry. Another significant culprit is the improper use of reducer. If the wrong reducer is chosen for the prevailing conditions, or if too much or too little is used, solvents can evaporate either too quickly or too slowly. When solvents evaporate too fast, the paint film dries prematurely, trapping the surface tension and preventing proper flow-out to a smooth appearance. It’s imperative to select the correct reducer grade and quantity specifically for the ambient temperature and conditions of your paint shop.
Beyond material choices, equipment and technique play a crucial role. Gun troubles, such as using an incorrect spray gun, fluid tip, or air cap for the specific material, can hinder proper atomization. Similarly, insufficient air pressure at the tip of the gun will prevent the paint material from breaking down into fine enough particles, leading to a coarse spray pattern that can’t flow out smoothly. Finally, poor technique on the part of the sprayer—including the incorrect position of the gun tip, an inconsistent speed of pass, inadequate overlap between passes, or an improper distance of the gun from the panel—can all contribute significantly to the formation of orange peel. For minimal orange peel, the fix involves sanding out the texture with fine-grit sandpaper, followed by compounding and polishing. For significant orange peel, the affected area must be sanded out, and the paint reapplied with properly reduced material, correct air pressure, and refined technique, often requiring adjustments to gun settings.
Continuing our deep dive into the labyrinth of automotive paint, we now shift our focus from foundational application errors to other critical defects and, perhaps more controversially, to aesthetic choices that can severely diminish a vehicle’s appeal and value. While the thrill of customization is undeniable, some paths lead to outcomes that are less ‘masterpiece’ and more ‘misstep,’ impacting not just the look but the very integrity and future marketability of your cherished ride. Understanding these potential pitfalls is paramount for any customizer aiming for a finish that commands respect and endures the test of time, both physically and aesthetically.
Read more about: 13 Essential Red Flags: Your Step-by-Step Guide to Inspecting a Used Performance Car Like a Pro
8. **Automotive Paint Runs and Sags**
Few paint job defects are as immediately disheartening and visually jarring as runs and sags, sometimes colloquially referred to as “curtains.” These unsightly drips and ripples occur when paint flows uncontrollably down a vertical surface, failing to level out evenly before curing. Whether you’re a seasoned professional or an enthusiastic DIYer, encountering these liquid trails can instantly compromise the crisp, clean lines of your carefully prepped panels, signaling a fundamental issue with application.
Often, the culprits behind paint runs and sags are a combination of factors related to material consistency and application technique. A primary cause is the improper use of reducer, or simply using too much of it. If the reducer evaporates too slowly for the ambient conditions, or if it’s used in excessive quantities, the paint remains too fluid for too long, succumbing to gravity and creating those unwelcome streaks. Selecting the appropriate reducer for the type of material and prevailing shop conditions is therefore non-negotiable.
Another significant contributor is excessive film thickness. Laying down too much material in full, wet coats prevents the paint from setting properly, resulting in a surplus that gravity pulls downwards. Coupled with this, insufficient flash time—not allowing enough solvent to evaporate between coats—can compound the problem, as subsequent layers reactivate the wetness of the previous, making the film too thick and susceptible to movement. Furthermore, inadequate air pressure at the spray gun tip can hinder proper atomization, leading to a heavier, less controlled spray. Poor technique, encompassing an improper gun tip position, inconsistent pass speed, inadequate overlap, or incorrect gun distance from the panel, equally contributes to these frustrating sags.
Rectifying runs and sags depends on the paint’s state. If the paint is still wet, immediate action involves carefully removing the affected material with solvent, thoroughly cleaning the area, and then re-applying the coating with meticulous care. However, if the paint has dried, the task becomes more involved: you’ll need to meticulously sand out the solidified runs and sags before carefully re-applying the paint. Prevention is truly the best cure here, demanding a disciplined approach to material mixing, controlled application, and strict adherence to flash times.
9. **Fish Eyes in Paint**
Automotive paint, for all its resilience, is remarkably susceptible to certain forms of contamination, leading to a frustrating defect known as “fish eyes.” These small, circular craters—often resembling the dimples left by raindrops on a pond—typically appear soon after application and are a clear indicator that something undesirable has interfered with the paint’s ability to flow and adhere uniformly. Their presence is a tell-tale sign that your meticulously prepared surface harbored unseen adversaries.
The singular reason for the appearance of fish eyes is contamination. This pervasive issue usually stems from the presence of oil, water, grease, or wax on the substrate itself. These contaminants act as repellents, causing the wet paint to pull away from the affected areas, leaving behind those characteristic circular depressions. This can also arise from contamination introduced during the application or prep process, for example, when water and oil enter the air stream from a compressor lacking an effective separator, or through the unwitting reuse of shop rags that have previously encountered silicone-based products or waxes.
Paints are notoriously sensitive to certain car care products, particularly those containing silicone or specific waxes. Therefore, utmost care must be taken whenever such products are used in the vicinity of a paint shop, as airborne particles or residue transferred via tools and hands can easily migrate to a prepared surface. Even the seemingly innocuous act of handling a panel with bare hands after cleaning can reintroduce skin oils, creating potential fish eye sites.
Addressing fish eyes, much like other defects, depends on the paint’s current state. If the paint is still wet, the quickest solution is to remove it entirely with a suitable solvent, thoroughly prepare the surface again to ensure all contaminants are gone, and then carefully reapply the paint material. For dried paint, the repair involves sanding out the fish eyes, meticulously cleaning the area, and then re-applying the paint. In stubborn cases, a specialized “fish eye eliminator” can be added to the paint before reapplication, though prevention through rigorous cleanliness remains the gold standard. A completely clean and dry surface before painting is non-negotiable.
Read more about: 15 Essential Rules for Driving Safely on Gravel Roads: A Lifehacker’s Guide
10. **Paint Flaking and Peeling**
There are few sights more alarming for a vehicle owner than discovering pieces of dried paint pulling away from the car’s surface, a condition commonly referred to as flaking or peeling. This isn’t merely a superficial flaw; it’s a severe form of delamination, indicating a catastrophic failure in the bond between the paint film and its underlying substrate. When paint loses its adhesion and begins to strip or flake off, it signals that the entire finish has been fundamentally compromised, exposing the vehicle to accelerated degradation and requiring significant corrective action.
The root causes of paint flaking and peeling almost invariably trace back to critical errors in surface preparation. If the substrate was not properly abraded—meaning it wasn’t sufficiently roughened to provide a mechanical key for the paint—or if surface irregularities, rust spots, or existing imperfections were not meticulously addressed before painting, delamination becomes an almost inevitable outcome. As the saying goes, “your vehicle’s finish is only as good as what lies beneath it”; a weak foundation will always betray the layers above.
Beyond preparation, other factors can instigate this frustrating condition. Insufficient film thickness is a frequent culprit; paint applied too thinly lacks the structural integrity and adhesive strength to maintain a robust bond over time, eventually tending to pull away from the substrate. Furthermore, a failure to strictly follow specific application instructions, such as neglecting to sand certain undercoats that have fully cured before applying a topcoat, can severely impede adhesion. These steps are not arbitrary recommendations but crucial dictates for ensuring optimal inter-coat adhesion and overall durability.
Repairing flaking and peeling paint demands a thorough approach. For relatively small affected areas, a spot repair may suffice, involving the removal of all loose paint, careful feathering of the edges, and then reapplying the paint material with proper preparation. However, for larger problem areas or widespread delamination, the only effective solution is to sand the entire compromised paint surface down to a stable layer—or even to bare metal, depending on the severity—and then reapply the paint material. This corrective action must be undertaken with scrupulous attention to application instructions and ensuring that the material is built to a sufficient and consistent film thickness to prevent recurrence.
Read more about: Mastering Truck Bed Hole Repair: Your Comprehensive Guide to Tackling Rust and Damage Like a Pro
11. **Lack of Gloss**
When you invest in a quality automotive paint job, the expectation is often a lustrous, mirror-like finish that reflects light with depth and clarity. So, discovering that your cured paint has an unintended satin or matte appearance, rather than the anticipated high gloss, can be a significant disappointment. While a matte finish can be a deliberate choice, an accidental dullness signifies a defect, indicating that the paint has not achieved its full aesthetic potential. It’s important to acknowledge that all paints will naturally lose some degree of gloss over extended periods due to environmental exposure and weathering, but a fresh finish should be vibrant.
Several factors can conspire to rob your paint of its intended sheen. Insufficient film thickness is a common offender, particularly with single-stage paints or clearcoats. If the final layer is applied too thinly, the finished film simply lacks the body to develop full gloss. This often goes hand-in-hand with applying the material too “dry,” which can also contribute to the creation of an orange peel texture, further dulling the surface. Another often overlooked factor is insufficient flash time between coats; if solvents don’t have adequate opportunity to evaporate before the next layer is applied, they can become trapped, leading to a loss of gloss in the final film.
Conversely, excessive film thickness can also be a culprit, proving that too much of a good thing can indeed be detrimental. Applying too many full, wet coats can prevent the proper formation of the finished paint film, hindering its ability to achieve full gloss potential. The wrong grade or temperature reducer also plays a pivotal role; if solvents evaporate too fast due to an unsuitable reducer or an excessive amount of it, the paint film dries too quickly, leaving a satin or matte finish before it has a chance to flow out and achieve proper leveling. Furthermore, applying a topcoat or clearcoat too soon before previously applied material has achieved a full cure can compromise gloss.
Even after application, the environment continues to influence the paint’s development. Poor cross ventilation in the drying area can impede the overall gloss development, as proper airflow is crucial for effective solvent evaporation and film consolidation. Addressing a lack of gloss typically involves corrective action once the paint film is fully cured. For minor cases, compounding and polishing can often restore the desired sheen. However, for more significant dullness, the area may require scuff sanding and reapplication of the paint, ensuring meticulous attention to film thickness, flash times, reducer selection, and environmental control during the entire process.
Read more about: From Blockbuster to Bust: 12 Underestimated Reasons Why Celebrity Book Deals Fail to Connect with Readers
12. **Poor Hiding**
An essential characteristic of quality automotive paint is its opacity—the ability to completely obscure the underlying substrate or previous coatings, providing a uniform and consistent color. When this fundamental property is compromised, resulting in “poor hiding,” it means that variances in the vehicle surface, such as body fillers, different primer colors, or even existing imperfections, are visibly showing through the finished paint. This creates an uneven, mottled appearance that undermines the professional quality of the job, making the paint appear thin, transparent, or patchy.
Numerous factors can contribute to this frustrating phenomenon. One significant cause is the use of too much reducer. Reducers, by their nature, are transparent; when used in excess, they dilute the paint’s pigment concentration, effectively reducing its normal hiding level and making it less opaque. Another common culprit is selecting the wrong primer color for your chosen topcoat. Certain primer shades are inherently more challenging to cover depending on the final paint color; for example, a white paint will generally cover a light-colored primer much faster and more effectively than it would a dark gray or black one, requiring more coats to achieve full coverage.
Beyond material considerations, inconsistencies in the substrate itself play a critical role. Uneven color on the underlying surface, such as variations introduced by body fillers or different patched areas, will inevitably cause an uneven appearance if the paint lacks sufficient hiding power. Compounding this, simply applying an insufficient number of coats can lead to poor hiding. While manufacturers provide general guidelines for coat count, depending on the specific paint color used, additional layers may be necessary to achieve proper opacity and ensure complete coverage, especially with notoriously less opaque colors like yellows or reds.
Finally, improper paint preparation before application can also hinder hiding performance. Paint pigments, particularly in older or long-stored materials, can settle to the bottom of the container. If the paint is not sufficiently agitated—thoroughly mixed—prior to use, the pigments will not be evenly dispersed throughout the material, leading to an inconsistent color application and, consequently, poor hiding. The fix for poor hiding is typically straightforward: continue to apply properly agitated and reduced material until the desired level of opacity and uniformity is achieved. Patience and diligent application are key to building up full, even coverage.
Read more about: Beyond the Suds: Unpacking 14 Core Definitions of ‘Clean’ for Your Classic Car Engine’s Immaculate Preservation

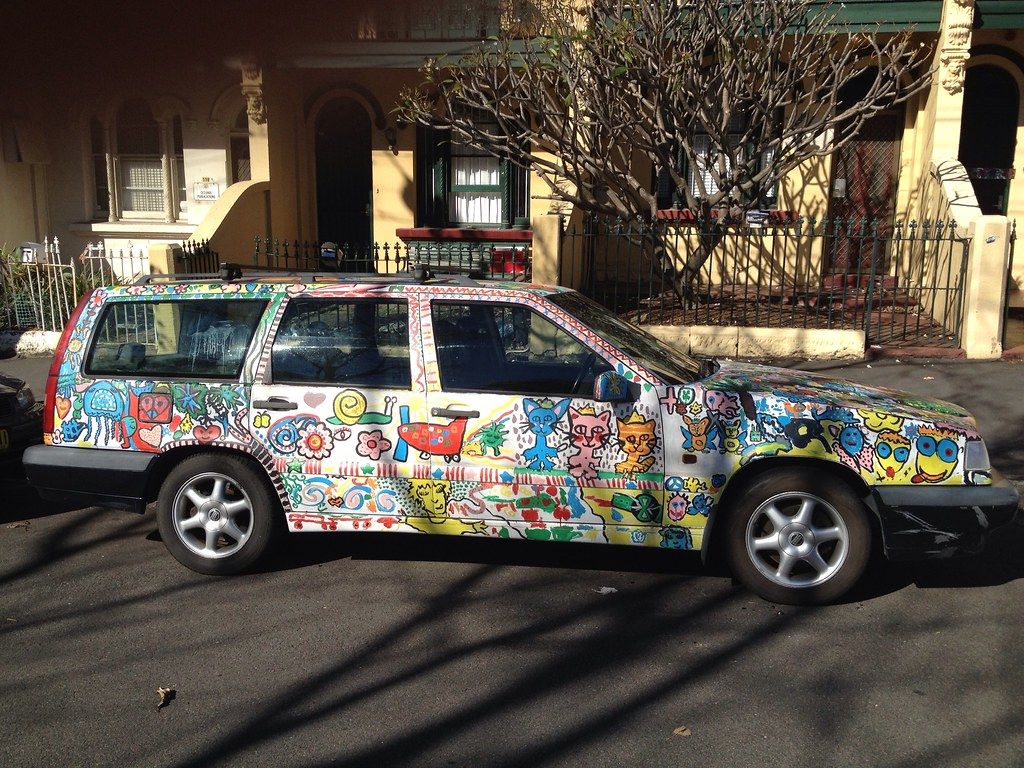
13. **Niche Themed Custom Paint Jobs**
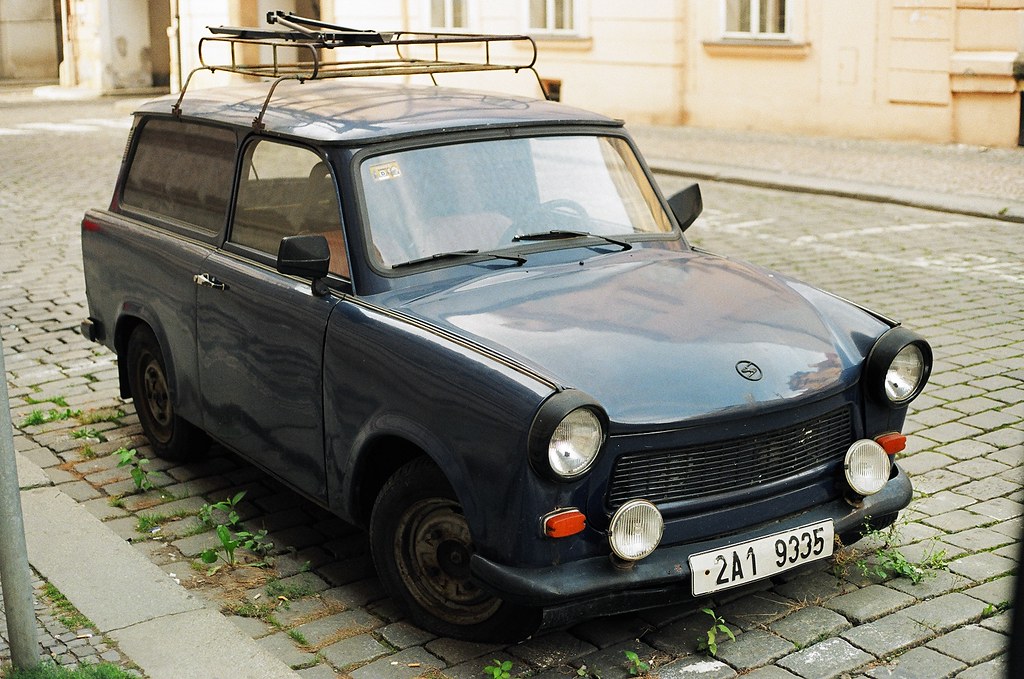
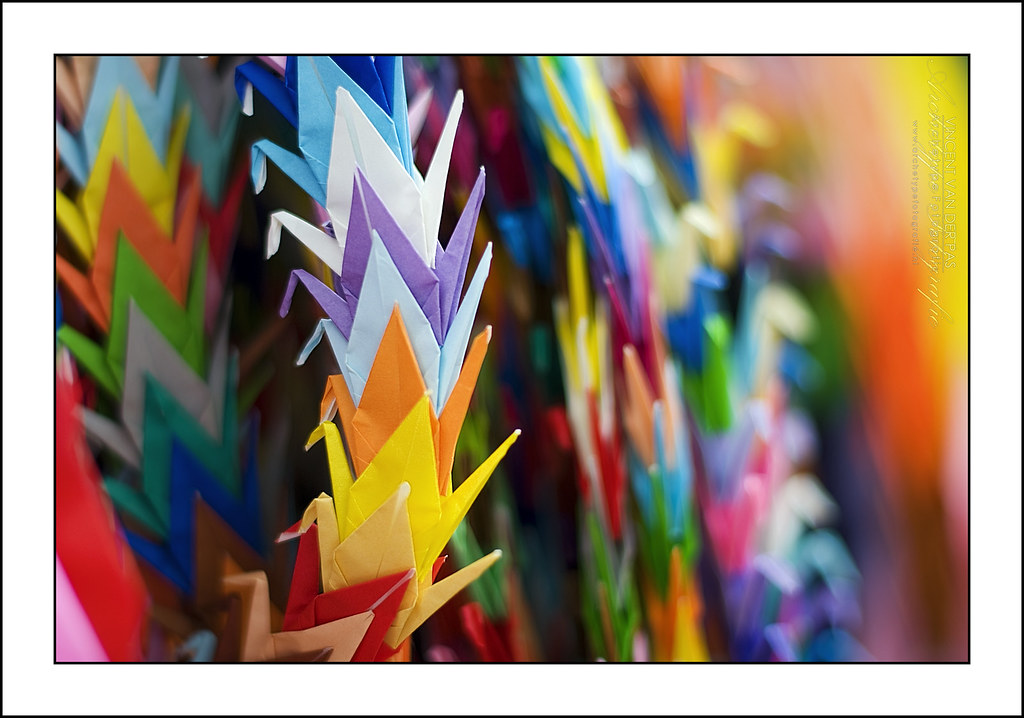
For the true enthusiast, a vehicle can be a profoundly personal canvas, an extension of individual taste and passion. However, when that passion translates into highly specific, niche-themed custom paint jobs, it often creates a dilemma, particularly when the time comes to sell. While the owner’s devotion to, say, a particular anime character or a specific cartoon universe is admirable, such intensely personal aesthetics severely limit the car’s broader appeal to potential buyers.
Consider the “Pink Anime” sports car or the “Hello Kitty” smart car mentioned in our gallery of questionable choices. These themes, while perhaps cherished by their creators, drastically narrow the target market for resale. Finding a buyer who not only appreciates the vehicle itself but also shares the exact same, often very specific, niche interest is akin to finding a needle in a haystack. The vibrant pinks and intricate character art, far from being universal selling points, become significant obstacles, turning a potentially valuable asset into a very personal, and therefore very illiquid, piece of art.
This extreme personalization, unfortunately, translates directly into a substantial depreciation of the vehicle’s market value. The cost of stripping and repainting such a custom job to a more universally appealing color or style is a significant expense that most buyers will factor into their offer, often demanding a steep discount. What was once a unique expression of individuality becomes a financial burden for the next owner, severely diminishing the car’s general marketability and making a quick, profitable sale highly unlikely.
For those drawn to such expressive customization, a more judicious approach is to consider vehicle wraps instead of permanent paint. Wraps offer the flexibility to showcase intricate, niche designs without irreversibly altering the factory finish. They can be removed relatively easily, restoring the vehicle to its original paint condition, thereby preserving its resale value and broader market appeal. This allows owners to indulge their specific passions while still maintaining a practical exit strategy for their automotive investment.
Read more about: Gear Up: The 10 Most Electrifying Classic Car Events You Can’t Miss in the US Every Year
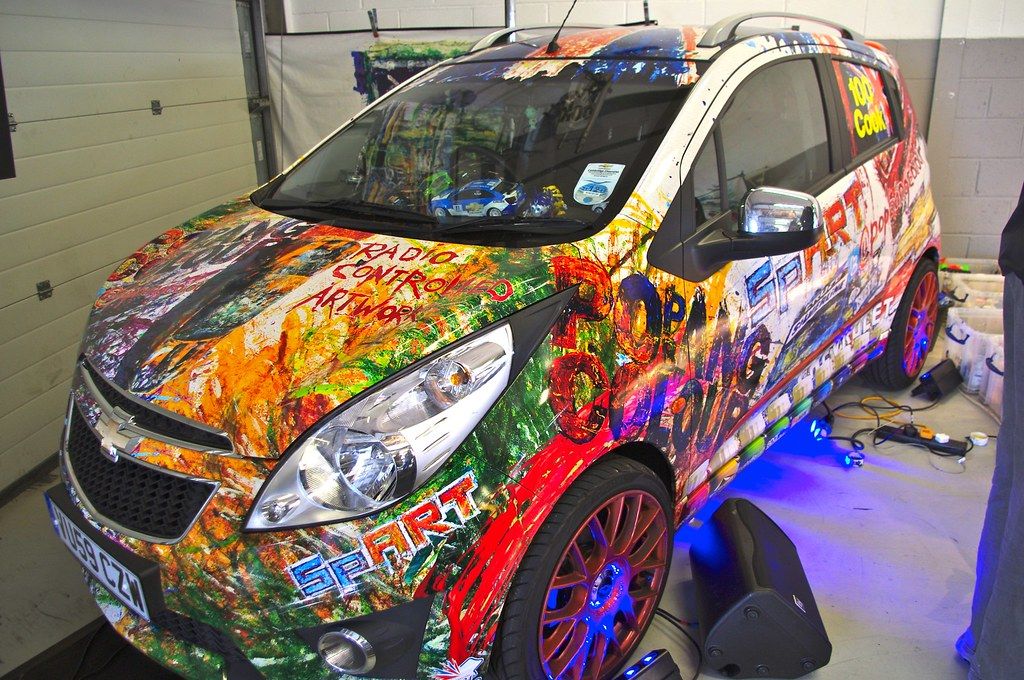
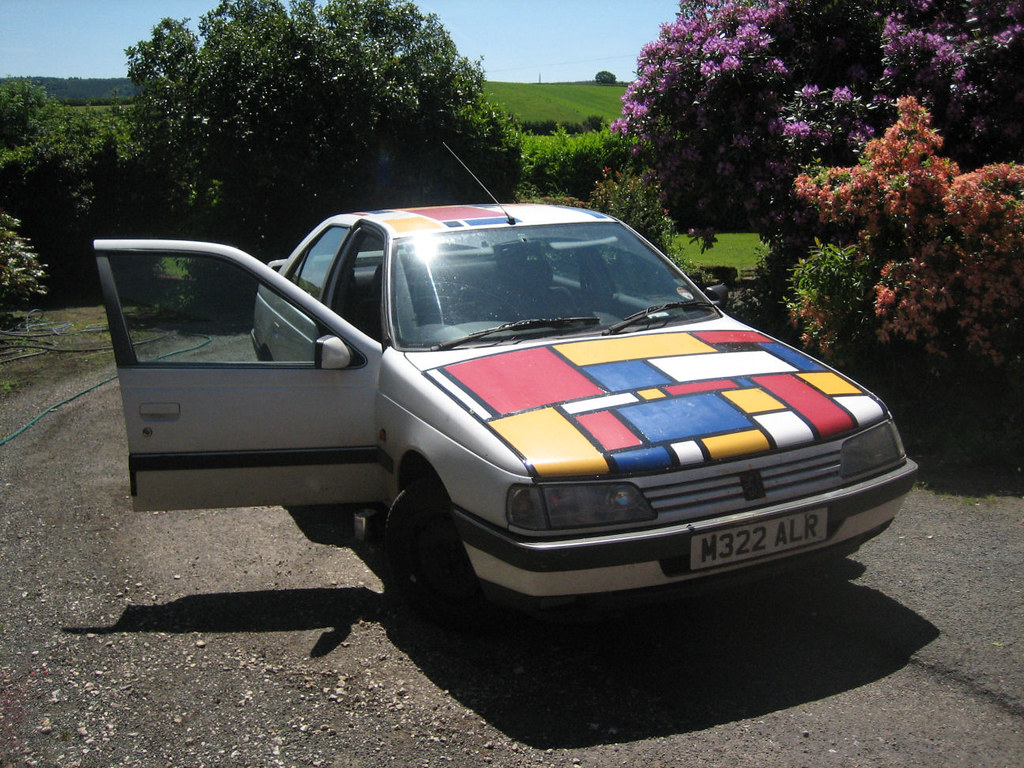
14. **Misleading Identity Paint Jobs**
There’s a fine line between creative expression and outright automotive identity crisis, and some custom paint jobs unfortunately cross it. We’re talking about those ambitious, often humorous, but ultimately misguided attempts to visually transform one vehicle into another. Examples like painting a “Lamborghini” onto the side of a humble van or rendering a “Motorcycle” on a Smart car illustrate a fascinating, yet ultimately problematic, trend in customization. While the intent might be to evoke prestige or humor, the execution often results in visual dissonance.
These types of paint jobs typically fail on an aesthetic level, not because of poor technical application, but due to a fundamental mismatch between the visual aspiration and the vehicle’s inherent form and function. A van, despite a meticulously rendered image of a supercar, remains a van. The visual joke, if that’s what it is, quickly wears thin, and the stark contrast between the painted illusion and the physical reality becomes jarring. Instead of elevating the vehicle, these designs often detract from its authentic character, turning what could be a respectable workhorse or an efficient city car into something that appears confused or, in some cases, unintentionally comical.
Beyond the immediate aesthetic concerns, such misleading identity paint jobs can significantly impact a vehicle’s perceived value and appeal. They send a clear signal that the owner prioritized a fleeting novelty over the vehicle’s genuine attributes or a classic, well-maintained look. Potential buyers, particularly those seeking a reliable and aesthetically coherent vehicle, are likely to be put off by these dramatic and often impractical transformations. The expense of correcting such a visually incongruous paint job to something more conventional adds another layer of financial hurdle for resale.
Ultimately, a vehicle’s paint should ideally complement its design and purpose, enhancing its lines or providing a high-quality finish that reflects care and attention. Customizers should exercise restraint and foresight, understanding that a paint job is a long-term commitment. While imagination is a wonderful thing, ensuring that custom paint choices enhance, rather than contradict, the vehicle’s true identity and broader market appeal is a mark of true automotive wisdom. Choosing a design that resonates with its authentic character will always yield more enduring satisfaction and better long-term value.
Read more about: Consumer Alert: Unmasking the 13 Car Dealership Scams That Cost Buyers Thousands
In the dynamic world of automotive customization, the allure of a unique paint job is undeniable, offering a profound avenue for personal expression. However, as we’ve explored through these 14 critical considerations, the journey from concept to execution is fraught with potential pitfalls. From the precise chemistry of product mixing to the nuanced art of surface preparation, and from avoiding common technical defects like runs and fish eyes to making discerning aesthetic choices that preserve long-term value, every decision matters. A truly exceptional custom paint job is not merely about flashy colors or intricate designs; it’s a testament to meticulous craftsmanship, profound technical knowledge, and a thoughtful understanding of how a vehicle’s finish contributes to its enduring appeal and integrity. So, before you unleash that spray gun or commit to that bold graphic, pause, reflect, and ensure your vision is built on a foundation of automotive wisdom, ensuring your ride turns heads for all the right reasons, for years to come.


