

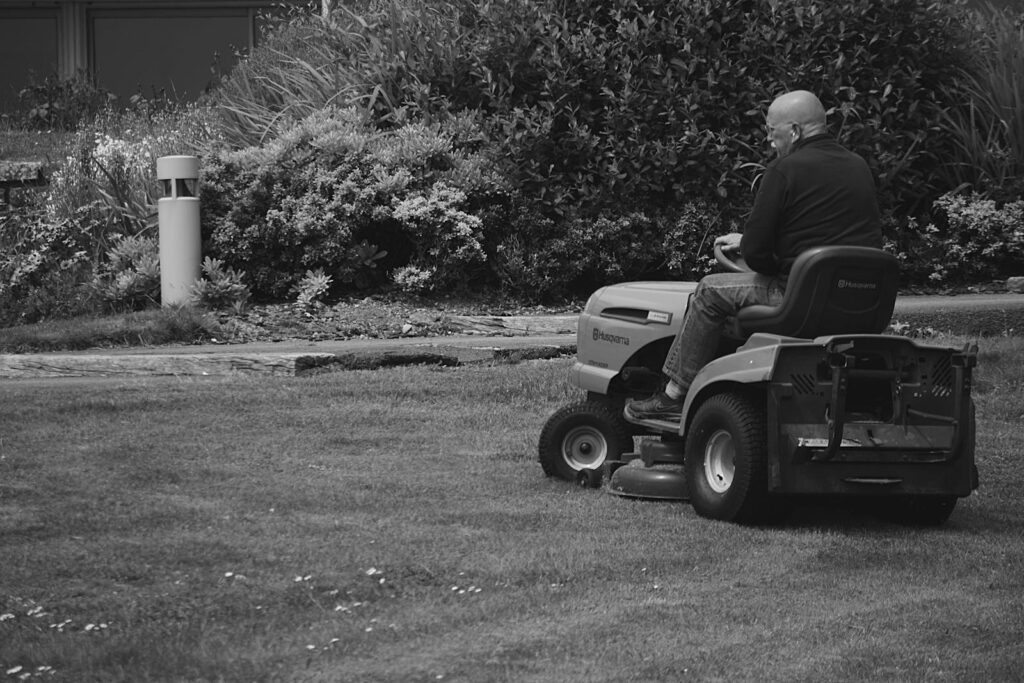
As the vibrant greens of summer slowly fade into the golden hues of autumn, and leaves begin their annual descent, many of us look forward to a brief respite from our regular lawn care duties. The thought of retiring your lawn mower for the winter might bring a sigh of relief, promising a temporary break from that weekly chore. However, this seemingly simple act of putting your mower away carries a crucial caveat: you cannot simply store it in the shed and forget about it. To ensure your invaluable piece of equipment is not only ready to go but also performs optimally next season, a proactive approach to winterization is absolutely essential before it enters its seasonal hibernation.
This vital process, often underestimated, plays a significant role in extending the lifespan of your machine and preventing costly repairs come springtime. While all lawn mowers benefit from winterization, it is “especially important for gas-powered mowers, which have engines that need fuel, oil, and an air filter to run properly.” These internal combustion engines have unique requirements that, if neglected, can lead to serious performance issues or even complete failure. Conversely, “cordless electric lawn mowers are easier to maintain,” yet they too demand specific attention to their batteries and cutting components before facing the colder months.
Neglecting these preparatory steps can transform what should be a smooth transition into spring mowing into a frustrating ordeal of engine troubles, starting issues, or diminished cutting performance. As mechanic Audrey Meinking aptly puts it, “If you don’t take an hour or two for maintenance or bring your machines to a pro for servicing, there’s a big chance you’ll be stuck watching the grass grow come spring.” Our aim is to prevent such scenarios, providing you with clear, authoritative guidance drawn from expert insights to protect your investment. Below, we’ll delve into the foundational steps for winterizing your lawn mower’s core systems, ensuring they remain robust and ready for action when the grass green again.

1. **Fuel Management: Stabilizing or Draining for Gas Mowers**One of the most critical aspects of winterizing a gas-powered lawn mower revolves around its fuel system. “When left for long periods, gasoline can become ‘stale,’ meaning it evaporates and oxidizes, making it less combustible.” This degradation isn’t just about reduced efficiency; it can lead to the formation of “residues that could damage the engine.” A particularly insidious component is the ethanol found in most gasoline, which “can break down if left to sit, causing performance issues and attracting water that can cause corrosion.” This makes proper fuel management the cornerstone of gas mower winterization.
While some might suggest siphoning gas from the tank, this method rarely removes all of it, and completely draining a tank can sometimes do more harm than good by exposing surfaces to air and potential moisture. Instead, a highly recommended and effective strategy involves fuel stabilization. The advice is to “fill the tank with stabilized/treated, non-ethanol fuel,” and then “turn the fuel on and run it for a few minutes.” After this, “top off the tank with more stabilized fuel to ensure it’s completely full.” This approach ensures that “a full tank has almost no air in it,” minimizing space for evaporation and preventing condensation from temperature changes, thus reducing the likelihood of fuel-related problems.
For optimal performance, running ethanol-free gas in your small-engine equipment all season is ideal, though it can be more expensive and not always readily available. A practical compromise for many users is to “use regular gasoline for most of your mowing season and then switch over to non-ethanol gasoline for the last one or two cycles of your gas usage.” This ensures that the stabilized, ethanol-free fuel is what remains in the system over the winter, offering maximum protection against the detrimental effects of stale fuel and ethanol breakdown. Remember, a high-quality fuel stabilizer can keep gas fresh for “12 to 24 months,” but it’s best to aim for about a one-year rotation.
The alternative of draining the fuel completely, while advocated by some, carries risks. If you do opt to drain, ensure you do it safely and thoroughly, perhaps using a siphon pump or carefully tipping the mower with safety in mind. However, the method of stabilizing a full tank is often preferred for its effectiveness in preventing issues like gummy residue clogging fuel lines and filters, which can lead to significant problems come spring. This single step can save you considerable frustration and expense.

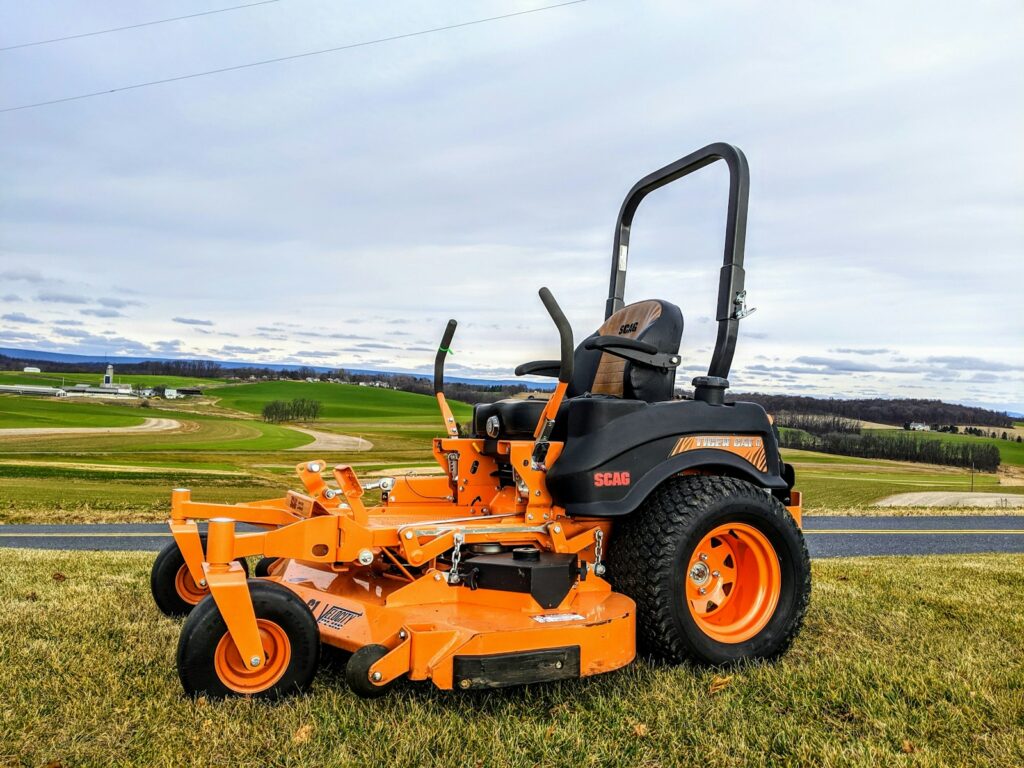
2. **Battery Care and Optimal Storage**Whether you operate a robust riding gas mower or the increasingly popular cordless electric model, proper battery care is paramount for winter storage. “Large gas-powered mowers, such as lawn tractors and zero-turn mowers, typically have a battery to power the starter, lights, and other accessories.” For electric models, batteries are quite literally “the lifeblood” of the machine. Neglecting them over winter, especially in cold, uninsulated environments, can severely shorten their lifespan and compromise their performance.
For lead-acid batteries, commonly found in riding mowers, it’s a “good idea to remove it for the winter and clean it to remove corrosion on the terminals or battery posts.” When tackling this task, “wear and eye protection” is non-negotiable, as corrosion can become airborne. A simple and effective solution is “water and baking soda to neutralize the corrosion and wipe it off with a rag or microfiber cloth.” Additionally, check the electrolyte levels on non-sealed batteries, topping off with distilled water if necessary to maintain proper function.
Lithium-ion batteries, prevalent in cordless electric mowers, have specific charging requirements for optimal storage. It’s crucial to “charge them to between 40- and 60 percent.” Unlike lead-acid batteries, which may benefit from a battery tender to keep them fully charged, lithium-ion batteries fare best with a partial charge during extended storage. Make it a habit to “check the charge level every two months or so, as lithium-ion batteries lose power over time,” and “partially recharge the batteries if they dip close to 20 percent or lower.”
The storage location itself is just as vital as the charge level. Batteries should be stored “in a cool, dark place such as a basement or insulated garage (but not near a furnace or heat source).” Avoid uninsulated sheds that see freezing temperatures. For riding mowers with a non-removable built-in battery, park it in a garage or covered area. A critical warning for lithium-ion batteries: if stored in a place that gets below freezing, “don’t leave it on a charger or try to recharge it, as some batteries (lithium-ion) should not be charged below 32 degrees F.” If this situation arises, move it to a warmer place or wait for a warmer day before attempting to recharge.
Read more about: Debunking the Three-Year Myth: 12 Crucial Insights into Enduring EV Battery Life and Performance
3. **Spark Plug Inspection and Replacement**For gas-powered lawn mowers, the spark plug is a small but mighty component, directly responsible for igniting the fuel-air mixture that powers your engine. Over time, spark plugs can degrade, accumulate carbon, or even develop cracks, all of which compromise engine performance and make starting difficult. “Most experts recommend replacing your spark plug every year” as part of routine maintenance. Even if it seems okay, a fresh plug can make a significant difference in reliability and efficiency.
Before proceeding with any inspection or replacement, safety is paramount. The first crucial step is to “disconnect the spark plug wire, and remove the old spark plug using a special spark plug socket (which is longer) or a spark plug wrench tool.” This simple act prevents any accidental engine starts while you’re working on the mower, a vital safety measure that should never be skipped. With the plug removed, you can then carefully inspect it.
Look for tell-tale signs of wear or damage. “If you see a lot of carbon build-up, rust, or cracks, it’s best to change it.” Oily residue or black deposits are also indicators that a replacement is due. Even if your old plug appears to be in good shape, consider that a new one will perform better for only a few extra dollars, offering peace of mind and ensuring a quicker start come spring. This is an inexpensive preventative measure with substantial benefits.
When installing a new spark plug, precision is key. First, “check the gap on the new plug, and use a gapping tool so it matches your manual’s specifications.” An incorrectly gapped plug can lead to misfires and inefficient combustion. Once gapped, “hand-tighten the new plug, and then give it another quarter-turn with the wrench.” It’s extremely important not to overtighten, as this “can strip the threads,” leading to costly engine repairs. Finally, and crucially, “Do not reconnect the spark plug wire until spring!” This maintains the safety lockout until the mower is truly ready for its first use.
Read more about: Your Engine Stalls? 14 Smart Fixes & Diagnostic ‘Tricks’ to Conquer Car Stalling, Starting Outside the Hood
4. **Engine Oil Change for Peak Performance**The engine oil in your gas-powered lawn mower is its lifeblood, lubricating moving parts and preventing excessive wear. Just like in a car, this oil degrades over time, collecting contaminants and losing its effectiveness. Storing a mower with old, degraded oil can lead to sludge buildup and potential engine damage. Therefore, changing the engine oil is a non-negotiable step in thorough winterization, particularly for 4-cycle mowers, where oil should be drained “at least once every spring or summer, or every 50 hours of use.”
To facilitate a smooth and complete oil drain, start by running the mower for about five minutes. “Warm oil flows more easily,” ensuring that more of the old, dirty oil is expelled from the system. Once the oil is warm, turn off the mower and allow the engine to cool slightly before proceeding. “Place an oil pan underneath or next to the mower,” and consider laying a tarp down to catch any spills or splatter, as you will be dealing with engine fluids.
Draining the oil from a walk-behind mower typically requires tipping it. When doing so, it’s imperative to orient the mower correctly. The “carburetor and air filter sections should be facing upwards to avoid oil contamination.” This also means ensuring the “oil spout is down,” which is “really the only logical way to drain the oil anyway.” For riding mowers, locate the drain plug and carefully remove it to allow the oil to flow into your collection pan. Once the oil has fully drained, replace the drain plug securely.
Refilling the engine with the correct type of fresh oil is equally important. Your mower’s manual will specify the appropriate oil, but “Most mowers use a thinner oil, typically SAE 30 or 10W-30.” A critical piece of advice: “Avoid using car oil in your mower, and use a small engine oil specifically designed for lawnmower engines instead.” Car oil is formulated for different operating temperatures and vibrations, and using it in a small engine “will work in a pinch, but you risk engine damage and voiding your warranty.” Remember to replace the oil filter if your mower has one, and always dispose of old oil responsibly at a local recycling center, mechanic, or auto parts store.
Read more about: Jalopnik Investigates: 12 Luxury Car Components That Buckle Under Winter’s Brutal Assault (And How to Keep Them Intact)

5. **Air Filter Service: Clean Air for a Healthy Engine**The air filter in a gas-powered lawn mower acts as the engine’s lungs, preventing dirt, dust, and debris from entering the combustion chamber. A clean air filter is vital for efficient engine operation, ensuring a proper air-fuel mixture. “A dirty, clogged filter restricts airflow, making your mower work harder,” reducing fuel efficiency and potentially shortening engine life. Servicing the air filter is a straightforward, yet impactful, winterization step for gas-powered units.
The first step is to remove the air filter, which is typically housed in an easily accessible compartment. Once removed, “inspect it carefully” to determine its type and condition. Air filters generally come in two main varieties: paper/fiber and foam. The approach to servicing differs significantly between them, so identifying your filter type is crucial before proceeding.
For “Paper and fiber filters,” the rule is simple: if they are dirty or damaged, they “should be replaced.” “Never try to clean them with water,” as this can ruin the paper element and compromise its filtering capabilities. A quick tap on the inside of a trash can might dislodge some loose debris, but beyond that, replacement is the best course of action to ensure optimal engine protection and performance.
If your mower has a “foam filter element,” you have the option to clean it. “you can use water and Dawn dish soap” to wash away accumulated grime and oil. After washing, it’s imperative to “make sure to rinse it well and let it air dry completely before reinstalling it.” Some sources also recommend lightly oiling a foam filter with engine oil after it’s dry, ensuring it’s ready to trap particles effectively. Reinstall the clean or new filter securely, ensuring a tight seal so unfiltered air does not bypass it. Remember, this step is exclusively for gas-powered mowers, as electric models lack this component.
Now that the internal workings of your mower are prepped for winter, it’s time to focus on its external components. This next section guides you through ensuring the physical integrity of your machine, from a thorough cleaning to blade maintenance and proper storage, ensuring that when spring arrives, your mower isn’t just running, but also looking and performing its best. These steps are crucial for preventing rust, corrosion, and wear that can silently diminish your mower’s lifespan during its dormant period.
Read more about: Hyundai-Kia Crisis: Towing Hitch Fire Risk Threatens Telluride and Palisade SUVs

6. **Thorough Mower Deck and Engine Cleaning**Before tucking your mower away for its winter nap, an exhaustive cleaning of the mower deck and engine is absolutely essential. Throughout the summer, grass clippings can accumulate and become caked onto the underside of the deck. If left unaddressed, this organic buildup can harbor moisture, leading to corrosion and rust. Neglecting this crucial step can also create an inviting environment for bugs and vermin, which you certainly don’t want nesting in your equipment over the colder months. Storing a clean mower not only looks better but significantly helps in preventing long-term damage.
To begin this task, it’s often easiest to tackle the toughest job first: the underside of the deck. For walk-behind models, prop one side of the mower up securely, perhaps using chunks of wood, to gain stable access. Remember to remove the blades prior to this step for safety and better access, as covered later. Using a plastic scraper or a putty knife, remove as much of the caked-on grass and mud as you can. If the buildup is particularly stubborn, a helpful tip is to soak the grass with a hose, allowing it to soften, and then retry scraping it off.
Once the heavy grime is removed, you can hose down the undercarriage, being mindful to keep water away from sensitive components like the engine, air filter, and any electrical parts, especially with cordless electric mowers where water can potentially cause damage. A soft scrub brush can be invaluable for dislodging any remaining caked-on dirt. After hosing, allow everything to dry completely. For an added layer of protection against rust and corrosion, apply a thin layer of WD-40 to the cleaned surfaces. After the deck is spotless, don’t forget the engine; wiping it down with a damp cloth to remove any dirt or debris, followed by drying with another towel, helps maintain its condition.
For cordless electric mowers, the cleaning process for the deck is largely similar to gas models, but with heightened caution around water. Always ensure that the batteries are removed before you commence any cleaning with water to prevent any accidental starts or damage to electrical components. This thorough cleaning not only prevents issues but also makes it easier to inspect other parts of the mower during winterization.
Read more about: Yard Work Transformed: 10 Robot Mowers We’ve Rigorously Reviewed for Your Perfect Lawn

7. **Blade Sharpening or Replacement for a Superior Cut**With the mowing season behind us, late fall presents the perfect opportunity to address the condition of your mower blades. Over time, blades can become dull, nicked, or even cracked, directly impacting the quality of your cut and the health of your lawn. A dull blade tears grass rather than cleanly cutting it, which can stress the turf and make it more susceptible to disease. Therefore, sharpening or replacing your blades is a key step in preparing your mower for efficient performance next spring.
Before handling any blades, safety must be your absolute priority. Always don thick gloves to protect your hands from sharp edges, and for gas mowers, ensure the spark plug wire is disconnected to prevent accidental starts. For electric models, always remove the batteries. To prevent the blade from moving while you work, a simple yet effective technique is to place a wooden two-by-four against it. Then, unscrew the bolts holding the blade in place with a socket wrench to safely remove it from the mower deck.
Once the blade is off, perform a meticulous inspection. Look closely for any signs of nicks, cracks, or excessive wear. If the blade exhibits significant damage, such as deep cracks or bends that cannot be corrected, it’s best to invest in a new pair to ensure optimal cutting performance and safety. For blades that are merely dull or have minor imperfections, sharpening is a viable option. You can choose to sharpen it yourself with a grinder blade or a tool file, or for a professional edge, take it to a local lawn mower repair shop or hardware store that offers this service.
After sharpening or replacing the blade, you can then reinstall it securely onto the mower. This step is consistent across both gas and cordless electric mowers, with the crucial distinction being the power source disconnection method. Having a sharp blade is not just about aesthetics; it contributes to a cleaner cut, which is vital for healthier grass, and also reduces the strain on your mower’s engine, ultimately leading to less wear and tear on your machine over time.
Read more about: Time-Tested Treasures: 15 Vintage Hand Tools That Have Endured, Becoming Surprisingly Valuable to Collectors Today
8. **Checking Belts and Cables for Wear and Tear**An often-overlooked but crucial aspect of winterization is a thorough inspection of your mower’s belts and cables. These components are vital for transmitting power and control, particularly in riding mowers, and their integrity directly impacts the safe and efficient operation of your machine. Over a season of rigorous use, belts can stretch, fray, or crack, while control cables for throttle, choke, or pull-start mechanisms can become worn or damaged, leading to unreliable performance or complete failure.
Take the time to give every accessible belt and cable a careful once-over. Pay close attention to the belts on riding mowers, as these endure significant tension and friction during operation. Look for any visible signs of fraying, cracking, glazing, or unusual wear patterns. A belt that is beginning to show these signs is a prime candidate for failure, which could leave you stranded in the middle of your yard next spring.
Similarly, inspect all control cables. Check for kinks, rust, frayed strands, or any areas where the outer casing might be compromised. Ensure they move freely and are not sticking or binding. If you discover any belts or cables exhibiting excessive wear, damage, or fraying, it is highly advisable to replace them now. Addressing these issues proactively during winterization can save you from frustrating breakdowns and potential repair costs when you’re eager to get back to mowing in the spring.
This preventative measure is particularly important because worn belts can affect everything from blade engagement to propulsion, while damaged cables can prevent your mower from starting or operating at the correct engine speed. Identifying and replacing these components ensures that all mechanical linkages are sound, contributing to the overall reliability and longevity of your lawn mower.
Read more about: Is a 2025 Certified Pre-Owned EV Your Smartest Move? A Comprehensive Kelley Blue Book Guide

9. **Lubricating Moving Parts for Smooth Operation**Just as your engine needs fresh oil, the various moving parts of your lawn mower require lubrication to maintain smooth, efficient operation and prevent premature wear or seizing. Throughout the mowing season, pivot points, linkages, and wheel bearings are exposed to dirt, moisture, and constant motion, which can lead to friction and corrosion. Addressing these areas with fresh lubricant before winter hibernation is a simple yet highly effective way to protect your investment and ensure fluid movement when spring returns.
Begin by identifying all the points of articulation and movement on your mower. This typically includes cables, pivot points, and the mechanisms for wheel height adjustment. For gas mowers, don’t overlook the choke and throttle linkages, as these are critical for engine control and can become stiff or sticky without proper lubrication. Applying a thin, even coating of a light machine oil or a spray lubricant, such as WD-40, to these areas will create a protective barrier against moisture and reduce friction.
If your mower is equipped with grease fittings, often found on riding mowers, now is the time to service them. Using a grease gun, pump fresh grease into these fittings until you see the old, potentially contaminated grease being expelled. This ensures that the bearings and joints are filled with clean, protective lubricant. Regularly greasing these points is vital for maintaining the structural integrity and smooth functionality of the mower’s moving components.
Once all the necessary parts have been lubricated, take a clean rag and wipe off any excess lubricant. This is an important step because leaving excessive oil or grease on surfaces can attract dirt and debris, potentially creating a sticky mess that could hinder rather than help movement. Proper lubrication prevents costly repairs due to seized parts and extends the overall life of your mower, guaranteeing it glides into action effortlessly come springtime.
Read more about: Decoding Your Car’s Cries: A Popular Mechanics Guide to Diagnosing Strange Noises, From Squeaks to Knocks

10. **Optimal Storage Preparation for Longevity**With all the internal and external maintenance completed, the final crucial step in winterizing your lawn mower is preparing it for optimal storage. The environment in which your mower rests during its off-season can significantly impact its longevity and readiness for spring. Proper storage goes beyond simply parking it; it involves safeguarding it from the elements, temperature extremes, and moisture that can cause silent, long-term damage.
Identify the best possible storage location for your mower. An ideal spot is clean, level, and well-ventilated, situated away from any heat sources. Crucially, it should be protected from moisture and extreme temperature fluctuations. A basement or an insulated garage typically offers better conditions than an uninsulated shed that experiences freezing temperatures, which can be particularly detrimental to batteries if not removed.
Consider practical aspects of storage. If your mower’s handle folds down, take advantage of this feature to conserve space, especially in smaller storage areas. For mowers with inflatable tires, placing cardboard underneath them can prevent flat spots from developing over several months of static pressure. These small steps contribute to maintaining the physical condition of your mower, ensuring everything is in top shape when you retrieve it.
Finally, once your mower is in its designated storage spot, cover it with a breathable tarp or a specifically designed mower cover. This protective layer shields it from dust, debris, and incidental damage while allowing for air circulation to prevent moisture buildup. If, despite your best efforts, you have no choice but to store your mower in a damp area, consider placing moisture absorbers around it. These can help mitigate the effects of humidity, further protecting your investment from corrosion and ensuring it’s ready to tackle the growing season as soon as spring arrives.
Read more about: How to Master Classic Car Winterization: An In-Depth Guide for Safeguarding Your Cherished Vehicle Through the Cold Months
As the final blades of grass fall and winter approaches, it’s clear that your lawn mower deserves more than just a quick park in the shed. These comprehensive winterization steps—from meticulous fuel management and battery care to thorough cleaning, blade maintenance, and thoughtful storage—are not just chores, but vital investments in the longevity and reliable performance of your machine. Taking the time for this annual ritual ensures that when the vibrant green returns, your mower will fire up eagerly, ready to help you cultivate a beautiful lawn without the frustration of preventable issues. Your proactive approach now means less hassle and more efficient mowing later, proving that a little effort in the fall yields big rewards in the spring.”


