

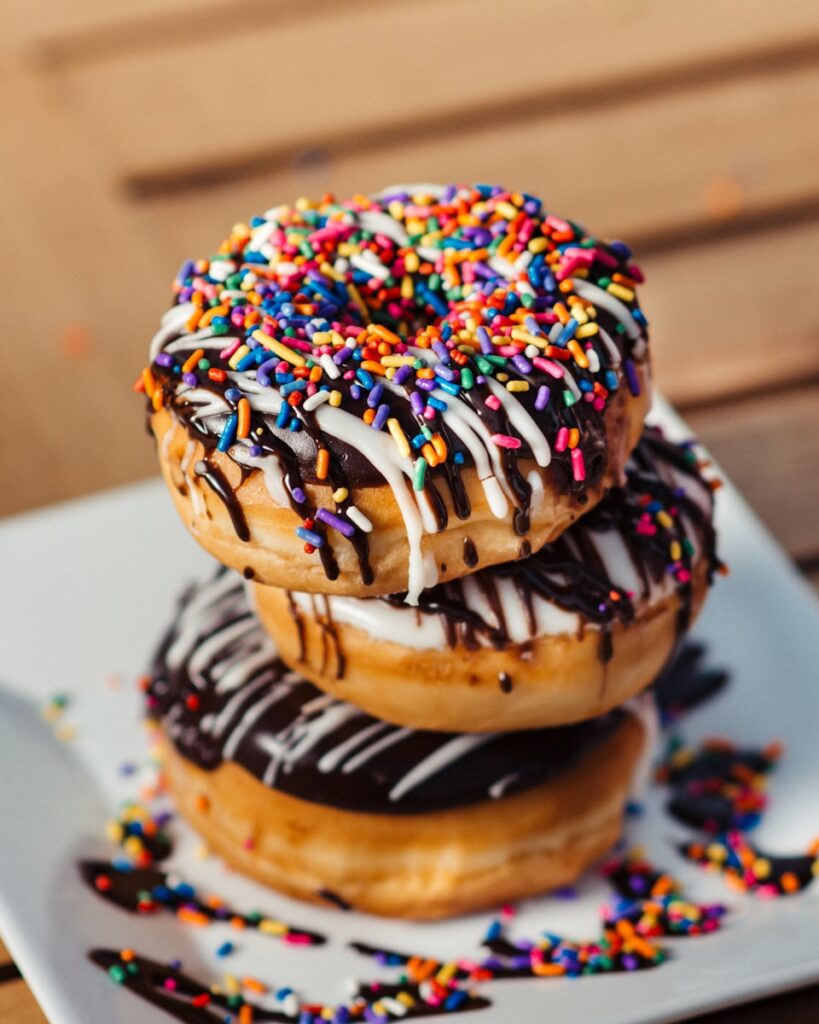
Okay, folks, buckle up your taste buds because we’re about to embark on a seriously delicious journey. We all know the struggle: you *try* to eat healthy, you *really* do, but then a recipe pops up that makes your willpower crumble faster than a shortbread crust. Honestly? Some things are just too good to resist. Today, we’re throwing caution to the wind to celebrate the absolute magic that is a dessert bar.
These aren’t just any dessert bars; these are the kind of treats that make you close your eyes in pure bliss, disappearing faster than you can say “seconds,” and leaving you dreaming about them long after the last crumb is gone. From zesty, refreshing bites to gooey, chocolatey dreams, we’ve rounded up some seriously irresistible creations perfect for *every* occasion – or, let’s be real, just because it’s Tuesday.
So, if you’re ready to indulge your sweet tooth and discover new favorites, grab your apron, preheat that oven, and prepare for a serious dose of sugary happiness. Life’s too short for boring desserts, right? Let’s dive into these absolute showstoppers, starting with bright and cheerful flavors guaranteed to bring a smile to your face.
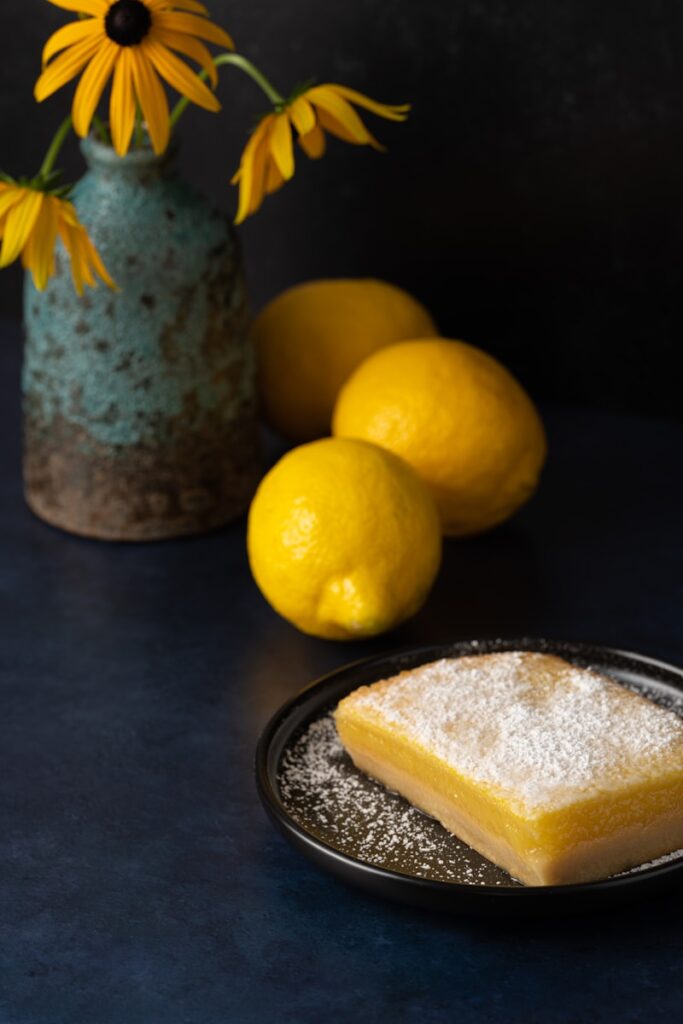
1. **Classic Lemon Bar with a Buttery Crust**Is there anything more perfectly balanced than a classic lemon bar? It’s a ray of sunshine in dessert form, hitting that sweet spot between zesty tang and comforting sweetness. Perched on a buttery, crumbly crust that practically melts in your mouth, this isn’t just a dessert; it’s an experience, perfect for summer picnics or simply because you deserve a treat.
The beauty lies in its simplicity and the pure, unadulterated flavor of fresh lemon. You start with that amazing crust – a delightful blend of all-purpose flour, softened unsalted butter, and powdered sugar. Using your fingers to blend the butter into the flour is pure genius, creating a flakier, more irresistible base. Bake for about 20 minutes until lightly golden.
Then comes the magic: the vibrant lemon filling. Whisking together eggs, granulated sugar, a touch of flour and baking powder, and the star players: fresh lemon juice and zest. Trust us, skipping bottled juice here is key; that fresh-squeezed goodness makes *all* the difference. Pour the smooth, zesty mixture right over the hot crust as soon as it comes out of the oven.
Another 25 minutes in the oven, and you’ve got a filling that’s perfectly set, bright, and utterly delicious. The hardest part? Waiting for them to cool completely on a wire rack before cutting. But it’s worth the wait! Dust them with powdered sugar or serve alongside fresh berries, and you’ve got a crowd-pleaser that’s as pretty as it is palatable.
Read more about: Mastering the Art of No-Bake Desserts: 11 Foolproof Strategies to Achieve Perfect Setting Without Gelatin

2. **Decadent Chocolate Peanut Butter Bars**Alright, peanut butter and chocolate lovers, gather ’round! These Decadent Chocolate Peanut Butter Bars fulfill all your wildest, sweetest cravings. You know those days when you just need something rich, creamy, and undeniably indulgent? These are your new best friends. They’re the ultimate power couple, blending creamy peanut butter with luscious, rich chocolate in one easy-to-make treat.
The base for these beauties is pure genius. You’re mixing creamy peanut butter with melted unsalted butter until it’s perfectly smooth, then gradually adding powdered sugar and graham cracker crumbs. This creates a dense, flavorful foundation that you firmly press into a parchment-lined baking dish. The tip about adding a tablespoon of melted butter if the mixture seems too dry? An absolute lifesaver.
But wait, there’s more! The topping is where the real decadence comes in. Semi-sweet chocolate chips and milk are gently melted together in a saucepan until they form a silky-smooth, pourable chocolate dream. It’s crucial not to overheat the chocolate here; we want it glossy and fluid, not seized. This rich, velvety layer gets poured right over your peanut butter base, making for a stunning contrast.
The final (and arguably most challenging) step is the waiting game. These bars need at least two hours in the fridge to let that chocolate layer set up beautifully. For those picture-perfect, clean cuts, a warm knife is your secret weapon. Serve them slightly chilled for a firmer bite or at room temperature for a softer, meltier experience. Either way, they’re a showstopper, whether you’re sharing or savoring every bite solo.
Read more about: 14 Major Cooking Oils That Flat-Out Refused to Reach a High Smoke Point Safely: A Deep Dive for the Discerning Cook

3. **Chewy Oatmeal Raisin Dessert Bars**Picture this: biting into a soft, chewy bar bursting with the wholesome goodness of oats and delightful, sweet explosions of raisins. Sounds like pure comfort, right? These Chewy Oatmeal Raisin Dessert Bars are exactly that, perfect for a quick breakfast, a satisfying snack, or just when you need an edible hug. They’re truly a hit any time of day.
Starting with the base, you cream together softened unsalted butter with both brown and granulated sugar until it’s light and fluffy. The secret? Room temperature butter! It blends so much easier. Eggs are then beaten in one at a time, followed by a splash of vanilla extract, building up a rich, aromatic foundation for our bars.
Next, the dry ingredients — flour, baking soda, cinnamon, and salt — are whisked together and gradually added to the creamed mixture, forming the core of our chewy delight. Then, the stars of the show: three cups of old-fashioned oats for that hearty texture, and a cup of raisins.
Here’s a pro tip: soaking those raisins in warm water for about 10 minutes before adding them keeps them wonderfully moist and plump, preventing them from drying out. Once mixed and spread evenly, it bakes to golden perfection. Look for golden brown edges but a still-soft center. Let them cool, slice ’em up, and get ready for a chewy, spiced sensation. Serve them warm with a scoop of vanilla ice cream for an extra special treat!
Read more about: Unlock Snacktime Success: 14 Easy & Nutritious Ideas for Every Kid (and Parent!)
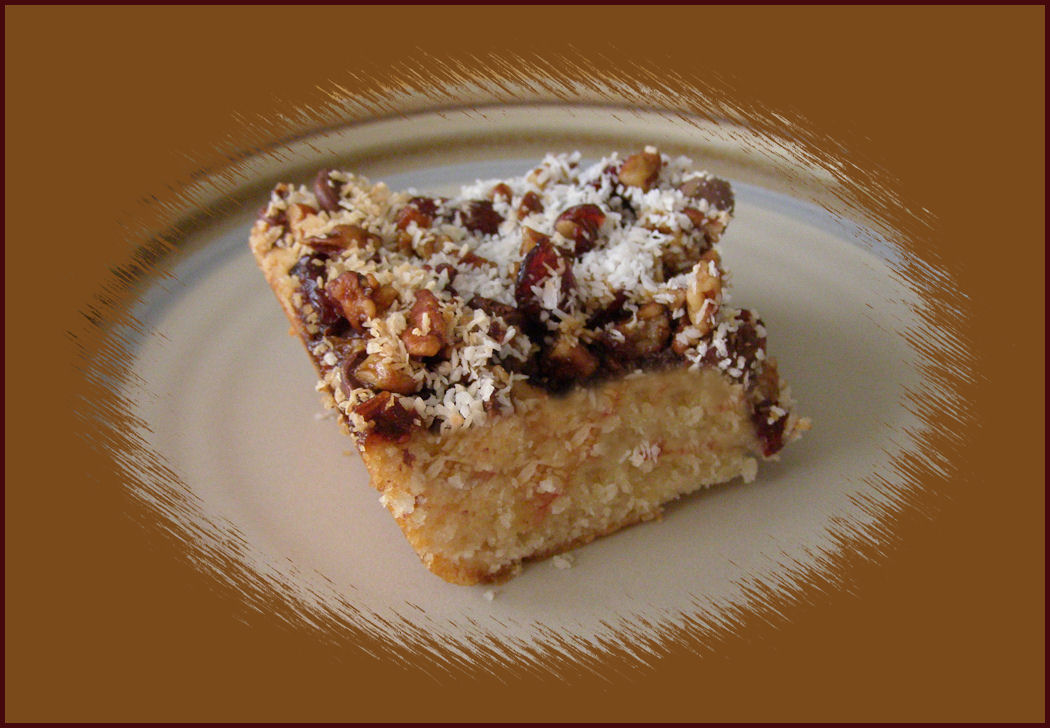
4. **Rich Caramel Pecan Turtle Bars**Ready to elevate your dessert game? These Rich Caramel Pecan Turtle Bars are about to become your new obsession. If you’re craving something sweet, crunchy, and utterly indulgent, then this is your next kitchen adventure. Imagine gooey caramel, delightfully crunchy pecans, and smooth chocolate, all piled high on a perfectly buttery shortbread crust. Yes, it’s as good as it sounds.
It all kicks off with that incredible shortbread crust, surprisingly simple to make. Just melt unsalted butter, mix it with granulated sugar, all-purpose flour, and a pinch of salt until a crumbly dough forms. It should be crumbly but hold together when pressed – a sign of shortbread perfection. This gets pressed evenly and pre-baked to a beautiful, light golden crispness.
The moment it comes out of the oven, the real fun begins! Immediately sprinkle a generous layer of pecan halves over the hot crust. Then, get ready for the star: warm caramel sauce. Pour it gently over those pecans, spreading it out to coat every single nut in its sticky, sweet embrace. If caramel is thick, a quick warm-up makes it wonderfully pourable, creating that iconic “turtle” effect.
For the grand finale, a shower of semi-sweet chocolate chips goes over the caramel. A quick 5-minute return to the oven just until the chocolate starts to melt, then a gentle spread creates that smooth, glossy finish. The hardest part is the wait: cooling at room temperature, then a stint in the fridge. The contrast between crisp shortbread, sticky caramel, and smooth chocolate makes these bars an absolute masterpiece.
5. **Tangy Raspberry Almond Bars**Calling all sweet tooths with a penchant for a little zing! These Tangy Raspberry Almond Bars perfectly blend sweet and tart in one absolutely irresistible package. With a crunchy almond base that provides the ideal counterpoint to the vibrant fruit, these bars will have you reaching for seconds before you’ve even finished your first. Get ready for a flavor explosion!
The foundation of these beauties is a buttery, crumbly crust made from all-purpose flour, granulated sugar, and a touch of salt, blended with cold, cubed unsalted butter. The magic is in the cold butter, which helps create that coarse, crumbly texture that bakes up into a delightfully sturdy yet tender base. Press it firmly into your parchment-lined pan and give it a quick bake until lightly golden. Chilling beforehand can prevent shrinking.
While your crust gets its golden glow, it’s time to prepare the star: the raspberry filling. We’re warming up a cup of glorious raspberry jam with a splash of fresh lemon juice in a small saucepan until wonderfully smooth and spreadable. This simple step intensifies the raspberry flavor and adds that crucial tangy note that makes these bars sing.
Once your crust is out of the oven, immediately spread that warm, luscious jam evenly over the top. Then, for that fantastic crunch, sprinkle a generous half-cup of sliced almonds over the jam layer. Back into the oven for another 20 minutes, just until those almonds are lightly toasted and fragrant. Let them cool completely before slicing. The contrast between rich buttery crust, bright tangy raspberry, and crunchy almonds? Pure dessert poetry.
Read more about: Seriously, Where Did They Go? 14 Beloved Ice Cream Flavors That Vanished From Our Freezers!
6. **Gooey S’mores Dessert Bars**Hold up, everyone! You simply cannot go wrong with s’mores. That classic campfire treat of toasted marshmallow, melty chocolate, and crunchy graham cracker? Iconic. But what if we told you there’s a way to get all that gooey, chocolatey, marshmallowy goodness without the campfire, smoke, or sticky fingers? Enter the Gooey S’mores Dessert Bars!
These bars are all about capturing that quintessential s’mores experience in a much simpler, oven-friendly format. It starts with the graham cracker base – a perfect mix of graham cracker crumbs, melted unsalted butter, and granulated sugar. This gets pressed firmly into a parchment-lined pan, creating that essential crunchy foundation that every s’more needs. Make sure to really press it down for a solid base.
Next up, we load it with chocolate! A generous layer of milk chocolate chips is sprinkled evenly over the graham cracker base. Here’s a pro tip for serious chocolate lovers: add an extra half-cup of chocolate chips if your heart desires, because more chocolate is never a bad idea. A quick trip to the preheated oven for just 5 minutes, enough for the chocolate to get nice and melty.
Now for the pièce de résistance: the marshmallows! As soon as those bars come out of the oven, immediately top them with a mountain of mini marshmallows. For an *really* authentic touch, grab a kitchen torch and lightly toast those marshmallows for that perfectly browned, slightly smoky s’mores flavor. Back in the oven for just 3 more minutes, until they’re puffed up and gloriously golden.
Once they’re out, let them cool completely before lifting them out and slicing into squares. Imagine biting into that perfect combination of crunchy graham cracker, melty chocolate, and fluffy, toasted marshmallow. Serve them slightly warmed for an extra gooey factor, or even better, pair them with a scoop of vanilla ice cream for the ultimate dessert experience. You’re welcome.
Okay, we’ve already devoured six amazing dessert bars, but trust us, the indulgence doesn’t stop there! We’re diving back in for six more unbelievable treats that are absolutely worth every single bite. Get ready for a journey through tropical delights, fudgy dreams, and classic comforts, each one a unique escape from the ordinary and a guaranteed smile-maker. Who needs a diet when dessert tastes *this* good?

7. **Creamy Coconut Lime Bars**So, you’re craving something sweet but with a tropical twist? These Creamy Coconut Lime Bars are about to become your new obsession! They’re the perfect blend of tangy and sweet, delivering a zesty kick balanced by a lush, creamy texture. All of this deliciousness is perched on a buttery crust that’ll have you coming back for seconds before you know it. It’s like a mini-vacation in every bite!
The journey to tropical bliss starts with a fantastic graham cracker crust. You’ll mix those sweet crumbs with melted unsalted butter and granulated sugar until it’s perfectly combined. The trick here is to really press that mixture firmly into your parchment-lined pan. This ensures you get a solid, delicious base that won’t crumble apart when you go to slice these beauties. After a quick 10-minute bake, let it cool just a tad while you work on the filling.
Now for the star of the show: the creamy lime filling. Whisk together a can of sweetened condensed milk, a generous half-cup of fresh lime juice, and a tablespoon of lime zest until it’s wonderfully smooth. Seriously, using fresh lime juice makes *all* the difference in achieving that bright, authentic flavor. Pour this vibrant mixture over your slightly cooled crust, then sprinkle a full cup of shredded coconut on top for a delightful texture and added tropical essence.
Back into the oven for just 15 minutes, or until the filling is set but still has a slight jiggly center – that’s how you know it’ll be perfectly creamy. Then comes the hardest part: letting them cool completely at room temperature, followed by at least two hours in the fridge. Before serving, a final flourish: whip heavy cream and powdered sugar until stiff peaks form, then dollop it generously on top. Out of the fridge, these bars are cool, creamy, and boast a zesty lime punch that’s simply irresistible.
Read more about: Avoid These 12 Barbecue Blunders: Your Ultimate Guide to Mastering the Grill for Edible Success

8. **Fudgy Brownie Cheesecake Bars**Delicious doesn’t even begin to describe these Fudgy Brownie Cheesecake Bars. Prepare yourself for a match made in dessert heaven, where the rich, chocolatey goodness of a fudgy brownie perfectly swirls with a layer of creamy, tangy cheesecake. This isn’t just a dessert; it’s an experience, promising absolute bliss in every single bite. If you’re torn between a brownie and cheesecake, why choose when you can have both?
The foundation for this masterpiece is a classic, deeply fudgy brownie batter. You start by melting unsalted butter and whisking in granulated sugar until it’s beautifully combined. Then, three large eggs and a splash of vanilla extract are beaten in, creating a smooth, rich base. The dry ingredients — all-purpose flour, cocoa powder, and a touch of salt — are sifted together and gently folded into the wet mixture until just combined. This luscious brownie batter is then spread evenly into your prepared baking pan, ready for its creamy companion.
But wait, there’s more! The cheesecake layer is where the magic truly unfolds. Beat softened cream cheese until it’s silky smooth, then add sour cream, powdered sugar, and the remaining egg, mixing until you have a luxuriously creamy concoction. This tangy, sweet cheesecake mixture is then dropped spoonful by spoonful over the brownie batter. The fun part? Using a knife to gently swirl the two layers together, creating those beautiful marbled patterns that make these bars so visually appealing.
Into the oven they go for about 25-30 minutes, or until the edges are set but the center still has that signature slight jiggly softness. Allowing them to cool completely in the pan before cutting is crucial for perfect slices. These bars are best enjoyed chilled, offering a divine contrast between the dense, fudgy brownie and the light, tangy cheesecake. For an extra indulgent touch (because why not?), serve them with a scoop of vanilla ice cream. Pure perfection!
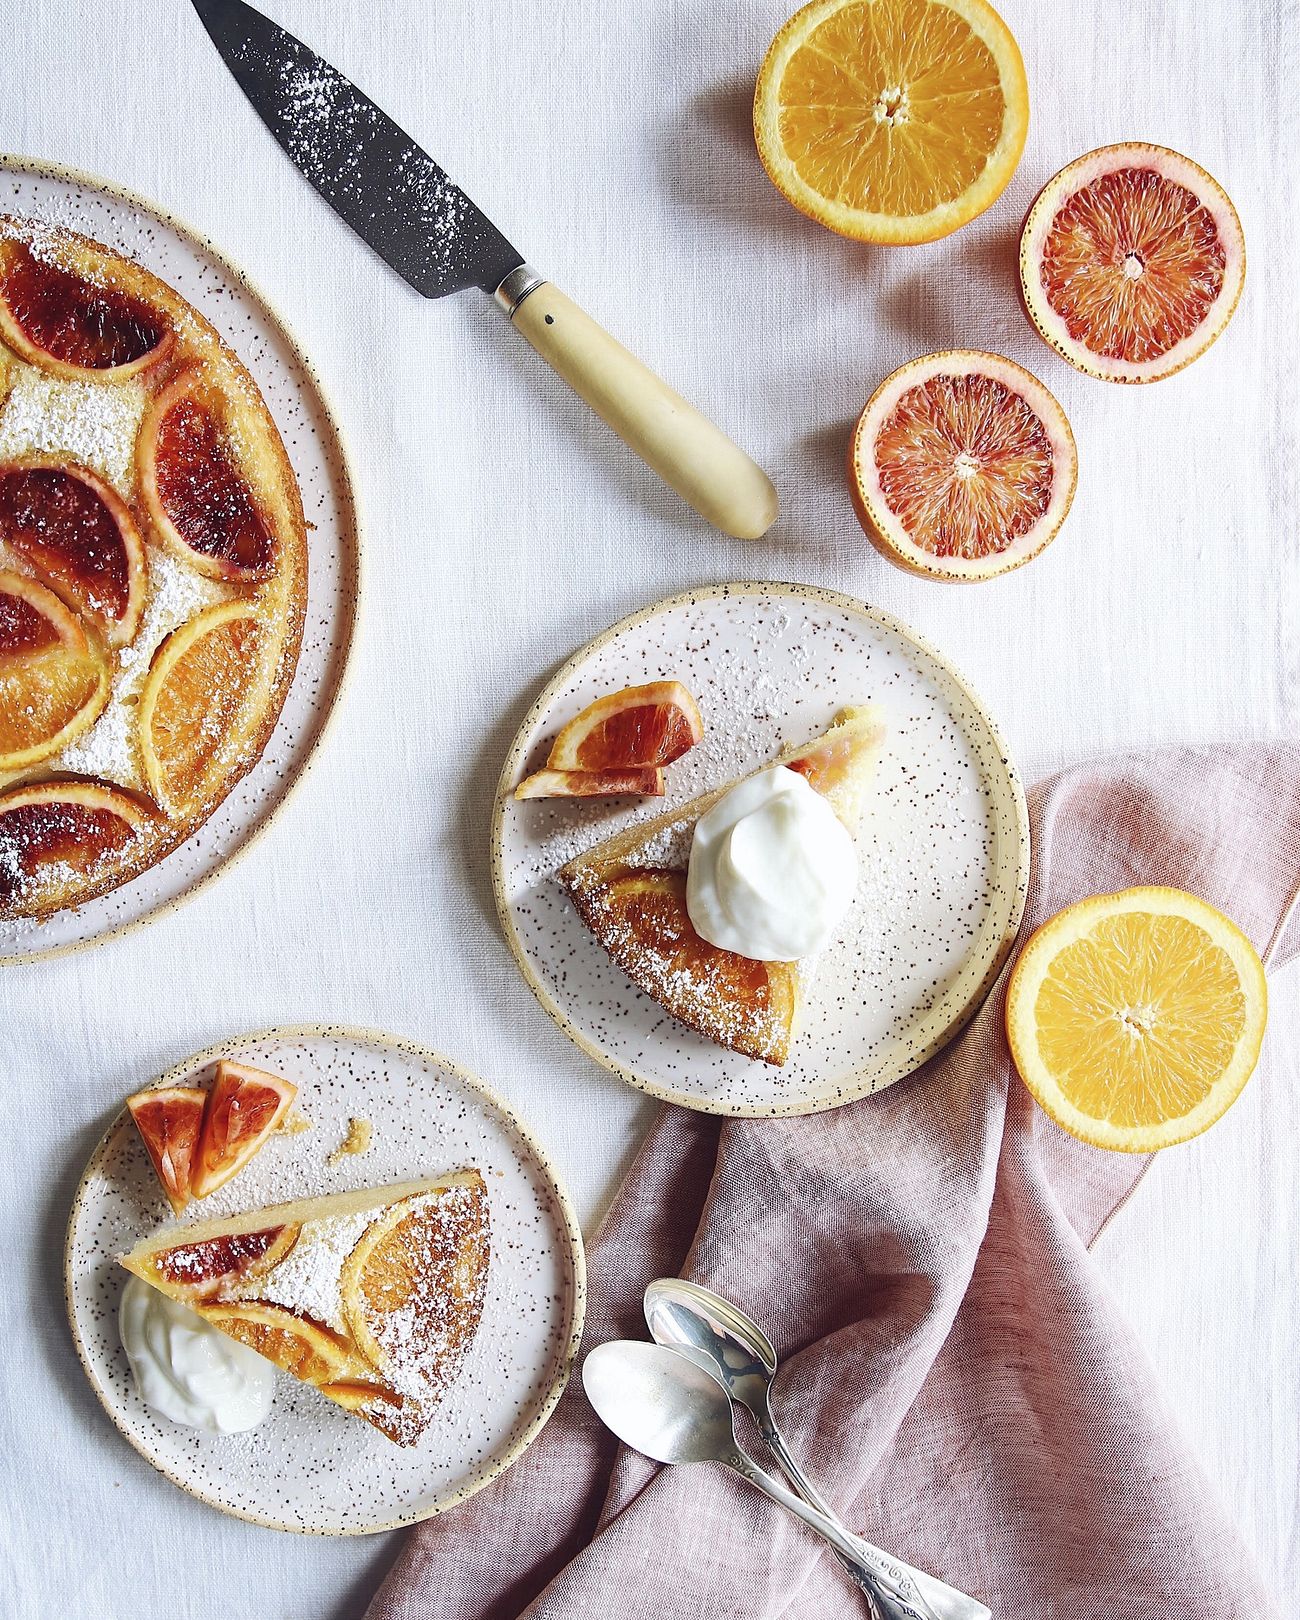
9. **Zesty Orange Creamsicle Bars**Mmm, imagine biting into a bar that tastes *just* like the classic orange creamsicle you absolutely adored as a kid, but with an irresistible zesty twist that makes it even better. These Zesty Orange Creamsicle Bars are about to transport you back to those carefree summer days with their perfect blend of tangy and sweet, all wrapped up in a creamy texture that simply melts in your mouth. They’re like sunshine in dessert form!
Kicking things off, we build a solid base with a simple yet effective graham cracker crust. You’ll combine graham cracker crumbs, melted unsalted butter, and granulated sugar, then firmly press this mixture into a parchment-lined pan. This step is super important to ensure your crust is nice and firm, providing the perfect counterpoint to the creamy filling. After a quick 10-minute bake, set it aside to cool completely – patience is a virtue here!
Now for the star of the show: the incredibly light and airy creamsicle filling. In a large bowl, whip heavy cream until glorious stiff peaks form. Here’s a pro tip: chilling your bowl and beaters in the freezer for about 10 minutes beforehand can work wonders for achieving those perfect peaks! Then, gently fold in sweetened condensed milk, fresh orange juice, two tablespoons of vibrant orange zest, and a teaspoon of vanilla extract. Remember to fold slowly to keep the mixture wonderfully light and airy.
Pour this dreamy, citrusy filling evenly over your cooled crust and smooth the top with a spatula. The final step before pure bliss? Freezing for at least four hours, or until it’s perfectly set. These creamy, dreamy bars burst with citrus flavor, making them an ultimate refreshing summer treat. Serve them chilled, straight from the freezer, for an impressive dessert that will have everyone asking for the recipe!

10. **Crunchy Toffee Almond Bars**Oh, you’re going to absolutely *love* these Crunchy Toffee Almond Bars. Seriously, they’re the perfect mix of sweet, nutty, and downright addictive – the kind of treat that vanishes from the plate almost immediately. And the best part? They’re super easy to make, which means you can whip them up anytime a craving for something truly special hits. Get ready for a flavor and texture explosion!
The journey to these irresistible bars starts with a simple yet rich dough. You’ll melt unsalted butter and combine it with granulated sugar until perfectly smooth. Then, a dash of vanilla extract and a large egg yolk are stirred in, creating a luxurious base. Gradually, all-purpose flour and a pinch of salt are mixed in to form a dough. Remember not to overmix here; we want those bars to stay wonderfully tender.
Once your dough is perfectly pressed into a parchment-lined baking pan, it’s time for the delicious toppings! A generous scattering of toffee bits and sliced almonds goes right over the dough. Don’t be shy; gently press them lightly into the surface to ensure they stay put and meld beautifully during baking. This combination creates an incredible texture – that delightful crunch that complements the chewy blondie base so perfectly.
Into the oven they go for 25-30 minutes, or until the edges turn a beautiful golden brown. Make sure to check them around the 25-minute mark to prevent any overbaking, keeping them perfectly tender. Let them cool completely on a wire rack before cutting into squares with a sharp knife for clean, picture-perfect slices. These bars are all about that satisfying crunch and the rich, irresistible toffee flavor. For an extra special treat, serve them with a generous scoop of vanilla ice cream – pure magic!
Read more about: The ’80s Mystery: 14 Candy Bars That Vanished From Convenience Stores
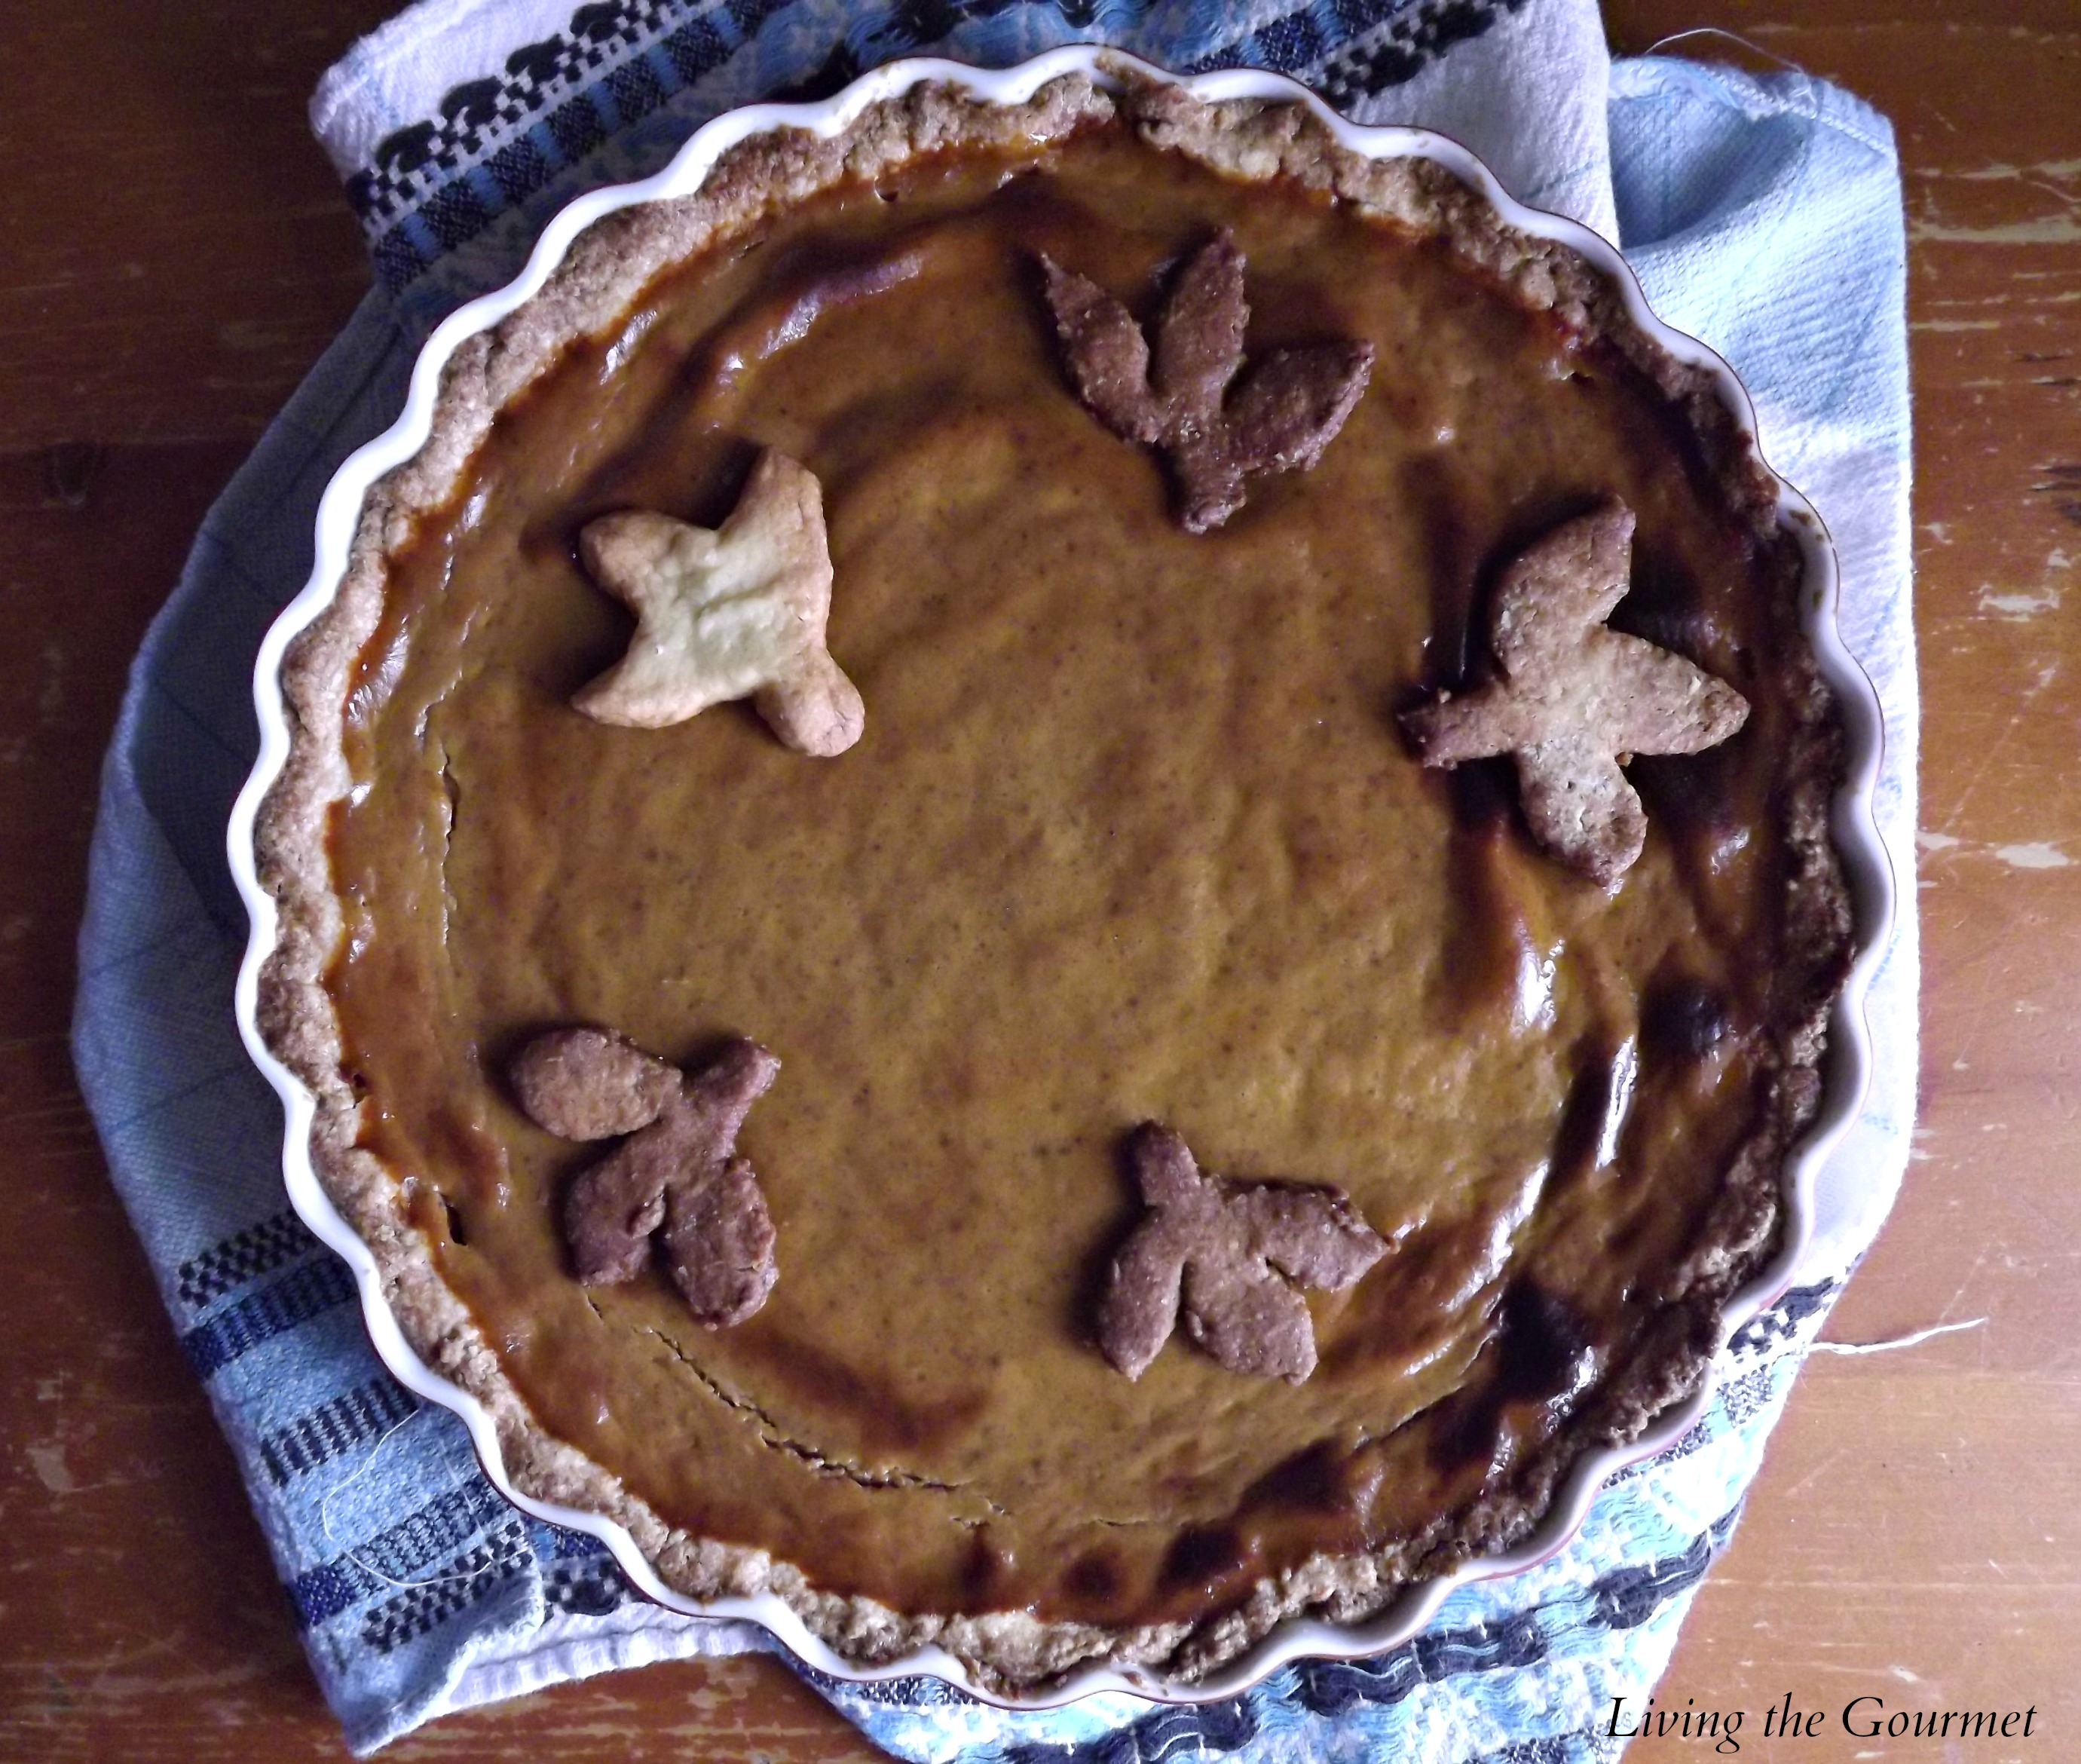
11. **Spiced Pumpkin Pie Bars**Now that the cozy season is upon us (or, let’s be honest, whenever you’re craving those warm, comforting flavors!), you’re probably yearning for something sweet and wonderfully spiced. Well, these Spiced Pumpkin Pie Bars are your ultimate answer! They effortlessly combine all the glorious tastes of fall into one incredibly easy-to-make, utterly satisfying treat. Get ready to embrace the warmth!
Crafting these autumnal delights begins by whisking together a can of pumpkin puree with both granulated and packed brown sugar, two large eggs, and a teaspoon of vanilla extract until the mixture is beautifully smooth. In a separate bowl, the dry ingredients—all-purpose flour, salt, baking soda, and a fragrant blend of ground cinnamon, ginger, nutmeg, and cloves—are combined. Gradually, these dry spices are folded into the wet ingredients, stirring just until combined. A pro tip here: avoid overmixing, as that can lead to bars that are tougher than we want!
Finally, a stream of melted unsalted butter is poured into the batter and mixed until it’s fully incorporated, adding that crucial richness. This beautifully spiced batter is then spread evenly into your prepared pan. Use a spatula to smooth the top for even baking – because we want every single piece to be equally perfect, right?
Bake for 25-30 minutes, or until a toothpick inserted into the center comes out clean. Remember, these bars will continue to set as they cool, so resist the urge to overbake them! Allow them to cool completely in the pan on a wire rack before slicing into squares. You’ll adore the soft, cake-like texture of these bars, kissed with just the right amount of warm, inviting spice. Serve them with a delightful dollop of whipped cream or a scoop of vanilla ice cream for that extra special, comforting treat.
Read more about: Seriously, Where Did They Go? 14 Classic Desserts That Totally Vanished From Our Tables
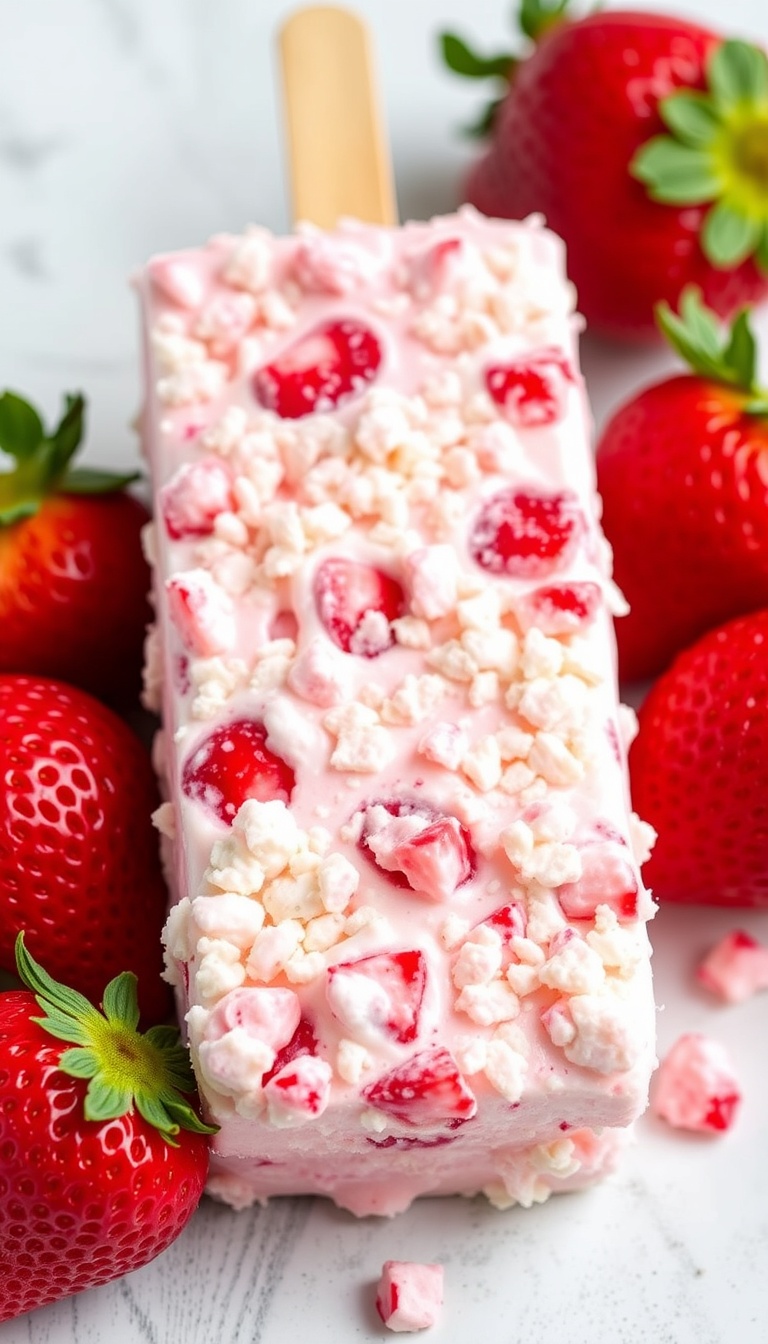
12. **Sweet Strawberry Shortcake Bars**You know those days when you’re craving something sweet, fruity, and utterly delightful but really don’t want to spend hours fussing in the kitchen? These Sweet Strawberry Shortcake Bars are your absolute answer! They’re easy to whip up, undeniably delicious, and truly perfect for any occasion – whether it’s a casual weeknight treat or a lovely addition to a spring gathering. Get ready for a burst of fresh flavor!
The magic begins with a buttery, crumbly base that’s half crust, half topping. You’ll combine all-purpose flour and granulated sugar, then cut in cold, cubed unsalted butter until the mixture resembles coarse crumbs. This cold butter technique is key for that lovely, tender texture! Press half of this glorious crumb mixture into the bottom of your parchment-lined pan to form an even layer. A quick 15-minute bake until lightly golden gives it a head start, and chilling it beforehand can even prevent shrinking!
While your crust bakes to perfection, turn your attention to the vibrant strawberry filling. Toss fresh diced strawberries with a splash of lemon juice and a sprinkle of powdered sugar in a bowl. This simple step enhances their natural sweetness and adds a touch of brightness. Once your crust is out of the oven, spread this juicy strawberry mixture evenly over the top, creating a beautiful, colorful layer.
For the grand finale, sprinkle the *remaining* crumb mixture evenly over the strawberries. For an extra textural kick, you could even add a handful of chopped nuts to this topping – just sayin’! Bake for another 25 minutes, or until the topping is golden and those strawberries are bubbling with fruity goodness. Let them cool completely (we know, it’s tough!) before slicing. The combination of a buttery, crumbly base with a juicy, sweet strawberry center makes these bars an absolute hit. Serve them with a dollop of whipped cream or a scoop of vanilla ice cream for an extra, irresistible treat!
Read more about: Unlocking the Emerald City: Your Ultimate Guide to Seattle’s Most Incredible Experiences
Phew! What a sweet, sweet ride! We’ve journeyed through an amazing baker’s dozen of dessert bars, each one a testament to the fact that sometimes, you just *have* to indulge. From zesty citrus dreams to rich chocolatey concoctions and spiced autumnal comforts, these bars are more than just desserts; they’re little moments of pure joy, designed to make your taste buds sing and your heart happy. So go ahead, throw that diet out the window for a moment, grab an apron, and get baking! Life is too short not to enjoy these absolutely irresistible slices of happiness. Which one will you try first?


