

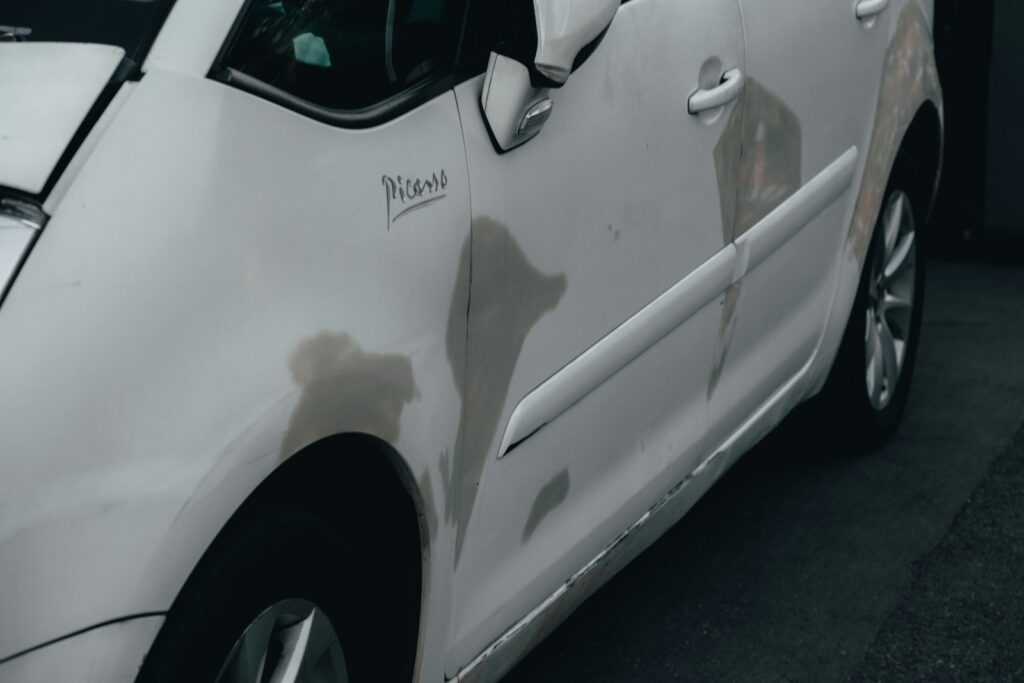
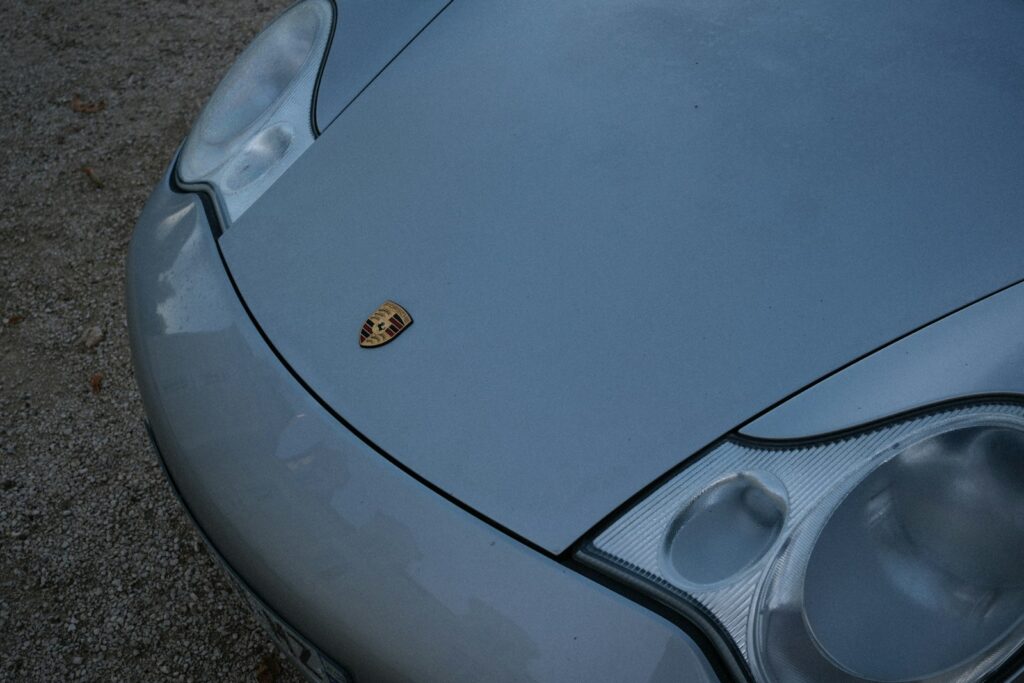
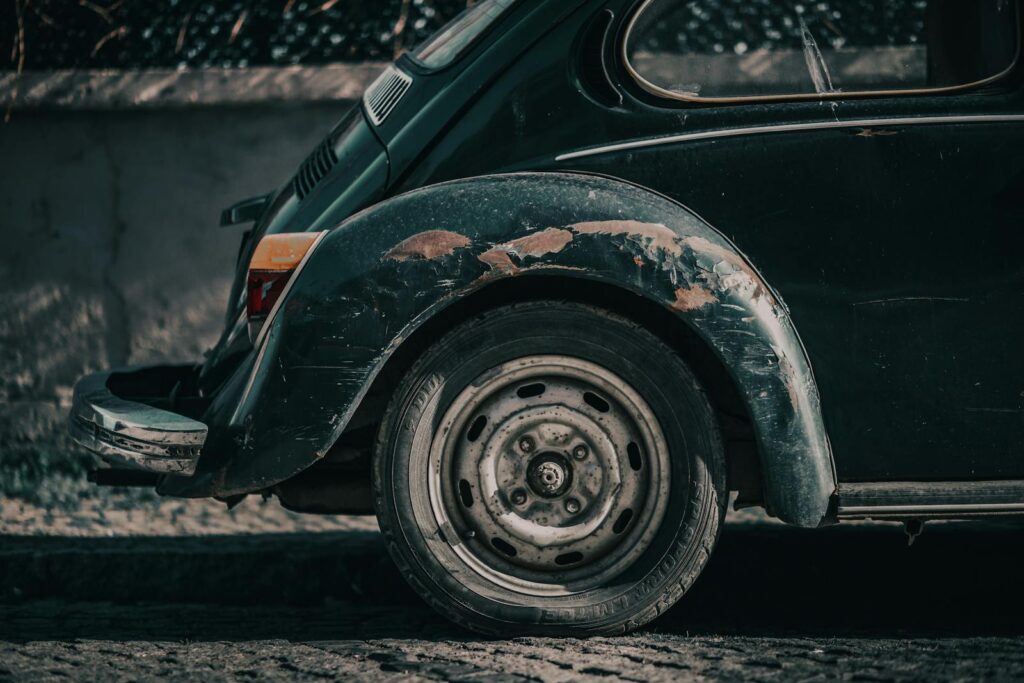
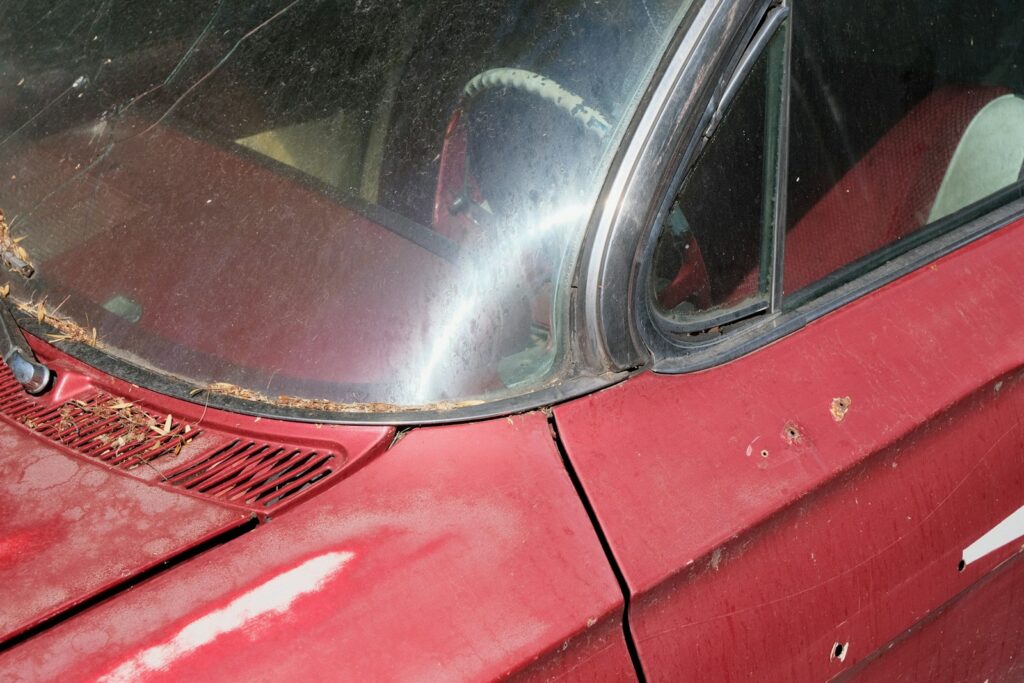
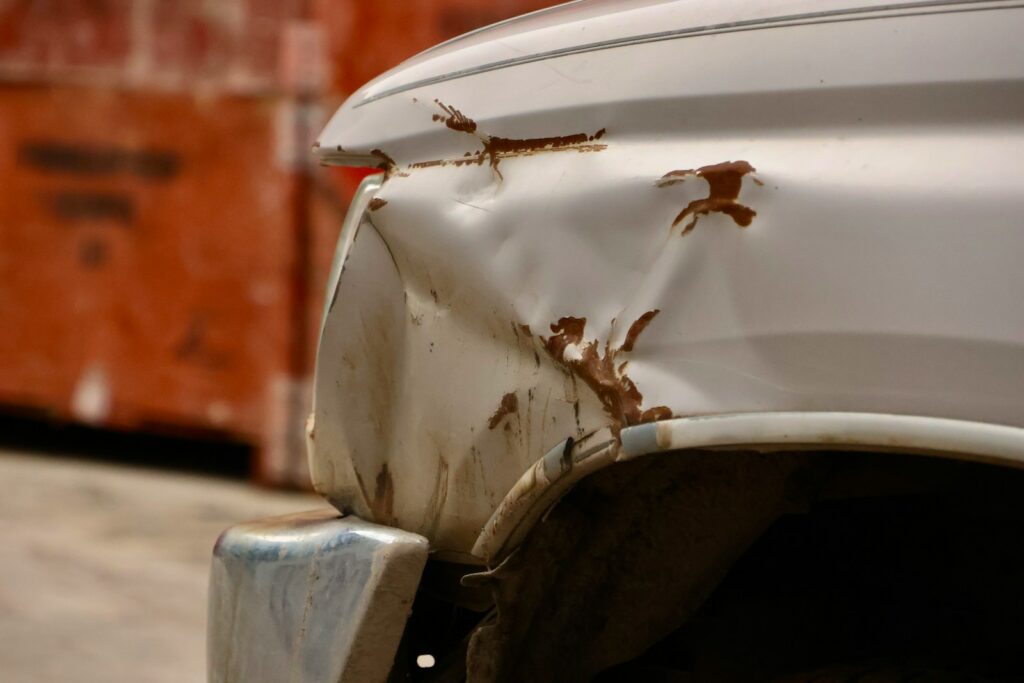
Few things can make a car owner’s heart sink faster than discovering a deep, unsightly scratch marring their vehicle’s pristine paintwork. Whether it’s the aftermath of a rogue shopping cart, a tight parking spot encounter, or an unfortunate brush with an overgrown bush, these imperfections can feel like permanent battle scars, diminishing both the car’s aesthetic appeal and its long-term value.
But before you panic and resign yourself to a costly visit to the body shop, take a deep breath. The good news is that a surprising number of these so-called ‘deep’ scratches can be effectively repaired right at home. With the right knowledge, a few essential tools, and a healthy dose of patience, you can restore your car’s finish to its former glory and save a significant amount of money in the process.
This in-depth guide is designed to empower you with the expertise of a seasoned detailer, providing actionable, step-by-step instructions and debunking common myths. We’ll explore proven DIY techniques, from initial assessment to advanced finishing touches, ensuring your ride looks sharp and turns heads for all the right reasons. Get ready to transform those frustrating imperfections into a satisfying DIY success story.
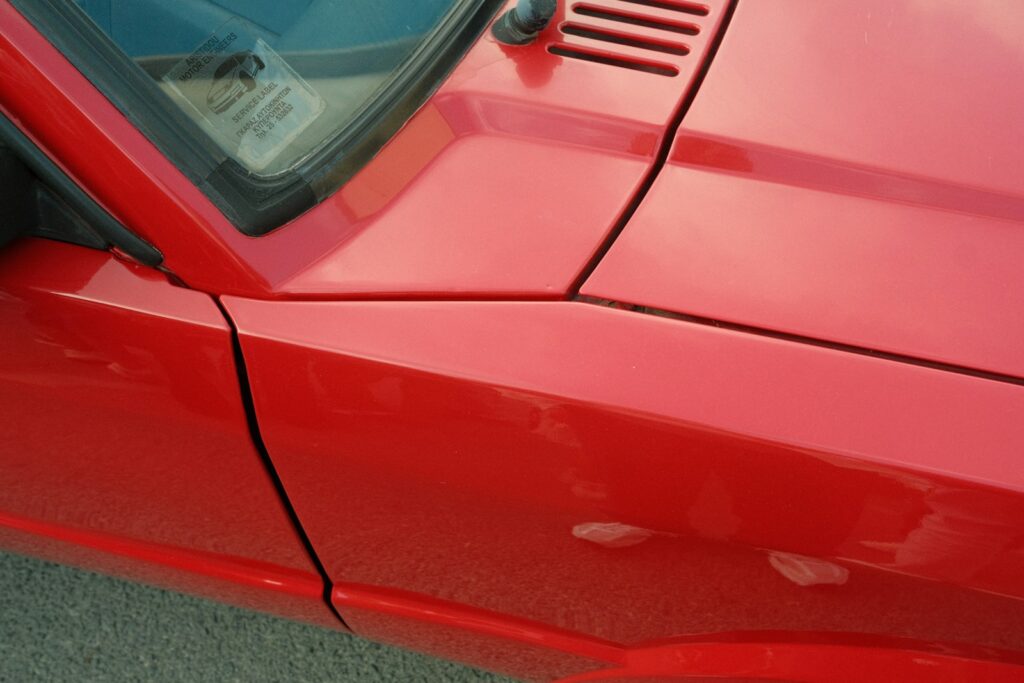
1. **Understanding Car Scratches: Types and Assessment**The first critical step in any effective scratch repair is to accurately diagnose the problem. Not all scratches are created equal, and their depth dictates the appropriate repair method. Misidentifying a scratch’s severity can lead to ineffective treatments or, worse, additional damage to your car’s paint system.
Your car’s paint job is a multi-layered masterpiece, typically consisting of a clear coat, a color (or paint) layer, a primer layer, and finally, the bare metal body. Light, surface marks are often clear coat scratches, affecting only the uppermost protective layer. More serious blemishes cut into the color layer, while the deepest kind, primer or metal scratches, expose the base layer or even bare metal.
A simple, yet effective, trick to assess a scratch’s depth involves your fingernail. Run your fingernail lightly across the suspected scratch. If it catches, it’s a strong indicator that you’re dealing with a deep scratch that penetrates beyond the clear coat and will likely require more than just a simple polish. As Synchrony accurately states, “deeper scratches need more attention but are still fixable with the right products.”
It’s also important to differentiate between actual paint damage and paint transfer. If your fingernail barely catches, it’s likely a light blemish you can buff out. However, if it snags, “you either have paint transfer from another object or actual damage to your car’s paint.” Paint transfer often sits on top of your paint and might require a different approach like gentle sanding or scraping, whereas a proper scratch may need buffing or filling to achieve a seamless repair.
2. **Essential Tools & Prep: Gathering Your Arsenal**Just like any skilled craftsman, a successful DIY car detailer knows that the right tools are paramount. Attempting to fix a scratch with inadequate or incorrect supplies is a recipe for frustration and potentially more damage. Fortunately, you don’t need a professional-grade body shop setup for most at-home repairs; many essentials are readily available and surprisingly affordable.
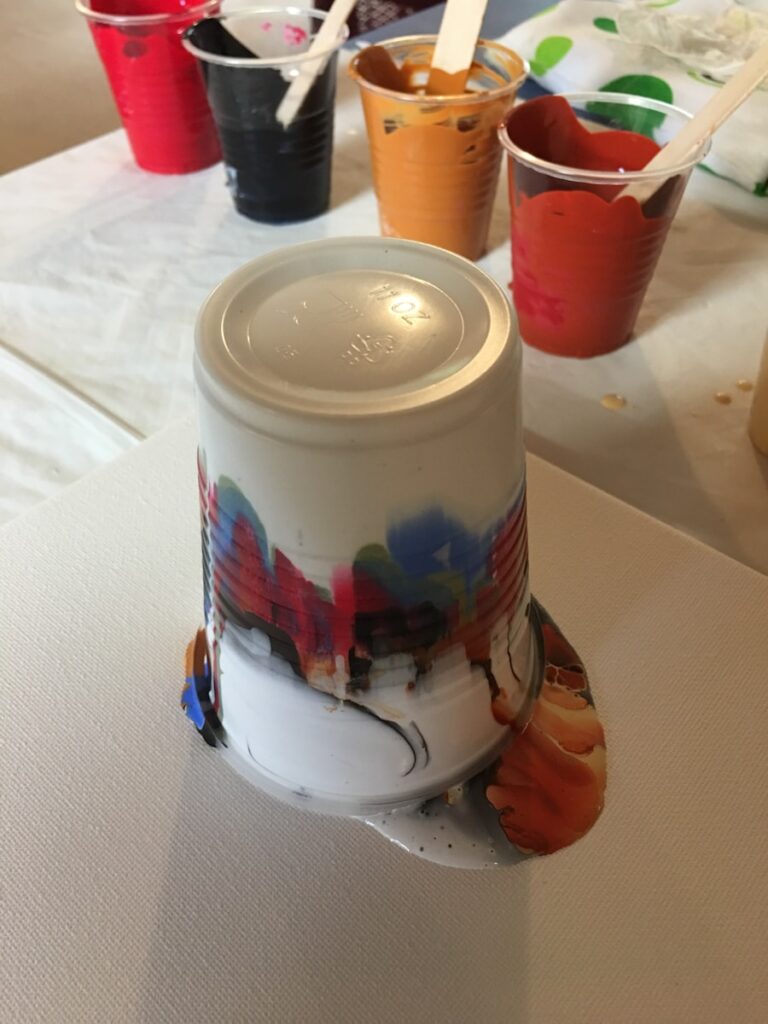
The cornerstone of any effective scratch removal kit includes several key items. You’ll need quality car shampoo for cleaning, and several soft microfiber towels to wash, dry, and buff without introducing new marks. A good scratch remover or compound is essential for smoothing out the damage, accompanied by an applicator pad for even distribution. For deeper cuts that expose primer, color-matched touch-up paint and a clear coat are optional but highly recommended. Finally, a ceramic coating, such as AutoManiacs Ceramic Coating, or a quality car wax, will protect your freshly repaired finish.
Before any repair work begins, thorough cleaning and preparation of the area are non-negotiable. “Wash the scratched area with car shampoo to remove dirt and debris. Dry thoroughly with a microfiber towel so nothing interferes with the repair.” This ensures that no abrasive particles are inadvertently dragged across your paint during the repair process, which could create additional scratches or swirl marks. A clean, dry, and cool surface provides the best canvas for your repair efforts.
For those who prefer a streamlined approach, reputable brands like AutoManiacs offer ready-to-use kits. These kits conveniently bundle everything you need, saving you the hassle of hunting down a dozen separate products. This simplifies the process, making DIY scratch repair much more approachable for beginners and seasoned enthusiasts alike, allowing you to focus on the technique rather than the procurement of supplies.
3. **Toothpaste for Clear Coat: A Surprising Solution**The internet is rife with countless car hacks, many of which promise miraculous results but often fall short of expectations, or worse, cause damage. While some myths, like using shoe polish or petroleum jelly for deep scratches, have been effectively debunked, one common household item actually holds a surprising degree of effectiveness for *light* clear coat scratches: whitening toothpaste. It’s not a cure-all for deep gouges, but it can be surprisingly effective in minimizing superficial marks.
Whitening toothpaste acts as a mild abrasive, similar to very fine polishing compounds. The tiny abrasive particles gently abrade the clear coat surrounding a shallow scratch, helping to smooth out the edges and reduce its visibility. This method works well on surface marks that have not penetrated past the clear coat. The process begins with meticulous cleaning of the affected area using warm, soapy water and a microfiber cloth, ensuring the surface is entirely dry before proceeding.
Once the area is prepped, apply a small amount of *non-gel, white toothpaste* to a clean, soft cloth. It’s crucial to “avoid colored or gel-based varieties, as they contain additives that may harm the paint.” Then, gently rub the toothpaste into the scratch using small, circular motions. The key here is to “Keep the pressure firm but not aggressive.” This technique gradually smooths out the surrounding area, encouraging the scratch to blend seamlessly with the untouched paint.
After buffing, rinse the treated area thoroughly with water and dry it with a soft cloth. If the scratch is still visible but significantly faded, the process can be repeated, but “Do not go beyond that. Over-buffing wears down the clear coat and may cause new damage.” For minor imperfections and faint abrasions, this simple method can yield fast and noticeable results, offering a quick, accessible fix without requiring specialized tools or complex procedures.
4. **Nail Polish: Temporary Seal for Exposed Metal**When a scratch is so severe that it cuts through not just the clear coat and paint layer but also exposes the underlying primer or even bare metal, a new and immediate concern arises: rust. Exposed metal is highly vulnerable to moisture and oxygen, and rust can begin to form quickly, compromising the integrity of your car’s body. In such situations, clear nail polish can serve as an invaluable, albeit temporary, sealant.
Clear nail polish, with its quick-drying and protective properties, offers a fast and inexpensive solution to prevent oxidation until a more comprehensive repair can be undertaken. It creates a barrier over the exposed metal, shielding it from the elements that cause rust. This method is particularly useful for small, isolated deep scratches where precision application is possible and immediate rust prevention is critical.
Before applying any nail polish, the damaged section must be impeccably clean and dry. Use rubbing alcohol and a soft cloth to thoroughly clean the area, ensuring all dirt, grease, and any remaining wax or polish residue are removed. Allow the surface to dry completely for several minutes. A clean surface ensures proper adhesion of the nail polish and prevents trapping contaminants beneath the protective layer.
Once prepped, carefully “Use the brush to apply one thin, even coat of clear polish directly into the scratch.” The goal is to focus specifically on the exposed metal, filling the groove without spreading excess polish onto the surrounding good paint. Allow this first coat to dry for at least 15 minutes. Depending on the depth of the scratch, a second thin coat may be applied for full coverage, ensuring the metal is completely sealed. While temporary, this simple hack can buy you crucial time and prevent more extensive, costly rust damage.

5. **Scratch Removal Compounds: Manual Application**For scratches that are too deep for toothpaste but haven’t yet breached the primer, scratch removal compounds are your go-to solution. These products are formulated with micro-abrasives that work by gently removing a thin layer of the clear coat around the scratch, effectively leveling the surface and blending the damaged area into the surrounding paint. When used correctly, they can erase most shallow to mid-depth scratches with impressive results.
The effectiveness of a scratch removal compound hinges on proper application and the right product choice. Always begin by thoroughly cleaning the area with car soap and water, then drying it completely with a microfiber cloth. It’s also vital to work in a cool, shaded environment; direct sunlight or a hot panel can cause the compound to dry too quickly, making it difficult to work with and potentially leaving hazy residues.
To apply, squeeze a coin-sized amount of the compound onto a clean buffing pad or a soft cloth. Gently spread the product across the affected area, ensuring an even coating. The crucial technique here is to “Rub in circular motion only. Keep the motion consistent and avoid sudden direction changes.” Apply moderate pressure and continue rubbing for 60 to 90 seconds. This consistent, controlled motion allows the micro-abrasives to work evenly, gradually reducing the scratch’s visibility.
After the initial application, wipe off any residue with a clean microfiber towel to inspect your progress. If the scratch has faded but not completely disappeared, you can wait a few minutes and repeat the process. However, caution is advised: “Never exceed three passes in the same spot, or you may remove too much clear coat,” which could lead to irreversible damage. With careful application, scratch removal compounds can effectively restore your car’s finish without the need for extensive repairs.
Read more about: Unlocking the ‘Magical’ Scratch Erasers: Top Car Finish Solutions That Deliver Instant Results, With or Without a Buffing Tool!
6. **Advanced Buffing: Power with a Polishing Machine**While manual application of scratch compounds can be effective for lighter marks, tackling medium to slightly deeper scratches often benefits significantly from the added power and consistency of a polishing machine. You don’t necessarily need an expensive, dedicated polisher; as the context points out, even a basic tool like a cordless drill can be transformed into an effective buffing device, saving both time and effort.
To upgrade your buffing game, simply attach a soft, pliable 4 to 6-inch polishing pad to a drill. This setup provides more consistent pressure and rotation than hand-buffing, allowing the cutting compound to work more efficiently. If the scratch reaches the base coat, you’d typically start with color-matched automotive touch-up paint, allowing it to dry, and then follow up with a cutting paste applied via the drill and pad. This sequence helps fill and then refine the scratch.
When using a drill, precision and light touch are key. Dab a few drops of cutting paste or scratch remover onto the pad and work a little into the scratch. Let the drill do the heavy lifting with precise spot-polishing. It’s imperative to use “Just two or three light passes” over the affected area. Pushing further or lingering too long in one spot carries the significant risk of “thinning or burning through the clear coat, which can turn a quick DIY fix into an expensive body shop repair.” Even a simple $20 cordless drill can handle this job if used correctly.
The financial benefits of this DIY approach are substantial. A microfiber polishing pad costs around $10, a quality cutting compound or repair wax is typically $10 to $15, and a touch-up paint pen runs about $15 to $20. “For just over $50 total, you can achieve results that would otherwise cost $150 to $300 at a body shop or up to $500 at chain paint shops.” This proves that a modest investment in tools and technique can yield professional-looking results and protect your car’s long-term value, making DIY scratch repair a truly rewarding endeavor.
Now that we’ve mastered foundational techniques for common car scratches, it’s time to elevate your DIY detailing game. Section 2, “Elevating Your Repair Game,” dives into advanced methods tackling trickier imperfections: precise wet-sanding, innovative paint application hacks, and crucial long-term protection strategies. We’ll also cover prevention tips and when professional help is unavoidable. Unlock secrets to a truly flawless finish from your garage.
7. **Wet Sanding: The Art of Leveling Deep Scratches**When a scratch slices through the clear coat, simply buffing isn’t enough. Wet-sanding becomes indispensable, carefully removing a sliver of clear coat to precisely level the damage. This advanced technique requires precision and a methodical approach to avoid exacerbating the problem.
The wet-sanding process typically begins with 1200–1500 grit sandpaper to gently level the initial scratch. After washing and drying, a second pass with 2000–3000-grit paper refines the surface. For an exceptionally smooth finish, professional auto finishers sometimes use 4000-ultra-fine-grit sandpaper, ensuring even and controlled clear coat removal.
To make wet-sanding effective and less frustrating, pre-soak sandpaper in clean water for 10–15 minutes. This softens the paper, easing handling and reducing accidental gouging. Wrapping sandpaper around a small, rigid block—like a domino—helps distribute pressure evenly, preventing uneven low spots.
During sanding, move slowly with light pressure, letting the grit work. Always keep both the surface and sandpaper wet; water lubricates and carries away debris, minimizing swirl marks or deeper scratches and maintaining an even action for a smoother outcome.
For advanced results, tilt your sanding block roughly 45 degrees relative to the scratch, then work horizontally. This angled approach feathers the scratch’s edges, preventing deepening. Spray water directly on the paper for continuous hydration. After sanding, use fine grits to refine, then compound and polish to restore gloss.
8. **Squeegee Away Deeper Scratches and Chips: A Detailer’s Trick**Not every stubborn scratch on your car will yield to a simple buffing session. For deeper scars, especially chips or wider gouges, a clever hack involving a squeegee can provide impressive results. This technique precisely levels and distributes touch-up paint for a cleaner, more integrated repair, offering an ingenious solution for challenging imperfections.
Start by carefully brushing color-matched paint directly into the scratch. Then, use a flexible plastic or vinyl squeegee. With a light, steady motion, rub it gently over the painted scratch, its pliable edge evenly forcing paint into the groove. This creates a cleaner, more uniform fill than a brush alone, especially effective on curved or swirled scratches. While effective, ensure the squeegee blade is not rough and paint is clean to avoid new scratches.
To accelerate drying, a heat gun can cure the paint faster, or allow it to dry overnight. After initial drying, refine with 1200 to 1500 grit sandpaper and soapy water. Dab more paint into any remaining low spots, squeegee again, and repeat. Finish with a thorough wet-sand and polish for a factory-fresh appearance.
9. **The Razor Blade Hack: Shaving Excess Paint for a Seamless Blend**After filling a deep scratch with color-matched paint, achieving a perfectly flush finish is crucial for seamless blending. The razor blade hack offers a remarkably precise way to remove excess touch-up paint, a method employed by detailers to create an almost invisible repair, transforming a noticeable scar into a smooth, integrated surface.
First, use a color-matched paint pen—the DIY detailer’s key tool. Carefully trace the groove, allowing paint to settle fully rather than applying it too thickly. Once dry, use a brand-new razor blade. Hold it perfectly flat against the painted panel; any tilt could cause it to dig in and create a new problem, undoing your hard work.
With the blade flat, use a very light, steady motion to gently drag it over the scratch, delicately shaving off only excess paint that sits proud of the clear coat. This technique requires a delicate touch and steady hands, but results are transformative, making the scratch blend in completely as if it was never there. This precise method elevates DIY scratch repair to professional-grade perfection.
10. **Seal the Deal: Protecting Your Repair and Preventing Future Damage**Successfully eliminating scratches means the final, critical step is to protect your meticulous work. This safeguards your paint job against future dings, environmental damage, and maintains that coveted flawless finish. Whether you opt for wax, sealant, or ceramic coating, this protective layer acts as your invisible shield.
Applying fresh wax or sealant restores shine and creates a barrier shielding paint against minor abrasions, UV rays, and corrosive elements. For longer-lasting, superior protection, a ceramic coating is highly recommended. Products like AutoManiacs Ceramic Coating add significant UV protection and water resistance, ensuring your car stays glossy and protected for extended periods. For DIY detailing, select proven products trusted by enthusiasts, like G3 Scratch Remover Paste, or Meguiar’s Ultimate Compound, ScratchX, and SwirlX which earn cult status.
Investing in a quality car scratch kit can streamline projects and ensure comprehensive protection. Meguiar’s Scratch Eraser Kit, combining wet sanding, compounding, and drill assist, proved effective on light scratches for about $25. Other commended kits include Meguiar’s Quik Scratch Eraser Kit, Chemical Guys VSS, and Mothers Ceramic Correction. These provide a holistic approach, ensuring both repair and a robust protective finish.
Read more about: Beyond the Buff: 14 Simple Lifehacks to Keep Your Classic Car’s Chrome Gleaming
11. **Proactive Prevention: Strategies to Avoid Scratches Before They Happen**While mastering scratch removal is satisfying, preventing scratches is the ultimate goal for savvy car owners. A proactive approach to car care significantly reduces paint damage frequency and severity, saving time, effort, and money. Simple, consistent habits keep your vehicle’s finish pristine and protect its long-term value.
Regular washing is fundamental, but method and products are key. Always use gentle products, like AutoManiacs Car Shampoo + Foam Lance, to avoid new swirl marks. Proper drying with soft microfiber towels, never rough cloths, prevents dragging dirt particles. Applying a ceramic coating also acts as an invisible, durable shield against everyday wear, adding UV protection and water resistance for gloss and protection. These meticulous habits and advanced layers form a strong first line of defense.
Mindful driving and parking also prevent scratches. Avoid tight spaces, overgrown bushes, and rogue shopping carts to prevent common scenarios. The adage “an ounce of prevention is worth a pound of cure” holds true. Adopting these measures is crucial for protecting your car from future deep scratches.
Read more about: Car Rust: Your Essential Guide to Spotting, Stopping, and Preventing Corrosion Before It Spreads

12. **When DIY Isn’t Enough: Knowing When to Seek Professional Help**Despite impressive DIY scratch removal capabilities, home detailers must recognize their limits. Understanding when professional intervention is truly necessary is a smart decision to prevent further damage and ensure the best outcome. For very deep damage like dents with missing paint or scratches penetrating to bare metal, expert attention is often warranted.
As the context states, “If the scratch cuts into the base coat or exposes bare metal, you may need a trip to a professional auto restorer.” While many daily scratches are DIY-friendly, severe damage can impact structural integrity or require specialized tools beyond a home garage. Professionals have the equipment and expertise to evaluate and repair scratches precisely.
Professional repair costs vary significantly, from a few hundred to thousands, depending on scratch severity and vehicle make. A fancier ride means higher costs; a light-to-medium BMW scratch might be $850-$1,000. For daily drivers, DIY methods generally cost $50-$100 per scratch, offering substantial savings with basic tools like a drill or squeegee.
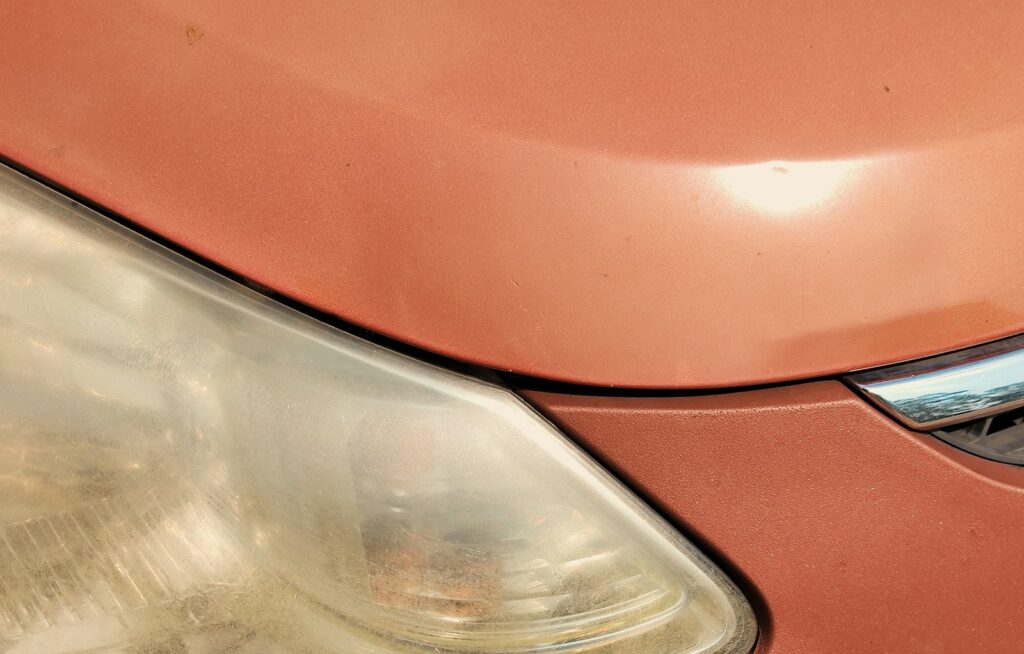
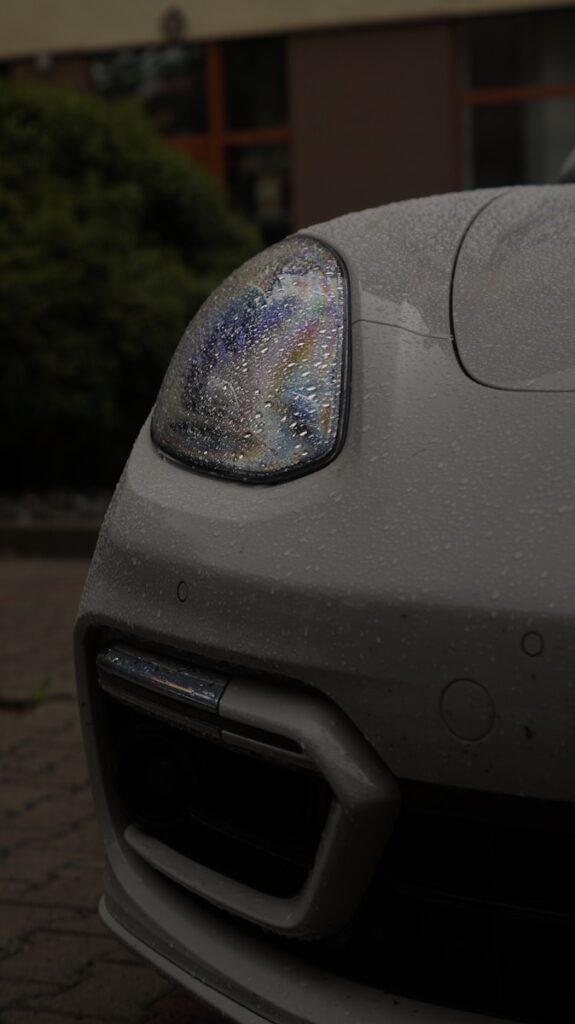
Ultimately, the decision to go professional hinges on damage depth and nature. While DIY empowers you for many imperfections, some damage is beyond safe home repair. Professional assessment ensures meticulous evaluation and guaranteed effective repair, preserving aesthetic appeal and long-term value. Leftover sandpaper can also rejuvenate dull headlights—an easy, fast, and cheap hack.
Read more about: Key Fob Lifeline: Your Ultimate Guide to Battery Life, Warning Signs, and Troubleshooting
Bringing your car’s paintwork back to life after an unsightly scratch doesn’t have to be daunting or expensive. As we’ve explored, from understanding scratch types to employing advanced wet-sanding and strategic paint application, effective DIY solutions are within your grasp. With the right knowledge, tools, and patience, you can confidently tackle many imperfections, restore luster, and protect long-term appeal. Remember, prevention goes a long way, but for inevitable scrapes, you now have a comprehensive playbook for professional-level results at home. Keep your ride sharp, save on body shop bills, and enjoy a job well done.


