

For any truck owner, the sight of a hole or a patch of rust in their truck bed can be a real headache. Whether it’s from years of hauling heavy loads, exposure to the elements, or even just poorly drilled holes from a previous accessory, these imperfections aren’t just cosmetic. They can lead to more significant issues, compromising the integrity of your vehicle and potentially escalating into costly repairs if left unaddressed.
The good news is that tackling these problems isn’t nearly as daunting as it might seem. With the right knowledge, tools, and a bit of determination, many common truck bed issues can be effectively resolved right in your driveway. From understanding why rust forms to selecting the best repair material for a specific type of damage, this guide is designed to empower you with the practical insights needed to restore your truck bed to its former glory.
In this comprehensive exploration, we’ll dive deep into the world of truck bed repair. We’ll cover everything from the initial diagnosis of rust and holes to advanced patching techniques, ensuring that whether you’re a seasoned DIYer or a newbie with a growing toolkit, you’ll have the clear, step-by-step guidance to get the job done right. Let’s roll up our sleeves and get your truck ready for whatever comes next, transforming those troublesome holes into a distant memory.
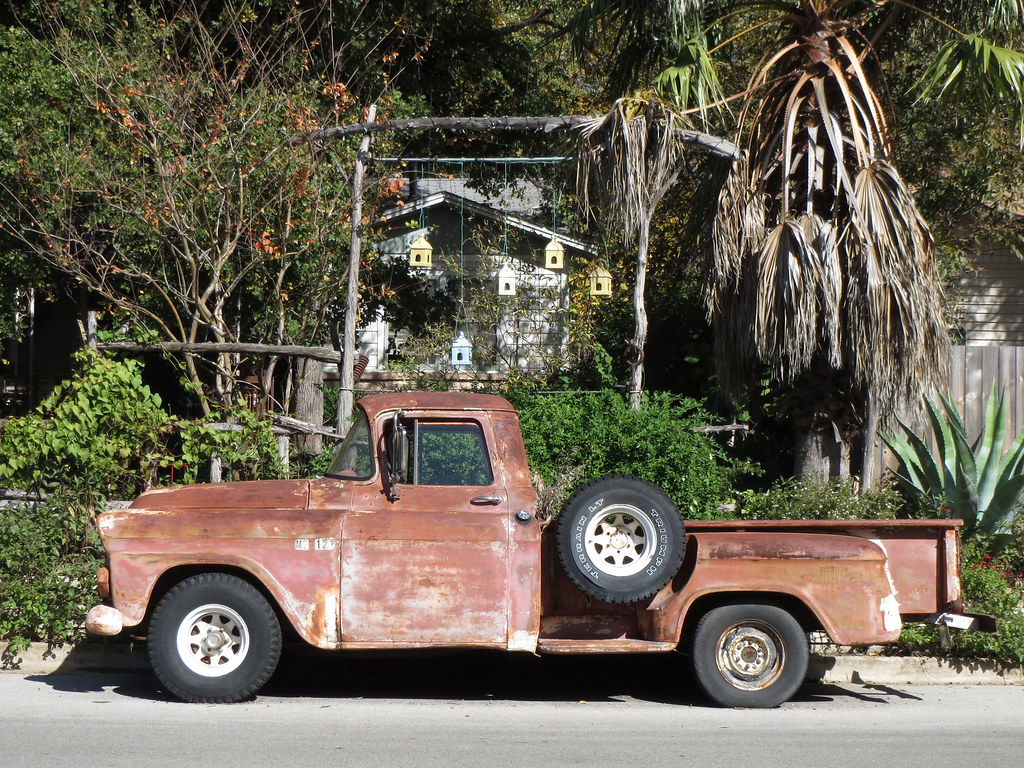
1. **Understanding the Rust Problem in Truck Beds**Rust is an all too common adversary for truck owners, frequently appearing in truck beds years before it affects the rest of the vehicle. This insidious process is primarily a result of overexposure to water, oxygen, and iron, the fundamental components that lead to corrosion. A recent example highlights this, with a 2015 GMC Sierra purchased exhibiting holes from a previously mounted plastic toolbox, which were already leading to rusting issues, especially on the lock housing.
These holes, often necessary for accessory installation, create vulnerable points where moisture can collect and initiate the oxidation process. While the sight of rust can be concerning, discussions among truck enthusiasts suggest that while rust often forms around these holes, it doesn’t always escalate to severe, structural problems immediately. Nevertheless, it is a clear indicator that attention is required to prevent further degradation.
The prevailing advice emphasizes that while repairing rust holes may seem challenging, it is entirely within the capabilities of determined DIYers or professionals. Addressing these rust spots early is a crucial form of preventive maintenance, stopping the spread and protecting the surrounding metal. Ignoring them can lead to larger, more complex repairs, underlining the importance of prompt action when rust first makes its unwelcome appearance.
Ultimately, understanding the genesis of rust in your truck bed—how water, oxygen, and iron combine—is the first step toward effective remediation. It frames the problem, allowing you to approach repairs with a clear strategy aimed at not just covering the damage, but truly arresting the corrosion process. This foundational knowledge empowers you to choose the most appropriate repair method and prevent future occurrences, ensuring your truck bed remains robust and protected.
Read more about: Mastering Metal: 12 Vintage Vehicles Worth the Full Restoration Journey for Every Enthusiast
2. **Initial Assessment and Cleaning of Holes**Before any repair work can begin, a thorough assessment and meticulous cleaning of the affected area are absolutely essential. For truck bed holes, this process often starts with preparing the opening itself. One highly recommended technique involves finding “the smallest reamer possible and clean[ing] up the holes so that they were smooth and round.” This ensures an optimal surface for subsequent repair materials to adhere to, creating a more durable and aesthetically pleasing fix.
Once the holes are neatly reamed, the next critical step is to prime and paint the inside diameter of the hole. This acts as a protective barrier, preventing future rust formation on the newly exposed metal edges. For existing rust, especially if it’s more than superficial, effectively removing it is paramount. Techniques such as using a wire brush are often employed to thoroughly clean rusted areas, ensuring that no active corrosion remains to undermine the repair.
The general consensus among those experienced in vehicle repair is the absolute necessity of a well-prepared and clean surface before any application. This means removing all debris, oil, detergents, or other grime from the truck bed. Cleaning the surface around the damaged spots with a wax and grease remover or acetone is crucial, as any contaminants can compromise the bond of repair materials.
In the spirit of practical, hands-on repair, it’s worth noting that truck enthusiasts often share creative fixes, sometimes involving makeshift tools. This highlights the problem-solving nature of truck maintenance, where ingenuity can bridge the gap between ideal conditions and real-world repairs. Regardless of the tools at hand, the core principle remains: a clean, prepped surface is the bedrock of any successful and long-lasting repair, providing the best possible foundation for the chosen patching material.
Read more about: Shield Your Ride: Simple, Effective Ways to Banish Rust from Your Truck’s Undercarriage This Winter and Beyond
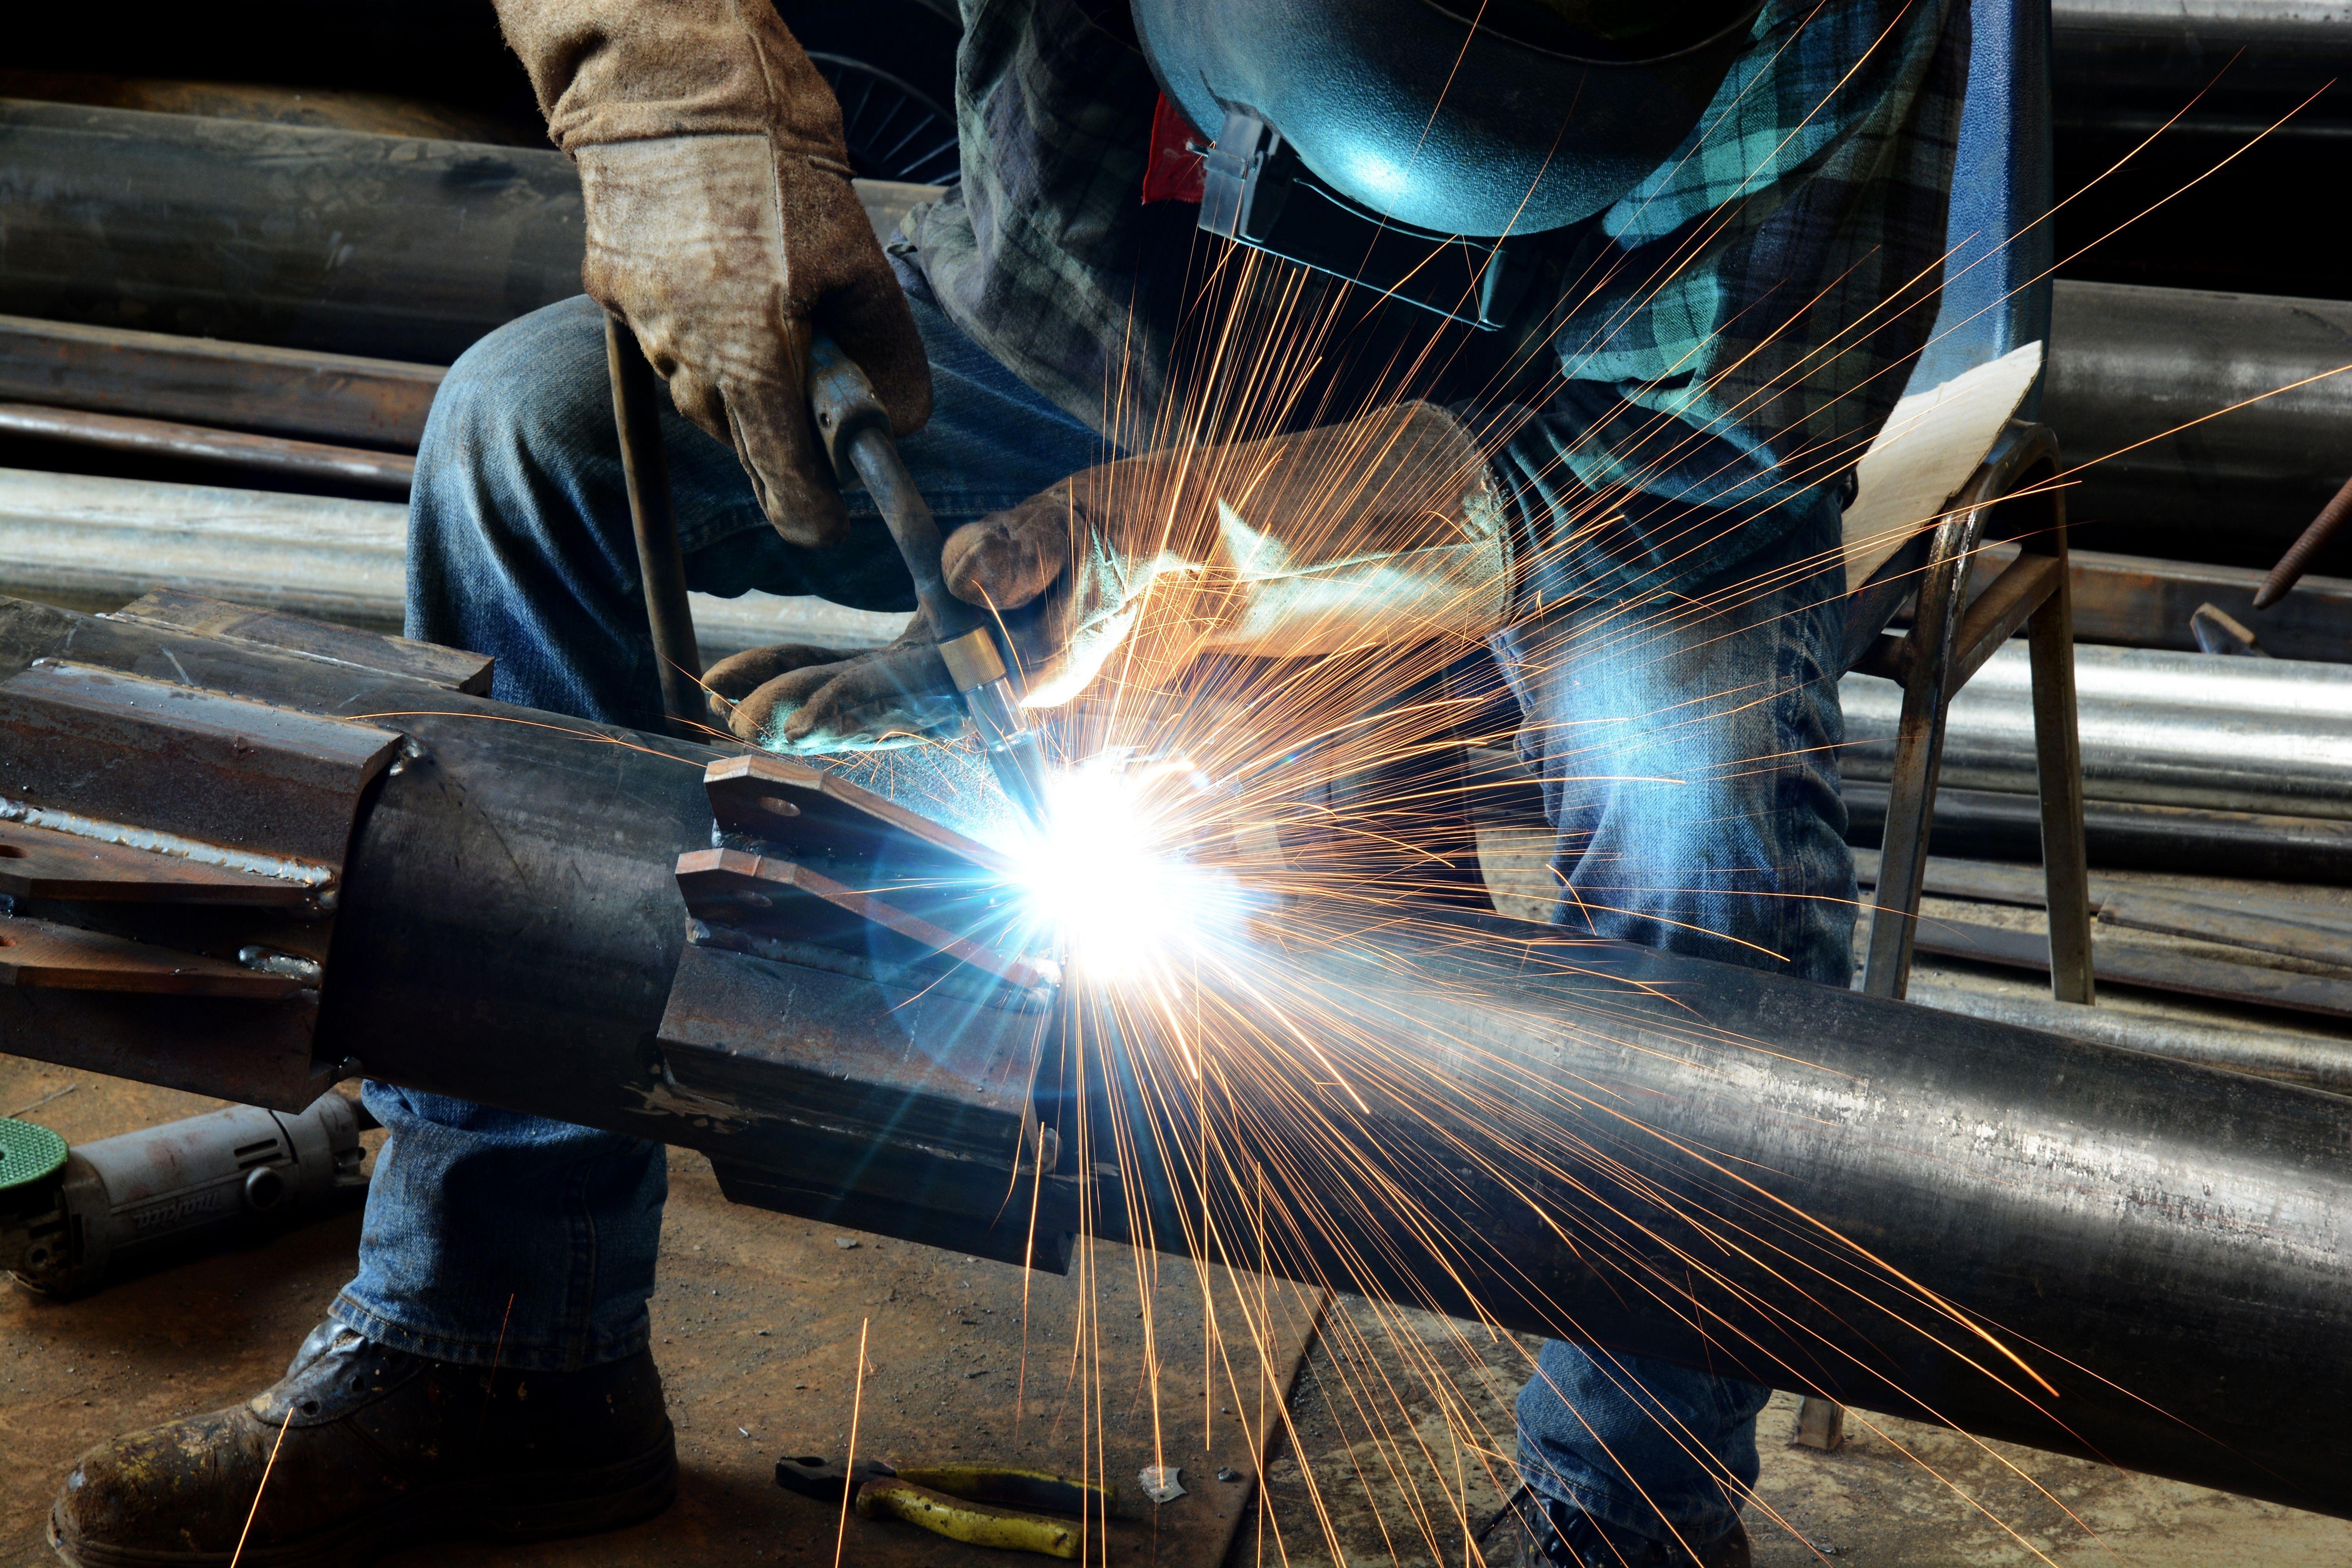
3. **Welding as a Permanent Solution for Larger Holes**When dealing with significant holes in a truck bed, especially those that compromise structural integrity, welding often stands out as the most robust and permanent repair method. As noted in community discussions, “The best way to fix holes in a bed like that would be to weld them closed and grind them flat, then paint both sides to prevent any further rust.” This approach ensures not only a strong physical patch but also a seamless finish that can effectively blend with the original bodywork.
Welding involves fusing new metal patches over the holes, creating a bond that is as strong, if not stronger, than the surrounding material. For more serious bodywork or when dealing with critical areas like rust holes or welding patch panels, professional welding with MIG equipment is generally preferable. This type of equipment provides the precision and strength needed to withstand the dynamic stresses and temperature variations that a truck bed experiences during daily use.
While welding offers unparalleled durability, it is often considered a more complicated and potentially less cost-effective method for the average DIYer, especially if they lack the necessary equipment or experience. As one piece of advice suggests, the process “can be a bit complicated, and isn’t always cost-effective.” This highlights the need for careful consideration: for those without welding experience, it might be more prudent to consult a professional body shop to ensure the repair is done correctly and safely.
Despite the potential complexities, the benefits of a welded repair are undeniable. It provides a long-term solution that truly restores the structural integrity of the truck bed, preventing future issues at the repair site. For substantial damage where a strong, permanent fix is paramount, welding remains the gold standard, offering peace of mind that the repair will hold up under the toughest conditions.
Read more about: Beyond the Showroom Shine: Why Some Vans Rust Fast and 10 Expert Strategies to Conquer Corrosion Before Winter
4. **Utilizing JB Weld for Minor Rust Holes and Flexible Applications**JB Weld has earned its reputation as a trusted adhesive for a multitude of auto projects, offering a strong bond and the promise of long-lasting repairs. It’s particularly useful for minor rust holes, provided that the surface is meticulously prepared and clean prior to application. Users are advised to thoroughly mix equal parts of the adhesive and hardener to ensure the strongest possible bond, a critical step for its effectiveness.
However, it’s equally important to understand the limitations of JB Weld, especially in specific automotive contexts. While effective for some tasks, “JB Weld is not recommended as a body filler for critical areas like rust holes or when welding patch panels, as it may not withstand the dynamic stresses and temperature variations experienced in auto body work.” In such scenarios, alternatives like Bondo or professional welding with MIG equipment are often preferred for maintaining structural integrity.
Despite these cautions, JB Weld demonstrates versatility in certain applications. For instance, some users have found it effective for more flexible applications, such as urethane bumper repairs. Yet, even here, caution is advised: “JB Weld tends to set hard, which may lead to cracking and failures under flexing.” This characteristic underscores the necessity of choosing products specifically formulated for high-stress or flexible areas to ensure durability and safety.
Overall, JB Weld serves as a valuable adhesive for a variety of repairs, particularly for quick, dirty, and tough fixes that don’t necessarily need to be pretty. It’s an accessible solution for minor imperfections or for scenarios where welding is not feasible or desired. The key to its successful application lies in a clear understanding of its strengths and weaknesses, ensuring it is chosen for the correct application to achieve durable and safe results. For serious bodywork involving structural concerns, professional consultation for welding remains the safest bet.
5. **Filling Holes Without Welding: Solder and Adhesives**For those looking to repair holes in auto body panels without the need for a welder, several accessible and effective techniques exist. One straightforward guide outlines a process involving solder to create a waterproof metal patch. This method typically begins by tinning the metal, which significantly improves adhesion for the subsequent repair materials. It also provides practical techniques for addressing holes that lack rear access, offering an efficient alternative to traditional MIG welding.
Beyond solder, the use of small steel pieces combined with 3M Panel adhesive presents another viable option. This method often involves slightly tapping the edges of the holes with a hammer to facilitate a better fit and bond. To further support the repair and help maintain the original body shape, fiberglass cloth is frequently recommended. As with any repair, the foundation of success here is a thoroughly cleaned surface, ideally prepared with a wax and grease remover.
The versatility of non-welding repairs extends to powerful methods such as using epoxy and various patching compounds, which can achieve seamless results. Even in challenging severe rust situations, specific techniques are available to effectively remove rust before applying these fillers. Adhesives can be strategically applied along rivet lines, with any excess easily sanded off once the patch has securely set, making for a clean finish.
For larger holes, alternative solutions include inserting freeze plugs or utilizing substantial compounds to fill the void. Furthermore, structural adhesives can be employed for backing strips, providing a strong foundation for repairs, while smaller holes can be smoothed with putty. These techniques collectively offer a comprehensive and versatile approach to metal hole repairs, providing simple yet effective solutions for a wide range of conditions without ever striking an arc.
6. **The Role of Body Filler and Fiberglass in Hole Repair**When faced with a hole in a truck bed, particularly one not requiring structural welding, body filler offers a practical alternative. This method involves mixing a paste of body filler with a hardener, creating a workable compound that can effectively fill voids. After mixing, a metal mesh is typically placed behind the hole to provide a stable backing for the filler. Once the filler has hardened, the surface is then smoothed out using sandpaper, followed by an application of primer or paint to protect the repair and ensure a consistent finish.
Fiberglass is another powerful material often utilized in truck bed hole repair, either on its own or in conjunction with other compounds. For example, fiberglass cloth is recommended to support non-welding repairs and help maintain the original body shape when using adhesives. The application process is similar to body filler, where the fiberglass is applied to the damaged area and then smoothed, creating a strong and durable patch that can withstand everyday stresses.
It’s crucial to understand the limitations of these materials, particularly body fillers like Bondo. While highly effective for cosmetic fixes, Bondo is generally “best suited to fill small holes up to one-eighth-inch deep.” It’s primarily used for minor imperfections or to smooth out areas after bodywork. For larger, structural holes, Bondo may not provide the necessary strength and integrity, suggesting that “you should consider another option, such as welding.”
Regardless of whether you choose body filler or fiberglass, the emphasis remains on meticulous preparation and careful application. These methods provide accessible and cost-effective ways to restore the appearance and some protection to your truck bed, especially for non-structural damage. They offer a DIY-friendly pathway to addressing common truck bed problems, ensuring your vehicle looks good and resists further deterioration from the elements.
For any truck owner, maintaining the integrity of their vehicle means looking beyond the metal frame to the protective layers that shield it from daily abuse. While the first part of our guide delved into various methods for repairing holes directly in the truck bed, we now turn our attention to another crucial component: the spray-in truck bedliner. This resilient coating, though incredibly durable, isn’t immune to wear and tear. Understanding how to effectively repair it ensures your truck continues to stand up to the toughest jobs and harshest conditions, keeping its robust protection intact.
Spray-in truck bedliners are a fantastic accessory, designed to guard pickup beds, work trucks, and recreational vehicles from the relentless onslaught of weather, heavy cargo, and constant use. They form a robust barrier against scratches, dents, and corrosion, extending the life and aesthetic appeal of your truck bed. However, even these formidable liners have their limits, and over time, they can sustain damage that warrants attention. Recognizing the signs and causes of this damage is the first step toward effective restoration.
This section will equip you with the specialized knowledge needed to tackle spray-in bedliner repairs. We’ll dissect the common culprits behind bedliner degradation, guide you through the vital preparatory steps that ensure a lasting fix, and walk you through the precise application methods for seamless repair. Our goal is to empower you with the practical skills to restore your bedliner, ensuring your truck remains a dependable workhorse, shielded from the elements and the rigors of its demanding life.
Read more about: Mastering the Undercarriage: Your 14-Step Guide to Spotting Rust Damage on Any Used SUV Before You Buy
7. **Understanding Spray-in Truck Bedliner Damage: Causes and Types**Spray-in truck bedliners, while incredibly tough and designed for longevity, are not entirely indestructible. Over time, various factors can lead to damage, compromising their protective capabilities. One of the most common adversaries is environmental exposure. If your truck is consistently stored outdoors, both extreme hot and cold temperatures can negatively impact the bedliner, leading to the formation of cracks. Additionally, direct and prolonged exposure to UV radiation is particularly harmful to many truck bedliners, especially those that are ‘aromatic’ and thus sensitive to sunlight. This can cause the material’s color to fade and degrade over time if it isn’t specifically UV-stable.
Beyond environmental stresses, the daily demands placed on a truck bed can also inflict significant damage. Heavy loads, for instance, can cause the liner to tear or gouge, especially if cargo shifts during transit. Different types of items, particularly those with sharp edges or abrasive surfaces, have the potential to snag, puncture, or scrape the liner, leading to impact and abrasive damage. Such damage isn’t just cosmetic; cracks or tears can create pathways for moisture and debris to seep underneath the liner, potentially leading to bigger structural issues or corrosion of the underlying truck bed.
Another frequently overlooked cause of bedliner damage stems from incorrect installation. The initial application of a spray-in bedliner is a precise process where thorough surface preparation is paramount. If the installer failed to prepare the surface adequately, the bedliner might develop adhesion issues. These issues manifest as bubbling, flaking, peeling, cracking, or an uneven application, all of which compromise the liner’s protective function and appearance. Such defects indicate that the bedliner isn’t properly bonded to the truck bed, making it vulnerable to further damage.
Finally, liquid spills, though seemingly innocuous, can also contribute to bedliner degradation. While most bedliners are designed to resist chemical exposure, they aren’t impervious to all harmful substances. Water, grease, oil, or various harsh chemicals, if left to fester and not promptly cleaned, can cause stains and gradually wear down the bedliner material. Regular cleaning is therefore not just about aesthetics; it’s a vital part of preventing chemical-induced wear and maintaining the liner’s long-term protective qualities.
8. **Assessing Damage and Deciding on Repair, Recoat, or Replace**Once damage to your spray-in truck bedliner has been identified, the next crucial step is to assess its extent and determine the most appropriate course of action. The good news for truck owners is that spray-on bedliners are indeed repairable, offering a viable alternative to full replacement for many types of damage. Since most bedliners are crafted from materials like polyurea, polyurea hybrid, or polyurethane, specialized repair materials are formulated from these same compounds to ensure a strong, compatible bond with the existing liner.
Companies like VFI specifically offer bedliner repair solutions designed to mend scratched, cracked, or gouged spray-in truck bedliners. These repair materials are engineered to blend seamlessly with the original liner, effectively making it appear as though the damage was never there. For small, isolated spots of damage, especially where the overall integrity of the liner remains largely intact, only a minimal amount of repair material is typically needed. This makes patching minor imperfections a cost-effective and relatively straightforward task for a determined DIYer.
However, it’s essential to be realistic about the severity of the damage. While minor repairs are usually manageable, if the bedliner damage is too extensive, a simple patch may not suffice. Although extensive damage is often a rare occurrence, it does happen. In such cases, truck owners have two primary options: completely restoring the old liner by applying an entirely new layer of material over it, or, for the most severe scenarios, tearing out the old, compromised material and starting fresh with a new application. The decision hinges on a careful evaluation of the liner’s overall condition and structural integrity.
Ultimately, deciding whether to repair, recoat, or entirely replace your bedliner when damaged requires a thoughtful consideration of the damage’s scope and your budget. For minor issues, targeted repair is often the smartest choice. If the damage is widespread but the underlying adhesion is still good, a full recoat might be the best route. For significant failures or persistent adhesion problems, a complete replacement by tearing out the old material and reapplying new liner ensures the best long-term protection. If opting for a full recoat, it is highly recommended to engage a professional to guarantee the proper application of the new material, ensuring optimal performance and durability.

9. **The Critical Importance of Surface Preparation for Bedliner Repair**Regardless of the type or extent of bedliner damage you’re addressing, the success and longevity of any repair hinge almost entirely on meticulous surface preparation. While polyurea and polyurea hybrid coatings inherently bond well to themselves, thoroughly preparing the surface before applying any new material is not just advisable—it’s absolutely essential. This crucial step guarantees that the repair material will achieve an optimal bond with the existing coating, preventing premature failure and ensuring a durable fix that stands the test of time.
Before diving into the physical act of cleaning and sanding, safety must be prioritized. Always ensure you are working in a well-ventilated area, as you will be dealing with chemicals. Proper personal protective equipment (PPE) is non-negotiable; this includes gloves, eye protection, and potentially a respirator, depending on the chemicals used. It’s also vital to carefully read the manufacturer’s safety data sheet (SDS) for any repair materials or chemicals you plan to use, understanding their hazards and necessary precautions before beginning work.
The actual cleaning process begins with removing all foreign contaminants from the truck bed. This means thoroughly cleaning the bed to eliminate any debris, oil, detergents, or other grime that could interfere with adhesion. A crucial step involves cleaning the surface specifically around the damaged spots with acetone. Acetone is an effective solvent that cuts through grease and residues, leaving a pristine surface ready for the next stages of preparation. Its rapid evaporation also ensures no moisture is left behind to compromise the bond.
Following cleaning, the surface must be mechanically prepared to create the ideal texture for adhesion. This involves sanding and roughing up the repair area. You can achieve this using a wire cup brush sander, 40-grit sandpaper, or even steel wool. The goal is to create a profile that the new repair material can key into, maximizing its grip. Finally, inspect the damaged area closely and cut out any blisters or other unadhered, damaged material. Removing these compromised sections ensures that your repair is built upon a solid foundation, free from any existing weaknesses that could propagate further damage.
10. **Step-by-Step Guide to Brush Application for Bedliner Repair**For smaller, localized damage on your spray-in truck bedliner, the brush application method offers a straightforward and effective repair solution that doesn’t require specialized spray equipment. Once your surface preparation is complete and the area is clean, dry, and properly abraded, you can begin the material application process. This method ensures that you can precisely target the damaged spots, minimizing waste and making it an accessible DIY project for many truck owners.
To start, if you are using the VFI-520 QS Bedliner Repair material in a two-part format, you will need to combine equal parts (1A:1B) of the material by volume. It is crucial to perform this mixing in a disposable cup to prevent contamination and ensure proper curing. Thorough mixing is key to activating the material’s adhesive properties and achieving a consistent repair. Stir diligently until the material transforms into a thick, homogenous paste that is robust enough to cling to vertical surfaces without sagging or dripping.
With your repair material properly mixed, work quickly to apply it to all damaged areas using a chip brush. The “work quickly” aspect is important because these repair materials often have a limited pot life, meaning they will start to cure relatively fast once mixed. Apply the paste evenly, ensuring it fills any cracks, gouges, or small holes. For spreading and flattening the material to achieve an initial smooth surface, a wide wooden popsicle stick can prove to be a surprisingly effective and handy tool, helping to distribute the material consistently across the repair zone.
The final step in the brush application process is to apply texture to the repaired areas using a texture mat. This is where the repair blends visually with the existing bedliner. Gently place the texture mat over the freshly applied material and apply firm, even pressure. This pressure ensures that the texture imprints deeply and consistently into the wet repair material, replicating the original bedliner’s pattern. Achieving a uniform texture is essential for a seamless finish, making the repair virtually undetectable and restoring the bedliner’s aesthetic and protective qualities.
11. **Mastering the Qwik Spray Application for Bedliner Repair**For those tackling larger areas of bedliner damage or aiming for a quicker, more uniform application across broader patches, the Qwik Spray method offers an excellent alternative to brush application. This technique utilizes a cartridge version of the repair material, streamlining the process and often delivering a more consistent finish, especially for those accustomed to using spray equipment. The efficiency of this method can significantly reduce repair time while maintaining a high standard of quality.
One of the primary advantages of the cartridge version of the repair material, such as VFI-520, is that it typically does not require pre-mixing, simplifying the preparation phase. However, it’s always a good practice to visually inspect the cartridge for any signs of material separation. If you observe any visible separation within the cartridge, a quick shake is recommended to ensure homogeneity before loading it into the application gun. This simple check helps guarantee that the material will spray and cure correctly.
When you’re ready to load the material into your VFI-7500 Qwik Spray Gun, ensure the cartridge is kept in a vertical position with the label facing upwards. This orientation helps to prevent air pockets from forming and ensures a smooth, uninterrupted flow of material during application. Once loaded, the material is dispensed as a controlled stream, allowing you to accurately apply it to all damaged areas that require repair. Work systematically, covering the affected sections evenly to build up the necessary protective layer.
Just as with the brush method, achieving a consistent finish with the rest of the surface is paramount. After applying the spray material, immediately place a texture mat over the wet material. Apply pressure to the mat, ensuring that its pattern imprints firmly and accurately into the repair material. This crucial step replicates the original bedliner’s texture, allowing the repaired area to blend seamlessly and maintain both the protective qualities and the uniform appearance of your truck bed. A well-textured repair is a hallmark of professional-grade work, providing both durability and aesthetic satisfaction.
Preventing future damage to your spray-in truck bedliner is just as crucial as repairing existing issues, ensuring your investment continues to protect your vehicle effectively. Regular care and maintenance form the bedrock of long-term durability. Make it a routine practice to remove dirt, debris, and grime buildup, as allowing these to accumulate can lead to the degradation of the protective layer. Simple tools like a hose or pressure washer, combined with soap and water for tougher spots, can keep your liner clean and pristine. However, always steer clear of harsh chemicals that could potentially compromise the material’s integrity. Complement these efforts with periodic inspections, as catching small cracks, chips, and gouges early can prevent them from escalating into more significant problems. Furthermore, exercising caution when loading and unloading sharp or heavy objects is a simple yet effective way to avoid unwanted damage. For ultimate protection and peace of mind, ensure your bedliner was applied correctly from the outset, with rigorous surface preparation, and consider applying a UV-stable topcoat like VFI-2580 Aliphatic Top Coat. This final layer acts as an impermeable shield, guarding against fading and discoloration and ensuring your bedliner remains robust, vibrant, and ready for whatever the road—or the worksite—throws its way.


