

We’ve all been there: faced with a household repair, a nagging problem that demands attention, and the immediate urge to find the quickest, easiest way to make it disappear. As homeowners, tackling these odd jobs ourselves can be incredibly empowering, saving us hundreds or even thousands of dollars each year that might otherwise go to professionals. Common repairs like fixing a clogged drain or replacing an old light fixture are indeed within reach for the average do-it-yourselfer, but the line between a genuinely effective DIY fix and a temporary patch that’s destined to fail can be surprisingly thin.
It’s tempting to grab the nearest tape, caulk, or glue and declare victory, believing we’ve solved the problem for good. However, not all repairs are built to last. Many fixes that seem perfectly fine in the moment can, and often do, give out much sooner than expected. This premature failure can be attributed to poor materials, skipped prep steps, or simply applying a bandage to a much larger, underlying issue that demands a more comprehensive approach.
To truly empower yourself as a DIY master and avoid the frustration of redoing work, or worse, dealing with bigger, more costly damage down the road, it’s crucial to understand which quick fixes simply don’t go the distance. We’re here to shine a light on the shortcuts that will leave you wanting and guide you toward lasting solutions. Let’s dive into some of the most common temporary repairs that prove some quick fixes just isn’t forever.

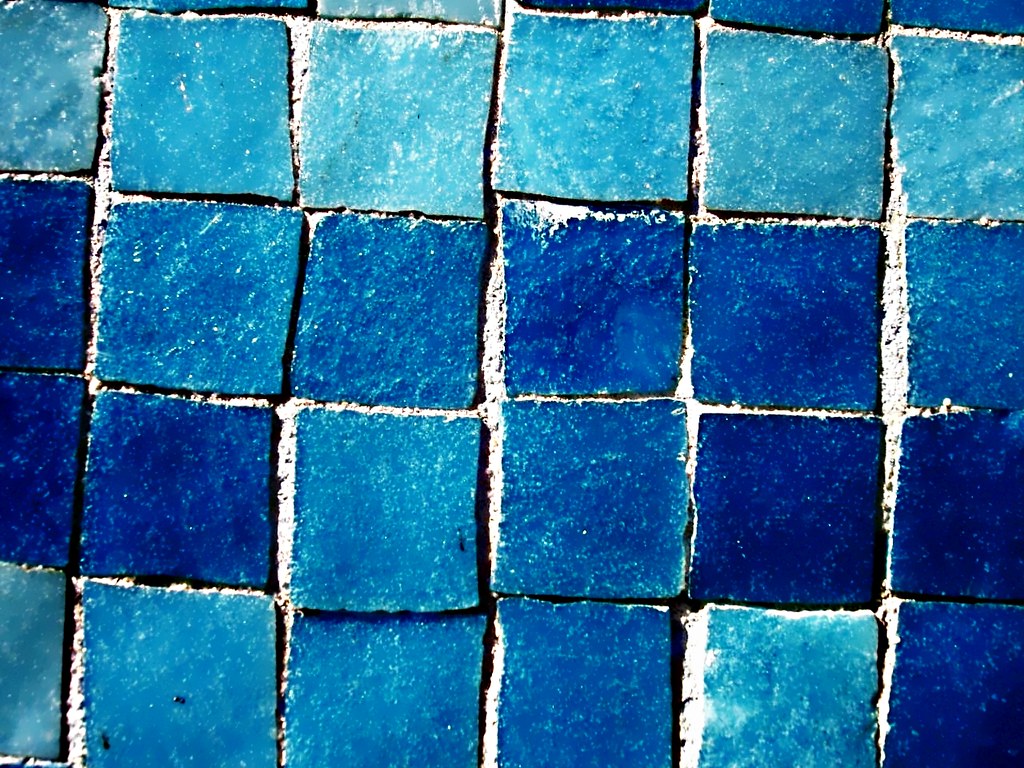
1. **Caulking Over Old Caulk**When you see cracked or moldy caulk around your tub, sink, or shower, it’s natural to think a fresh layer will solve the problem. It looks fine in the moment, covering up the unsightly gaps and giving the illusion of a sealed, clean surface. However, this quick fix is almost always doomed to fail, and often sooner than you’d imagine.
The fundamental issue here is that the old caulk underneath remains unstable. It continues to shift, crack, and potentially harbor mold, preventing the new layer from properly adhering to the surface. Without a clean, stable foundation, the fresh caulk can’t grab the way it needs to, leading to peeling, bubbling, and recurring leaks much too quickly.
To do it right, you absolutely must scrape off the old caulk first. This isn’t just about aesthetics; it’s about creating a bond that will actually last. Once the old material is gone, clean the surface thoroughly and let it dry completely before applying a new bead. This extra effort ensures a seal that stays watertight for much longer, looks impeccably clean, and truly serves its purpose in preventing water damage.
Read more about: 15 Home Depot Buys Contractors & Experts Say to Skip for Better Quality & Long-Term Savings
2. **Patching a Roof With Tape or Tar**Discovering a leak in your roof can be alarming, and the immediate thought might be to grab roof tape or tar for a fast patch. While these materials might offer a brief reprieve, acting as a temporary safeguard against the immediate ingress of water, they are far from a permanent solution. This is one of those quick fixes that almost guarantees future trouble.
The reality is that roof tape and tar are simply not designed for long-term exposure to the harsh elements our roofs endure. Heat from the sun, relentless rain, and damaging UV rays rapidly break down these materials. What seemed like a solid patch today can quickly become brittle, cracked, and ineffective, leaving your home vulnerable to the very leaks you tried to prevent.
A proper and lasting roof repair typically means replacing the damaged shingles or flashing. These components are specifically designed to withstand years of weather exposure, creating a durable, watertight barrier. Relying on anything less is merely a band-aid solution. Don’t wait until the next storm to discover that your quick patch didn’t hold; invest in a genuine repair to protect your home’s integrity.
Read more about: Beyond the Garage: The Ultimate 12-Point Safety Checklist for Classic Car Road Trips

3. **Painting Over Water Damage**Seeing a water stain on your drywall can be unsightly, and the idea of simply painting over it to restore a pristine look is certainly tempting. A fresh coat of paint can indeed hide the problem for a month or two, providing a temporary cosmetic fix. However, this approach utterly fails to address the root cause of the damage, and in fact, often exacerbates it.
The real issue — the water damage itself — remains beneath the surface and is likely growing. Water-damaged materials continue to break down, weakening the structure and creating an unstable base for any paint. Eventually, the paint will inevitably peel or bubble right off, making the problem even more apparent and often harder to fix cleanly.
The only effective solution is to find and fix the leak first. Once the source of the water is eliminated, allow everything to dry completely. Then, and only then, should you replace any drywall that is too far gone or significantly compromised. With the underlying issue resolved and the damaged materials properly repaired or replaced, your new paint job will actually last and look good, truly restoring your wall.
Read more about: Drivers, Beware: 6 High-Risk Used Cars You Must Think Twice About Before Buying in 2025

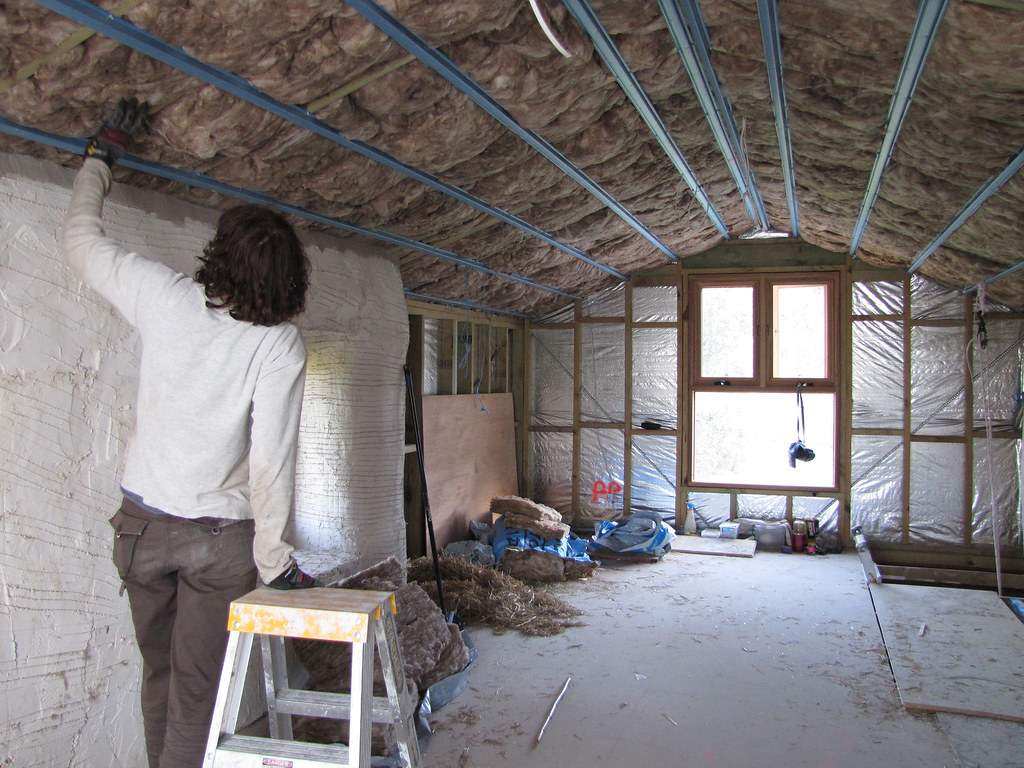
4. **Using Expanding Foam for Big Structural Gaps**Spray foam is an undeniably handy product for many DIY projects, particularly for insulation and sealing small gaps. Its ability to expand and fill spaces makes it seem like a universal solution for any crack or void around the house. However, when it comes to big structural gaps—such as those found under doors, windows, or flooring—relying on expanding foam as a primary support is a quick fix that will undoubtedly disappoint.
Expanding foam simply doesn’t offer the structural integrity needed in areas requiring actual support. It’s a sealant and insulator, not a load-bearing material. Over time, especially with heavy movement, temperature fluctuations, or weather exposure, expanding foam can shift, shrink, and break down. This means any perceived stability it provided will quickly diminish, leaving those structural gaps unsupported once again.
For areas that require real structure or stability, you need more robust solutions. This might involve using shims, wood blocking, or other permanent framing materials to provide the necessary support. Expanding foam is excellent for insulating or sealing small, non-structural gaps, but understanding its limitations is key to ensuring your repairs actually last and contribute to the long-term stability of your home.
5. **Fixing a Leaky Pipe With Tape**When a pipe starts leaking, the sight of water can induce panic, and grabbing plumber’s tape or flex tape for a quick save seems like a logical, immediate response. This temporary measure might stem the flow for a short period, buying you some time to figure out a real solution. However, it is absolutely not meant for permanent pipe repair, and almost universally, the leak will work its way through again.
Water pressure, constant flow, and the eventual degradation of the tape’s adhesive mean that a tape patch will inevitably fail. What starts as a small drip can quickly become a significant leak, leading to substantial water damage that far outweighs the cost and effort of a proper, initial fix. The inconvenience and potential destruction from a burst tape-patched pipe are risks no homeowner should take.
If you’re dealing with a cracked or corroded pipe, the only reliable long-term solution is to replace that section entirely. If this feels beyond your DIY capabilities, calling in a professional is not just advisable, it’s essential. Preventing extensive water damage from a failed tape repair will ultimately save you more money and hassle than trying to make a temporary fix permanent.
Read more about: The Indispensable Arsenal: Unpacking the Ultimate Tool Kit for Every Man (And What’s Missing From Yours)

6. **Relying on Temporary Deck Repairs**Decks are fantastic extensions of our living spaces, but they are constantly exposed to the elements and heavy use. When a wobbly deck post or a warped board emerges, a quick brace or a few extra nails might seem like a practical, immediate fix. These temporary measures might indeed hold for a few months, offering a deceptive sense of security, but they are rarely equipped to withstand the full cycle of all four seasons.
Outdoor structures like decks are dynamic; they expand and contract with changes in heat and moisture, and they bear significant loads. Loose rails, weakened fasteners, and cracked boards are not static problems; they only get worse over time. A temporary patch fails to address the underlying structural fatigue or damage, meaning the issue will resurface, often at the most inconvenient or unsafe moment.
A real and lasting deck repair involves reinforcing the structure, not just patching its symptoms. This might mean replacing compromised posts, installing stronger fasteners, or replacing significantly damaged boards. For older decks, it might even be time to consider a full rebuild to ensure safety and longevity. Investing in durable repairs will keep your outdoor oasis safe and functional for years to come.
Read more about: Why Every Man Needs a Swiss Army Knife: A Comprehensive Guide to this Essential Tool for Modern Preparedness
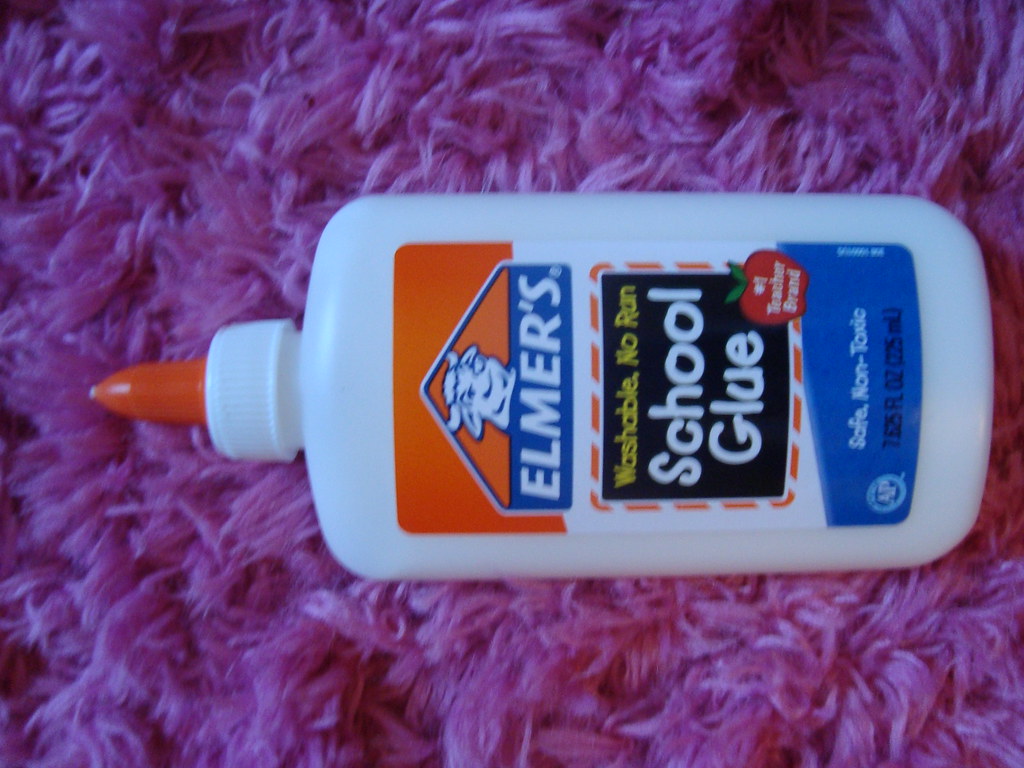
7. **Reattaching Trim With Glue**Trim around windows, doors, and floors adds a polished finish to any room, but occasionally, it can start to pull away from the wall. The instinctive response for many might be to grab a tube of strong adhesive, hoping to glue it back into place. While glue can certainly secure many things, when it comes to trim, it often represents a quick fix that just isn’t forever, leading to recurring frustrations.
The primary reason glue fails as a long-term solution for trim is that your home is constantly in subtle motion. Changes in temperature and humidity cause walls and trim materials to expand and contract naturally. Glue, once set, doesn’t flex with these movements. This rigidity means that as your home breathes and shifts, the glued trim will eventually pop right back off, often cracking the paint or even a piece of the trim in the process.
For anything that is subject to natural movement, mechanical fasteners are your best bet. Finish nails, expertly applied with a nail gun, allow the trim to move slightly with the house while remaining securely attached. After nailing, a little caulk can be used to seal any seams or nail holes, providing a smooth, clean finish that truly lasts. This combination ensures your trim stays put, looking great for years.
Read more about: Transform Your Home: Simple Backyard Projects That Instantly Boost Your Curb Appeal
8. **Using Peel-and-Stick Tiles in Wet Areas**Peel-and-stick tiles have soared in popularity for quick, budget-friendly makeovers, promising to transform kitchens or bathrooms with minimal effort. It’s incredibly tempting to envision a brand-new look for your backsplash or shower wall in just an afternoon, leveraging these convenient self-adhesive options.
However, this allure often masks a crucial limitation: their performance in high-moisture environments. While they might look fantastic immediately, these tiles rarely hold up in areas like bathrooms or kitchens where constant moisture, splashes, steam, and humidity are a given. The adhesive simply isn’t built for the long haul, inevitably weakening over time.
This leads to frustrating and unsightly peeling edges, or tiles warping, creating gaps that trap more moisture and cause further issues. What began as a convenient upgrade quickly becomes a recurring problem, demanding more time and effort.
For lasting improvement, keep peel-and-stick tiles strictly to dry, low-traffic areas. For any space around water—be it a backsplash near the sink or, crucially, a shower—you’ll need proper tile, grout, and waterproof backing. This upfront investment ensures a durable, functional, and beautiful result that truly lasts, saving you from constant re-do’s and potential water damage.
9. **Skipping Primer Before Painting**Embarking on a painting project always feels like a fresh start, a chance to instantly transform a room. It’s easy to get caught up in the excitement, eager to roll on that new color and see the immediate change. Many homeowners are tempted to skip applying primer, deeming it an unnecessary step if the paint promises “one-coat coverage.”
Bypassing primer, especially on raw wood, stained surfaces, or patched drywall, is a shortcut that almost always leads to disappointment. While your fresh coat might look perfectly fine at first, this initial appearance is often deceptive. Without primer, paint lacks the essential foundation it needs to properly adhere and perform.
What happens next is entirely predictable: the paint begins to chip, streaks become visible, and the overall finish wears out too soon. Primer is a critical component that gives your paint something robust to stick to, creating a stable surface. It also ensures consistent coverage, seals stains, and prevents bleed-through, especially with contrasting colors or problematic surfaces.
Think of primer as the unsung hero of a truly professional-looking and long-lasting paint job. Taking this time saves you from the frustration of seeing your work deteriorate prematurely, preventing repainting just six months later. It ensures a smooth, even, and durable finish that truly lasts.
Read more about: Transform Your Look: Avoid These Common Makeup Mistakes That Can Age You

10. **Using Duct Tape as a Long-Term Fix**Duct tape is an iconic tool in any DIY arsenal, instantly recognizable and seemingly capable of fixing almost anything. In an emergency or tricky situation, its immediate adhesion and strength can certainly work in a pinch, providing a quick, temporary solution to hold things together. Its versatility makes it the go-to for countless minor mishaps.
However, the very qualities that make duct tape so useful for quick, on-the-spot repairs are precisely why it falls short as a permanent solution. Despite its reputation, duct tape is fundamentally not a real repair material for long-term applications. Its adhesive, while strong initially, is simply not designed to withstand constant environmental exposure or sustained stress.
Crucially, heat, cold, and moisture are duct tape’s natural enemies, working relentlessly to break down its integrity. The adhesive will inevitably give out over time, losing its grip and leaving behind a sticky, unsightly mess that’s often harder to clean than the original problem. What was once a seemingly strong bond quickly becomes a brittle, failing patch.
If you find yourself reaching for duct tape to hold something together, consider it a signal that it’s time to find a more permanent solution. For lasting repairs, opt for materials specifically designed for durability, such as screws, brackets, or strong epoxy. These alternatives offer significantly more life and reliability than a strip of tape ever could.
Read more about: Your Next Home Awaits: Exploring the Top 14 States for Affordable Living and Exceptional Quality of Life
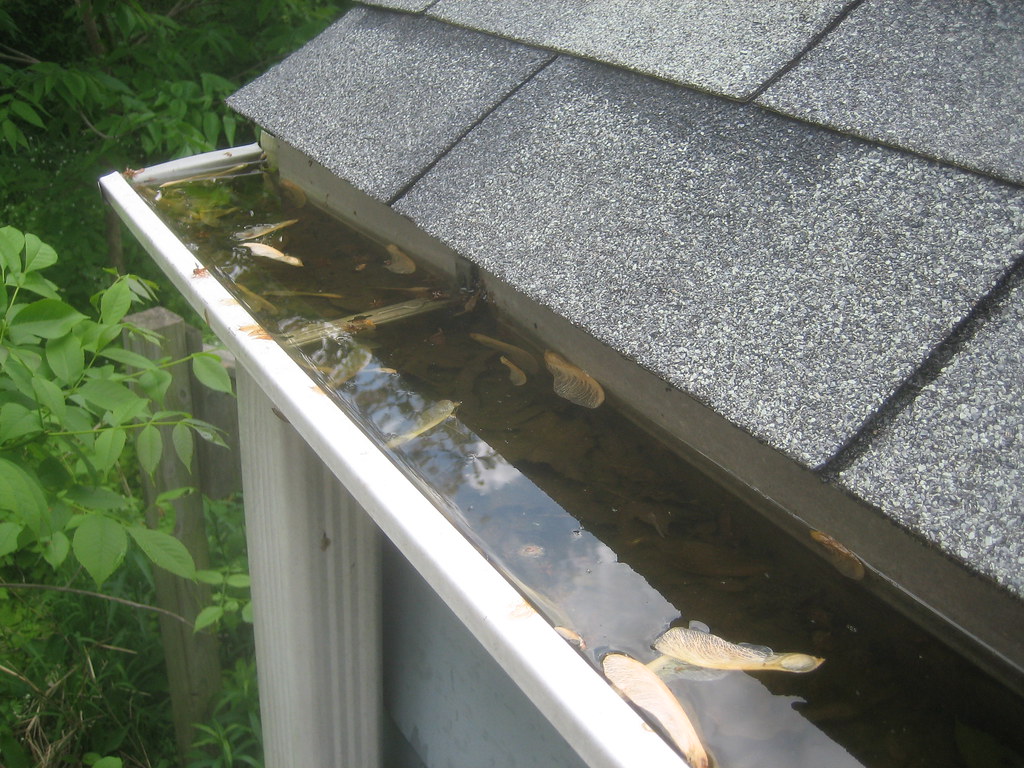
11. **Patch Leaky Gutters**Gutters play a vital role in protecting your home by diverting rainwater away from the foundation. When you notice them dripping water every time it rains, it’s an immediate call to action. The instinct might be to reach for a quick fix like a gutter sealant, seemingly an easy way to plug holes and stop the immediate drip.
While applying a gutter sealant rated for outdoor use can certainly provide a momentary reprieve, effectively stopping your gutters from leaking water in the short term, it’s essential to understand its true nature. This type of patch is fundamentally a temporary fix, designed to offer a quick solution, but not built for the long haul.
The reality is that even with the best sealant, this quick patch might only last a season or two. Over time, exposure to sun, rain, and temperature fluctuations will cause the sealant to degrade, crack, or pull away, leading to the same leaks resurfacing. What initially felt like a complete repair will eventually reveal itself as a stopgap.
To ensure your gutters provide reliable, long-term protection, you’ll need to plan for a more comprehensive repair in the near future. This could involve thoroughly cleaning and inspecting your system, reinforcing seams, or even replacing entire sections. While the sealant offers immediate relief, investing in a durable fix will save you from repeated headaches and safeguard your home.
12. **How to Cover Up a Ceiling Stain**The appearance of a ceiling stain can be quite alarming, often signaling an underlying issue that demands attention. However, the immediate desire to restore the pristine look of your ceiling can lead to a tempting shortcut: simply covering up the unsightly mark with a spray-on product designed to hide tough ceiling water stains. These products promise to blend and make the stain vanish with ease.
While a specialized spray like Upshot by KILZ can indeed make a stained ceiling look presentable by camouflaging the discoloration, it’s crucial to recognize this as a cosmetic solution, not a true repair. The product is adept at hiding the symptom, providing an optical illusion of a flawless surface, much like painting over water damage.
However, the real issue—the source of the water stain—remains unaddressed beneath the surface. If the leak that caused the stain hasn’t been found and fixed, it will continue to cause damage. The moisture will persist, potentially weakening structural components, promoting mold growth, and eventually, the stain will reappear.
To tackle a ceiling stain effectively and permanently, the first and most critical step is to identify and resolve the source of the leak. Only once the underlying water intrusion has stopped and the area dried, should you consider addressing the cosmetic damage with a stain-blocking primer and paint, or a product like Upshot, for a lasting, clean ceiling.
Read more about: Beyond Protein Shakes: Your Definitive Guide to Halting Muscle Loss After 50 with Essential Bodyweight Exercises and Smart Strategies

13. **Fix Scratched Cabinetry with Markers or Pencils**Cabinetry plays a significant role in your home’s aesthetic, and even minor imperfections like shallow scratches or nicks are noticeable, especially on darker stains. The natural inclination is to quickly restore their flawless appearance, leading many to reach for stain-filled touch-up markers or filler pencils for an effortless solution. These products promise to make scratches disappear.
Dabbing on stain, wiping off excess, and for deeper scratches, using a filler pencil to fill and color the damage offers immediate visual improvement. It restores a smooth, uniform look and makes the imperfection less apparent, a tempting quick fix providing instant gratification without a major overhaul.
However, while excellent for *hiding* damage, these methods are not true repairs that fully restore the cabinet’s surface or protective coating. The treated area, though visually improved, can often absorb too much stain and turn darker, making a perfect match difficult and potentially creating a new, albeit smaller, imperfection.
Therefore, while handy for cosmetic touch-ups, these markers and pencils rarely provide a truly “forever” solution. They are designed for shallow scratches and temporary visual fixes. For lasting durability or extensive damage, a comprehensive repair or professional refinishing is necessary. Use them strategically, but understand their magic is primarily surface-deep, and perfect results are often elusive.
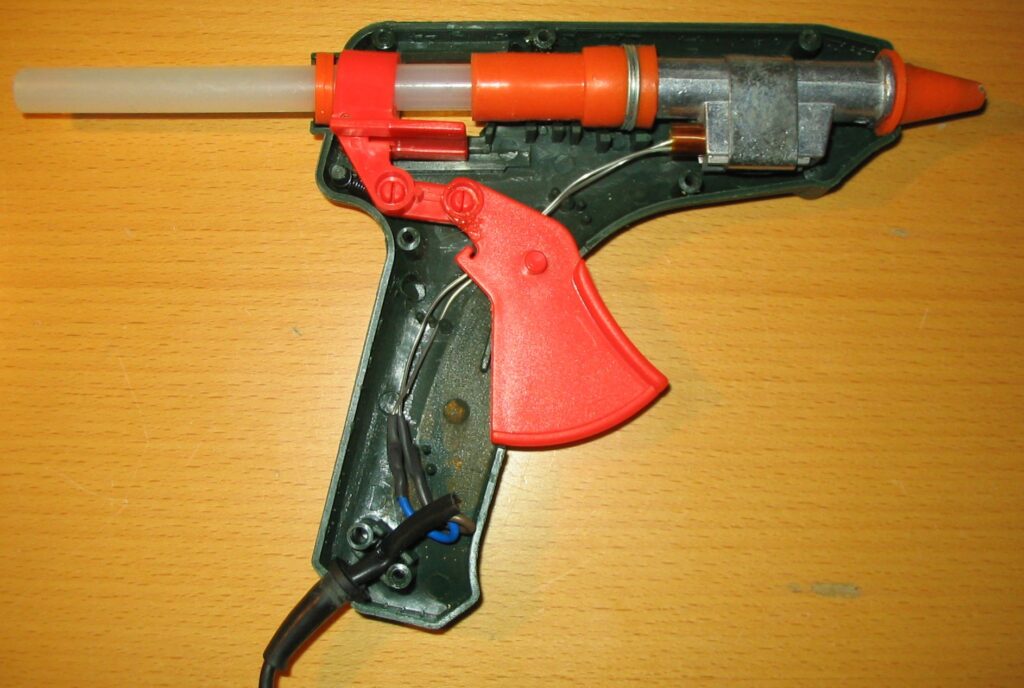
14. **Hot Glue Gun Uses: Fix Wobbly Furniture with a Penny**Dealing with wobbly furniture, whether a chair, table, or bench, is incredibly annoying. That constant rocking and instability not only creates discomfort but can also make the furniture feel cheap or poorly constructed. Faced with this common household nuisance, the desire for a quick and inventive solution often takes hold.
This leads to ingenious hacks like using a hot glue gun and a penny. The idea is simple: add a drop of hot glue to a coin and attach it to the problem area on the furniture leg. The penny then acts as a makeshift shim, ostensibly leveling out the furniture piece and putting an end to the frustrating wobble. It’s an immediate, no-fuss solution leveraging common household items.
While this trick might offer a brief moment of stability, it’s a classic example of a quick fix that fundamentally lacks long-term viability. Hot glue, by its very nature, is a temporary adhesive, designed for light-duty crafting, not for supporting the weight and movement of furniture. Constant pressure, shifting, and temperature changes will inevitably cause the hot glue to soften, weaken, and detach.
The penny, once a clever shim, will eventually pop right off, sending your furniture back into its wobbly state. For true, lasting stability, you need robust solutions that withstand daily use, like traditional shims properly secured, tightening screws, or reinforcing joints. Relying on hot glue and a coin for furniture stability is a temporary illusion, not a durable improvement.
Read more about: 12 Ingenious Home Hacks: Transform Everyday Items into Powerful Problem-Solvers for a Smarter, More Efficient Home
As we’ve explored these quick fixes, it becomes clear that while the immediate gratification of a fast repair is undeniably appealing, it often comes at the cost of long-term reliability. True DIY empowerment isn’t just about tackling tasks yourself; it’s about doing them right, the first time, to ensure lasting results. By understanding the limitations of temporary patches and investing a little more time and effort into proper solutions, you’re not just fixing a problem—you’re genuinely improving your home’s integrity and saving yourself from future frustrations, bigger expenses, and endless re-dos. So next time you face a repair, ask yourself: is this a quick fix, or a lasting solution? Your home, and your wallet, will thank you for choosing wisely.


