

Alright, listen up food lovers and budget warriors! We all want our delicious groceries to last longer, taste amazing, and save us a few bucks, right? But here’s the kicker: many of us are making everyday storage mistakes that are sabotaging our efforts. It’s like we’re throwing money—and perfectly good food—straight into the trash! The context shares a whopping “26 food storage mistakes” and even more, revealing exactly what’s standing in the way of better-tasting meals and fewer wasted dollars.
Guess what? It doesn’t take a culinary degree or a super-fancy kitchen setup to fix this. Simple shifts, like how you store produce, leftovers, or pantry staples, can make all the difference. These tips aren’t about complicated steps; they’re about smart swaps and clever habits that show you how to keep food safe, flavorful, and lasting longer, often with things you already have.
By the end of this deep dive, you’ll be armed with the knowledge to ditch those costly habits and embrace smart swaps that will protect your health and your wallet. So, let’s stop those everyday slip-ups that cost more than you realize and turn you into a food storage guru!

1. **Ignoring Proper Refrigerator and Freezer Temperatures**Let’s kick things off with the absolute basics: temperature control. It sounds simple, but a surprising number of us get this wrong, and it’s a big deal for food safety and freshness. Your refrigerator should ideally stay between 35-38°F (1.7-3.3°C), or at most, at or below 40°F (4°C), to prevent bacteria from throwing a party in your food and spoiling it prematurely. Many people, unknowingly, set their fridges too warm, creating a prime environment for bacteria to multiply at an alarming rate.
But it’s not just the fridge; your freezer also has a crucial temperature to maintain: 0°F (-18°C). Any warmer, and you risk compromising food quality and safety. The “Danger Zone” for food, where bacteria are most likely to multiply, lies between 40 and 140 degrees Fahrenheit. Storing food above the recommended refrigerator temperatures, even for a few hours, means rapidly multiplying bacteria and a higher risk of foodborne illness.
So, what’s the fix? Invest in an inexpensive refrigerator thermometer! Place it in the middle shelf, not the door, for the most accurate reading. Check it every few months and adjust your refrigerator settings as needed. This simple tool is your first line of defense against spoilage and will confirm that your fridge and freezer are both running at a safe temperature.
Another sneaky temperature trap is an overstuffed freezer (or fridge, for that matter!). A packed freezer can’t maintain proper air circulation, leading to warm spots that compromise both food safety and quality. When air can’t move freely, your appliance has to work much harder to keep everything cold, which isn’t energy-efficient. Plus, an overloaded fridge or freezer means it takes longer for warm food to cool down, pushing it further into that dreaded Danger Zone.
To keep things optimally cool, aim to keep your freezer about three-quarters full – full enough to be efficient, but with enough space for air to circulate. Organize similar items together and rotate older foods to the front. This system helps maintain consistent temperature, letting you use items before they develop freezer burn and ensuring everything stays safely chilled.
Read more about: Mastering the Grill: The Ultimate Guide to Avoiding Common Steak Grilling Mistakes for Home Cooks
2. **Mishandling Produce Separation**Ever wonder why some of your fresh produce wilts or spoils way faster than it should, even when you’re doing everything else right? The culprit might be their neighbors! Certain fruits are notorious for releasing ethylene gas as they ripen, which acts like a fast-forward button for other nearby fruits and especially sensitive vegetables. Apples, bananas, avocados, and peaches are big ethylene producers, and if you store them alongside your leafy greens or delicate broccoli, prepare for premature spoilage.
The solution is surprisingly simple: give them some space! When possible, keep ethylene-producing fruits and ethylene-sensitive vegetables in separate crisper drawers. If your refrigerator only has one drawer, or if you prefer countertop storage for certain items, just store those ethylene-heavy fruits in a separate bowl on a shelf, away from your veggies. This small separation can literally add days to your produce’s freshness, saving you trips to the grocery store.
But the drama doesn’t stop with ethylene gas; some foods have other strange interactions. Take onions and potatoes, for example. It might seem convenient to store them together, perhaps in a large bin in your pantry, but this is a classic storage no-no. Onions release gases that accelerate sprouting in potatoes, turning them green and sprouting faster than you can say “baked potato.” Simultaneously, potatoes emit moisture, which can make your onions soft and prone to mold.
So, to keep these staple veggies happy and long-lasting, store them separately in cool, dark places with plenty of air circulation. Onions thrive in mesh bags, allowing air to pass through, while potatoes prefer paper bags or cardboard boxes, which absorb excess moisture. Both should absolutely be kept out of direct sunlight, which encourages sprouting and rapid spoilage, especially for potatoes.
Another common pairing mistake involves bananas and other fruits. Bananas are particularly potent ethylene gas producers. A single bunch of bananas can dramatically speed up the ripening, and subsequently, the spoilage, of an entire fruit bowl. If you’ve ever seen your perfectly ripe avocados turn mushy overnight, or your apples go soft too soon, a banana might have been the silent antagonist.
The best practice for bananas is to store them separately on a countertop hook or stand, away from other fruits. If you want to slow down their own ripening, you can separate individual bananas from the bunch and wrap their stems with plastic wrap. Conversely, if you’re trying to ripen a stubborn avocado or a firm pear, placing it in a paper bag with a banana will get the job done much faster! It’s all about controlling that ethylene flow.

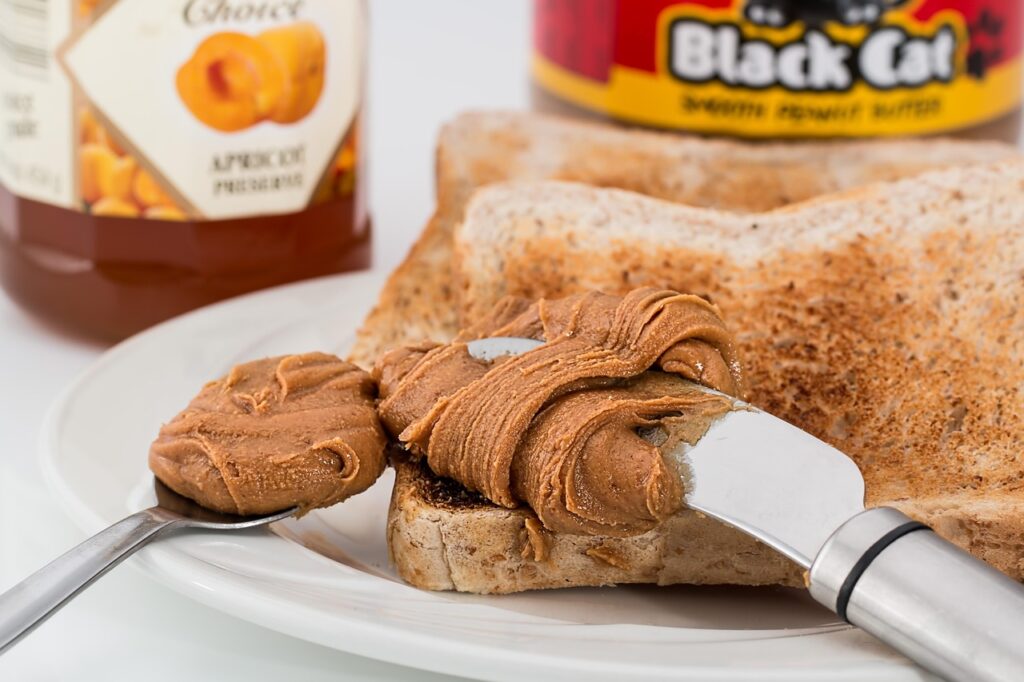
3. **Using Inadequate Storage Containers**When it comes to keeping food fresh, the right container is more than just a place to put things; it’s a fortress against spoilage, a shield against contamination, and a protector of flavor. Many of us fall into the trap of using whatever is handy, but this can be a major disservice to our leftovers and pantry staples. For instance, storing cooked food in the pots and pans you used to make them might seem efficient, but it wastes valuable fridge space and often doesn’t provide the airtight seal needed to maintain freshness. Metal containers, especially, can react with certain foods over time, creating off-flavors that ruin your meal.
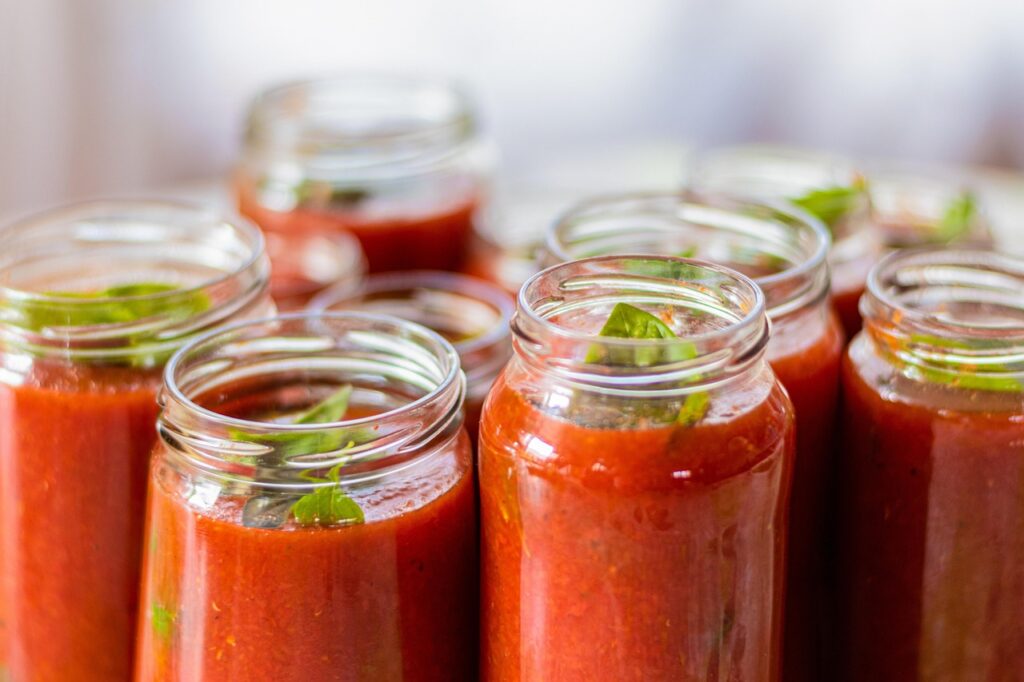
Beyond just pots, the quality of your storage containers matters immensely. Low-quality plastic containers are often a false economy. They can crack, leak, or fail to seal properly, meaning your food is more susceptible to drying out, bacterial contamination, or simply spoiling faster. Some even warp in the microwave or become brittle in the freezer, making them unreliable. This is particularly noticeable when storing vibrant foods like tomato-based sauces; plastic often absorbs the color and leaves behind frustrating, stubborn orange stains that seem nearly impossible to remove, especially if heated in the microwave. Moreover, many plastic containers contain Bisphenol A (BPA), which has been shown to have negative health effects.
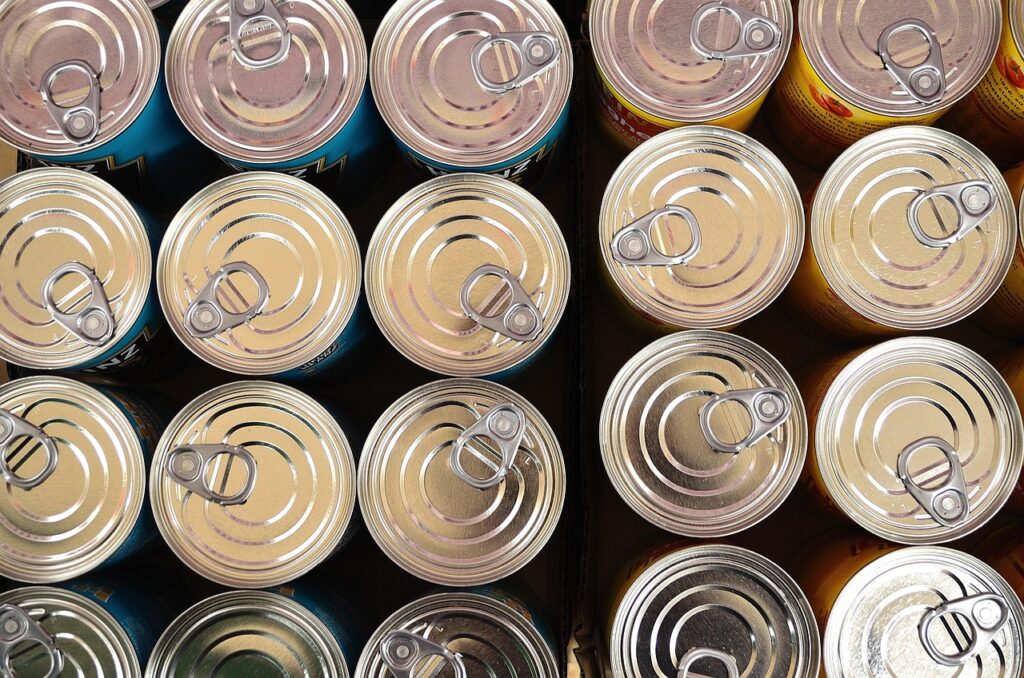
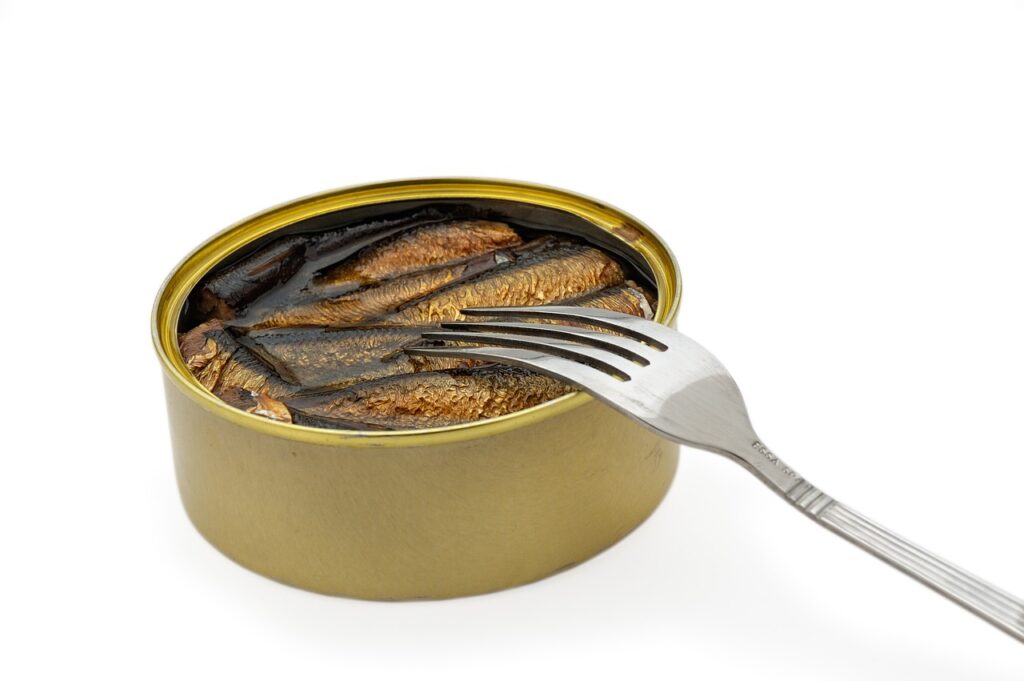
Then there’s the issue of open cans. Once you’ve opened a can of food, it’s a race against time and oxidation. Leaving unused portions in the original can, even in the refrigerator, can lead to a metallic taste as the food reacts with the exposed metal and air. The can’s lining may also start to break down, potentially leaching unwanted substances into your food. This practice also leaves your food vulnerable to absorbing odors from other items in your fridge and increases the risk of cross-contamination.
For dry goods like flour, sugar, or cereal, the original paper and cardboard packaging might be convenient, but they offer little long-term protection. These flimsy containers are an open invitation for moisture, insects, and pantry pests to infiltrate, compromising the freshness, quality, and safety of your staples. They simply don’t provide an adequate barrier against the elements or unwanted guests.
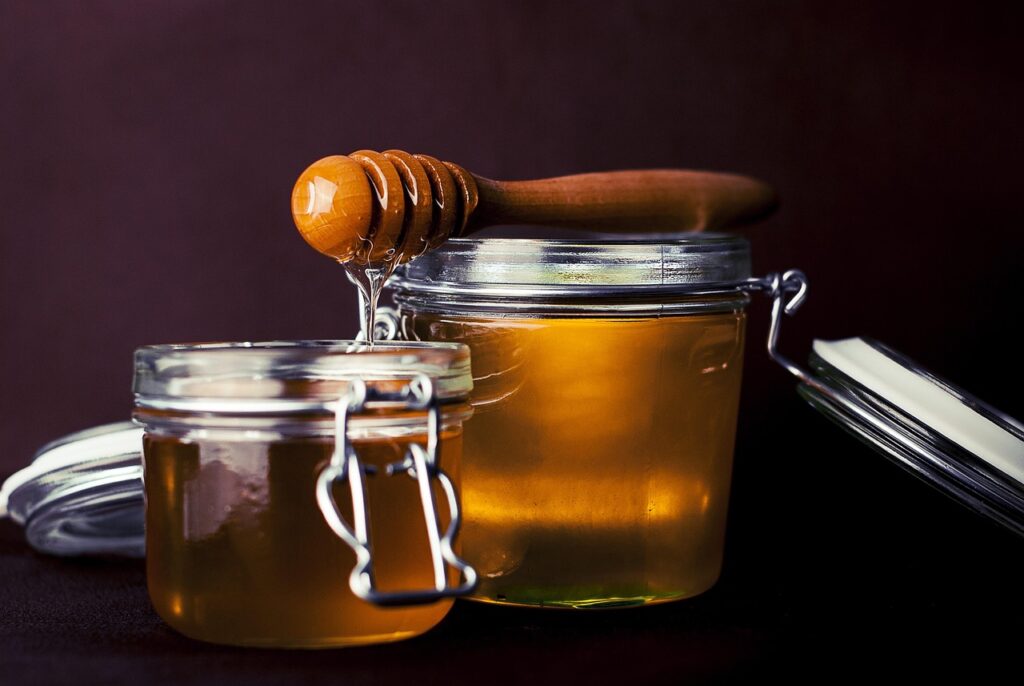
The solution across the board is to invest in good-quality glass or BPA-free plastic containers with tight-fitting lids. Glass containers are particularly excellent because they are stain-resistant, impermeable, and free from BPA. They also let you see what’s inside at a glance, reducing forgotten leftovers. These containers stack better, keep air out, and won’t absorb food odors or stains. For tomato-based sauces, glass is definitely your best friend; alternatively, if you must use plastic, spray a little cooking oil around the bottom and sides of the container before adding the food – it acts as a protective layer against those stubborn stains. For dry goods, transfer them to airtight glass, metal, or plastic containers soon after purchase. Clear containers make inventory easy, and tight seals keep contents fresh and pest-free. And when it comes to open cans, always transfer unused portions to these proper containers before refrigerating. Your food, and your health, will thank you.
Read more about: Don’t Waste Your Money: 14 Walmart Buys That Experts Say to Skip (and What to Choose Instead)
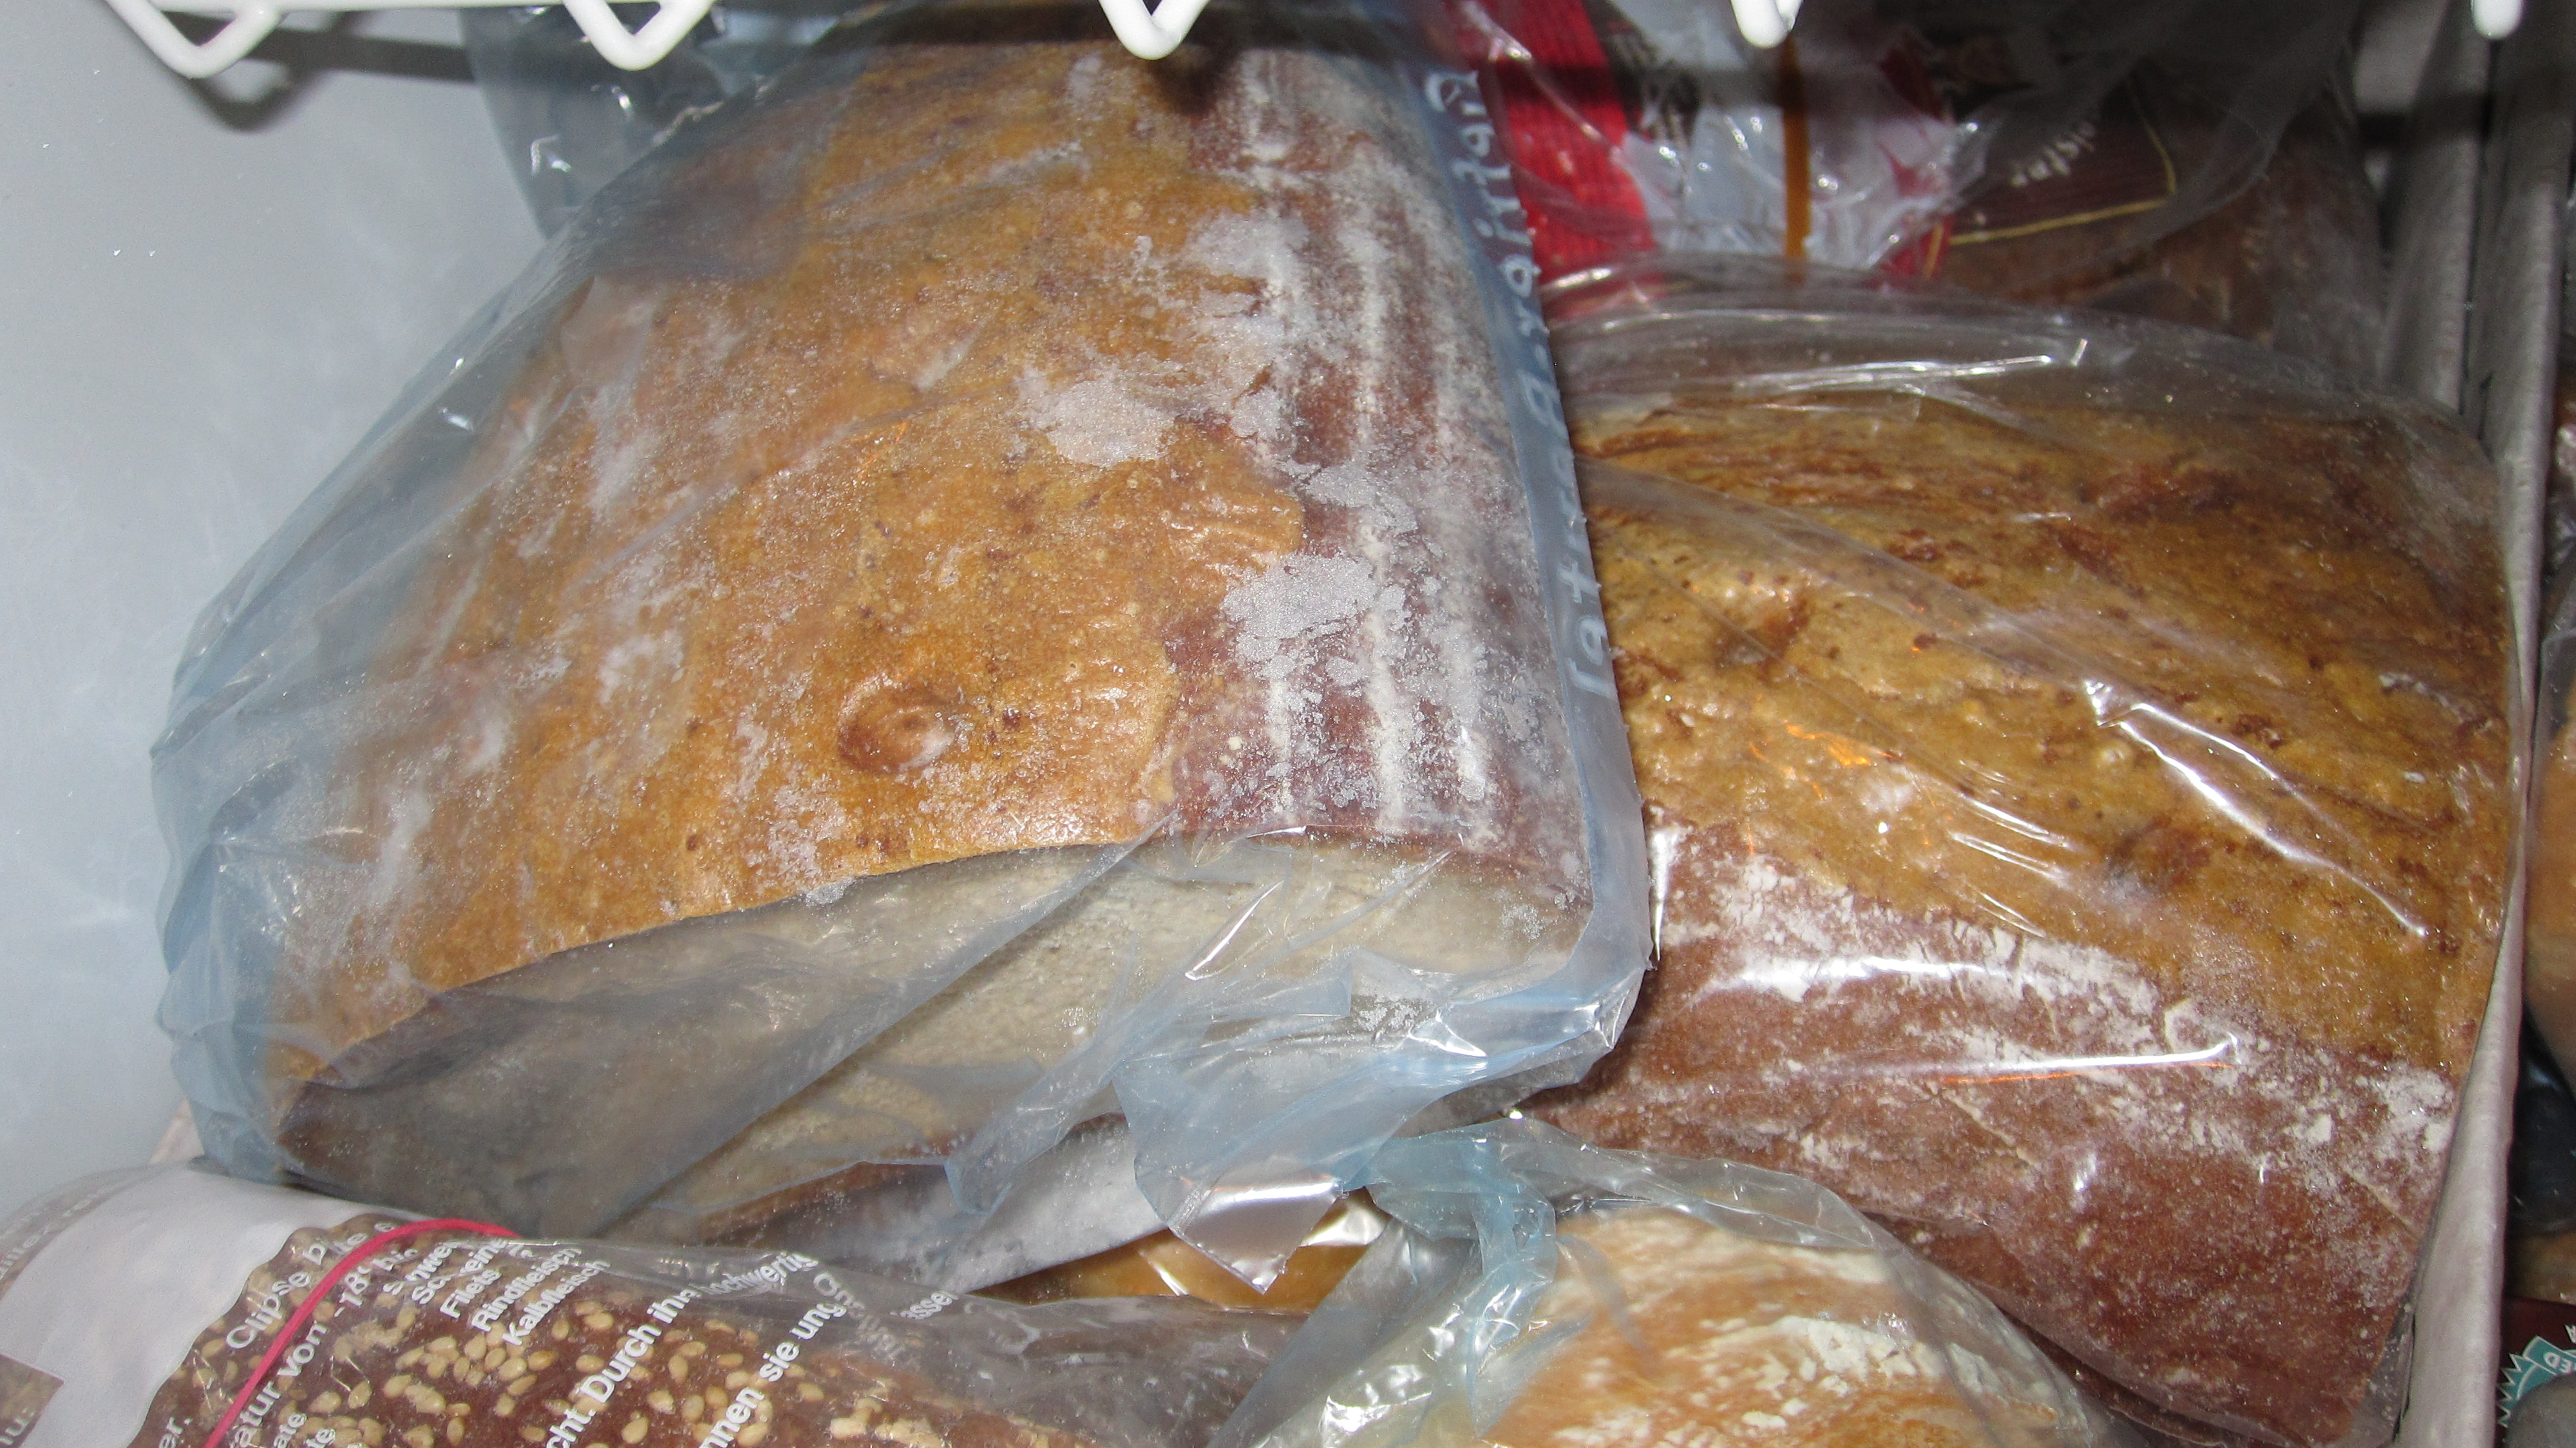
4. **Improper Storage of Bread**Here’s a common misconception that might be turning your delicious artisan loaf into a crumbly, unappetizing shadow of its former self: storing bread in the refrigerator. Many people instinctively pop their bread into the fridge, thinking it will keep it fresher for longer or prevent mold. While refrigeration might slow mold growth slightly, it actually speeds up the staling process, which is often the bigger issue for bread lovers.
The cold temperatures inside your refrigerator cause the starch molecules in bread to recrystallize much faster than at room temperature. This change in starch structure is what makes bread go stale, leading to a dry, firm, and crumbly texture that’s far from enjoyable. So, while you might be preventing a little bit of mold, you’re essentially sacrificing the bread’s delightful texture and freshness.
For optimal short-term freshness, store bread at room temperature. A bread box is a classic choice, or even a simple paper bag, can keep your loaf fresh for about 2-3 days. The goal is to keep it away from excessive moisture, which encourages mold, but also to allow some air circulation to prevent it from becoming too soft and damp. This method preserves its natural texture and flavor, ensuring each slice is as good as the first.
If you need to store bread for longer than a few days, the freezer is your best bet, not the fridge. For best results, slice your bread before freezing it. This way, you can easily pull out individual slices as needed and toast them straight from frozen. Freezing effectively pauses the staling process, and toasting from frozen brings back a wonderfully fresh texture, preventing waste and ensuring you always have delicious bread on hand without compromising its quality.
Read more about: Are Smart Fitness Mirrors Worth the Hype? An In-Depth Evaluation of the Top Home Workout Systems of 2025

5. **Neglecting Food Labeling and Dating**We’ve all been there: peering into the depths of the refrigerator or rummaging through the freezer, only to stumble upon a mystery container. You know you cooked something delicious, but what exactly is it? And more importantly, *when* did you make it? Unmarked containers are a leading cause of food waste in many households because, let’s be honest, if you don’t know what it is or how old it is, it’s often destined for the trash. This unnecessary guessing game costs you food and money.
The fix is incredibly simple, yet often overlooked: label and date everything! A few seconds with some stickers, masking tape, or a roll of freezer tape and a marker can save you from a lot of head-scratching and wasted food later. Clearly label containers with their contents and the date they were made or stored. For frozen items, it’s also a smart move to include brief cooking instructions, so you’re ready to go when you pull them out.
This habit isn’t just for leftovers; it extends to all your stored foods. When you know exactly what’s inside and when it was put there, you’re much more likely to actually use your stored food before it loses quality or becomes unsafe. No more finding unidentifiable freezer surprises months down the line or playing the dangerous “sniff test” game with older items. It’s about taking control of your food inventory.
Beyond your own labels, understanding printed food dating systems is crucial. Terms like “sell by,” “use by,” and “best before” can be confusing, and many people mistakenly throw away perfectly good food due to misunderstanding these labels. “Use by” dates are generally related to food safety, especially for highly perishable items, and should be taken seriously. However, “best before” dates indicate peak quality, not necessarily safety.
Most foods are still perfectly good days or even weeks past their “best before” date if they’ve been stored properly. Instead of relying solely on these dates, learn to use your senses: check for odd smells, unusual textures, or visible mold. Your nose and eyes are often the best indicators of whether food is still good, helping you reduce waste and save money without compromising safety.
Read more about: Beyond the Headlines: Exploring the Dark History and Enduring Legends of Serial Killers
6. **Delaying Refrigeration of Hot Foods**It’s a culinary myth that’s been passed down through generations: you absolutely cannot put hot food directly into the refrigerator because it will raise the overall temperature and spoil everything else. Let’s bust that myth right now! Not only is this advice outdated for modern refrigerators, but it’s actually the *safer* option to get hot food into a cold environment promptly, rather than letting it linger on the countertop.
The real danger lies in leaving food out for too long at room temperature. The USDA advises that “food should be cooled in the refrigerator within 2 hours of being cooked, if it has been allowed to cool to room temperature.” If your kitchen is particularly warm, that window shrinks to just 1 hour. This is because the “Danger Zone” for bacterial growth is between 40 and 140 degrees Fahrenheit. When food sits out, it enters and stays at the top end of this zone, where bacteria like salmonella and E. coli can multiply rapidly, potentially making you very sick.
As food safety specialist Dr. Benjamin Chapman explained in an interview with The Kitchn, “Between 90°F and 110°F is way more dangerous than 43°F or 48°F because it’s the ideal temperature for most pathogens associated with the gastrointestinal tract to grow.” This means that refrigerating hot food reduces the risk significantly, even if the food is still warm when it goes in. Modern refrigerators are designed to handle this without significantly impacting the temperature of other items.
So, what’s the actionable advice? Don’t let food cool for 30-40 minutes on the counter, as some old advice suggests. Instead, transfer your cooked food to shallow, fridge-safe containers straight away and get it into the refrigerator. This rapid cooling minimizes the time your food spends in the bacterial Danger Zone. If you have a large batch of soup or stew, divide it into smaller, shallow containers to maximize the surface area, allowing it to cool down much faster.
Never leave perishable food out for more than two hours total – and if you’ve cooked a meal but kept it warm, the two hours begin as soon as the heat source is turned off. Prioritizing quick refrigeration is a crucial step in preventing foodborne illness and keeping your delicious leftovers safe to enjoy.
7. **Storing Perishable Items in the Fridge Door**Ah, the refrigerator door—so convenient, so accessible, and often, so wrong for many perishable items! While it’s a perfectly fine spot for non-perishable condiments and sauces that can handle temperature fluctuations, it’s one of the worst places in your fridge for highly perishable foods like eggs, milk, and even most leftovers. The main problem? It experiences the most significant and frequent temperature changes whenever you open and close the refrigerator.
Every time that door swings open, warmer room air rushes in, and the items stored there feel the effects of that temperature disruption more intensely and for longer than items nestled safely on the main shelves. For delicate items like eggs, these constant temperature swings can significantly affect their quality and safety, potentially shortening their shelf life. You might think eggs are resilient, but consistent cold is key to keeping them fresh.
Milk suffers a similar fate. Placing milk cartons and bottles in the door means they are constantly exposed to warmer air, which accelerates spoilage. You might be losing days of freshness from your milk simply because it’s in the wrong spot. For general cooked leftovers, a consistent temperature below 40 degrees Fahrenheit is absolutely crucial for safety. The fluctuating temperatures in the door make it challenging to maintain that necessary chill, inviting bacterial growth.
So, what’s the safer spot? Keep eggs in their original carton (which also protects them from absorbing odors) and place them on a shelf inside the main compartment of your refrigerator. This location keeps them away from the temperature swings that occur in the door. For milk and your precious leftovers, find a spot on an interior shelf, preferably near the back, where temperatures remain much more stable and consistently colder.
The bottom shelf is often the coolest and most consistent area in the refrigerator, making it an excellent spot for raw meat (to prevent drips onto other food) and other highly perishable items like milk or leftovers. As long as your container isn’t blocking any air vents, this strategic placement will help your food stay consistently cool, meaning it will be fresher, safer, and last longer, saving you money and preventing potential illness.
Alright, food enthusiasts, we’ve covered some major game-changers, but there’s still a whole pantry (and fridge!) full of wisdom to unlock. Now, let’s dive deeper into some more tricky food storage blunders that could be sabotaging your meals, from how you handle frozen goods to those often-overlooked pantry staples. Get ready to level up your kitchen skills and say goodbye to wasted food!
Read more about: Unpacking Food Safety: A Comprehensive Consumer’s Guide to Preventing Illness and Protecting Your Family

8. **Letting Frozen Food Sit in the Danger Zone**Freezing is truly a superpower for extending the life of your leftovers, keeping them safe and delicious for months. But here’s the catch: bringing that food from its icy slumber to your dinner plate requires a little know-how, and many of us fall into a common thawing trap that can put our food, and our health, at risk. We’re talking about that age-old habit of simply pulling food out of the freezer and letting it sit on the kitchen counter to thaw.
While this might seem like a convenient way to defrost within a few hours, the USDA strongly advises against it. Why? Because as your food slowly thaws on the counter, its temperature can creep into the dreaded ‘Danger Zone’ (that’s between 40 and 140 degrees Fahrenheit) for too long. In this temperature range, bacteria can multiply at an alarming rate, turning what was once a safe meal into a potential source of foodborne illness. It’s a silent threat that can undermine all your efforts to store food safely.
So, what’s the safe way to thaw? The USDA recommends three golden methods. The first, and arguably the safest, is to plan ahead and defrost your food overnight in the refrigerator. It’s slow, but it keeps your food consistently cold and out of the Danger Zone. If time is a luxury you don’t have, you can opt to submerge the food in cold water (changing the water every 30 minutes) until it’s no longer frozen, or use your microwave’s defrost setting. But here’s the critical part for these faster methods: you *must* cook the food immediately after defrosting it. Otherwise, you’re back in risky territory.
Read more about: Unpacking Food Safety: A Comprehensive Consumer’s Guide to Preventing Illness and Protecting Your Family
9. **Reheating Multiple Times**Who doesn’t love the convenience of cooking a big batch and having meals ready for days? It’s a total win-win for busy schedules and saving money. But when it comes to reheating those delicious leftovers, there’s a sneaky mistake many of us make: reheating the entire portion, with the intention of returning any unused food back to the fridge. This seemingly innocent habit can actually compromise both the quality and the safety of your hard-earned meal.
Think about it: every single time you reheat a meal, let it cool, and then pop it back into the fridge, you’re putting it through a cycle of temperature changes. Each cycle can gradually degrade the food’s texture and flavor. That perfectly spiced curry might lose some of its vibrant zing, becoming less appetizing with each subsequent reheat. You deserve the best taste possible from your efforts, right?
More importantly, each trip through the reheating and cooling process means your food spends more time entering and existing the ‘Danger Zone’ for bacterial growth. Those opportunistic bacteria are just waiting for the chance to multiply! This increases the risk of foodborne illness with every reheat, which is definitely not the kind of kitchen experiment you want to be running.
The smartest solution is to store your leftovers in smaller, individual-sized containers right from the start, especially if you know you’ll be freezing them. This way, you only take out and reheat the exact portion you need, keeping the rest of your food safely chilled below the Danger Zone. If you only have larger containers, simply scoop out what you want to eat and keep the bulk of the leftovers in the fridge, preserving their quality and safety for longer.
Read more about: Mastering the Art of Filet Mignon: A Comprehensive Guide to Achieving Culinary Perfection Through Temperature Control
10. **Not Reheating to Safe Temperature**So, you’ve mastered the art of storing your leftovers safely, but the job isn’t done until you reheat them correctly! It’s easy to assume that because food has already been thoroughly cooked once, and then chilled, the risk of foodborne illness has vanished. But that’s a dangerous assumption to make. If you only warm your leftovers to a lukewarm state rather than piping hot, they’ll likely land squarely back in the ‘Danger Zone’ (that’s 40 to 140 degrees Fahrenheit), becoming a perfect breeding ground for dangerous bacteria.
This mistake is especially critical when you’re heating food for young children. As a parent, your instinct might be to avoid overheating to prevent burns, but safety must come first. For everyone’s well-being, all leftovers, especially those containing meat, poultry, or seafood, should be thoroughly heated to at least 165 degrees Fahrenheit (74°C). Once it’s reached that safe temperature, you can then let it cool slightly before serving it to little ones.
Microwaves can be super convenient, but they require a little extra care when reheating. They’re notorious for creating ‘hot and cold spots,’ meaning some parts of your food might be safely steaming while other areas remain dangerously cool. To avoid this culinary roulette, always stir your food regularly during microwave heating. This helps distribute the heat evenly, ensuring every delicious bite reaches that crucial 165°F mark and keeps everyone safe.
Read more about: Decoding Crispiness: A Comprehensive Guide to the Best Air Fryers for Unbeatable Results
11. **Refreezing Food That Has Come to Room Temperature**There’s a persistent myth floating around that once food is frozen and then defrosted, it can never be frozen again. While it’s true that repeated freezing and thawing cycles can impact food quality, the truth about refreezing is a bit more nuanced than that blanket statement. It largely depends on *how* you thawed the food in the first place. Get ready to ditch some old-school thinking and embrace smart refreezing!
If you took the USDA-recommended approach and defrosted your food slowly and safely in the refrigerator, and you’re absolutely confident that its temperature never rose above 40 degrees Fahrenheit (4°C), then good news! You can safely return it to the freezer if your meal plans change. The key here is that it never entered the ‘Danger Zone’ where bacteria rapidly multiply, so its safety hasn’t been compromised.
However, if you’ve used either of the other USDA-approved rapid defrosting methods – submerging it under cold running water or using the microwave – then the rules change. In these scenarios, the food should be cooked immediately after thawing. It’s not recommended to refreeze it at this point, even if you change your mind about what to cook. The rapid thawing processes can push the food into or near the Danger Zone, making refreezing a risk.
To keep your food as safe as possible and minimize any quality degradation, it’s a brilliant move to freeze leftovers in smaller, individual-sized containers. This way, you only defrost exactly what you need, reducing the temptation to refreeze larger portions unnecessarily. Planning ahead and portioning smartly will make your freezer a true ally in reducing waste and keeping your food top-notch.
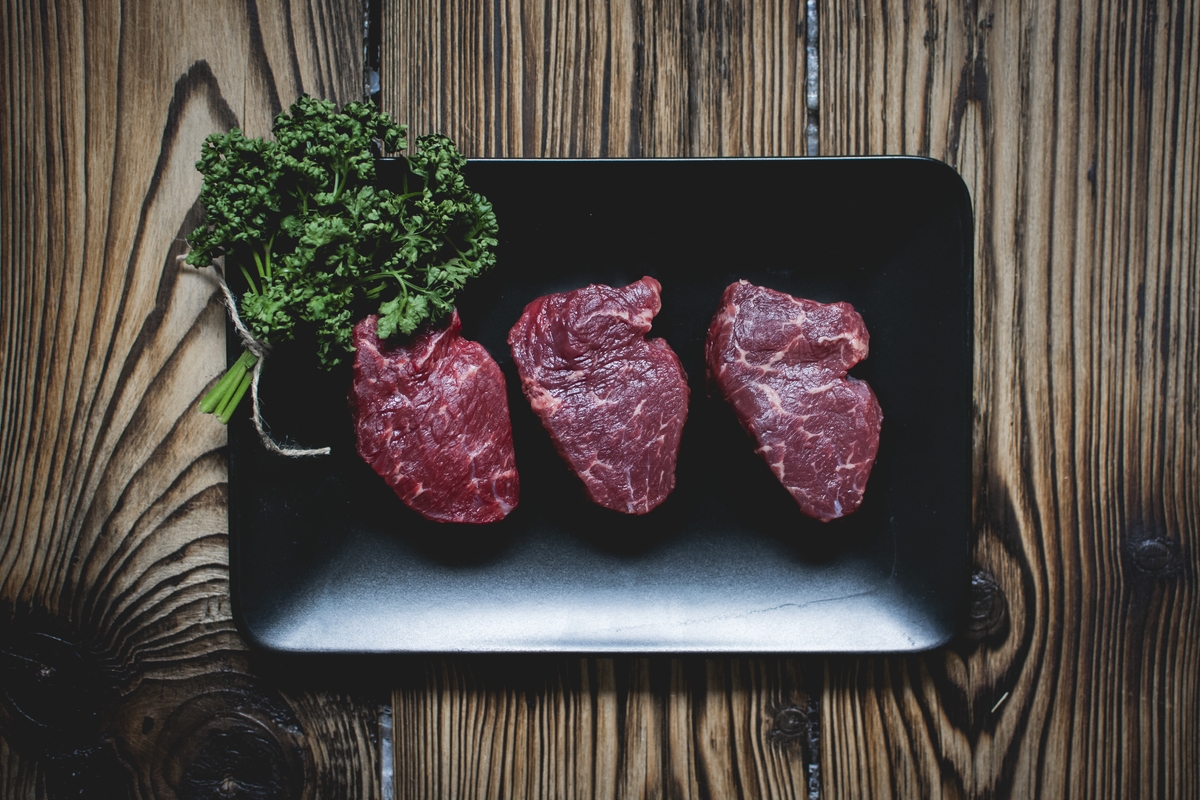
12. **Not Storing Raw Meat Safely**When it comes to kitchen safety, raw meat is definitely a star player that demands your full attention. Improper handling or storage of meat is a leading cause of many foodborne illnesses, including some truly nasty ones like salmonella and E. coli. So, if you’re serious about keeping your family safe and your kitchen healthy, let’s talk about some non-negotiable rules for storing raw meat.
First up, placement is everything. Raw meat should *always* be stored near the bottom of your fridge. Not only is this often one of the coolest spots, but more importantly, it prevents any potential juices from dripping onto other foods below it. Imagine raw chicken drippings contaminating your fresh salad or cooked leftovers – definitely a recipe for disaster! Keeping it on the lowest shelf is a simple, yet incredibly effective, safeguard against cross-contamination.
And what about cooked meat? That needs its own space too! Keep cooked meat on a separate shelf, further up in the fridge, well away from any raw ingredients. Both raw and cooked meats should be covered meticulously, ideally in airtight containers or sealable plastic bags. This double-layer of protection not only helps keep them fresh but also further reduces the risk of any contamination spreading.
You might have heard or even considered washing raw meat before cooking to reduce the risk of illness. Here’s a vital piece of advice: don’t do it! Washing raw meat can actually cause bacteria to splash and spread onto your kitchen surfaces, utensils, and even other foods near the sink. This action increases the danger rather than decreasing it. Just pop it straight into the fridge, or the freezer if you don’t plan to use it before its expiration date. When it comes to meat and fish, it’s always, always better to err on the side of caution.
Read more about: Your Essential Guide to Electricity: From Fundamentals to Electric Scooter Safety Laws
13. **Leaving Rice Out at Room Temperature**For many of us, rice seems like the perfect candidate for batch cooking. Whip up a huge pot on the weekend, and you’ve got a versatile base for meals for days, right? Well, hold your horses, because rice, as innocent as it seems, is actually one of the riskiest foods to handle if not stored correctly. There’s a particular bacterium, *Bacillus cereus*, that often hangs out in rice, and it makes the usual food storage rules a little different.
If cooked rice is left lingering in the ‘Danger Zone’ (between 40 and 140 degrees Fahrenheit) for too long after cooking, these *Bacillus cereus* bacteria can multiply rapidly. The scary part? Simply reheating the rice later might not be enough to destroy the toxins they produce, which can cause serious food poisoning. This is a mistake that’s surprisingly common and can have unpleasant consequences.
The key to keeping your leftover rice safe is rapid cooling. If you plan to keep any of your delicious rice for the next day, you need to cool it down as quickly as humanly possible. The best way to do this is to transfer it into shallow containers shortly after cooking and get it into the refrigerator promptly. This maximizes the surface area, allowing the cold air to chill it down much faster and minimize its time in the Danger Zone.
But even with proper cooling, there’s a strict timeline for rice. Leftover rice *must* be eaten the following day. And when you do reheat it, it’s absolutely essential to heat it thoroughly until it’s steaming hot throughout. Any portion left uneaten at the end of that meal should be discarded. Don’t push your luck with rice – smart handling means enjoying it safely and avoiding a very uncomfortable lesson.
Read more about: High-Mileage Havoc: The Crippling Electrical & Mechanical Nightmares Haunting Your Sports Car – A Deep Dive into the Ford S197 Mustang
14. **Forgetting About Items in the Back of the Pantry**We’ve all got them: those deep, dark corners in our pantries and cabinets that seem to swallow food whole. They become culinary black holes where perfectly good ingredients go to be forgotten, only to reappear months later, well past their prime, or even expired. This common oversight, where older items get pushed to the back while new purchases stay easily accessible in the front, is a silent killer of your food budget and a major source of waste.
It’s not just about things expiring; it’s about losing track of what you have. When you can’t see or easily reach items, you’re more likely to buy duplicates, leading to an overflowing pantry and even more forgotten treasures. This cycle of neglect doesn’t just waste food; it also wastes the money you spent on it and makes your kitchen feel less organized and efficient than it could be.
The ultimate weapon against the pantry black hole is a simple, yet powerful, strategy: the ‘first in, first out’ (FIFO) rotation system. When you bring home new groceries, make it a steadfast habit to place those newer items behind the older ones. This ensures that the older products are always at the front, ready and waiting to be used before they have a chance to expire or lose their quality. It’s like a mini-inventory system that works automatically.
To really master this, consider scheduling a monthly ‘pantry check-up.’ This quick routine allows you to pull everything forward, assess what’s nearing its ‘best before’ date, and plan meals around those items. Clear containers can also be your best friend here, giving you an instant visual of what you have. By taking control of your pantry, you’ll reduce waste, save money, and enjoy the satisfaction of a truly optimized kitchen that works *for* you.
Read more about: Are You That Colleague? Unmasking the 14 Office Habits That Unnerve Coworkers and Bosses
Whew, we’ve journeyed through quite the maze of food storage mistakes, haven’t we? From mastering the nuances of thawing to keeping our rice safe and conquering the pantry black hole, these insights are more than just tips; they’re smart strategies that empower you to take control of your kitchen. Implementing even a few of these changes can lead to a healthier wallet, a happier palate, and a whole lot less food heading for the bin. So go forth, savvy food storers, and transform your kitchen into a haven of freshness and flavor!


