

Do you often find yourself squinting at the road during night drives, or reaching for the high beams just to get a clearer view? If so, you’re not alone. Many drivers overlook one crucial aspect of vehicle maintenance: their headlights. It’s a common oversight, but the difference between clear and foggy headlights is truly like night and day, impacting both your safety and your car’s appearance.
That yellow haze or cloudy film on your headlight lenses isn’t just an aesthetic issue; it significantly reduces light output, making it harder to see and be seen on the road. This problem is particularly prevalent in older cars, where years of exposure to the elements take their toll. While your first instinct might be to rush out and buy expensive new headlight lenses or covers, hold that thought! There are numerous inexpensive and remarkably effective DIY alternatives that can restore clarity without breaking the bank.
We’re here to empower you with the knowledge and tools to tackle this common automotive challenge yourself. You don’t need to be a seasoned mechanic to achieve professional-looking results. With a little bit of effort and some readily available items—many of which you might already have around your home—you can remove that cloudy appearance and bring your headlights back to their original, crystal-clear state. Let’s dive into some of the most effective methods to clean and restore your foggy headlights, ensuring you can drive safely and confidently, no matter the conditions.
1. **Vinegar Solution to Clean Foggy Headlights**
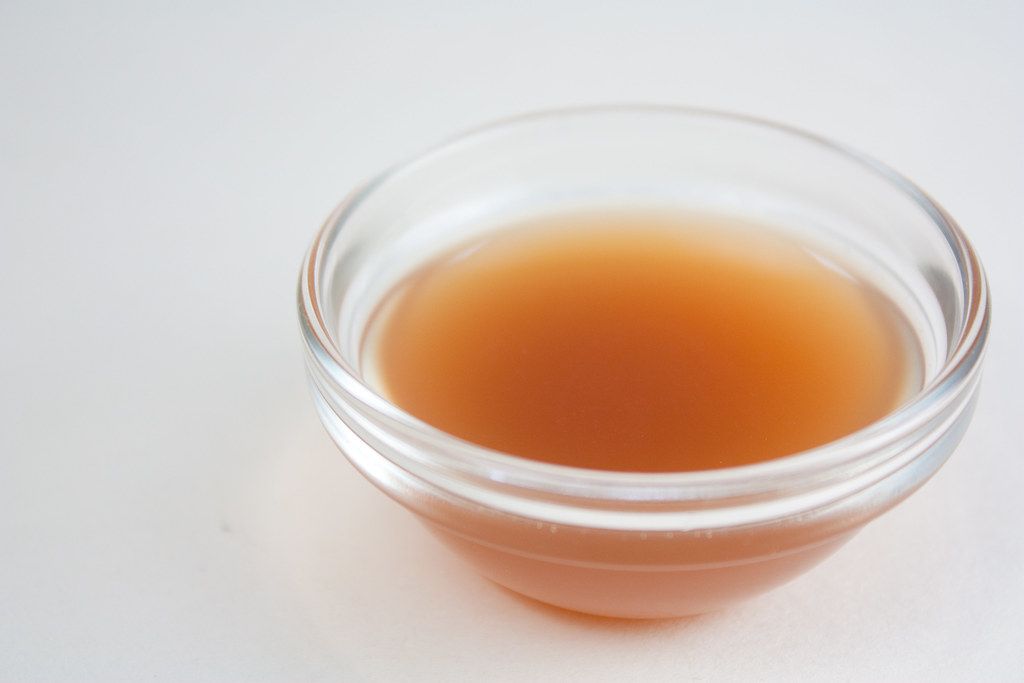
Vinegar has long been heralded as a versatile household hero, making its way into countless cleaning tips and tricks. Its acidic properties also make it an ideal, homemade solution for clearing up foggy headlights. This method is not only incredibly inexpensive, as white vinegar is readily available at virtually any store, but it’s also particularly suitable if you’re not keen on the strenuous labor of scrubbing.
The beauty of the vinegar solution lies in its simplicity and effectiveness. To begin, you’ll need just a few items: one gallon of white vinegar, a large bucket, and a clean microfiber cloth. Before you start, consult your car’s owner’s manual if you’re unsure how to properly remove the plastic headlight covers from your vehicle. This step is crucial for allowing the vinegar to work its magic directly on the affected surface.
Once the covers are safely detached, fill your large bucket with the white vinegar. Carefully immerse the headlight covers into the bucket, making sure they are completely submerged. This ensures that the entire foggy surface is treated evenly and efficiently, which will save you time in the long run. Allow the headlights to soak in the vinegar for approximately one hour. After the soaking period, simply rinse the lights thoroughly with clean water and dry them completely with your microfiber cloth, revealing a noticeably clearer lens.
Read more about: Unlock the Pro Secret: Restore Your Headlights to Factory Shine with Household Items – No Kit Needed!
2. **Wet Sanding to Restore Headlights**
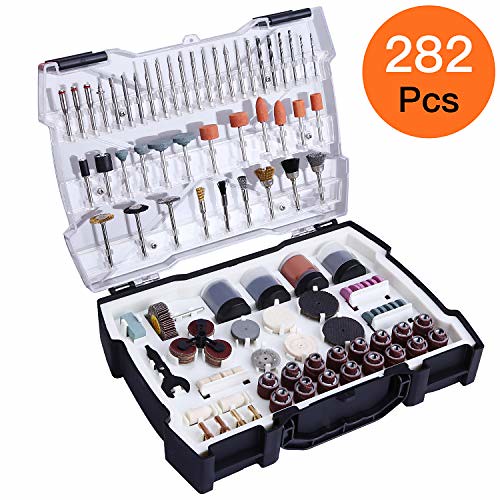
For headlights suffering from more severe oxidation and yellowing, a deeper treatment might be necessary. This method, known as wet sanding, is admittedly more labor-intensive and demands extra time, along with a more extensive list of items. However, the dramatic improvement in clarity and appearance makes the effort truly worthwhile, especially if your car headlights, made of polycarbonate plastic, have never been cleaned and have heavily oxidized due to UV ray exposure.
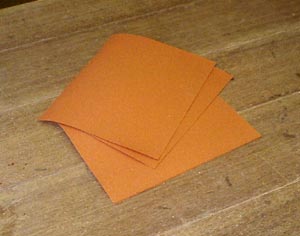
Gathering your supplies is the first step for this comprehensive restoration. You’ll need isopropyl rubbing alcohol, a spray bottle, warm water, plastic sheeting, paper towels, painter’s tape, rubbing compound, a compound pad, and sandpaper in various grits: 400-grit, 600-grit, and 2000-grit. Having all these items on hand ensures a smooth and continuous process, preventing interruptions once you start.
Begin the wet sanding process by meticulously taping off the headlights with painter’s tape, creating a tight seal around the edges to protect your car’s paintwork from any accidental contact with the sandpaper or cleaning solutions. Next, generously spray warm water onto the headlight lens and the 400-grit sandpaper. It is absolutely essential to keep both the lens and the sandpaper wet throughout this step as you lightly move the sandpaper against the lens in a circular motion. This constant lubrication prevents scratching and ensures an even abrasion.
Once you’ve worked the 400-grit sandpaper over the entire surface, repeat this precise process using the 600-grit sandpaper. The idea is to gradually refine the surface, removing the coarser scratches made by the previous grit. Finally, repeat the process once more, this time using the finest 2000-grit sandpaper. This progression from coarse to fine grits is key to achieving a smooth, almost polished surface, preparing the lens for the next stage of restoration.
After completing the sanding steps, wipe the lens thoroughly with a paper towel that has been dipped in rubbing alcohol. This step is crucial for removing any natural oils, sanding residue, and contaminants from the surface, ensuring it is perfectly clean for the next application. With the area meticulously cleaned and dried, apply a small dab of the rubbing compound onto the lens. Using the dedicated compound pad, spread the compound evenly across the lens in a circular motion, working it in to restore the plastic’s transparency and shine.
Read more about: Unlock the Pro Secret: Restore Your Headlights to Factory Shine with Household Items – No Kit Needed!

3. **Cleaning Headlights with Toothpaste**
It might sound unconventional, but that everyday item you use to brush your teeth can work wonders on your foggy headlights. Toothpaste acts as a gentle abrasive, effectively polishing away the cloudy film and leaving your headlight covers looking remarkably new. It’s a surprisingly simple and effective trick that leverages the fine abrasive particles found in most toothpastes.
For even better results, consider using a toothpaste that contains baking soda. The added cleaning power of baking soda enhances the abrasive action, making it more efficient at tackling that stubborn yellow haze. This technique is particularly ideal for headlights that are only mildly foggy, offering a quick and noticeable improvement without the need for specialized tools or harsh chemicals.
To get started, you’ll need your chosen toothpaste, a bit of dish soap, water, and a soft cloth. The first step involves a quick preliminary cleaning of your headlights. Wipe down the plastic lenses with some soap and water to remove any loose dirt, dust, and debris. This ensures that the toothpaste can work directly on the fogginess, rather than just moving surface grime around.
Once the headlights are clean, apply a fingertip amount of toothpaste directly to your soft cloth. Begin to rub the cloth onto the wet headlights in a circular motion, applying gentle but firm pressure. Don’t hesitate to apply more toothpaste as needed, ensuring the entire foggy area is treated. After thoroughly rubbing, wipe the lenses clean using a paper towel, and you’ll often be amazed at the renewed clarity. Repeat the process if some fogginess remains.
Read more about: Unlock the Pro Secret: Restore Your Headlights to Factory Shine with Household Items – No Kit Needed!
4. **Clean the Headlights using Baking Soda**
If you’re looking for one of the most cost-effective methods to clear up foggy headlights, look no further than baking soda. This humble kitchen staple is a powerful ally against headlight cloudiness, acting as both an absorbent for oxides and a natural buffing agent. It’s especially effective on slightly foggy headlights, making it a fantastic solution you likely already have on hand.
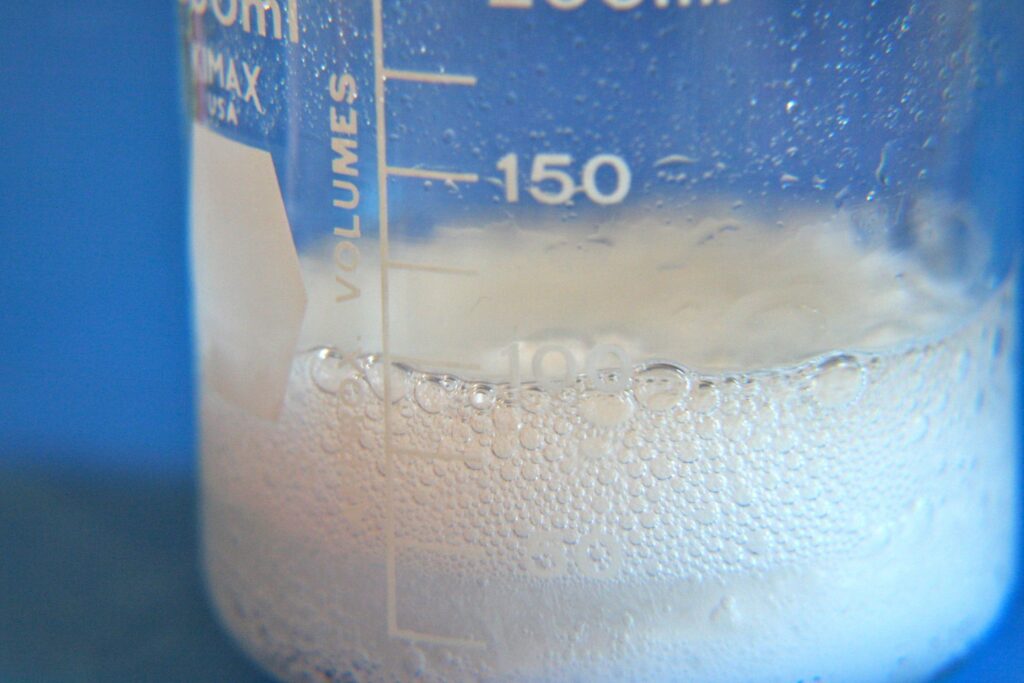
The beauty of using baking soda is its accessibility and the minimal fuss involved. To begin this simple restoration, you’ll need just five tablespoons of baking soda, some warm water, a sponge, and a clean cloth. As with any headlight cleaning process, the initial step involves giving your headlights a thorough wipe-down to remove any accumulated debris and dirt, ensuring a clean surface for the baking soda to work on.
Once your headlights are prepped, it’s time to create your cleaning paste. In a small bowl, mix the five tablespoons of baking soda with just enough warm water to form a thick paste, similar in consistency to toothpaste. This paste is your secret weapon, designed to gently abrade and lift away the oxidized layer causing the fogginess.
Using your sponge, generously apply the baking soda paste to the headlights, ensuring an even coating over the entire lens. Allow the paste to sit for a few minutes, giving it time to interact with the cloudy surface. After this brief period, use a clean cloth to buff the paste off in circular motions. If necessary, repeat the application and buffing process until you achieve the desired clarity. The final step is to rinse the headlights thoroughly and dry them completely, then stand back and admire their newly restored, clear look.
Read more about: Unlock the Pro Secret: Restore Your Headlights to Factory Shine with Household Items – No Kit Needed!
5. **How to Clean Headlights with Bug Spray**
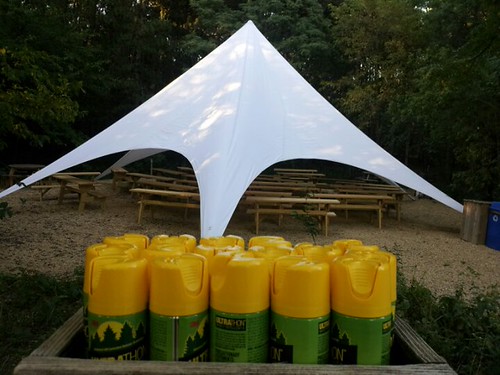
Yes, you read that right – bug spray! It might seem like an odd choice for automotive care, but certain chemicals found in bug spray can be surprisingly effective at cleaning cloudy headlights. These compounds not only help to remove accumulated dirt but can also tackle some of the UV damage that affects the outer layers of plastic headlights. This particular technique is ideal for headlights that are only slightly cloudy.
To safely employ this method, you’ll need bug spray containing DEET and a clean cloth. It’s crucial to understand the proper application: instead of spraying the repellent directly onto the headlight lens, which can lead to uneven application and potential overspray, spray a generous amount onto your clean cloth first. This gives you better control and helps protect surrounding paintwork.
Once the cloth is dampened with bug repellent, rub it onto the headlight lens using some force. The more severe the cloudiness, the harder you’ll need to scrub to achieve a noticeable difference. You should start to see the fogginess begin to lift and transfer onto the cloth as you work. Continue rubbing for a couple of minutes until the lens appears clearer.
After you’ve finished rubbing, use a spray bottle to mist the lens lightly with water, then wipe the plastic headlights clean with some paper towels. It is absolutely essential to keep the bug repellent away from your car’s paint because the potent chemicals in the spray may cause damage or discoloration. If you are concerned about accidental contact with the paint, it’s a wise precaution to line the headlights with painter’s tape before you begin. Remember, while effective, this is a method to use sparingly due to DEET’s corrosive nature and its potential to degrade plastic over time if overused.
Read more about: Unlock the Pro Secret: Restore Your Headlights to Factory Shine with Household Items – No Kit Needed!
6. **Cleaning the Headlights using a Restoration Kit**
When your headlights are severely cloudy, possessing that distinct yellowed dinginess that significantly diminishes their light output, it’s time to bring in the big guns: a dedicated headlight restoration kit. These kits are specifically designed to tackle even the most extreme cases of oxidation and are readily available at any auto parts store, offering a comprehensive solution for truly aged and faded lenses.
Each kit typically includes a curated set of tools and compounds formulated to work together for optimal results. Generally, you’ll find a headlight restorer solution, water, a soft-bristled brush, clean cloths, and a polishing compound. The exact contents might vary slightly by brand, but they all aim to provide a multi-step process that addresses the full spectrum of damage.
Before applying the kit’s contents, always start by thoroughly cleaning your headlights to remove any surface dirt, grime, or debris. This initial cleaning ensures that the restoration products can penetrate and work effectively on the plastic itself. Once clean and dry, apply the headlight restorer solution generously to the lens, making sure to spread a decent amount over the entire surface. Allow the restorer to sit and work its magic for a few minutes, as directed by the kit’s instructions.
After the specified waiting period, gently work the dried restorer around the lens using the soft-bristled brush. This action helps to further break down and lift away the oxidized layer. Following this, take a clean cloth and meticulously wipe away all residual restorer and any loosened contaminants. It’s important to ensure the lens is completely free of any leftover dust or residue before proceeding.
The final step in most restoration kits involves polishing. Once the lens is thoroughly clean, apply the polishing compound using another clean cloth. Work the compound into the lens with a gentle, circular motion. This last step refines the surface, enhances clarity, and brings back that factory-fresh shine, making your headlights look like new and significantly improving your night-time visibility.
Read more about: Unlock the Pro Secret: Restore Your Headlights to Factory Shine with Household Items – No Kit Needed!
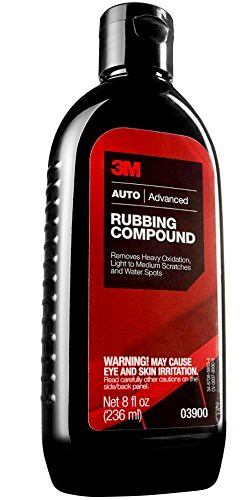
7. **Restore with Rubbing Compound and Buffer**
For those seeking a professional-grade finish and long-lasting results, automotive rubbing compound combined with a buffer offers a highly effective method for restoring headlight clarity. Rubbing compound contains fine abrasive particles specifically designed to polish away oxidation and smooth out the headlight’s surface, making it an excellent choice for revitalizing dull or hazy lenses. This method can significantly improve the appearance and functionality of your headlights, providing a clear, like-new finish.
To begin, ensure your headlight surface is clean and free of any loose dirt or debris. Take a small amount of the automotive rubbing compound and apply it directly to the lens. The next step involves working the compound into the plastic. For best results, use a microfiber applicator pad or a low-speed buffer. If you’re using a buffer, ensure it’s set to a gentle speed to avoid generating too much heat or causing damage to the plastic.
Work the compound into the entire surface of the lens using circular motions. Consistency is key here; aim for an even application and cover all affected areas. As you work the compound, you’ll notice the hazy layer diminishing and the plastic starting to regain its clarity. Continue until you’ve achieved a uniform, polished look across the entire headlight surface.
Once you’ve worked the rubbing compound in, take a clean microfiber cloth and meticulously wipe away all residue. Inspect the clarity of the lens closely; you should see a remarkable improvement. If desired, you can follow up with a finishing polish to further enhance the shine and smoothness, though rubbing compound alone often delivers impressive results. For maximum longevity and protection against future fogging, it’s highly recommended to seal the restored headlights afterward with a UV protective coating.
Read more about: Unlocking the ‘Magical’ Scratch Erasers: Top Car Finish Solutions That Deliver Instant Results, With or Without a Buffing Tool!
8. **Use a UV Sealant to Prevent Future Fogging**
Once you’ve put in the hard work to restore your headlights to their former glory, the last thing you want is for them to become foggy again in a few months. That’s where a UV sealant steps in as your ultimate protective shield. Most headlight fogging occurs precisely because of UV damage from the sun, which mercilessly breaks down the outer coating of the plastic lens over time. A good UV-resistant sealant acts as a crucial barrier, preserving your restoration efforts and dramatically prolonging clarity.
Think of this step as the final, critical layer of defense. Many dedicated headlight restoration kits already include a UV sealant, but if yours didn’t, you can easily purchase one separately at any auto parts store. These sealants are specifically formulated for plastic lenses, designed to withstand the elements and the sun’s harsh rays. It’s a small investment that pays off big by extending the lifespan of your clear headlights.
To apply, ensure your freshly restored headlight is impeccably clean and completely dry. Any lingering dust or moisture will compromise the sealant’s adhesion. Using a foam brush or a clean, soft cloth, apply the sealant evenly across the entire lens surface. The goal is a uniform coat, so take your time to avoid streaks or missed spots. Once applied, allow it to cure fully for several hours, or as directed by the product instructions. This curing process is vital for the sealant to harden and form its protective layer, giving you lasting defense against future fogginess.

9. **Polish with Car Wax as a Final Touch**
While a dedicated UV sealant offers robust long-term protection, adding a layer of car wax can serve as an excellent supplementary step, providing an immediate aesthetic boost and a short-term barrier. Think of car wax as your headlight’s temporary cosmetic and protective layer, especially useful in between more intensive cleaning sessions or as an added safeguard after a full restoration. It helps repel water, dirt, bugs, and offers a degree of UV protection, though not as durable as a specialized sealant.
This simple trick is all about maintaining that newly restored shine and preventing surface grime from building up quickly. You don’t need any special wax – a non-abrasive car wax you already use for your vehicle’s paintwork will do the trick. The process is straightforward, requiring minimal effort but yielding noticeable results in terms of surface sleekness and water repellency.
To apply, ensure your headlights are clean and dry, just as you would before applying sealant. Take a small amount of non-abrasive car wax on a clean, soft cloth. Work the wax into the headlight lens using circular motions, covering the entire surface. Allow the wax to haze over for a few minutes. Once it appears slightly dull or cloudy, grab a separate clean, dry microfiber cloth and buff it out until the lens is clear and shiny. This quick polish will give your headlights an impressive luster and an extra layer of defense against daily wear and tear.
Read more about: Unlock Your Car’s Full Potential: 14 Simple DIY Maintenance Tasks Every Driver Must Master for a Longer, Safer Ride
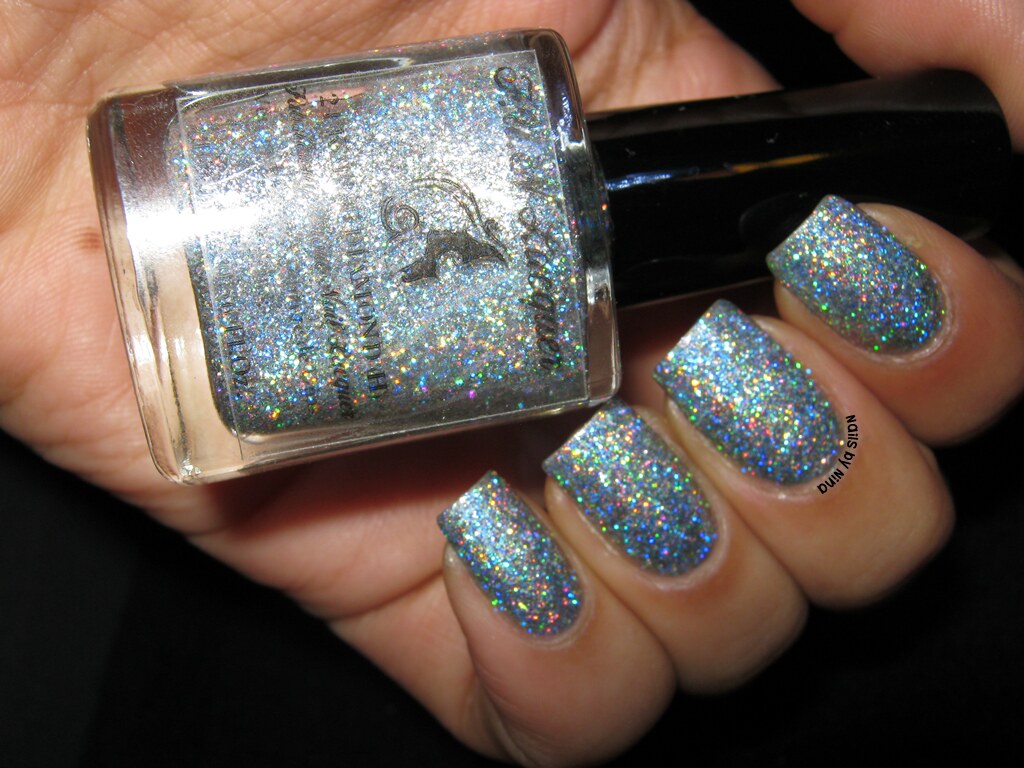
10. **Use Clear Nail Polish or Lacquer for Temporary Seal**
Sometimes, you need a quick fix, a temporary shield for your headlights after a restoration, and you might not have a specialized automotive sealant immediately on hand. In such a pinch, clear nail polish or acrylic lacquer can come to the rescue, offering a surprisingly effective, albeit temporary, sealing solution. It’s a handy hack to maintain shine and provide some UV protection for several weeks, buying you time until you can get a more durable product.
However, it’s crucial to approach this method with a clear understanding of its limitations and proper application. This isn’t a long-term solution, but rather a stop-gap measure to keep your hard work from quickly deteriorating. When opting for such temporary solutions, always ensure your headlights are thoroughly cleaned and completely dry before application. Trapping dirt or moisture underneath the polish will undoubtedly affect clarity and can even exacerbate the problem.
To apply, use a brush to spread a thin, even coat of the clear nail polish or acrylic lacquer across the headlight lens. The key here is precision and consistency to avoid unsightly streaks. Allow it to dry completely before driving, which might take a bit longer than you expect, so plan accordingly. While not as robust as automotive-grade sealants, a high-quality clear polish or lacquer can provide adequate UV protection temporarily. It’s always wise to test the product on a small, inconspicuous area first to ensure compatibility and prevent any potential discoloration or damage to your headlight lens.

11. **The Magic Eraser Method**
For those who love simple, almost effortless cleaning solutions, the Magic Eraser presents itself as a truly amazing tool. While often lauded for its ability to tackle grime on walls or stains in sinks, this little sponge holds a surprising secret for automotive care: it can effectively clean cloudy headlights. It’s a straightforward method that’s definitely worth a try, especially for those with mildly foggy lenses.
The beauty of the Magic Eraser lies in its micro-abrasive structure, which allows it to gently lift away surface grime and light oxidation without the need for harsh chemicals. It’s a testament to the versatility of common household products. This method is particularly appealing if you have an eraser lying around and are looking for a quick, low-effort solution before diving into more intensive restoration techniques.
To use this method, the process is incredibly simple: just get the Magic Eraser wet. Once damp, start scrubbing the outside of the headlight lens where all that annoying grime and haziness builds up. Apply gentle but firm pressure, working the eraser over the entire foggy surface. You should begin to see the cloudiness diminishing as the eraser works its magic. One important caveat to remember is that this method may not be as effective for headlights that are extremely dirty or severely oxidized, but for lighter hazing, it can provide a noticeable improvement.
Read more about: 12 Ingenious Home Hacks: Transform Everyday Items into Powerful Problem-Solvers for a Smarter, More Efficient Home
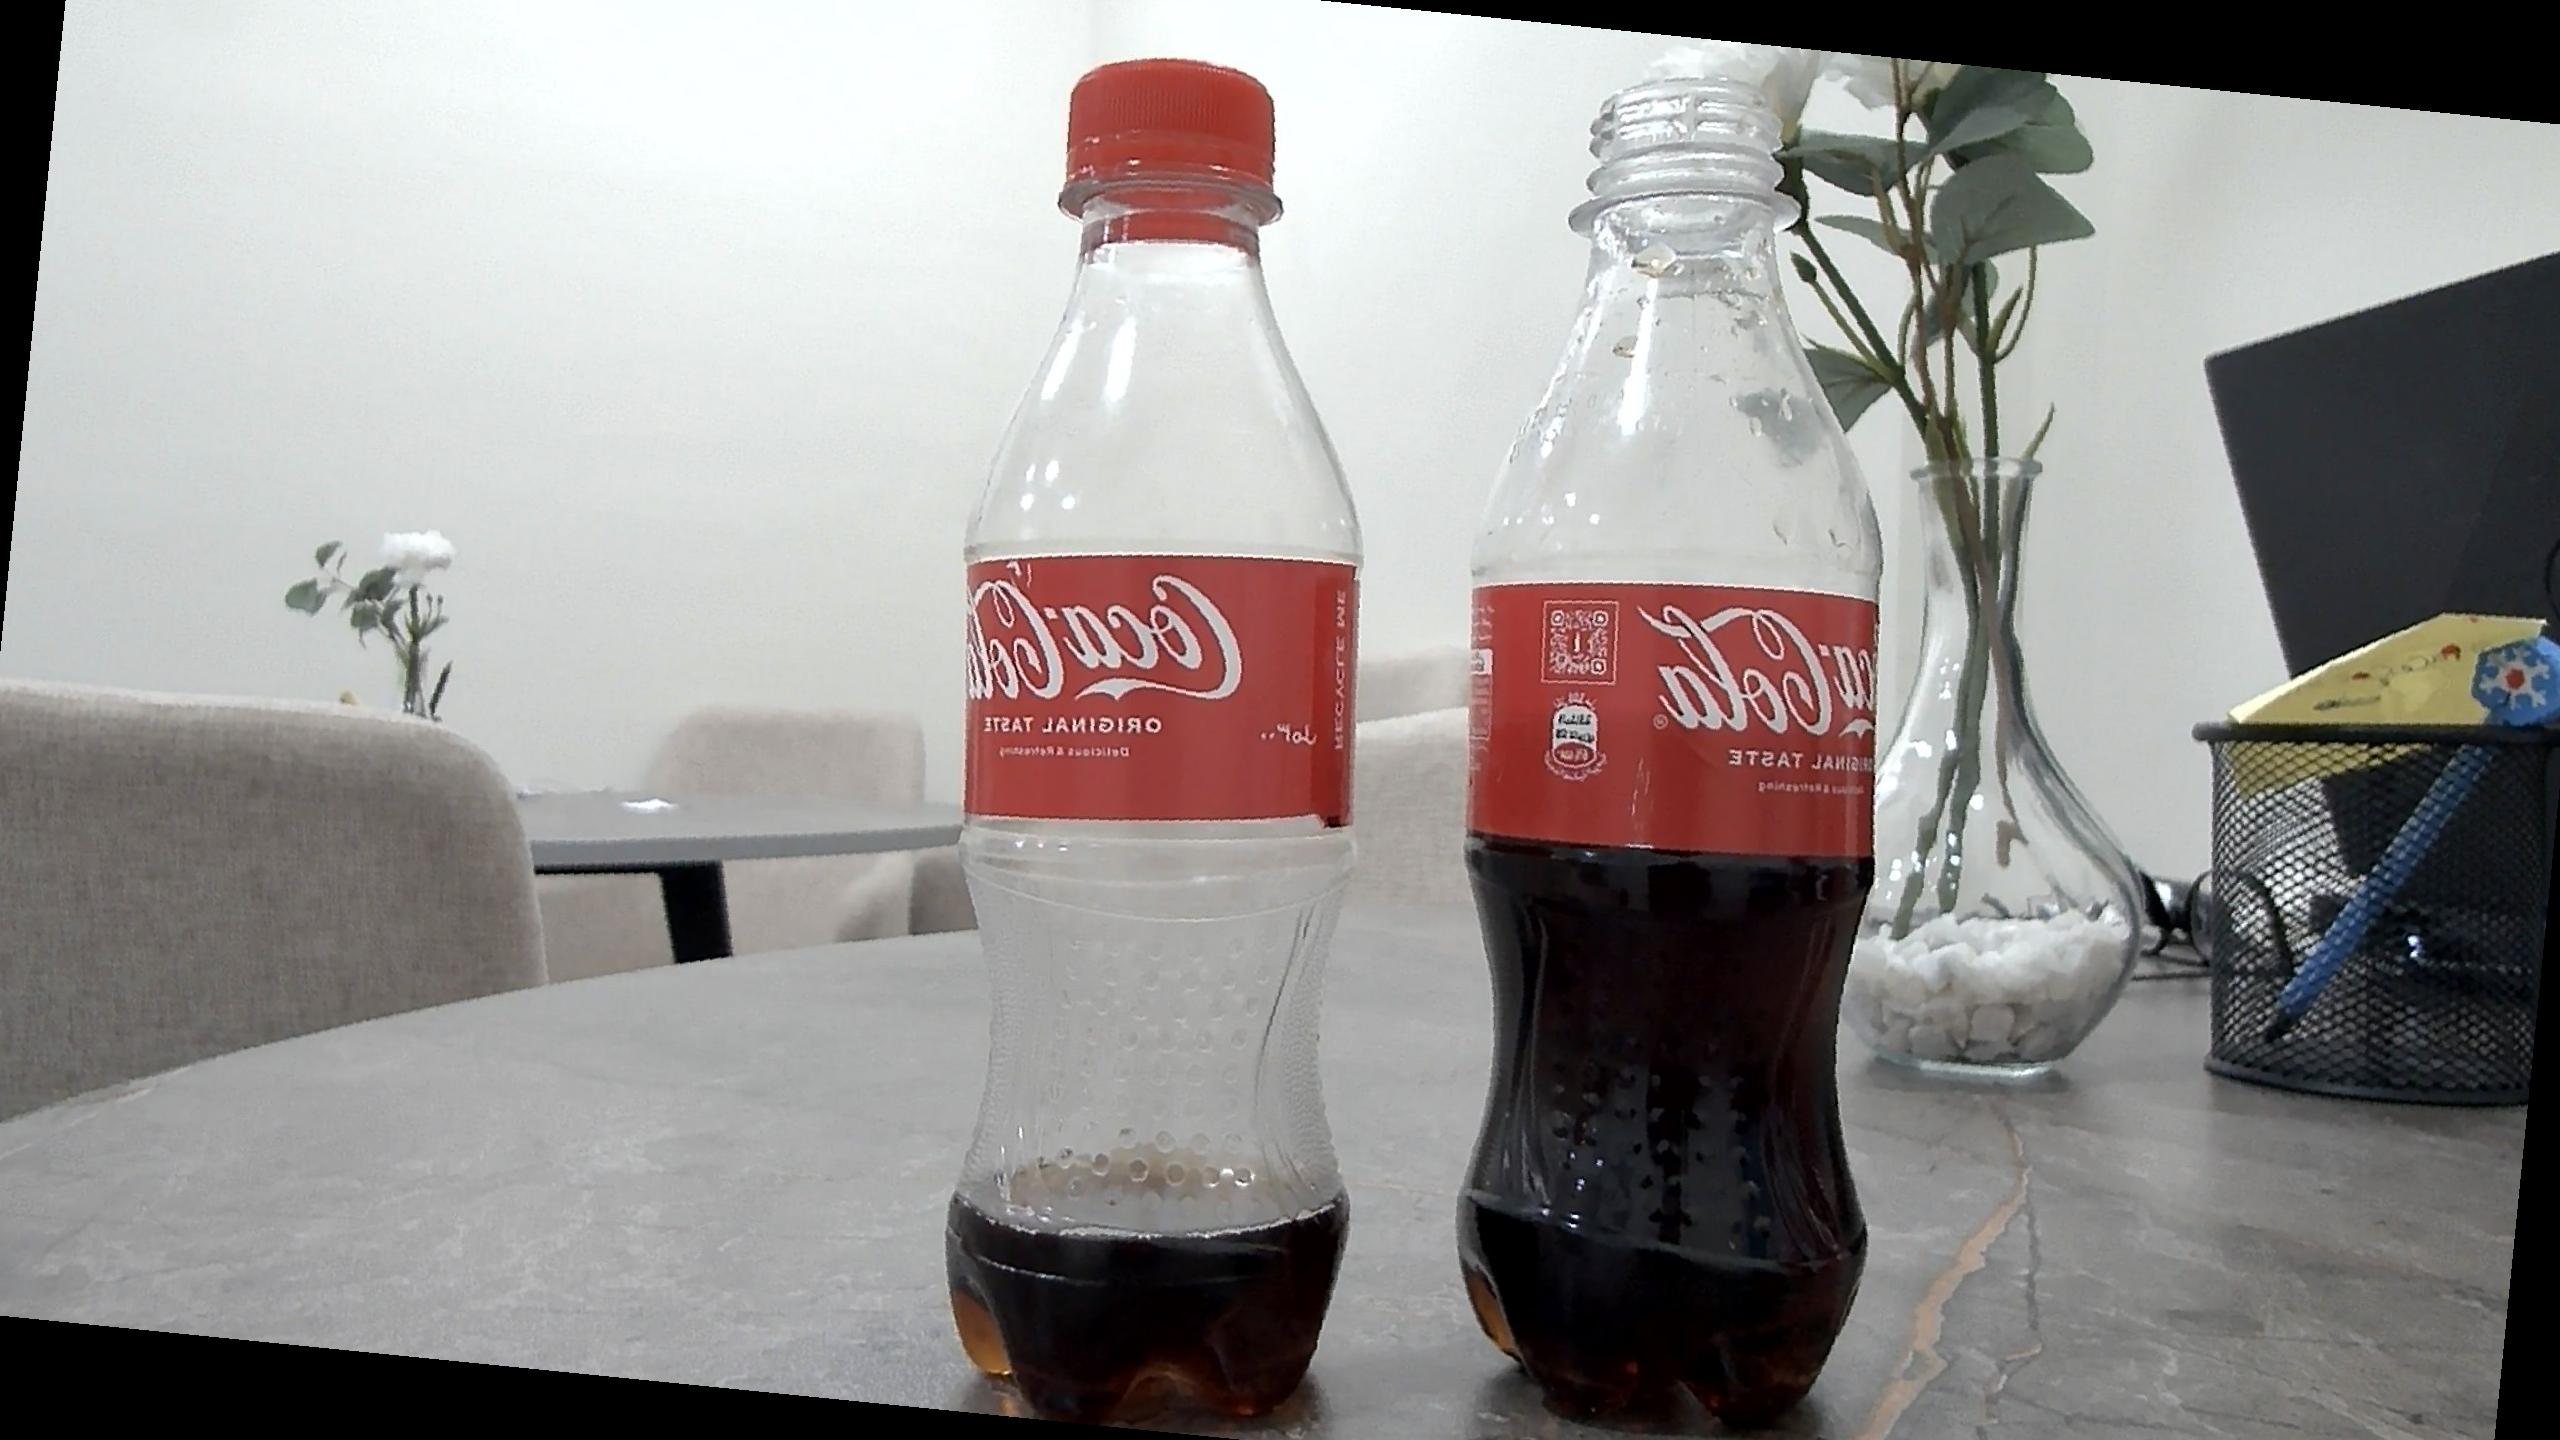
12. **Coca-Cola for Headlight Cleaning**
It might seem slightly unsettling to think that a beverage we consume can also be a powerful cleaning agent, but Coca-Cola has a surprisingly effective role in tackling foggy headlights. The phosphoric acid in soda, a key ingredient, acts as a mild corrosive that can help break down and loosen the dirt and grime that contribute to headlight cloudiness. This method is short, simple, and can yield impressive results for moderately dirty lenses.
The process is fairly straightforward, making it an accessible DIY hack for almost anyone. First, your headlights need to be wet, but not completely soaked. A quick wipe-down with a damp rag is sufficient to prepare the surface by removing any loose debris. This initial cleaning ensures the Coca-Cola can directly target the problematic grime.
Next, you’ll need to spray the Coke onto the headlights. An old cleaning bottle or any other suitable spray bottle you might have lying around will work perfectly. Generously mist the entire foggy surface with the soda. To get the best effect, allow the Coca-Cola to sit for about five minutes. This crucial waiting period gives the phosphoric acid time to work through the dirt and grime, loosening the bonds that cause the cloudiness. After the five minutes are up, simply take a clean cloth and wipe it off to reveal a noticeably clearer headlight lens.
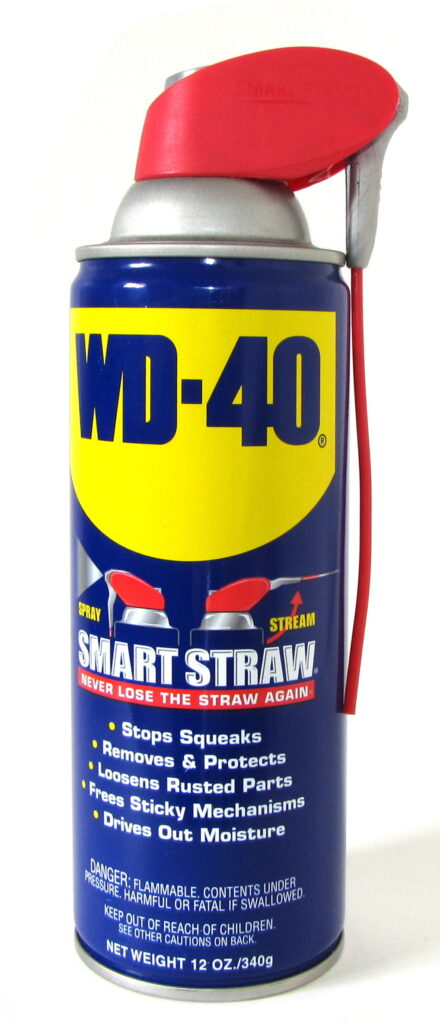
13. **WD-40 for Quick Headlight Restoration**
WD-40 is one of those legendary products famous for its myriad ‘off-label’ uses, and among them is its surprising effectiveness in restoring foggy headlights. This method stands out for its ease and speed, offering a quick way to clean cloudy headlights and provide a temporary, yet noticeable, improvement in clarity. It’s a fantastic option if you’re looking for an immediate fix without extensive preparation.
The lubricating and solvent properties of WD-40 allow it to penetrate and dissolve the accumulated dirt, grime, and even some of the oxidized layer on your headlight lenses. It can make a significant difference in how your headlights look and perform, especially for light to moderate fogginess. Best of all, it’s a product many households already have, making it a convenient go-to solution.
To get started, ensure your headlight surface is clean and free of any loose road dirt. A quick wash with a little soap and water will do the job perfectly, creating a clean base for the WD-40 to work on. Once the headlight has been washed and is mostly dry, spray it directly with the WD-40, ensuring an even coat over the foggy area. Immediately after spraying, take a clean, wet rag and wipe off the WD-40, scrubbing gently but firmly. For really cloudy headlights, this process might require a few rounds of spraying and wiping to achieve the desired level of clarity. The result is often a brighter, clearer headlight that enhances your vehicle’s appearance and your visibility on the road.
**Beyond the Fix: Understanding and Preventing Foggy Headlights**
While these DIY fixes are incredibly effective for restoring clarity, truly lasting headlight health involves understanding the root causes of fogginess and implementing preventative measures. Road visibility is already limited when driving at night, and headlight haze can make it even more difficult and hazardous to see. Learning not just how to clean but also how to prevent foggy headlights is a crucial safety precaution for all drivers, empowering you with knowledge for the long haul.
There are several common reasons why your headlights become cloudy, yellow, or hazy over time. New cars roll off the factory line with pristine, clear headlights, often with a protective coating. However, this clarity is subject to the elements. One major culprit is **oxidation**: modern car headlights are typically made from polycarbonate plastic, which, when exposed to the sun’s relentless UV rays, develops small yellow cracks and eventually a foggy appearance. This breakdown is natural but can be slowed.
Another significant factor is **moisture**. Sometimes, water vapor finds its way inside the headlight housing. This condensation can then lead to dulling the headlights from the inside, a different challenge than surface oxidation. Accumulations of **dirt** are also a simple yet effective cause; thin layers of dirt, grime, and road debris can stick stubbornly to your headlights, creating a yellow fogginess that reduces light output. Lastly, harsh **weather conditions** can take their toll. While a protective coating is often applied to polycarbonate plastic headlights, extreme weather can cause this vital layer to peel off, leaving the lens vulnerable to rapid deterioration.
**Strategies for Lasting Headlight Clarity**
Although complete prevention of fogginess is impossible, you can significantly slow its return and maintain clarity longer with smart preventive steps. Consistent care and protection from primary aggressors are key.
One highly impactful strategy is **using covered parking**. Since UV rays are a primary cause of oxidation, parking in a garage or under a covered spot whenever possible dramatically reduces direct sun exposure. This simple habit protects your headlights, and your car’s paint, from premature aging.
Regular cleaning is also paramount. **Wash your car regularly** to prevent dirt, grime, and chemicals from accumulating and etching the headlight surface. Pay special attention to the headlights during washes to ensure they are free of residue. For proactive maintenance, **lightly sanding with fine-grit sandpaper** every few months can help wipe away early signs of debris and light oxidation before they worsen. Always follow with proper cleaning and protection.
Finally, **prevent moisture intrusion** by periodically checking the weather seals around your headlights. Worn seals allow moisture to seep into the housing, leading to internal fogging. If damaged seals are evident, replacing them can prevent a bigger problem down the road, maintaining optimal performance and clarity.
**Common Mistakes to Avoid for Optimal Results**
When embarking on your DIY headlight restoration journey, avoiding common pitfalls is as crucial as knowing the right techniques. One prevalent error is **neglecting to clean the headlights thoroughly** before starting. Skipping this initial step means you might rub dirt and grime into the lens, causing scratches or uneven results. Always ensure your surface is pristine before applying any treatments.
Another critical mistake is **using overly abrasive materials or harsh chemicals** not designed for polycarbonate plastic. While household items can be effective, strong cleaners or very coarse abrasives can cause permanent damage, clouding, or even cracking the lens. Additionally, **applying excessive pressure** while sanding or polishing can lead to deep, irreversible scratches. Let the product and abrasive do the work, using gentle, even pressure.
Crucially, **skipping the application of a UV protective coating** after restoration is a major oversight. Without this vital sealant, your newly cleared headlights are left vulnerable to rapid deterioration from sun exposure, quickly undoing your hard work. Remember, restoration isn’t a one-and-done deal; **failing to reapply protective coatings periodically** will cause fogginess to return more quickly. Consistent maintenance, including reapplication of wax or sealant, is key to preserving clarity and safety.
Read more about: Unlock the Pro Secret: Restore Your Headlights to Factory Shine with Household Items – No Kit Needed!
Restoring foggy headlights is a rewarding DIY task that significantly enhances both your vehicle’s aesthetics and, more importantly, your driving safety. With the right techniques and a little ongoing care, you can ensure your path is always brightly lit. Drive safely and confidently!


")