

Your car’s headlights play a crucial role in keeping you safe on the road, especially while driving at night. However, over time, various problems with your car’s headlights can arise, compromising their performance and your visibility and safety out on the road. Few things are as frustrating—and dangerous—as headlights that stop working unexpectedly. Whether your low beams fail, high beams flicker, or both lights go out at once, driving at night or in bad weather without proper lighting puts you at serious risk.
In the automotive world, overlooking dimming or flickering headlights is a common mistake, often dismissed as a minor inconvenience. Yet, headlight failure frequently signals underlying electrical or mechanical issues that can worsen over time, turning a minor annoyance into a significant hazard. This isn’t just about passing inspection; it’s about your safety and the safety of everyone else on the road, as driving with only one working headlight is unsafe and illegal in most states.
That’s why we’ve compiled a comprehensive guide to help you understand why your headlights might be underperforming or failing entirely, and more importantly, how to diagnose and fix them. We’ll break down the most common headlight issues, from simple bulb replacements to complex wiring woes, empowering you to tackle these problems head-on. By understanding these issues, you can keep your headlights functioning properly and ensure safe driving conditions, giving you peace of mind on every journey.

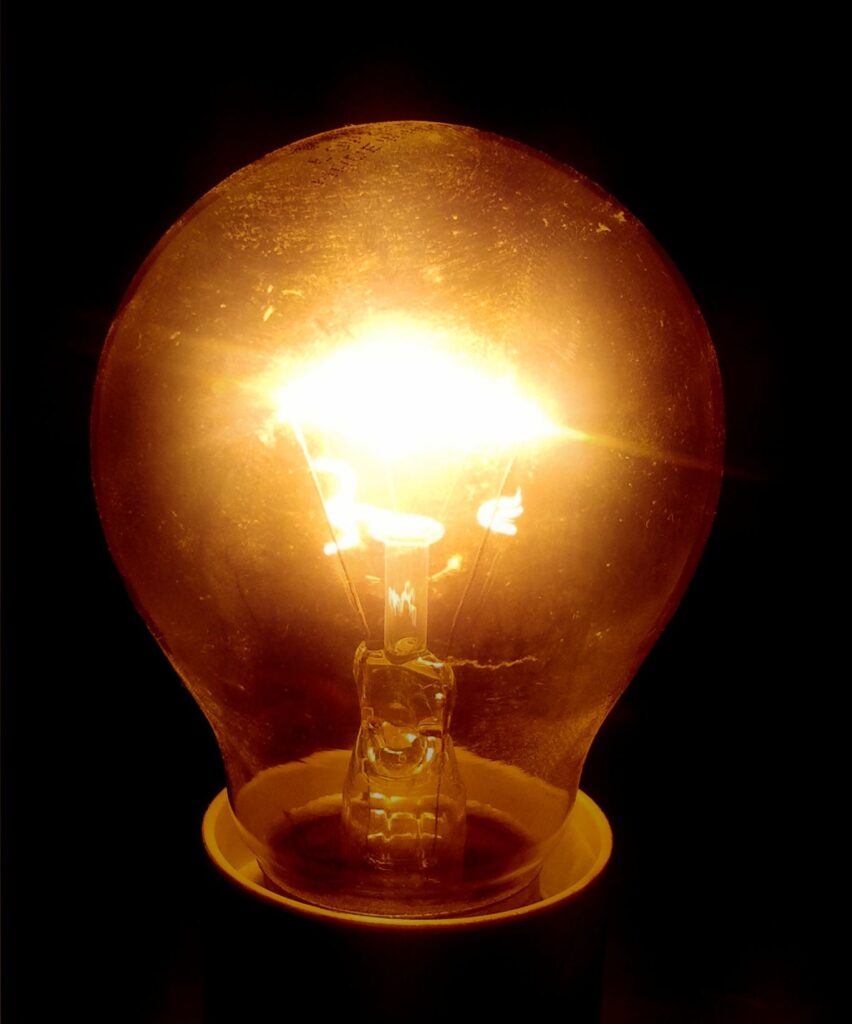
1. Burned-Out Bulb
Headlight bulbs, like any other light source, have a limited lifespan. Over time, they burn out due to heat, wear, and frequent use, making a burned-out bulb the most common reason for a headlight failure. This typically occurs when the bulb filament is burned out and is no longer functioning. When one headlight stops working, the bulb is often the first suspect, especially if only one is out, as headlight bulbs usually fail one by one.
The symptoms of a burned-out bulb are fairly straightforward: one or both headlights fail suddenly, and the bulb often appears blackened or has a broken filament. You can visually inspect the bulb by turning off the vehicle and popping the hood to access the headlight assembly. Look at the bulb through the lens to see if the filament is broken or if there is any discoloration inside the bulb, such as blackening, which indicates a blown bulb.
The solution is a relatively simple fix that can be done by replacing the bulb with a new one of the correct type, whether it’s halogen, LED, or HID. If only one headlight is out, you might try swapping the working bulb with the non-working one. If the previously working bulb doesn’t light up in the other socket, the issue may be with the bulb socket or wiring rather than the bulb itself, but if the non-working bulb then lights up in the good socket, you’ve found your culprit. Most bulbs last between 500 and 1,000 hours, so it’s a good practice to replace them every 2-3 years or as needed.
Read more about: The Ultimate Driving Expert’s Guide: Master Safe Stops and Prevent Rear-End Collisions Without Slamming Your Brakes

2. Blown Fuse
A car’s fuse box is an essential component designed to protect electrical parts, including the headlights, from damage caused by power surges. If an electrical current running through the headlight overloads the fuse, it will blow, cutting power to the headlights to prevent more significant damage to the circuit. This is a common cause of headlight failure, especially if both headlights go out simultaneously.
The most telling symptom of a blown fuse is often both headlights failing at the same time. While this can also indicate dead bulbs, it’s less common for both bulbs to fail simultaneously. Depending on your vehicle’s year, make, and model, there may be one or several headlight fuses. If other electrical components like the radio or wipers also stop working, it might suggest they share the same fuse, pointing directly to a blown fuse issue.
To address a blown fuse, you’ll need to locate the fuse box, which is typically found either under the dashboard or under the hood. Once you’ve identified the headlight fuse—referencing the diagram on the fuse box cover if necessary—visually check it for damage. Signs of a blown fuse include burn marks or a broken wire inside. It is crucial to replace it with a new fuse of the exact same amperage to ensure proper protection and function, as using an incorrect fuse can lead to further electrical problems or safety hazards.
Read more about: From Anemic to Awkward: Unmasking 15 Muscle Cars That Truly Missed the Mark – And Why We Can’t Forget Them
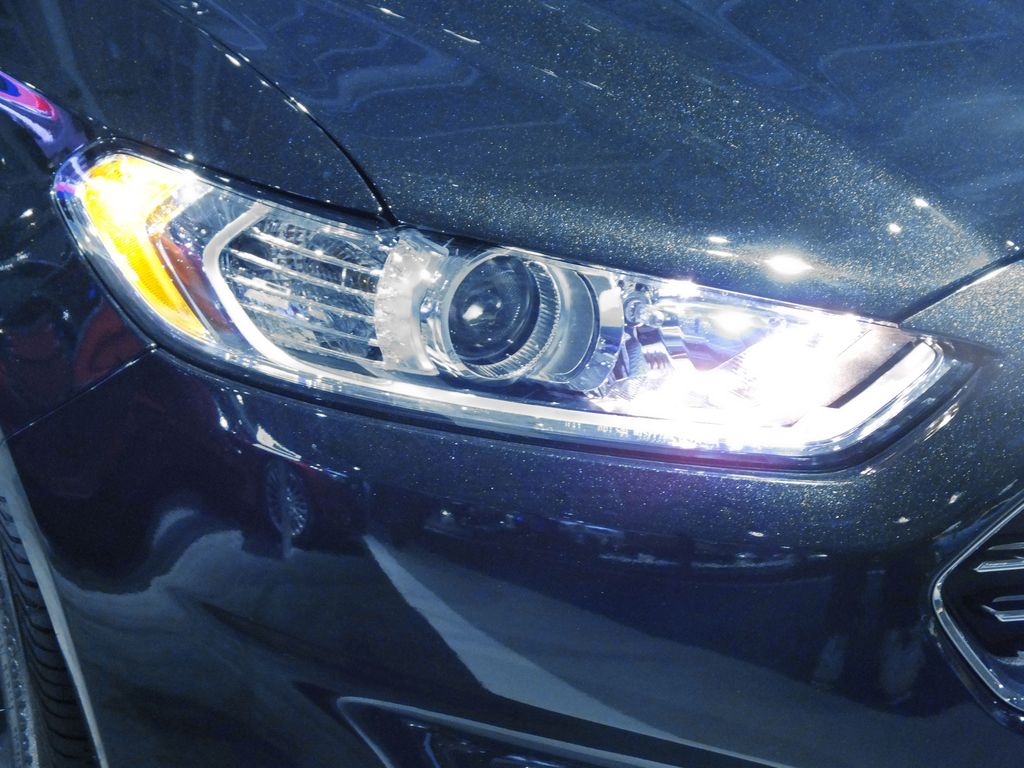
3. Dirty or Oxidized Headlight Lenses
Over time, headlight lenses can become dirty or yellowed from exposure to road salt, mud, sunlight, and other grubby substances. This isn’t just an aesthetic problem; the accumulation of dirt and oxidation on the headlight lens obstructs the light from coming through, significantly reducing the brightness and clarity of your headlights. This directly compromises your visibility and safety on the road, making driving at night more challenging and disorienting for you and other drivers.
While replacing the bulb might seem like a quick fix, it won’t restore the clarity of the lens itself if the surface is clouded or yellowed. A clean bulb behind a dirty lens is still a dim headlight. The issue here is the physical barrier to light transmission. If your headlights are constantly dim, even with working bulbs, foggy lenses are a likely culprit.
To improve visibility, the solution is to clean the headlights using a reliable cleaning kit, such as the Autoglym Headlight Restoration Complete Kit mentioned in the context. Regularly removing the muck will help your headlights stay shiny and bright for longer. This is a fairly quick fix that can dramatically improve light output and is generally better than buying new headlights if the lens is the only issue and you’re on a budget. However, restoring headlights cannot be a permanent solution to such a crucial issue, as eventually, the entire unit may need replacement.
Read more about: Unlock Major Savings: 15 Essential Car Maintenance Hacks That Can Save You Over $1000 Annually (Even on Brand New Models)
4. Low-Quality or Inconsistent Bulbs
Not all headlight bulbs are created equal, and the quality of the bulb significantly impacts both performance and lifespan. While cheaper bulbs may seem like a good deal upfront, they often contain lower-quality filaments. This can affect their performance, leading to inconsistent lighting, and reduce their overall lifespan, meaning you’ll be replacing them more frequently than you’d like.
An immediate symptom of using low-quality bulbs, or even just replacing one bulb at a time, is inconsistent light output. If you’ve ever replaced just one headlight bulb, you might have noticed that the light produced by the new bulb is noticeably brighter than the old one. This can create an uneven lighting experience, making it harder for you to drive at night and potentially disorienting for other road users due to the imbalance in illumination.
Investing in higher-quality bulbs will not only give you brighter and more consistent lighting but will also extend the life of your headlights. While it might cost a bit more upfront, you won’t run the risk of needing to replace your bulbs as frequently, saving you time and effort in the long run. For a simple fix to inconsistent light output, it’s best to replace both headlights at the same time to ensure an equal and balanced light output, as if one burns out, the other is likely to fail soon.

5. Badly Fitted Bulbs
Installing a new headlight bulb might seem like a simple task, but it’s not always as easy as it looks. Some vehicles require the removal of the car bumper or access through the wheel arch, which can be tricky and time-consuming, especially if you’re not a car expert. This complexity can lead to bulbs not being seated correctly, resulting in a badly fitted bulb, a common issue for headlight malfunctions.
If a bulb is not fitted properly, it can begin to flicker or dim. This is due to an unstable connection, which prevents the bulb from receiving a consistent electrical current. The loose connection can also cause an electrical short when a loose wire comes in contact with another wire or metal object. Beyond flickering, a badly fitted bulb can also lead to the headlight being out of alignment, meaning it’s not adjusted to the proper position and causes the headlight not to light up effectively or illuminate the road correctly.
To avoid these issues, especially if the installation process seems daunting, it’s a good idea to let an expert handle the installation for you. Professionals can ensure the bulb is securely seated and correctly aligned, preventing flickering, dimming, and improper beam direction. If you’re confident in your DIY skills, ensure you follow your vehicle’s specific instructions carefully to prevent any fitting errors and maintain optimal headlight performance.
Read more about: Remember That Embarrassing Thing You Did as a Kid? Yeah, You’re Not Alone (LOL)

6. Moisture Inside Headlight Unit
Finding moisture inside your headlight unit is a clear sign that there is a crack or defect in the seal. This seal is crucial for protecting the delicate internal components of the headlight from the elements. When it’s compromised, water vapor can enter and condense, leading to fogging or visible water droplets inside the lens. This issue is not just unsightly; it poses a significant threat to the headlight’s functionality and longevity.
This moisture can severely damage the bulb, significantly reducing its lifespan and performance. The presence of water can also lead to corrosion of electrical contacts and reflectors within the headlight assembly. A broken or corroded reflector can no longer reflect the light from the bulb effectively, leading to dimness, while a broken or corroded bulb socket can no longer hold the headlight bulb securely or provide adequate electrical connection.
If you notice fogging or condensation inside the lens, and you’ve already tried cleaning the exterior without success, then the headlight unit may need to be replaced. While there are methods on how to seal headlights from moisture correctly, if the defect is significant, a full replacement is often the most reliable solution to prevent recurring issues. If you’re unsure about the cause of this mysterious fog, seeking a professional for a clearer diagnosis and advice on the next steps is highly recommended to ensure the problem is properly addressed and your visibility is restored.
With the fundamental issues tackled, it’s time to dive deeper into the more intricate electrical challenges that can plague your vehicle’s lighting system. These aren’t always quick fixes like a bulb swap, often requiring a more systematic approach to diagnose and resolve. Understanding these complex electrical issues, system controls, and advanced troubleshooting methods is key to achieving lasting solutions and ensuring your headlights perform reliably every time you hit the road.
Read more about: Journey Back to the Future: Ten Classic Jet Age Cars That Defined 1950s Automotive Innovation and Style

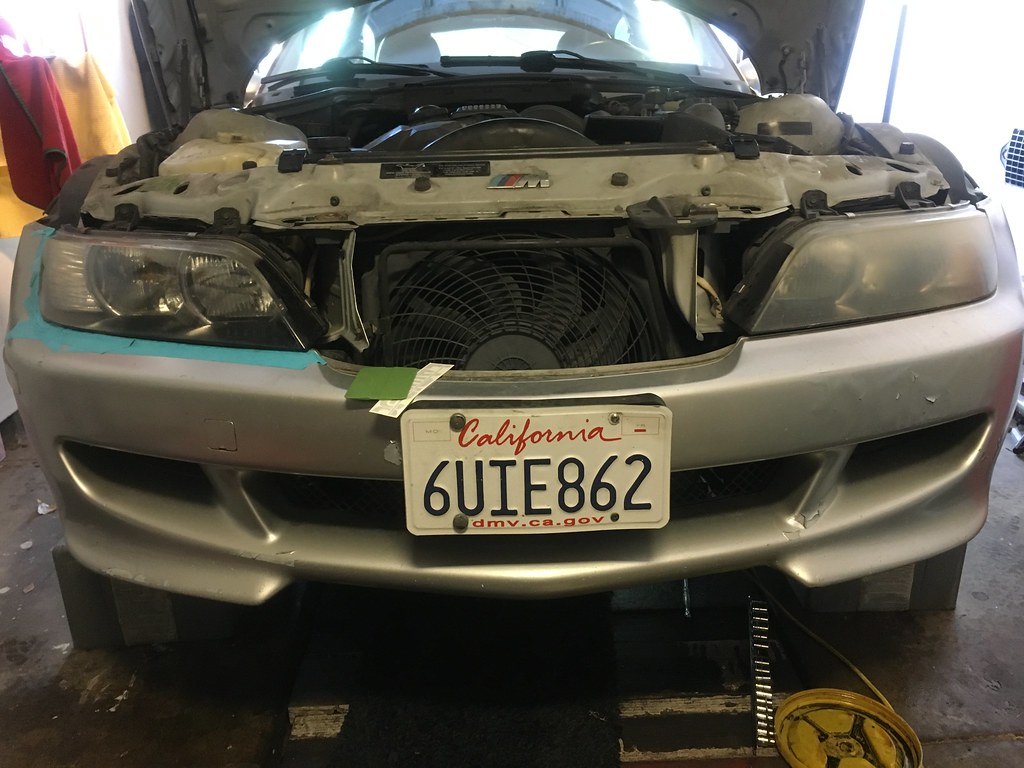
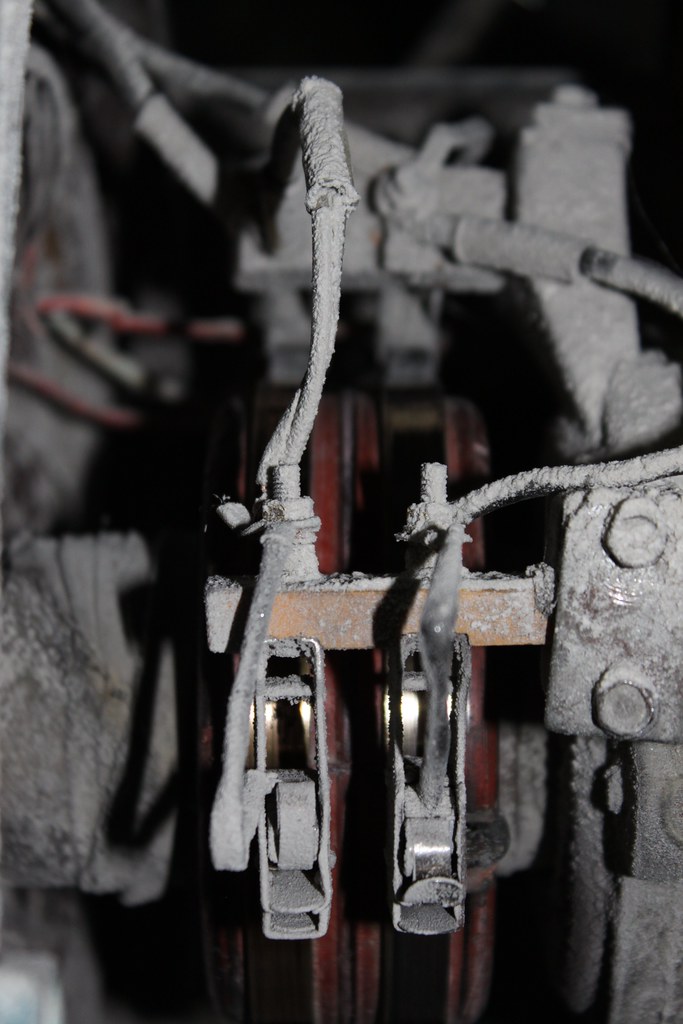
7. Damaged Headlight Connector or Wiring Harness Issues
Your headlights rely on a continuous, clean flow of electricity, and the wiring harness along with its connectors are the vital conduits for this power. Over time, these components can suffer from wear and tear, corrosion, or even physical damage due to vibrations, heat, or external factors. When these connections are compromised, the electrical current to your headlights becomes intermittent or entirely cut off, leading to frustrating failures.
One of the most immediate signs of wiring or connector issues is intermittent headlight operation, flickering lights, or the headlight failing to turn on at all despite a working bulb and fuse. You might notice the lights dimming, especially on bumpy roads, indicating a loose connection. Melted headlight connectors are also fairly common, often caused by excessive heat from the headlight bulb itself or undersized wiring from the factory, which can create significant resistance and damage.
A bad ground connection is another specific wiring issue that can prevent a headlight from working correctly. If the ground wire connecting the headlight to the car’s frame becomes corroded or broken, it can no longer provide an adequate electrical connection, leading to a host of problems including no illumination or inconsistent performance. This often goes overlooked but is a crucial aspect of electrical troubleshooting.
Diagnosing these issues requires a thorough visual inspection of the wiring and connectors for frayed, broken, or corroded wires. If you find melted areas, you’ll probably have to splice in a new headlight pigtail connector, and adding a ceramic jumper can prevent future melting by handling the bulb’s heat more effectively. For corroded or loose ground connections, cleaning and securely re-securing them can often restore full functionality, bringing your headlights back to life.
Read more about: Buyer Beware: 15 Vintage Coupes That Rarely Make It Past 120,000 Miles Without Major Overhauls
8. Faulty Headlight Relay
In many vehicles, especially newer models, your headlight switch doesn’t directly power the headlights. Instead, it signals a headlight relay, which then switches the higher current needed to illuminate the lights. This setup protects the switch from high current loads and allows for more complex control over the lighting system. However, like any electrical component, relays can fail, disrupting the entire circuit.
Symptoms of a faulty headlight relay often include your headlights not turning on at all, even when the bulbs and fuses are confirmed to be intact and functional. You might also experience intermittent operation, where the lights flicker unexpectedly or only work sporadically. Unlike a blown fuse that often results in complete failure, a failing relay might show less consistent signs, making diagnosis slightly trickier without a clear understanding of its role.
Headlight relays are typically found within your car’s fuse box, either under the hood or sometimes under the dashboard. Identifying the correct relay usually involves consulting the diagram on the fuse box cover. A simple yet effective diagnostic step is to swap the suspected faulty headlight relay with another identical, working relay from a non-critical system in the fuse box, if one is available. If the headlights then function, you’ve pinpointed the problem to the relay.
Once identified, replacing a faulty relay is a relatively straightforward task for most DIYers. It simply involves pulling out the old relay and plugging in a new one of the exact same specifications. This quick fix can restore full power to your headlights, ensuring reliable illumination and avoiding the potential dangers of driving with compromised lighting due to a simple component failure.

9. Faulty Headlight Switch or Dimmer Switch
The headlight switch is your primary control for turning the lights on and off, while the dimmer switch (or high/low beam switch) toggles between your low and high beams. Historically, these switches directly controlled power to the headlights. However, in late-model vehicles, their function has evolved; they now often act as inputs, sending signals to control modules rather than directly switching power, adding layers of complexity to troubleshooting.
When a headlight switch or dimmer switch fails, the most common symptoms are your headlights refusing to turn on, or an inability to switch between high and low beams. You might also observe lights flickering, particularly when you attempt to adjust the brightness or change beam settings. These issues can stem from internal wear and tear, loose connections within the switch, or even corrosion affecting its electrical contacts, preventing proper signal transmission.
Diagnosing a faulty switch in older vehicles typically involves using a multimeter to check for continuity and power delivery directly from the switch. However, in modern cars, the process is more involved. The headlight switch acts as a “headlight request,” sending a signal to the Body Control Module (BCM). To test these models, you’ll need a shop manual and a wiring diagram to measure the expected reference and return voltages. A bi-directional scan tool can also read whether the BCM is receiving the correct input from the switch.
If testing confirms the switch is at fault, replacing it is the most direct solution. If the BCM is not receiving the right signal, and the switch itself tests fine, the issue could extend to the wiring harness connecting the switch to the BCM. In such advanced scenarios, a professional diagnosis is often recommended to accurately trace the signal path and identify the exact point of failure, ensuring a complete and lasting repair.
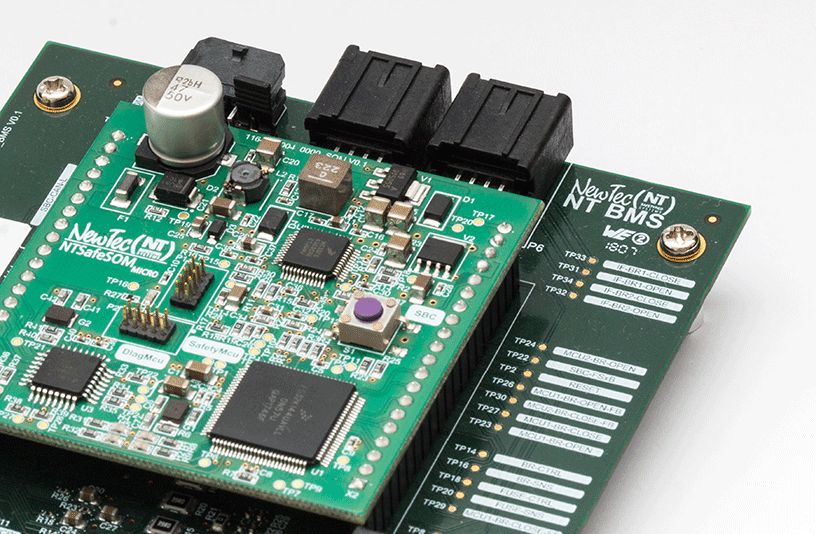
10. Control Module Issues (BCM/SJB/IPM)
Modern vehicles are marvels of electrical engineering, heavily reliant on sophisticated control modules like the Body Control Module (BCM), Smart Junction Box (SJB), or Integrated Power Module (IPM) to manage various electrical systems, including your headlights. These modules act as the brain of the electrical system, interpreting driver inputs and environmental conditions to control when and how your headlights operate, especially with features like automatic headlights or daytime running lights (DRLs).
In these advanced systems, the headlight switch often acts merely as an input to the BCM, which then digitally communicates with an SJB or IPM containing relays that switch power to the headlights. This complex digital communication and control means that a malfunction within these modules can lead to widespread headlight issues that aren’t easily traced to a simple bulb or fuse. The BCM or IPM deciphers whether the driver is requesting parking lights, low beams, or high beams based on voltage drops from series-wired resistors in the headlight switch.
Symptoms of control module issues can be elusive. For instance, if your vehicle has an “AUTO” setting for headlights, a faulty light sensor (which the BCM relies on) can prevent the headlights from turning on automatically if the BCM thinks it’s daylight. DRL modules, which reduce voltage to high beams to extend their life, also rely on signals from the light sensor, shifter range selector, and parking brake switch. A problem in any of these inputs or within the DRL module itself can cause DRL malfunctions.
Diagnosing control module issues is where troubleshooting truly becomes advanced, often requiring specialized tools and knowledge. You’ll definitely need a comprehensive wiring diagram for your specific vehicle model to trace circuits and understand expected voltages. A bi-directional scan tool is invaluable, allowing you to read live data and see if the BCM is receiving the correct inputs from the headlight switch or light sensor. If the BCM is getting proper signals but the lights still don’t work, the problem likely lies within the BCM itself or the associated relays, necessitating professional expertise for repair or replacement.
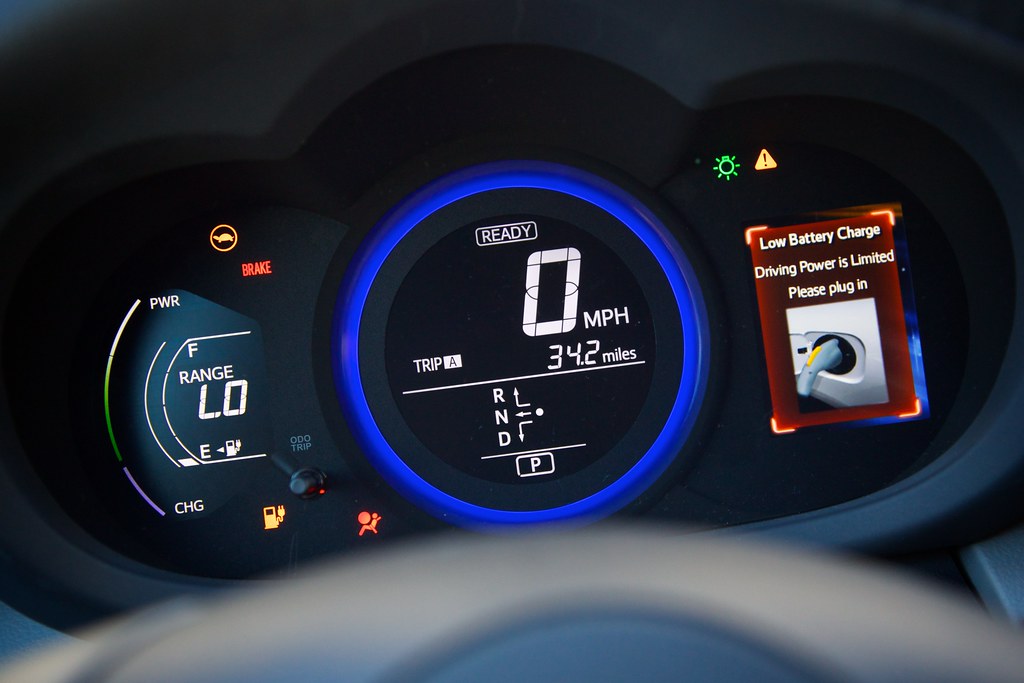
11. Dead or Weak Battery
While seemingly unrelated to individual headlight failure, the overall health of your car’s battery directly impacts the performance of your entire electrical system, including your headlights. A battery’s primary role is to provide the initial surge of power to start your engine and to supplement the alternator during periods of high electrical demand. If the battery is dead or significantly weakened, it simply cannot supply enough stable voltage to adequately power your headlights, leading to noticeable performance issues.
The most common symptom of a struggling battery affecting your headlights is dimming, especially when the engine is idling. You might observe that your headlights appear brighter when you accelerate, as the alternator kicks in to provide more power. Beyond the headlights, a weak battery will often manifest through other electrical problems, such as a slow engine crank when starting or various dashboard warning lights illuminating, indicating a general power deficiency.
Batteries have a finite lifespan, typically lasting between 3 to 5 years, and their performance degrades over time due to repeated charge and discharge cycles, extreme temperatures, and internal chemical reactions. Poor charging from a failing alternator can also contribute to a weak battery, creating a vicious cycle of insufficient power supply to your vehicle’s electrical components.
To diagnose a weak battery, you can use a multimeter to check its voltage. A healthy battery should read around 12.6 volts when the engine is off and between 13.7 and 14.7 volts when the engine is running and the alternator is charging. If your readings are consistently below these thresholds, or if the battery is past its typical lifespan, replacing it with a new one is often the most straightforward solution to restore consistent power to your headlights and other electrical systems.
Read more about: Mechanics’ Top Frustrations: 14 Bad Car Habits You Need to Stop Now to Save Money and Your Vehicle’s Life
12. Faulty Alternator
The alternator is the unsung hero of your car’s electrical system, responsible for generating electricity to power all your vehicle’s components while the engine is running and simultaneously recharging the battery. If your alternator begins to fail, it can’t produce enough electrical current, leading to a cascade of problems across your car, with dim or failing headlights often being one of the first and most obvious indicators. Without a properly functioning alternator, your car is essentially running on borrowed time, draining the battery until it can no longer support the electrical load.
The most telling sign of a faulty alternator impacting your headlights is persistent dimming, not just at idle but consistently while driving. You might also notice your headlights flickering erratically as the alternator struggles to maintain a stable voltage output. These issues are typically accompanied by other electrical anomalies throughout the vehicle, such as the dashboard lights flickering, the radio cutting out, or power windows operating sluggishly, all pointing to an overall power shortage.
The alternator works by converting mechanical energy from the engine’s crankshaft into electrical energy through a serpentine belt. Over time, components within the alternator, such as its diodes or voltage regulator, can wear out or fail, leading to an inability to produce the correct charging voltage. This means the battery isn’t being recharged effectively, and the electrical systems aren’t receiving the stable power they need to function optimally.
Diagnosing a faulty alternator requires testing its output voltage with a multimeter. While the engine is running, the voltage across the battery terminals should ideally be between 13.7V and 14.7V, indicating proper charging. If the charging voltage consistently falls below 13.5V, it’s a strong indication that your alternator is underperforming and likely needs replacement. Addressing this issue promptly is crucial not only for your headlights but for the entire electrical integrity and reliability of your vehicle.
Read more about: Don’t Waste Your Cash: 6 SUVs Prone to Costly Early Fixes
Ensuring your car’s headlights are always in prime condition isn’t merely about convenience; it’s a critical safety imperative. From deciphering complex wiring woes to understanding the sophisticated control modules that govern your lighting, addressing these deeper electrical issues empowers you with the knowledge to maintain peak performance. Don’t let dim or failing headlights compromise your journey; by proactively diagnosing and fixing these underlying problems, you’re not just repairing a component, you’re investing in clearer visibility and safer travels for yourself and everyone else on the road. Keep those beams bright, and drive with confidence, knowing you’ve mastered the mechanics of your machine.


