

There’s nothing quite like the satisfaction of seeing your car gleaming in the sunlight after a proper wash and wax. It looks brilliant, but you also protect your investment and maintain your vehicle’s value. Many car owners think washing and waxing is just about aesthetics, but it’s one of your motor’s most essential maintenance tasks. This meticulous routine is a cornerstone of vehicle longevity and appearance, going far beyond superficial shine to offer concrete benefits.
Regular washing removes harmful contaminants like road salt, bird droppings, and industrial fallout that permanently damage your paintwork. These corrosive elements, if left unchecked, can etch into your clear coat, leading to irreversible damage and premature aging of your vehicle’s finish. Waxing, on the other hand, adds a crucial protective barrier that shields your car’s finish from relentless UV rays, aggressive environmental pollutants, and minor scratches from everyday wear and tear. When done correctly, this combined routine can keep your vehicle looking showroom-fresh for years, significantly extending the life and vibrancy of its paintwork.
In this comprehensive Popular Mechanics guide, we’ll walk you through every step of the process, from choosing the right products to mastering professional techniques that will yield lasting results. Whether you’re a beginner eager to learn the ropes or a seasoned car enthusiast looking to refine your existing routine, you’ll discover everything you need to know about how to wash and wax your car like a pro. Our aim is to equip you with the knowledge and skills to not only achieve an enviable shine but also to protect your automotive investment effectively.
1. **Why Washing & Waxing Your Car Matters**A clean, waxed car isn’t just about vanity; it’s a critical aspect of preserving your automotive investment and maintaining its structural integrity. The paintwork on your vehicle isn’t merely for aesthetics; it’s the first line of defense against the elements, protecting the metal underneath from rust and corrosion. Without proper care, this protective layer can quickly degrade, leading to costly repairs down the line. Regular washing removes abrasive dirt, grime, and corrosive substances, while waxing adds an essential sacrificial layer.
This protective layer of wax actively shields against damaging elements such as harsh UV rays from the sun, which can cause paint to fade and crack over time. It also acts as a barrier against acid rain, tree sap, and bird droppings, all of which contain chemicals that can etch into your paintwork if not promptly removed and protected against. This proactive defense is vital for maintaining the car’s visual appeal and ensuring its physical protection, preventing common forms of environmental damage.
Beyond the immediate protection, a well-maintained exterior significantly boosts your car’s resale value. According to experts, a car with a pristine finish can add an impressive $500–1,500 to its price when it comes time to sell or trade it in. This financial benefit underscores the importance of a consistent wash and wax routine as an investment, not just an expense. Moreover, neglecting regular cleaning and protection can accelerate the onset of rust, especially in areas exposed to road salt and grime, highlighting its role in long-term vehicle health.
Did you know that 80% of car scratches come from improper washing techniques? This startling statistic emphasizes the need for correct methodology, which we will detail in this guide. Furthermore, integrating waxing into your maintenance schedule every 3–6 months can extend your paint’s lifespan by years. This simple yet effective practice forms a durable shield, reducing the likelihood of minor abrasions and keeping the finish vibrant and intact for a considerably longer period.
Read more about: The Ultimate Lifehacker Guide: 12 Simple Ways to Erase Car Scratches with Toothpaste
2. **Essential Tools and Products for the Job**Getting your setup right from the start makes all the difference between a mediocre job and professional results. Proper equipment not only makes the washing and waxing process easier and more efficient but, crucially, also protects your car’s paintwork from damage that can arise from inappropriate tools or products. Investing in quality gear is an investment in your car’s finish and your own satisfaction, ensuring a safe and effective cleaning experience from beginning to end.
You’ll need a couple of essential items to begin. First, **Two Buckets with Grit Guards** are paramount; the grit guards prevent dirt from re-entering your wash mitt, effectively separating abrasive particles from your cleaning solution. A **Microfiber Wash Mitt** is equally important, as its soft, non-abrasive fibers are gentle on paint, unlike sponges which can trap dirt and cause scratches. A **pH-Neutral Car Shampoo**, such as Meguiar’s Gold Class ($10), is crucial because household detergents like dish soap strip protective waxes and dull the paint.
For deeper decontamination, a **Clay Bar Kit**, like Meguiar’s Smooth Surface Clay Kit ($25), is indispensable for removing embedded contaminants. When it comes to protection, a quality **Car Wax** is key; you might choose a Synthetic wax like Turtle Wax Hybrid Solutions or a Carnauba wax such as Collinite 845, depending on your preferences for durability and shine. Finally, a **Plush Microfiber Drying Towel**, like The Rag Company Cyclone ($20), is essential for drying without introducing swirl marks.
For those looking to optimize their pre-wash routine, a budget tip: a foam cannon ($30) can be a fantastic addition. It allows for a touchless pre-wash, blanketing your car in thick, clingy foam that helps to loosen and lift dirt before any physical contact, further minimizing the risk of scratches. Remember, using the right tools and products is not just about convenience, but about safeguarding your vehicle’s delicate finish throughout the entire cleaning process.
Read more about: Amazon’s Secret Stash Revealed: Unbelievable Deals on Home Essentials You Need Right Now!
3. **Preparing Your Vehicle and Workspace**Before you even think about applying soap or wax, proper preparation of both your vehicle and your workspace is fundamental for achieving professional-level results and preventing unintended damage. This initial phase sets the stage for a successful detailing session, ensuring that every subsequent step is as effective and safe as possible. Skipping these crucial preparatory actions can lead to frustration and diminish the overall quality of your efforts.
Firstly, **Choose the Right Spot** for your wash. Always park your car in a shaded area to avoid direct sunlight. Working under the sun causes soap and wax to dry too quickly, leading to unsightly water spots, streaks, and making wax removal unnecessarily difficult. Your driveway, a garage, or even under a carport are ideal locations, offering controlled conditions. Ensure you have ample access to a water source and enough space to comfortably move around your vehicle without obstruction.
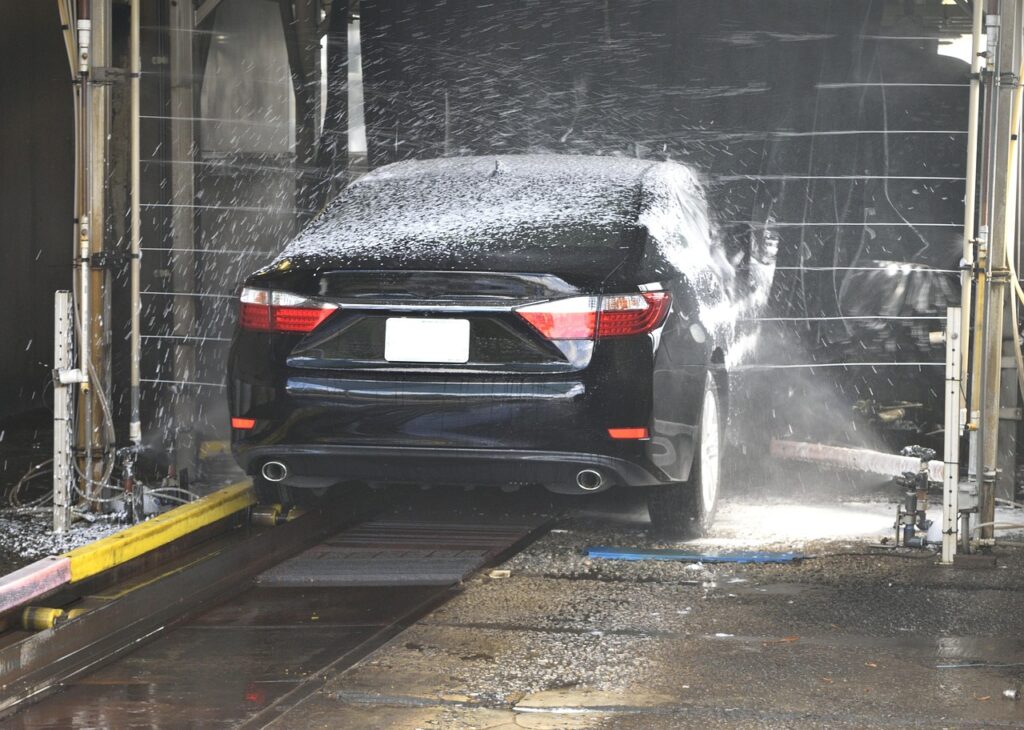
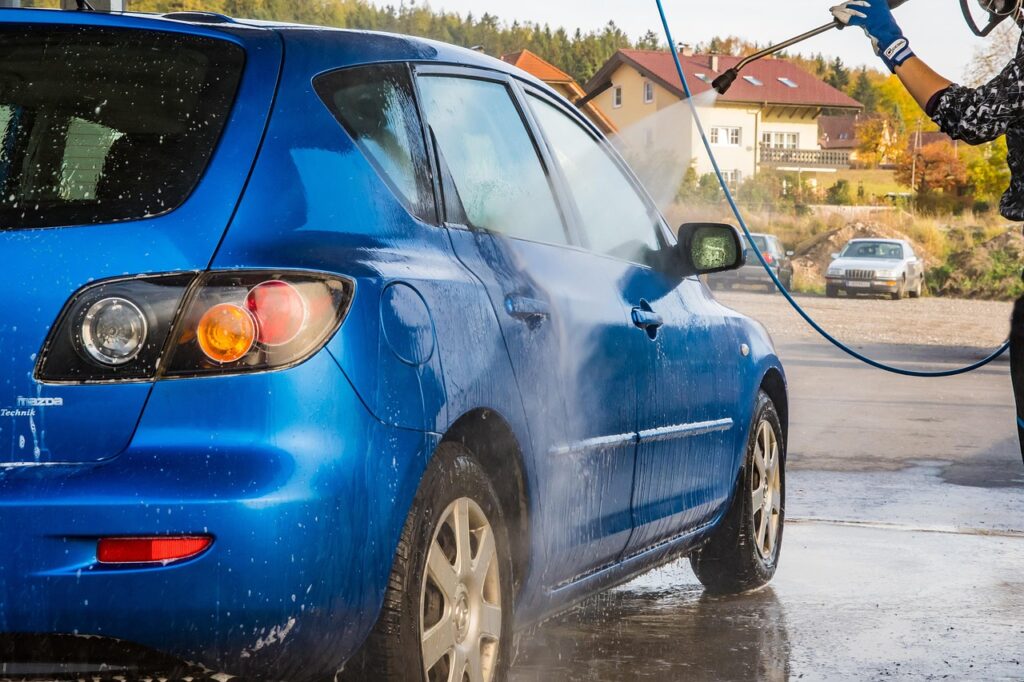
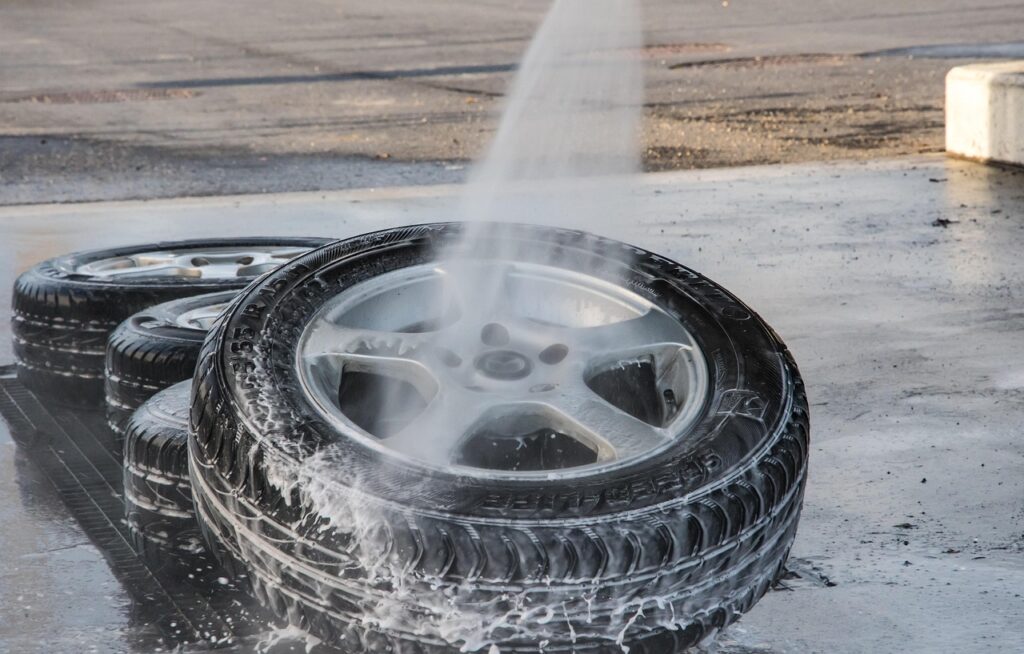
Once your car is in the ideal spot, **Rinse Thoroughly**. Use a pressure washer or a garden hose with an adjustable nozzle to blast off all loose dirt and debris. This pre-rinse is critical as it removes larger particles that could otherwise scratch your paint during the washing process. Pay special attention to notorious dirt hotspots like wheel wells and lower panels, as these areas accumulate the most grime and require a comprehensive initial cleanse to prevent cross-contamination.
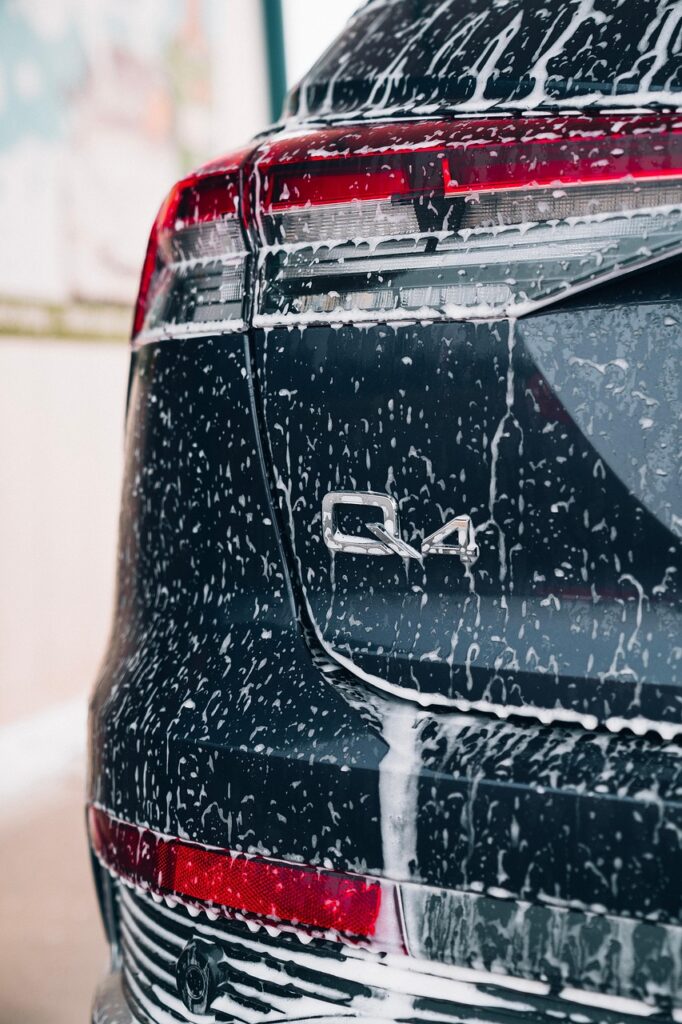
For heavily soiled vehicles, consider using a pre-wash product or a snow foam application. This helps break down stubborn grime, road salt, and bug splatter before you make any physical contact with the paintwork, thereby significantly reducing the risk of scratching. Additionally, before you begin, remove any personal items from the interior and ensure all windows and sunroofs are tightly closed. For convertible owners, always confirm the roof is adequately secured to prevent water ingress.
If your car’s paint is dull, scratched, or otherwise damaged, consider using a polishing compound before waxing. Polishing compound is a slight abrasive that removes a fine layer of clear coat to achieve a smooth and even surface, making it better suited for pre-wax treatment than harsher rubbing compounds. Apply it lightly with a damp microfiber cloth, then remove with another clean microfiber cloth, preparing the surface for optimal wax adhesion and a truly brilliant finish.
Read more about: The Comprehensive Guide: Protecting Your Car’s Undercarriage from Winter Salt Damage
4. **Mastering the Two-Bucket Wash Method**The two-bucket method is the gold standard for car washing, a technique that professional detailers swear by for its unparalleled ability to dramatically reduce the risk of creating swirl marks and scratches on your paintwork. These microscopic imperfections, often visible in direct sunlight, are typically caused by dragging dirt particles across the paint during the wash process. By implementing this method, you create a system that actively isolates dirt, protecting your vehicle’s delicate clear coat.
**How It Works**: This method requires two buckets. Fill the first bucket with warm water mixed with your pH-neutral car shampoo, adhering strictly to the manufacturer’s instructions (typically 1 oz shampoo per gallon). The second bucket should be filled with clean, plain water. Crucially, place a grit guard in the bottom of both buckets. These plastic inserts serve to trap dirt and debris at the bottom of the bucket, preventing your wash mitt from picking up abrasive particles and reintroducing them to your car’s surface.
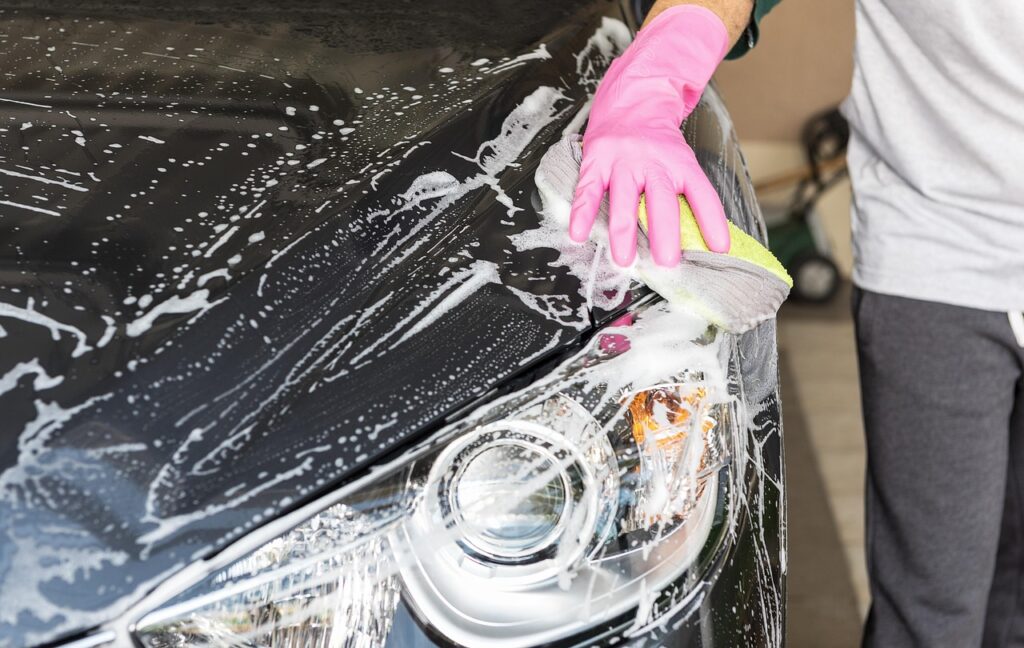
The washing process itself involves a specific technique. Dip your microfiber wash mitt into the soapy water bucket to load it with shampoo. Wash a small section of your car, typically a 2′ x 2′ area, using gentle, straight-line motions—never circles, as circular motions can contribute to swirl marks. After washing that section, *rinse your wash mitt thoroughly in the clean water bucket*, agitating it against the grit guard to release any captured dirt. Once rinsed, wring out the mitt and reload it with fresh soapy water from the first bucket before moving to the next section.
**Pro Tip**: Always work from the top of your vehicle downwards. This prevents dirty water and loosened grime from flowing over sections you’ve already cleaned, ensuring that you’re always working on a fresh, pre-rinsed surface. Start with the roof, then move to the bonnet and upper doors, followed by the lower panels, bumpers, and finally, the sills. This systematic approach ensures maximum cleanliness and minimizes the chance of redepositing dirt.
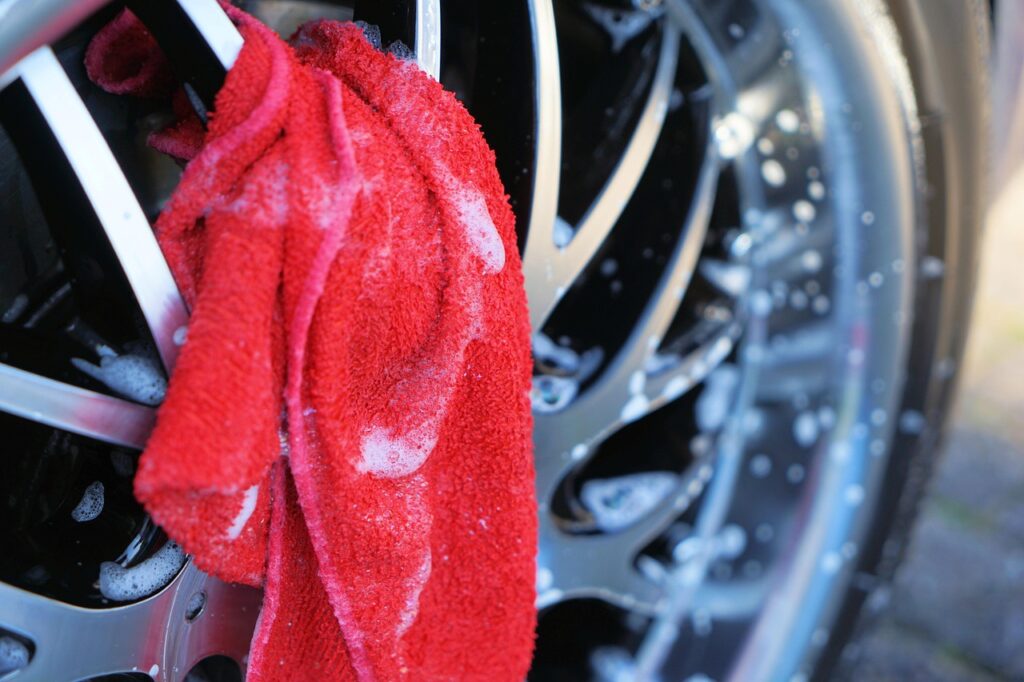
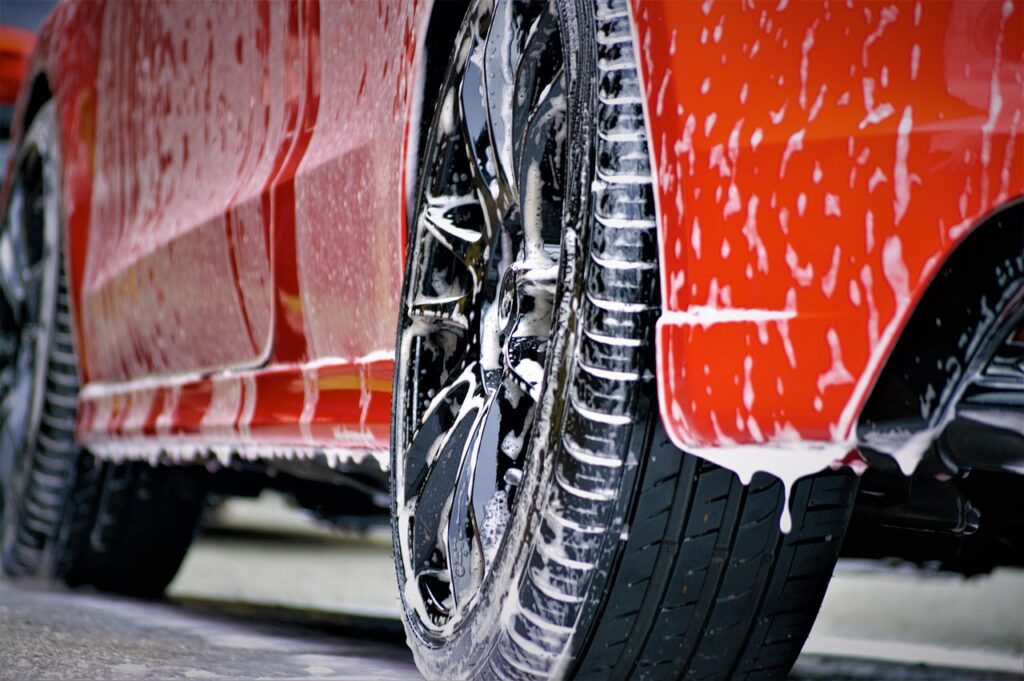
Don’t forget the details! Clean door jams, boot seals, and other often-overlooked areas. These spots collect a surprising amount of dirt and grime and can also harbor moisture, which can lead to corrosion over time. Utilizing dedicated wheel cleaner and brushes is also vital; always start with the wheels, as they are typically the dirtiest part of your car and can contaminate wash water if cleaned last. This detailed attention ensures a truly comprehensive clean.
Read more about: Your Ultimate Guide to Keeping Your Car Pristine in Retirement: Expert Tips for a Spotless Ride
5. **Decontaminating Your Paint with a Clay Bar**Even after a thorough wash, your car’s paint surface can still harbor embedded contaminants that are invisible to the eye but noticeable to the touch. These microscopic particles, which can include industrial fallout, tar specks, brake dust, and tree sap, washing alone cannot remove. This is where a **clay bar treatment** becomes an indispensable step in achieving a truly smooth, clean surface—a prerequisite for optimal wax adhesion and a flawless finish.
**Why Clay?** Running your hand over the paintwork after washing is the ultimate test; if it feels rough, bumpy, or gritty, then a clay bar treatment is definitely in order. These embedded contaminants create a rough texture that dulls the paint’s reflectivity and prevents wax from bonding properly, thereby compromising both the aesthetic appeal and the protective capabilities of your chosen wax. Claying essentially exfoliates the paint, drawing out these impurities and leaving a glass-smooth finish.
**How to Clay**: Begin by ensuring the panel you are working on is clean and cool to the touch. Spray a generous amount of **clay lubricant** (often called Quick Detailer) onto a small section of the panel, creating a slippery surface. Take a small, flat piece of clay bar—about the size of your palm—and gently glide it back and forth over the lubricated area using light pressure. You will feel the clay grabbing onto the contaminants initially, and as it works, it will glide more smoothly, indicating the surface is clean.
As you work, frequently fold the clay bar to expose a clean, fresh side. This is crucial because the clay absorbs the contaminants, and using a dirty section will only redistribute them or even scratch the paint. Keep folding until the entire piece of clay is dirty, then discard it and grab a fresh piece. Once you’ve completed a section, wipe away any lubricant residue with a clean microfiber towel.
⚠️ **Warning**: If you accidentally drop the clay bar on the ground, **toss it immediately**. A dropped clay bar will pick up abrasive grit and particles from the ground, rendering it contaminated and potentially destructive to your paintwork if reused. It’s a small investment to replace a dropped piece of clay compared to the cost of repairing paint damage, so always err on the side of caution. This step, though perhaps initially daunting, is foundational for a truly pristine finish.
6. **Drying Your Car Without Causing Swirls**After all the effort you’ve put into washing and decontaminating your car, the drying phase is equally critical, perhaps even more so, for preventing unsightly water spots and swirl marks. Water spots are mineral deposits left behind when water evaporates on the paint surface, especially in direct sunlight or hot weather. Improper drying techniques, like rubbing with an abrasive towel, are a major source of swirl marks, undermining all your previous hard work.
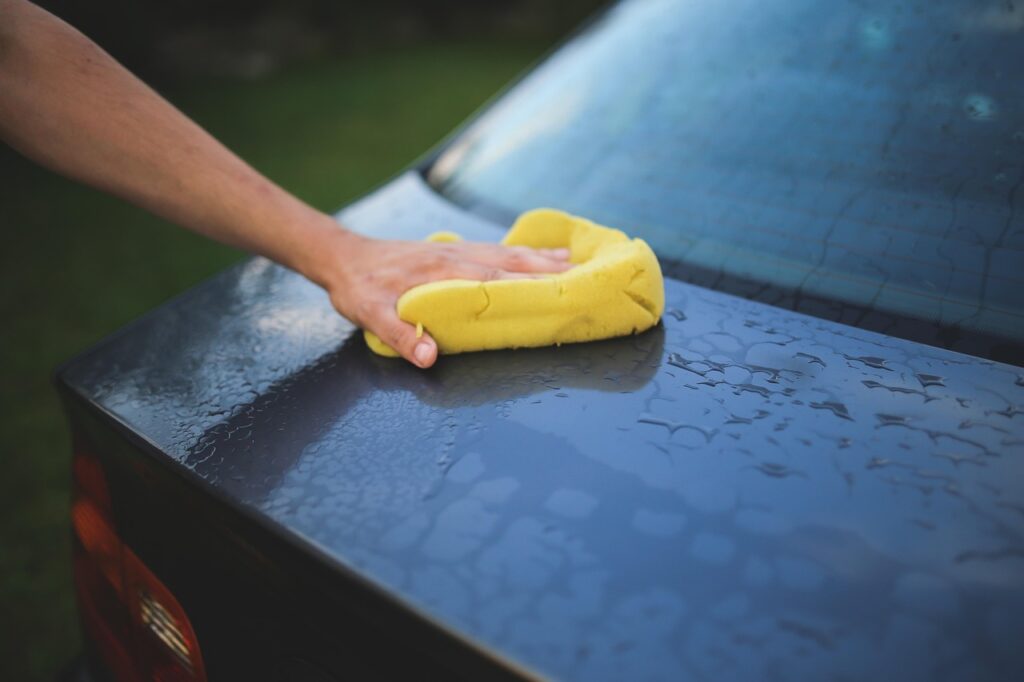
**Safe Drying Techniques**: The primary goal is to remove water quickly and gently. One of the best methods is to **Pat Dry** your vehicle. Use a plush, high-quality microfiber drying towel—never a regular bath towel or an old rag, as these can be too abrasive. Gently pat the towel onto the surface, allowing it to absorb the water, rather than dragging or rubbing it across the paint. This technique minimizes friction and prevents dirt particles, no matter how small, from being dragged and scratching the surface.
For even better, streak-free results, consider using an **Air Dryer** or a car blower, such as the Metro Vac SideKick ($100). These devices blast water off the surface and out of crevices, reducing the need for towel contact and virtually eliminating the chance of swirl marks or water spots. Air drying is particularly effective for intricate areas like grilles, door jambs, and around emblems where towels might struggle to reach or leave lint behind.
When using towels, work systematically from top to bottom, just as you did when washing. Start by gently squeezing excess water from your chamois leather or microfiber towel before you begin. Pay special attention to areas where water tends to collect, such as around mirrors, door handles, and trim pieces, as these are common sites for drips and streaks. For optimal results, combine techniques: use compressed air or a leaf blower to clear away the bulk of the water from crevices, then finish with a high-quality microfiber towel for any remaining droplets.
The mantra here is *gentle efficiency*. The faster and more carefully you can dry your car, the less chance water has to evaporate and leave mineral deposits. This final step locks in the cleanliness and prepares your paint for the next stage of protection, ensuring a pristine, streak-free surface that truly shines.
Read more about: Unmasking the Scratches: 13 Common Car Wash Mistakes That Leave Your Paint Marred with Swirl Marks
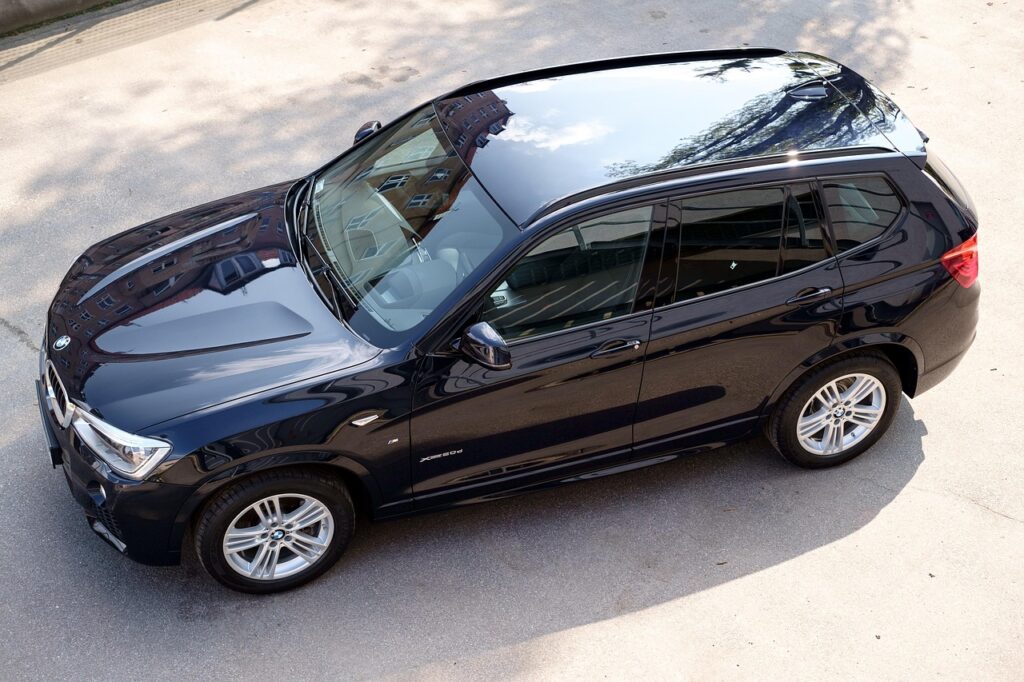
7. **Applying Wax for Maximum Shine**With your car now perfectly clean and dry, we arrive at the most rewarding part of the process: waxing. This step is crucial not only for imparting that deep, glossy shine but also for providing essential protection against the relentless assault of environmental elements. When performed correctly, a quality wax application can preserve your paintwork for months, ensuring your vehicle maintains its fresh, showroom appearance.
To achieve professional-level results, it’s always wise to test your chosen wax on an inconspicuous area first, especially if you’re using a new product or working on delicate paint. Once confident, proceed by working on one panel at a time. The key here is to apply a thin, even layer using gentle circular motions with your applicator pad. Remember, with car wax, less is often more; a thin, uniform application is significantly easier to remove and typically provides superior results compared to a thick, heavy layer.
After application, allow the wax to cure for the recommended time, which typically ranges from 5 to 10 minutes for most products to haze over before removal. This timing can vary, so always consult the manufacturer’s instructions. In cooler weather, you might find that the hazing process takes a little longer. A good way to tell if the wax is ready for removal is to perform a simple finger swipe test: if it smears, it needs more time; if it wipes clear, you’re good to go.
For removal, use clean, high-quality microfiber cloths, working in straight lines rather than circles to avoid introducing swirl marks. Frequently turn your cloth to a fresh side to prevent redistributing wax residue. Once the main waxing is complete, take a moment to inspect your work, addressing any missed spots or streaks immediately. Don’t forget the finishing touches, such as cleaning glass with a dedicated cleaner, polishing exhaust tips, and applying tire shine, being careful to avoid the tread area.
Read more about: Customizers Be Wary: 14 Types of Paint Jobs You Should Seriously Think Twice About Choosing for Your Ride
8. **Synthetic vs. Carnauba Wax: Which Is Better?**Choosing the right type of car wax is a decision that can significantly impact both the appearance and longevity of your vehicle’s paint protection. There are two primary categories that car enthusiasts and professionals frequently debate: synthetic waxes and carnauba waxes. Each offers distinct benefits and characteristics, making the ‘better’ choice largely dependent on your specific priorities and desired outcome.
Synthetic waxes, often referred to as paint sealants or incorporating ceramic coating technology, are polymer-based formulations engineered for maximum durability and robust protection. These modern waxes are celebrated for their ability to last significantly longer, typically offering protection for 6 to 12 months or even more, making them ideal for daily drivers exposed to various environmental aggressors. They are generally easier to apply and remove, yielding a high-gloss finish that stands up well against UV rays, industrial fallout, and other contaminants.
Carnauba wax, on the other hand, is a natural product derived from the leaves of Brazilian palm trees. It is highly prized by show car enthusiasts for the exceptional depth, warmth, and rich glow it imparts to paintwork, especially on darker colors. While carnauba offers a stunning aesthetic, its durability is generally shorter, typically lasting only 2 to 3 months, requiring more frequent reapplication. It can also be thicker and harder to remove, often demanding more “elbow grease” during the application and buffing process.
Ultimately, the choice between synthetic and carnauba wax boils down to a balance of factors. If your priority is long-lasting, robust protection with easier application for a daily driver, a synthetic wax is likely your best bet. However, if you crave that unparalleled, deep, wet-look gloss and don’t mind the more frequent application for a show car or special vehicle, carnauba wax will deliver that classic, rich finish.
9. **Top 5 Products for 2024**Achieving a professional-quality shine and lasting paint protection relies not only on technique but also on utilizing the right products. In a market flooded with options, identifying those that consistently deliver superior results can be challenging. Fortunately, expert recommendations for 2024 highlight a selection of top-performing products that simplify the process and elevate your car care routine to the next level.
For those seeking the pinnacle of wax protection, two stand out in their respective categories. The Turtle Wax Hybrid Solutions Ceramic Spray ($15) is lauded as the best synthetic wax, offering advanced ceramic protection in an easy-to-use spray format. If a deep, natural luster is your preference, the Collinite No. 845 Insulator Wax ($25) is consistently rated as the best carnauba wax, known for its impressive durability and rich glow.
Beyond waxes, other essential products ensure a comprehensive detailing experience. The Chemical Guys Clay Bar & Luber Kit ($20) is recognized as the best clay bar for its effectiveness in decontaminating paint surfaces, creating a perfectly smooth canvas for waxing. For safe and efficient drying, the Griot’s Garage PFM Terry Cloth ($25) leads as the best drying towel, designed to absorb water without causing swirl marks. Lastly, the Meguiar’s Gold Class Car Wash ($10) is the top pick for shampoo, providing a pH-neutral, rich lather that is gentle on your paintwork while effectively cleaning.
Read more about: Remember These Legends? 15 Defunct Retail Chains That Still Hold a Special Place in Our Hearts
10. **Common Mistakes to Avoid**While mastering the proper techniques for washing and waxing is crucial, being aware of common pitfalls is equally important to prevent unintended damage and ensure your efforts yield the desired results. Many car owners, even those with good intentions, can unknowingly make mistakes that compromise their vehicle’s finish, turning a protective routine into a damaging one. Understanding these errors can save you time, money, and the frustration of repairing preventable paint damage.
One of the most frequent and detrimental mistakes is using household detergents, such as dish soap, for washing your car. These products are formulated to strip grease, which unfortunately extends to stripping away your car’s protective wax layers, leaving the paint vulnerable and dull. The correct fix is always to use a pH-neutral car shampoo, specifically designed to clean without harming your paint or protective coatings. Another common error is washing in circular motions; this often causes unsightly swirl marks. Instead, always wash in straight lines to minimize friction and prevent these microscopic imperfections.
Skipping the clay bar treatment is another oversight that significantly impacts the quality of your wax application. Without prior decontamination, wax struggles to bond properly to the paint surface, reducing both its effectiveness and durability. Always decontaminate your paint with a clay bar first to ensure a perfectly smooth surface for optimal wax adhesion. Furthermore, applying wax to a hot surface or in direct sunlight should be strictly avoided; this causes the wax to dry too quickly, leading to streaks and making removal unnecessarily difficult.
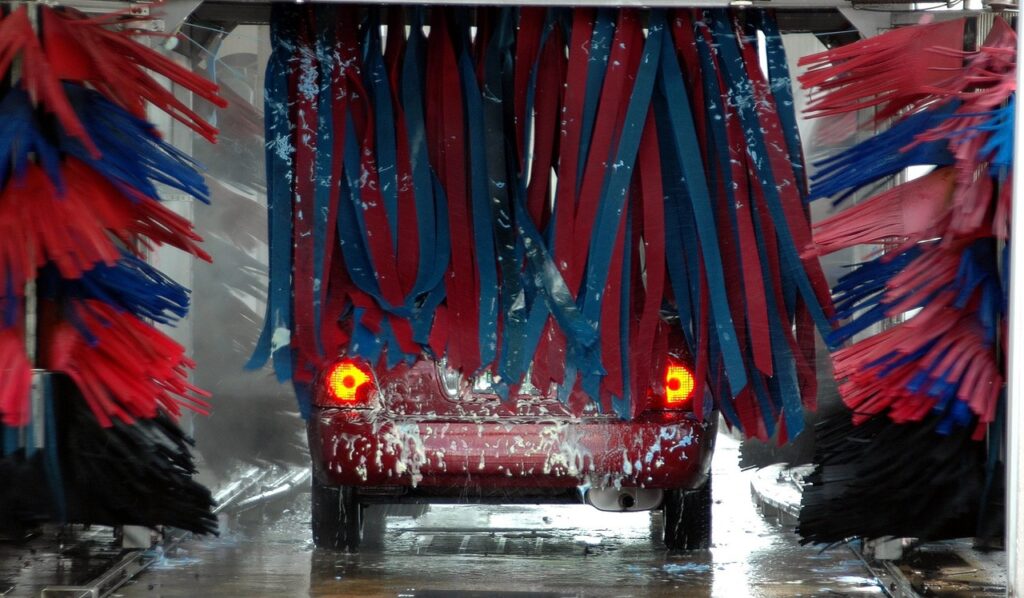
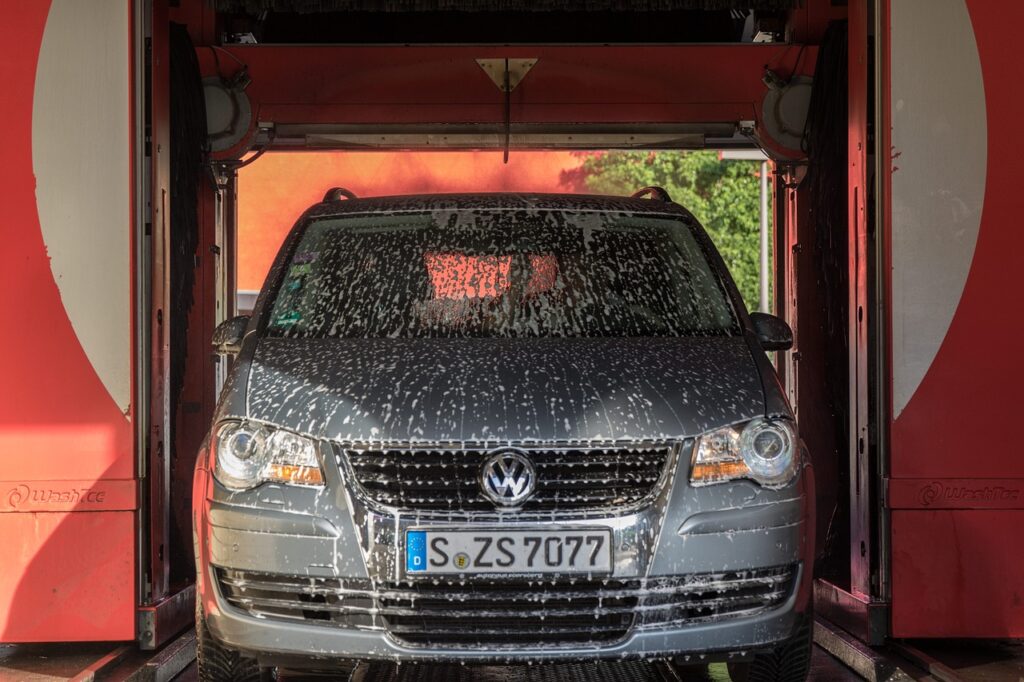
Finally, relying on automatic car washes with brushes can inflict significant damage. These abrasive brushes can cause severe swirl marks and scratches due to trapped dirt and harsh contact. If convenience is paramount, always opt for a touchless automatic wash, or better yet, commit to the detailed hand-washing methods outlined in this guide. Taking these precautions ensures that your car care routine truly protects and enhances your vehicle’s appearance.
Read more about: Home Selling Mistakes: 12 Costly Renovations Homeowners Should Never Do Before Listing
11. **Seasonal Care Tips**Maintaining a showroom finish year-round requires adapting your car care routine to the changing seasons. Each season presents unique environmental challenges that can impact your car’s paintwork, from intense UV radiation in summer to corrosive road salt in winter. By adjusting your washing and waxing schedule and product choices, you can provide optimal protection and keep your vehicle looking its best, regardless of the weather.
During the summer months, the primary concern is intense UV radiation, which can cause paint to fade and deteriorate. To combat this, it’s advisable to wax your car every three months to ensure a robust protective layer. Additionally, bird droppings, if left on the paint, can etch into the clear coat in a matter of hours, especially under hot sun. Make it a habit to rinse them off immediately whenever they occur to prevent irreversible damage.
Winter presents a different set of challenges, predominantly road salt and grime, which are highly corrosive. During the gritting season, focus on prompt removal of these elements by increasing your washing frequency to weekly, if possible. Consider applying a synthetic sealant, which often provides superior durability and a stronger protective barrier against salt and harsh winter chemicals. A winter-specific shampoo can also offer added benefits during this period.
Spring and autumn serve as crucial transitional periods for car care. Spring is an ideal time for a deep clean, including a comprehensive clay bar treatment and any necessary paint correction to remove accumulated winter grime and prepare the surface for warmer weather. In autumn, prepare your car for the upcoming winter with a fresh wax application and pay special attention to promptly removing tree sap and fallen leaves, as these can also cause staining and damage if left on the paint for too long.
Read more about: Jamie Oliver: A Culinary Odyssey – The Enduring Influence of a Global Food Visionary, From Humble Pub Kitchens to International Acclaim
12. **FAQs**Even with a comprehensive guide, car owners frequently have specific questions about best practices and common scenarios when washing and waxing their vehicles. Addressing these frequently asked questions can clarify uncertainties and empower you to tackle your car care routine with greater confidence and effectiveness.
A common inquiry revolves around the ideal conditions for waxing: “Q: Can I wax my car in direct sunlight?” The unequivocal answer is no. Wax dries too rapidly under direct sunlight, which almost invariably leads to streaks and makes the buffing process incredibly difficult. Always ensure you work in a shaded area or a garage to allow the wax to cure properly and ensure a smooth, even finish.
Another pertinent question often arises when preparing for a fresh coat of wax: “Q: How do I remove old wax?” To effectively remove old wax layers and prepare the paint for new protection, you should use a car paint cleanser. Products like Chemical Guys Clean Slate are specifically formulated for this purpose, gently stripping away previous wax, sealants, and minor contaminants without harming your paint.
Finally, owners of vehicles with specialized finishes often ask: “Q: Can I wax a matte-finish car?” The answer here is a firm never. Applying traditional wax to a matte-finish car will introduce gloss, thereby ruining its distinct non-reflective appearance. For matte finishes, it is imperative to use matte-specific cleaning and protection products that preserve the unique look of the paintwork.
Washing and waxing your car properly isn’t just about maintaining appearances; it’s about protecting your significant investment and taking immense pride in your vehicle. With the proper techniques, the right tools, and carefully selected products, you absolutely can achieve professional-quality results right from your driveway. Remember, consistency is the true secret to long-term brilliance. Regular washing and waxing proves far more effective than occasional, marathon detailing sessions.
Read more about: Navigating the 2025 Fuel Economy Landscape: An In-Depth Analysis for Discerning Automotive Purchases
Begin with the foundational steps covered in this guide, and as your experience grows, you can confidently explore more advanced techniques, or even delve into ceramic coatings for an elevated level of protection. The satisfaction that comes from driving a meticulously maintained car is immense. You’ll not only preserve its appearance and value but also enjoy the countless compliments on how brilliant your motor looks. Your car will undoubtedly thank you for the dedicated attention.


