

There’s a unique satisfaction that comes from understanding your vehicle, identifying a problem, and then fixing it with your own hands. In an age where car repairs can quickly add up to significant figures, knowing how to tackle common issues yourself isn’t just a hobby; it’s a powerful way to keep hundreds, if not thousands, of dollars in your pocket. This isn’t about complex engine overhauls or intricate electrical diagnostics that require specialized training. Instead, we’re focusing on those practical, hands-on fixes that are well within the grasp of the average car owner.
Imagine preventing a costly breakdown, improving your car’s performance, or simply enhancing its safety without ever stepping foot in a mechanic’s shop for these particular tasks. Many of the issues that lead to expensive professional repairs often start as small, manageable problems. With the right guidance and a bit of enthusiasm, you can transform from a passive car owner into an empowered DIY mechanic, ready to address these challenges head-on and safeguard your investment.
Our aim is to equip you with the knowledge and confidence to tackle these projects yourself. We believe in providing clear, accessible information that makes complex subjects understandable, guiding you through solutions to common automotive dilemmas. Get ready to roll up your sleeves, save some money, and gain a deeper appreciation for how your car works by exploring these essential DIY fixes.
1. **Use a Code Reader**One of the most powerful tools in any modern car owner’s arsenal is an auto code reader. This simple device allows you to diagnose car problems without the immediate need to visit a professional mechanic. It’s a game-changer for anyone looking to understand their vehicle’s health and prevent unnecessary expenses.
To use it, you simply plug the code reader into your car’s computer system. The system then provides a trouble code readout, which you can interpret to understand what repairs might be necessary. This immediate feedback gives you a clear indication of where the problem lies, transforming a vague dashboard warning into actionable information.
Understanding the readouts and the process to ‘crack the code’ of a code reader is a valuable skill that empowers you to take charge of your car’s health. Knowing what your car’s computer is telling you before consulting a professional can save you not only diagnostic fees but also help you make more informed decisions about repairs.
Read more about: Beyond the Chrome: Unmasking 13 Car Driver Stereotypes That Are More Than Just Roadside Chatter
2. **Replace Your Wiper Blades**Visibility is paramount for safe driving, and worn-out wiper blades can significantly compromise it, especially during adverse weather conditions. Fortunately, recognizing when your blades need replacing is incredibly easy, and the fix is quick and affordable. Simply press the washer button and observe your windshield; if your blades leave streaks, it’s a clear sign they are toast.
When you head to the auto parts store, you’ll find a wide selection of economy blades. However, it’s a smart move to invest in a name brand such as ANCO, Trico, or Bosch. While they might cost a bit more upfront, their higher-quality rubber delivers a superior wipe, offers better UV protection, and lasts considerably longer, providing better value in the long run.
Installing new wiper blades is a straightforward process; just follow the instructions provided on the package. A crucial tip for this job is to maintain a firm grip on the wiper arm once you remove the old blade. If it slips from your grasp, it can spring back with enough force to potentially crack your windshield, turning a simple fix into a much larger problem.
Read more about: Seriously Where Did They Go? 15 Automotive Features That Vanished (Or Should) From Our Dashboards

3. **Solve Rough Idle by Cleaning EGR Valve**Is your car experiencing a rough idle, shaking or vibrating more than it should when stationary? This common issue can often be traced back to a dirty Exhaust Gas Recirculation (EGR) valve. A simple, inexpensive solution might be all it takes to smooth things out and restore your engine’s composure.
A good dousing with throttle body cleaner can work wonders, potentially restoring your EGR valve to a near-mint condition. This process can transform a harsh, unpleasant idle into a soothing hum, making your driving experience much more pleasant and preventing further engine stress. It’s a remarkable example of how a small intervention can yield significant improvements.
Cleaning an EGR valve with the right instructions is one of those surprisingly easy car repairs that can make a huge difference in your vehicle’s performance. By proactively addressing this, you avoid the escalating problems that a clogged EGR valve can cause, which could eventually lead to more complex and expensive engine diagnostics and repairs.
Read more about: A Wallet-Sized Disaster: 14 Critical Engine Symptoms That Signal Early Motorcycle Rebuilds
4. **Fix a Leaking Valve Cover Gasket**A small oil leak might seem minor, but it can quickly become a messy and potentially damaging problem for your engine. One common source of such leaks is a failing valve cover gasket. The good news is that replacing a leaky gasket cover, particularly on a 4-cylinder engine, is often a very manageable DIY task.
This repair can be done easily, usually in less than an hour, and for a cost of less than $25 for parts. Catching and fixing this issue early prevents oil from dripping onto other engine components, which can cause premature wear, create unpleasant odors, or even pose a fire hazard if oil drips onto hot exhaust parts.
The good news is that detailed instructions exist for fixing a leaky gasket, guiding you through the process with confidence. Taking the initiative to replace this small component not only keeps your engine bay clean but also protects vital parts from oil contamination, saving you from much larger repair bills down the road.
Read more about: Decoding the Drips: Your Essential Guide to Diagnosing, Fixing, and Preventing Coffee Maker Leaks
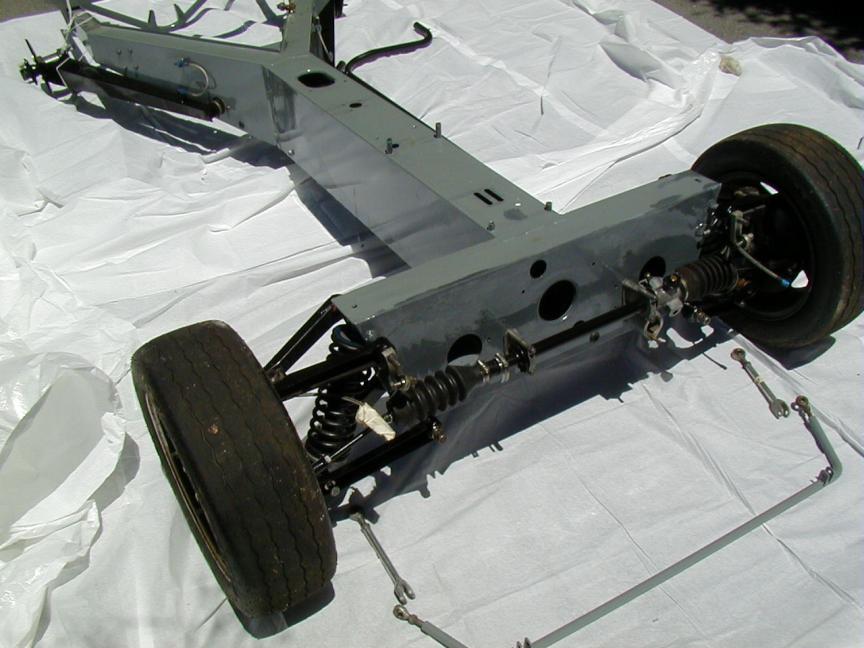
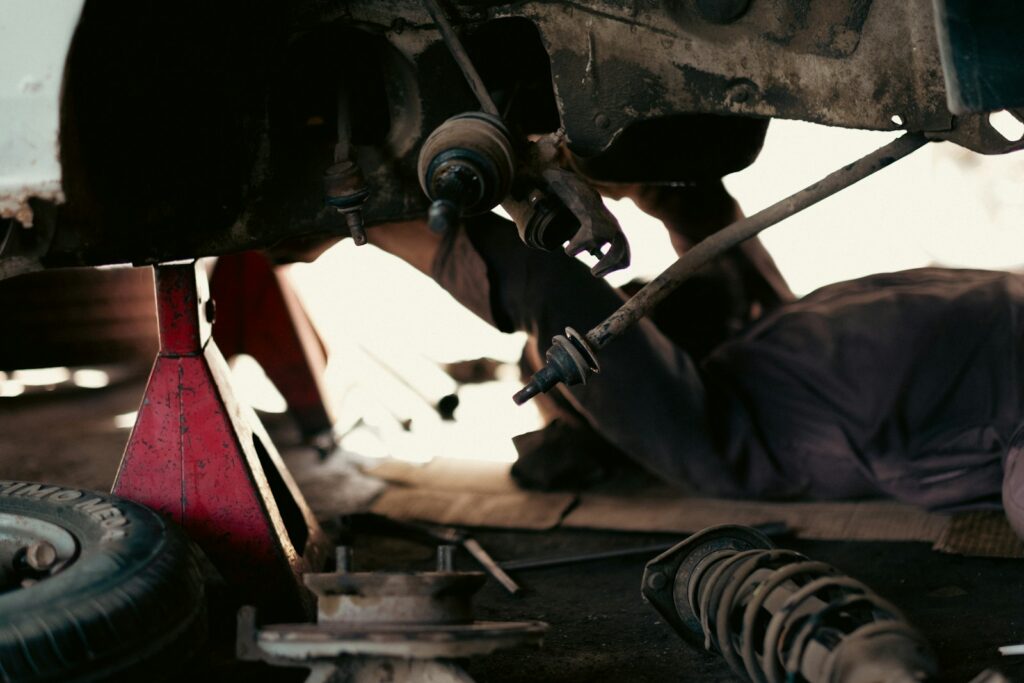
5. **Replace Sway Bar End Links**Do you hear an unsettling ‘clunk’ when your car goes over bumps or uneven surfaces? This sound often signals an issue with your suspension system, and a common culprit can be worn stabilizer bushings or, more specifically, the sway bar end links. Diagnosing the exact source can sometimes involve a bit of trial and error, but starting with these components is a logical first step.
While identifying the precise cause might require some careful inspection, replacing sway bar end links is often way cheaper than you might expect for a suspension-related repair. Learning how to replace these links yourself can translate into significant savings compared to paying a professional mechanic for the same job. Many guides can walk you through the specifics of how much it costs and the installation process.
These links play a vital role in your vehicle’s handling and stability, connecting the sway bar to the control arms. Replacing them not only eliminates that annoying clunking sound but also restores your car’s proper road manners, improving both safety and driving comfort. It’s a foundational repair that prevents excessive wear on other suspension components.
Read more about: Steer Clear: These 14 SUVs Often Become Costly Money Pits After 80,000 Miles, According to Expert Analysis
6. **Repair a Dim Headlight**Dim headlights don’t just reduce visibility; they can make your vehicle less noticeable to other drivers, increasing the risk of accidents. Before you rush to buy new, expensive bulbs, consider that the problem might be a simple electrical connection issue. Often, simply cleaning the ground connection can restore the brightness of dim headlights to their full potential.
After cleaning, applying a little dielectric grease to the connection helps protect it from corrosion and ensures a solid electrical flow. This preventative measure is quick, inexpensive, and can drastically improve your nighttime driving safety. It’s a classic example of how a small maintenance step can deliver big results.
However, if cleaning the ground connection doesn’t solve the problem, or if you observe a gray/brown film on the inside of the bulb’s glass, then it’s time for a replacement. Equipping yourself with the knowledge to properly adjust your headlights ensures maximum visibility and safety on the road, regardless of whether you’re cleaning or replacing.
Read more about: Your Ultimate Guide: 14 Critical Car Rental Mistakes Abroad (And How to Dodge Them!)

7. **Clear Up Cloudy Headlights**Over time, exposure to sunlight and harsh weather can cause your vehicle’s headlight lenses to become fogged or yellowed. This not only detracts from your car’s appearance but, more importantly, severely diminishes the effectiveness of your headlights, making night driving hazardous. Replacing entire headlight assemblies can be incredibly expensive, often costing hundreds of dollars.
Thankfully, you don’t need to shell out a fortune for new headlights. You can clear up those cloudy lenses yourself in as little as 45 minutes, and for less than $15. This DIY solution offers a massive saving compared to professional replacement and dramatically improves your vehicle’s aesthetics and safety.
Unlocking the secret to cleaning headlights means you can restore clarity and avoid the much higher expense of full replacement. This simple process involves using specialized kits that polish away the oxidation, leaving your lenses clear and bright. It’s a satisfying project that enhances both the look and the safety performance of your car, ensuring you see and are seen clearly on the road.
### Beyond the Basics: 8 More Practical Car Fixes to Maintain Peak Performance and Avoid Costly Failures
Having covered the initial set of essential DIY fixes, we now delve deeper, moving “Beyond the Basics” to explore eight more practical car repairs. This section focuses on crucial fluid systems, intricate engine health, and often-overlooked components that, when diligently maintained, hold the power to save you hundreds, if not thousands, in future repair bills. These are the fixes that keep your vehicle operating at peak performance, ensuring reliability and preventing unexpected, costly failures.
Read more about: 13 Smart DIY Car Upgrades That Can Skyrocket Your Trade-In Value by Thousands
8. **Service Your ‘Tuck-Under’ Spare Tire Lift Now!**Few things are as frustrating as getting a flat tire and then discovering you can’t access your spare. Many vehicles, particularly trucks and SUVs, store their spare tire beneath the vehicle, secured by a lift mechanism. This mechanism, exposed to road grime, salt, and moisture, can corrode and seize up over time, rendering your spare inaccessible when you need it most.
Proactively addressing this often-overlooked component is a simple act of preventative maintenance that can save you a significant headache, and potentially a tow bill, down the line. The solution is straightforward: loosen and lubricate that corroded spare tire lift. This crucial step ensures that when a roadside emergency strikes, you’re not left stranded with an unreachable spare.
By regularly servicing your spare tire lift, you guarantee peace of mind. Taking a few minutes to clean and lubricate it means you’ll be able to quickly get to your spare tire when circumstances demand it. This small effort ensures you can handle unexpected flats with confidence, avoiding the frustration and expense of being unable to access a tire that’s literally right under your nose.
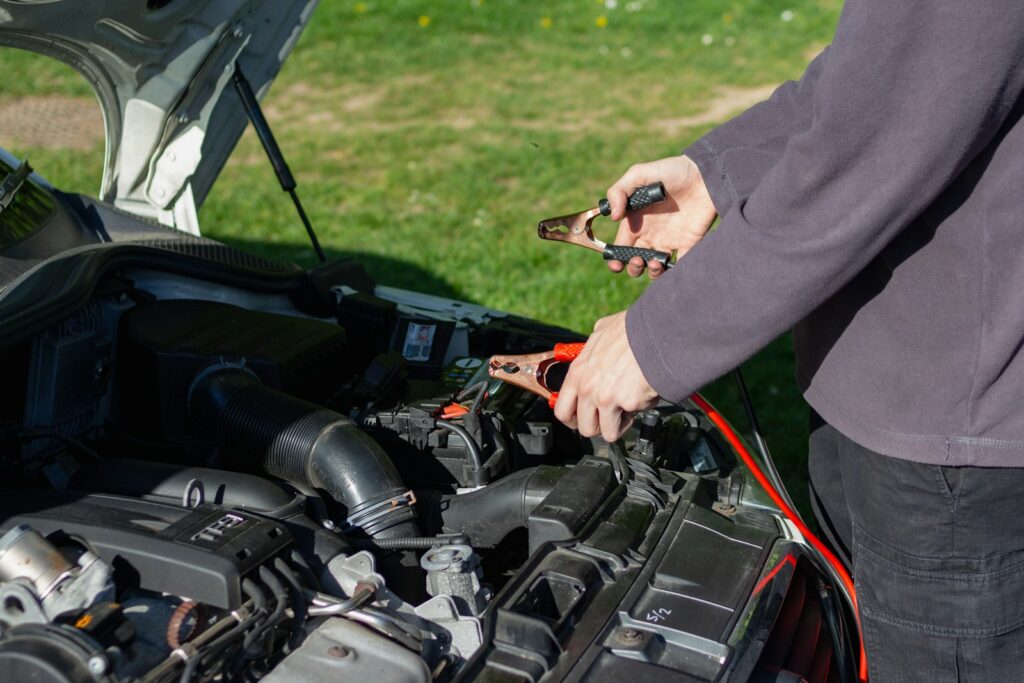
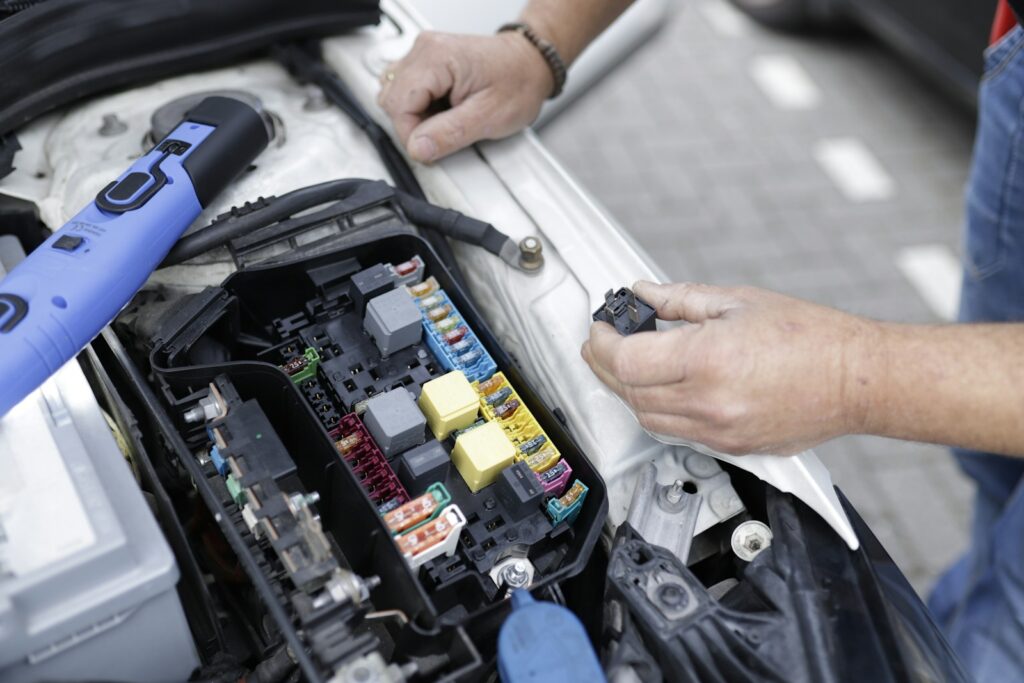
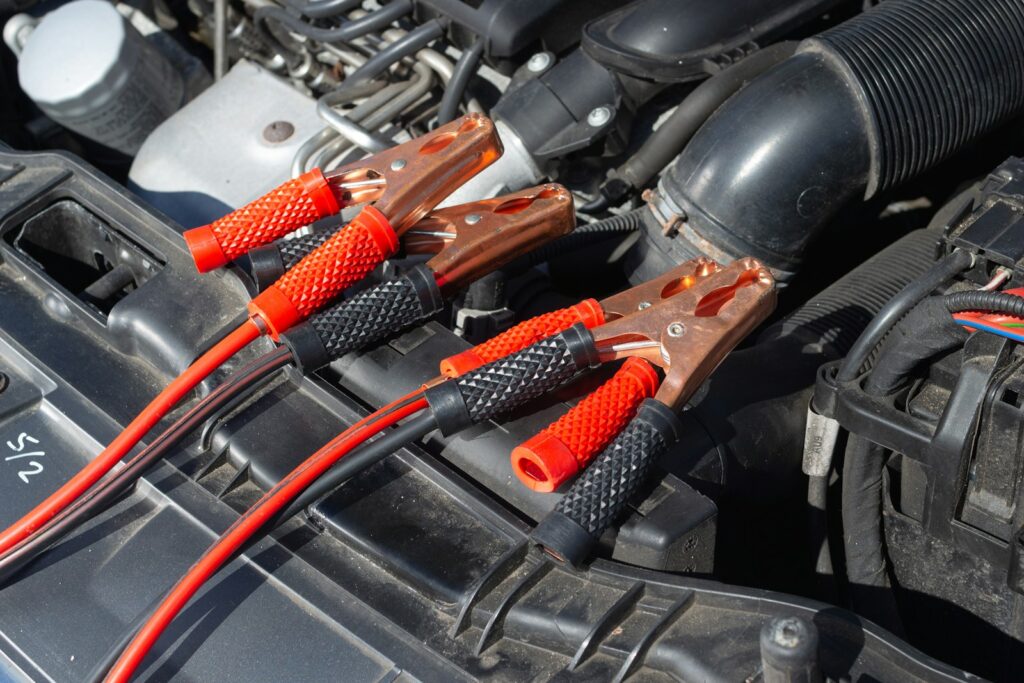
9. **Fix a Horn Problem**Your car’s horn isn’t just for expressing mild annoyance in traffic; it’s a vital safety feature. A non-functioning horn can be a serious hazard, preventing you from alerting other drivers or pedestrians to your presence in critical situations. Diagnosing a faulty horn might seem complex, but often, the fix is surprisingly simple and inexpensive, saving you from a costly trip to the service center.
To pinpoint the issue, you can use a simple fused jumper. This tool allows you to isolate different parts of the horn’s electrical circuit, helping to quickly identify where the problem lies. Whether it’s a bad fuse, a faulty relay, or a disconnected wire, this diagnostic approach transforms a daunting electrical problem into a manageable DIY task.
Once diagnosed, many horn problems can be resolved with minimal fuss. Learning how to fix a car horn yourself not only restores an essential safety device but also empowers you with practical automotive knowledge. It’s a satisfying repair that keeps you safer on the road without breaking the bank.
Read more about: Seriously Where Did They Go? 15 Automotive Features That Vanished (Or Should) From Our Dashboards

10. **Replace a Thermostat**When your car starts overheating or, conversely, fails to produce heat, one of the most common and often correctable culprits is a malfunctioning thermostat. This small, yet critical, component regulates your engine’s operating temperature, ensuring it runs efficiently and prevents damage from extreme temperatures. Replacing a car’s thermostat (or T-stat) is an easy and inexpensive repair that can often resolve these issues quickly.
In many cases, a new thermostat will cure an overheating or no-heat problem, sparing you the time and expense needed for expert diagnostics at a shop. Identifying and replacing a faulty thermostat yourself means you’re directly addressing the root cause without layers of labor costs. It’s a prime example of how a targeted DIY repair can deliver immediate and significant savings.
The process of replacing a thermostat involves draining some coolant, unbolting the thermostat housing, swapping out the old unit, and then refilling the coolant. While it requires attention to detail, it’s a mechanical task that most determined DIYers can accomplish. Learning all the steps to replace a thermostat empowers you to maintain your engine’s health and avoid more severe, costly repairs down the line.
Read more about: Is Your Electric Bill Giving You Nightmares? 14 Epic Ways to Slash Your Costs, Starting Today!

11. **Clean Your Air/Fuel Intake System**Does your vehicle suffer from a crummy idle or poor engine response when you accelerate? These symptoms often point to a buildup of soot and carbon within your engine’s air/fuel intake system. This accumulation can affect the valves, intake manifold, throttle body assembly, and even clog fuel injectors, all of which significantly hinder engine performance and fuel efficiency.
Professional shops typically charge $80 and up for a fuel induction cleaning service, a task many car owners mistakenly believe requires specialized equipment and expertise. However, you can achieve the same impressive results yourself in about 30 minutes with an affordable, readily available solution. A product like the 3M No. 08963 Do-It-Yourself Fuel System Tune-Up Kit, costing around $35, provides everything you need.
By performing this service yourself, you can restore your engine’s responsiveness and smooth idle, saving substantially on professional labor fees. The kit usually comes with instructional materials, guiding you through the process of blasting away crud and revitalizing your engine’s internal components. It’s a proactive maintenance step that ensures your engine breathes freely and performs at its peak, avoiding expensive diagnostics and repairs for issues stemming from a dirty fuel system.
Read more about: Buyer Beware: 15 Vintage Coupes That Rarely Make It Past 120,000 Miles Without Major Overhauls

12. **Change Your Spark Plugs**Spark plugs are tiny, yet mighty, components vital for your engine’s combustion process. They ignite the air-fuel mixture, and over time, they wear out, leading to reduced engine performance, poor fuel economy, and even misfires. Changing your spark plugs yourself is a fundamental maintenance task that maintains peak performance and high gas mileage, contributing significantly to your vehicle’s longevity.
In most cases, replacing spark plugs is a straightforward job, especially if you have the right tools. While a mechanic might charge for both parts and labor, tackling this task yourself drastically cuts down on expenses. You can easily find guides that walk you through how to replace spark plugs, making it an accessible project for most DIY enthusiasts.
Regularly inspecting and replacing your spark plugs according to your manufacturer’s recommendations is a simple yet impactful way to keep your engine running smoothly and efficiently. This prevents potential issues that could escalate into more complex engine problems, ultimately saving you money and extending the life of your car by ensuring proper ignition and combustion.
Read more about: The Top 14 Vehicles Built to Go the Distance: Your Guide to 350,000+ Mile Reliability

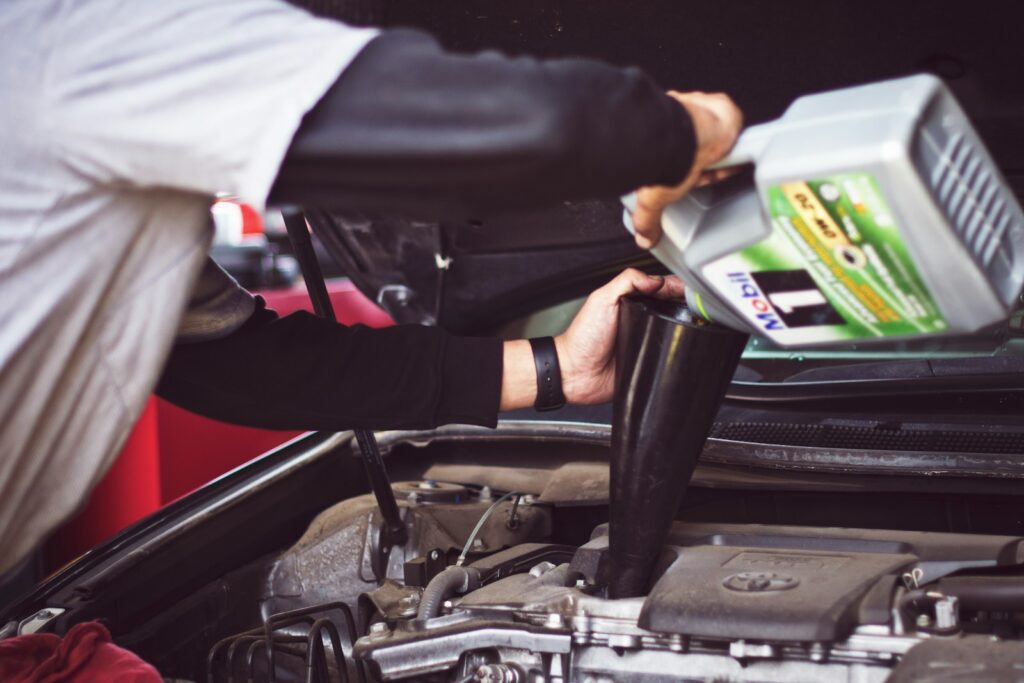
13. **Change Your Engine Coolant**Engine coolant, often simply called antifreeze, plays a critical role in regulating your engine’s temperature, preventing both overheating and freezing. Over time, coolant degrades, losing its protective properties and becoming less effective, which can lead to corrosion and serious engine damage. Changing your coolant yourself is a vital maintenance step that can be done in about an hour.
Many car owners outsource this task to mechanics, incurring labor costs that can add up over the vehicle’s lifespan. However, by investing in an air-powered refilling tool, which helps remove air pockets from the cooling system as you fill, you can perform this service professionally at home. This initial investment pays for itself quickly, saving you about $50 on your first coolant change and around $100 on each subsequent one.
The process involves draining the old, degraded coolant and then carefully refilling the system with fresh fluid. This ensures your engine maintains its optimal operating temperature, protecting crucial components from heat-related stress and corrosion. Learning how to change your engine coolant is an empowering skill that safeguards your engine’s health, extends its life, and keeps significant money in your wallet.
Proper coolant levels and quality are essential for preventing issues that could lead to head gasket failures or radiator damage, which are notoriously expensive repairs. Regular coolant changes are a small price to pay for such comprehensive engine protection.
Read more about: The Top 14 Vehicles Built to Go the Distance: Your Guide to 350,000+ Mile Reliability
14. **Swap Out Brake Fluid**Brake fluid is the lifeblood of your vehicle’s braking system, transmitting the force from your pedal to the wheels. Over time, brake fluid can absorb moisture, leading to a reduced boiling point and corrosion within the brake lines, compromising braking performance and safety. While some carmakers recommend replacement every two years or 24,000 miles, others don’t explicitly mention it, but testing is always a good idea.
You can easily test your brake fluid with inexpensive test strips. Simply dip a strip into the fluid and compare its color to the chart on the packaging to assess its condition. While a complete brake fluid flush often requires professional equipment, you can perform the next best thing yourself: a fluid swap, which introduces enough new fluid to make a significant difference in performance and safety.
This procedure involves using a baster to carefully suck out the old, dark brown brake fluid from the reservoir, then refilling it with fresh, light honey-colored fluid. It’s important to use a dedicated baster for brake fluid, as it is incompatible with power steering fluid. After refilling, drive the vehicle for about a week to allow the new fluid to mix with the old, then repeat the process several times until the fluid in the reservoir maintains its fresh appearance.
Performing this fluid swap regularly helps to mitigate the risks associated with contaminated brake fluid, such as spongy pedals or reduced stopping power. By taking this proactive measure, you enhance the longevity of your braking components and, more importantly, ensure your safety on the road, sidestepping potentially very expensive brake system overhauls. This simple, iterative process extends the life of your brake system and preserves vital stopping power.
Read more about: From Bold Concepts to Banned Relics: Unpacking 14 Bicycle Innovations That Rode the Line Between Genius and Gaffe

15. **Replace Your Cabin Air Filter**Often forgotten but crucial for your comfort and health, the cabin air filter prevents dust, pollen, and pollutants from entering your vehicle’s interior. A clogged cabin air filter not only degrades air quality inside your car but can also lead to more serious issues, such as damaging your car’s blower motor and forcing your AC system to work longer and harder, especially in warmer months.
Fortunately, accessing and replacing a cabin air filter is typically one of the easiest and quickest car maintenance tasks you can perform yourself. This simple DIY fix allows you to save about $30 on labor costs compared to having a shop do it. It’s a perfect example of a small, routine maintenance item that yields significant benefits for both your comfort and your vehicle’s mechanical health.
Replacement cabin air filters are readily available at any auto parts store; simply ask the clerk for installation instructions specific to your vehicle. In most late-model cars, the filter is located in the air ducts behind the glove box, though some manufacturers place them in the cowling or console area. The process generally involves removing access covers, sliding out the old filter, noting the airflow direction, installing the new one, and then reinstalling the covers.
By regularly replacing your cabin air filter, you ensure that you and your passengers breathe cleaner air, while also protecting your HVAC system from unnecessary strain. This minor investment of time and money prevents accelerated wear on components like the blower motor and keeps your climate control system operating efficiently, preventing future, much costlier repairs. It’s a straightforward step towards maintaining both passenger comfort and vehicle integrity.
Read more about: Read This First: 14 Popular Trucks and SUVs That Become Costly Money Pits Once They Hit 80,000 Miles
As we’ve journeyed through these 15 practical DIY car fixes, it’s clear that taking a hands-on approach to vehicle maintenance isn’t just about saving money; it’s about empowerment. From decoding engine lights to revitalizing critical fluid systems and ensuring overlooked components are in top shape, each task you tackle yourself builds confidence and a deeper understanding of your vehicle. You’re not just preventing repair bills; you’re actively investing in your car’s longevity, performance, and your own peace of mind on the road. So, roll up your sleeves, embrace the satisfaction of a job well done, and enjoy the substantial savings and enhanced driving experience that come with being your own car care expert.


