

For anyone who has ever struggled with tough, dry ribs, enduring hours of grilling only to find them stubbornly chewy, or for those simply aspiring to elevate their backyard barbecue to legendary status, prepare yourselves for a culinary revelation!
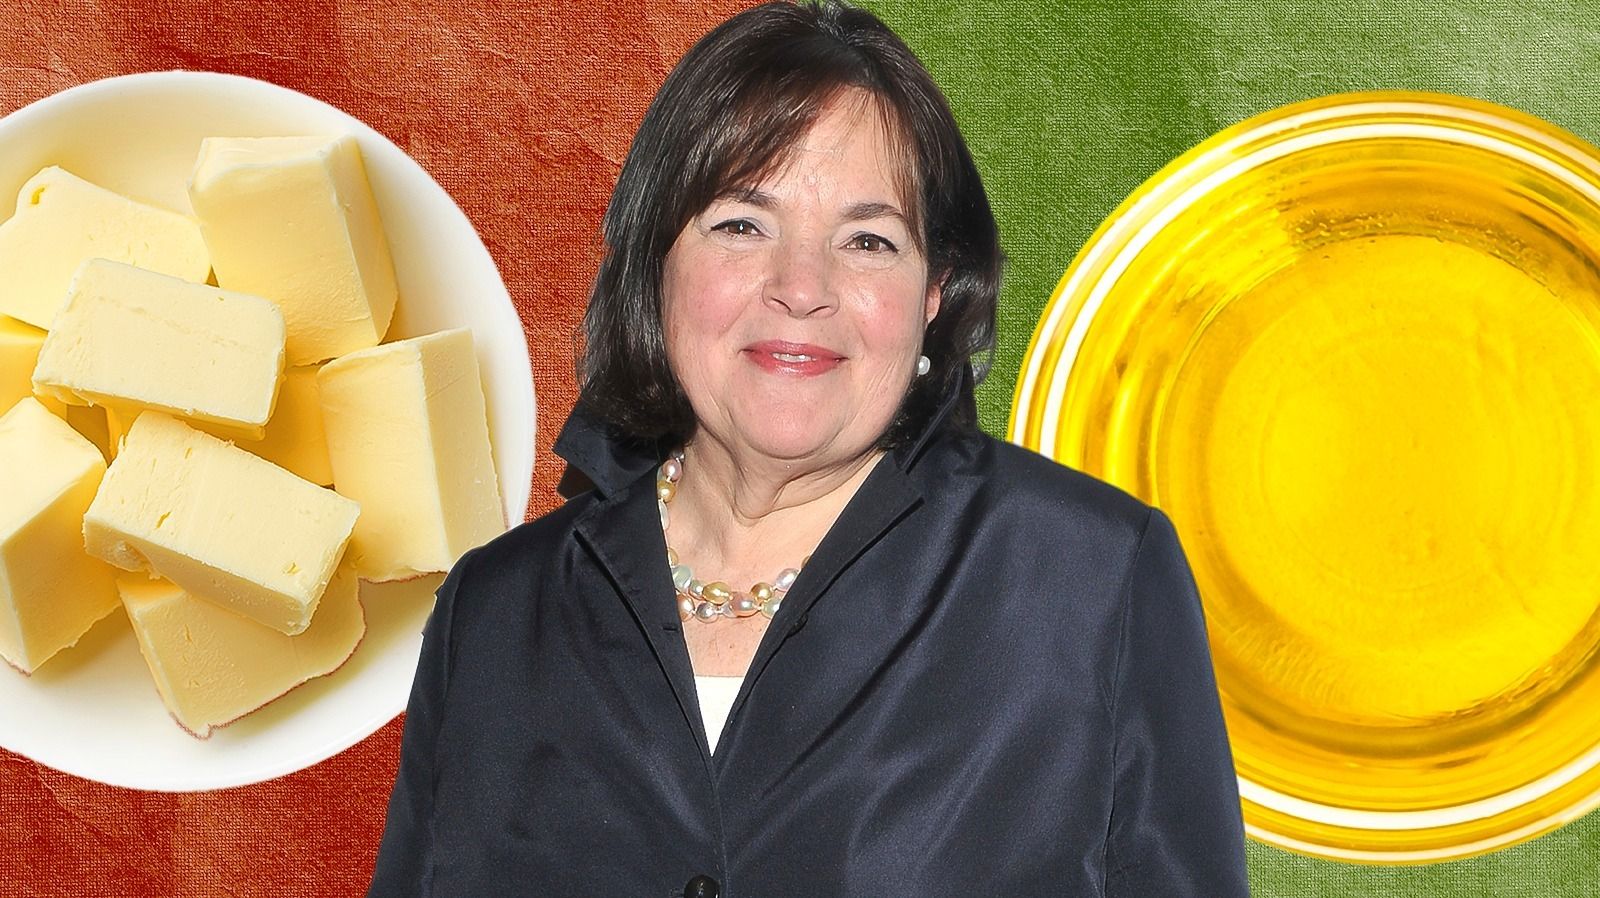
The renowned Barefoot Contessa herself, Ina Garten, has generously disclosed a foolproof method that promises to transform your rib-making journey forever. This is not merely a recipe; it is a profound hack, a secret weapon in your kitchen arsenal that ensures every single rib emerges from your kitchen astonishingly tender, bursting with flavor, and utterly fall-apart delicious. It is an approach so brilliantly simple that you will wonder how you ever attempted to cook ribs any other way.
Ina Garten’s name is synonymous with elegance, ease, and, most importantly, impeccable results in the kitchen. Her philosophy centers on demystifying gourmet cooking, making it accessible and enjoyable for home chefs of all skill levels. This particular rib technique is a shining example of her genius, perfectly embodying her commitment to simplifying complex-tasting dishes without ever compromising on quality or flavor. It is about crafting a meal that feels both effortless to prepare and spectacularly indulgent to eat, especially when gathering loved ones for special occasions like Father’s Day. Her ability to deliver foolproof results has earned her a devoted following, and this recipe is a testament to that.
The true “secret,” as Ina playfully refers to it, lies in a revolutionary two-step cooking process that meticulously combines the gentle, consistent heat of your oven with the quick, fiery kiss of the grill. This is not merely a cooking sequence; it is a strategic culinary dance designed to address the inherent challenges of preparing perfect ribs. While many traditional grilling methods might trap you in a never-ending battle with open flames, often resulting in frustratingly charred exteriors and stubbornly chewy, undercooked interiors, Garten’s method elegantly bypasses these common pitfalls. It is a genuine game-changer for anyone who has experienced the all-too-common disappointment of “incinerated” ribs.
“The secret to making perfect ribs is that I actually roast them in the oven first until they are tender and delicious, then add more BBQ sauce and sear them quickly on the grill to get that delicious smoky flavor going,” Ina Garten candidly shared in an Instagram caption, succinctly encapsulating the very heart of her brilliant technique. This seemingly simple declaration holds the key to unlocking unparalleled succulence and a depth of flavor that traditional grilling alone simply cannot achieve. It is an ingenious fusion of cooking environments, each contributing its unique strengths to produce ribs that are both incredibly tender and exquisitely smoky.
So, why does this two-step approach work with such remarkable effectiveness? The answer lies in the fundamental principles of cooking tougher cuts of meat and mastering heat management. Ribs, inherently rich in connective tissues, demand a significant period of cooking at a lower, more consistent temperature to truly break down those resilient fibers. This is precisely where the oven becomes an indispensable ally. Roasting the ribs indoors provides a stable, moist heat environment, allowing the meat to gradually, patiently tenderize without the risk of drying out or charring prematurely.
Imagine the sheer peace of mind you will experience, knowing your ribs are slowly and perfectly tenderizing in the oven, liberated from the constant vigilance required by an open grill. This crucial initial phase ensures that the meat achieves that sublime, almost gravity-defying “fall off the bone” texture long before it even approaches the high heat of the barbecue. It is a foundational step that builds the very core of tenderness, a characteristic notoriously challenging to attain through grilling alone. The oven, in essence, performs the arduous, long-duration task, preparing the ribs for their grand, flavorful finale.
Consider the all-too-familiar scenario of attempting to cook ribs solely on the grill. Direct, intense heat, while superb at creating beautiful grill marks and imparting a smoky essence, is decidedly suboptimal for the lengthy tenderization process that ribs demand. Attempting to cook ribs until truly tender exclusively on the grill often leads to an unfortunate outcome: the exteriors become overcooked and unappetizingly dry long before the interior meat has had a chance to become succulent. This frequently results in the “burnt to a crisp” and “nothing left” scenario that Ina Garten so vividly describes, leaving only culinary disappointment in its wake. Her brilliant method deftly sidesteps this common culinary hurdle entirely, guaranteeing a consistently tender result.
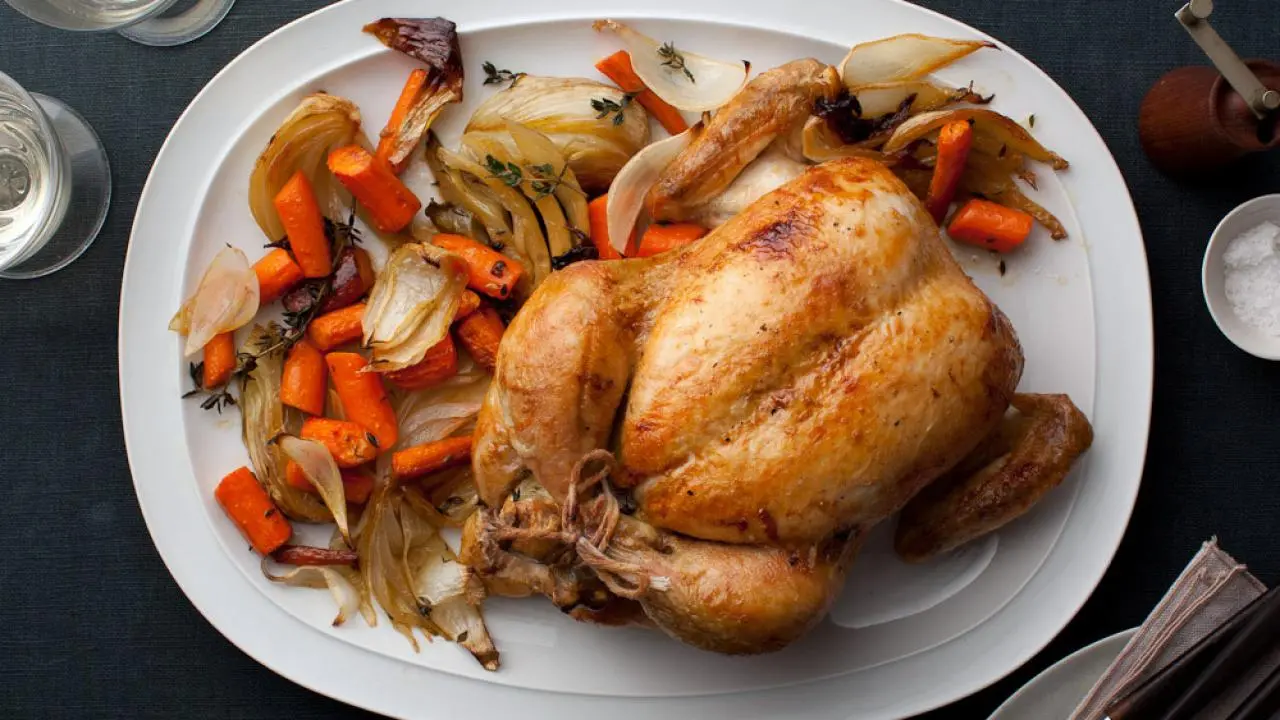
Perfect Roast Chicken
Ingredients
Equipment
Method
- Preheat the oven to 425 degrees F.
- Remove the chicken giblets. Rinse the chicken inside and out. Remove any excess fat and leftover pin feathers and pat the outside dry. Liberally salt and pepper the inside of the chicken. Stuff the cavity with the bunch of thyme, both halves of lemon, and all the garlic. Brush the outside of the chicken with the butter and sprinkle again with salt and pepper. Tie the legs together with kitchen string and tuck the wing tips under the body of the chicken. Place the onions, carrots, and fennel in a roasting pan. Toss with salt, pepper, 20 sprigs of thyme, and olive oil. Spread around the bottom of the roasting pan and place the chicken on top.
- Roast the chicken for 1 1/2 hours, or until the juices run clear when you cut between a leg and thigh. Remove the chicken and vegetables to a platter and cover with aluminum foil for about 20 minutes. Slice the chicken onto a platter and serve it with the vegetables.
Notes
Read more about: The Great BBQ Blunder: How to Turn an Empty Grill into a Feast (and Save Face)
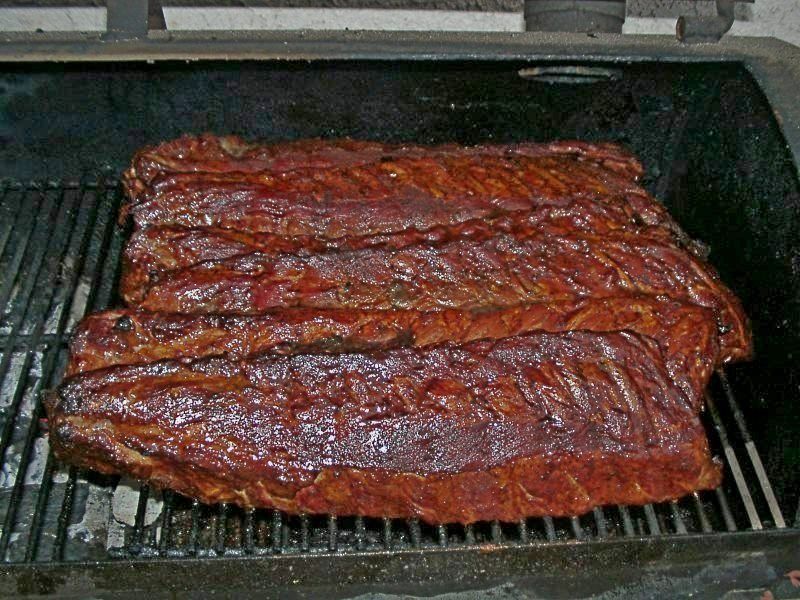
In her pursuit of the ideal rib, Ina Garten offers precise guidance on the type of ribs to choose, while also providing reassuring flexibility. She explicitly states to Food Network that “St. Louis Style ribs are her preference,” acknowledging their unique attributes; yet she readily adds that “baby back ribs work well, too.” This invaluable insight empowers home cooks to select based on availability or personal preference, knowing that both options will yield fantastic results when following her esteemed method. It underscores her philosophy of making gourmet cooking genuinely approachable for everyone.
Baby back ribs, according to the culinary experts at The Kitchn, are particularly “in greater demand because of their tender and lean meat quality.” These ribs, cut from the upper rib cage, are typically shorter and curvier, and are prized for their delicate texture and tendency to cook relatively quickly. While they might be perceived as more “expensive,” their enduring popularity among discerning diners speaks volumes about their inherent appeal, especially for those who favor a leaner, finer – textured rib experience. Their tender qualities marry beautifully with Ina’s gentle oven cook.
Conversely, Garten’s preferred St. Louis Style ribs offer a distinctly different, yet equally appealing, experience. According to Tender Belly, these cuts are notably “meatier” because “they come from underneath the hog’s belly,” specifically from the lower portion of the rib cage. This results in a flatter, more rectangular slab of meat, which is generously laced with rich marbling. Critically, they also “contain a high amount of bone and fat, making them juicy and flavorful.” This abundant fat content renders down exquisitely during the extended oven – cooking phase, contributing significantly to the unparalleled juiciness and profound, savory taste of the final dish.
Regardless of your chosen rib cut, the initial preparation for the critical oven cook is wonderfully straightforward, perfectly embodying Garten’s unwavering commitment to culinary simplicity. The first essential step involves seasoning the ribs liberally with “salt and pepper.” This fundamental seasoning isn’t just about adding flavor; it’s about amplifying the meat’s natural richness, providing a robust foundation upon which the layers of barbecue sauce will build. It serves as a powerful reminder that often, the most basic and intuitive steps are the ones that yield the most profound and delicious results.
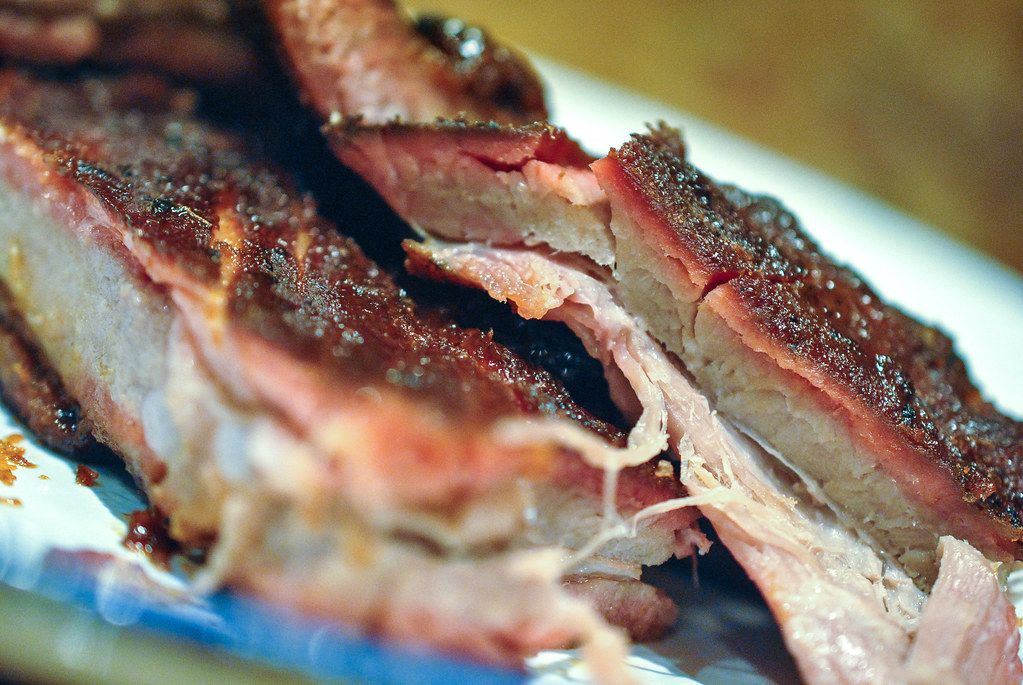
Barbecue St. Louis Pork Ribs
Ingredients
Equipment
Method
- Set a smoker to 225 degrees F.
- Combine the paprika, black peppercorns, coriander seeds, cumin seeds, garlic powder, onion powder, nutmeg and cayenne in a spice grinder. Process until a fine powder is formed, approximately 30 seconds.
- Pat the ribs dry and turn bone-side up. Trim excess fat and, if one end of the ribs is especially narrow, trim meat and bone to ensure even cooking. Remove the membrane on the underside of the ribs by inserting a rounded utensil, an upside-down spoon works well, between the membrane and the meat at one end of the slab. Carefully work the spoon under the membrane to loosen but not tear. Once enough has been loosened, use a paper towel to hold onto the membrane as you slowly pull it down the slab to remove.
- Sprinkle the ribs on both sides with the salt and brush both sides with the mustard. Sprinkle two-thirds of the spice mixture on the meat side of the ribs and the remaining third on the bone side.
- Once the smoker has reached 225 degrees F, add the wood chips or chunks and the ribs to the smoker.
- Smoke for 4 to 5 hours then test for doneness. There are four criteria that should be met in order for ribs to be done. First, the internal temperature of the meat should be 185 to 190 degrees F. Second, pick up each slab from the center with tongs and it should droop into a u-shape and crack slightly. Third, while holding with the tongs, and bouncing gently, the surface of the ribs should crack slightly. Lastly, the meat should pull easily off the bone but not fall off. If ribs pass all tests, remove them from the smoker and wrap in heavy-duty foil and rest for 15 minutes. If not, continue smoking for 45 minutes to 1 hour and test again until done.
Notes
Read more about: Britney Spears: Unpacking the Unbreakable Spirit of Pop’s Enduring Princess Through Her Rollercoaster Journey
Following the initial seasoning, the ribs receive their first, generous application of Ina’s signature barbecue sauce. This isn’t merely a decorative glaze; it is an integral component of the initial cooking process. “Spoon barbecue sauce on now before they go in the oven, and then I will spoon more on when they come out of the oven,” she instructs with her characteristic clarity. This strategic double – application ensures that the deep, tangy, and sweet flavors of the sauce are given ample opportunity to penetrate deeply into the meat as it slowly tenderizes in the oven, infusing every bite with rich barbecue essence.
After the ribs are seasoned and thoroughly sauced, they are “loosely covered… with foil.” This seemingly simple act is, in fact, absolutely crucial for the success of Garten’s method. The foil effectively creates a self – contained, steamy environment within the oven, essentially allowing the ribs to braise gently in their own rendered juices and the rich barbecue sauce. This trapped moisture is the primary mechanism behind achieving that signature fall – apart tenderness, preventing the ribs from drying out and ensuring that the heat distributes evenly, leading to uniformly succulent meat throughout.
The precise oven temperature and cooking duration are meticulously outlined, forming the bedrock of Ina Garten’s foolproof technique. She directs that the seasoned and sauced ribs be placed in the oven “at 350°F.” This moderate temperature is ideally calibrated for the slow, gentle cooking required to systematically break down the tough muscle fibers within the ribs without any risk of scorching or toughening the exterior. It is a temperature designed to foster profound tenderness, allowing the resilient connective tissues to gradually transform into luscious gelatin, resulting in that coveted, melt – in – your – mouth texture that defines truly perfect ribs.
Neely's BBQ Sauce
Ingredients
Equipment
Method
- In a medium saucepan, combine all ingredients. Bring mixture to a boil, reduce heat to simmer. Cook uncovered, stirring frequently, for 1 hour 15 minutes.
Notes
Read more about: Unlocking Asia’s Street Food Secrets: 14 Iconic Bites You Can Master in Your Own Kitchen
For the leaner baby back ribs, the recommended baking time is specified as “about an hour and a half at 350°F.” If your preference leans towards the meatier St. Louis ribs, the cooking duration extends slightly, requiring “1 ¾ hours for St. Louis ribs.” These specific timeframes are carefully determined to ensure that the ribs reach their optimal point of tenderness in the oven, becoming genuinely “tender and delicious” and effortlessly “falling apart” long before they ever encounter the intense heat of the grill. This meticulous pre – cooking phase is, without question, the cornerstone of their exquisite, luscious texture.
As the ribs undergo their transformation in the oven, a remarkable culinary metamorphosis unfolds. The consistent, enveloping heat diligently works to render down the marbling of fat and expertly break down the collagen inherent within the meat fibers. This is the precise reason why the ribs emerge from the oven so unbelievably tender, allowing them to literally detach from the bone with the slightest encouragement. The delightful comment from user @cafes_and_croque_monsieur, exclaiming, “melt in your mouth tender!!!”, perfectly captures the sublime outcome of this critical initial slow cook, truly highlighting its unparalleled success.
The inherent genius of Ina Garten’s method lies not only in its effectiveness but also in its remarkable efficiency. By front – loading the tenderizing process entirely within the controlled environment of the oven, the subsequent grilling phase is transformed from a protracted battle with raw meat into a swift, joyous finishing touch. “So the ribs are perfectly cooked; now I just want to char them on the grill so that you get all that great barbecue flavor,” Ina elucidates, underscoring that the oven has already performed the laborious heavy lifting. The grill’s role is thus elevated: it is solely responsible for imparting that irresistible smoky char and for caramelizing the second layer of applied barbecue sauce, creating a sticky, glistening, and utterly irresistible crust.
Who Loves Ya Baby-Back?
Ingredients
Equipment
Method
- Preheat oven to 250 degrees.
- In a bowl, combine all dry ingredients and mix well. Place each slab of baby back ribs on a piece of heavy-duty aluminum foil, shiny side down. Sprinkle each side generously with the dry rub. Pat the dry rub into the meat. Refrigerate the ribs for a minimum of 1 hour. In a microwavable container, combine all ingredients for the braising liquid. Microwave on high for 1 minute.
- Place the ribs on a baking sheet. Open one end of the foil on each slab and pour half of the braising liquid into each foil packet. Tilt the baking sheet in order to equally distribute the braising liquid. Braise the ribs in the oven for 2 1/2 hours.
- Transfer the braising liquid into a medium saucepot. Bring the liquid to a simmer and reduce by half or until of a thick syrup consistency. Brush the glaze onto the ribs. Place under the broiler just until the glaze caramelizes lightly. Slice each slab into 2 rib bone portions. Place the remaining hot glaze into a bowl and toss the rib portions in the glaze.
Notes
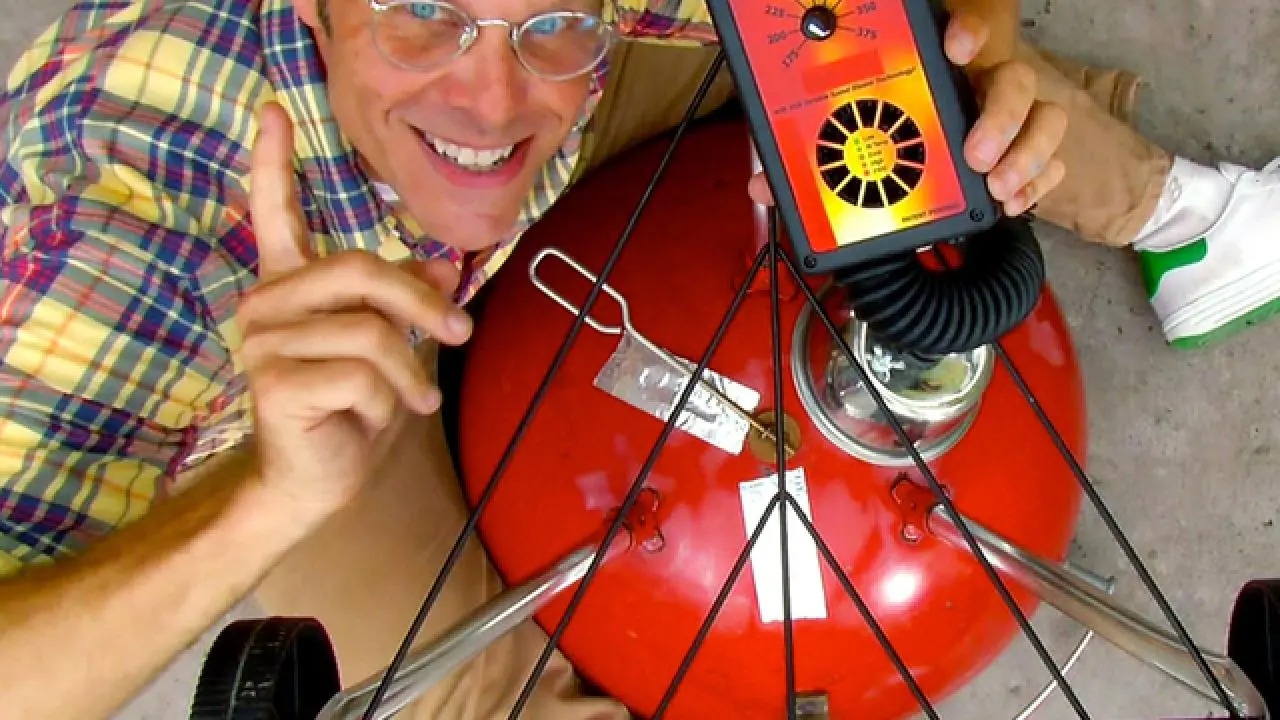
Read more about: Mastering the Flame: A Comprehensive Scientific Guide to Unlocking Grilling Perfection
One enthusiastic user, @mom22tots, further underscored the method’s simplicity and undeniable efficacy by sharing a comprehensive, step – by – step summary of their own successful experience, which perfectly aligns with Garten’s principles. “Best ribs hands down—season the night before with dry rib seasoning—no one wants bland meat. Next day, bake for approximately 45 minutes to 1 hour, finish on the BBQ with an extra sprinkle of dry rub seasoning, baste with BBQ sauce—perfection!” While Ina’s core technique champions baking over boiling or steaming, the essence of the slow, gentle cook followed by a quick, high – heat finish is clearly a widely appreciated and triumphant approach among her devoted fanbase. This further validates the brilliance of her foundational strategy.
Therefore, this initial oven roast is far more than just a preliminary step; it stands as the veritable cornerstone of Ina Garten’s acclaimed foolproof rib recipe. It represents a strategic and brilliantly executed culinary maneuver that unequivocally guarantees succulent, tender meat with every single attempt, effectively eliminating the guesswork and the typical anxieties so often associated with grilling ribs. It is a powerful testament to her unwavering philosophy of achieving expert – level results through inherently approachable, meticulously thought – out culinary techniques. When these exquisitely tenderized ribs gracefully emerge from the warmth of the oven, they are in their absolute prime, perfectly poised for their fiery, flavorful finish, eagerly awaiting that defining smoky char that elevates them to classic barbecue perfection. The most challenging aspect, the tenderizing, has already been mastered, leaving only the joyous, swift final touches.
After the gentle embrace of the oven, your ribs emerge transformed—tender beyond belief, almost begging to fall from the bone. This is the magical halfway point, where the foundational work of achieving unparalleled succulence has been meticulously laid. The oven, our quiet hero, has done the heavy lifting, patiently breaking down those tough connective tissues and infusing the meat with deep, foundational flavor. Now, it is time for the grill to step into the spotlight, not to cook, but to perform its vital finishing act: imbuing these already magnificent ribs with that irresistible smoky char, distinct grill marks, and the perfect caramelized stickiness that defines true barbecue perfection.
Best Barbecue Ribs Ever
Ingredients
Equipment
Method
- Combine the brown sugar, chili powder, 1 tablespoon salt, 1 teaspoon black pepper, the oregano, cayenne, garlic powder and onion powder in a small bowl and rub the mixture on both sides of the ribs. Cover and refrigerate 1 hour or overnight.
- Preheat the oven to 250 degrees F. In a roasting pan, combine the broth and vinegar. Add the ribs to the pan. Cover with foil and tightly seal. Bake 2 hours. Remove the ribs from the pan and place them on a platter. Pour the liquid from the pan into a saucepan and bring to a boil. Lower the heat to a simmer and cook until reduced by half. Add the barbecue sauce.
- Preheat an outdoor grill to medium high. Put the ribs on the grill and cook about 5 minutes on each side, until browned and slightly charred. Cut the ribs between the bones and toss them in a large bowl with the sauce. Serve hot.
Notes

This transition from the controlled warmth of the oven to the fiery kiss of the grill is where Ina Garten’s genius truly shines. It eliminates the constant guesswork and the potential for disaster that are often associated with traditional, long – duration grilling. Instead of battling with raw, stubborn meat over unpredictable flames for hours, you are now engaging in a swift, confident dance, a final flourish that takes mere minutes. Your focus shifts from ensuring doneness to layering on that quintessential barbecue flavor and achieving a glorious exterior, knowing full well that the interior is already melt – in – your – mouth tender. This method beautifully marries efficiency with exceptional taste, guaranteeing a result that tastes as if you’ve been slaving over a hot grill all day, without actually having to do so.
Before those perfectly tenderized ribs even touch the grates, there is a crucial step: preparing your barbecue sauce for its second, and arguably most important, act. Remember that generous initial application of sauce before the oven? Now, as the ribs come out, glistening and incredibly pliable, it is time for more barbecue sauce. Ina Garten, with her characteristic clarity, instructs, “Spoon barbecue sauce on now before they go in the oven, and then I’m going to spoon more on when they come out of the oven.” This second coating is absolutely essential. It is what will caramelize beautifully on the grill, creating that sticky, slightly charred crust that is bursting with sweet, tangy, and savory notes, sealing in all that incredible flavor and adding a depth of character that only high heat can impart.
Now, let’s talk about setting the stage for this flavorful finale: your grill. Whether you are a charcoal aficionado or a gas grill enthusiast, Ina’s method gracefully accommodates both. If you are opting for the classic smoky appeal of charcoal, the key is to heat your grill until you have an even layer of hot coals. This ensures consistent heat distribution and that unmistakable smoky essence that charcoal imparts, wrapping your ribs in an authentic BBQ aroma. For gas grillers, simply preheat your grill to a medium – high setting, allowing the grates to get adequately hot for that perfect sear. Regardless of your chosen heat source, remember a timeless grilling tip: always brush your cooking grate with a little oil to prevent any precious rib meat or sticky sauce from adhering, ensuring a clean flip and those picture – perfect grill marks that scream “barbecue master.”
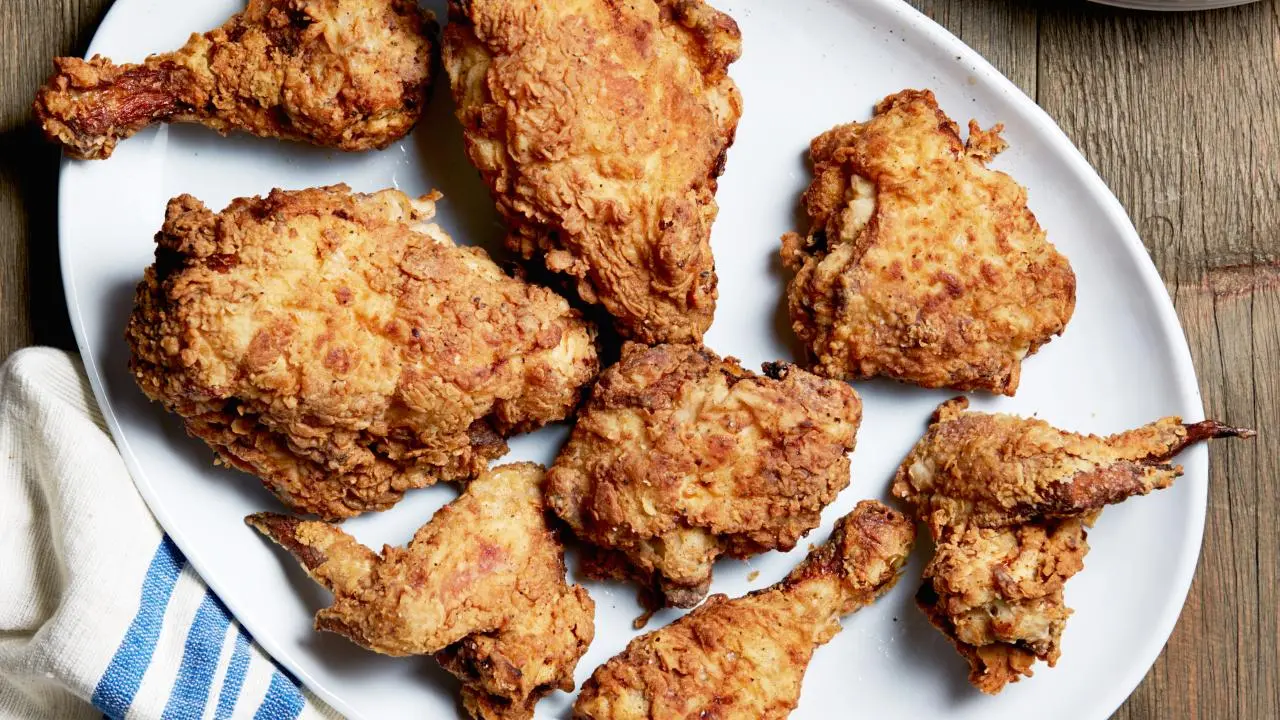
Oven-Fried Chicken
Ingredients
Equipment
Method
- Place the chicken pieces in a large bowl and pour the buttermilk over them. Cover with plastic wrap and refrigerate overnight.
- Preheat the oven to 350 degrees F.
- Combine the flour, salt, and pepper in a large bowl. Take the chicken out of the buttermilk and coat each piece thoroughly with the flour mixture. Pour the oil into a large heavy-bottomed stockpot to a depth of 1-inch and heat to 360 degrees F on a thermometer.
- Working in batches, carefully place several pieces of chicken in the oil and fry for about 3 minutes on each side until the coating is a light golden brown (it will continue to brown in the oven). Don't crowd the pieces. Remove the chicken from the oil and place each piece on a metal baking rack set on a sheet pan. Allow the oil to return to 360 degrees F before frying the next batch. When all the chicken is fried, bake for 30 to 40 minutes, until the chicken is no longer pink inside. Serve hot.
Notes
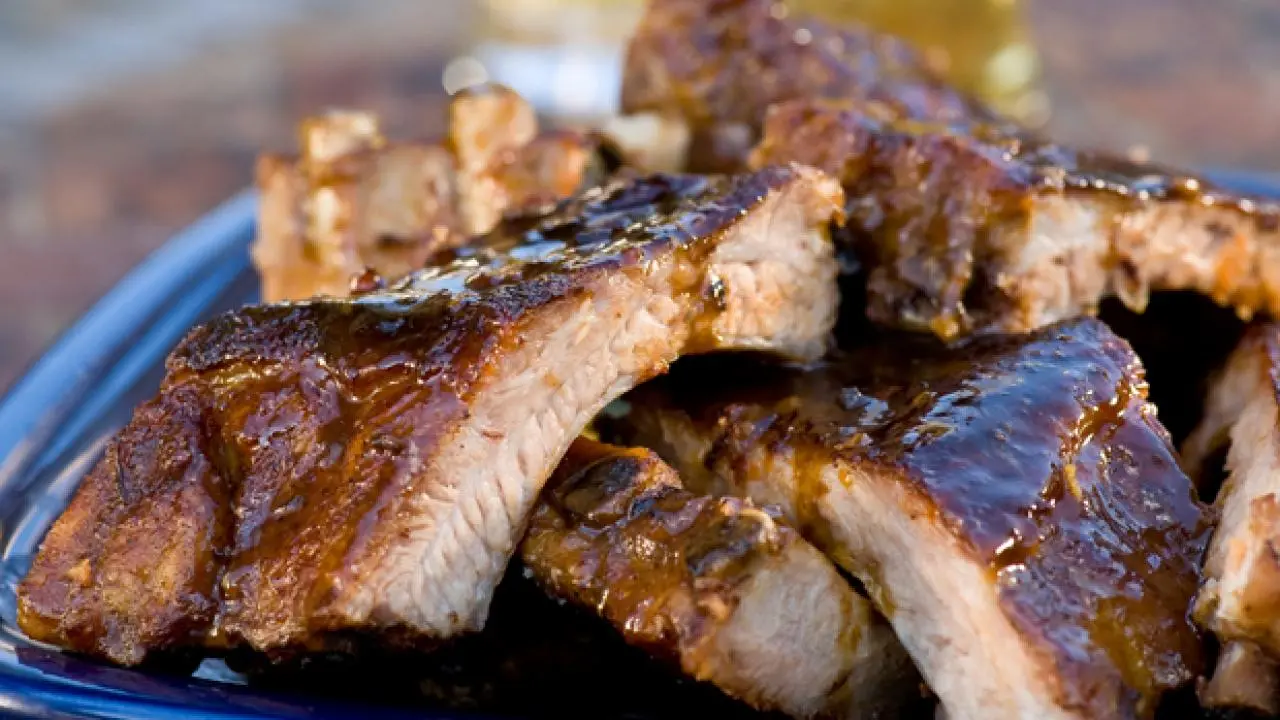
With your grill hot and ready, it is showtime! Gently place the sauced ribs directly onto the hot grates, with the meat – side down. This direct contact with the heat allows for an immediate sizzle and the beginning of the caramelization process, forming a delicious crust. The magic happens swiftly here, so stay close! Ina suggests grilling for “5 minutes on each side until the sauce becomes sticky.” If you are using a charcoal grill, placing the lid on with the vents open during these short bursts helps to intensify the smoky char, enveloping the ribs in a wonderfully aromatic cloud that permeates their surface, creating a truly irresistible exterior.
As the seconds tick by, you will witness a remarkable transformation. The barbecue sauce will begin to bubble, thicken, and transform into a luscious, glistening lacquer that coats every inch of the ribs. The signature sticky texture starts to develop, and the subtle yet distinct char marks begin to appear, adding visual appeal and a depth of smoky flavor that can only come from direct flame. This brief, intense heat is precisely what takes these already delicious, tender ribs and elevates them to true barbecue masterpieces, with the coveted crisp exterior contrasting beautifully with the fall – apart interior. Every flip is a step closer to a culinary triumph.
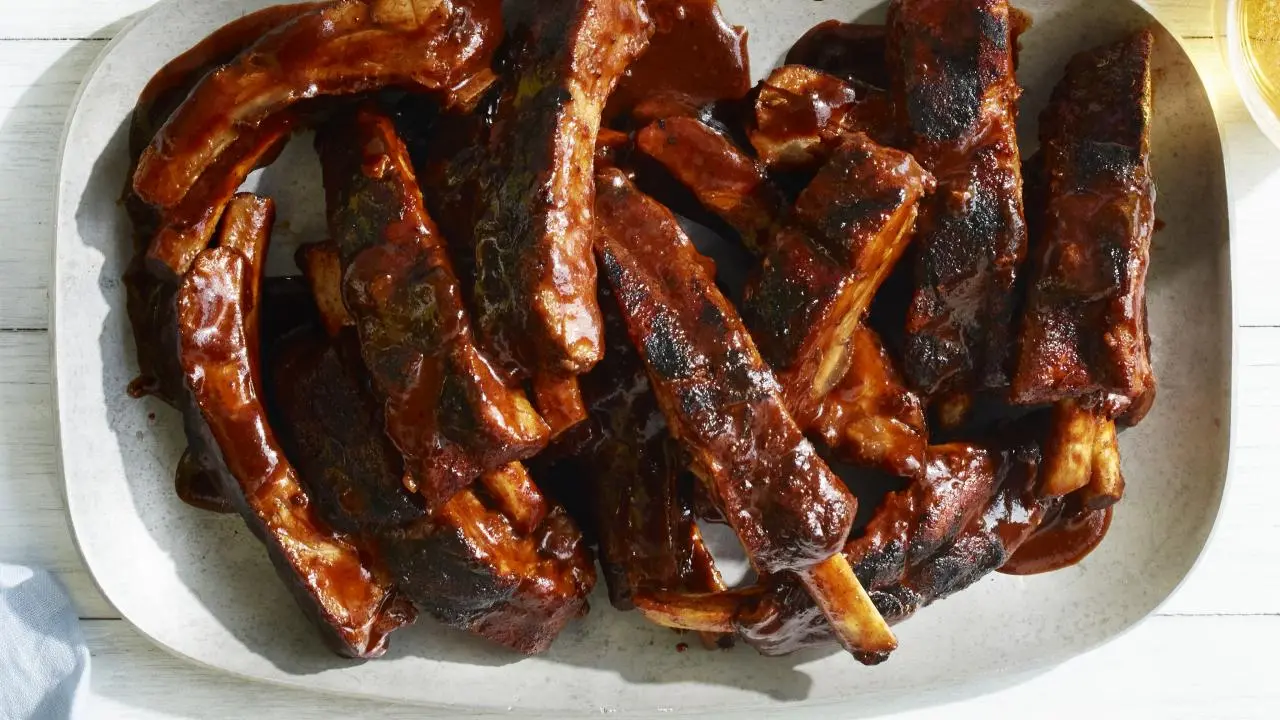
Once both sides have had their glorious five – minute dance on the grill, achieving the perfect char and sticky sauce, it is time for the final, often overlooked, step: resting. Transfer the exquisitely grilled ribs to a cutting board and cover them loosely with foil for about ten minutes. This resting period is not just a suggestion; it is a vital part of the process. It allows the meat’s juices, which have been drawn to the surface by the heat, to redistribute evenly throughout the ribs, ensuring that every bite is as moist and flavorful as possible. The result? Even juicier, more succulent ribs that retain all their flavorful integrity when you slice into them, rather than losing precious moisture to the cutting board.
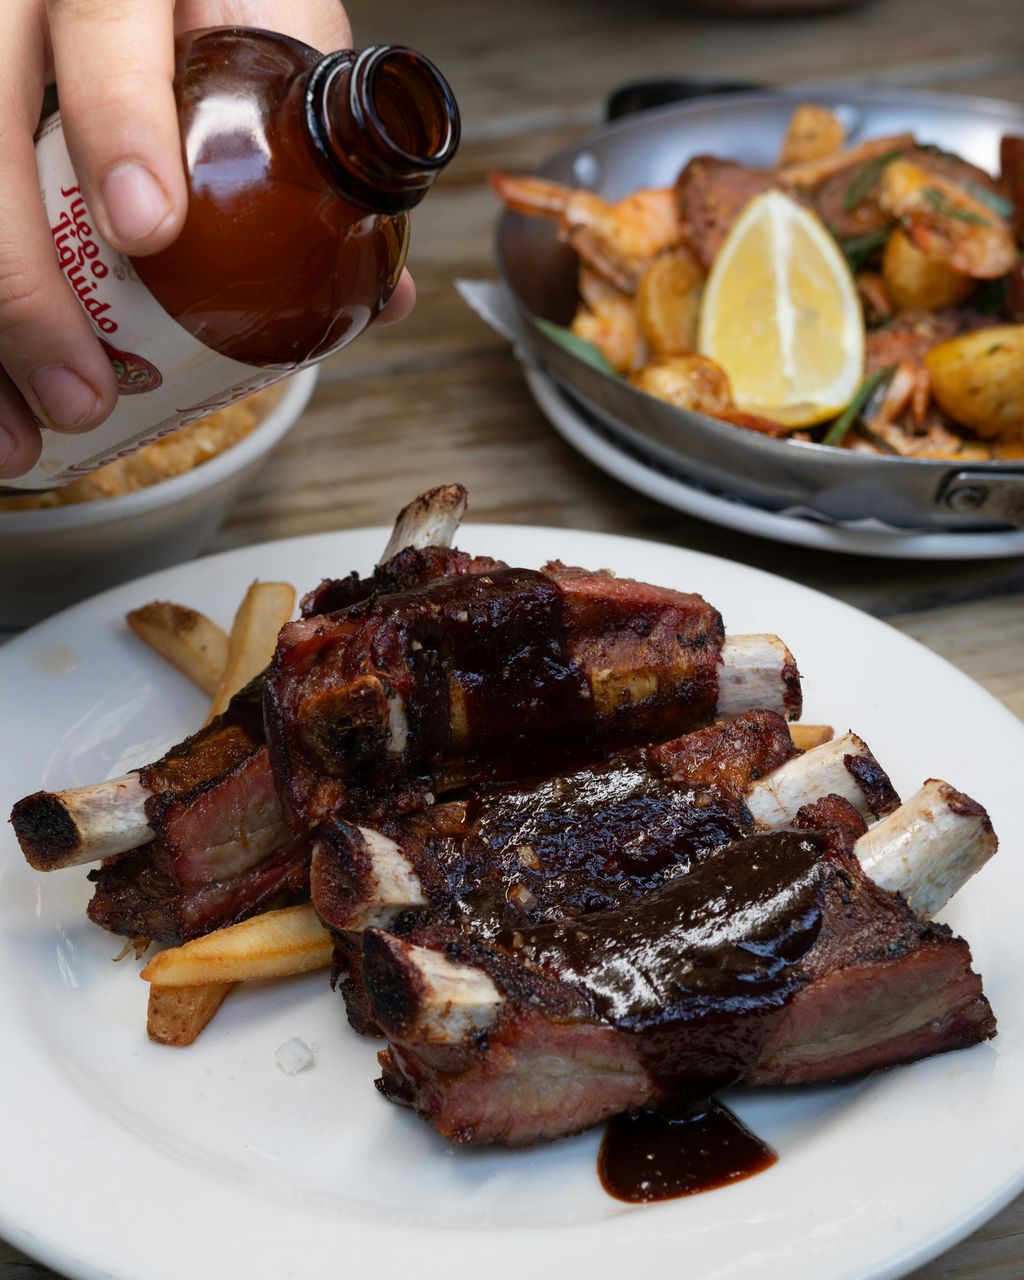
And speaking of slicing, once rested, it is time to carve and serve. The meat will literally melt off the bone with the slightest encouragement, a testament to the oven’s patient work, beautifully complemented by the smoky, caramelized crust from the grill. The combination of textures and flavors—the incredibly tender interior, the perfectly sticky exterior, the rich, deeply infused barbecue sauce, and the unmistakable kiss of smoke—is simply divine. It is a sensory feast that delivers on every promise of “barbecue perfection,” making it an unforgettable centerpiece for any gathering, from Father’s Day feasts to casual backyard get – togethers.
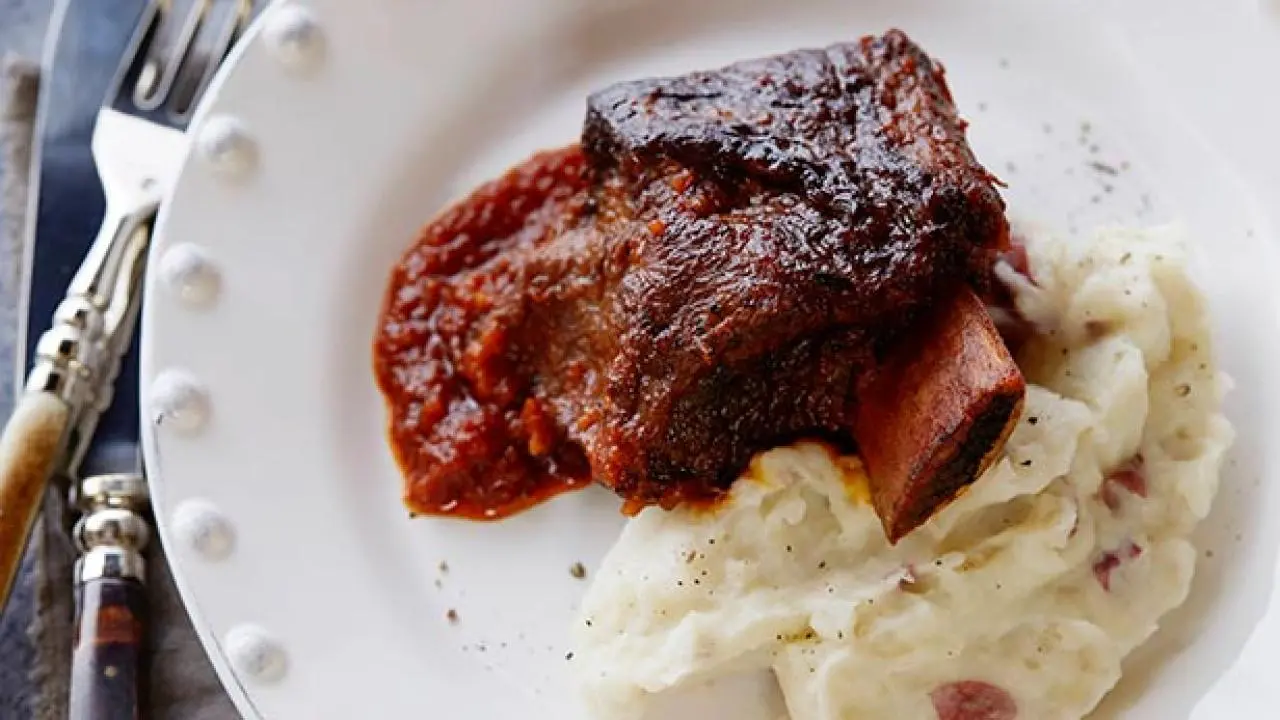
Braised Short Ribs
Ingredients
Equipment
Method
- Season each short rib generously with salt. Coat a pot large enough to accommodate all the meat and vegetables with olive oil and bring to a high heat. Add the short ribs to the pan and brown very well, about 2 to 3 minutes per side. Do not overcrowd pan. Cook in batches, if necessary.
- Preheat the oven to 375 degrees F.
- While the short ribs are browning, puree all the vegetables and garlic in the food processor until it forms a coarse paste. When the short ribs are very brown on all sides, remove them from the pan. Drain the fat, coat the bottom of same pan with fresh oil and add the pureed vegetables. Season the vegetables generously with salt and brown until they are very dark and a crud has formed on the bottom of the pan, approximately 5 to 7 minutes. Scrape the crud and let it reform. Scrape the crud again and add the tomato paste. Brown the tomato paste for 4 to 5 minutes. Add the wine and scrape the bottom of the pan. Lower the heat if things start to burn. Reduce the mixture by half.
- Return the short ribs to the pan and add 2 cups water or until the water has just about covered the meat. Add the thyme bundle and bay leaves. Cover the pan and place in the preheated oven for 3 hours. Check periodically during the cooking process and add more water, if needed. Turn the ribs over halfway through the cooking time. Remove the lid during the last 20 minutes of cooking to let things get nice and brown and to let the sauce reduce. When done the meat should be very tender but not falling apart. Serve with the braising liquid.
Notes
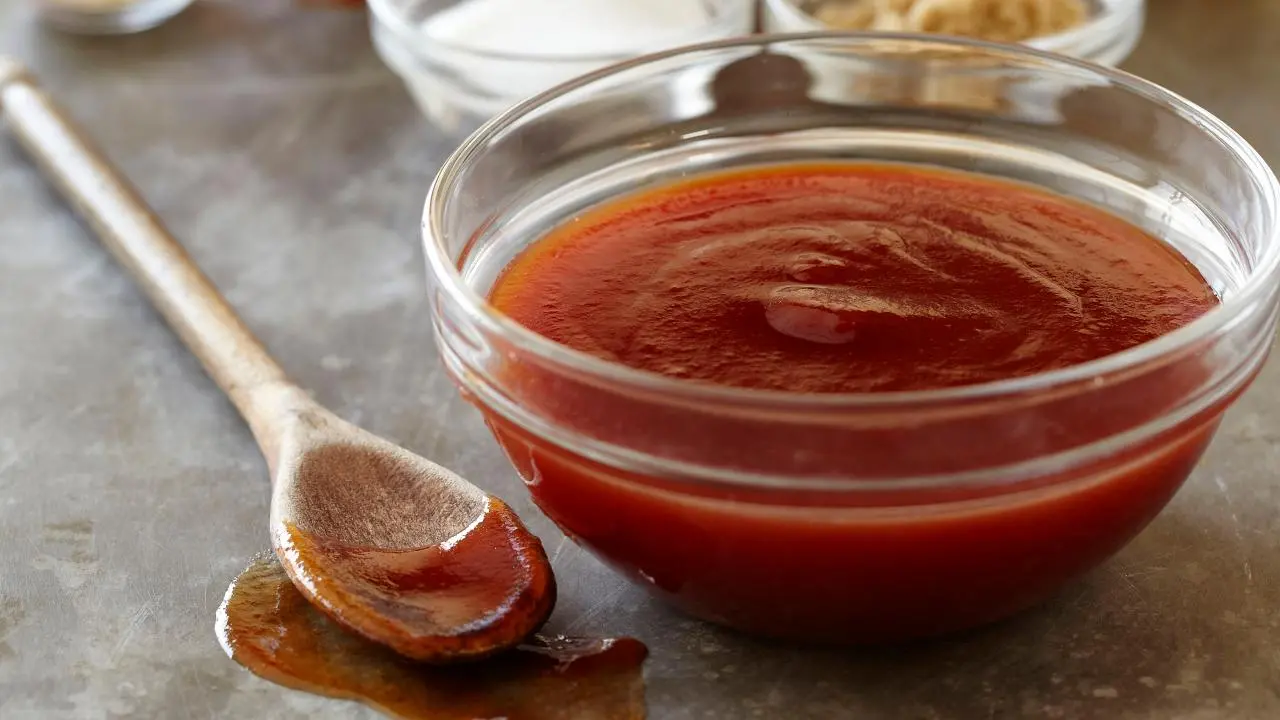
A significant part of this “flavorful finish” comes down to Ina’s signature BC Barbecue Sauce. While the context mentions that she includes a recipe for her “tangy BC Barbecue Sauce” and that “there are a lot of ingredients in the sauce, but she assures, ‘a lot of them you probably already have in your pantry'”, it is truly a game – changer. Imagine starting with a base of rich vegetable oil, gently sautéing chopped yellow onions until they become translucent, softening them into a sweet foundation, and then infusing the mixture with fragrant minced garlic, releasing its pungent warmth. These aromatic foundational steps are crucial for building incredible depth and complexity in any sauce, setting the stage for the symphony of flavors to come.
Then come the big flavor players: a full cup of rich tomato paste, providing a concentrated savory backbone that clings beautifully to the meat, perfectly balanced by the bright, zesty tang of cider vinegar and the subtle, mellow sweetness of honey. This intricate interplay of sweet and sour, sharp and rich, is a hallmark of truly great barbecue sauces, creating a multi – layered taste sensation. But Ina does not stop there. She layers on even more complexity with a cup of robust Worcestershire sauce, known for its deep umami notes and savory punch, and a cup of classic Dijon mustard, adding a sophisticated, slightly spicy kick that elevates the entire profile.
The journey continues with a half cup of soy sauce, which brings a beautiful salinity and further umami, complementing the richness of the meat and enhancing its natural savory qualities. And for that unmistakable, deeply savory, and slightly sweet Asian – inspired note, a full cup of hoisin sauce is added, an ingredient that alone elevates the sauce beyond the ordinary, giving it a unique character and a stunning glaze potential. Finally, the carefully selected spices—two tablespoons of chili powder for warmth and a touch of smokiness, one tablespoon of ground cumin for earthy undertones, and a half tablespoon of crushed red pepper flakes for just a hint of vibrant heat that awakens the palate—are stirred into the mixture. Bringing this robust mixture to a boil and then simmering it for thirty minutes allows all these diverse flavors to meld and harmonize, creating a truly exceptional sauce that penetrates deeply into the ribs during both the oven and grilling phases, delivering flavor in every single bite.
Read more about: Unlocking Asia’s Street Food Secrets: 14 Iconic Bites You Can Master in Your Own Kitchen
This method is not just about achieving perfectly cooked ribs; it is about making the entire process enjoyable and, dare we say, foolproof, thereby eliminating the intimidation factor often associated with barbecuing. As Ina wisely advises, “Don’t make something you’ve never made before for company. Part of being a professional is making something over and over again until you feel confident that you can make it well.” Her rib recipe, once experienced, quickly becomes one of those indispensable “back-pocket” dishes, the kind you pull out when you want to impress without stress, a reliable star for any occasion. It is a testament to how meticulous testing and thoughtful design can transform a potentially challenging dish into an absolute joy to prepare and share, building your confidence with every successful batch.
The sheer relief expressed by home cooks, who are ready and equipped with this newfound “secret sauce” for Father’s Day celebrations, perfectly encapsulates the profound impact of Ina’s approach. Users like @mom22tots enthusiastically shared their successful step – by – step summaries, unequivocally underscoring the method’s inherent simplicity and undeniable efficacy. The tangible confidence gained from knowing your ribs will be “melt – in – your – mouth tender!!!” is truly priceless. It completely removes the usual anxieties and uncertainties, replacing them with pure excitement and anticipation for a deliciously guaranteed outcome, making you feel like a true grill master.
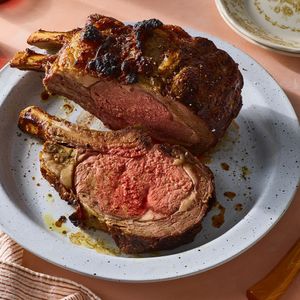
Standing Rib Roast From Ann Seranne
Ingredients
Equipment
Method
- Remove the rib roast from the refrigerator at least 2-3 hours before cooking to allow it to come to room temperature.
- Pat the roast dry with paper towels. Score the fat cap in a crosshatch pattern, being careful not to cut into the meat.
- Generously rub the roast all over with flour, then season heavily with salt and freshly ground black pepper.
- Place the seasoned roast, fat-side up, on a rack in a sturdy roasting pan.
- Preheat your oven to 450°F (230°C).
- Roast the beef for 15-20 minutes at 450°F (230°C) to sear the exterior.
- Reduce the oven temperature to 325°F (160°C) and continue roasting.
- Insert an instant-read meat thermometer into the thickest part of the roast, avoiding bone. Cook until the internal temperature reaches your desired doneness (e.g., 125°F for rare, 130-135°F for medium-rare, 140-145°F for medium).
- Remove the roast from the oven, transfer it to a carving board, and tent loosely with foil. Let it rest for at least 20-30 minutes before carving. The internal temperature will rise 5-10 degrees during this time.
- Slice the roast against the grain and serve immediately. If desired, use pan drippings to make a simple pan gravy by deglazing with beef stock or broth.
Notes
Read more about: Georgetown Scholar’s Landmark Victory Amidst Sweeping Immigration Crackdown: Navigating the Complexities of U.S. Visas for International Academics
Thus, as you lift those final, glistening ribs from the grill, with the rich, smoky aroma filling the air and drawing everyone closer, you will truly comprehend the essence of “barbecue perfection.” It is not merely about the incredibly tender meat or the beautifully smoky char; it is about the seamless and ingenious integration of two distinct cooking methods that, when combined, create a dish infinitely superior to the sum of its parts. Ina Garten’s brilliant two – step technique transforms what could be a laborious and unpredictable endeavor into an approachable, joyful, and consistently successful culinary experience, enabling you to concentrate on the pleasure of cooking and sharing. Prepare to impress, delight, and savor every single succulent, fall – off – the – bone bite!


