
:max_bytes(150000):strip_icc()/16160-juicy-grilled-chicken-breasts-ddmfs-5594-hero-3x4-902673c819994c0191442304b40104af.jpg "Unlock the Secret to Perfectly Juicy Chicken Breasts: A Master Guide for Every Home Cook")

Ah, the humble chicken breast. It’s undeniably the workhorse of our kitchens, a versatile foundation for everything from vibrant buddha bowls to comforting chicken alfredo. It cooks up fast, it’s healthy, and it pairs with almost anything you can imagine. Yet, for all its convenience and culinary potential, how often do we find ourselves facing a disappointingly dry, stringy, and frankly, super boring chicken breast? The good news, my fellow food enthusiasts, is that it absolutely doesn’t have to be this way! As someone who cherishes the art of cooking and, perhaps even more, the joy of eating truly delicious chicken, I’ve embarked on a delicious journey of trial and error, testing just about every method imaginable to keep this lean protein wonderfully moist. After countless experiments and delectable discoveries, I’m thrilled to share a collection of foolproof tricks that promise succulent, tender chicken, anything but dry, every single time. Get ready to banish cardboard-like chicken from your home for good!
Before we dive into the treasure trove of solutions, let’s quickly unravel the mystery of *why* chicken breast often overcooks and turns dry in the first place. Understanding the root cause is the first step to mastering its preparation. There are two primary culprits that conspire against our quest for juicy chicken.
Firstly, it’s the inherent **lack of fat**. Chicken breast is a very lean cut of meat. Unlike fattier cuts that boast generous marbling or a protective layer of fat, chicken breast simply doesn’t have much fat running through it or surrounding its fibers. Fat, as we seasoned cooks know, plays a crucial role in keeping meat moist and tender during the cooking process. Its absence means chicken breast is inherently more prone to drying out, especially when subjected to high heat cooking methods. This fundamental characteristic means we need to be extra strategic in how we approach its preparation.
Secondly, the culprit lies in the **tightly-packed muscle fibers** that constitute chicken breast. These are long and dense, and as the chicken cooks, these fibers naturally contract, squeezing moisture out. It’s a simple, albeit unfortunate, scientific reality: the longer the chicken cooks, the more moisture is expelled. This is precisely why overcooking is the absolute enemy of tender chicken. A few moments too long, and those precious juices vanish, leaving you with that dreaded dry texture. But fear not, armed with this understanding, we can now approach our solutions with precision and confidence!
Now that we understand the ‘why,’ let’s roll up our sleeves and apply some tried-and-true principles that guarantee a juicy outcome. There are three simple, yet profoundly impactful, rules that will immediately elevate your chicken breast game, ensuring deliciously juicy and crisp results for all your culinary adventures.
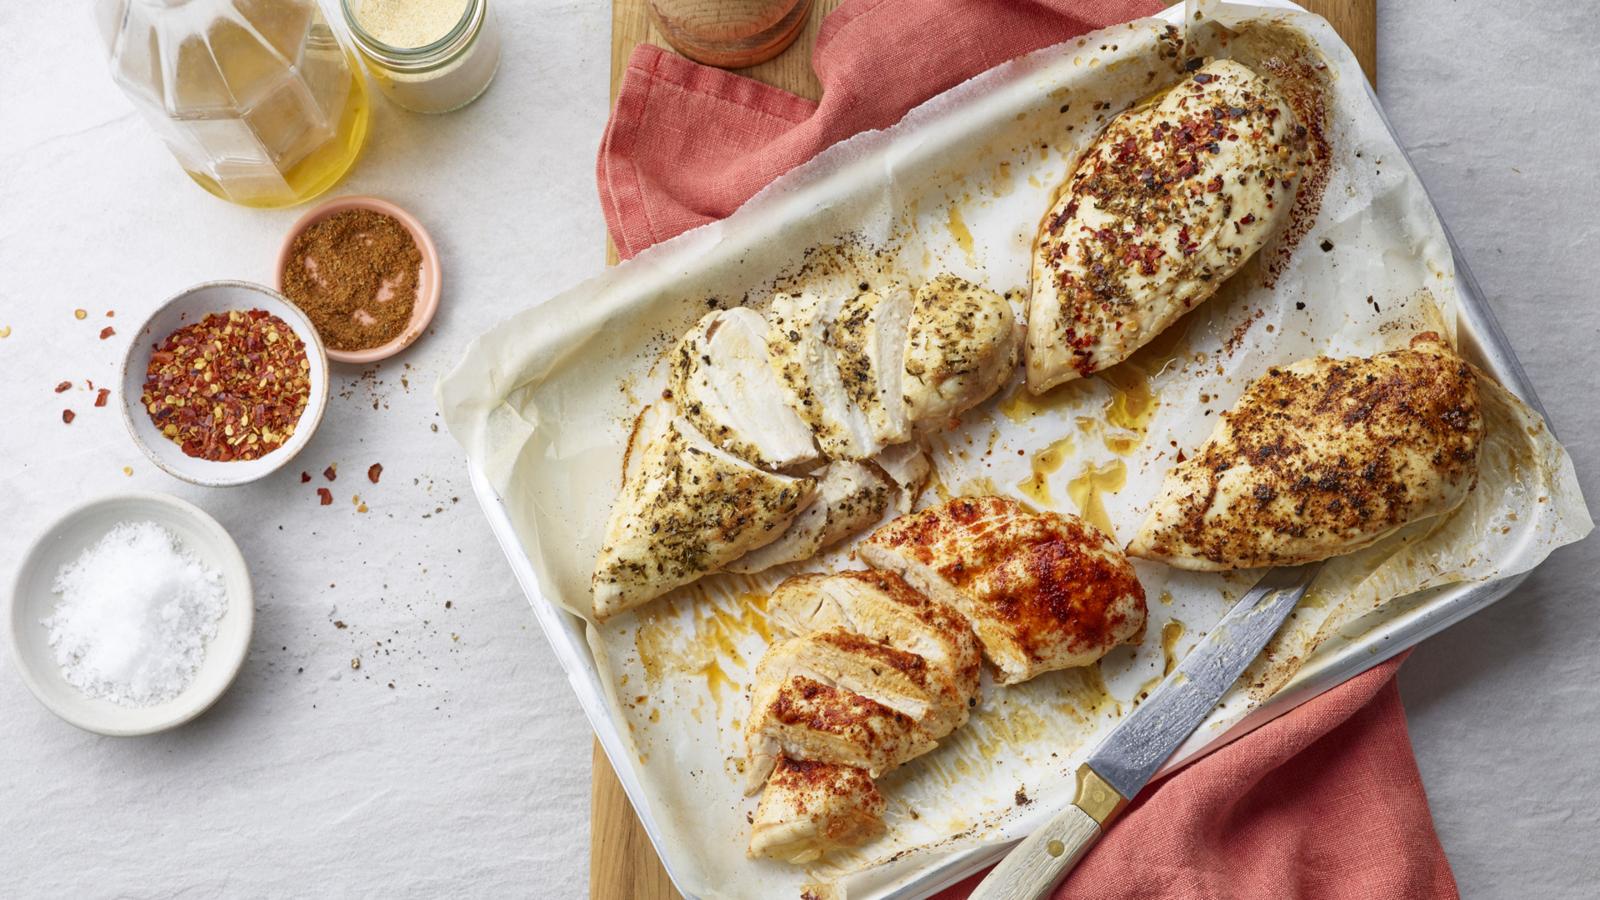
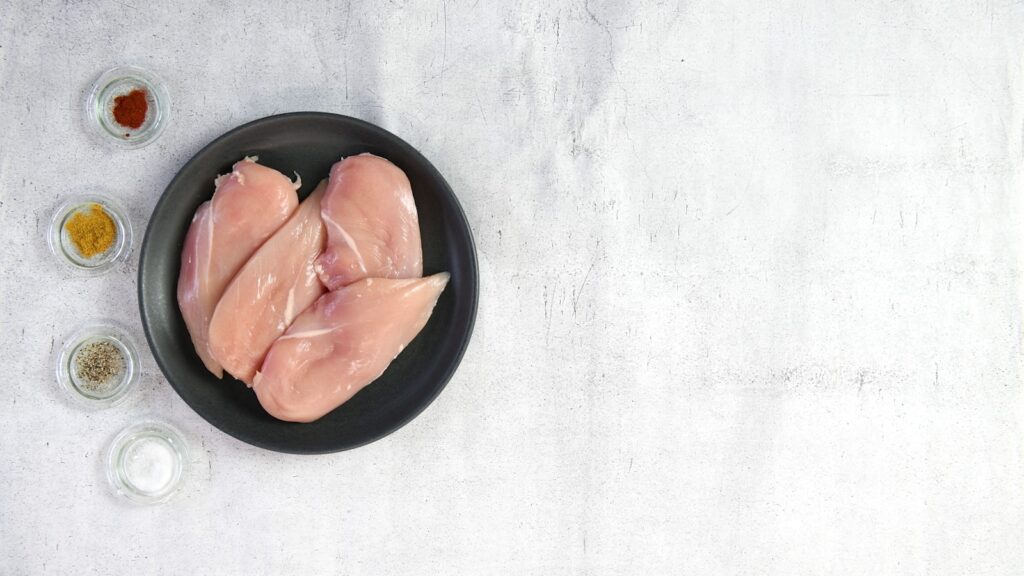
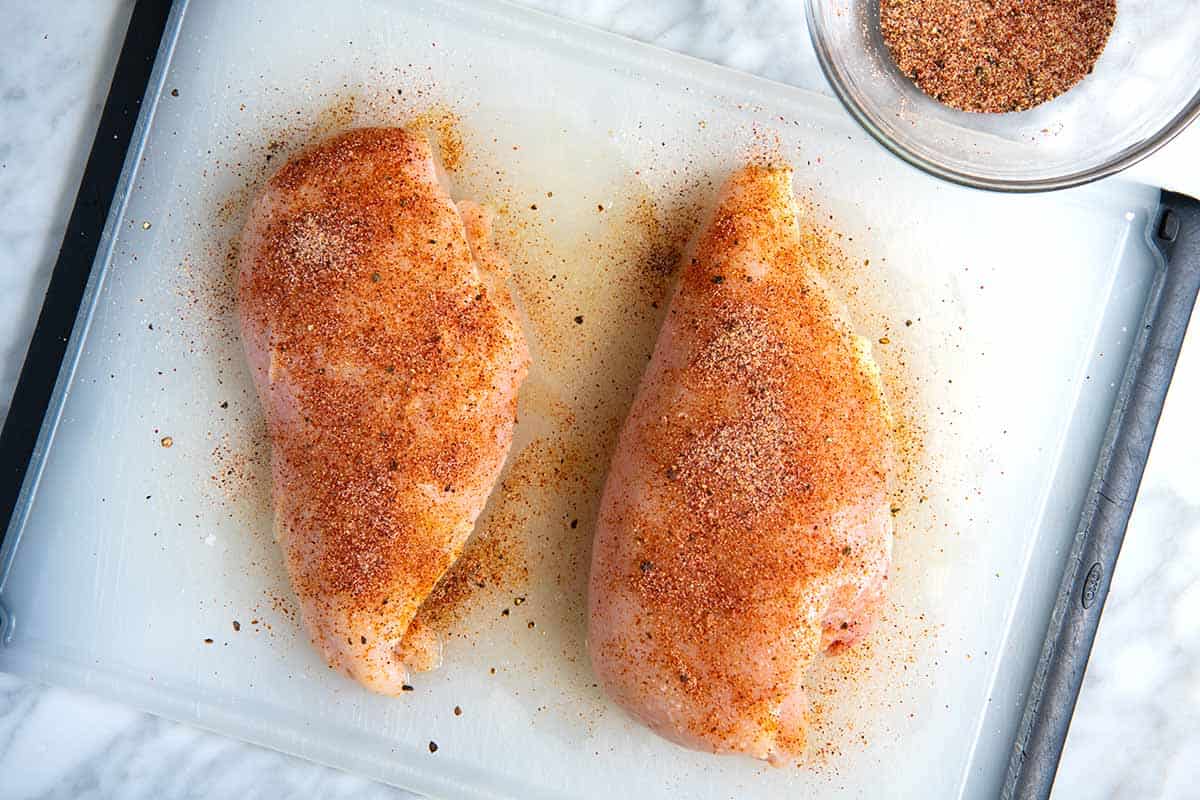
The first rule is deceptively simple but incredibly vital: **Don’t Skimp On The Seasoning.** Chicken, much like any other meat, will be bland and uninspiring if not properly salted. This isn’t just about flavor; salt plays a role in moisture retention too. So, be generous! Give both sides of your chicken breast a hearty seasoning. Our standard go-to is kosher salt and freshly cracked black pepper, but honestly, any of your favorite dried herbs and spices will work wonders here. This step becomes especially critical if your chicken breasts don’t have skin. Remember, skin equals fat, and fat equals flavor. If that natural flavor enhancer is absent, you absolutely must compensate for it with an abundance of salt and your chosen spices to ensure a rich, satisfying taste. It’s the very foundation of flavor!
:max_bytes(150000):strip_icc()/marry-me-chicken-5225352-hero-06-dea1c6367dbe4dc38984552a39504b11.jpg)
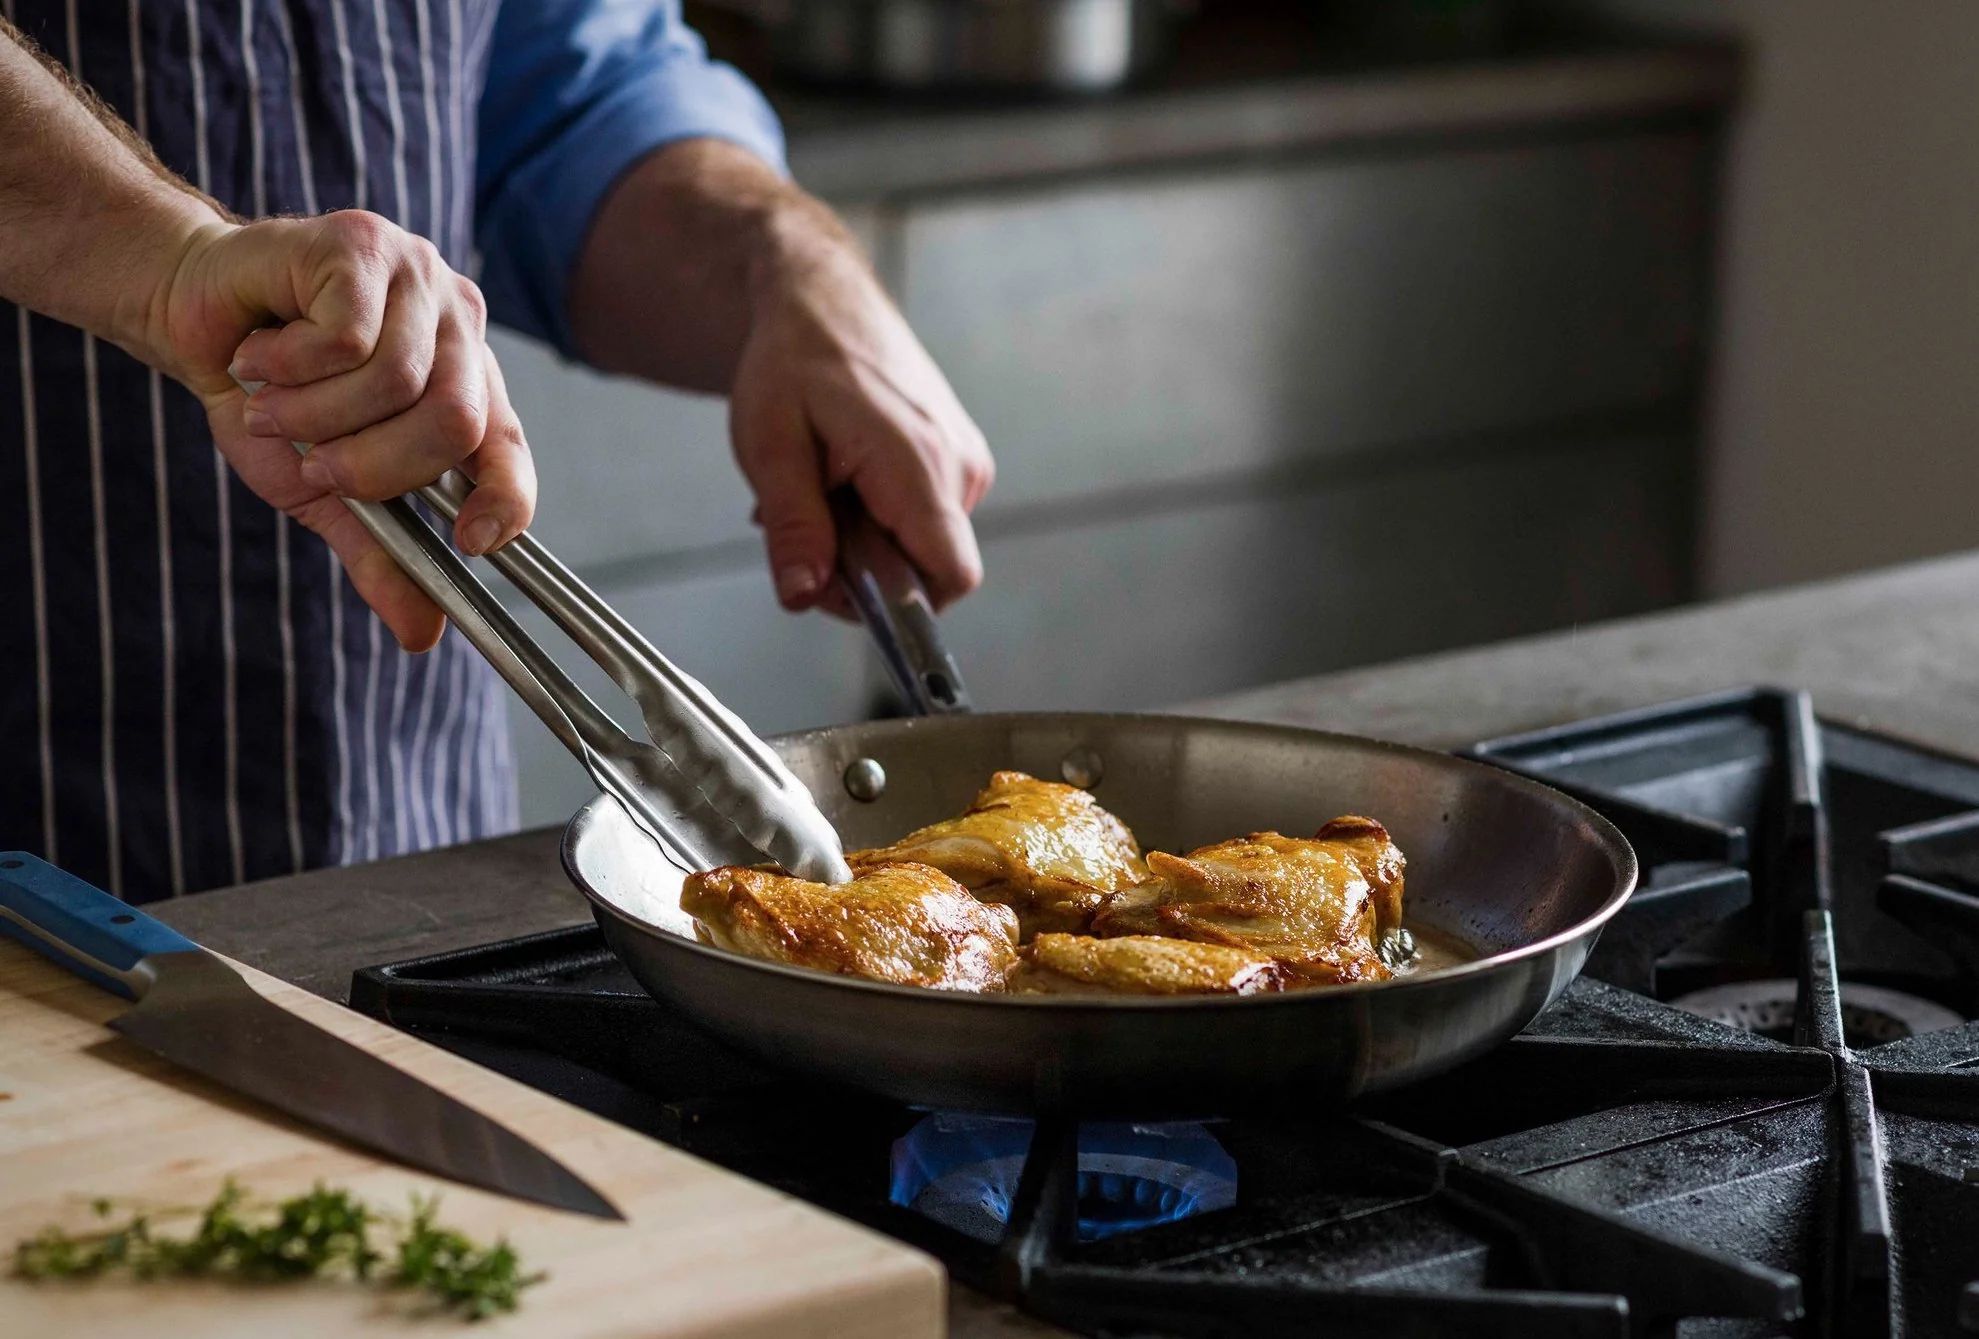
Our second golden rule addresses the cooking process itself: **Don’t Fuss With Them.** Once your beautifully seasoned breasts are ready, it’s time to get them into the pan. Make sure you use a generously sized skillet because crowding your chicken will inevitably lead to steaming rather than searing, preventing that coveted golden crust. Allow your oil to get nice and hot – you want it shimmering, ready to embrace the chicken. Then, carefully place your breasts smooth side down in the pan. This thoughtful placement is key, as it will give you the prettiest and most appealing end result. Now for what might feel like the hardest part for many home cooks: resist the urge to touch them! Absolutely no wiggling them, no poking them, and certainly no prodding them up from your pan. This hands-off approach is critical. When they are truly ready to be flipped, which is typically after roughly 8 minutes, they will happily release from the pan with no resistance whatsoever. Leaving them undisturbed during this initial cooking phase is your guarantee for achieving that crisp, golden crust we all dream of. That, my friends, is truly #chickenbreastgoals! Once those 8 minutes have passed, give them another 8 minutes on the second side, then triumphantly remove them to a cutting board.
Finally, the third rule, often overlooked but absolutely essential for juicy results: **Let Them Rest.** This principle applies to chicken just as it does to a delicious sirloin steak or a tender pork loin. When the chicken is cooked, an incredible internal phenomenon occurs: all the precious juices, the very essence of moisture and flavor, move away from the surface of the breast and concentrate in the center. If you were to succumb to immediate gratification and cut the chicken right away, all those magnificent juices would simply leave the chicken, ending up as an unfortunate puddle on your cutting board. This is where patience truly pays off. When you allow the chicken to rest, those vital juices are gradually redistributed throughout the entire breast, yielding perfectly moist (and yes, we’ll use that word because it’s precisely what we’re aiming for!) results. If you find yourself worried that your perfectly cooked chicken might get cold by the time you’re ready to slice it, there’s a simple trick: just tent it loosely with a piece of aluminum foil to keep it wonderfully warm.
Beyond these foundational rules, there’s an entire arsenal of simple tips and tricks that will ensure irresistibly moist and tender chicken every single time. These techniques are born from careful observation and rigorous testing, designed to empower you with confidence in the kitchen.
First and foremost, and perhaps the most obvious yet frequently violated rule, is to **Don’t Overcook It**. This cannot be stressed enough; not overcooking the chicken is the absolute key to success. Chicken breasts should be cooked precisely until their internal temperature reaches 165°F. Even a single degree beyond that, and the chicken will begin its inevitable journey towards dryness. The most foolproof way to prevent overcooking is to invest in and consistently use a meat thermometer. This simple tool eliminates all guesswork, telling you precisely when your chicken is perfectly cooked and safe to eat. To use it, simply insert the thermometer into the thickest part of the breast, being careful to ensure it doesn’t touch any bones, which can give an inaccurate reading. The moment it hits 165°F, your chicken is perfectly cooked and ready for its resting period. If, for some reason, you don’t have a thermometer handy, you can slice into a chicken breast to check for visual cues: the meat should be uniformly white throughout with no traces of pink, and the juices should run clear.

Another excellent technique to ensure juicy results is to **Pound the Chicken Breasts Thin**. Gently pounding the chicken breasts with a meat mallet or a rolling pin serves a dual purpose: it helps tenderize the meat, making it extra juicy, and it ensures more even cooking. By flattening the breasts to a uniform 1/2-inch thickness, you allow them to cook faster and more consistently, preventing the outside from drying out while waiting for the inside to catch up. This thin, flat shape ensures the chicken cooks through without any part becoming overcooked.
A secret weapon in the quest for ultimate juiciness is to **Brine the Chicken**. Brining, which simply means soaking chicken in a saltwater solution, is a magical process that infuses both extra flavor and crucial moisture into the meat. The salt in the brine works by helping the chicken’s muscle fibers absorb and retain more moisture as it cooks, resulting in a noticeably juicier product. A simple, effective brine involves submerging chicken breasts in a solution of 1 quart water, 1/4 cup kosher salt, and 2 tablespoons sugar. Allow the chicken to soak for 30 minutes to an hour for optimal results. Remember to rinse the chicken thoroughly after brining and before cooking to remove any excess salt. Then, cook as usual for ultra-juicy chicken that truly stands apart.


