

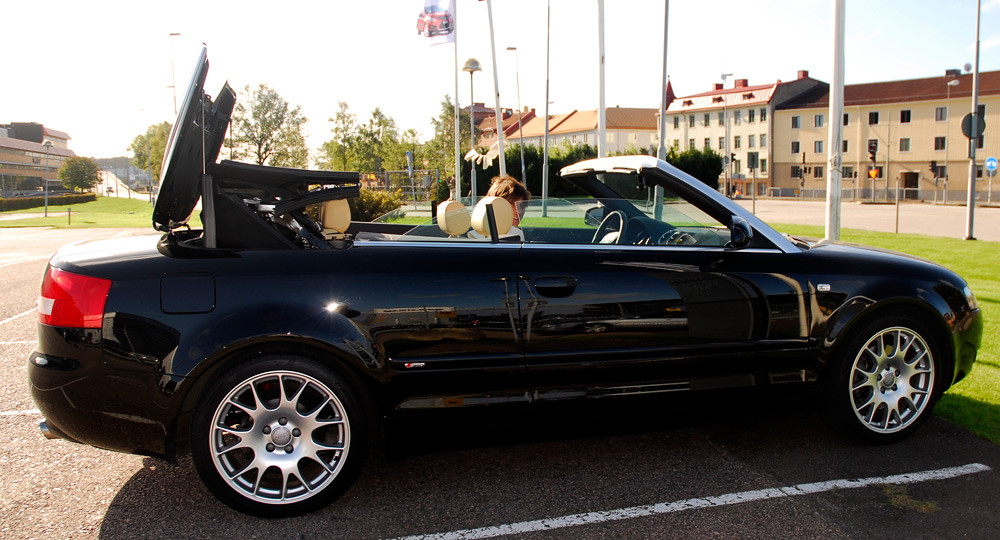
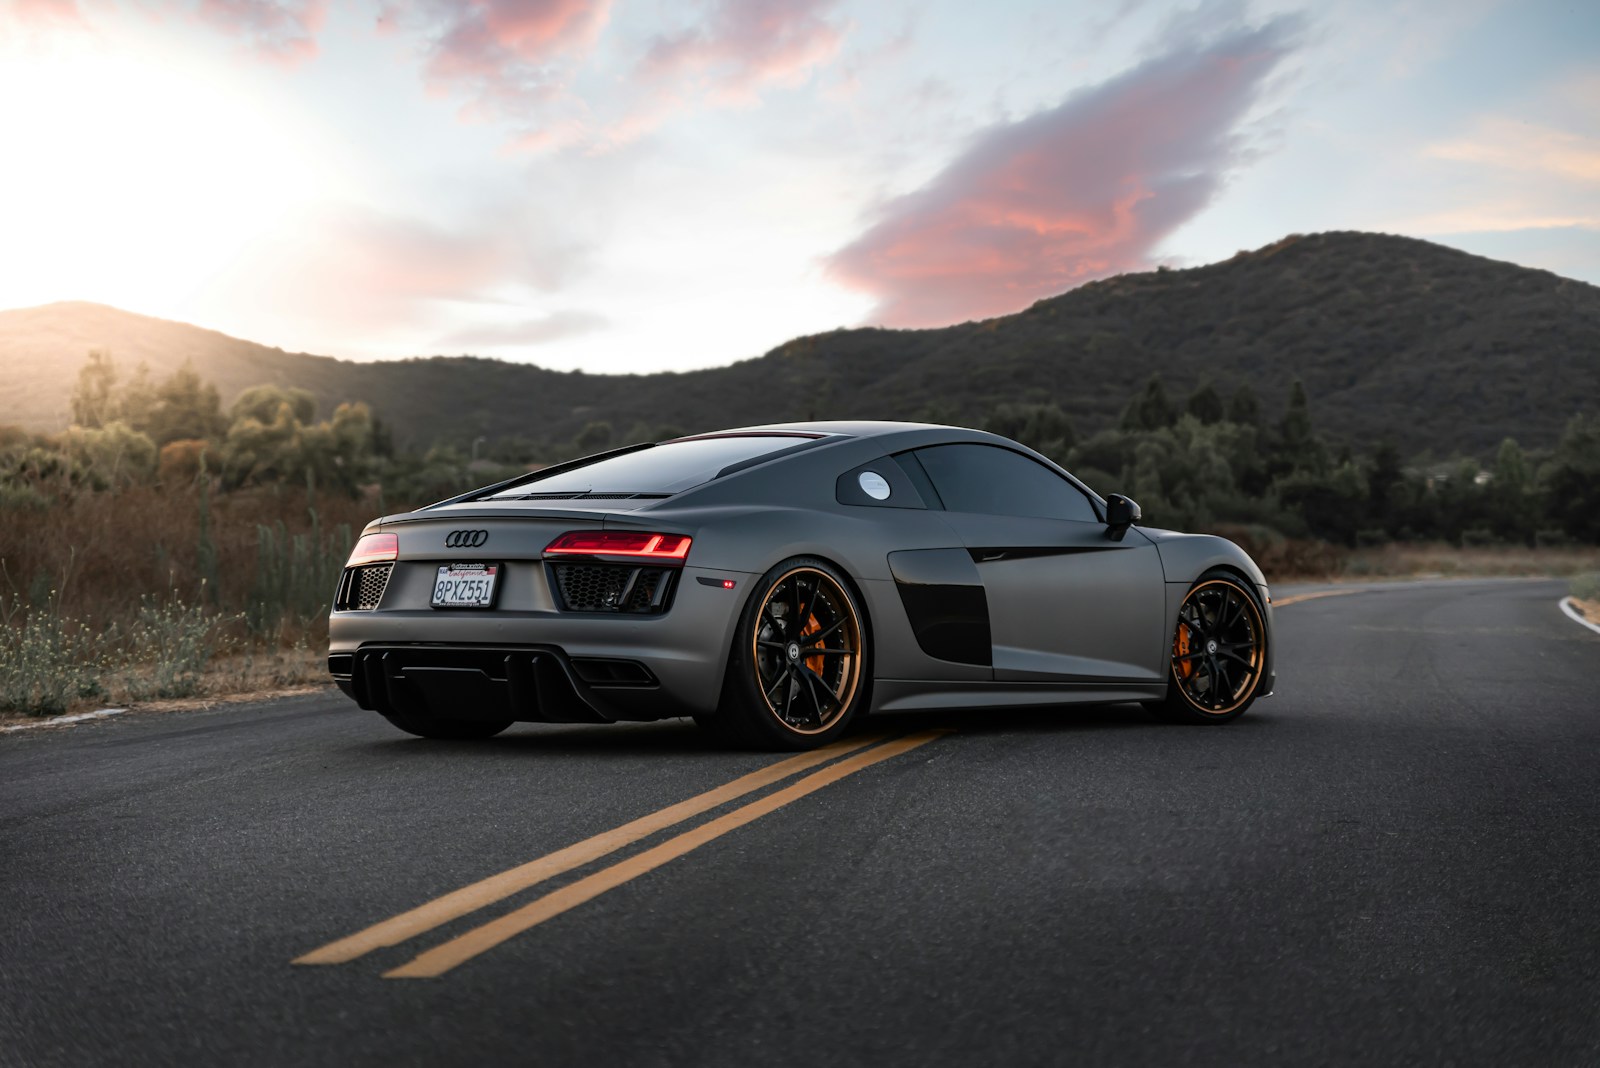
In recent years, vinyl car wraps have exploded in popularity, transforming vehicles with stunning new looks without the permanence or expense of a traditional paint job. Whether you’re a seasoned car enthusiast or a curious beginner, the allure of a fresh, customized aesthetic at a more approachable price point is undeniable. This widespread appeal extends beyond professionals, captivating a growing number of DIY enthusiasts eager to personalize their rides.
But here’s the real trick: how do you achieve that head-turning transformation without inadvertently draining your wallet? The world of vinyl wraps can seem complex, with various brands, film types, and installation nuances influencing the final cost and longevity. Fear not, because we’re here to demystify the process and equip you with the knowledge to make smart, budget-friendly choices.
This in-depth guide is your go-to resource for finding high-quality, cheap vinyl wrap that still delivers top performance and durability. We’ll delve into everything from understanding different film constructions and key pricing factors to spotlighting our top budget picks, ensuring you have the insights needed to achieve a professional-looking finish without compromising on quality or breaking the bank. Let’s get started on transforming your vehicle the smart way!
1. **Understanding Key Vinyl Wrap Brands**When you’re diving into the world of car wraps, knowing the major players in the industry is like having a secret weapon. Each brand brings its own strengths to the table, and understanding these can guide you toward the perfect choice for your project and budget. You’re looking for that sweet spot where quality meets affordability, and that often starts with familiarizing yourself with the reputations behind the films.
For instance, 3M is renowned for its premium cast films, which come with advanced adhesives designed for superior performance. These films often represent the higher end of the spectrum, reflecting their quality control and material costs. Similarly, Avery Dennison offers a versatile range, including both cast and calendared options, and is well-regarded for its impressive durability and extensive color variety, providing excellent choices for various applications.
Orafol specializes in cast films known for their rich color selection and excellent conformability, making them a favorite for complex curves. KPMF stands out with high-end cast films that installers particularly praise for their ease of use, which can translate into a smoother DIY experience. Hexis, on the other hand, is recognized for innovative finishes, such as unique textures and matte topcoats, allowing for truly distinctive custom looks.
Beyond these, you’ll find options like our own Metro Wrap line, which aims to provide a balanced cost-to-quality ratio, backed by dedicated support from Metro Restyling. Cheetah Wrap is another compelling choice, a true cast film that effectively competes on both price and performance, making it an excellent value proposition. Lastly, CYS offers a high-quality calendared film range, available at unbeatable prices, proving that you don’t always have to sacrifice quality for affordability. Choosing wisely from these reputable brands is your first step towards a successful and budget-conscious wrap.
Read more about: Unmasked: 9 Fishing Rod Frustrations That Drive Anglers to Seek Superior Quality
2. **Decoding Vinyl Wrap Pricing Factors**Ever wondered why some vinyl wraps carry a significantly higher price tag than others? It’s not just about the brand; several core factors play a crucial role in determining the cost of a vinyl wrap. Understanding these elements will empower you to make informed decisions and find a wrap that aligns perfectly with both your aesthetic goals and your financial plan. It’s all about balancing performance, appearance, and budget.
One of the primary drivers of cost is the film construction itself. Cast films are produced using a liquid formulation, which gives them superior elasticity and conformability. This makes them ideal for intricate curves and complex vehicle shapes, but this advanced manufacturing process means they naturally command a higher base cost. In contrast, calendared films are mechanically rolled and stretched, a less expensive process that results in a film that’s slightly less conformable but still a solid, cheaper vinyl wrap choice for flatter panels.
The color and finish you desire also significantly impact the price. While standard gloss or matte finishes are generally more budget-friendly, specialty finishes can carry a premium. Imagine wanting a dazzling chrome, a sleek carbon fiber texture, or an iridescent color-shifting effect—these specialized options require unique materials and production methods, which inevitably add to the overall cost. If your budget is tight, sticking to classic finishes can provide substantial savings.
Adhesive quality is another critical factor. High-performance adhesives are engineered to resist lifting and edge peel, ensuring your wrap stays firmly in place for years, even in challenging conditions. These superior adhesives add to the cost but offer peace of mind. Entry-level adhesives, while cheaper, might demand more careful installation and potentially require more maintenance over time. Finally, the production source can influence pricing; domestic films from brands like 3M, Avery, and Hexis often cost more due to rigorous quality control standards and higher material costs compared to some overseas imports. While imports can offer lower prices, they can sometimes lack consistency in quality.
3. **Navigating Film Construction: Cast vs. Calendared**When you’re trying to achieve the best results for your car wrap project, especially on a budget, understanding the fundamental differences between cast and calendared vinyl films is absolutely essential. These two types of film construction represent the core of vinyl wrap technology, and each offers distinct advantages and trade-offs that directly impact cost, ease of application, and long-term durability.
Cast films are considered the premium option, made from a liquid formulation that is poured onto a casting sheet and then oven-baked. This method allows the film to “cast” into a very thin, stable sheet with minimal internal stress. The result is a highly elastic and conformable film, making it excellent for wrapping complex curves, rivets, and corrugated surfaces without stretching or distortion. This superior flexibility and resistance to shrinkage are why cast films tend to be more expensive but offer longer durability, typically lasting 5–10 years.
On the other hand, calendared films are produced by feeding a thicker vinyl compound through a series of heated rollers, stretching and flattening it into a sheet. This mechanical process introduces internal stresses into the film, making it less conformable and more prone to shrinkage over time compared to cast films. While they are a more cost-effective choice and good for flat panels or simple curves, their durability is typically shorter, ranging from 3–5 years. For large fleet graphics or simple, straightforward wraps, calendared films offer a solid cheap vinyl wrap solution.
The choice between cast and calendared ultimately depends on your project’s demands and your budget. If you’re tackling a full-vehicle wrap with intricate body lines and desire maximum longevity and conformability, a cast film is the superior choice despite its higher upfront cost. If you’re working on flatter panels, simpler designs, or have a tighter budget, a quality calendared film can provide an excellent, durable finish. Being aware of these construction differences is key to selecting the right material for your specific needs.
4. **The Risks of Overseas Calendared Films**It’s natural to be drawn to the lowest price, especially when searching for a “cheap car wrap.” The market is flooded with low-priced imports, particularly calendared films from overseas, which can appear incredibly tempting at first glance. However, exercising caution here is paramount, as these ultra-cheap options often come with significant hidden risks that can quickly negate any initial cost savings and lead to frustration.
One of the most common pitfalls with these budget imports is inconsistent thickness. Imagine trying to wrap your car with a film that varies in thickness across different sections – this can lead to noticeable color variation once applied, creating a patchy and unprofessional look. Moreover, inconsistent thickness makes installation far more challenging, as the film won’t behave uniformly when stretched or heated, leading to bubbles, wrinkles, and wasted material.
Another critical concern is poor adhesive quality. While a good quality film will feature robust adhesive that ensures longevity and prevents premature lifting, many ultra-cheap imports utilize entry-level adhesives that simply aren’t up to the task. This can result in the wrap lifting, especially around edges, corners, and areas of high stress, often just weeks or months after installation. The aesthetic appeal and protective benefits of your wrap diminish rapidly, forcing you into costly repairs or a full re-wrap.
Furthermore, these inexpensive overseas films often come with limited finish options, restricting your creative choices, and, crucially, restricted or non-existent warranties. When something goes wrong – and with these films, the chances are higher – you’ll have no recourse or support, leaving you to bear the full cost of replacement. For true value, the advice is clear: stick with trusted brands or our tested lines like Metro Wrap, Cheetah Wrap, and CYS, all of which are available through reputable suppliers like Metro Restyling, ensuring you get quality and peace of mind.
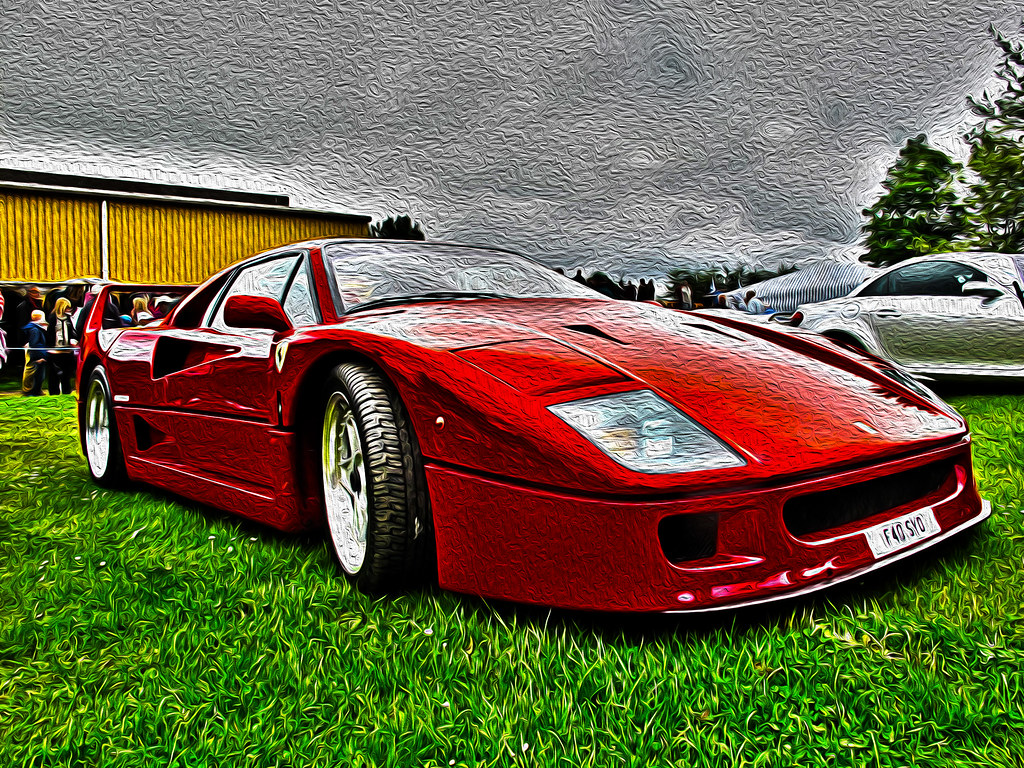
5. **Spotlight on Budget-Friendly Wraps: Cheetah Wrap**For those seeking the sweet spot between professional performance and a wallet-friendly price, Cheetah Wrap emerges as a true standout in the vinyl wrap market. This brand offers a genuine cast film, which means you’re getting the superior qualities of a higher-end material without the typical premium cost. It’s a fantastic solution for anyone looking to achieve a high-quality finish without compromising their budget.
Cheetah Wrap boasts an impressive service life of 5–7 years, provided it’s properly installed and cared for. This longevity is remarkable for a budget-friendly option, ensuring your investment pays off with years of stunning aesthetics and paint protection. Furthermore, it offers a versatile range of finish options including gloss, matte, and satin, allowing for a wide array of customized looks to perfectly match your personal style or business branding.
The reasons why Cheetah Wrap is so highly regarded are numerous. Its excellent conformability on complex curves is a major advantage, making it easier for both experienced installers and diligent DIYers to achieve a seamless, professional look even on challenging vehicle contours. Paired with a robust adhesive, it ensures superior edge retention, preventing those frustrating lifts and peels that can plague lesser quality films. An extensive color selection, rivaling that of more premium brands, means you won’t be limited in your creative vision.
Imagine transforming your sportscar with a deep gloss black wrap that flawlessly hugs every curve, delivering that coveted sleek aesthetic—all while costing less than comparable lines. Installers consistently rave about Cheetah Wrap’s stretchability, particularly around tricky areas like mirrors and door handles, which is crucial for achieving a flawless finish with minimal shrink-wrapping. This combination of quality, performance, and affordability makes Cheetah Wrap a top pick for achieving professional results on a budget.
6. **Spotlight on Budget-Friendly Wraps: CYS**When affordability is your absolute top priority without completely sacrificing quality, CYS soft hybrid PVC films step up as an unmatched contender in the cheap vinyl wrap arena. These films are engineered to offer exceptional value across a diverse array of finishes, proving that you don’t always need to spend a fortune to achieve a striking and professional vehicle transformation.
What makes CYS particularly great for budget-conscious projects? Their uniform thickness ensures consistent color saturation across the entire wrap, eliminating the patchy appearance that can occur with lower-quality films. A smooth release liner further aids installation speed, which is a significant benefit whether you’re a professional working against the clock or a DIY enthusiast looking for a less frustrating application experience. Additionally, CYS offers highly competitive pricing, making it an ideal solution for large fleet projects where wrapping multiple vehicles on a tight budget is a key consideration.
Consider the impact of a fleet of service vans, all uniformly finished in a vibrant metallic red. With CYS, you can achieve this showroom-quality look at just a fraction of the cost you might expect from premium alternatives. The rapid install time is another major advantage, keeping vehicle downtime low, which is crucial for businesses. For anyone needing to wrap multiple vehicles or simply seeking a high-impact, low-cost solution, CYS delivers impressive results without compromise.
7. **Getting Started with Vinyl Car Wraps: A Beginner’s Guide**Welcome to the exciting world of vinyl car wraps! If you’re new to this scene, the idea of transforming your vehicle might seem a bit daunting at first. However, with the right guidance, getting started is far more accessible than you might think. A vinyl car wrap isn’t just about changing your car’s color; it’s a fantastic way to personalize your ride, promote a business, or simply add a unique touch of style, all while offering practical benefits.
Let’s begin by exploring the core advantages of vinyl car wraps. They offer a remarkably cost-effective alternative to a full paint job, allowing you to give your vehicle a fresh, new look without the steep price tag. One of the most compelling features is their removability; you can change up your design or revert to the original paint whenever you desire, providing immense flexibility that paint simply cannot. This makes them ideal for temporary customization or for those who like to frequently refresh their vehicle’s aesthetic.
Beyond aesthetics, vinyl car wraps are surprisingly durable. They are resistant to fading, protecting your vehicle’s original paint job from minor scratches, chips, and environmental elements. This added layer of protection can actually help preserve your car’s resale value by keeping the factory finish pristine underneath. With so many options available in terms of colors, finishes, and designs, the initial choice can feel overwhelming.
That’s why it’s crucial to first consider your specific needs and goals before diving into product selection. Are you dreaming of a sleek, high-gloss finish that shines in the sun, or do you prefer a subtle, sophisticated matte look? Do you intend to add personalized messages, intricate graphics, or vibrant branding for a business? By clearly defining your objectives, you can effectively narrow down the vast array of options and pinpoint the perfect vinyl car wrap that truly resonates with your vision for your vehicle’s transformation.
8. **What is a DIY Car Wrap and Is It for You?**In recent years, the desire to transform a vehicle with a fresh look has extended far beyond professional garages, captivating a growing number of DIY enthusiasts. A DIY car wrap is exactly what it sounds like: the process of applying automotive-grade vinyl film to your vehicle’s surface yourself, rather than hiring an expert. Unlike a permanent paint job, this method offers a reversible, cost-effective way to refresh your car’s aesthetic while providing an additional layer of protection for its exterior.
These vehicle wraps are specifically engineered from automotive-grade vinyl, designed to conform smoothly to your car’s curves and body panels when properly installed using heat and pressure. It’s a creative and rewarding path to personalize your ride, whether you’re envisioning a full vehicle overhaul or starting with smaller, manageable sections like a hood or roof. The accessibility of quality materials and beginner-friendly tools has made this once-specialized task much more approachable for the everyday car owner.
So, is wrapping a car yourself a DIY-friendly endeavor? The straightforward answer is yes, but with a few important caveats regarding your experience level, preparation, and the scope of your project. You certainly don’t need to be a professional installer to achieve great results, but success hinges on patience, a meticulous eye for detail, and a clean, suitable workspace. Think of it as a hands-on project that rewards precision and a willingness to learn.
If you’re comfortable with tasks that involve a bit of dexterity, like home improvement, bike maintenance, or working with electronics, you’ll likely find yourself at home with car wrapping. Remember, the larger or more intricately shaped your vehicle, the more challenging the project can become. For newcomers, tackling smaller components first can be an excellent way to build skill and confidence before attempting a full body wrap. The sense of accomplishment that comes from a well-executed DIY wrap often makes the time investment incredibly worthwhile.
Read more about: Seriously, Where Did They Go? 14 Beloved Ice Cream Flavors That Vanished From Our Freezers!
9. **Demystifying DIY Car Wrap Costs**One of the most compelling reasons to undertake a DIY car vinyl wrap is the significant potential for cost savings. While professional wrap jobs can easily range from $2,000 to upwards of $6,000 depending on the vehicle size and vinyl type, opting for the DIY route drastically reduces these expenses. But what exactly should you budget for when planning to wrap your car yourself?
The primary expense will be the vinyl wrap film itself, which for a full car can typically range from $500 to $1,200. Beyond the film, you’ll need a few essential tools, most of which are one-time purchases that can be reused for future projects. A heat gun will cost you around $25–$60, while a set of squeegees and felt edge tools are usually in the $15–$30 range. Precision cutting tools will add another $10–$20 to your budget, and surface cleaner or prep spray typically runs $10–$25. Lastly, don’t forget gloves and wrap magnets, which are essential for handling and positioning the film, usually costing $10–$30.
Adding these up, the estimated total for a DIY car vinyl wrap project falls between $600 and $1,400. This range is influenced by the quality of the vinyl film you choose and the size of your vehicle. If you’re only planning to wrap specific parts, such as the hood or roof, your costs will drop significantly. Additionally, selecting more affordable wrap finishes—like a matte finish instead of a chrome one—can further reduce your material expenses, helping you stay well within your budget while still achieving a stunning custom look.
Read more about: The 12 Worst Oil Change Myths That Mechanics Wish You Would Stop Believing
10. **Step-by-Step DIY Car Wrap: Preparation and Environment**Ready to dive into the practical side of transforming your ride? We’re breaking down the DIY car wrap process into manageable steps, starting with the crucial groundwork. Successful vinyl application begins long before the film even touches your vehicle, and proper preparation is paramount for a professional-looking and durable finish. Think of this as laying the perfect foundation for your automotive masterpiece.
Your first order of business is to **Step 1: Gather Your Materials**. Before you embark on this exciting project, ensure you have every essential tool at your disposal. This includes the vinyl wrap of your choice, a squeegee with a felt edge to prevent scratches, a heat gun (or a powerful hair dryer in a pinch) for conforming the vinyl, a precision knife or blade for accurate trimming, isopropyl alcohol or a dedicated surface cleaner for purification, and a microfiber cloth. Optional but highly recommended additions are masking tape and wrap magnets to assist with positioning.
Next, carefully consider **Step 2: Choose the Right Environment**. The success of your wrap hinges significantly on where you work. Opt for a clean, dust-free, and shaded space, ideally indoors, to protect your project from environmental elements. Avoid any areas that are windy or excessively humid, as these conditions can make application far more difficult. Crucially, the ambient temperature should be between 60°F and 80°F (15°C–27°C) to ensure optimal flexibility and workability of the vinyl film, allowing it to stretch and adhere properly.
Finally, the most critical pre-application step is **Step 3: Clean the Vehicle Thoroughly**. This cannot be overstated; any contaminants on your car’s surface will compromise the vinyl’s adhesion. Begin by washing the entire car with soap and water to remove major dirt and grime. Follow this with a thorough wipe-down of all surfaces using isopropyl alcohol or your chosen surface cleaner. This step is vital for removing any oils, waxes, or residues that could prevent the vinyl from sticking securely, paving the way for a long-lasting, bubble-free finish.
11. **Step-by-Step DIY Car Wrap: Measuring and Application**With your materials gathered and your workspace prepped, it’s time to move into the core process of applying the vinyl. This phase requires patience and precision, but by tackling it systematically, even beginners can achieve impressive results. Getting the vinyl correctly measured and initially positioned is key to avoiding frustration down the line.
Begin with **Step 4: Pre-Measure and Cut Your Vinyl**. Before you start peeling and sticking, accurately measure the sections of your vehicle you intend to wrap. Whether it’s a hood, a fender, or a door panel, cut your vinyl pieces with a generous extra few inches of margin on all sides. This foresight is incredibly important; it’s always better to have too much material to trim away later than to find yourself short in the middle of an application, leading to wasted film and effort. Take your time with these cuts to ensure neat, manageable sections.
Once your vinyl is cut, proceed to **Step 5: Position and Apply the Vinyl**. This is where the magic begins. Carefully peel back only a small portion of the vinyl’s backing, exposing just enough adhesive to get started. Gently position the film onto the panel you’re working on. If necessary, use wrap magnets or a few pieces of masking tape to temporarily hold the film in its desired starting position, allowing you to fine-tune the alignment. Once you’re happy with the placement, begin pressing the vinyl onto the surface using your squeegee. Work from the center of the panel outward, applying firm, smooth strokes. This technique helps to push out any air and ensures an even, bubble-free adhesion, gradually securing the film to your vehicle.

12. **Step-by-Step DIY Car Wrap: Heating, Trimming, and Curing**Now that your vinyl is partially applied, the next steps involve conforming it to your vehicle’s contours, precisely trimming the edges, and ensuring a robust, lasting bond. These crucial finishing stages require a delicate touch and attention to detail to achieve that coveted professional look.
Proceed to **Step 6: Apply Heat and Stretch**. This is where your heat gun becomes an invaluable tool. Gently warm the vinyl with the heat gun, moving it consistently to avoid overheating any single spot. As the vinyl warms, it becomes more pliable, allowing you to stretch and manipulate it to conform seamlessly around curves, recesses, and intricate edges. Be cautious during this step: too much heat can damage or distort the material, leading to discoloration or thinning. A little heat goes a long way in making the vinyl cooperative, helping it hug every contour perfectly without excessive tension.
With the vinyl smoothly applied, it’s time for **Step 7: Tuck and Trim Edges**. This step defines the cleanliness and professionalism of your wrap. Carefully tuck any excess vinyl under the vehicle’s trim or into body panel gaps where possible, creating a clean, finished edge. For areas that can’t be tucked, use your precision knife to trim away excess material. Always ensure your blade is exceptionally sharp; a dull blade can snag or tear the vinyl, resulting in a jagged, unprofessional cut. Take your time, making smooth, deliberate cuts along the natural lines of your vehicle’s panels.
After the entire section is applied and trimmed, move to **Step 8: Post-Heat to Set the Wrap**. This is a frequently overlooked but critical step. Once again, go over all areas of the applied vinyl with your heat gun. This process reactivates the adhesive, promoting a stronger, more permanent bond between the vinyl and your vehicle’s surface. Pay particular attention to edges, corners, and areas where the vinyl was stretched, as post-heating helps the material ‘relax’ into its final shape, minimizing the risk of lifting or shrinking over time. This final heating pass helps ensure the longevity of your wrap.
Finally, **Step 9: Let It Cure**. After completing all the wrapping steps, it’s essential to allow the vinyl to fully cure. Avoid washing your car or exposing it to harsh elements, such as extreme temperatures or heavy rain, for at least 24 to 48 hours. This curing period allows the adhesive to fully bond and set, ensuring maximum durability and adhesion. Patience during this final stage will protect your hard work and extend the life of your new wrap.
13. **Expert Tips for a Smoother DIY Wrap Experience**While following the step-by-step guidelines is crucial, a few expert tips can make your DIY wrapping journey significantly smoother and lead to a more polished outcome. These insights go beyond the basics, helping you navigate common challenges and refine your technique for truly successful results. Think of them as the ‘pro secrets’ to elevating your home garage project.
First, if you’re new to the game, consider starting with smaller vinyl panels. They are much easier to control, allowing you to build confidence and refine your technique without the overwhelming scale of a full panel. Always strive to keep tension on the vinyl during application; this simple trick helps prevent unsightly creases and ensures a smooth, even surface. Before committing to a major panel, it’s also smart to practice on a smaller, less visible surface, like your fuel cap or a side mirror, to get a feel for the material and your tools.
Secondly, a common pitfall is overstretching the vinyl. While some stretching is necessary to conform to curves, too much can thin the film, leading to discoloration or compromised adhesion, especially over time. Stretch only as much as needed, and always allow the material to relax with gentle heat afterward. Remember, vinyl is remarkably forgiving if handled carefully. If you make a mistake, don’t panic! Gently peel back the affected area and reapply. Your DIY vehicle wrap projects will undoubtedly improve with each panel you complete, building both your skill and your confidence.
Read more about: Your Essential Home Toolkit: 14 Must-Have Tools Every New Homeowner Needs for Smart Repairs
14. **Common DIY Car Wrap Mistakes to Sidestep**Undertaking a DIY car wrap offers immense satisfaction and savings, but it’s also an area where easily avoidable mistakes can quickly derail your efforts. Being aware of these common pitfalls is your best defense against wasted material, frustrating reworks, and ultimately, a subpar finish. Learning what *not* to do is just as important as knowing what *to* do.
One of the most pervasive and damaging errors is **Mistake 1: Inadequate Surface Prep**. Skipping proper cleaning and preparation is the single biggest contributor to vinyl failure. Any speck of dust, oil, grease, or wax left on your vehicle’s surface will prevent the adhesive from bonding correctly. The inevitable result? Pesky bubbles, premature peeling, and a significantly shortened wrap lifespan. Invest the time here; it truly pays off.
Another frequent misstep is **Mistake 2: Not Using the Right Tools**. While it might be tempting to improvise with household items, using improper tools instead of dedicated wrap equipment (like professional squeegees, a proper heat gun, or specialized wrap gloves) can lead to uneven pressure, accidental scratches, or even irreversible damage to your vinyl. A basic vinyl wrap tool kit is an inexpensive investment that will save you headaches and ensure a far smoother application.
Then there’s **Mistake 3: Rushing the Application**. Patience is more than a virtue here; it’s a necessity. Trying to apply vinyl too quickly, especially on large panels, or failing to section your work properly, almost guarantees trapped air pockets, unsightly wrinkles, or even overstretched areas. Break down large sections into smaller, more manageable areas, and allow yourself ample time for each step to ensure a smooth, clean finish.
Don’t fall victim to **Mistake 4: Ignoring Post-Heating**. This is a crucial sealing step, particularly around edges, complex curves, and seams where the vinyl experiences the most stress. Skipping post-heating means the adhesive isn’t fully activated and set, which dramatically reduces the wrap’s durability and significantly increases the chances of edges lifting prematurely. A thorough post-heat session locks everything into place for the long haul.
Lastly, beginners often make **Mistake 5: Overstretching the Film**. While a certain amount of stretching is necessary for conforming the vinyl to contours, excessive pulling and heat can thin the material. This thinning often results in visible discoloration, making the wrap look uneven or faded in spots, and critically, it can lead to poor adhesion that causes the film to fail prematurely. Always stretch judiciously and allow the vinyl to relax with heat after manipulation.
Avoiding these common missteps significantly boosts your chances of achieving a smooth, professional-quality finish, even on your very first DIY attempt. A little foresight and attention to detail can make all the difference.
Read more about: The 13 Classic Restoration Traps Drivers Swear They’d Never Fall Into Again
15. **DIY or Pro? Making the Right Choice for Your Wrap Project**After exploring the intricacies of vinyl wraps and the practicalities of DIY application, a fundamental question remains: should you tackle your car wrap yourself, or is it better to entrust it to a professional? The answer isn’t universal; it hinges on your comfort level with hands-on projects, your patience, and the resources (time, tools, and space) you have available.
**DIY Car Wrap is Ideal For:** Budget-conscious car owners who are looking to save a significant amount compared to professional installation fees. It’s also perfect for enthusiasts who genuinely enjoy car customization and are willing to invest the time to learn new skills. If you’re tackling smaller or partial wrap projects, such as a hood, roof, or mirrors, the DIY approach is particularly accessible and rewarding. The major advantage here is not just cost savings but also the ability to customize every minute detail of your wrap, from the finish to the precise application, offering unparalleled creative control.
Conversely, **Professional Wrap is Ideal For:** Owners of high-end vehicles where flawless execution is non-negotiable, or for cars with extremely complex body shapes and large SUVs that present significant wrapping challenges. Businesses requiring commercial branding or intricate graphic wraps often find professional services invaluable due to the precision and consistency required. If you’re short on time, lack the necessary tools or dedicated workspace, or simply prefer to avoid the risk of errors, hiring a pro is the superior choice. While it comes with higher upfront costs, it guarantees a professional finish, often includes warranties, and offers significant speed and convenience.
For many aspiring DIYers, a smart approach is to start small—perhaps with mirrors or the hood—to build skills and confidence before attempting a full vehicle wrap. With practice and the right tools, wrapping a car yourself becomes an increasingly easier and more rewarding endeavor. Ultimately, the decision is a balance between cost, complexity, desired perfection, and your personal willingness to get hands-on. Whichever path you choose, understanding the process empowers you to make an informed decision for your vehicle’s transformation.
Choosing the best cheap car vinyl wrap doesn’t mean you have to compromise on quality or the satisfaction of a stunning aesthetic. By grasping the nuances of film types, understanding pricing factors, and knowing the ins and outs of DIY installation, you’re empowered to make choices that deliver professional results without straining your budget. Whether you opt for a trusted budget-friendly brand or roll up your sleeves for a DIY project, the knowledge gained ensures your vehicle transformation is both smart and spectacular.


