

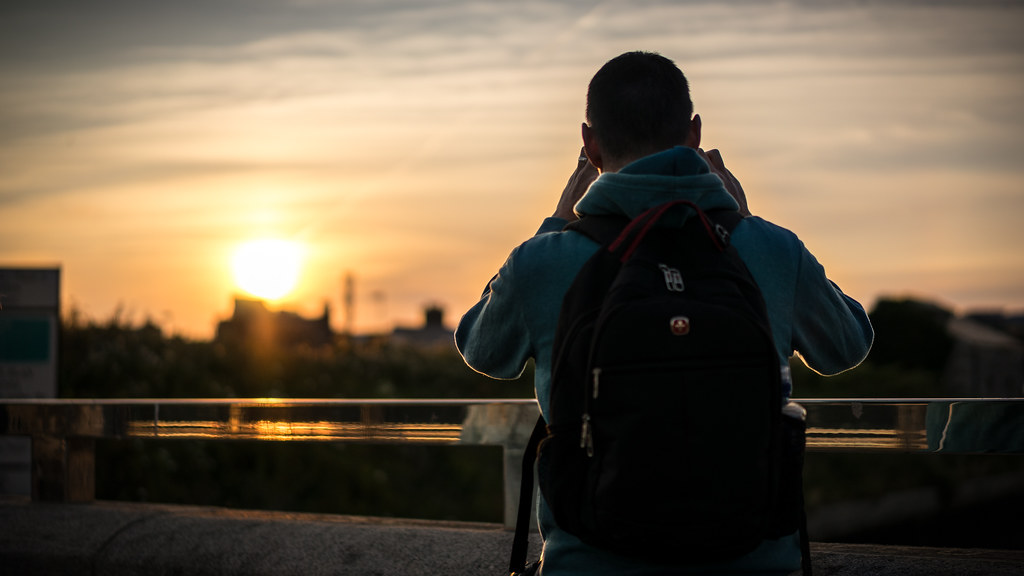
In an age where our smartphones have become extensions of ourselves, their cameras often serve as our primary tools for capturing life’s fleeting moments. For many, the default ‘auto’ mode is the go-to, effortlessly delivering what the camera software deems a ‘good’ picture. This convenience is undeniably appealing, allowing us to snap away without a second thought.
However, for those eager to move beyond the camera’s automated interpretations and infuse their personal artistic vision into every shot, there’s a more empowering path: shooting in manual mode. While the concept of manual controls might seem daunting, especially to casual users unfamiliar with advanced camera theory, it’s where the true magic of photography unfolds. It’s about taking the reins from the device’s AI and putting the creative power squarely in your hands.
This in-depth guide is designed to demystify the essential manual photography skills that, while not always explicitly used on every smartphone, form the bedrock of true photographic control. By understanding these fundamentals, you’ll not only improve the overall look and feel of your photos but also gain the confidence to capture images exactly as you envision them, regardless of your phone’s brand or stock camera app.
1. **Navigating the Exposure Triangle Fundamentals**At the heart of manual photography lies the ‘exposure triangle,’ a foundational concept representing the intricate relationship between ISO, aperture, and shutter speed. These three elements don’t operate in isolation; rather, they work in concert to determine the overall brightness of your photo, or its exposure. Understanding their interplay is not merely about achieving a ‘correctly’ exposed image, but about mastering the artistic levers available to you.
Balancing these three elements is crucial for controlling how much light reaches your camera’s sensor. Altering one component inevitably impacts the others, requiring adjustments across the board to maintain your desired exposure and achieve specific creative effects. It’s a delicate dance where each setting influences not only brightness but also image quality, sharpness, and depth of field.
The ultimate goal when navigating the exposure triangle in manual mode is to find that perfect equilibrium. This allows you to expose an image precisely as you see fit, moving beyond what the camera software might deem aesthetically pleasing. Once you grasp how these individual factors influence an image, you can apply this knowledge to any camera, transforming your approach to photography.
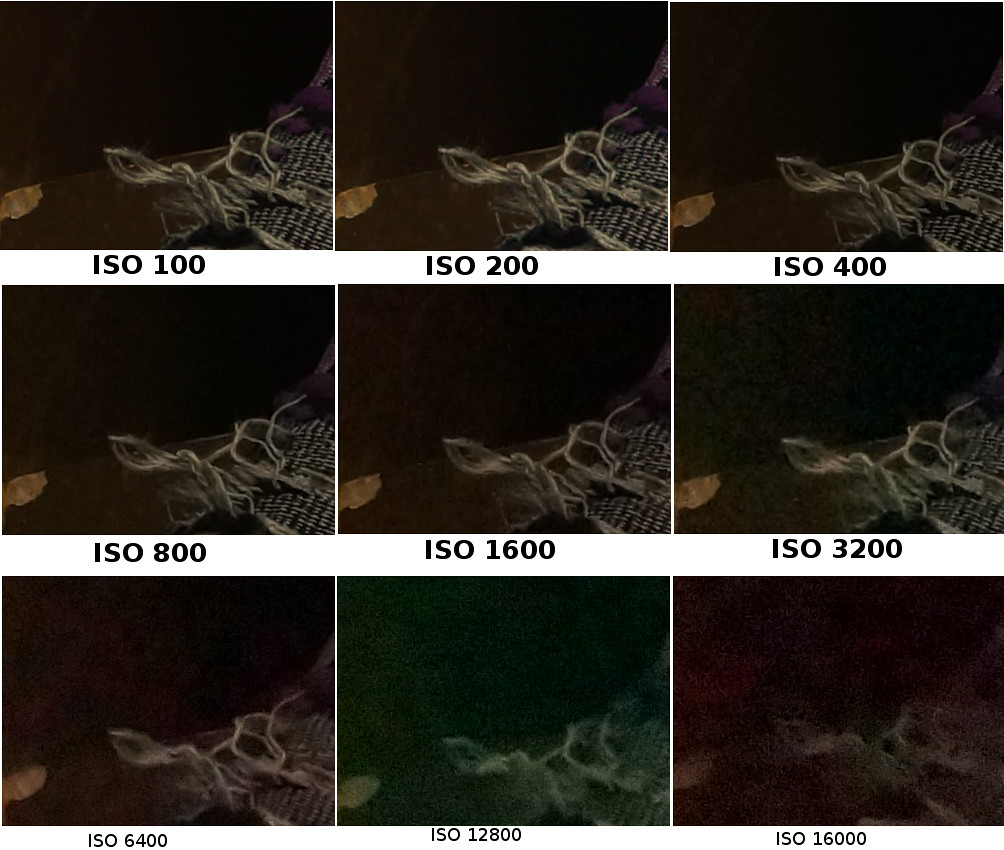
2. **Mastering ISO Sensitivity**ISO, an acronym for “International Organization of Standardization,” dictates how sensitive your camera’s sensor is to light. In essence, it’s your camera’s way of amplifying light when conditions are dim or reducing sensitivity when light is abundant. A lower ISO setting, such as ISO 100, makes the sensor less sensitive to light, demanding more light to achieve a proper exposure, typically resulting in cleaner images with minimal digital noise.
Conversely, increasing the ISO boosts the sensor’s sensitivity, allowing you to capture more light in low-light environments. This can be incredibly useful when you need to brighten a picture without slowing down your shutter speed or widening your aperture. In bright conditions, a low ISO is preferred to limit light sensitivity and prevent overexposed shots, preserving detail and color accuracy.
However, this increased sensitivity comes with a significant trade-off: higher ISO values introduce more grain or digital noise into your photos, which can visibly degrade image quality. The extent of this noise depends heavily on your phone’s camera sensor; larger sensors generally handle higher ISOs better. While some high-end phones, like the Huawei P30 Pro, can reach extraordinary ISOs of 409,600, it’s worth noting that image quality often diminishes significantly at such extremes, with many photographers preferring to stay below ISO 500 for a clean image on smartphones.
Thus, the art of mastering ISO lies in understanding this delicate balance. While it’s a powerful tool for brightening dark scenes, a general best practice is to keep your ISO at its base value whenever possible (often ISO 100, 160, or 200). Reserve higher ISOs for situations where adjusting aperture or shutter speed is not feasible or would compromise your desired creative effect, ensuring your images remain as clean and crisp as possible.
Read more about: Beyond the Hashtag: 12 Crucial Things Psychologists Say You Should Always Keep Private for Your Well-being

3. **Harnessing Shutter Speed for Motion Control**Shutter speed, sometimes referred to as ‘exposure time,’ dictates the duration for which your camera’s image sensor is exposed to light. In traditional cameras, a mechanical shutter physically opens and closes, producing that familiar ‘click.’ However, modern digital cameras, including smartphones, primarily utilize electronic shutters, where the sensor itself is electronically activated to accumulate light for a specific period before deactivating.
This duration directly impacts your image’s brightness: a faster shutter speed means less light reaches the sensor, resulting in a darker photo. Conversely, a slower shutter speed allows more light to enter, leading to a brighter image. Shutter speed is measured in seconds or fractions of a second; for instance, 1/4000s signifies a minuscule exposure time, while 1s denotes a full second of light gathering.
Beyond exposure, shutter speed is a critical tool for manipulating motion within your photographs. A fast shutter speed, such as 1/1000s, is excellent for ‘freezing’ fast-moving subjects, rendering them tack-sharp and capturing a decisive moment. This is ideal for sports photography, capturing children in play, or any scenario where you want to eliminate motion blur.
On the other hand, a slower shutter speed can be intentionally employed for artistic effect. By extending the exposure time, you introduce motion blur, which can convey a sense of speed or fluidity, such as silky smooth waterfalls or light trails from moving vehicles. This technique often requires a steady hand or, more ideally, a tripod to prevent blur from camera shake, which can become noticeable at speeds around 1/100s or slower.
Therefore, when adjusting your shutter speed, you’re not just controlling brightness; you’re making a conscious decision about how motion will be depicted in your final image. Often, you’ll find yourself needing to tinker with ISO or aperture in conjunction with shutter speed to compensate for exposure changes, ensuring your creative vision for motion doesn’t compromise the overall brightness of your shot.
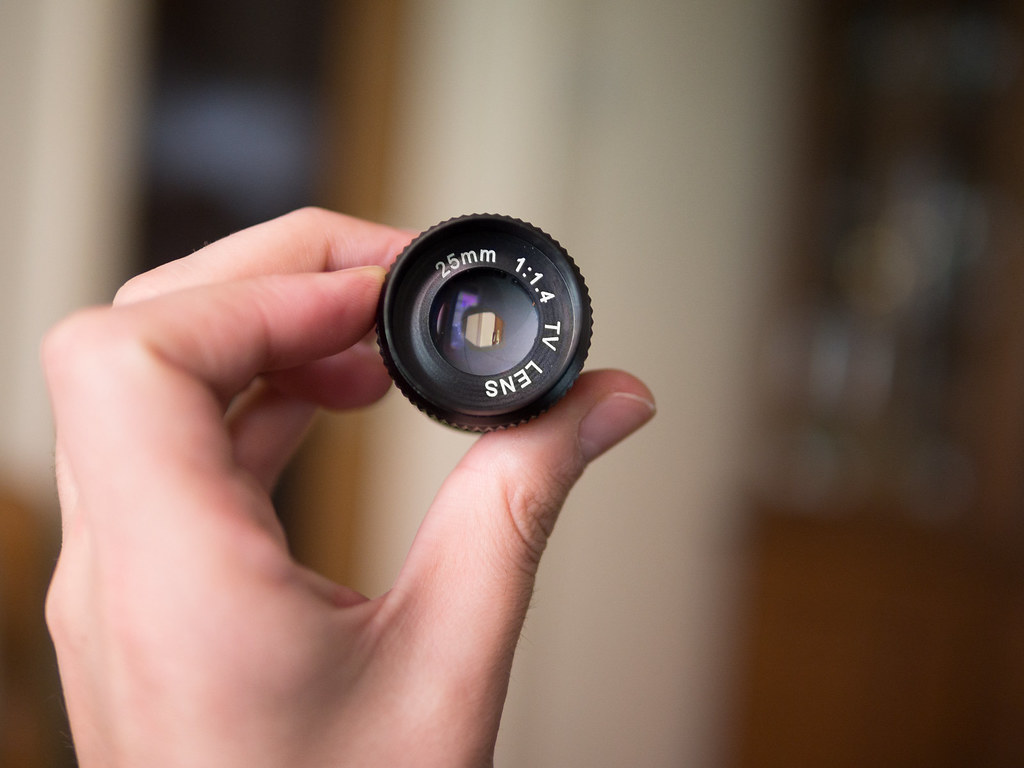
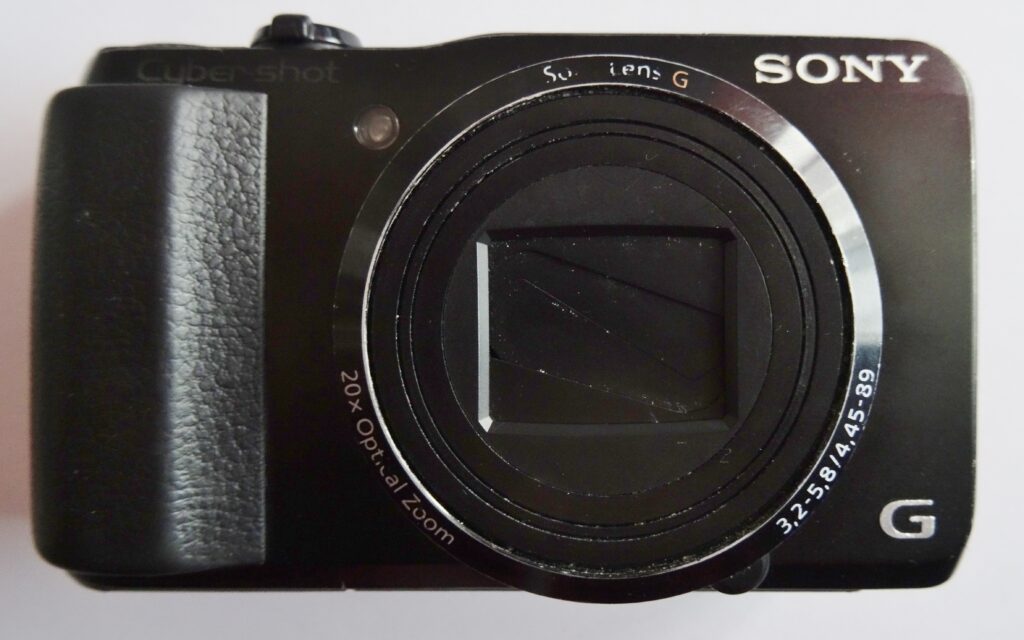
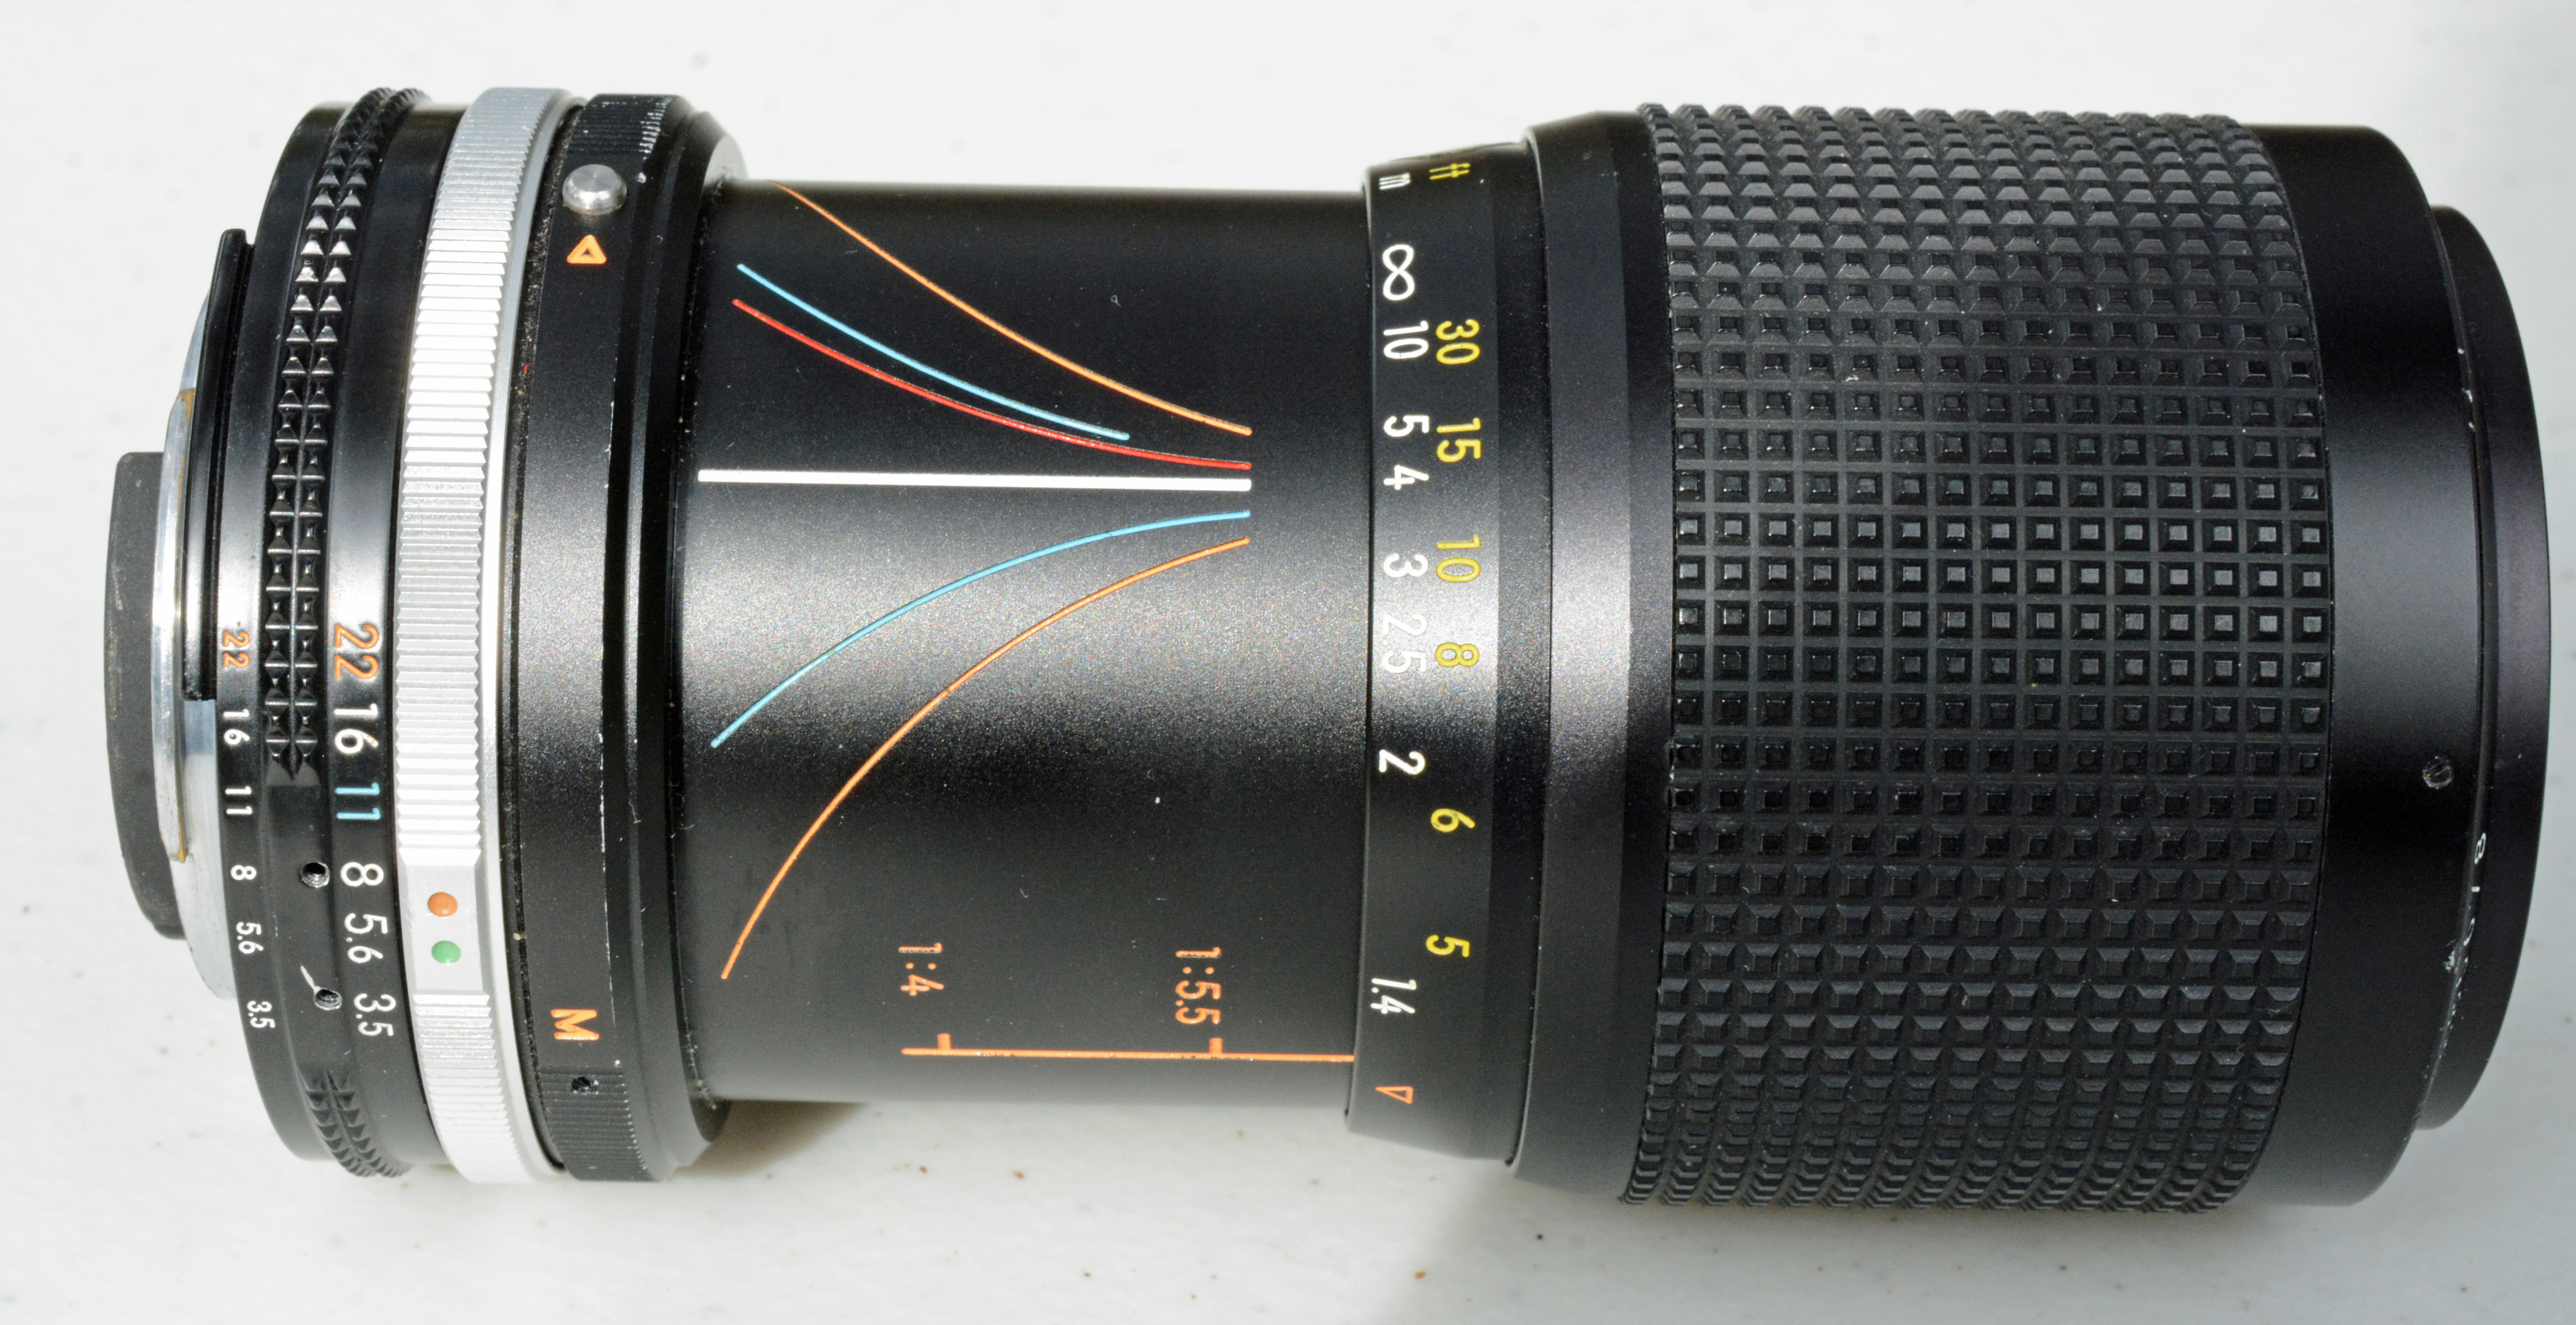
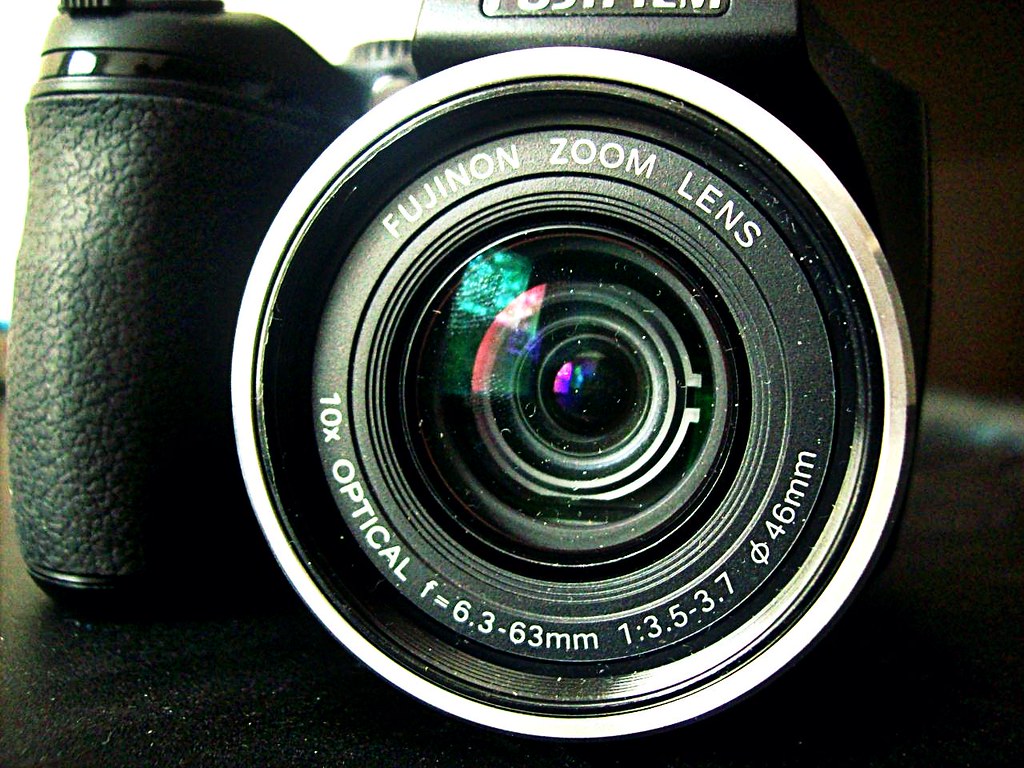
4. **Leveraging Aperture for Depth of Field**Aperture refers to the opening within your camera lens through which light passes to reach the sensor. It functions much like the iris of an eye, expanding or contracting to control the amount of light admitted. A wider aperture allows more light to enter, thereby increasing the exposure of your photograph, making the image brighter. Conversely, a narrower aperture restricts light, resulting in a darker image.
Photographers denote aperture sizes using f-stops, which can be a bit counter-intuitive at first: a smaller f-number signifies a wider aperture (e.g., f/1.8 lets in a lot of light), while a larger f-number indicates a narrower aperture (e.g., f/22 lets in very little light). This understanding is fundamental to not only controlling exposure but also mastering one of photography’s most beloved artistic effects: depth of field.
Depth of field refers to the range of distance in a photograph that appears acceptably sharp. A wider aperture (smaller f-number) produces a shallow depth of field, meaning only a narrow plane of your subject is in sharp focus, while the foreground and background blur beautifully. This ‘bokeh effect’ is highly sought after for portraits, helping the subject stand out against a creamy, out-of-focus backdrop.
In contrast, a narrower aperture (larger f-number) creates a deep depth of field, keeping more of the scene sharp from front to back. This is ideal for landscapes or group photos where you want everything, from nearby elements to distant horizons, to remain in crisp focus. When adjusting your aperture, remember that changing it for depth of field will necessitate compensatory adjustments to your ISO or shutter speed to maintain proper exposure.
While aperture control is a cornerstone of traditional photography, most modern smartphones come with fixed apertures, meaning you can’t manually adjust this setting directly. Notable exceptions like the Samsung Galaxy S9, Note 10, and S10 series featured a ‘Dual Aperture’ allowing a switch between f/1.5 and f/2.4, but this technology was ultimately “ditched” due to lack of widespread popularity. Despite this limitation, understanding aperture’s role is crucial, as many smartphone camera apps simulate these effects using software, and your knowledge will help you utilize those features more effectively.
Read more about: Beyond the Tanks: A Deep Dive into China’s Groundbreaking Radar and Advanced Weaponry Reshaping Global Military Dynamics

5. **Calibrating White Balance for Color Accuracy**White balance is a crucial setting found in virtually all camera and editing apps, designed to ensure that the colors in your photographs are rendered accurately and naturally. At its core, white balance adjusts the color that the camera perceives as true white, and by doing so, it shifts all the other colors in the image proportionally. This is particularly vital for compensating for the varying color temperatures introduced by different light sources.
Different lighting conditions possess unique color properties, measured in degrees Kelvin (K). For instance, incandescent bulbs often cast a warm, orange hue, while fluorescent lights might introduce a cool, greenish tint. If left uncorrected, these color casts can make your indoor shots look unnaturally orange or your outdoor photos appear too blue. White balance allows you to neutralize these unwanted color shifts, ensuring that whites appear pure and all other colors are true to life.
Most camera apps offer basic white balance presets such as ‘Cloudy,’ ‘Sunny,’ ‘Incandescent,’ and ‘Fluorescent,’ which provide quick corrections for common lighting scenarios. For more precise control, advanced manual mode apps often provide a full Kelvin (K) color temperature scale. This allows for fine-tuning the white point, letting you dial in temperatures ranging from overly red at 2000K to extremely blue at 9000K, giving you granular control over the color mood of your image.
Beyond mere correction, white balance can be wielded as a powerful creative tool. For example, setting your white balance to ‘Tungsten’ on an overcast day can imbue your photos with cool, blue hues and enhanced contrast, creating a dramatic atmosphere. Conversely, using the ‘Shade’ preset at sunset can intensify the golden light, making the scene appear even warmer and more inviting. Experimentation with these modes is highly encouraged to discover unique artistic expressions.
For those who prefer to make color decisions in post-production, shooting in RAW offers a significant advantage. RAW images retain all color information captured by the sensor, meaning you can adjust the white balance freely during editing without any data loss. This flexibility ensures that you can achieve perfect color rendition or apply creative color grading long after the shot has been taken, without compromising image quality.
Read more about: 14 Common Calibration Mistakes 9 Out of 10 Users Make with New Monitors

6. **Applying Exposure Compensation**Exposure compensation, often identified by a button featuring ‘+” and ‘-” signs on cameras, is an indispensable tool for fine-tuning the brightness of your images, particularly when you’re not in full manual mode. Most smartphone cameras also incorporate this feature, proving exceptionally helpful when certain settings, such as ISO or shutter speed, are left in an automatic mode, like when using Aperture Priority or Shutter Speed Priority.
The underlying principle is simple: while your camera’s automatic system diligently attempts to achieve what it perceives as ‘proper’ exposure by measuring ambient light, its interpretation might not always align with your creative intent. There are many instances where you might deliberately want your photograph to appear slightly darker or brighter than the camera’s default calculation – perhaps to evoke a specific mood or to prevent blowing out highlights in a bright scene.
Exposure compensation empowers you to subtly override the camera’s automatic exposure settings. By adjusting this control, you effectively ‘tell’ the camera to either increase or decrease the overall brightness. The camera then compensates by automatically tweaking other settings, most commonly the ISO, to achieve your desired exposure level. This gives you a quick and intuitive way to influence the final brightness without having to delve into full manual control over every parameter.
This compensation is typically measured in f-stops, represented by values such as –1.0, –0.7, –0.3, 0.0, +0.3, +0.7, and +1.0. A value like –1.0 signifies one ‘stop’ less exposure, making the image darker, while +1.0 indicates one ‘stop’ more exposure, brightening the image. It’s a pragmatic tool for achieving a nuanced artistic vision, ensuring your photographs reflect your perspective rather than solely the camera’s algorithmic judgment, making it easier to adjust on the fly without complex manual calculations.
Read more about: Avoid These 15 Movies: A List of Notorious Film Flops
8. **Mastering AF-S (Single Auto-focus)**AF-S, or One-Shot Auto-focus, is a highly effective focusing mode primarily designed for situations where your photographic subject remains completely stationary. When you engage AF-S, often by tapping on your subject on the screen, the camera’s auto-focus system locks onto that specific point, meticulously ensuring it is rendered in sharp focus.
The critical characteristic of AF-S is its ‘lock-and-hold’ mechanism. Once focus is acquired and confirmed, it remains fixed in that position. This means if your subject moves even slightly after the focus has been locked, or if you recompose your shot by moving the camera, the subject will no longer be in sharp focus, requiring you to re-acquire focus.
This mode is particularly ideal for subjects like landscapes, still life, or portraits where the person is posing and not moving around. Its precision in locking focus makes it a reliable choice for ensuring static elements in your composition are tack-sharp, without the camera’s focus system continuously hunting for movement.
While seemingly straightforward, mastering AF-S involves careful composition and patience. You tap to focus, wait for the confirmation (often a green box or sound), and then capture your shot. Any subsequent movement by the subject or the camera necessitates repeating this process for optimal sharpness.

9. **Employing AF-C (Continuous Auto-focus)**In stark contrast to AF-S, Continuous Auto-focus (AF-C) is built for dynamic scenarios where your subject is in motion. As its name suggests, AF-C provides continuous focusing, actively tracking a subject once initial focus is acquired. This allows you to follow a moving subject and maintain sharp focus without needing to constantly re-tap or re-engage the focus mechanism.
When you select AF-C and tap on your subject, the camera will continuously adjust the focus as the subject moves closer or further away, or even across the frame. This ‘tracking’ capability is invaluable for capturing sharp images of fast-moving elements, transforming your ability to photograph action with your smartphone.
Consider sports photography, children playing, or even capturing pets on the go; these are prime examples where AF-C truly shines. The ability to keep the subject in focus even as you move your camera slightly to recompose, or as the subject itself changes position, significantly increases your chances of getting a crisp shot.
While powerful, the effectiveness of AF-C can vary between smartphone models and third-party apps, as it relies heavily on the device’s processing power and auto-focus algorithms. Practicing with this mode in various fast-paced situations will help you understand its strengths and limitations on your specific device, refining your approach to capturing movement.
10. **The Precision of Manual Focus (MF)**Manual focus (MF) offers the most granular control over what part of your image appears sharp. Rather than relying on the camera’s algorithms, manual focus puts the control entirely in your hands, typically presenting a slider on the screen that allows you to shift the focal plane precisely. This means you dictate exactly where the sharpest point of your image will be.
While modern smartphone auto-focus systems are often fast and accurate, there are numerous scenarios where manual focus becomes invaluable. For creative and artistic purposes, such as achieving extremely shallow depth of field effects or emphasizing a very specific detail, manual focus provides the pinpoint accuracy that auto-focus might sometimes miss.
Furthermore, manual focus excels in challenging lighting conditions where light-dependent passive auto-focus systems might struggle. In very low light, or in scenes with very little contrast, auto-focus can ‘hunt’ unsuccessfully, failing to lock onto a subject. In these moments, switching to manual focus can be the only way to achieve a sharp image.
Mastering manual focus requires a keen eye and a steady hand. Zooming in on your screen to critically evaluate sharpness, often referred to as ‘focus peaking’ in some advanced apps, can greatly assist. It’s a skill that takes practice but unlocks a level of creative control that even the best auto-focus systems cannot provide.
11. **Strategic Advantages of Manual Mode**Stepping into manual mode with your smartphone camera unlocks a realm of creative possibilities that auto mode simply cannot offer. The primary advantage is absolute control over your image’s exposure and artistic direction, moving beyond what the camera’s AI ‘thinks’ looks good to capture precisely what *you* envision.
A key benefit is the ability to override the camera’s algorithmic judgment. For example, if you desire a darker, more dramatic image—like a scary movie ambiance—manual mode allows you to consciously underexpose, whereas auto mode would likely attempt to brighten it. This personal artistic vision can be infused directly into the shot.
Moreover, manual control allows you to make deliberate trade-offs, deciding what aspects of an image you are willing to ‘sacrifice’ for others. Perhaps you prefer less digital noise and are willing to use a slower shutter speed for a still subject, even if it might slightly increase motion blur potential. Manual mode empowers you to prioritize these creative choices.
This level of control also extends to details like introducing intentional grain by raising ISO for an older film-like aesthetic, or ensuring perfect sharpness by setting a specific shutter speed. It’s about taking the reins, making informed decisions, and transforming your smartphone from a point-and-shoot device into a sophisticated tool for photographic expression.
Read more about: Navigating the Tire Market: 15 Essential Tips to Secure the Best Price and Maximize Value for Your Next Set of Tires
12. **Limitations & When to Avoid Manual Mode**While manual mode offers unparalleled control, it’s not a universal solution and comes with its own set of limitations. Understanding when to avoid it is just as important as knowing when to use it, ensuring you achieve the best possible results in any given photographic scenario.
Manual mode is generally best avoided in rapidly changing lighting conditions or when your subject is constantly moving between varied light and shadow, such as photographing a bird flitting through trees. In these dynamic situations, the time required to manually adjust ISO, aperture (if available), and shutter speed can lead to missed shots.
Similarly, for fast-paced action photography where nailing the autofocus is the primary concern, or when your exposure settings take a backseat to capturing the decisive moment, relying on a quicker, more responsive semi-automatic or even full-auto mode can be more practical. The speed of adjustment in manual mode might simply be too slow.
Furthermore, for beginner photographers still gaining familiarity with the intricacies of the exposure triangle and other settings, diving straight into full manual mode can be overwhelming and counterproductive. It’s a learning curve that, while rewarding, might initially lead to frustration and underexposed or overexposed images. For these reasons, choosing an alternative mode often proves more efficient and effective.
Read more about: Don’t Let These Simple Mistakes Cost You! How to Avoid Instantly Voiding Your Home Warranty
13. **Exploring Semi-Automatic Modes: Aperture Priority**For photographers who desire some manual control without the complexity of managing every single setting, semi-automatic modes offer an excellent middle ground. Aperture Priority mode, often labeled ‘A’ or ‘Av’ on traditional cameras and found in many advanced smartphone apps, allows you to take control of the aperture and ISO while the camera automatically selects the appropriate shutter speed.
This mode is particularly advantageous when your primary creative concern is controlling the depth of field. By setting your desired aperture—a wider aperture for a blurry background (bokeh effect) or a narrower aperture for a deep depth of field where everything is sharp—you can confidently achieve your artistic vision for focus separation.
The camera then intelligently calculates and sets the shutter speed necessary to achieve a correct exposure based on your chosen aperture and ISO. This frees you from having to constantly monitor and adjust shutter speed, making it ideal for portraits, still life, or any scene where background blur is a key element, especially in consistent lighting.
Aperture Priority mode serves as a fantastic transitional step for those moving from full auto to manual. It allows you to experiment with one of the most impactful creative controls (aperture) while still benefiting from the camera’s automation for other critical settings, building confidence before tackling full manual control.

14. **Exploring Semi-Automatic Modes: Shutter Priority**Mirroring Aperture Priority, Shutter Priority mode—typically labeled ‘S’ or ‘Tv’—is another powerful semi-automatic option that shifts creative control to a different aspect of the exposure triangle. In this mode, you dictate the shutter speed and ISO, and the camera automatically selects the aperture required for a balanced exposure.
Shutter Priority is the go-to mode when your creative intent revolves around controlling motion within your photographs. If you want to freeze fast-moving action, you can dial in a very quick shutter speed like 1/1000s. Conversely, if you aim to create artistic motion blur, such as silky water or light trails, you would choose a slower shutter speed like 1/30s or longer.
This mode liberates you from worrying about the aperture, allowing you to concentrate solely on how motion will be depicted in your image. It’s incredibly useful for sports, street photography, capturing wildlife, or any scenario where the speed of your subject dictates the primary exposure setting.
Like Aperture Priority, Shutter Priority acts as an excellent bridge to full manual control, enabling photographers to master the manipulation of motion blur and sharpness without the added pressure of simultaneously managing aperture settings. It ensures your vision for capturing or conveying movement is precisely executed.
15. **Program Mode and Leveraging Third-Party Camera Apps**Stepping beyond full auto, Program mode (‘P’) offers another semi-automatic stepping stone for photographers seeking more control. In Program mode, the camera sets both the shutter speed and aperture for a balanced exposure, similar to auto mode, but it gives you the crucial ability to control the ISO and adjust exposure via the camera’s exposure compensation setting. This makes it a great transitional mode for gaining confidence in exposure adjustments without the full manual dive.
However, for those whose smartphone’s stock camera app lacks a robust manual mode, or for users seeking even greater functionality, leveraging third-party camera apps is an absolute game-changer. These apps unlock hidden capabilities and provide comprehensive manual controls often absent from native interfaces, including full manual mode for ISO, shutter speed, and focus, as well as the ability to shoot in RAW.
Many popular and powerful third-party camera apps exist to fill this void and expand your creative toolkit. Apps like Adobe Lightroom, Manual Camera DSLR Professional, ProShot, Open Camera, and Camera FV-5 are highly recommended. They often feature intuitive interfaces, advanced focusing options, and a full Kelvin (K) color temperature scale for white balance, offering a professional-level experience on your smartphone.
These applications not only provide the manual controls discussed throughout this guide but often come with additional features like advanced metering modes, custom presets, and intervalometers. For any aspiring smartphone photographer serious about pushing the boundaries of their device’s camera, exploring and utilizing these third-party solutions is an indispensable step towards achieving their full artistic potential and capturing images exactly as desired.
Read more about: The Silent Passenger: How Car Manufacturers Are Covertly Tracking Your Driving Habits and What It Means for Your Digital Life
Ultimately, whether you lean on semi-automatic modes, embrace full manual control, or enhance your toolkit with third-party applications, the journey to mastering smartphone photography is about intentionality. It’s about understanding the core principles, experimenting with the tools at your disposal, and transforming your daily device into a powerful instrument for visual storytelling. Your smartphone camera is ready; are you ready to take full control and unleash its true potential? The answers lie in practice and a willingness to explore these ‘gone but not forgotten’ skills, ensuring every photo you take is a deliberate stroke of your creative brush.


