The quest for original paint on a vintage vehicle is, for many enthusiasts, the holy grail. It’s a journey into the meticulous history of a car, a testament to its preservation, and a significant factor in its overall value. As a seasoned expert in the collector car business, I’ve often been confronted with the pivotal question: “has it ever been repainted?” The answer, as many in the know understand, can truly make or break a sale, profoundly affecting a car’s worth.
Developing the keen “eye” to discern genuine factory finishes from even the most expertly concealed resprays is a skillset honed over years in the field. This expertise isn’t born overnight; it emerges from countless inspections, often alongside licensed concours judges, and even through hands-on experience in a body shop. It’s about recognizing the subtle nuances, the minute details that betray a vehicle’s hidden paint story. This guide is designed to impart that hard-won knowledge, focusing on those “hot spots” where even the most “undetectable” repairs often expose themselves.
Forget the reliance on a paint thickness gauge as your sole arbiter; while useful, it’s far from required. The true power lies in understanding the inherent characteristics of factory paint application and knowing precisely where to look for the tell-tale signs of subsequent work. This comprehensive approach, focusing on visual indicators and deep comparative analysis, will empower you to uncover the vast majority of aftermarket paintwork with confidence, often in mere moments. This article, unlike many others, will not skip the crucial details, but will lay bare the secrets to authenticating original paint.
1. **The Blueprint: Understanding Factory Paint Application**To truly authenticate a car’s paint job, the single most important piece of knowledge you must possess is knowing precisely “how cars are painted from the factory.” This foundational understanding serves as your baseline, allowing you to instantly flag any deviations. Manufacturers approach the painting process with a specific, uniform methodology that aftermarket body shops simply cannot replicate to the same exact standard.
Factory vehicles are painted as a bare shell, meaning the foundational structure of the car receives its color before virtually any other component is added. Imagine the empty body rolling through the paint booth, receiving an even coat across all its surfaces. It is only “after the fact” that elements such as “trim, glass, suspension components, gas tank, and weatherstripping is added.” This critical sequence means that if you encounter “paint on it (including the hardware that holds it),” in these areas, it unequivocally indicates that “paintwork was done in this area.”
This principle is your primary filter. A car that has been repainted will invariably show paint where it shouldn’t be, because masking off every single component to factory precision in an aftermarket setting is extraordinarily difficult and often overlooked. The factory process is a systemic application to a clean, empty canvas, ensuring a level of uniformity and purity that is challenging, if not impossible, to perfectly replicate in a post-assembly environment. Always keep this fundamental rule at the forefront of your inspection.
Read more about: The Ultimate Lifehacker Guide: 12 Simple Ways to Erase Car Scratches with Toothpaste
2. **The Gold Standard: Benchmarking Against Pristine Examples**Recognizing a problematic car becomes remarkably simple once you have a clear mental image, or even better, a physical understanding of “what a perfect one looks like.” This isn’t about finding an identical car for sale; it’s about building a robust internal reference library of factory-correct finishes and assemblies. The more meticulously you study truly original examples, the more acutely sensitive your eye becomes to anomalies.
Begin by actively searching classifieds for “ultra low mileage examples” of the specific car you intend to purchase. These pristine vehicles often come with “detailed, lengthy ads with lots of close ups” precisely because their originality is a key selling point. Devote time to carefully studying these photographs, paying particular attention to areas like “door sills, the panel gaps, exterior trim pieces, VIN stickers, miscellaneous hardware inside the door frame, etc.” Observe “what parts are painted and what parts aren’t.”
If feasible, taking the extra step to “inspect it in person and shoot detailed pictures” of such a benchmark vehicle is invaluable. This hands-on experience allows for a tactile and visual immersion into factory correctness that photos alone cannot fully convey. The investment of time here is not a luxury but a necessity, especially “if you’re investing a large chunk of money on the car of your dreams.” Each “perfect” car you dissect enhances your ability to “spot incorrect details on other vehicles,” arming you with an unparalleled sense of authenticity.
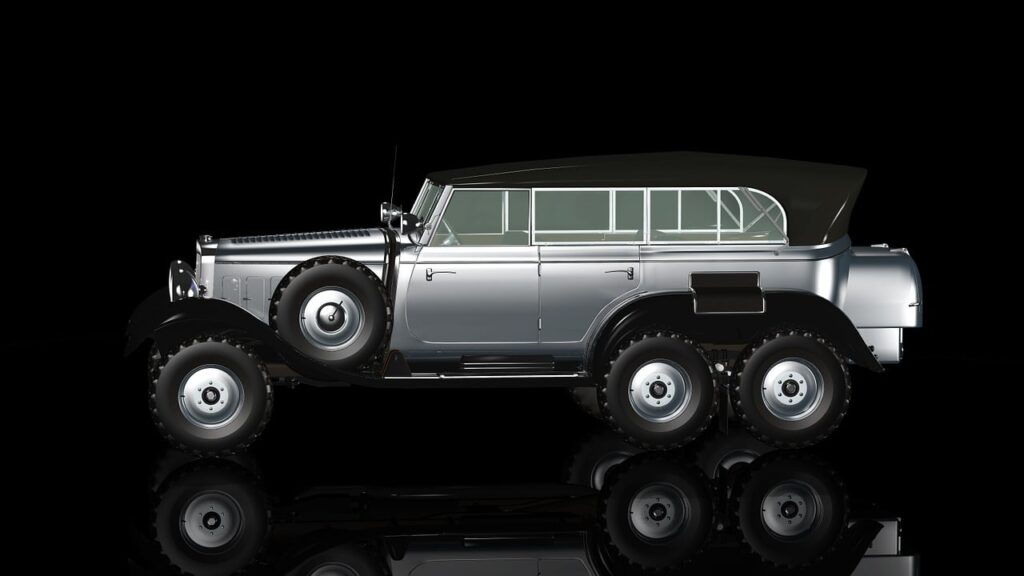
3. **The Quick Check: Leveraging Side-by-Side Comparison**Perhaps one of the most basic, yet incredibly effective, techniques in paint inspection is to “Always look at the opposite side of the car for comparison.” This simple trick serves as a remarkably swift way to detect paintwork, leveraging the inherent symmetry of factory production. From the moment a car leaves the assembly line, “both sides will look exactly alike.” This uniformity is a non-negotiable aspect of factory painting.
Consequently, “if an area (or object) is unpainted on one side, it will be unpainted on the other.” This principle provides a powerful and immediate diagnostic tool. Many aftermarket body shops, striving for efficiency or simply lacking the exhaustive attention to detail of a factory, often “skimp on the details.” This can lead to noticeable discrepancies between the two sides of a vehicle where paintwork has been performed.
Consider an example: “Too many times I see a piece of unpainted hardware on one side, yet the other side shows it painted.” Such an observation is a direct contradiction of factory practice and a clear indicator of a respray. When in doubt, take that walk around the car, compare the left to the right, and let the factory’s intended uniformity guide your eye. This method alone has proven instrumental in “expos[ing] countless repainted vehicles in the car business.”
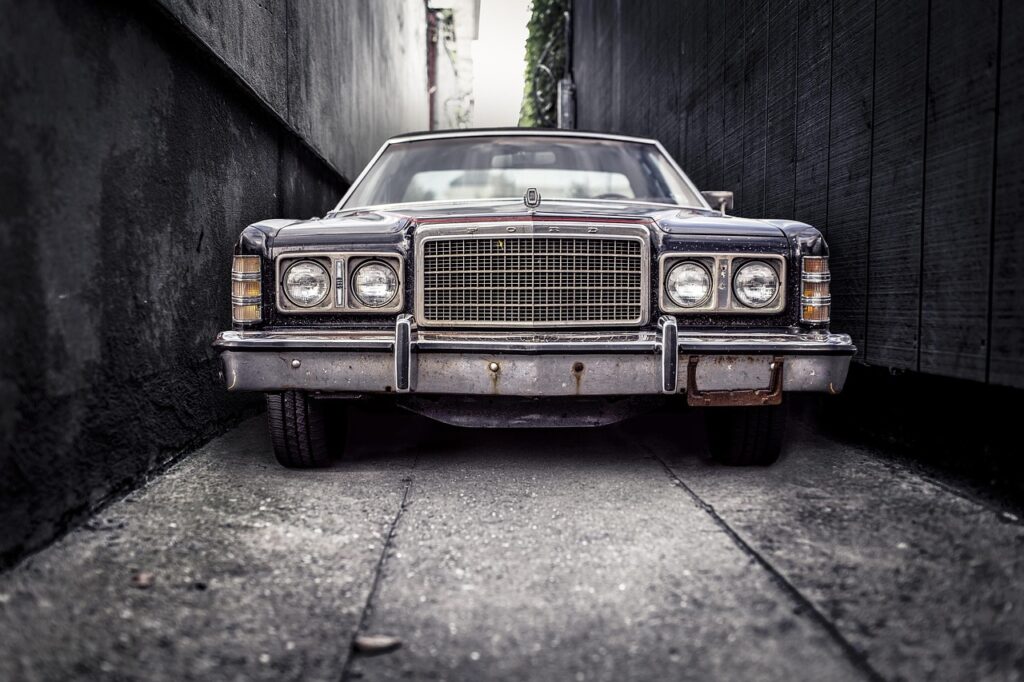
4. **The Gateway: Meticulously Inspecting Door Pillars, Jambs, and Sills**The entire region encompassing the “Door Pillar, Jambs and Sills,” along with the adjacent door hinge area, holds a trove of clues, often revealing “more signs of prior paintwork than any other location on a car.” This is a prime “hot spot” because these intricate areas are notoriously difficult for aftermarket body shops to mask and paint with factory-level precision. A thorough examination here can expose even the most subtle discrepancies.
Your initial focus should be to “inspect the door jamb edge for a tape line.” This tell-tale sign manifests as “a raised edge of new paint over the old paint,” a direct artifact “from the tape used to mask the area not being painted.” The context provides a vivid example on a “Jaguar,” where “you can see the tape line along the entire edge of the door, confirming the door was painted.” This physical ridge is a definitive indicator that a section was protected during a respray, leaving a visible seam.
However, a crucial caveat exists: during close inspection, you may come across a faint white line that mimics a tape line. It’s imperative to “make sure to rub it with your thumb,” because while it looks like a tape edge, it’s sometimes simply “leftover wax residue from a recent detail job (and it will rub right off).” Always verify before drawing conclusions.
Beyond tape lines, scrutinize the presence of paint on components that should remain unpainted. Remember the factory blueprint: “cars are painted as a bare shell.” This means “Rubber moldings, vents, stickers, labels, and door latches are added after the fact, so they shouldn’t have a hint of paint on them.” If you observe “overspray on the weatherstripping around the jamb,” as exemplified on a BMW, this is a clear red flag. Even small traces, especially on darker cars, are often missed by an unsuspecting eye but reveal aftermarket intervention. “Factory weatherstripping is applied after the body is painted, so weatherstripping should be free of paint.”
Hardware in these areas is equally revealing. Crucially, “No hardware on the B pillar or door jambs will ever be painted by the factory,” with specific exceptions noted for “door hinge hardware holding the rear door on a 4dr vehicle” and Corvettes (which are explicitly excluded from this article’s metal-bodied focus due to their unique fiberglass construction). All other fasteners in these locations—holding latches, latch stops, weatherstripping, and trim pieces—are installed post-paint. Furthermore, “No screw heads will ever be painted by the factory (anywhere on the car).” Any item fastened by a screw is installed after the body shell exits the paint booth. If you see paint on these, it’s a clear sign.
Finally, dedicate attention to “overspray around VIN stickers, tire loading labels, and emblems.” These federally mandated stickers are not easily removed. Body shops typically “tape over them and trim excess tape from around the perimeter using an X-acto knife,” which, despite best efforts, often leaves them “vulnerable to overspray around the edges.” Comparing both sides of the car, as noted previously, is exceptionally pertinent here. A factory finish ensures uniformity, so if one door jamb looks pristine and the other shows these signs, you have conclusive evidence of paintwork. The images of an “unrestored, 53k mile Plymouth Cuda from 1970” perfectly illustrate an original jamb, free of overspray, with “sticker, hardware, weatherstripping, and trim all appear untouched” — a stark contrast to a repainted Camaro.
5. **The Pivot Point: Uncovering Clues in Door Hinges**The door hinge assembly, a critical pivot point for the vehicle’s doors, often serves as a silent witness to past paintwork. This area presents significant challenges for body shops to mask effectively, making it a prime location to uncover hidden secrets. A thorough inspection of the hinges can expose overspray, mismatched components, or even evidence of tampering that clearly points to a respray.
As detailed in the context, specific visual anomalies around the door hinge on a Camaro can be quite telling. Look for “half painted hardware,” which is a clear departure from factory standards where bolts holding body panels and their accompanying hinges should be “completely covered in paint,” not partially. Similarly, “unpainted hardware with evidence of tampering” suggests removal and reinstallation, often necessitated by paintwork. The presence of “missing hardware” in this crucial area is another significant red flag, indicating a hurried or incomplete reassembly post-paint.
The hinge itself is another key indicator. “This can be a difficult area to mask off,” and consequently, “overspray easily lands here when fenders and doors are painted.” Factory processes ensure that the hinge, once installed, is integrated seamlessly with the overall paint application, without stray marks or uneven coverage. If you are ever in doubt, the simple act of comparing “it to the hinge on the other side of the car” can provide immediate clarity. “If the painted areas look different, then paint work was done.” Getting into the routine of inspecting this often-overlooked area can genuinely uncover a wealth of information about a car’s paint history.
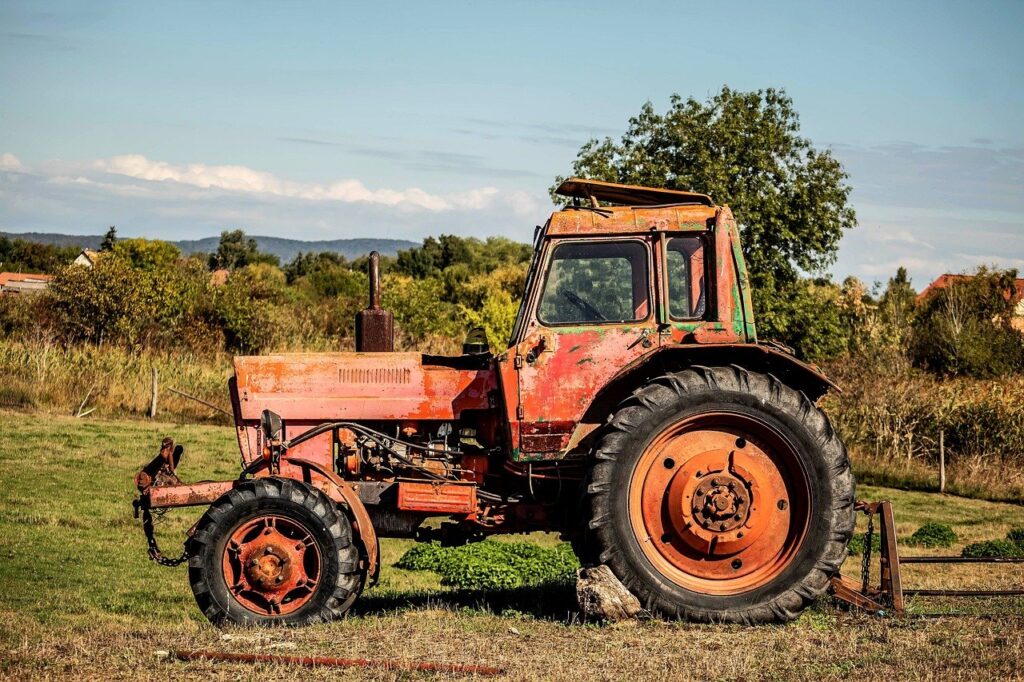
6. **The Test of Time: Differentiating Factory Wear from Aftermarket Chipping and Peeling**The way a car’s paint ages and endures over time is a profoundly revealing aspect of its originality. Aftermarket paint jobs, despite their initial appearance, “wear much differently over time than a factory paint job.” Understanding this difference, particularly concerning “paint chipping and peeling,” is crucial for authenticating a vintage vehicle’s finish. Manufacturers invest “great lengths to ensure their paint doesn’t chip easily under normal wear and tear” for a very practical reason: rust prevention and warranty adherence.
Factory paint, even older acrylic lacquer, is designed for immense durability. The multi-stage process—including “painstaking surface prep, full body electro dipping, and 300 degree oven baking with 360 degree coverage”—creates an exceptionally tough and enduring finish. Each coat is “cured so completely, with a crosslink bond so strong,” that the paint exhibits remarkable resilience. This includes “flexible properties of modern factory paint” that allow for shallow dents without immediate chipping, and a robust “chemical bond” that extends even to “panel edges and corners.” Therefore, “factory paint does NOT chip easily under normal wear and tear, and it will NEVER peel off!”
Contrast this with aftermarket paint. The context cites a “1954 Corvette” whose owner claimed “original paint from 1954” despite obvious peeling. The key takeaway here is that “The painter didn’t even bother removing the chrome door molding and side mirror.” This oversight creates “a raised paint ‘lip’, or exposed edge, running along the door molding,” which is inherently “prone to lifting and peeling.” When a chip occurs on an aftermarket job, it “tends to get bigger over time (due to inadequate adhesion),” a phenomenon you will not observe on factory paint, where chips “will remain the same size for years.” The partial curing with “standalone heat lamps” in body shops, unable to evenly heat entire panels, contributes to “incomplete curing and sub-par adhesion around the perimeter,” making aftermarket jobs “weak” around the edges.
Even on newer vehicles, such as the “Jaguar door” mentioned, “paint chips in areas that aren’t prone to paint chip damage” are a significant giveaway. Factory paint is incredibly resistant to chipping in less exposed areas. The inability to replicate this type of damage “in a million years” with a screwdriver on original paint underscores the difference. Such chipping often signals “incomplete adhesion from improper prep or curing.” Furthermore, the context highlights that if a door “refuses to function as cleanly as the driver side door,” it suggests the door “has clearly been removed, painted, and reattached without proper alignment.” These observations collectively paint a clear picture of aftermarket intervention versus the enduring integrity of a factory finish.
Continuing our deep dive into the art of authenticating original paint, this section ventures into advanced techniques and specific, often-overlooked areas. These are the details that can truly differentiate a factory finish from even the most sophisticated respray, demanding a keen eye and a thorough understanding of automotive manufacturing processes.
7. **The Reflective Clue: Examining the Base of Side Mirrors**Modern vehicle construction often makes side mirrors a particularly telling area for paint authentication. On contemporary cars, the removal of side mirrors typically necessitates the prior removal of the door panel. This complex procedure is often a deterrent for aftermarket body shops.
Faced with the labor-intensive task, many simply opt to mask off the mirror and paint around it. This expedient approach frequently results in a tell-tale thin line of overspray visible around the mirror’s base. Such a detail stands in stark contrast to factory standards.
Manufacturers meticulously install side mirrors *after* the car has received its full paint application. Consequently, a truly original base should appear clean, uniform, and entirely free of any paint marks or tape lines. Enthusiasts should be aware that factory original mirror housings, particularly those made of plastic, might exhibit a slightly different shade from the adjacent metal door. This is not an indication of repaint, but rather a result of different painting and curing processes at a separate location. The critical factor remains the presence or absence of overspray and clean, untouched edges at the mirror’s base, confirming whether the original door panel has been undisturbed.
8. **The Hardware Hunt: Spotting Missing, Mismatching, and Painted Fasteners**Delving into the world of automotive manufacturing reveals a fundamental principle: cars are painted as bare shells. This means that, from the factory, only the bolts specifically designed to hold major body panels and hinges receive a coat of body-colored paint. Every other screw or non-structural rivet is installed much later in the assembly process.
Therefore, finding any paint on these post-assembly fasteners—be it a screw head, a rivet, or hardware holding interior trim or accessories—is a definitive indicator of aftermarket paintwork. Furthermore, a close inspection of painted body panel hardware can often expose subtle signs of prior removal. Impact guns, commonly used in body shops, can slightly round the edges of bolt heads. This action reveals unpainted metal underneath a bolt that should ideally be uniformly covered in factory paint.
Evidence of a bolt being unseated, such as marred edges or fresh tool marks, strongly suggests it has been removed and reinstalled. Such removal is rarely necessary outside of fender replacement or extensive bodywork on the original panel. While encountering missing or mismatched hardware on plastic wheel well liners is less alarming, as these are often removed for suspension or axle service, it still warrants a more thorough inspection of surrounding areas for further clues.
Crucially, when examining door jambs, trim, and weatherstripping hardware, a visual comparison between both sides of the car is paramount. Factory assembly ensures the use of identical hardware on each side. Therefore, discrepancies such as worn or mismatched screws, or varying bolt sizes between sides, serve as significant red flags. While some hardware might be removed for reasons unrelated to paint, these inconsistencies demand increased vigilance for more conclusive signs of a respray.
9. **The Hidden Nook: What the Fuel Filler Door Reveals**The seemingly unassuming fuel filler door often holds a surprising amount of information about a vehicle’s history, extending beyond just its paint story. When inspecting this small access point, two primary indicators come into sharp focus. The first, and most direct for paint authentication, is the presence of overspray or a discernible tape line around the inner edge, particularly close to the hinge mechanism.
This area presents a unique challenge for aftermarket body shops to mask off completely, making it a common spot where paint abnormalities betray a respray. A factory finish will typically show a clean, unblemished inner surface, free from any paint accumulation or sharp edges from masking tape. The hardware responsible for securing the plastic filler neck shield, for instance, should always be unpainted, as this cover is invariably added after the main body shell has exited the paint booth.
Beyond paint, the fuel filler door can also offer insights into a car’s overall care and environment. An excessive amount of caked mud, dried leaves, or general dirt and debris, particularly when the rest of the car appears meticulously clean and detailed, raises immediate questions. Sellers might claim the vehicle was “always kept indoors” or “never driven in the rain,” but significant filth within this enclosed space suggests prolonged outdoor exposure and many encounters with adverse weather. This small detail can be a valuable clue to a car’s true past life.

10. **Under the Hood: Deciphering the Engine Compartment and Cowl’s Paint Story**The engine compartment and cowl area can present a complex narrative when authenticating paint, especially on older vehicles. For instance, discovering black overspray in this region on certain classic cars, notably many American models from the 1960s, shouldn’t immediately lead to a conclusion of aftermarket work. Some of these vehicles genuinely left the factory with a “blackout” treatment applied to the cowl, firewall, or radiator support.
This blackout application was typically performed in a separate booth, subsequent to the body’s primary paint job. Being largely a hand-applied process on a freshly painted shell, it necessitated masking. Given the often-rushed factory environment, it was common for vehicles receiving this treatment to exhibit some degree of black overspray around the masking lines. The key distinction here is that this should be *black* overspray *over* the body color; if the colors are reversed, it’s a clear sign of subsequent paintwork.
A frequent and crucial discussion among enthusiasts revolves around whether a specific car originally featured a black engine bay or one matching the body color. Definitive answers often require diligent research. Consulting promotional photographs, original factory brochures, period assembly plant documentaries, or examining preservation class winners can provide invaluable benchmarks. In some cases, only lighter-colored vehicles received the “blackout” treatment from the factory.
General guidelines exist, though exceptions abound due to manufacturing inconsistencies. Most American cars, with the notable exception of Mopar models, typically featured black engine bays after 1963, and some even as early as 1962. Prior to that, nearly all American cars had body-colored firewalls. Furthermore, no Corvette, across any model year, ever came with a body-colored engine bay. Unibody cars, such as Mopars, generally sported body-color paint throughout the engine bay, including the firewall and cowl, while most classic European cars also had body-colored firewalls. Porsche 911s, for example, transitioned to body-colored engine bays after 1973. Due to the significant variations across makes, models, and even different production plants, consulting specialized experts is often the most reliable path for authentication in this complex area.
11. **The Water Channels: Scrutinizing Trunk Areas and Rain Gutters**The rain gutters, running along the trunk, quarter panels, and fenders, are often overlooked yet potent indicators of past paintwork. Developing the habit of not just opening the trunk but also meticulously scanning these channels can reveal crucial clues, including subtle tape lines or areas of overspray. These discoveries can pinpoint aftermarket painting on the quarter panels, trunk, rear window area, or even a combination of these components.
A significant red flag emerges when one side of the car’s rain gutter appears noticeably cleaner and shinier than the other. For a vehicle that has been driven and aged, it is entirely expected for both gutters to exhibit an equal degree of dirt, grime, and slight fading from exposure to rain and environmental debris. A stark contrast in cleanliness or sheen strongly suggests recent intervention, typically a respray on the brighter side.
Further supporting evidence often accompanies such discrepancies. For example, if the shinier side also reveals hardware with rounded edges, indicating it has been unseated, or if associated plastic wheel tub/fender liners are loose and missing fasteners, these are compelling signs of extensive work. The absence of such irregularities on the opposing side solidifies the conclusion of aftermarket paintwork. Even in cases where the area appears almost pristine, a single, tiny drip mark can be the ultimate giveaway, emphasizing the importance of meticulous scrutiny in these common problem areas.

12. **The Access Points and Body Alignment: Investigating Keyhole Surrounds, Door Handles, and Uneven Panel Gaps**
The subtle details around keyhole surrounds and door handles, especially on older vehicles where keyholes are more prominent, often escape the notice of a hurried inspection. Removing these components typically requires disassembling the door panel, a step many body shops prefer to avoid during a respray. As a result, the edges around these access points frequently catch overspray that infiltrates past inadequate masking tape. An original finish, in contrast, will be perfectly clean and unmarred around these critical interfaces.
Beyond these smaller access points, the overall alignment of body panels can be a powerful, albeit sometimes nuanced, indicator of prior paintwork or body repair. While early high-volume American cars from the 1960s and 70s were not known for their perfectly uniform panel gaps due to less advanced manufacturing standards, modern vehicles from the turn of the century onwards exhibit highly precise, consistent gaps.
For contemporary cars, uneven panel gaps are a very strong suggestion of rework. It is exceedingly rare for a panel to become misaligned without sustaining some form of cosmetic damage that would necessitate repair. While door panels can, over many years, subtly shift out of perfect alignment, any significant discrepancy, particularly if the panel doesn’t close with the expected “thunk” or exhibits rubbing wear around its hinge pivot points, warrants a deep investigation into the mounting hardware and surrounding paint.
Modern factories employ sophisticated computer and scanner systems to ensure exact panel gaps across all body panels, including bumpers, with tolerances typically under a quarter-inch, often as precise as 3/16 inch. Therefore, any noticeable deviation in alignment, or a door that doesn’t operate with the consistent, quality feel of its opposing counterpart, points directly to a door that has likely been removed, painted, and reattached without meticulous factory-level precision. The high quality control in this area means a modern door hinge, if untouched from the factory, will almost never fall out of adjustment.
Armed with these detailed strategies, you now possess the “eye” to uncover the vast majority of aftermarket paintwork with a newfound confidence. The pursuit of original paint is more than just about value; it’s about preserving automotive history, understanding the meticulous craftsmanship of its birth, and ensuring the authenticity that truly defines a vintage masterpiece. By meticulously applying these techniques, you’re not just buying a car; you’re investing in a verifiable piece of the past, authenticated by your own informed expertise. Happy hunting!

