

Alright, so you’re on the hunt for a used car. Fantastic! Buying a pre-owned vehicle can be a seriously smart move, offering incredible value and comfort without the new car price tag. But let’s be real: it also comes with a unique set of challenges and, let’s just say, a few potential pitfalls.
It’s tempting to just fall in love with a car at first sight, especially when it looks great in pictures or seems to tick all your boxes. However, relying solely on a vehicle history report or a quick glance simply isn’t enough to protect your investment. While those reports are super useful for things like past accidents or ownership, they can’t give you the complete, real-time picture of a car’s current health. Even major issues can sometimes fly under the radar of these agencies.
That’s where you come in! An in-person inspection is absolutely non-negotiable for a truly comprehensive assessment. To truly empower yourself and avoid those dreaded surprises down the road, you need a solid game plan. We’re here to give you a detailed, step-by-step checklist, breaking down the 12 most critical spots you need to inspect to make sure you’re making a confident, informed purchase. Let’s dive in!
1. **Exterior Body & Frame Condition**Starting your inspection with the exterior bodywork is like checking the cover of a book before you read it – it tells you a lot about its past life. Walk slowly around the entire car, scanning every panel for any defects. Crouch down at each corner and look along the lines of the car; you’re searching for any signs of dents, chips, or ripples in the bodywork. Unusually large gaps between panels are also a red flag, often indicating the car might have been in an accident and had a less-than-perfect repair job.
If you do notice any rippling, especially in areas that seem too smooth or look like they’ve been worked on, you can employ a neat trick called the magnet test. If a magnet doesn’t adhere firmly to certain steel body panels, it’s a strong sign that the area has been repaired and filled with body filler, which is typically used to smooth out damage. Pay close attention to paint and finish consistency; any areas that look inconsistent with the rest of the vehicle could also signal past repairs.
Rust is another huge issue and a common nightmare for motorists, so you’ll need to be vigilant. Check thoroughly under the doors and inside the door frames, in the wheel wells and around the arches, and around the windshield and window seals. Don’t forget to open the trunk and check the hinges, as well as under the carpet. While minor surface rust can be repaired, widespread rust will be very costly to fix and could even make the car unsafe to drive. Look for telltale blistered paint, especially around lower sections of wheelwells and doors.
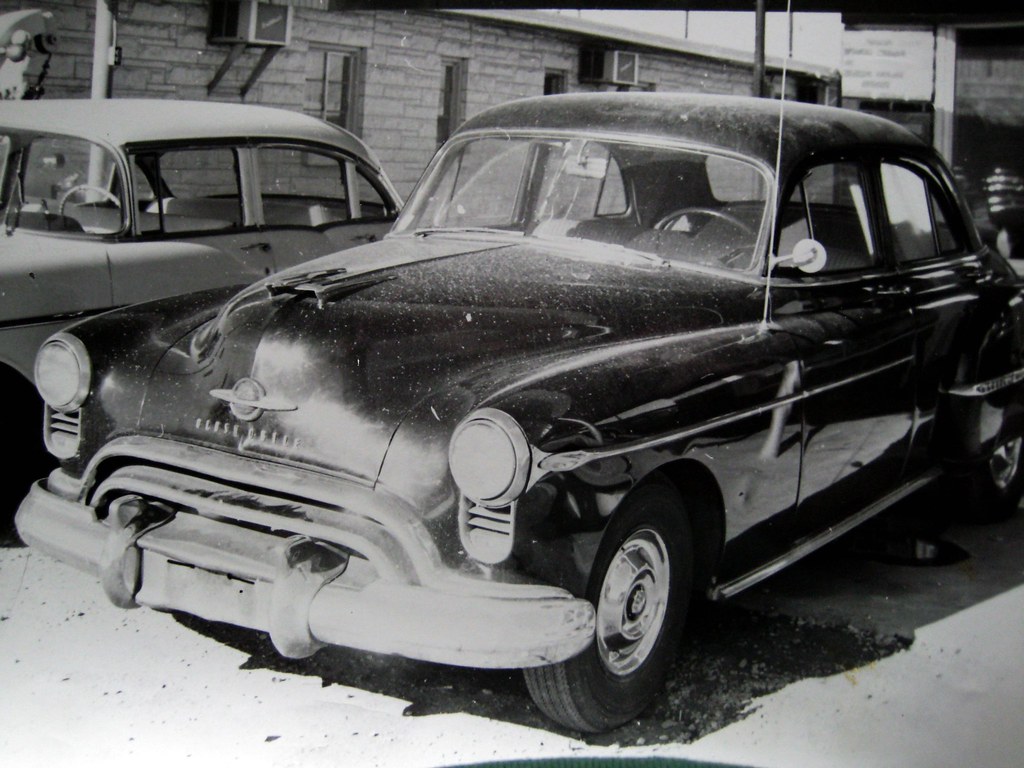
Finally, take a few steps back and visually confirm the car is sitting level on a flat section of asphalt. If one corner appears higher or lower than the others, it could be a warning sign of a suspension issue. Also, peek underneath the front and rear of the vehicle, particularly the bumpers and rocker panels (sills). Cars with lower ground clearance often show damage in these areas from years of scrapes on curbs and speed bumps, which can indicate how careful the previous owner was.
Read more about: Navigating a Total Loss: Your Comprehensive Consumer Guide to Car Accidents and Insurance Settlements

2. **Glass & Exterior Lights**Moving on from the body, your next crucial stop is inspecting all the car’s glass and its exterior lighting system. Begin with the windshield and windows. Carefully check for any signs of chips or cracks. Even a small chip can, over time, develop into a much larger crack if not addressed promptly, potentially leading to a costly full glass replacement. Ensure all side and rear glass is free from significant stone chips or cracks too.
Next, turn your attention to the exterior lights. Verify that all light housings are in good condition. Cracks in the plastic or glass coverings can allow moisture to seep inside, which will lead to internal fogging and can drastically shorten the lifespan of your bulbs. You want those lights to be as clear as possible to ensure maximum visibility and safety.
While you won’t be testing their operation just yet (that comes later), make sure they are all physically intact and free from any damage. We’ll confirm whether they’re actually working when we test the vehicle’s electrical system, but for now, it’s about checking their structural integrity. Having functional and undamaged lights is not just about looks; it’s a fundamental safety requirement.
Read more about: Unearthing the Past: A Deep Dive into Mars’s Ancient Environments and the Search for Fossilized Microbial Life

3. **Tires & Wheels**The tires are your car’s only contact with the road, making their condition absolutely critical for safety and performance. Start by inspecting how much tread is left on each tire. If there isn’t much tread remaining, you’ll be looking at replacing them sooner rather than later, which is an immediate additional expense. You can easily use the penny method (in the USA) or the 20p method (in the UK) to gauge tread depth.
Beyond depth, check for even wear across the full width of each tire, from one sidewall to the other. If any tires are wearing unevenly, it’s a strong indicator that the car’s alignment may be off. While alignment issues aren’t usually too expensive to fix, uneven wear could also signal a larger, underlying problem with the suspension or steering systems. Also, scrutinize the tires for any cuts, bubbles, or cracks, which are clear signs of damage.
All the tires on the vehicle should ideally be the same brand, and preferably a well-known one like Michelin, Bridgestone, or Goodyear. This consistency is a good indicator that the previous owner didn’t skimp on maintenance due to cost, and suggests a more uniform handling experience. Don’t forget the spare tire, if the car has one; ensure it’s present, inflated, and in good condition along with the jack and lug wrench. Lastly, inspect the wheels themselves for any dents, cracks, or scuffs, as these can give you insight into how much abuse the vehicle has been subjected to over time.
Read more about: Your Ultimate Checklist: 14 Essential Things to Examine During Your Used Car Test Drive
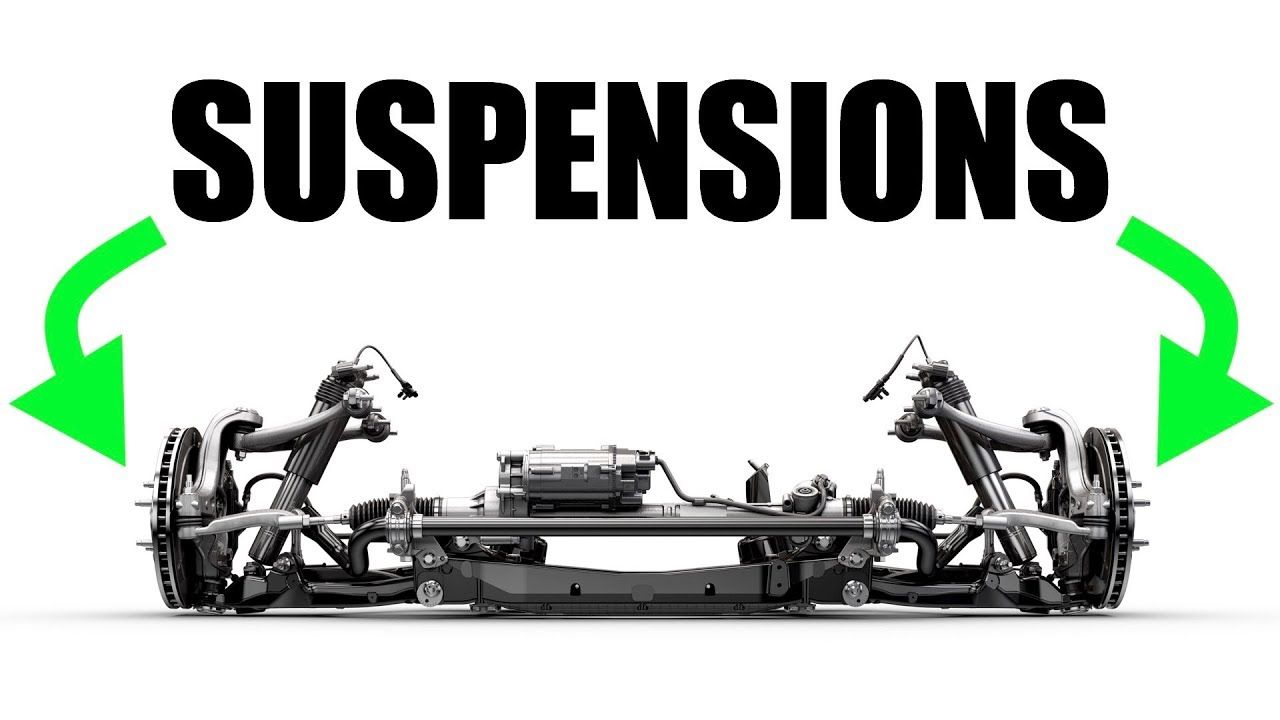
4. **Suspension System**A car’s suspension system plays a huge role in ride comfort, handling, and overall safety. You’ve already done a preliminary check by ensuring the vehicle sits level; now it’s time to dig a bit deeper into the components. A simple bounce test can tell you a lot about the shock absorbers. Push down firmly on each corner of the car. It should only bounce once before settling back into its position. If it bounces multiple times or feels excessively springy, the shock absorbers might be on their way out.
Another quick and easy check involves the tires. Grab each tire one at a time, with your hands at 12 and 6 o’clock positions, and try to pull it towards you. Then try again with your hands at 3 and 9 o’clock. If you hear a clunking noise, it could indicate worn wheel bearings or failing suspension joints. These aren’t minor fixes, so identifying them early is key.
Pay attention if, during your bounce test, you hear any creaking noises. This too can point to suspension problems. The goal is a smooth, single bounce without any concerning sounds. A properly functioning suspension system ensures a comfortable ride and stable control, so these checks are definitely not to be skipped.
Read more about: The Ultimate Haulers: A Deep Dive into 2025 Half-Ton Pickup Truck Towing Capacities and Features for Informed Buyers

5. **Interior Cabin Condition**Now let’s step inside the vehicle, because the interior can reveal a surprising amount about a car’s history and how well it’s been cared for. Your first task is to simply look around the upholstery. Keep an eye out for any tears, stains, or general excessive wear. While an older car might show some wear on the driver’s seat, anything more serious, or extensive damage on other seats, could be costly to repair.
The scent inside the car is also incredibly telling. Take a deep breath: what does it smell like? Pungent odors such as smoke or pets can be notoriously tough to eliminate. You need to consider if you’ll be happy driving the car long-term if those smells persist. More concerningly, if you detect a damp or musty smell, you might have a bigger problem on your hands. This often indicates water leaking into the cabin, perhaps from window seals or a sunroof.
Water intrusion can cause a whole host of issues, including hidden rust. Be sure to lift the floor mats and check underneath for any signs of moisture or mildew. Also, look up at the headliner, which is the fabric covering the roof frame. Over time, this fabric can become loose and detach. If the headliner is already starting to sag, it’s likely to only get worse, and replacing it can be quite costly. Stains or sagging in this area can also point to past water leaks.
Read more about: The Ultimate Haulers: A Deep Dive into 2025 Half-Ton Pickup Truck Towing Capacities and Features for Informed Buyers

6. **Interior Electrics & Features**With the interior physically inspected, it’s time to check its brains and creature comforts: the electrical systems and various features. Before you even start the engine, turn the key in the ignition to the “on” position (or press the start button without pressing the brake pedal) and verify that all of the warning lights on the instrument panel light up. This confirms that the bulbs themselves are working. Then, once you start the engine, make sure all those warning lights turn off, indicating no immediate issues.
Now, systematically test all the buttons and switches you can find. This includes the power windows (do they go up and down smoothly?), the radio (does it work, and do you hear any muffled or crackling sounds from potential blown speakers?), electric mirrors (do they adjust correctly?), and the air conditioning. With the engine running, check to see if the A/C blows cold and the heater blows hot. These are all vital for comfort and functionality.
Electrical problems can be incredibly costly to diagnose and fix, making this a particularly important step. Don’t forget to test other features like the sunroof (if applicable, does it open and close properly?), all seat adjustments (do they move freely?), and if equipped, try pairing your phone with the Bluetooth feature to verify it functions correctly. Every button and switch should operate normally. Additionally, ensure all seat belts are functional and engage properly for safety.
Alright, so you’ve powered through the initial exterior and interior checks – fantastic work! You’ve already unearthed a ton of valuable intel about your potential ride. But let’s be real, a car is more than just its shiny exterior and comfy seats. To truly know what you’re getting into, we need to dive deep into its mechanical heart and soul.
This next phase is all about getting down to the nitty-gritty, the stuff that truly keeps the wheels turning and ensures your safety and comfort on the road. We’re talking about peeking under the hood, scrutinizing what you might not normally see, and understanding the paper trail that tells a car’s true story. Plus, we’ll talk about getting a pro’s eye on things and, of course, the ultimate decider: the test drive.
These steps are critical for uncovering hidden issues that could cost you a fortune down the line. Remember, being thorough now can save you a world of headaches (and cash) later. Let’s gear up and continue our quest for the perfect used car!
Read more about: Your Ultimate Checklist: 14 Essential Things to Examine During Your Used Car Test Drive
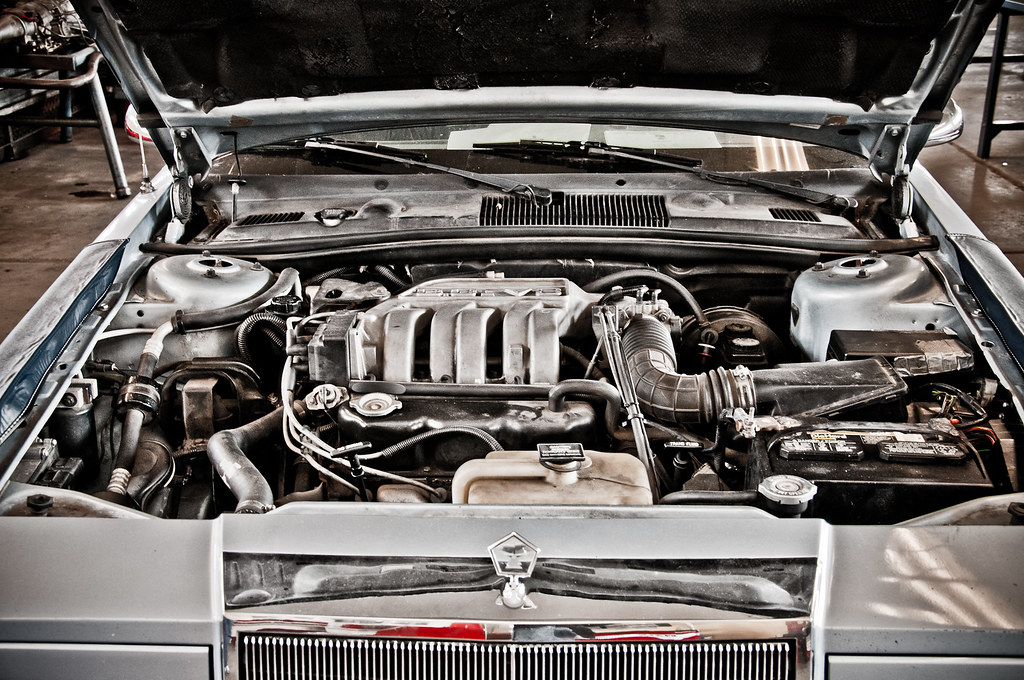
7. **Under the Hood: Engine Condition & Fluids**Popping the hood is like opening a car’s diary – it can tell you volumes about its past care. Your first glance should be at the overall cleanliness of the engine bay. Does it look like it’s been well-maintained, or is it covered in grime and fluid splatter? Also, keep an eye out for any signs of rust, especially in the corners where the windshield is attached, as this can indicate neglect.
Next up, let’s talk oil. Use the dipstick to check both the level and color of the engine oil. Ideally, it should be a dark brown hue. If it’s lighter, it might just mean the oil was recently changed, which is a good sign. However, if the oil feels gritty between your fingers, that’s a red flag, potentially signaling a lurking issue that could be expensive down the road.
Another crucial oil check involves the oil filler cap. Unscrew it and look for any signs of a mayonnaise-like substance. This frothy, light-colored residue can be a serious indicator that the head gasket is failing, allowing coolant to mix with the oil. A blown head gasket is a major, costly repair, so this is definitely a spot you don’t want to overlook.
Beyond the engine oil, you’ll want to check other vital fluid levels. The power steering and brake fluids should both fall neatly between their respective minimum and maximum markers on their reservoirs. For the radiator, check the coolant level in its reservoir – it should also be between the min and max. If the engine is cold, you can carefully open the cap and visually inspect the coolant’s color. It comes in various shades like blue, green, or red, but the key is that it looks clean, not rusty or milky colored. Milky coolant, like the mayo under the oil cap, can be another sign of coolant mixing with oil, pointing to severe engine problems.
Read more about: From Etymology to Emergency: The Unfolding Narrative of ‘Boy’ in a Complex World
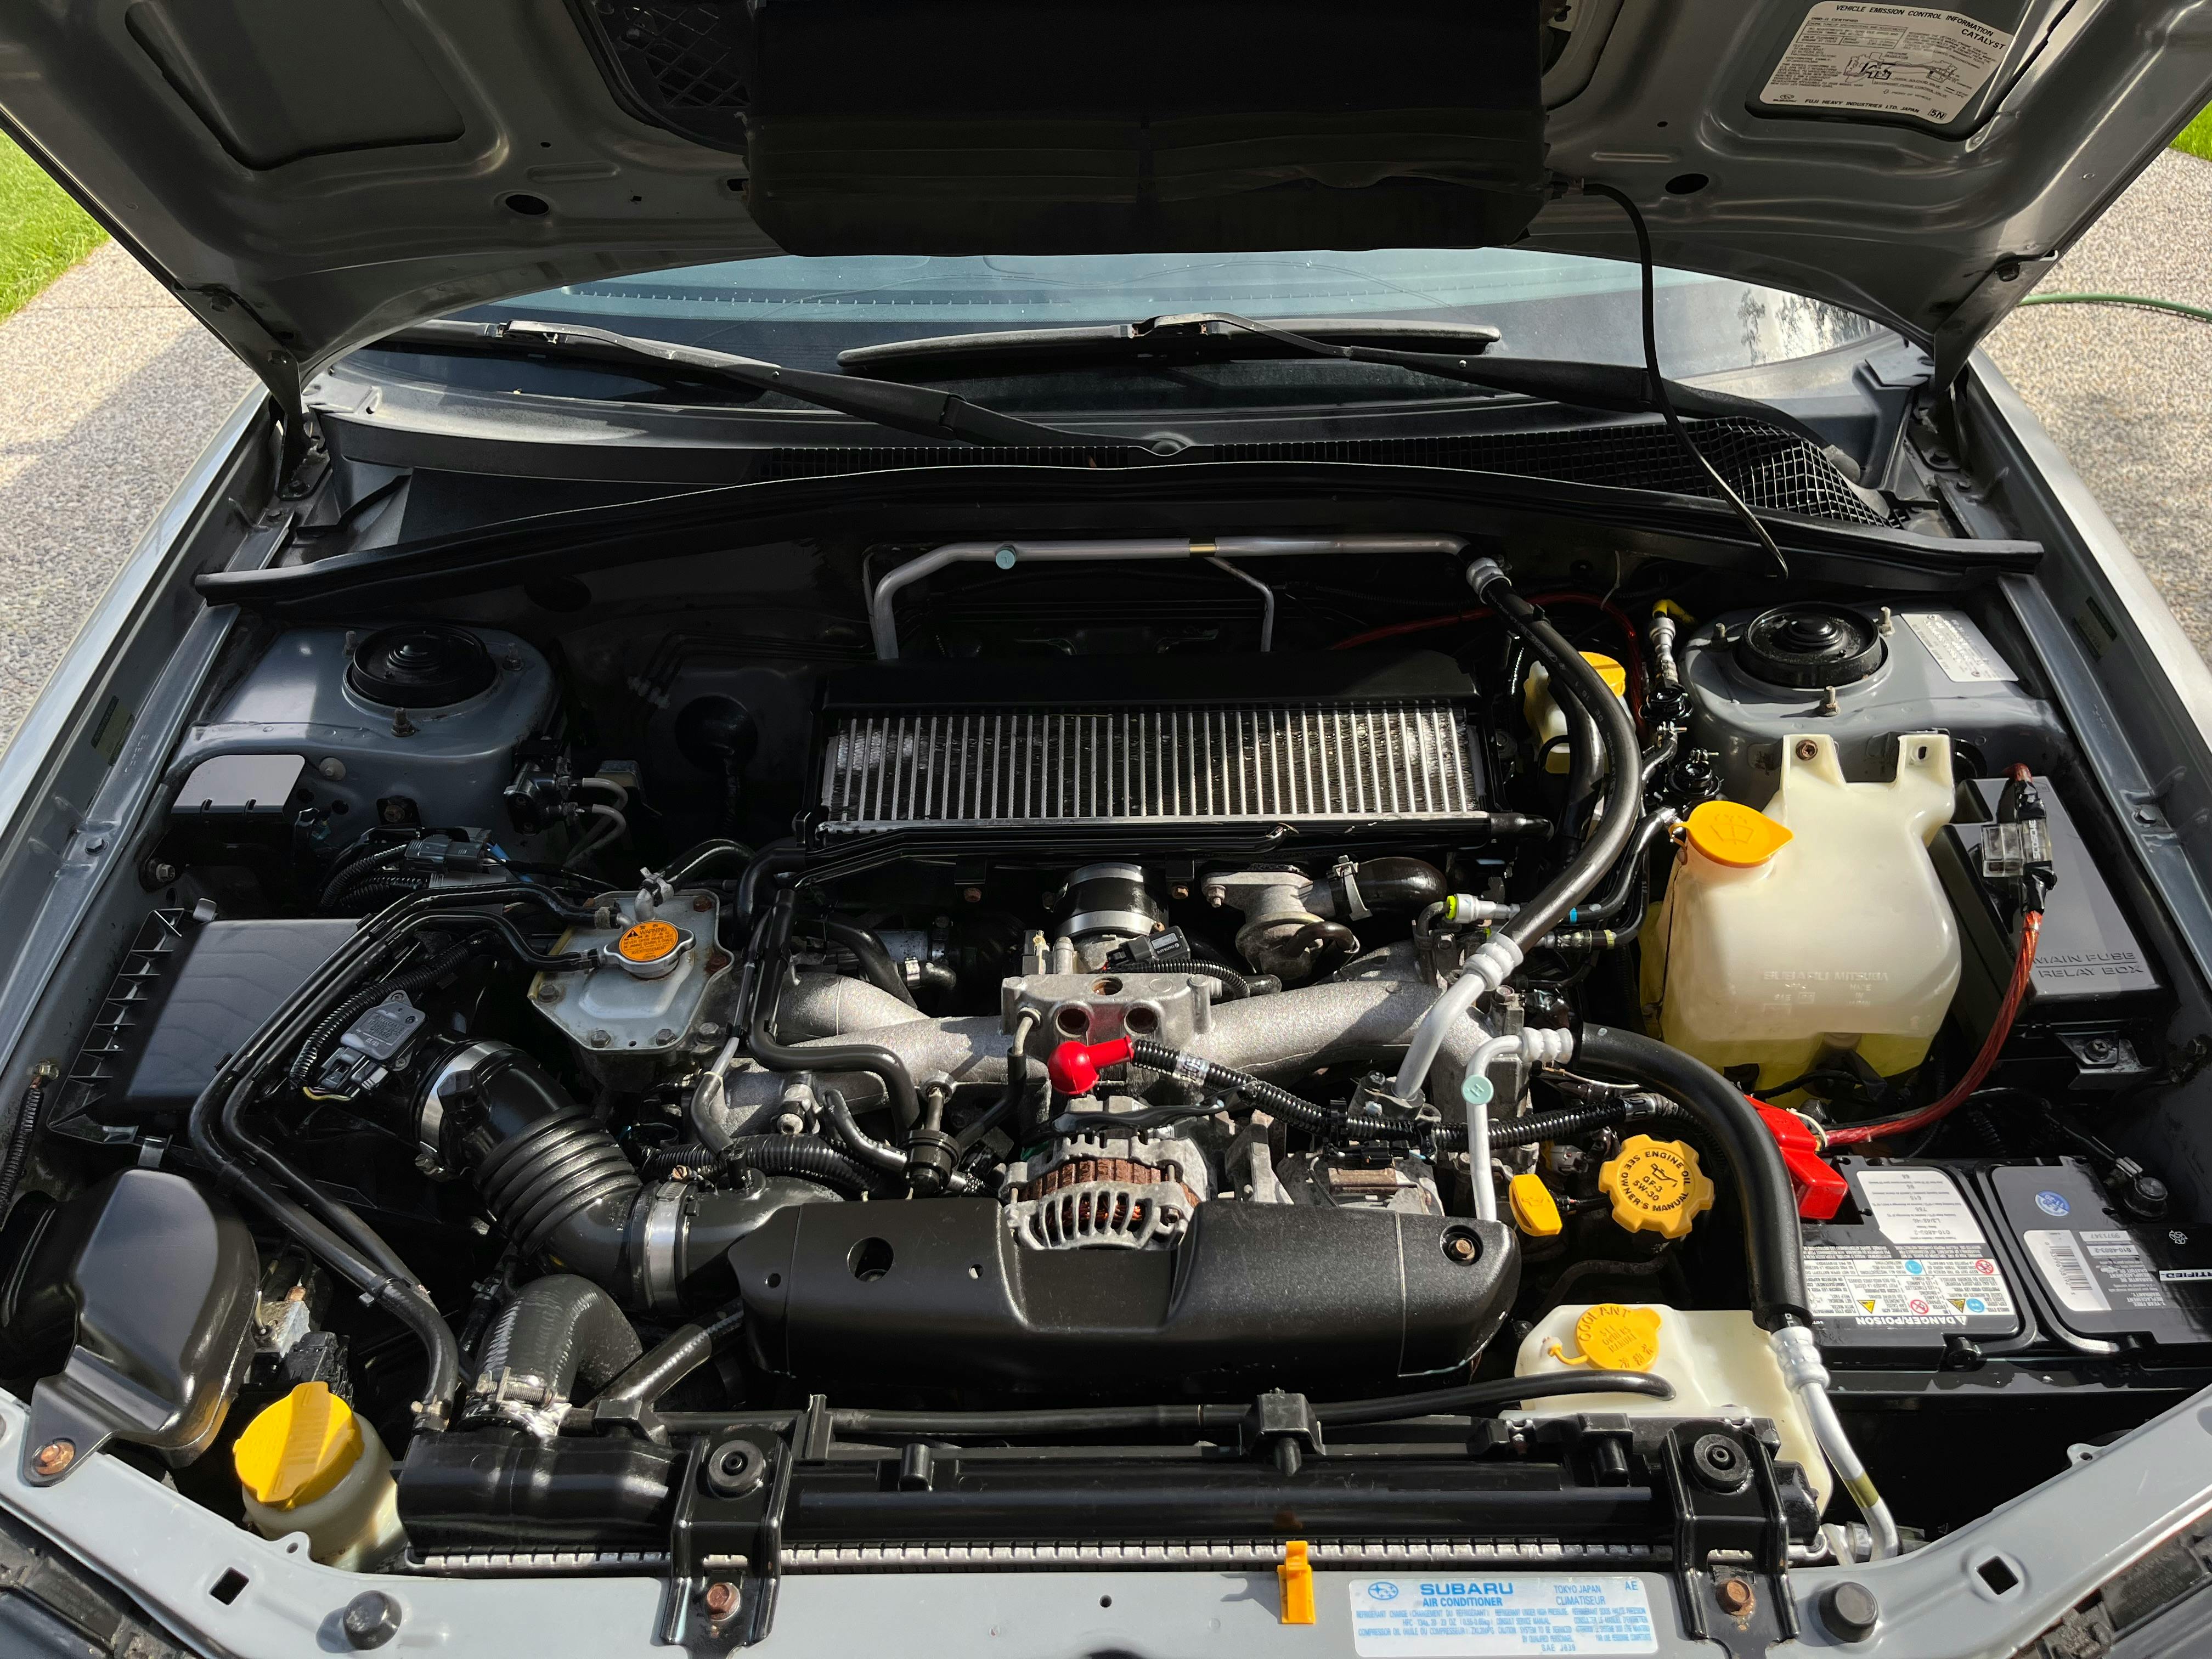
8. **Under the Hood: Belts, Hoses, and Battery**While you’re under the hood, it’s time to get hands-on with the physical components that keep everything running smoothly. Start by examining all the drive belts you can see. Run your hand over them gently to check for any signs of damage, fraying, or cracking. Worn belts can snap unexpectedly, leading to a breakdown and potentially more extensive damage, so their condition is super important.
Next, feel the various hoses, especially those leading to the radiator and other areas of the engine. The rubber should feel pliable, not hard or brittle. If the hoses feel solid or stiff, it could indicate internal deterioration. Also, look closely for any white staining around the hose connections; this can be a sign of past or present leaks, which could point to future cooling system problems.
The battery, often tucked away, is another critical component. Locate it and inspect the area around its terminals for any signs of rust or corrosion. Excessive corrosion can hinder the battery’s ability to hold a charge and deliver power effectively. While some batteries are located in the trunk, the principles of inspection remain the same.
For an even deeper dive into the battery’s health, consider bringing a multimeter with you. These handy and inexpensive tools can measure the battery’s charge. A fully charged car battery should register at 12.6 volts or above. A reading below this could signal an aging battery or even hint at issues with the alternator, which you definitely want to catch before it leaves you stranded!

9. **Beneath the Surface: Undercarriage & Frame Integrity**Now, let’s get low and scrutinize the often-overlooked underside of the car. This area can reveal a car’s true history, especially if it’s been subjected to rough roads or accidents. Grab your flashlight and carefully examine all visible components under the car for any signs of damage, significant rust, or welding repairs. If you do spot welded areas, don’t hesitate to ask the seller for detailed information on those past repairs – transparency here is key.
While you’re underneath, or even before you get down, check the spot where the car is parked for any telltale puddles or leaks. If you notice any fresh fluid stains on the ground, that’s an immediate red flag. Ask the seller what’s leaking. If they can’t provide a clear answer, you could be on the hook for not only finding the source of the leak but also the costly parts and labor to fix it.
Moving to the very back, inspect the tailpipe. Look for any significant rust, which can indicate an older exhaust system that might need replacing soon. If the car hasn’t been driven recently, feel inside the tailpipe for any greasy or sooty residue. Blue exhaust emissions or excessive black residue are signs that the car could be burning oil, which points to more serious engine issues.
Don’t forget to check the bumpers and rocker panels (sills) underneath the front and sides of the vehicle. Cars with lower ground clearance frequently show damage in these areas from years of scrapes against curbs and speed bumps. These scrapes not only suggest how much abuse the vehicle has seen but can also give you insight into how careful the previous owner was. Most critically, visually inspect the car’s frame for any bends, cracks, or signs of crumpling or straightening, particularly inside the trunk. Frame damage indicates a serious accident and can lead to major alignment and tire wear problems if not repaired correctly.
10. **The Paper Trail: Vehicle History & Maintenance Records**You’ve physically inspected the car, but now it’s time to dive into its backstory. While a vehicle history report is a fantastic tool for uncovering accidents or ownership changes, remember its limitations. Reports often miss service performed by independent shops, and the specifics of what work was done might not be listed. This is where a file of physical maintenance records becomes invaluable.
Most credible sellers will be ready and willing to provide you with comprehensive service records for the vehicle. These documents offer concrete proof of regular maintenance, detailing what has and hasn’t been repaired or replaced during their ownership. Seeing a consistent record of oil changes, tire rotations, and other scheduled services is a strong indicator of a well-cared-for car and a responsible owner.
For a broader overview, definitely use websites like CarFax, NMVTIS, or AutoCheck. By simply inputting the car’s VIN (Vehicle Identification Number), you can pull a detailed history report. These reports will highlight past accidents, provide insight into the service history that *was* reported, and crucially, inform you about the vehicle’s title status. You absolutely want to ensure it’s not a salvaged or rebuilt title, which can present its own set of challenges.
Beyond maintenance and history reports, ask to see other critical documents. The owner should have the vehicle’s title, verifying their legal ownership. Check for the car manual, usually located in the glove compartment, as it contains essential information about the vehicle’s operation and maintenance schedule. If the car has any aftermarket accessories, instructions for those can be a nice bonus, indicating a thoughtful seller. Don’t feel rushed while inspecting these documents; take your time to review everything thoroughly.

11. **The Ultimate Check: Professional Pre-Purchase Inspection**Even if you’re a seasoned car enthusiast with an exhaustive checklist, there’s simply no substitute for a professional pre-purchase inspection (PPI). Most car buyers, even maintenance-savvy ones, cannot check a vehicle as comprehensively as an experienced, qualified mechanic can. A professional inspection can reveal serious underlying issues that might be impossible to detect just by poking around the vehicle in a parking lot.
The seller’s willingness to allow a PPI is a crucial indicator. If they are hesitant or outright object to you taking the car to a mechanic, or having a mobile inspector come to them, consider it a major red flag. There’s a strong possibility they might be hiding important information about the vehicle, and at that point, you might want to consider walking away from the deal.
When arranging a PPI, you’ll often face the choice between a mobile inspection or taking the vehicle to a local garage. Mobile inspections offer convenience, with the inspector coming to your location and providing a report on the spot. However, taking the car to a garage often means the mechanic can put it up on a lift, providing an unparalleled view of the underside for fluid leaks, damage, and other irregularities that mobile inspectors can’t access. The inspection should ideally be performed by a mechanic you trust or one who specializes in that specific make and model.
A good PPI goes beyond a superficial check. It verifies the functioning of all equipment and options, confirms the car’s condition level (including tire wear and brake pads), and most importantly, reveals hidden problems with the body, frame, or engine. Inspectors also check for diagnostic trouble codes (DTCs) that can signal mechanical or electrical issues. Major problems like frame damage (indicating a serious accident), poor previous repair work, or flood/fire damage are often identified by a professional. This builds confidence in the vehicle’s true value, helping you verify that the thousands of dollars at stake are a wise investment.

12. **Hitting the Road: The All-Important Test Drive**You’ve looked, you’ve poked, you’ve prodded, and you’ve researched. Now, it’s time for the rubber to meet the road – quite literally! A test drive is absolutely non-negotiable; it’s your chance to evaluate the car’s performance beyond static checks. Make sure you drive the vehicle in an area that allows you to assess it in various conditions, including low speeds, highway speeds, and if possible, over hills, bumps, and potholes to truly test the suspension and engine.
During the drive, pay close attention to any odd sounds or vibrations. Squeaks, rattles, clunking, or grinding noises, especially from the suspension or brakes, are all indicators of potential deferred maintenance or developing problems. Periodically check the gauges; the temperature gauge should remain stable, typically near the middle of its range, and no warning lights should illuminate on the dashboard during your drive.
Evaluate the transmission carefully. If it’s an automatic, it should shift smoothly without any jerking or delays. If it’s a manual, each gear should engage smoothly without grinding. If the vehicle is equipped with a 4WD mode, ensure it engages and disengages properly without any drama. When testing the brakes, the car should steer straight and not pull to one side. Listen for any grinding noises when applying the brakes, and if it has anti-lock brakes, ensure the wheels don’t lock up under firm pressure.
Finally, assess the steering system. The vehicle should track straight without constantly needing you to correct its path. There should be no shaking or vibrating in the steering wheel, nor any excessive resistance when turning. Listen for clicking or clunking noises when turning, as this could indicate issues with steering joints. Don’t forget to run all the accessories one last time – make sure the A/C blows cold, the heater blows hot, the radio works, and the windows go up and down smoothly. Every detail during the test drive provides crucial insight into the car’s real-world functionality and condition.
There you have it – a comprehensive checklist to help you navigate the often-tricky world of used car buying! From the gleam of the bodywork to the hidden whispers of the engine, and from the detailed history reports to the feel of the road beneath your tires, you are now equipped with the knowledge to make an incredibly informed decision. Don’t ever hesitate to walk away from a vehicle that raises too many red flags; there are always plenty of other great options out there waiting for a savvy buyer like you. A well-inspected used car isn’t just a purchase; it’s a smart investment in reliable, comfortable, and safe transportation. Happy car hunting, and may your next ride be everything you’re looking for!
")

