

In our fast-paced world, it’s all too easy to reach for convenience, often sacrificing long-term health for instant gratification. The allure of sugary snacks, processed treats, and fried delights can be incredibly strong, especially when we’re feeling tired or stressed. However, maintaining good health isn’t a happy accident; it’s a journey that requires mindful choices, a little bit of effort, and a whole lot of delicious, nourishing foods.
Today, we’re taking a closer look at how we can transform our plates and our lives, moving away from those quick fixes that can lead to health challenges like diabetes, obesity, and heart disease. The good news is that this transformation doesn’t have to be restrictive or bland. In fact, it’s about embracing a vibrant world of flavors and textures that not only satisfy your cravings but also provide incredible benefits for your body, especially your heart.
We’re here to help you navigate these choices with a positive and encouraging approach, proving that healthy eating can be both achievable and enjoyable. We’ll explore some truly fantastic food swaps that boost your ticker, stabilize your blood sugar, and reduce inflammation, making healthy eating a sustainable and exciting part of your daily life. Let’s dive into our first seven power-packed foods that are definitely worth swapping into your routine!
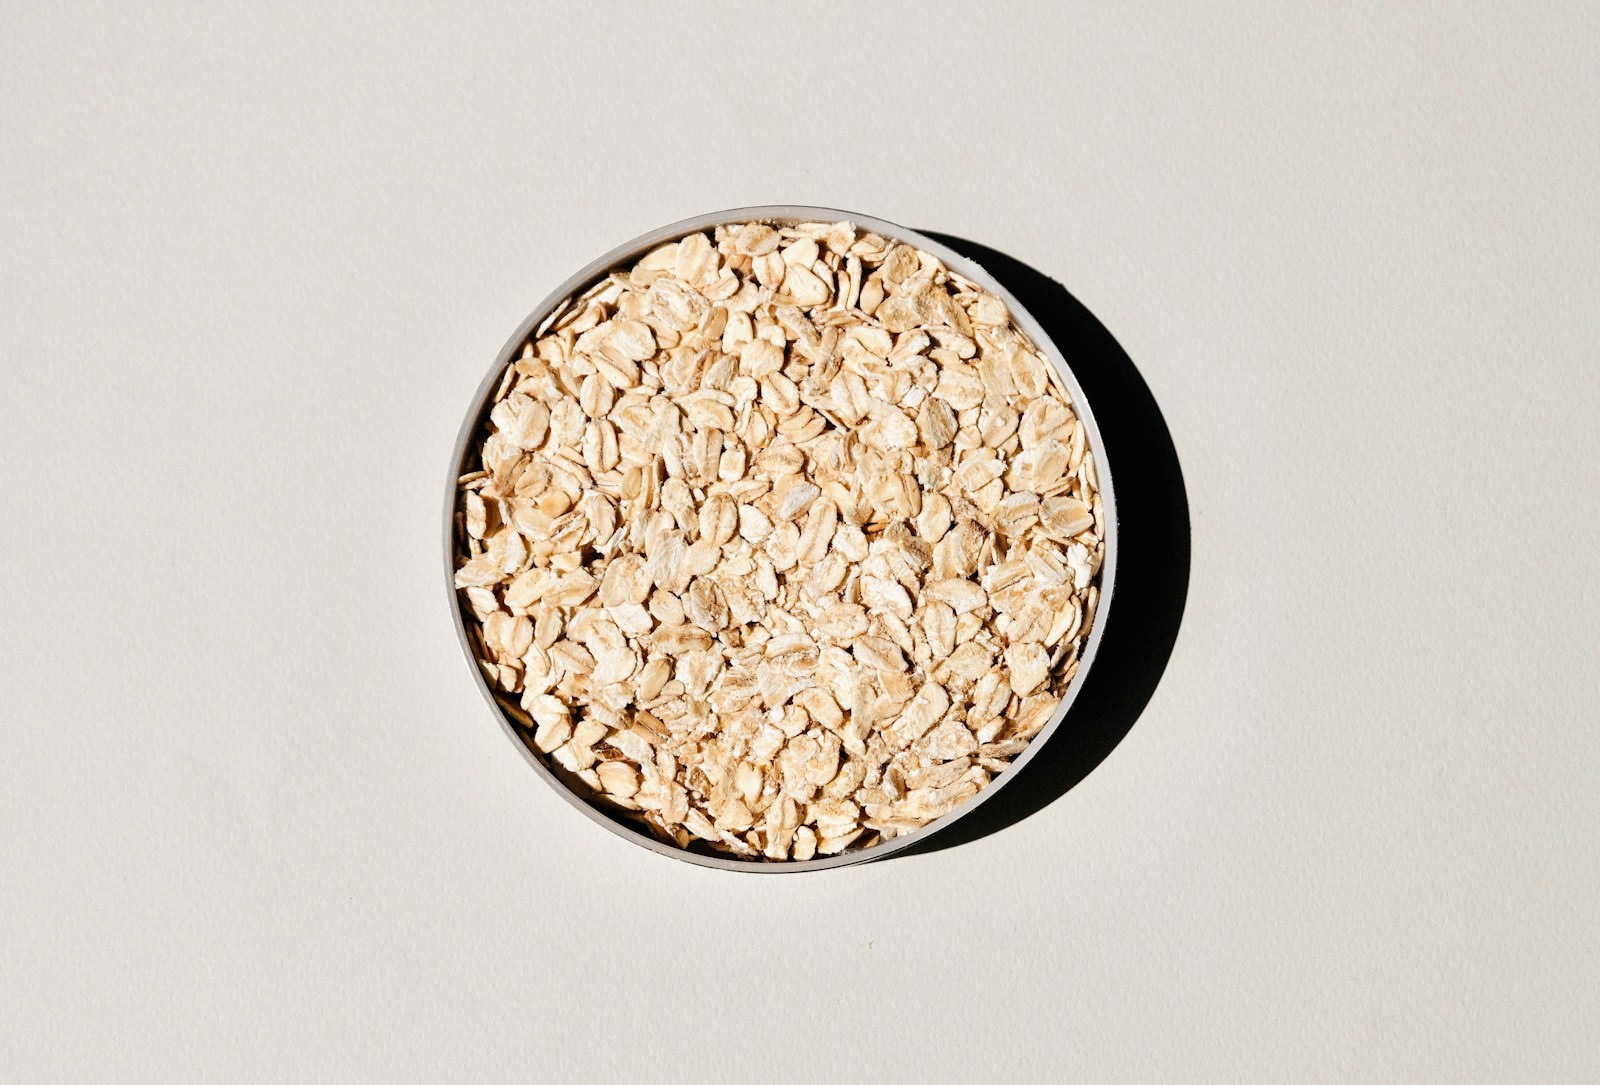
1. **Oats**Starting your day with a bowl of warm, comforting oatmeal isn’t just a beloved breakfast tradition; it’s a strategic move for your heart health. Oats are celebrated for being remarkably high in soluble fiber, a nutritional superstar that plays a pivotal role in managing your cholesterol levels. This specific type of fiber works diligently to lower your LDL, often referred to as “bad” cholesterol, which is fantastic news for your cardiovascular system.
Beyond their cholesterol-lowering prowess, oats also contribute significantly to stabilizing blood sugar levels. This is incredibly important because erratic blood sugar spikes can lead to early hunger and are linked to serious conditions like diabetes and heart disease. By helping to keep your blood sugar steady, oats can help you feel fuller for longer, curbing those mid-morning cravings for less healthy options.
Furthermore, research highlights that incorporating oats into your diet can improve various risk markers for cardiovascular disease. This includes not just a reduction in total and LDL cholesterol, but also a positive impact on blood pressure. It’s clear that a simple swap to oatmeal in the mornings can set a wonderful, heart-healthy tone for your entire day, offering a delicious and dependable foundation for good health.

Air Fryer S’mores Banana Boats
Ingredients
Equipment
Method
- Gather all ingredients and preheat your air fryer to 350°F (175°C).
- Carefully slice each banana lengthwise through the peel, ensuring not to cut all the way through, creating a “boat” shape.
- Gently open the banana to create a cavity for the fillings.
- Evenly distribute the broken graham cracker pieces into the banana cavities.
- Next, sprinkle the semisweet chocolate chips over the graham crackers.
- Top with the miniature marshmallows, ensuring they are somewhat spread out to melt evenly.
- Carefully place the prepared banana boats into the air fryer basket; you may line the basket with aluminum foil for easier cleanup.
- Air fry for 5-7 minutes, or until the marshmallows are golden brown and puffed, and the chocolate is melted and gooey. Monitor closely to prevent burning.
- Once cooked, carefully remove the banana boats from the air fryer.
- Serve immediately with a spoon, as they will be hot and gloriously gooey.
Notes
Read more about: The Art of Avian Elegance: A Curated Journey Through North America’s Most Distinctive Jays
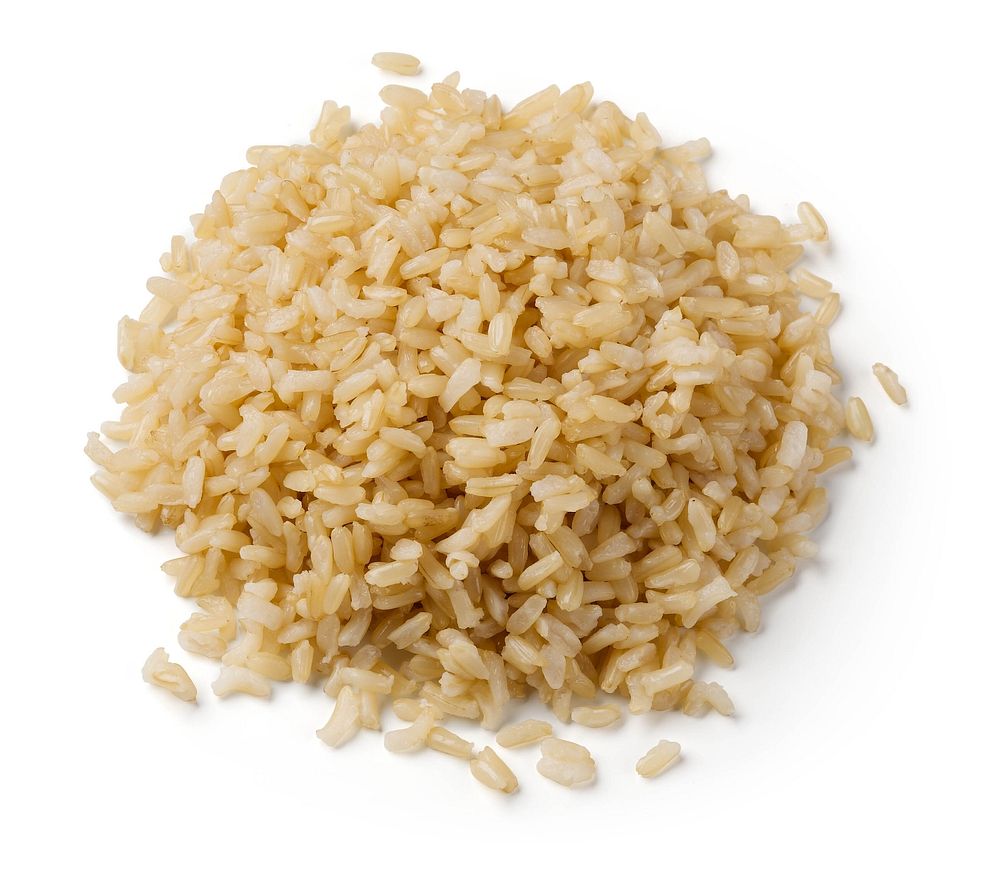
2. **Brown Rice**When you think about whole grains, brown rice should definitely be at the top of your list for a delicious and health-boosting swap. Unlike its refined counterpart, white rice, brown rice retains its bran and germ, which are packed with beneficial nutrients and, crucially, fiber. This makes it an excellent choice for supporting your heart and overall well-being.
Just like oats, the whole grain goodness of brown rice is instrumental in helping to lower LDL cholesterol, a key factor in maintaining cardiovascular health. But its benefits extend further; brown rice also plays a role in reducing inflammation throughout the body. Inflammation, if left unchecked, can damage tissue, joints, artery walls, and organs, making anti-inflammatory foods like brown rice incredibly valuable.
Incorporating brown rice into your meals can also contribute to improved blood pressure, further cementing its status as a heart-healthy food. Studies have consistently shown a significant association between higher consumption of whole grains and a lower risk of coronary heart disease. So, whether you’re serving it as a side dish, adding it to a stir-fry, or making a wholesome rice bowl, brown rice is a versatile and incredibly beneficial swap for a healthier you.

Big Mac Crispy Rice
Ingredients
Equipment
Method
- In a small bowl, whisk together 1/4 cup mayonnaise, 2 tablespoons sweet pickle relish, 2 tablespoons ketchup, 1 teaspoon garlic powder, 1/2 teaspoon smoked paprika, 1/2 teaspoon kosher salt, and 1/4 teaspoon black pepper to create the Big Mac sauce; set aside.
- In another small bowl, combine the ground chuck with 1 1/2 teaspoons garlic powder, 1 teaspoon smoked paprika, 1 1/2 teaspoons kosher salt, and 3/4 teaspoon black pepper.
- Heat olive oil in a large skillet over medium-high heat. Add the seasoned ground chuck and cook, breaking it up with a spoon, until browned and cooked through, about 5-7 minutes. Drain any excess fat and set the beef aside.
- Wipe the skillet clean. Add the cooked and cooled white rice to the skillet, pressing it into an even layer. Cook over medium-high heat for 8-10 minutes, without stirring, until the bottom is golden brown and crispy.
- Reduce heat to medium-low. Arrange the American cheese slices evenly over the crispy rice. Cover the skillet and cook for 2-3 minutes, or until the cheese is melted and gooey.
- Remove the skillet from the heat. Carefully transfer the crispy rice ‘patties’ to serving plates.
- Top each crispy rice patty with the browned ground chuck.
- Drizzle generously with the prepared Big Mac sauce.
- Garnish with shredded iceberg lettuce, diced white onion, and pickle slices.
- Serve immediately for the best texture and flavor.
Notes
Read more about: Unlocking Your Gut’s Potential: 14 Simple and Delicious Fermented Foods for a Healthier You
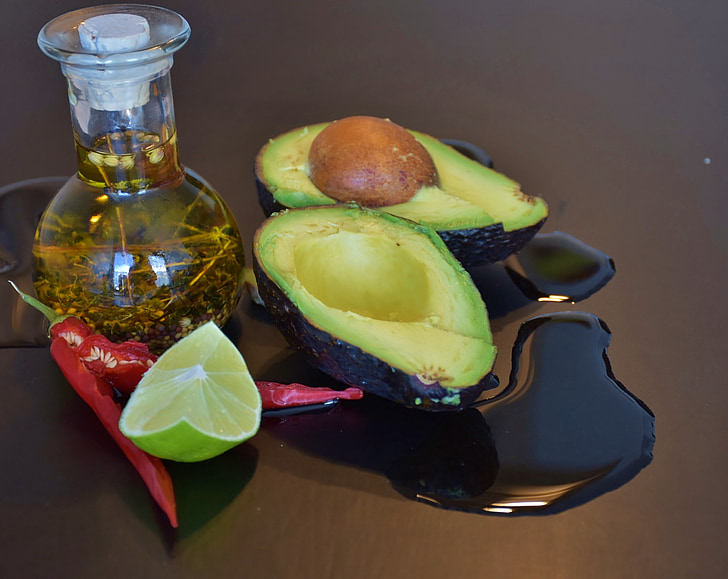
3. **Avocados (and Avocado Oil)**If you’re looking to elevate your diet with luxurious and genuinely healthy fats, avocados are your go-to. These creamy, green gems are a treasure trove of monounsaturated and polyunsaturated fats, which are the ‘good’ fats our bodies crave. Registered dietitian Diane Han wisely explains that foods rich in healthy fats, such as avocados, boast higher ratios of unsaturated to saturated fats, making them excellent for heart health.
What makes these healthy fats so special? Beyond their ability to keep you feeling fuller for longer, which is a fantastic benefit for managing your weight and avoiding unhealthy snacking, avocados are also rich in antioxidants. These powerful compounds are crucial for supporting an anti-inflammatory environment within your body. A smoothly functioning cardiovascular system relies on low inflammation, and avocados are champions in this regard.
And it’s not just the fruit itself! If you’re searching for a heart-healthy cooking oil that can stand up to heat, both experts like Han and Garcia-Benson enthusiastically recommend avocado oil. It’s not only rich in those beneficial unsaturated fats but also boasts a higher smoke point compared to many other plant-based cooking oils. This makes it a perfect choice for sautéing, roasting, and just about any culinary application where you need a stable and healthy fat, truly making it a versatile swap in your kitchen.
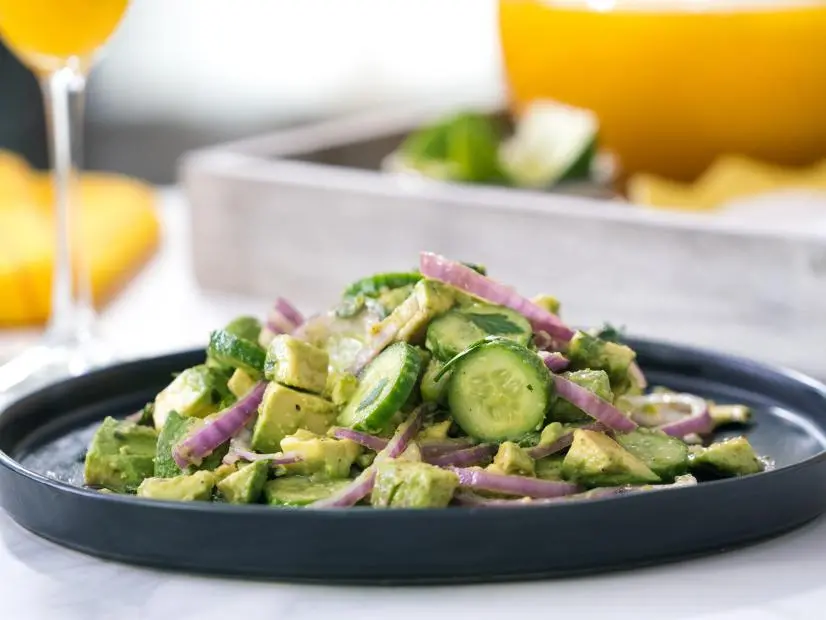
Avocado Salad
Ingredients
Equipment
Method
- For the salad: Peel the avocados, cut into 1-inch chunks and put all but 2 chunks into a large mixing bowl for the salad. Put the remaining 2 chunks into a small mixing bowl and set aside for the dressing.
- Add the parsley, cucumber and onion to the avocado chunks in the large mixing bowl. Sprinkle generously with salt and pepper.
- For the dressing: Mash the reserved 2 chunks of avocado with a fork until smooth. Add the oil, honey, cumin and lime juice and whisk until smooth.
- Pour the dressing over the avocado salad and gently toss with your hands to combine. Serve immediately.
Notes
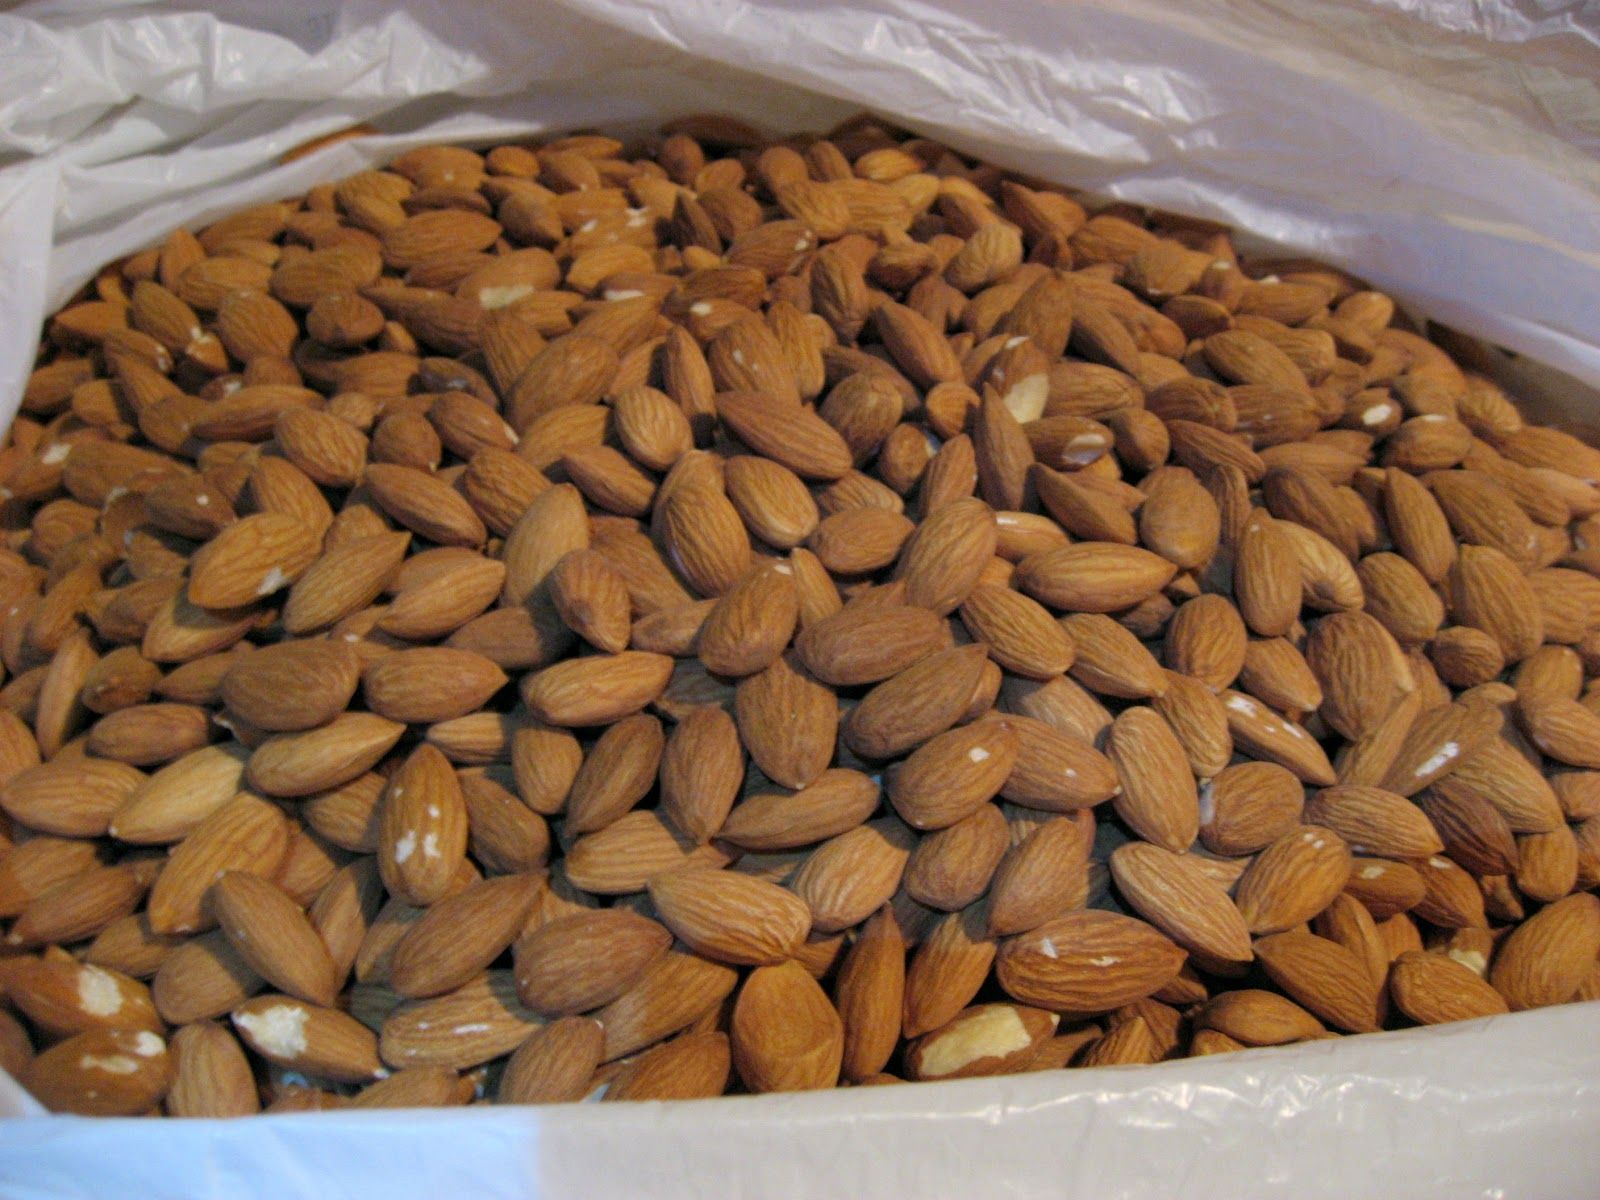
4. **Almonds**Crunchy, satisfying, and incredibly nutritious, almonds are a small but mighty addition to any heart-healthy diet. These delightful nuts are brimming with fiber, which aids in digestive health and helps you feel satiated, and a wealth of unsaturated fatty acids, the kind that actively support your cardiovascular system. They are a smart and delicious snack choice that offers substantial benefits.
What truly sets almonds apart is their antioxidant content. Antioxidants are vital for protecting your cells from damage, and Dr. Padma Shenoy points out that when consumed in moderation, almonds are associated with a reduced risk of coronary heart disease and even sudden cardiac death. This powerful combination of fiber, healthy fats, and antioxidants makes them an exceptional food for boosting your heart’s resilience.
While almonds are nutrient-dense, they are also calorie-dense. This means that a little goes a long way. The recommendation is to aim for just about ¼ cup per day to reap their full benefits without overdoing it on calories. You can enjoy them as a standalone snack, sprinkle them over salads or yogurt, or even add them to your morning oatmeal for an extra boost of flavor and nutrition, making them an easy and impactful swap.

Fondue Español
Ingredients
Equipment
Method
- Rehydrate the dried ancho chile in 1 cup of hot water until softened (about 20-30 minutes). Remove seeds and stem, reserving the soaking water.
- Roast bell peppers and tomatoes in the oven until softened and slightly charred, then peel tomatoes if desired.
- Toast slivered almonds and day-old French bread slices until golden brown; set aside.
- In a blender or food processor, combine the rehydrated ancho chile, roasted peppers, tomatoes, toasted bread, minced garlic, toasted almonds, salt, and black pepper. Blend until a smooth purée forms, adding some reserved chile water or red wine vinegar to aid blending if needed.
- Grate the Manchego Curado cheese.
- In a medium saucepan, gently warm the puréed mixture over medium-low heat.
- Gradually add the grated Manchego cheese to the saucepan, stirring continuously with a whisk or wooden spoon until the cheese is completely melted and the fondue is smooth.
- Stir in 1/4 cup dry white wine.
- Adjust the fondue’s consistency by adding additional warm water or white wine, one tablespoon at a time, until it reaches your desired dipping consistency. Taste and adjust seasoning with salt, pepper, or optional cayenne pepper.
- Transfer the Fondue Español to a preheated fondue pot and serve immediately with your choice of dippers.
Notes
Read more about: The Midnight Menu No-Gos: 12 Late-Night Snacks That Just Aren’t Worth the Calories or the Regret
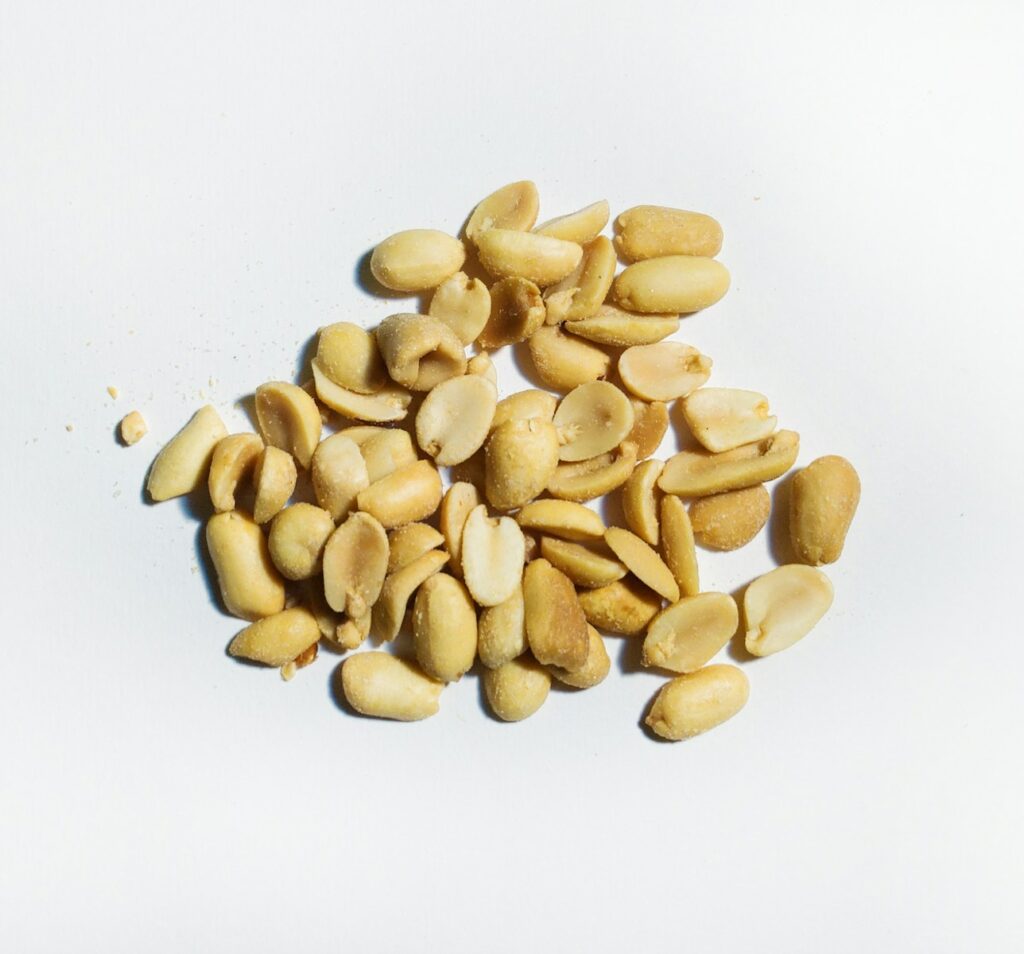
5. **Peanuts**Often mistaken for a nut, the humble peanut is actually a legume, but its nutritional profile places it squarely among the heart-healthy powerhouses. Like their tree nut counterparts such as almonds, peanuts are packed with beneficial fiber and healthy fats. These components work in harmony to significantly reduce your risk of heart disease, making them a fantastic, accessible swap.
The research supports this, with reviews highlighting that regular consumption of peanuts can lead to a reduction in heart disease risk. But the good news doesn’t stop there! The same goes for peanut butter, a beloved staple in many households. Diane Han suggests that peanut butter, along with other nut butters, serves as a superb heart-healthy alternative to less nutritious spreads like cream cheese and butter.
When choosing peanut butter, opt for varieties with minimal added sugars and unhealthy oils to maximize its health benefits. Whether you’re spreading it on whole-grain toast, swirling it into smoothies, or simply enjoying a spoonful for a quick energy boost, peanuts and peanut butter are versatile, affordable, and incredibly effective in supporting a healthy heart and overall well-being. It’s a truly satisfying swap that makes healthy eating easier.

Thai Peanut Chicken
Ingredients
Equipment
Method
- Cook the jasmine rice according to package instructions, typically 1.5 cups of rice with the appropriate amount of water, and set aside.
- Cut the boneless, skinless chicken breasts into uniform, bite-sized cubes for even cooking.
- In a large pot or Dutch oven, heat a small amount of oil over medium-high heat, then brown the chicken cubes in batches until lightly golden on all sides; remove and set aside.
- Deglaze the pot if necessary, then add the chicken broth, coconut milk, and Thai seasonings; bring the mixture to a gentle simmer.
- Return the seared chicken to the pot. Stir in the Jiffy Honey Roasted Extra Crunchy Peanut Butter until it is fully incorporated and the sauce is smooth.
- Reduce the heat to low, cover, and simmer for 10-15 minutes, allowing the chicken to cook through and the flavors to meld.
- Stir in the lime juice, taste the sauce, and adjust seasonings (more lime, Thai seasoning, or a pinch of sugar if needed) to achieve desired balance.
- While the chicken simmers, slice the scallions thinly and chop any whole dry roasted peanuts if not already prepared for garnish.
- Serve the Thai Peanut Chicken generously over the prepared jasmine rice.
- Garnish each serving with fresh sliced scallions and a sprinkle of dry roasted peanuts before serving hot.
Notes
Read more about: The Art of Avian Elegance: A Curated Journey Through North America’s Most Distinctive Jays

6. **Salmon**When it comes to selecting a protein that actively supports your heart, salmon stands out as an exceptional choice. This vibrant, flavorful fish is celebrated not just for its delicious taste but for its incredible nutritional benefits, particularly its high concentration of omega-3 fatty acids. These essential fats are not only crucial for brain health but are also powerful allies for your cardiovascular system.
Dr. Shenoy highlights that the omega-3 fatty acids found in salmon have significant anti-inflammatory effects. This is key because chronic inflammation can contribute to the development of various health issues, including heart disease. By helping to quell inflammation, salmon works to protect your artery walls and organs, keeping your heart functioning smoothly and efficiently.
Beyond reducing inflammation, consuming salmon regularly can also help to reduce the risk of arrhythmia, which are irregular heartbeats, and effectively lower triglycerides, a type of fat in your blood that, at high levels, can increase your risk of heart disease and stroke. Integrating salmon into your diet a couple of times a week, whether baked, grilled, or pan-seared, is a flavorful and impactful swap that provides robust support for a healthy, happy heart.

Dill Yorkshire Puddings With Smoked Salmon and Horseradish Cream Recipe
Ingredients
Equipment
Method
- In a large bowl, whisk together the eggs, flour, milk, grated garlic, chopped fresh dill, kosher salt, and freshly ground black pepper until smooth.
- Cover the batter and refrigerate for at least 30 minutes, or preferably several hours, allowing it to rest.
- Meanwhile, prepare the horseradish cream: in a small bowl, combine crème fraîche and prepared horseradish. Season to taste with salt and pepper if desired.
- Preheat your oven to 450°F (232°C). Place 3 tablespoons of vegetable oil into the wells of a 12-cup standard muffin tin.
- Place the muffin tin with the oil into the preheated oven for 10-15 minutes, or until the oil is smoking hot.
- Carefully remove the hot muffin tin from the oven and quickly pour the rested batter into each well, filling them about halfway.
- Immediately return the muffin tin to the oven and bake for 20-25 minutes, or until the Yorkshire puddings are deeply golden brown and dramatically puffed. Do not open the oven door during baking.
- Once baked, carefully remove the Yorkshire puddings from the tin and place them on a serving platter.
- Fill the center of each warm Yorkshire pudding with a dollop of horseradish cream, then drape a slice of smoked salmon over the cream.
- Garnish with thinly sliced scallions and a wedge of fresh lemon before serving immediately.
Notes
Read more about: Unlocking Your Gut’s Potential: 14 Simple and Delicious Fermented Foods for a Healthier You

7. **Berries**For those of us with a sweet tooth looking for a guilt-free indulgence, berries are an absolute dream come true. Raspberries, blueberries, strawberries, and blackberries are not only delicious but are also bursting with health benefits. They are particularly “packed with antioxidants that reduce inflammation and support blood vessels,” as Garcia-Benson aptly describes.
These potent antioxidants play a critical role in protecting your body’s cells from damage and keeping your cardiovascular system in top shape. By actively reducing inflammation, berries contribute to healthy blood vessels, ensuring that blood flows smoothly and efficiently throughout your body, which is fundamental for heart health.
What makes berries an especially brilliant swap for sugary snacks is their naturally low sugar content. This is a significant advantage, as high blood sugar is a known risk factor for heart disease. Enjoying a handful of fresh berries as a snack, topping your yogurt, or mixing them into a smoothie allows you to satisfy your desire for something sweet while simultaneously nourishing your body with essential nutrients and guarding against unhealthy blood sugar spikes. It’s a delightful and powerful swap that tastes incredible.
Our journey toward a healthier, more vibrant life continues! We’ve already discovered seven incredible foods that can revolutionize your plate and boost your heart health. Now, let’s dive into another seven nutritional powerhouses that are just waiting to become delicious staples in your daily routine. Get ready to embrace more flavor, more energy, and more incredible benefits for your long-term well-being!
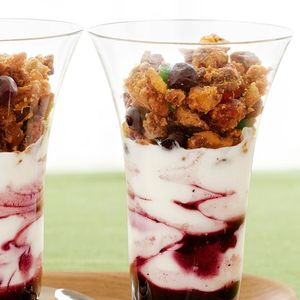
Fruitcake Parfaits
Ingredients
Equipment
Method
- Thaw the frozen blueberries in a bowl and drain any excess liquid to prevent a watery parfait.
- Using a chef’s knife and cutting board, carefully cut the fruitcake into small, bite-sized pieces or crumble it into a bowl.
- If desired, lightly sweeten the plain yogurt with a touch of honey or maple syrup and stir until well combined.
- Take your chosen parfait glasses or serving dishes and prepare them for layering.
- Begin by placing an even layer of crumbled fruitcake at the bottom of each glass.
- Follow with a generous layer of the prepared plain yogurt.
- Next, add a layer of the thawed blueberries over the yogurt.
- Repeat the layers: fruitcake, then yogurt, then blueberries, until the glasses are full.
- Ensure the top layer is aesthetically pleasing, typically ending with blueberries for color.
- For best results, chill the parfaits for at least 15-20 minutes before serving to allow flavors to meld. Serve immediately.
Notes
Read more about: The Art of Avian Elegance: A Curated Journey Through North America’s Most Distinctive Jays
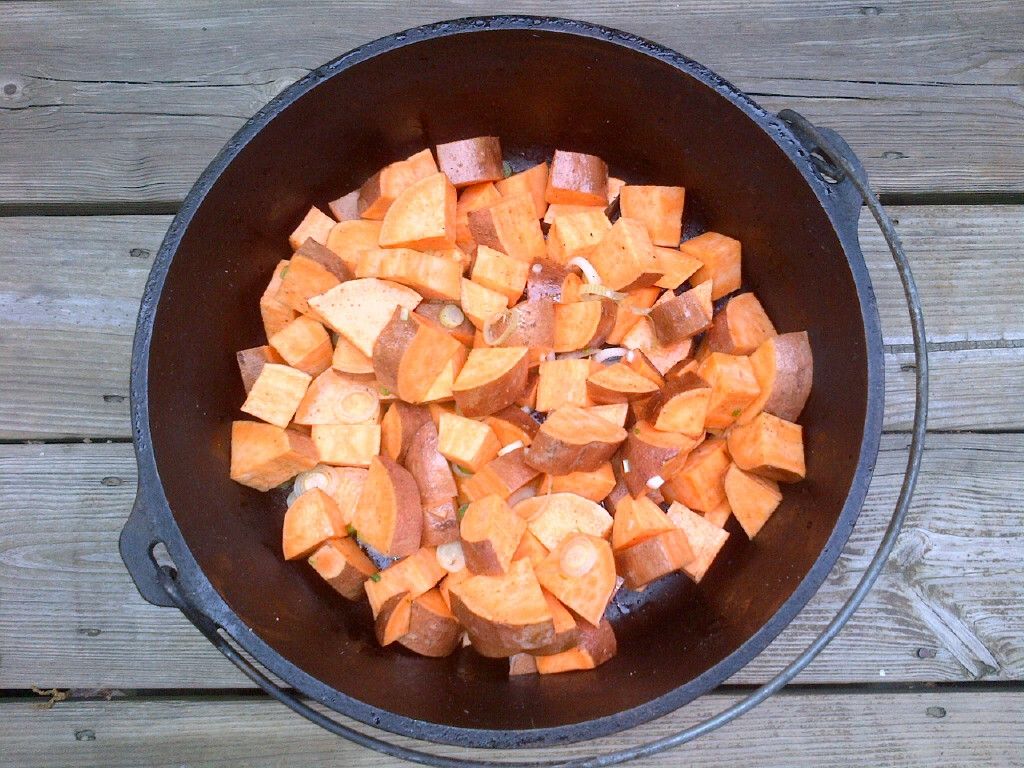
8. **Sweet Potatoes**If you’re looking for a naturally sweet and incredibly versatile vegetable, sweet potatoes are an absolute champion. Beyond their delightful flavor, they are a fantastic source of vital nutrients that contribute significantly to your heart health. Making this simple swap from less nutritious starches can infuse your meals with a boost of goodness.
One of the standout benefits of sweet potatoes is their high potassium content. As registered dietitian Garcia-Benson points out, potassium is a crucial mineral that actively supports healthy blood pressure. Maintaining optimal blood pressure is a cornerstone of cardiovascular health, helping to prevent strain on your arteries and heart over time.
But the benefits don’t stop there. Sweet potatoes also provide a healthy dose of dietary fiber, which aids digestion and helps stabilize blood sugar levels, keeping those energy crashes and cravings at bay. They are also rich in vitamins, including vitamin A, making them a well-rounded and delicious addition to any meal. Try them baked, roasted, mashed, or even as a vibrant addition to stews and chilis.

Slow Cooker Irish Beef Stew
Ingredients
Equipment
Method
- Dice the russet potatoes, chop the large onion, and mince the garlic cloves; set aside.
- Heat olive oil in a large skillet or Dutch oven over medium-high heat. Season the cubed beef chuck roast generously with salt and ground black pepper.
- Sear the beef in batches, browning all sides thoroughly, then transfer the seared beef to the slow cooker.
- Add the chopped onion and minced garlic to the skillet, sautéing until fragrant, about 2-3 minutes.
- Pour about half of the stout beer into the skillet, scraping up any browned bits from the bottom of the pan to deglaze, then transfer this mixture to the slow cooker.
- Add the diced potatoes, baby carrots, remaining stout beer, tomato paste, beef broth, garlic powder, onion powder, and smoked paprika to the slow cooker.
- Stir all ingredients gently to combine, ensuring the beef and vegetables are well coated with the liquid and spices.
- Cover the slow cooker and cook on low for 6-8 hours, or on high for 3-4 hours, until the beef is fork-tender and the vegetables are soft.
- Taste the stew and adjust seasoning with additional salt and ground black pepper as needed.
- Serve the hearty Irish beef stew warm, garnished with fresh herbs if desired, for a comforting meal.
Notes
Read more about: Smart Swaps for a Healthier You: 11 Ingredient Changes That Truly Transform Your Plate
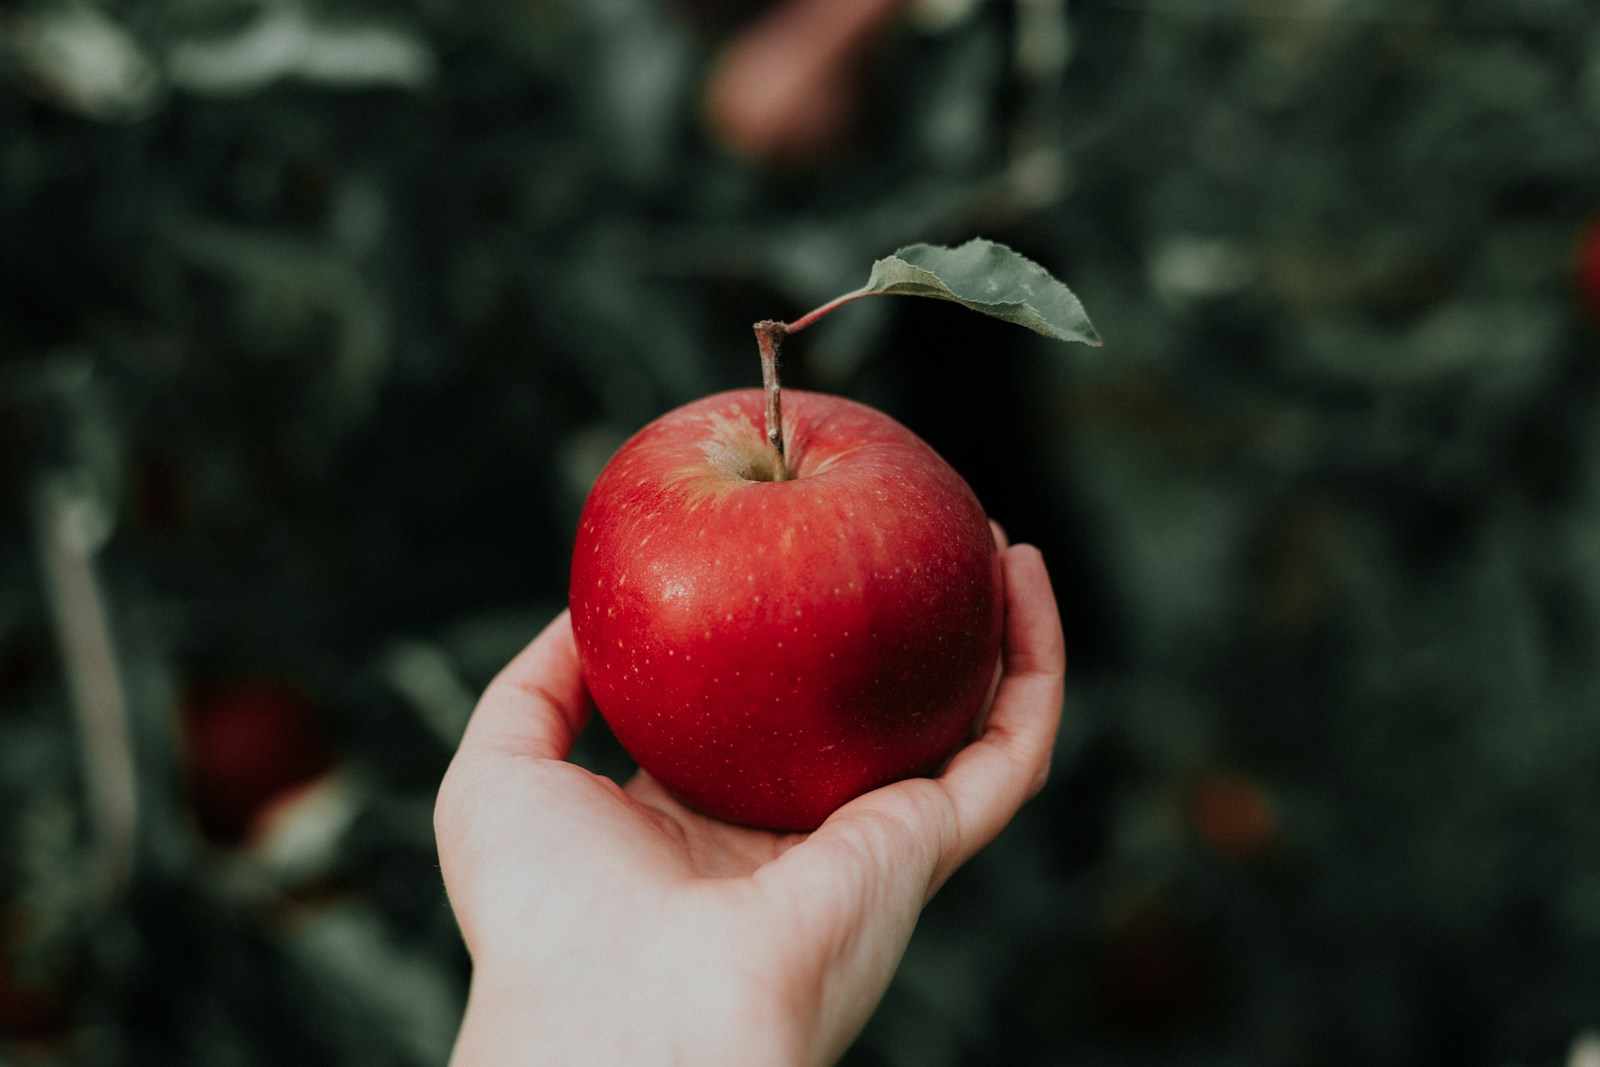
9. **Apples**An apple a day really might keep the doctor away, especially when it comes to your heart! These crisp, refreshing fruits are not just a convenient snack; they are packed with nutrients that actively contribute to a robust cardiovascular system. Swapping out sugary processed snacks for a fresh apple is a simple yet powerful move for your health.
Just like sweet potatoes, apples are an excellent source of blood pressure-lowering potassium, helping to maintain a healthy circulatory system. They also deliver a good amount of fiber, which aids in digestion, promotes satiety, and contributes to better cholesterol management. That satisfying crunch comes with incredible benefits for your gut and heart alike.
Furthermore, Dr. Shenoy highlights that apples contain antioxidants that work to reduce oxidative stress, a process linked to the development of heart disease. These protective compounds help safeguard your cells from damage, promoting overall cellular health. Remember to eat the skin too, as that’s where many of the beneficial fibers and antioxidants are concentrated.

Easy Red Sangria
Ingredients
Equipment
Method
- Wash and prepare all fruit; core the apple, then loosely chop the orange, apple, and lemon.
- In a large pitcher or carafe, combine the chopped fruit, sugar, and brandy.
- Stir vigorously for 1-2 minutes to ensure the sugar begins to dissolve into the brandy and fruit juices.
- Pour the entire bottle of merlot into the pitcher with the fruit and brandy mixture.
- Stir gently to thoroughly combine all ingredients, ensuring no sugar remains undissolved at the bottom.
- Cover the pitcher tightly and refrigerate for a minimum of 4-6 hours, or preferably overnight, to allow the flavors to fully meld.
- Before serving, give the sangria another gentle stir to redistribute the fruit and settled flavors.
- Serve chilled over ice, ensuring each glass receives a generous portion of the infused fruit.
- For an enhanced presentation, garnish each serving with fresh slices of orange or a few berries.
Notes
Read more about: 9 Hollywood Actors Who’ve Never Made A Good Movie
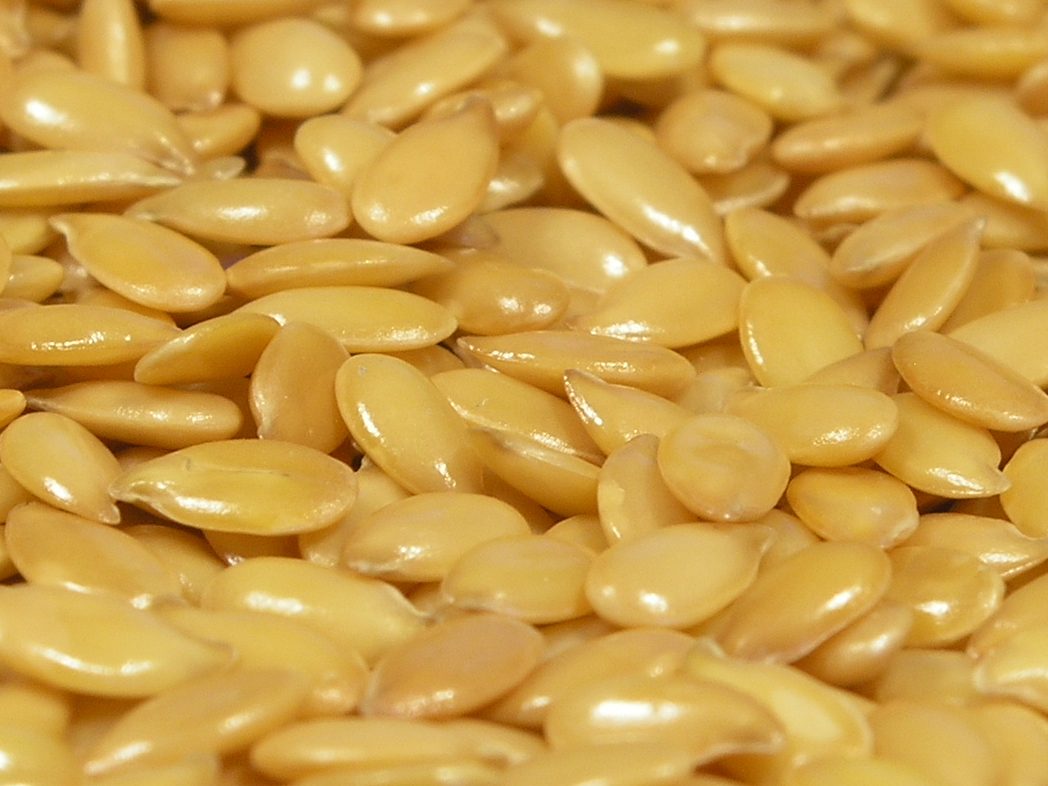
10. **Flax Seeds**These tiny, unassuming seeds are true nutritional powerhouses, and incorporating them into your diet is an effortless way to ramp up your heart-healthy nutrient intake. Flax seeds are celebrated for their unique combination of fiber and omega-3 fatty acids, making them an indispensable swap for anyone looking to boost their well-being.
The fiber found in flax seeds is particularly beneficial for lowering cholesterol. It acts like a sponge, binding to cholesterol in the digestive tract and helping to remove it from the body, thus reducing LDL, or “bad,” cholesterol levels. This is a simple yet effective mechanism for supporting arterial health.
Additionally, flax seeds are one of the best plant-based sources of alpha-linolenic acid (ALA), a type of omega-3 fatty acid. These healthy fats are crucial for reducing inflammation and supporting overall cardiovascular function. Registered dietitian Han recommends sprinkling ground flax seeds over your oatmeal for a heart-healthy breakfast, but they’re also fantastic in smoothies, yogurt, or baked goods, just be sure to grind them for optimal nutrient absorption.
Overnight oats
Ingredients
Equipment
Method
- Gather all your ingredients and measuring tools.
- In a medium mixing bowl, combine the oatmeal, flaxseed, and chia seeds.
- Pour in the almond milk and maple syrup.
- Using a whisk or spoon, thoroughly mix all ingredients until well combined, ensuring no dry clumps remain at the bottom.
- Divide the mixture evenly into two individual air-tight jars or containers.
- Securely cover the jars with lids.
- Refrigerate for at least 6 hours, or preferably overnight, allowing the oats and seeds to soften and absorb the liquid.
- In the morning, stir the oats well before serving.
- Optionally, add your favorite toppings such as fresh fruit, nuts, or a drizzle of extra maple syrup before enjoying.
Notes
Read more about: Smart Swaps for a Healthier You: 11 Ingredient Changes That Truly Transform Your Plate

")
